How to change rear brake shoes on a NNBS (lots of pictures)
 09-30-2011, 10:36 PM
#1
TECH Enthusiast
Thread Starter
iTrader: (9)
Join Date: Dec 2003
Location: Edmond,OK
Posts: 565
Likes: 0
Received 0 Likes
on
0 Posts
I was un-sure on how to change the rear brake shoes on my truck, Ive done a lot of things from build engines, from every kind of maintenance you could think of. So I knew I could tackle this, and eveyone I talked to said it was hard and should just pay a shop to do it.
This was so easy I decided to do a write up on it and thought it would help some of you that had hesitations
a 2008 Sliverado with 80k miles on it
this is on the driver side,
the tools needed: flat head screwdriver, needlenose pliers, vise-grips, brake clean.
here are the steps I did
I do need to say that I am NOT a mechanic and I am just posting this as a helpful tip
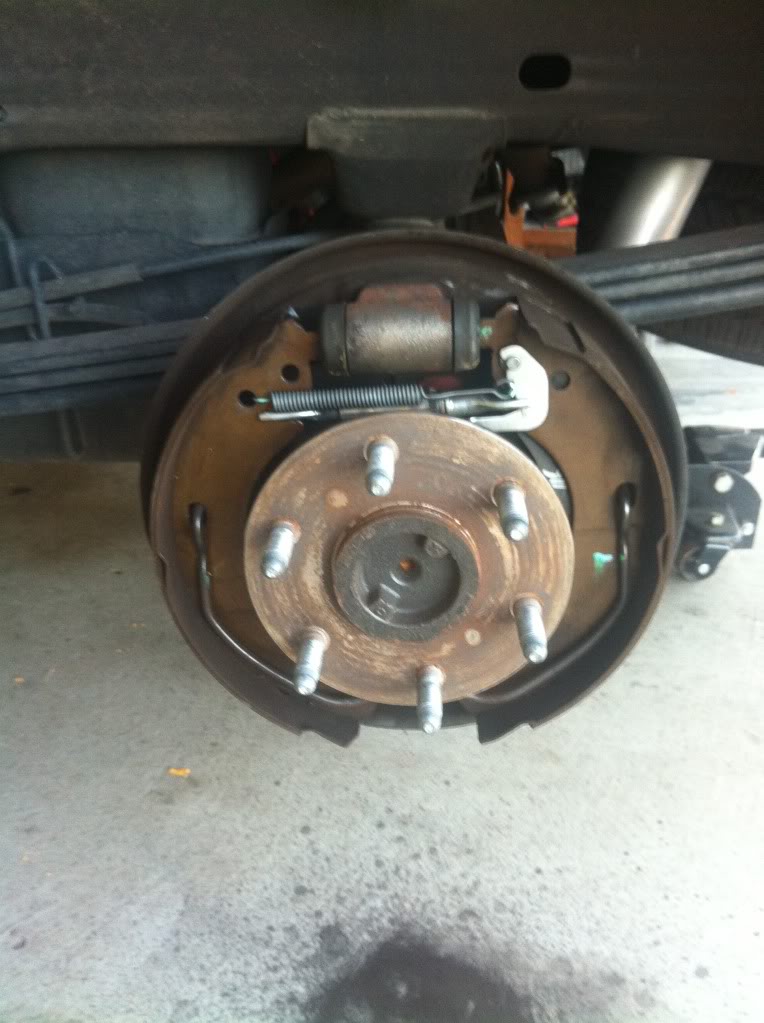
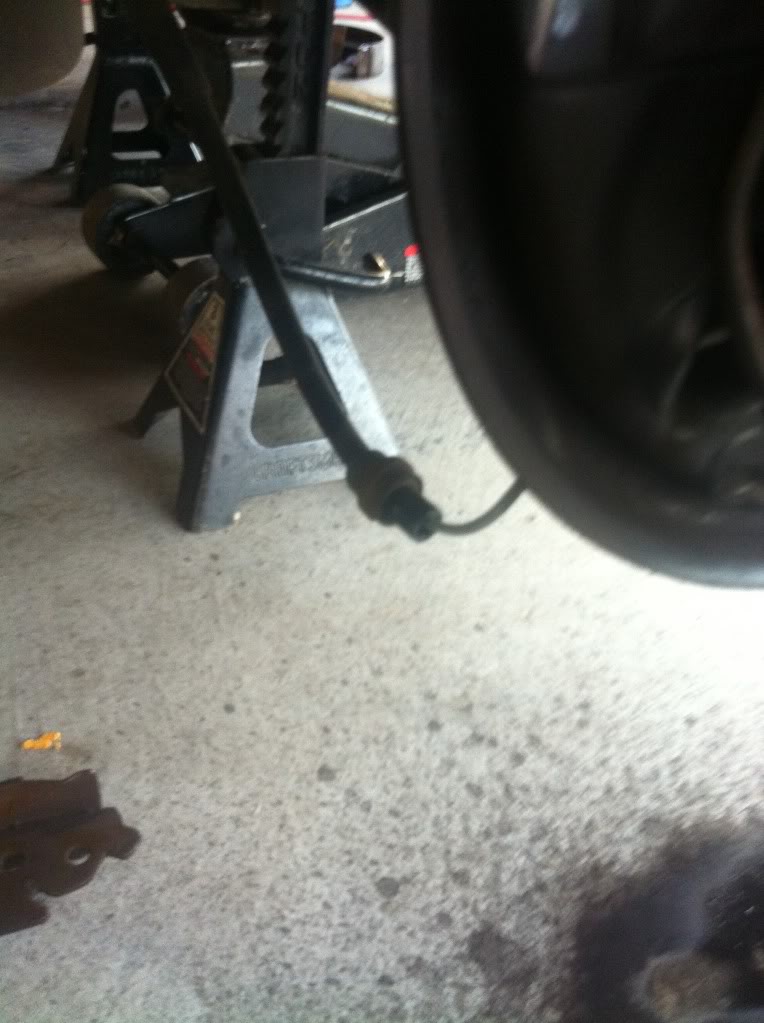
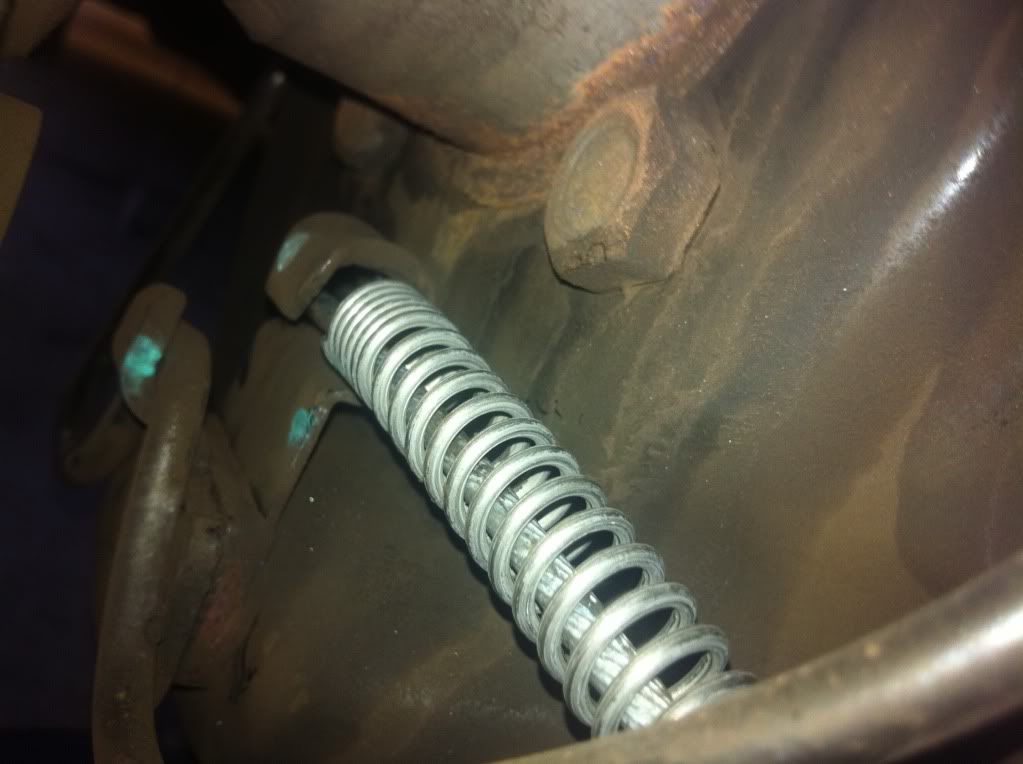
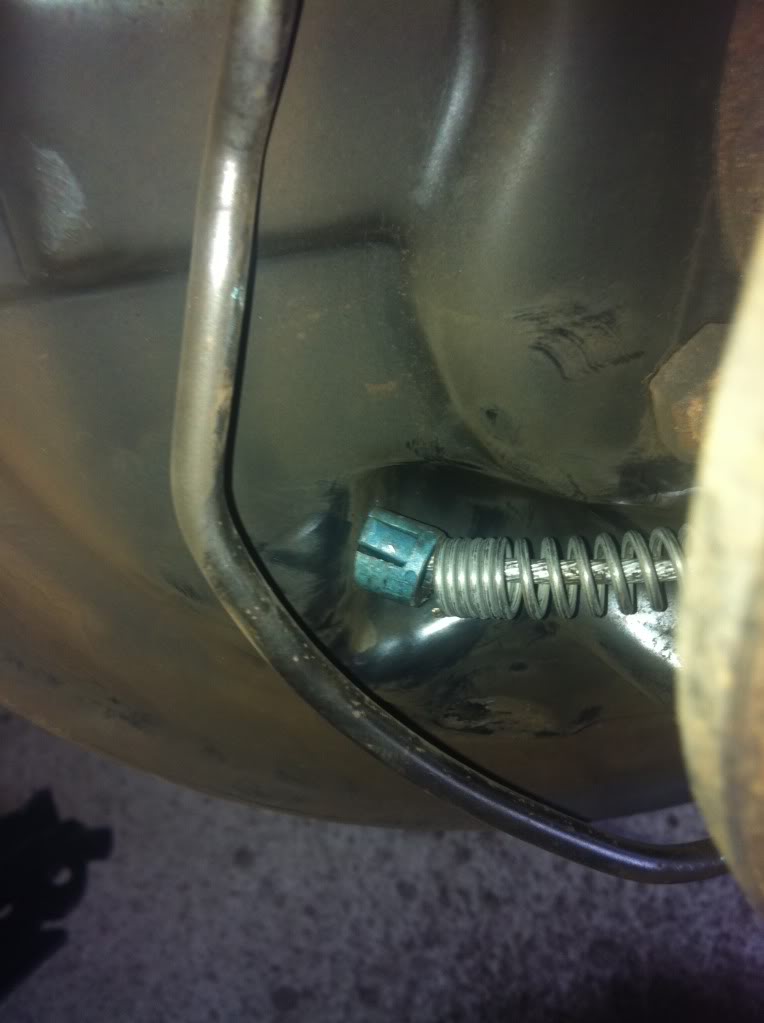
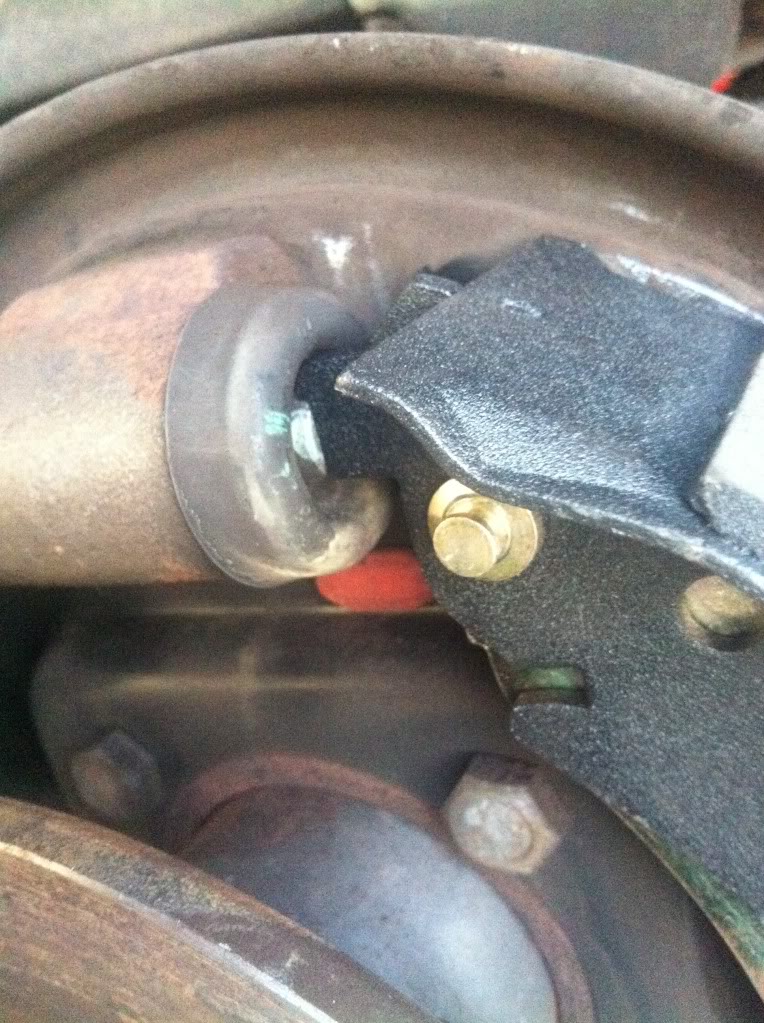
1st disconnect the e-brake cables under the driver side on the frame rail
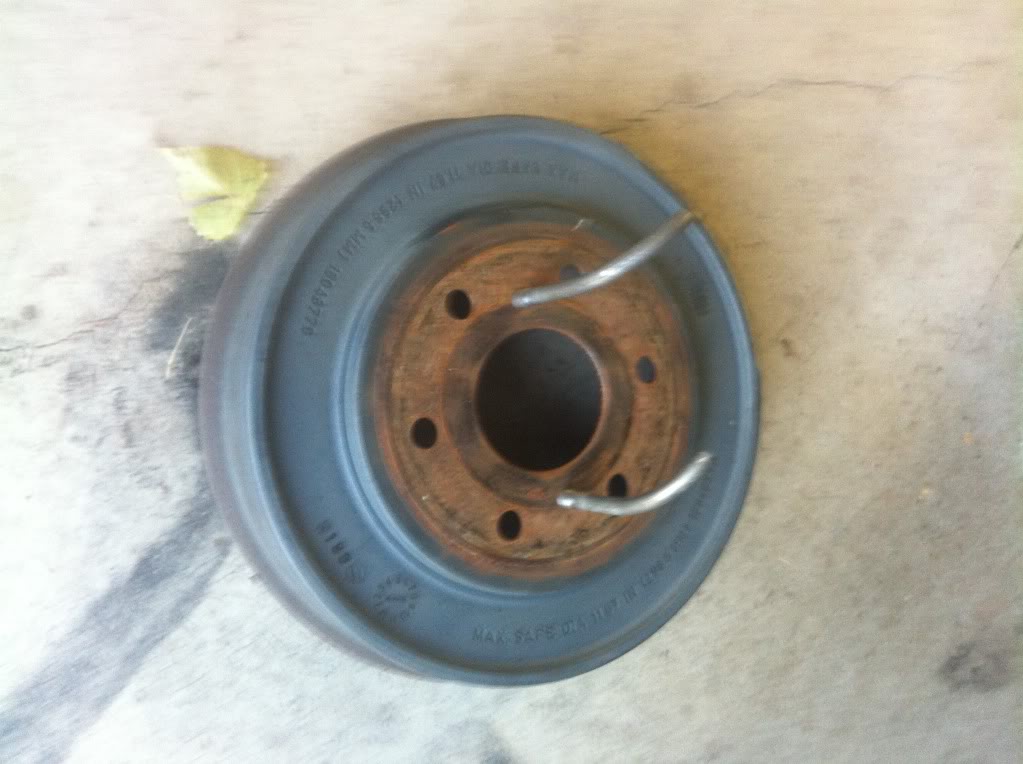
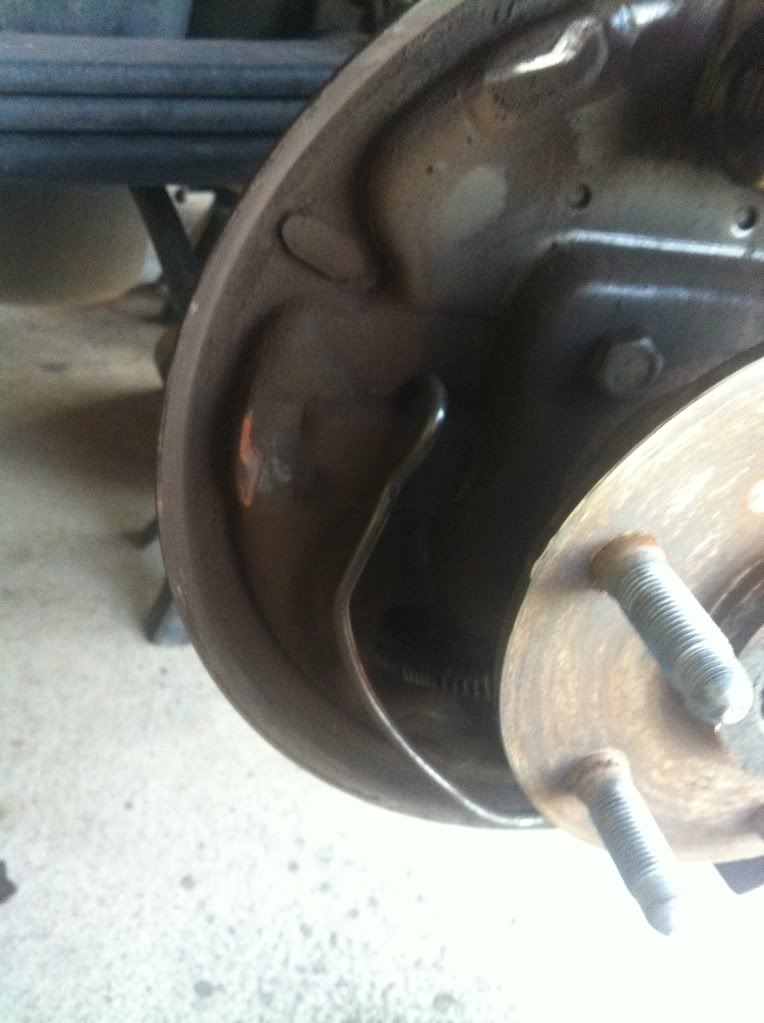
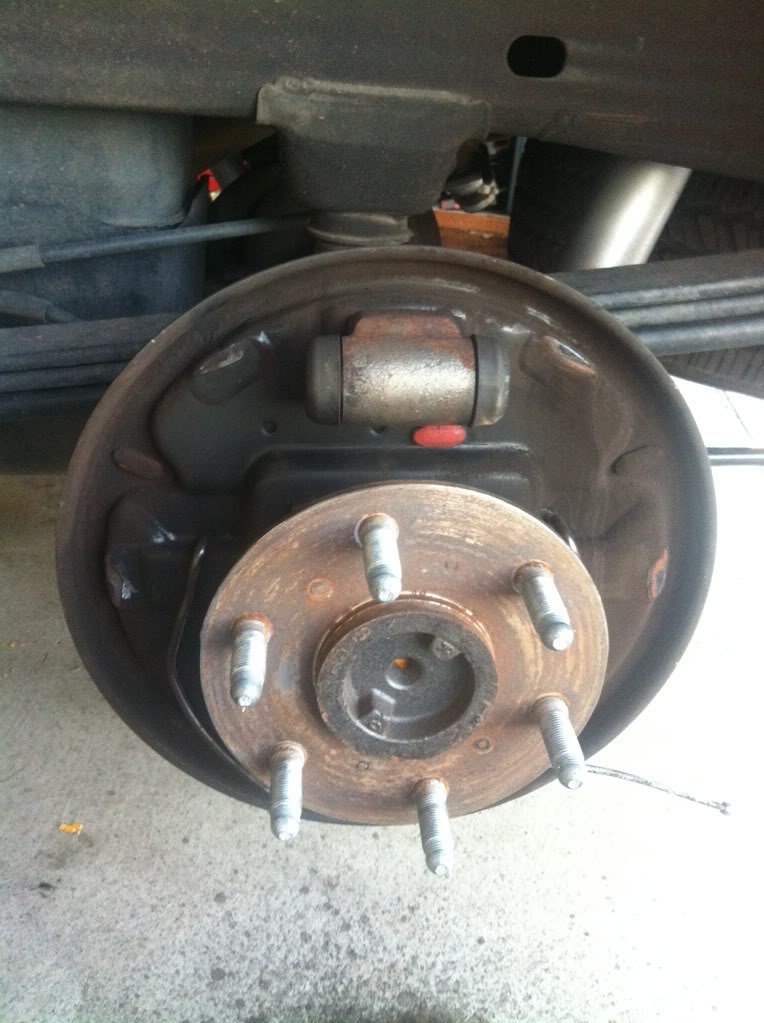
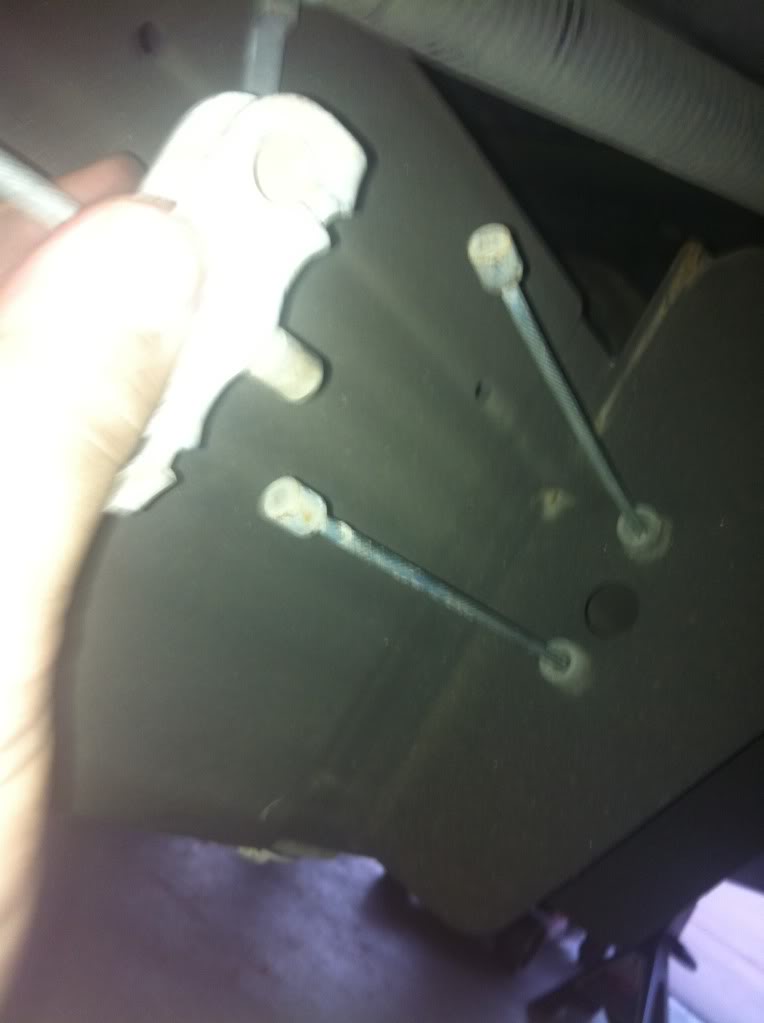
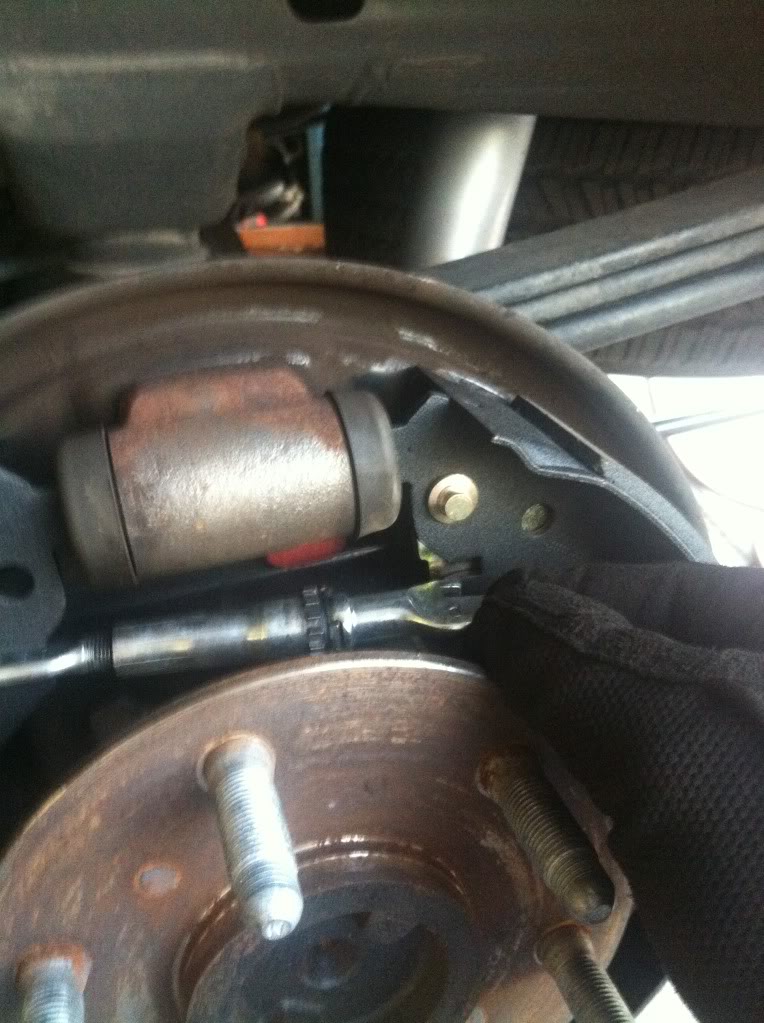
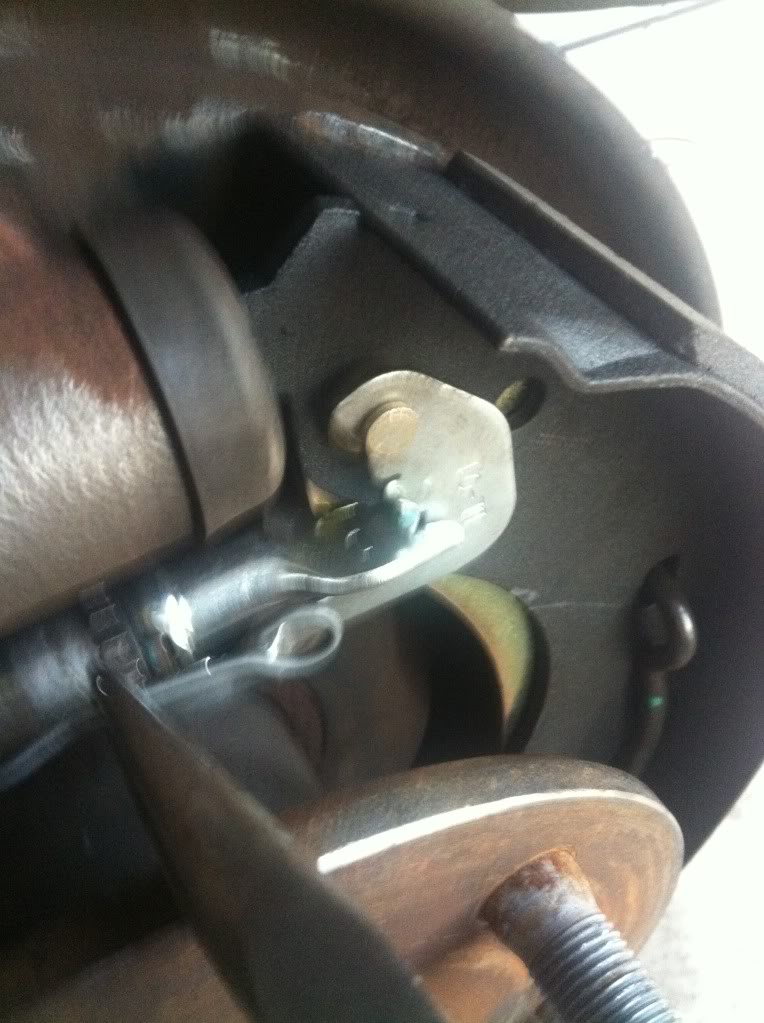
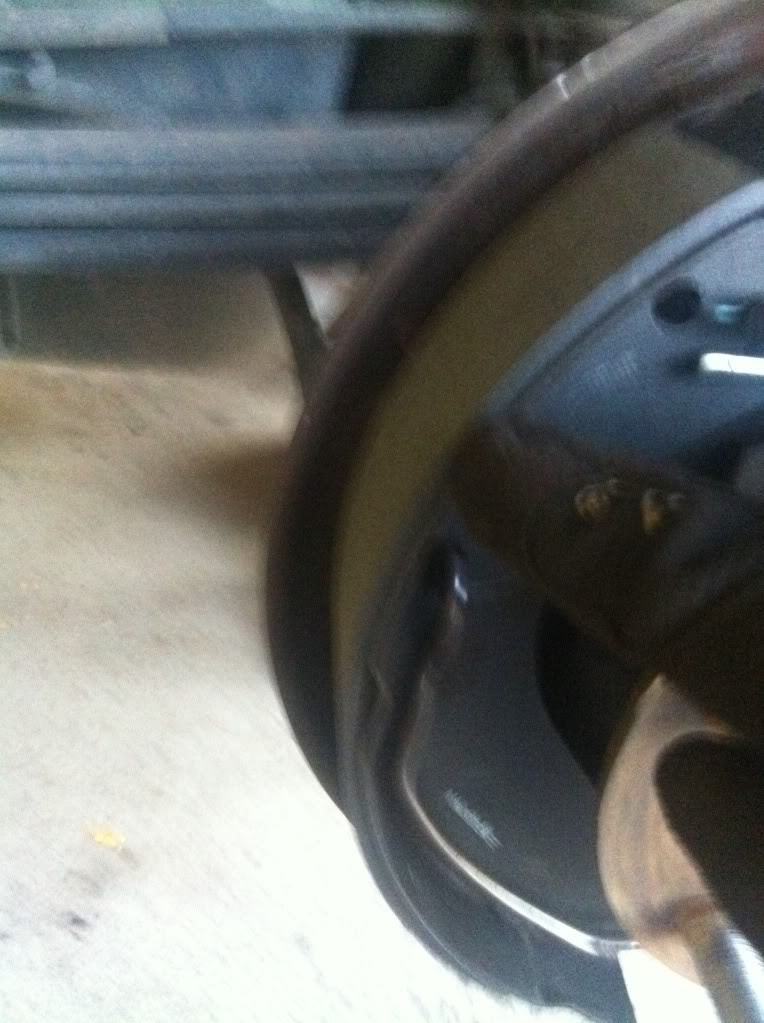
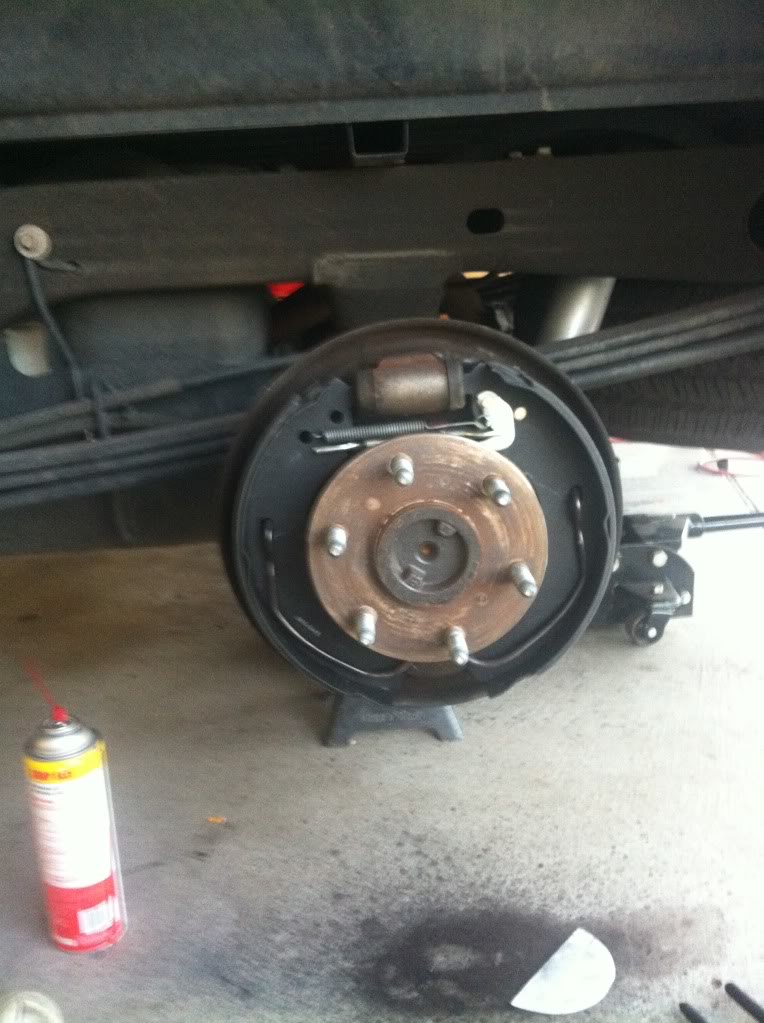
to get the drum off you have two screw holes that you have to use a bolt to put in to push off the "hat" I used a exhaust clamp I cut in half
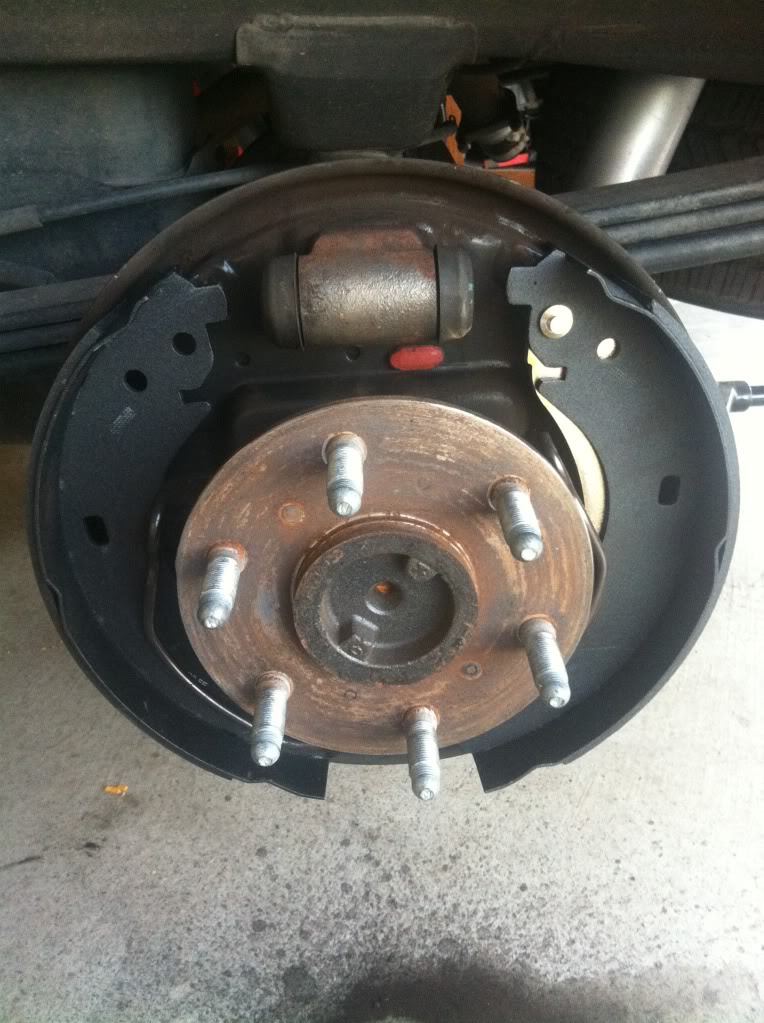
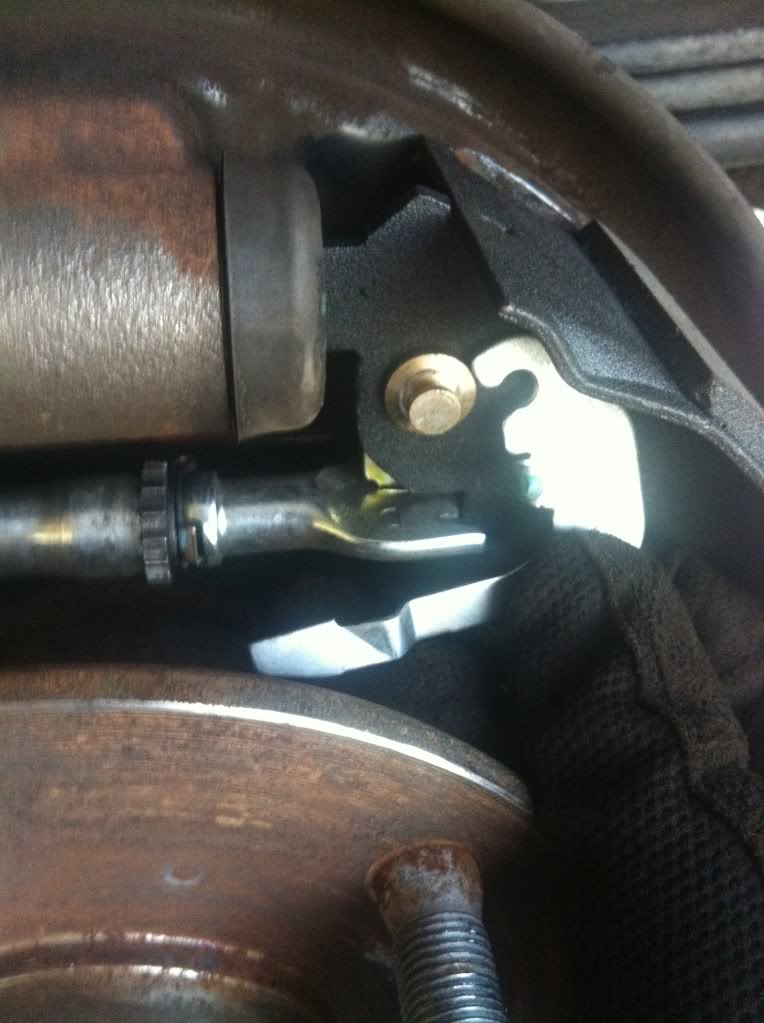
Heres what you start with
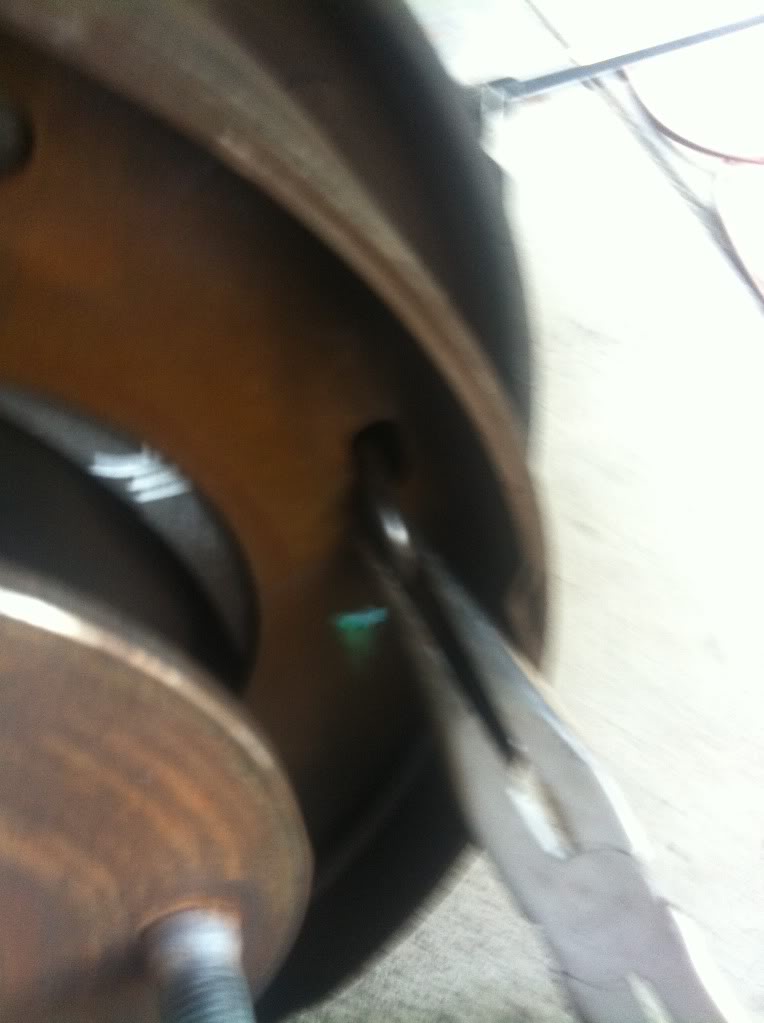
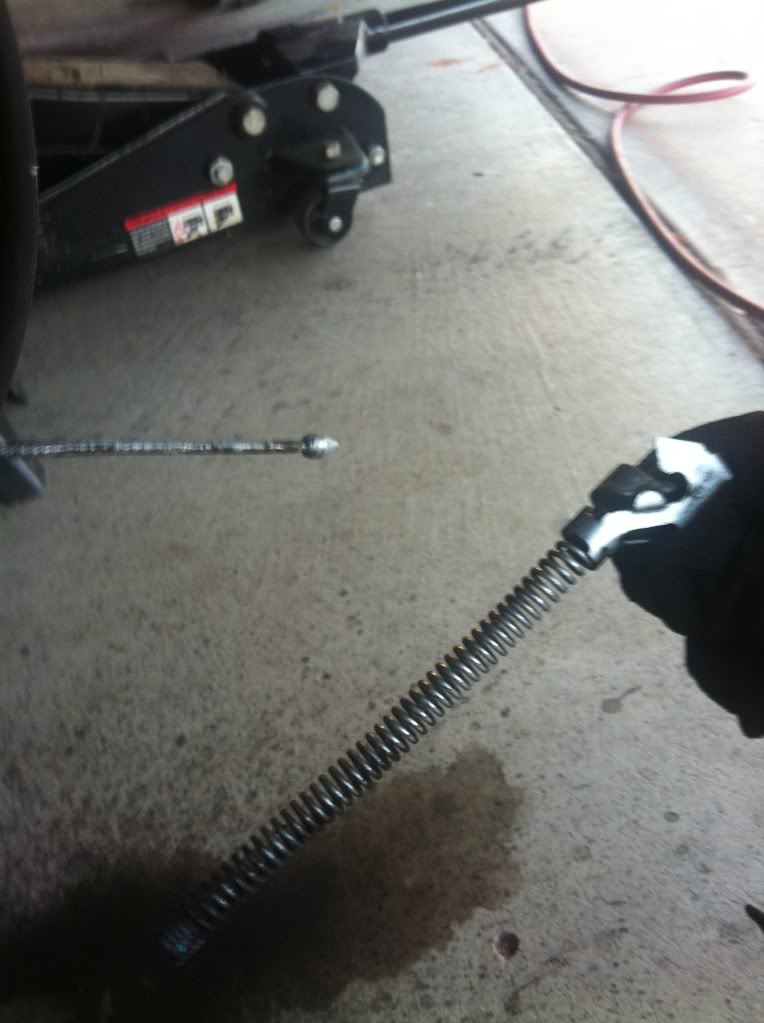
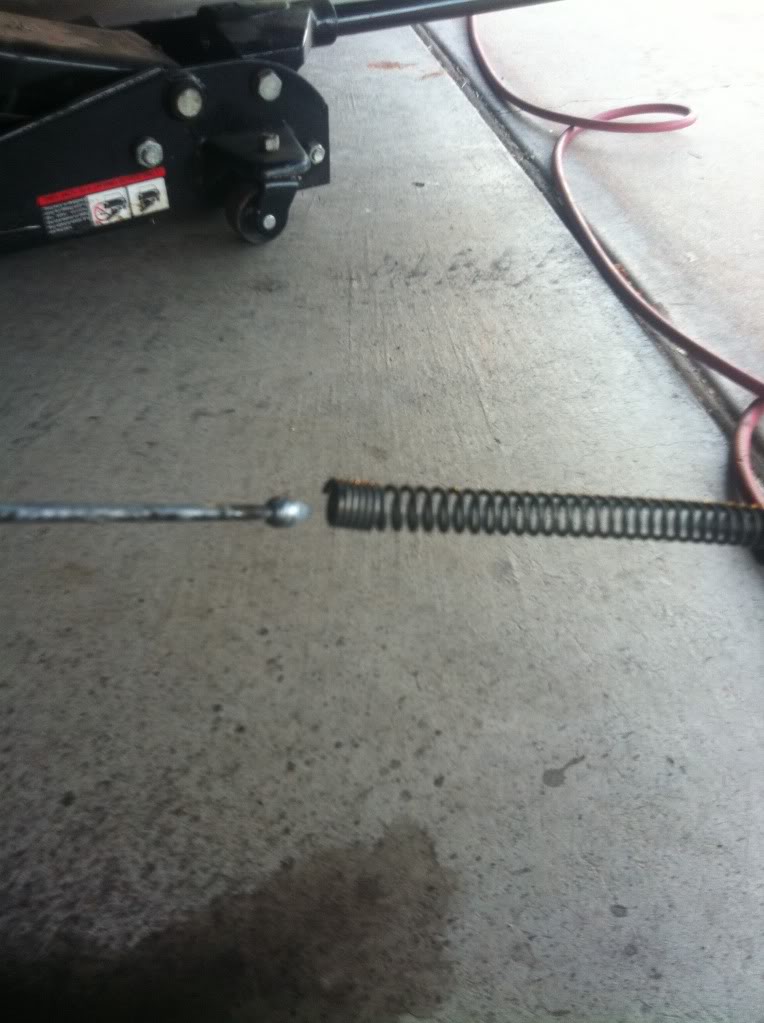
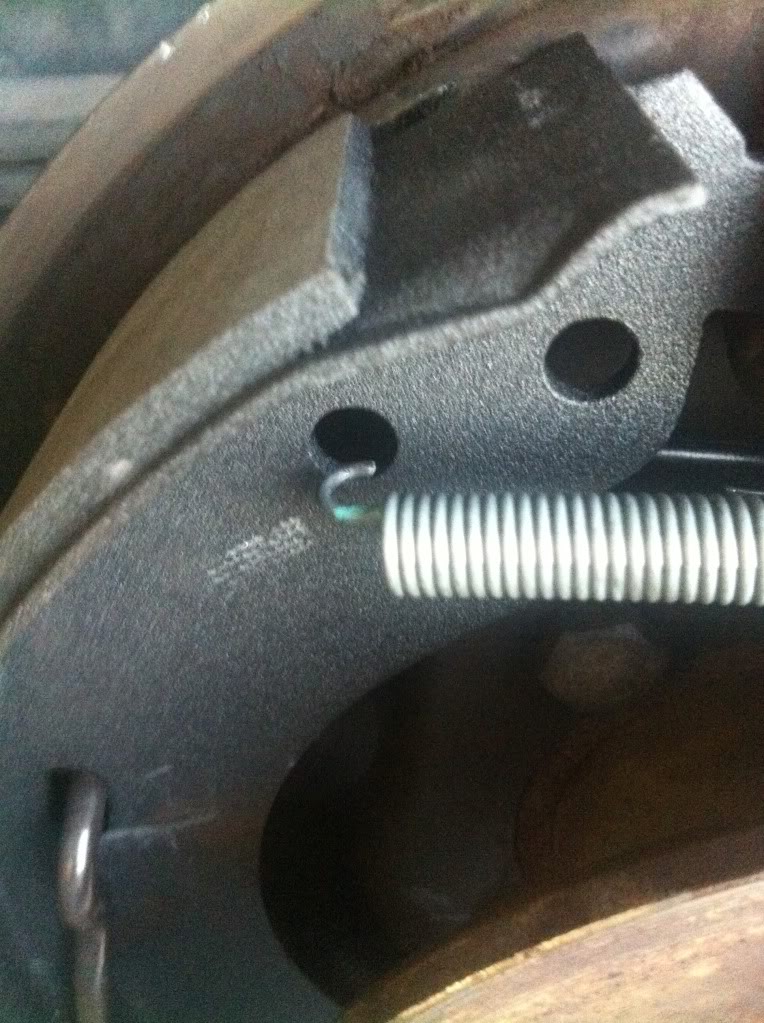
use needlenose pliers to take off top spring
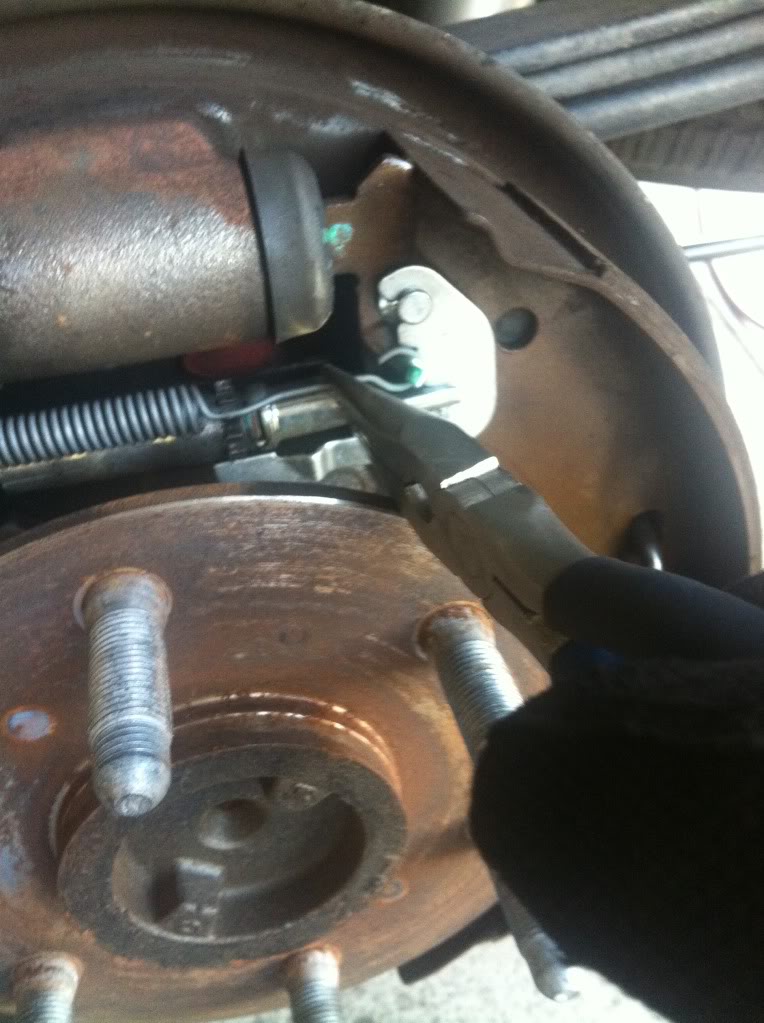
then take off the clip the the spring connects to
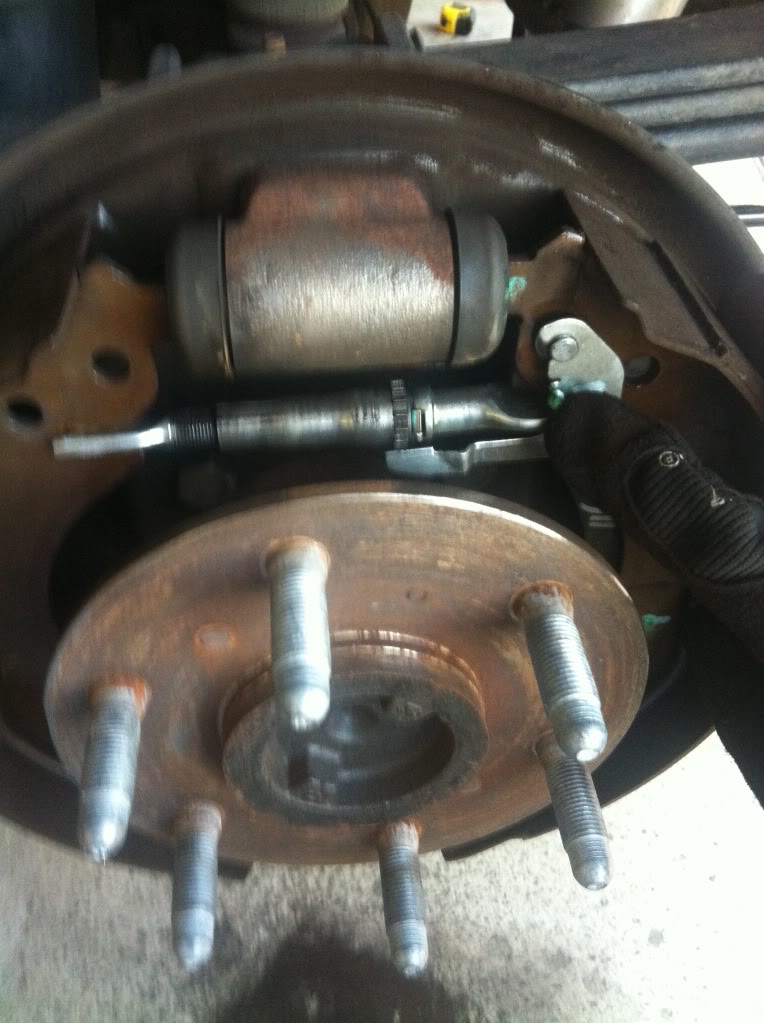
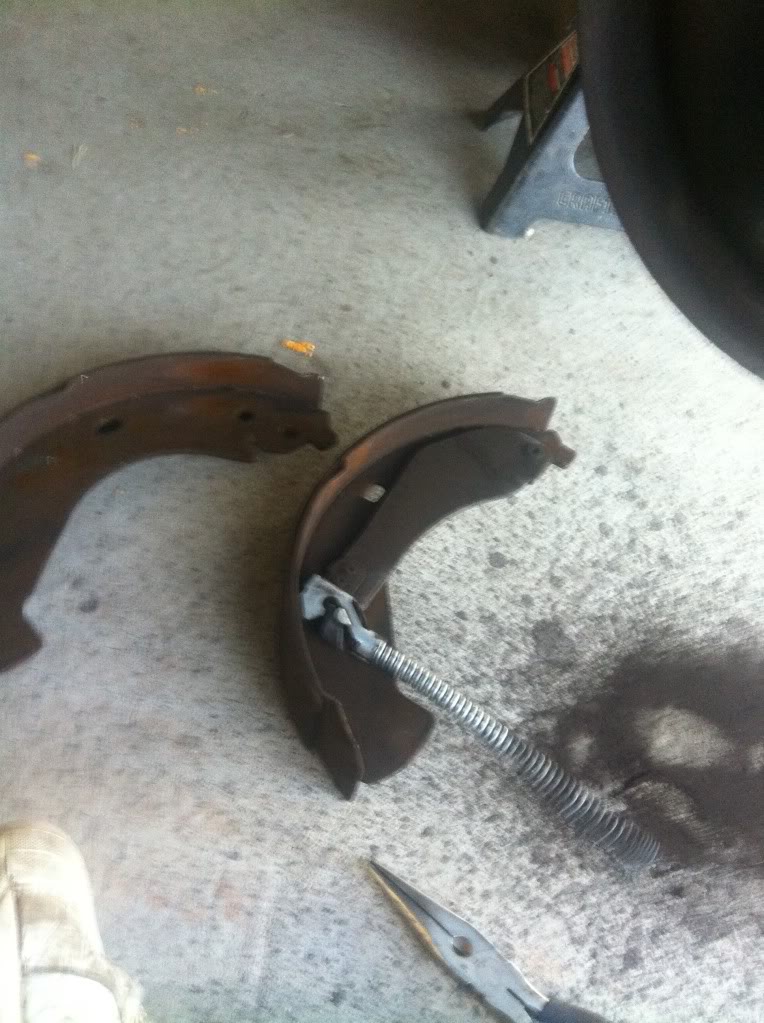
then you pull on one of the shoes to take the ajuster out from between the shoes

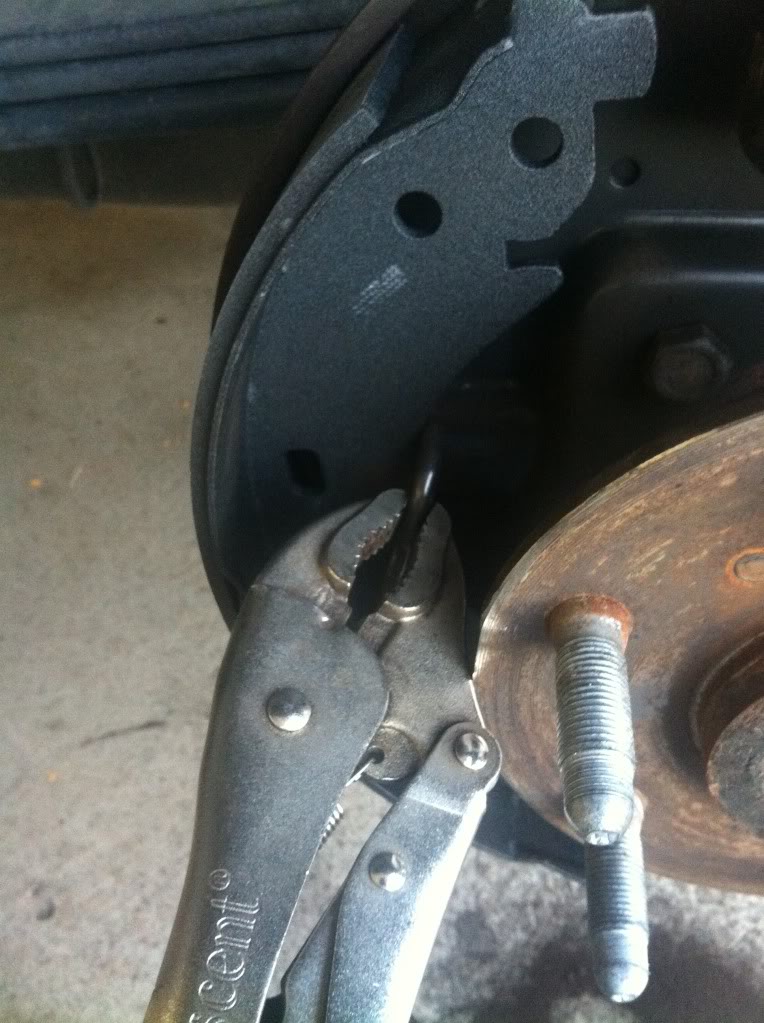
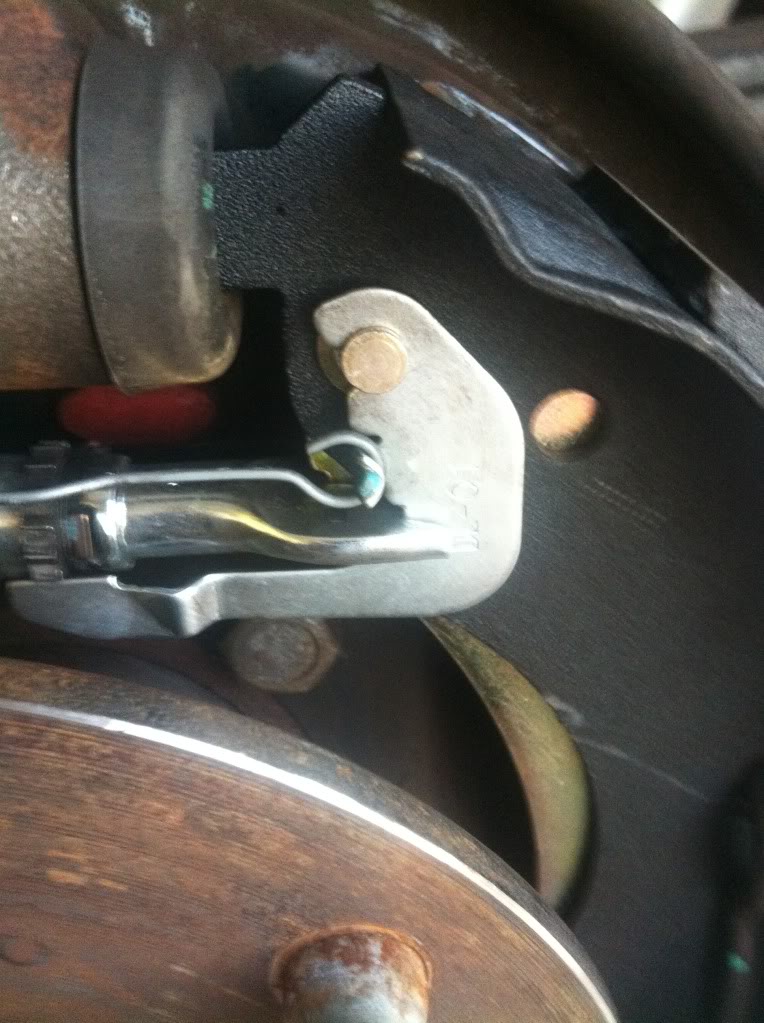
next there is a clamp that holds both shoes in place that needs to be pulled out of the hole in each shoe
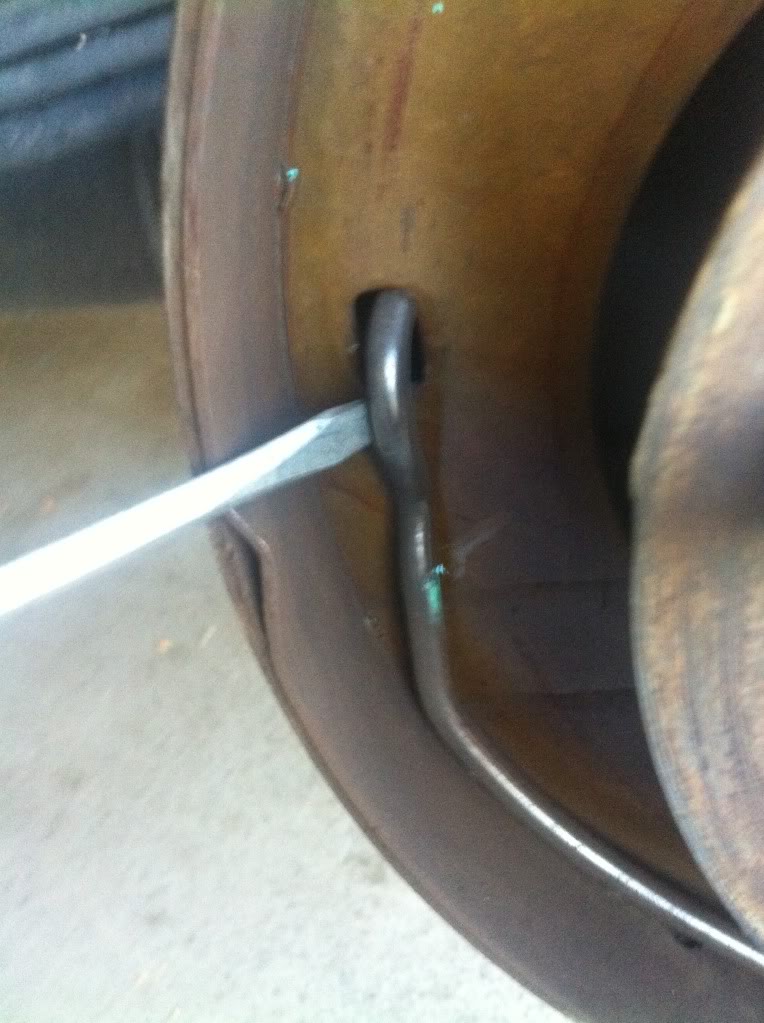
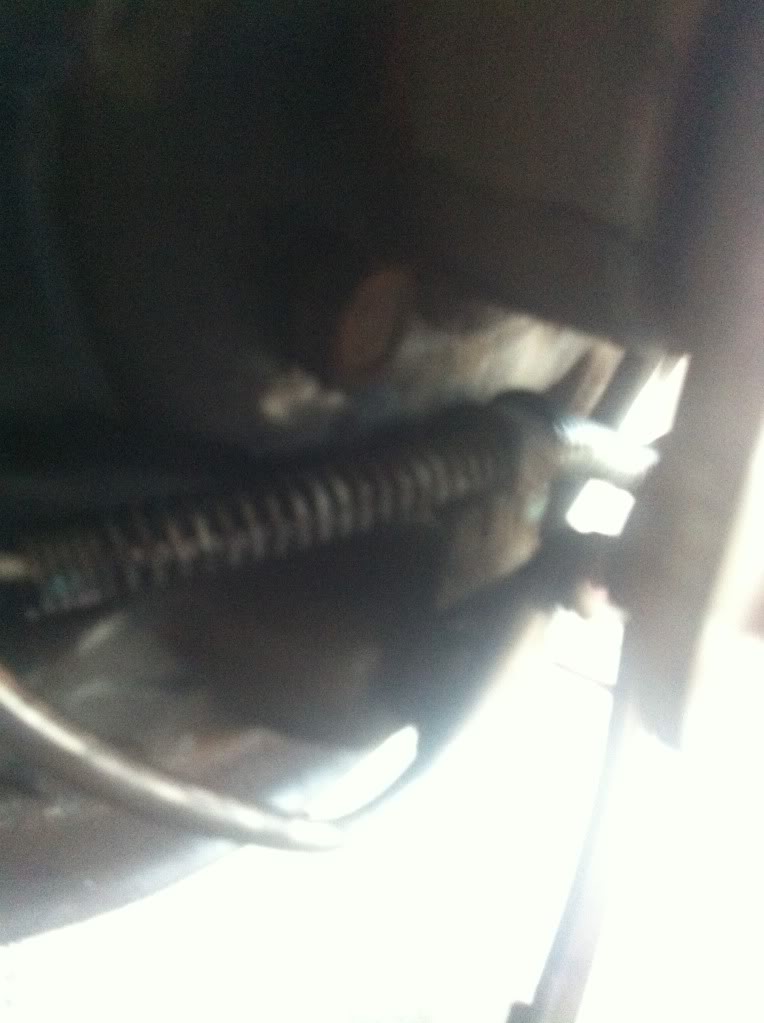
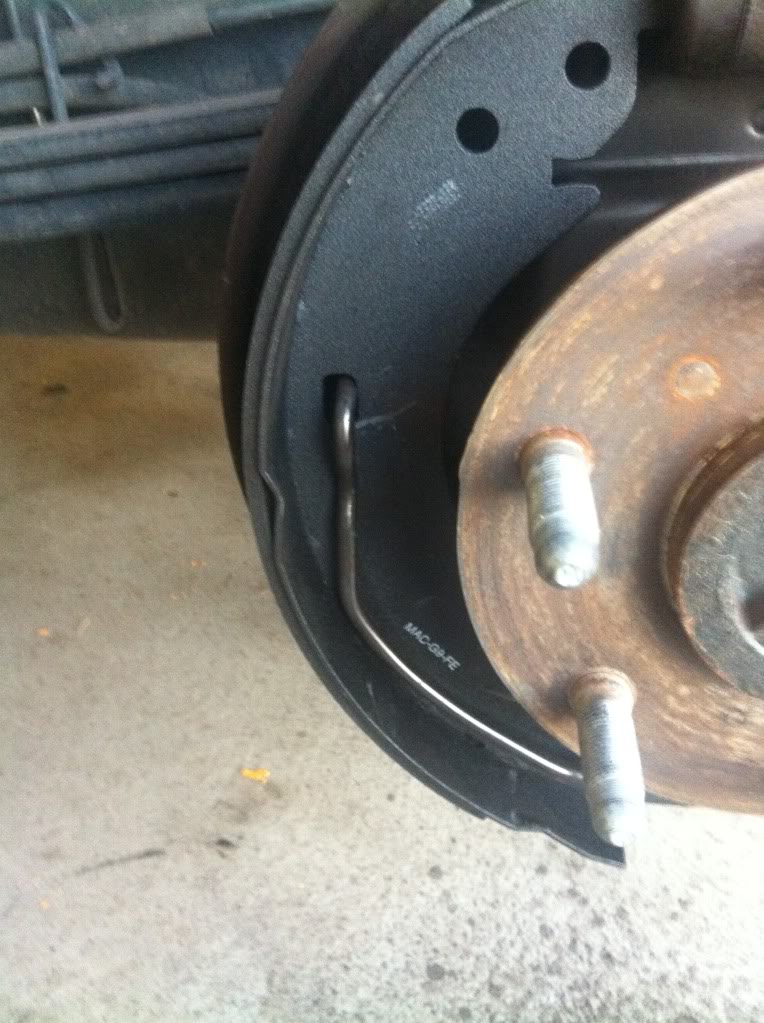
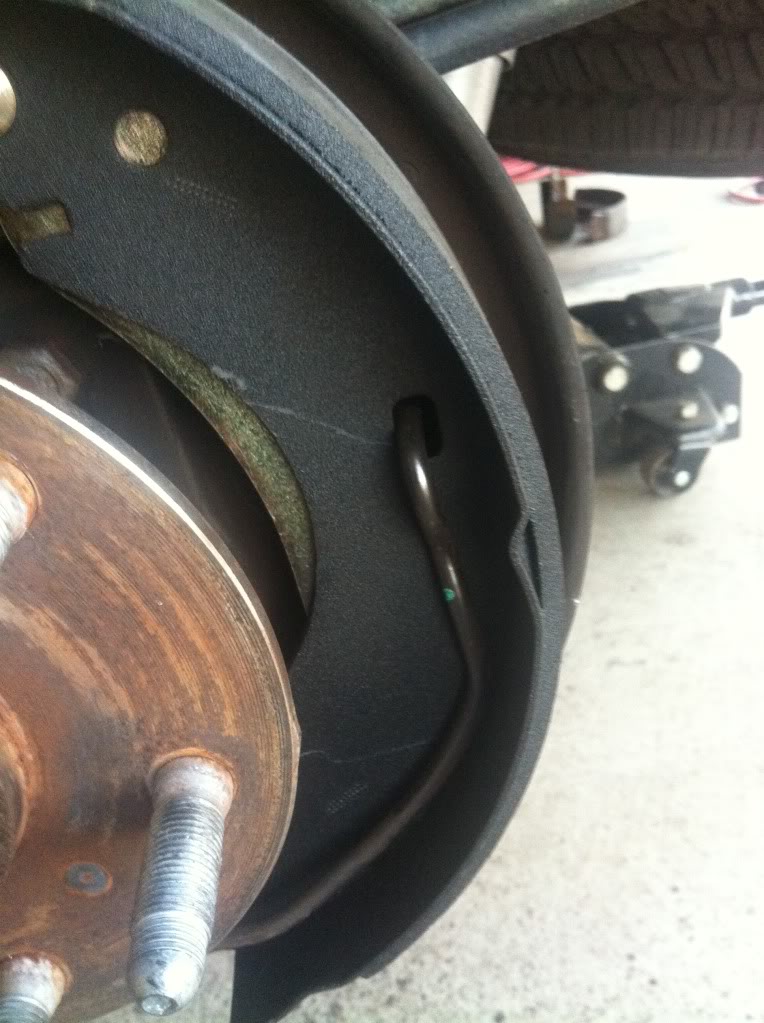
see how the clamp is held on and the large spring that the e-brake cable passes through
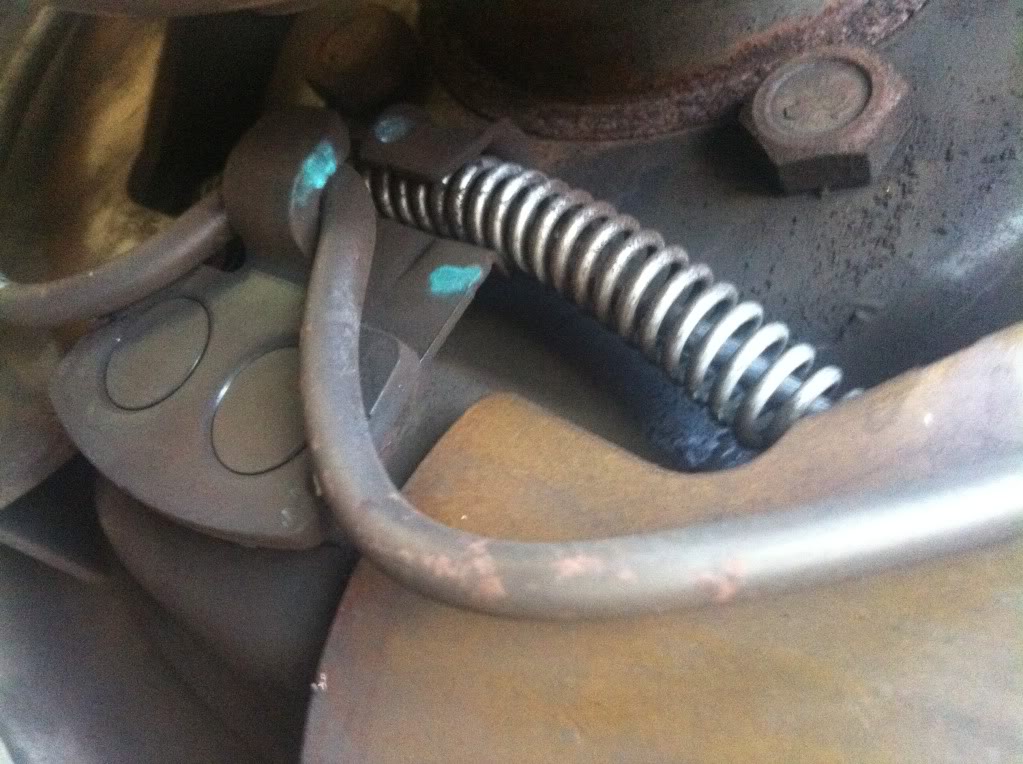
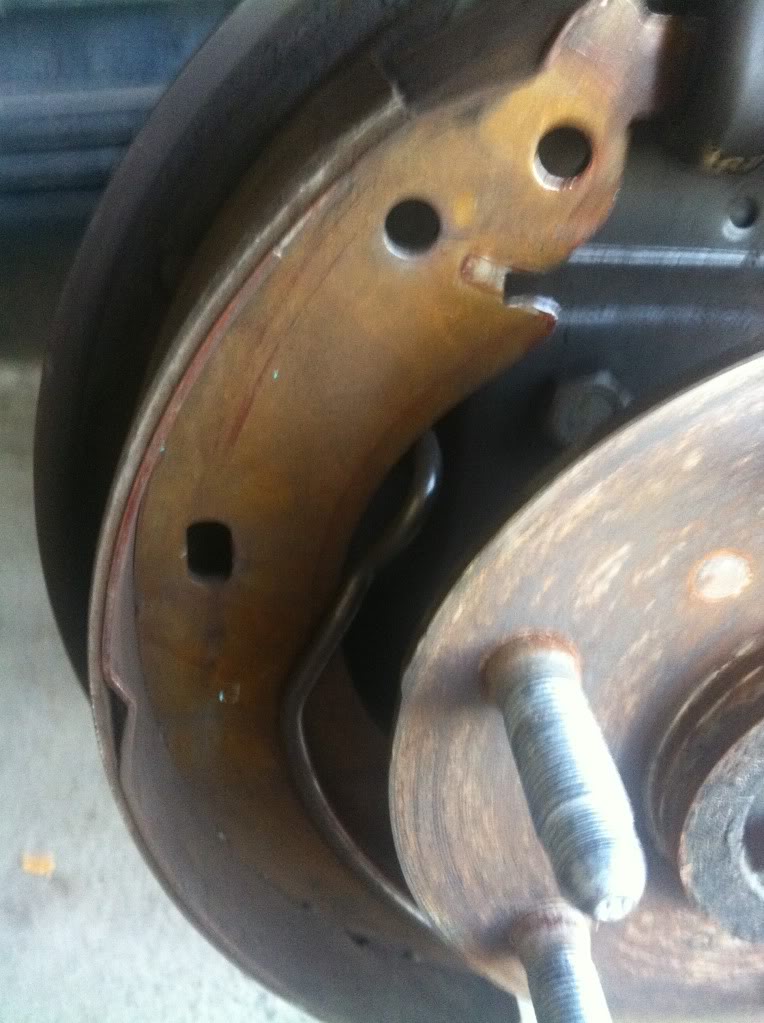
take off the shoe that doesnt connect to the e-brake (should be the left one)

disconnect the e-brake cable retainer clip

pull out the e-brake cable
This was so easy I decided to do a write up on it and thought it would help some of you that had hesitations
a 2008 Sliverado with 80k miles on it
this is on the driver side,
the tools needed: flat head screwdriver, needlenose pliers, vise-grips, brake clean.
here are the steps I did
I do need to say that I am NOT a mechanic and I am just posting this as a helpful tip
1st disconnect the e-brake cables under the driver side on the frame rail
to get the drum off you have two screw holes that you have to use a bolt to put in to push off the "hat" I used a exhaust clamp I cut in half
Heres what you start with
use needlenose pliers to take off top spring
then take off the clip the the spring connects to
then you pull on one of the shoes to take the ajuster out from between the shoes
next there is a clamp that holds both shoes in place that needs to be pulled out of the hole in each shoe
see how the clamp is held on and the large spring that the e-brake cable passes through
take off the shoe that doesnt connect to the e-brake (should be the left one)
disconnect the e-brake cable retainer clip
pull out the e-brake cable
Last edited by BerryWS6; 10-01-2011 at 01:08 PM.
 09-30-2011, 10:54 PM
#2
TECH Enthusiast
Thread Starter
iTrader: (9)
Join Date: Dec 2003
Location: Edmond,OK
Posts: 565
Likes: 0
Received 0 Likes
on
0 Posts
heres with all the stuff off
get your new shoes out.
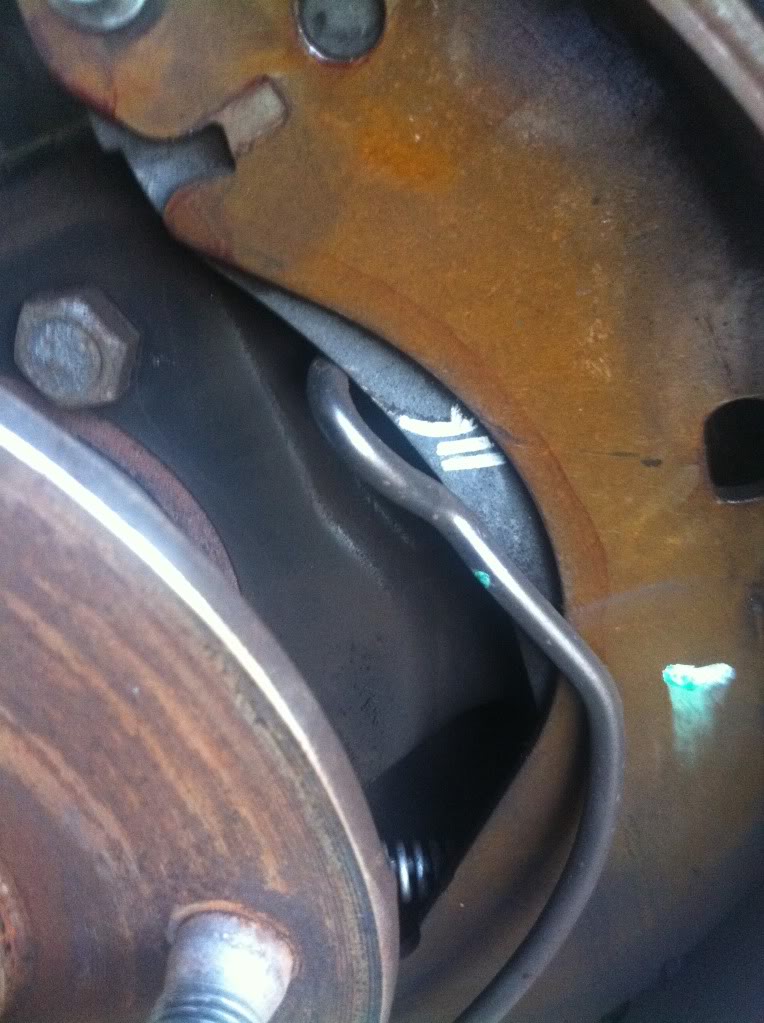
put e-brake cable through the large spring
use flathead to get the cable head through the end

put spring through the hole
reconnect retainer clip
before you go forward reconnect e-brake cables back together along the frame rail
next put the shoes up where they go
pull on spring to get in the holes in the shoes, use visegrips
make sure you get the shoes on the wheel cylinder correctly
put the ajuster back in
put the ajuster clip back on
put spring back on
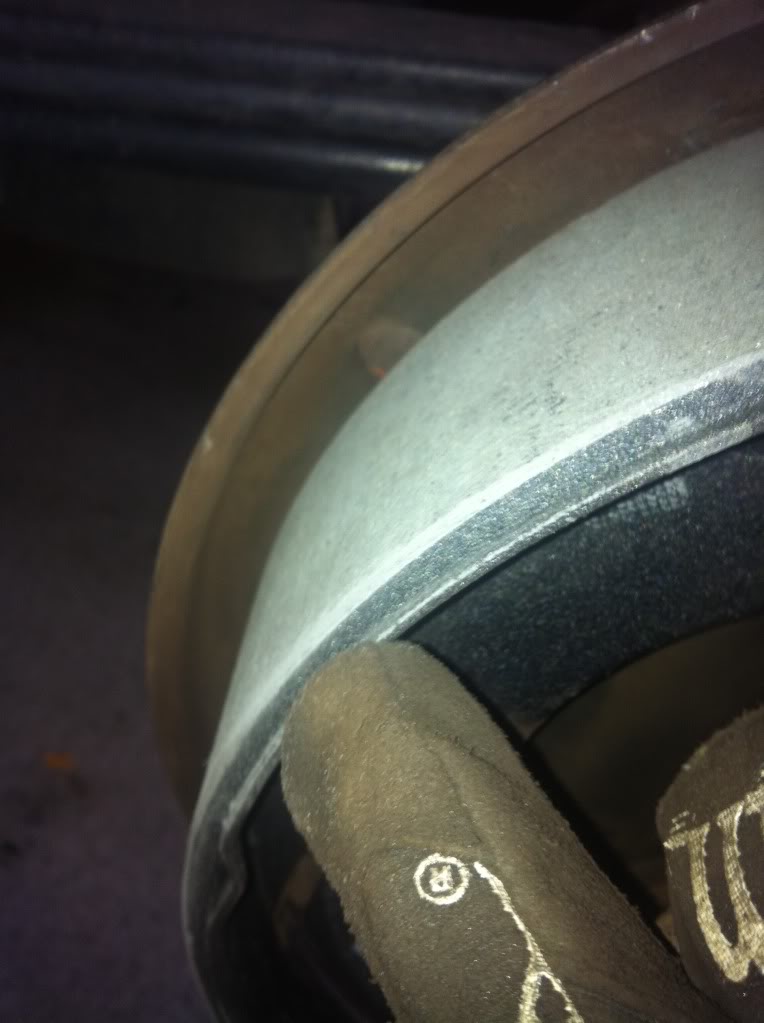
now the edge on the new shoes are sharp, so take a piece of sandpaper and take the edge off so the drum slides over easily
all done
now use the flathead and adjust the shoes so the drum slides over and spins easily.
I noticed that the pedal felt a little soft at first but after driving around for 5 miles or so the pedal felt like normal.
hope this help some of you
get your new shoes out.
put e-brake cable through the large spring
use flathead to get the cable head through the end
put spring through the hole
reconnect retainer clip
before you go forward reconnect e-brake cables back together along the frame rail
next put the shoes up where they go
pull on spring to get in the holes in the shoes, use visegrips
make sure you get the shoes on the wheel cylinder correctly
put the ajuster back in
put the ajuster clip back on
put spring back on
now the edge on the new shoes are sharp, so take a piece of sandpaper and take the edge off so the drum slides over easily
all done
now use the flathead and adjust the shoes so the drum slides over and spins easily.
I noticed that the pedal felt a little soft at first but after driving around for 5 miles or so the pedal felt like normal.
hope this help some of you

 10-01-2011, 11:04 AM
#5
TECH Enthusiast
Thread Starter
iTrader: (9)
Join Date: Dec 2003
Location: Edmond,OK
Posts: 565
Likes: 0
Received 0 Likes
on
0 Posts
I agree, the thing I was noticing was that my truck sounded like a school bus stopping at low speeds. That's why I wanted to change them.
I found the cause to be extreme wear on the bottem of each right shoe, I think it was the person that owned the truck before me drove with the e-brake on and caused that and glazing
I found the cause to be extreme wear on the bottem of each right shoe, I think it was the person that owned the truck before me drove with the e-brake on and caused that and glazing
Last edited by BerryWS6; 10-01-2011 at 01:13 PM.
10-03-2011, 11:23 PM
#6

Thanks, you nailed it. I did this last week, dicked around with the driver's side for about an hour...had a hard time with the big spring and getting the parking brake cable out of the retainer. I did the passenger side the next night in 20 minutes including removing and replacing the wheel. Next time will be much easier!

Trending Topics
02-06-2014, 05:58 AM
#9
TECH Fanatic
iTrader: (20)
Join Date: Dec 2010
Location: 72396
Posts: 1,534
Likes: 0
Received 0 Likes
on
0 Posts
Still wonder why Chevy is using shoes and drums on these new body style trucks. I thought after 98 they used pads and rotors all the way around as the only option on the 1500 series trucks anyways.
