1994 chevy to LSx swap
 Nov 17, 2009 | 10:14 PM
#21

nope it wont help this project anymore. its going on my CC 
if i was you id grab a genIII engine to keep from needing a different tb, the 58t to 24t converter, the hassle of lifters and such.
my next project will be a built 5.3 bored to a 5.7 with PRC stage II heads an a built tranny with a 3000 stall an 3:73s
if i was you id grab a genIII engine to keep from needing a different tb, the 58t to 24t converter, the hassle of lifters and such.
my next project will be a built 5.3 bored to a 5.7 with PRC stage II heads an a built tranny with a 3000 stall an 3:73s


 Jan 6, 2010 | 07:50 PM
#26
knock sensor holes drilled an tapped, cam installed, new ARP crank bolt installed. at a stand still until my harness comes in. ill be going to the stealership to get tranny bolts, an oil pressure sensor screen, ALT/Power steering bracket bolts, starter bolts, LS2 valley cover o-rings an the gasket.
i have to figure out how to make my 05 radiator fit..may have to trim the mounting brackets off..i dunno.
i wish i would have just bought a pull out..learned from that screw up.
i have to figure out how to make my 05 radiator fit..may have to trim the mounting brackets off..i dunno.
i wish i would have just bought a pull out..learned from that screw up.
Last edited by iamkeniff; Jan 6, 2010 at 07:58 PM.
Jan 7, 2010 | 09:45 AM
#27
servo install
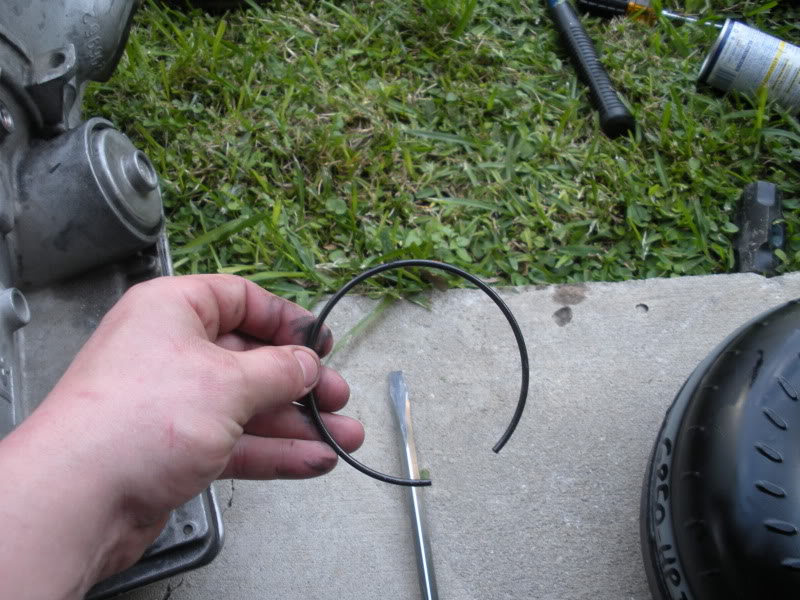
pop the snap ring out with a flat head
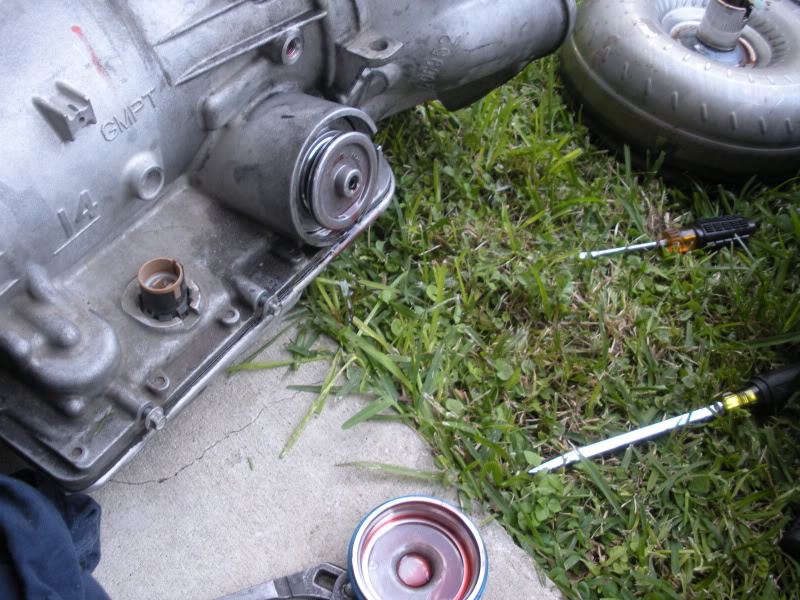
take a pair of plyers to pull the cover off...i didnt cut my o-ring like everyone was saying to do
pull the whole servo assembly out with your fingers
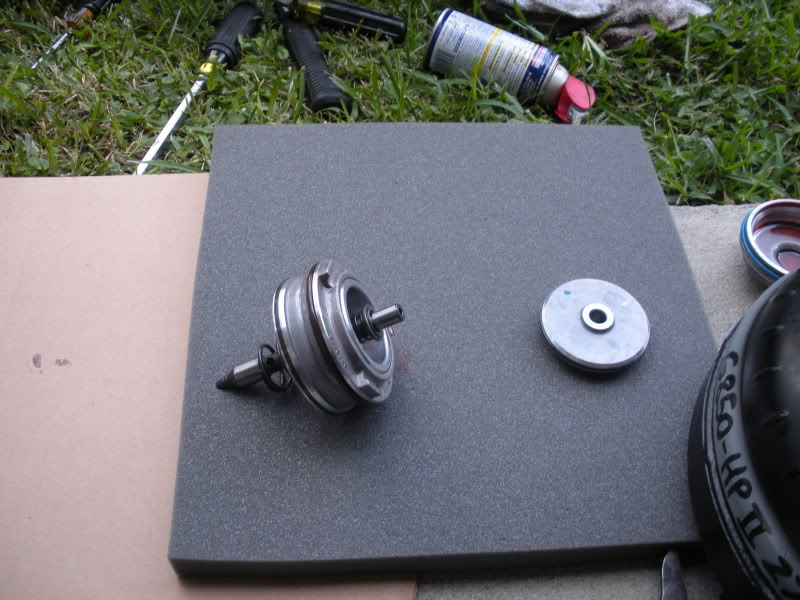
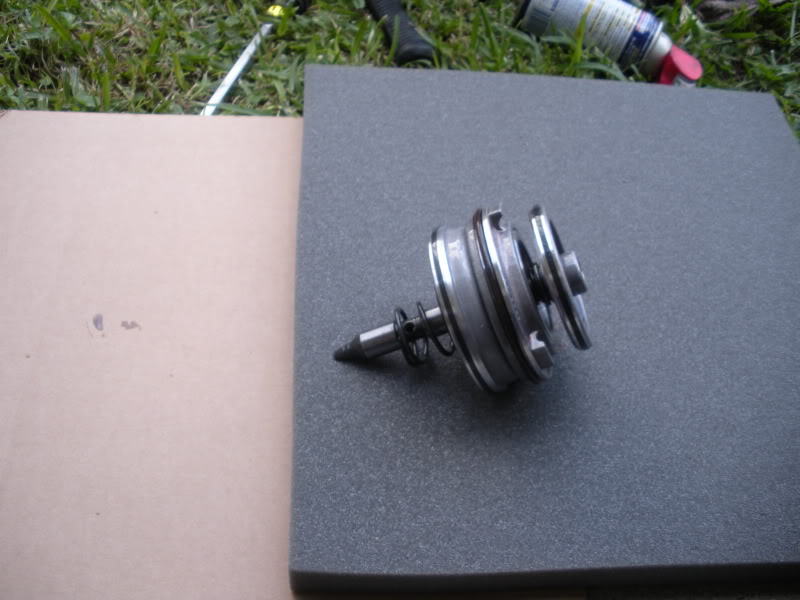
pull the 4th gear servo off remember which way it goes or you'll screw up
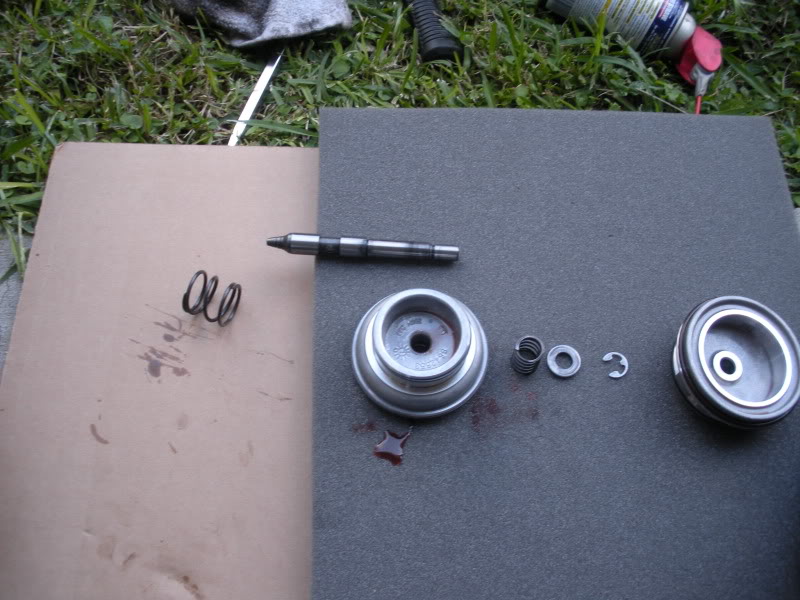
easy stuff...shouldnt have to explain it in full detail. but pull your E clip make sure you dont lose it. pull everything apart 1 peice at a time and lay it exactly how it would come off the servo pin
take a small C clamp, a socket, a peice of foam or a small towel to press the plate in to expose the inside spring to install the Blue spring that comes in the shift kits
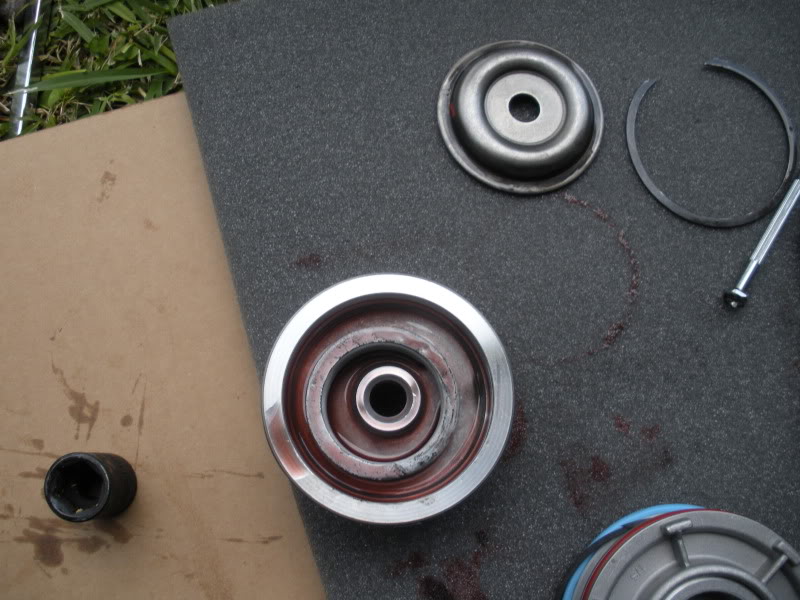
place the blue spring inside of the old spring and repeat the steps in reverse
any problems ask ill explain in more detail..it's not that hard
pop the snap ring out with a flat head
take a pair of plyers to pull the cover off...i didnt cut my o-ring like everyone was saying to do
pull the whole servo assembly out with your fingers
pull the 4th gear servo off remember which way it goes or you'll screw up
easy stuff...shouldnt have to explain it in full detail. but pull your E clip make sure you dont lose it. pull everything apart 1 peice at a time and lay it exactly how it would come off the servo pin
take a small C clamp, a socket, a peice of foam or a small towel to press the plate in to expose the inside spring to install the Blue spring that comes in the shift kits
place the blue spring inside of the old spring and repeat the steps in reverse
any problems ask ill explain in more detail..it's not that hard
Jan 7, 2010 | 09:45 AM
#28
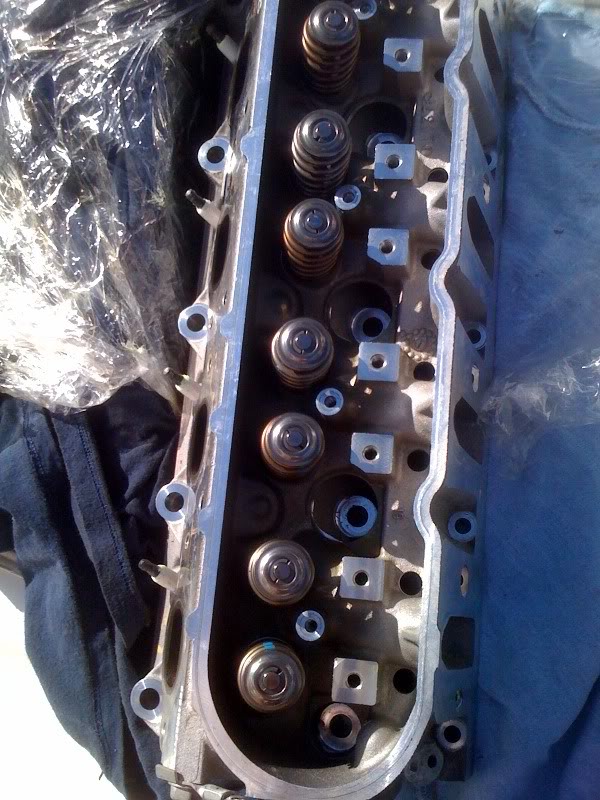
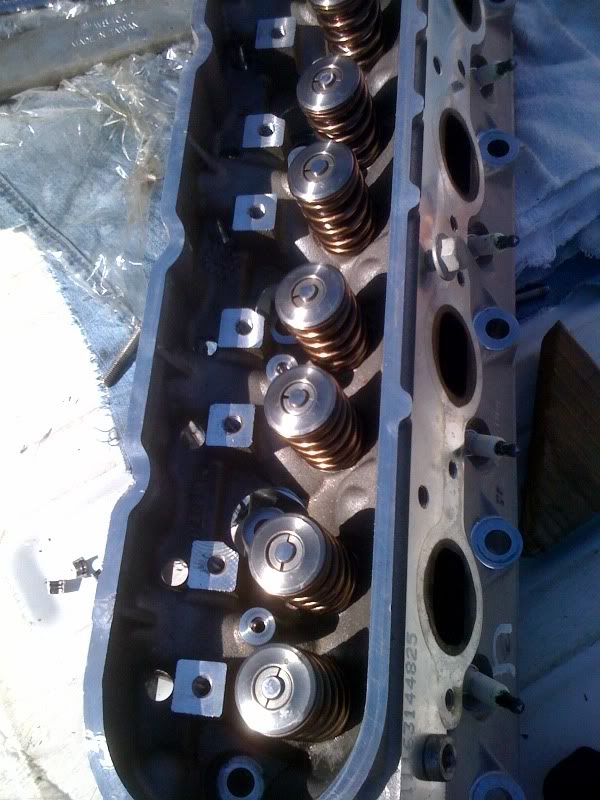
GEN IV knock sensor swap to GEN III knock sensors
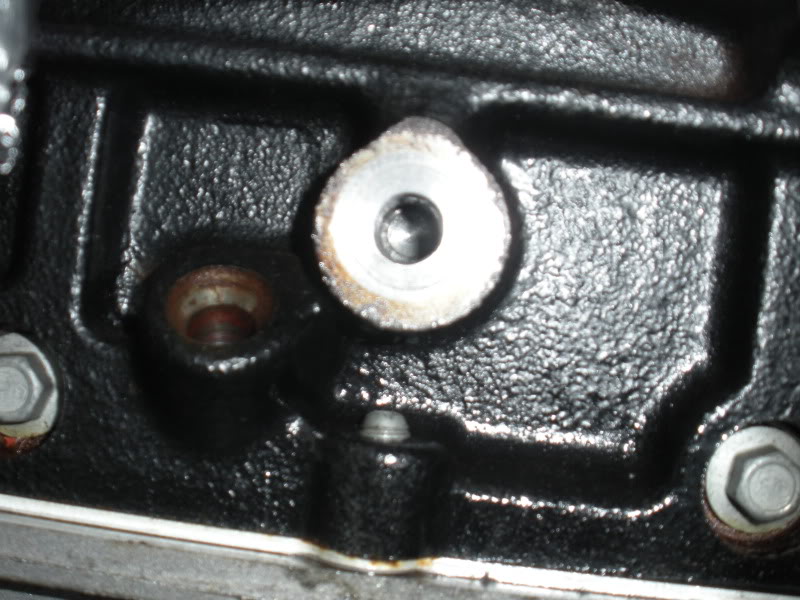
drill bit size was an 11/32 its just enough to knock the current threads out, tap with a 10x1.5
tapping is a slow process...so be sure not to thread it at an angle. i used liquid wrench that i "Borrowed" from work. it works really good. when the tap starts to get hard go in reverse then go forward again. make sure to blow the hole out with air or your gonna pack all those shavings behind the new knock sensor :rick
installed, pretty simple. use a 7/8 wrench and dont feel like you have to tighten it so tight you'll bust a blood vessel it's a pretty simple snug it down method
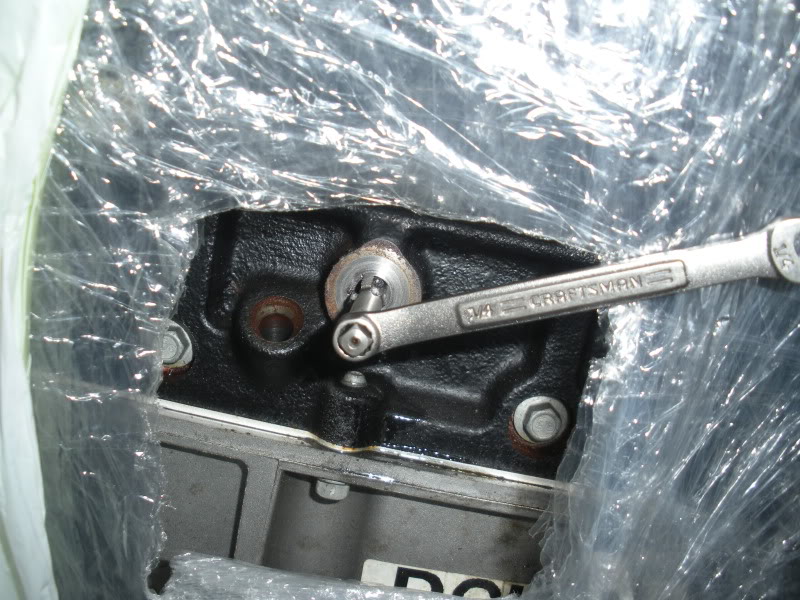
onto the cam install of the GEN IV it's simple as hell too once you get the pulley off.
pull the pulley off and prep up with a 10mm deep drive socket and a 6" extension or just use air tools your choice.
pull the cover off. on the GEN IV the oil pan gasket wraps around the front where the timing cover would be. only use a few dabs where the factory used it, i also put a small dab on the corners where the block meets the oil pan and timing cover.
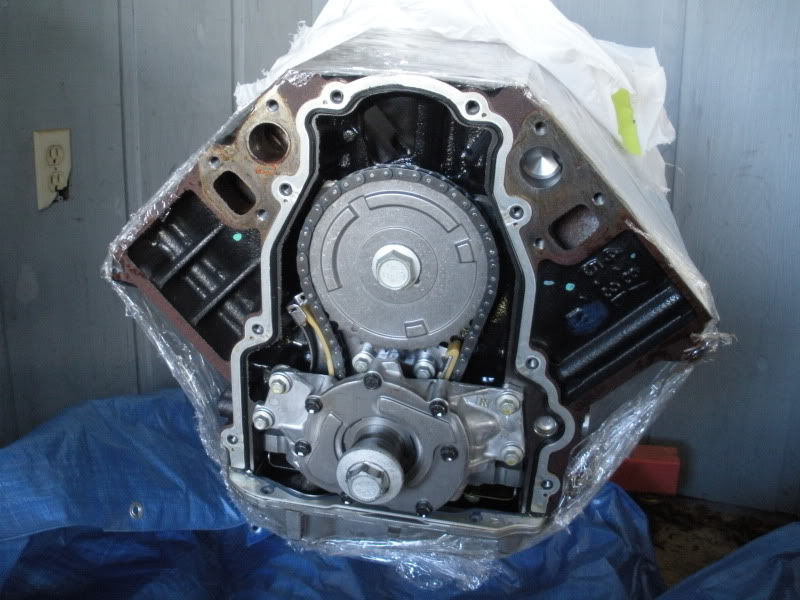
gotta love a 1 bolt cam
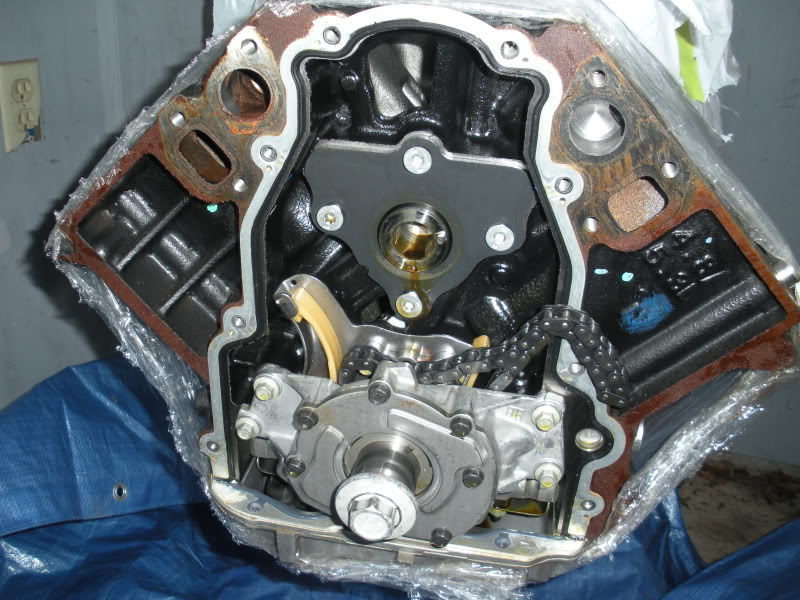
pull the retainer plate with a TORX bit..i didnt pay attention to the size, but i can look if anyone really needs it.
if you dont have the cam tool like i didnt, just throw the cam bolt back in and walk it out VERY slowly and supporting it so it doesnt have to rub on the cam bearings a lot.

i soaked the cam in COMP CAM LUBE just to be on the safe side. went back in the same way it came out..nice and slow.
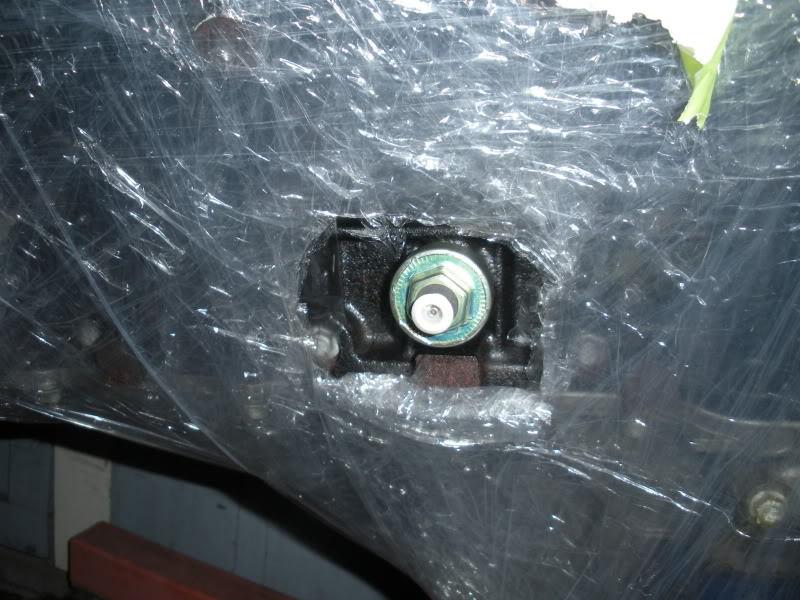
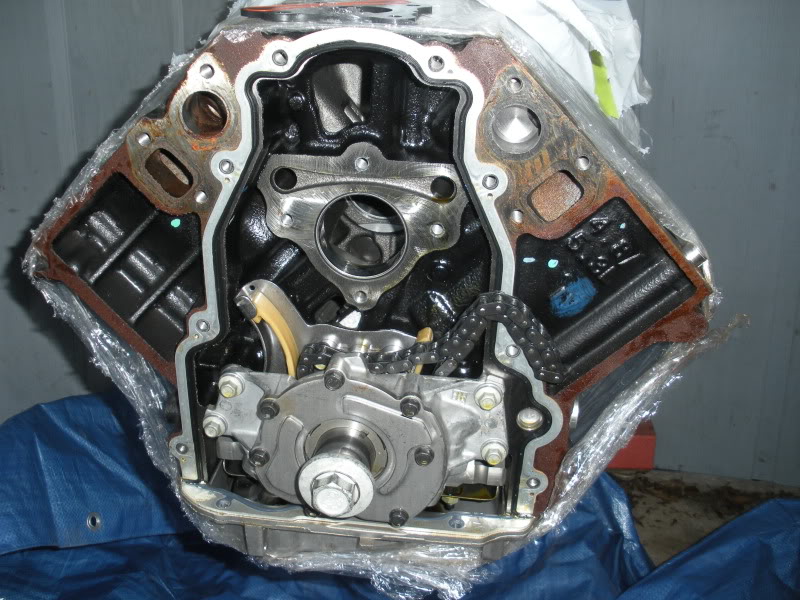
i cleaned the threads of the retainer plate and used a SMALL dab of Red Loc-tite on it. i understand the factory used blue or green. i dont care red loc-tite can be used but you have to remember to use VERY little thanks to how strong it is.
put everything back nice and slow take your time.
i dont have an UD pulley on this motor but i used the ARP 12 point crank bolt anyways. i pulled the pulley in then backed the bolt back out and used liquid wrench on 1 1/2'' of the threads and ran it in until the pulley stopped at the old marks the seal made.
not too bad for a first timer and having to run and get parts PLUS help a friend take a water pump off his truck. then the fiance' was home when i got back and had to eat lunch with her and spend time with her..damn women :tantrum: nah im playing...i enjoyed taking a break :matt
drill bit size was an 11/32 its just enough to knock the current threads out, tap with a 10x1.5
tapping is a slow process...so be sure not to thread it at an angle. i used liquid wrench that i "Borrowed" from work. it works really good. when the tap starts to get hard go in reverse then go forward again. make sure to blow the hole out with air or your gonna pack all those shavings behind the new knock sensor :rick
installed, pretty simple. use a 7/8 wrench and dont feel like you have to tighten it so tight you'll bust a blood vessel it's a pretty simple snug it down method
onto the cam install of the GEN IV it's simple as hell too once you get the pulley off.
pull the pulley off and prep up with a 10mm deep drive socket and a 6" extension or just use air tools your choice.
pull the cover off. on the GEN IV the oil pan gasket wraps around the front where the timing cover would be. only use a few dabs where the factory used it, i also put a small dab on the corners where the block meets the oil pan and timing cover.
gotta love a 1 bolt cam
pull the retainer plate with a TORX bit..i didnt pay attention to the size, but i can look if anyone really needs it.
if you dont have the cam tool like i didnt, just throw the cam bolt back in and walk it out VERY slowly and supporting it so it doesnt have to rub on the cam bearings a lot.
i soaked the cam in COMP CAM LUBE just to be on the safe side. went back in the same way it came out..nice and slow.
i cleaned the threads of the retainer plate and used a SMALL dab of Red Loc-tite on it. i understand the factory used blue or green. i dont care red loc-tite can be used but you have to remember to use VERY little thanks to how strong it is.
put everything back nice and slow take your time.
i dont have an UD pulley on this motor but i used the ARP 12 point crank bolt anyways. i pulled the pulley in then backed the bolt back out and used liquid wrench on 1 1/2'' of the threads and ran it in until the pulley stopped at the old marks the seal made.
not too bad for a first timer and having to run and get parts PLUS help a friend take a water pump off his truck. then the fiance' was home when i got back and had to eat lunch with her and spend time with her..damn women :tantrum: nah im playing...i enjoyed taking a break :matt
Last edited by iamkeniff; Feb 17, 2010 at 05:51 AM.