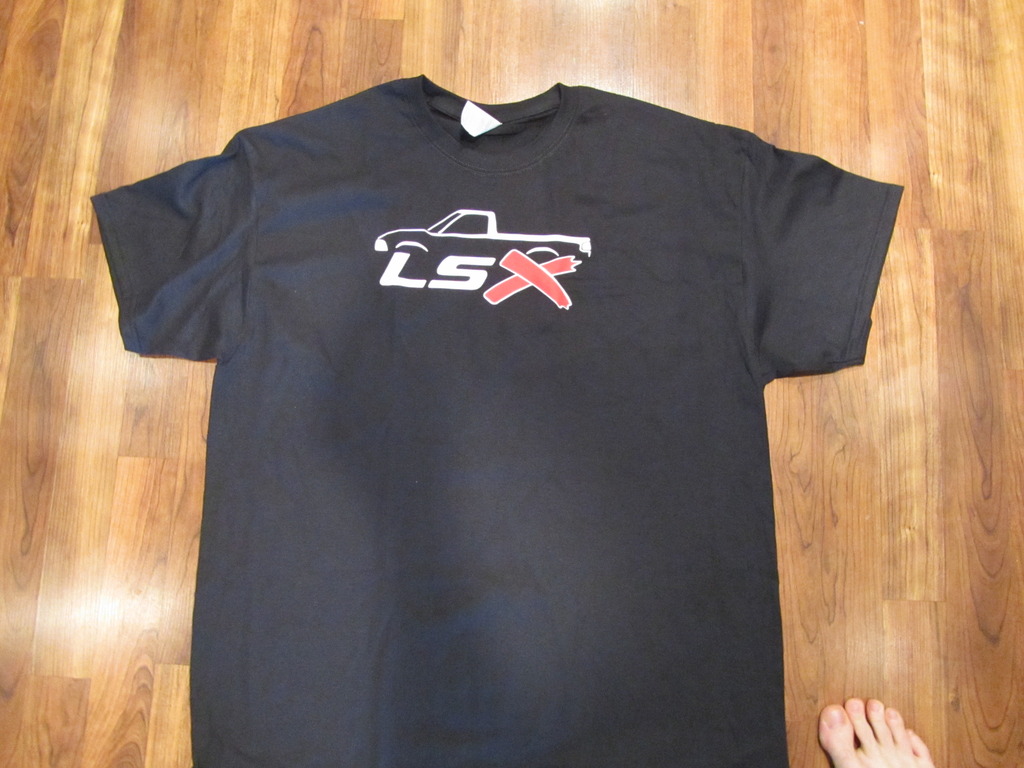
Petro's Project ERL Superdeck 427 w/ Whipple 2.9L
 11-24-2015, 08:36 AM
#1

Here's a link to the thread with the previous setup.
https://www.performancetrucks.net/fo...am-vid-463957/
Here's where I'll start at with the new setup:
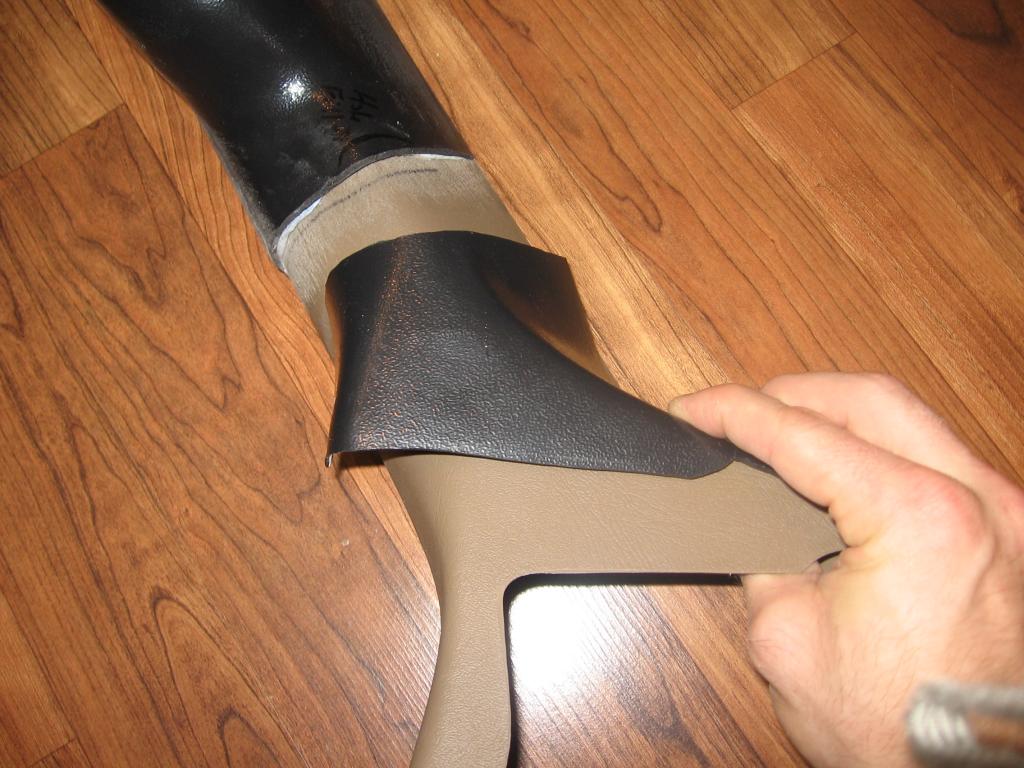
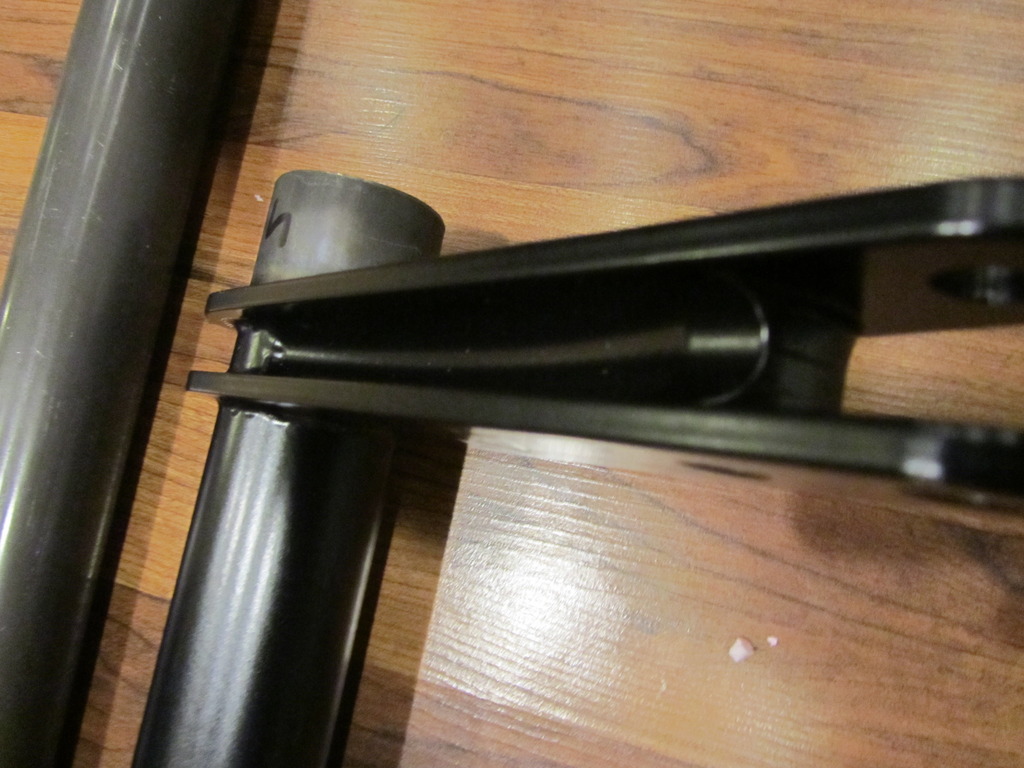
The Triple Pillar Gauge Pods that are sold for us 98+ guys are a horrible fit and don't snap into place like the factory piece. This build/write up can also apply to single or double pod installs I just used the triple pillar pod. I started off by doing a rough measurement of where to cut the aftermarket pod so that it would fit onto the factory one. Then after making my first cut I did another test fit to make sure it would all line up inside in cab and marked on the factory piece how far up the aftermarket one needed to be. This was only a rough fit and I didn't want to trim too much off. I waited to any more trimming until after I had bonded the pieces together.
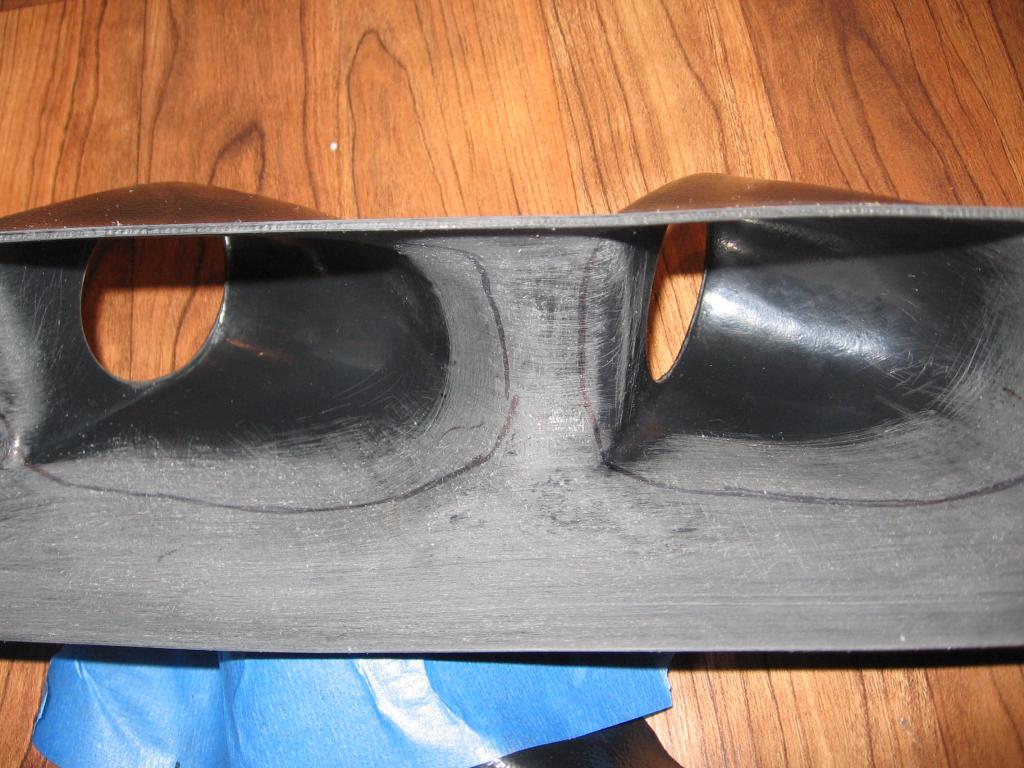
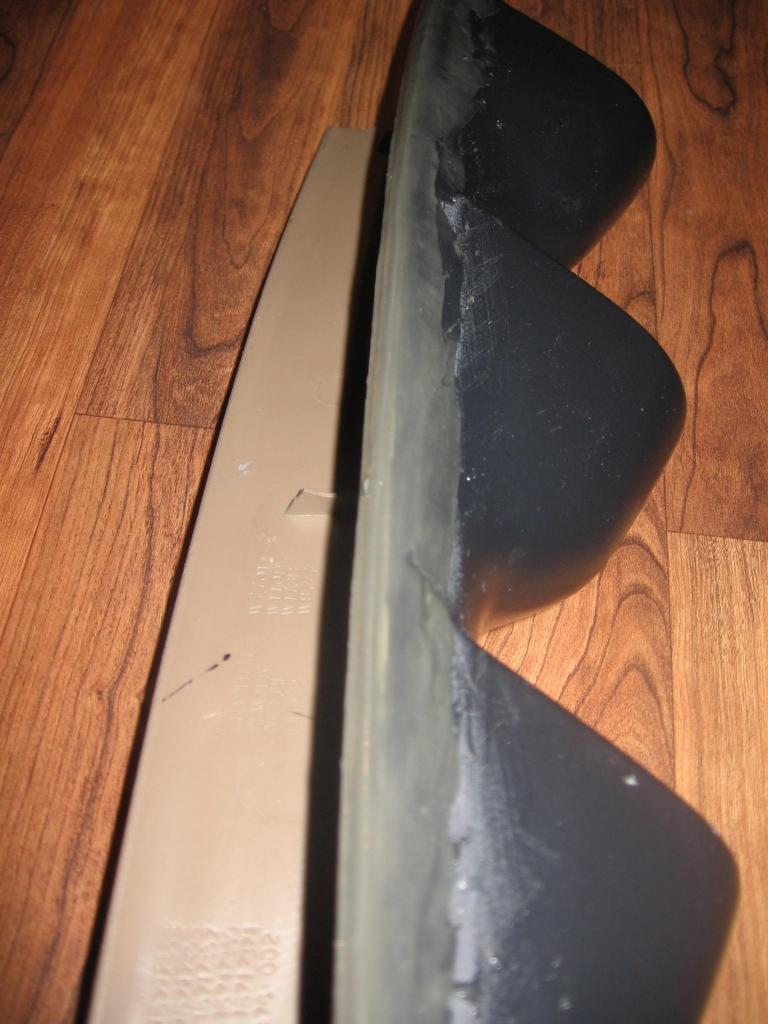
You can see how the two piece are different
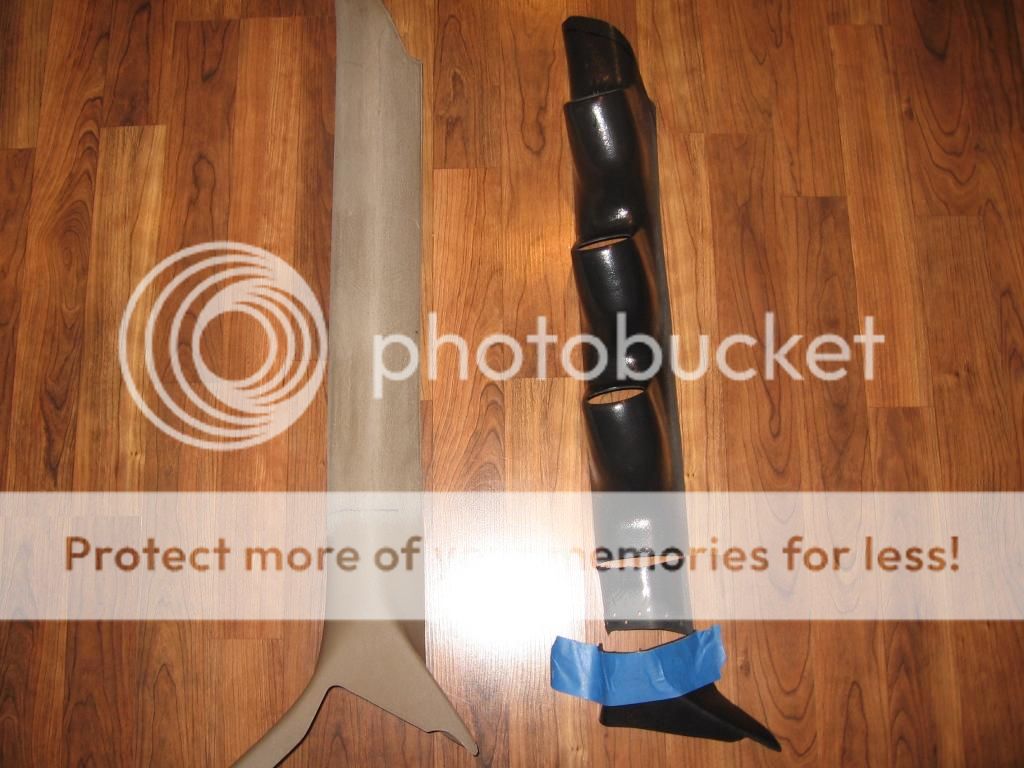
Aftermarket piece does not have this part on it:

Fitted together:
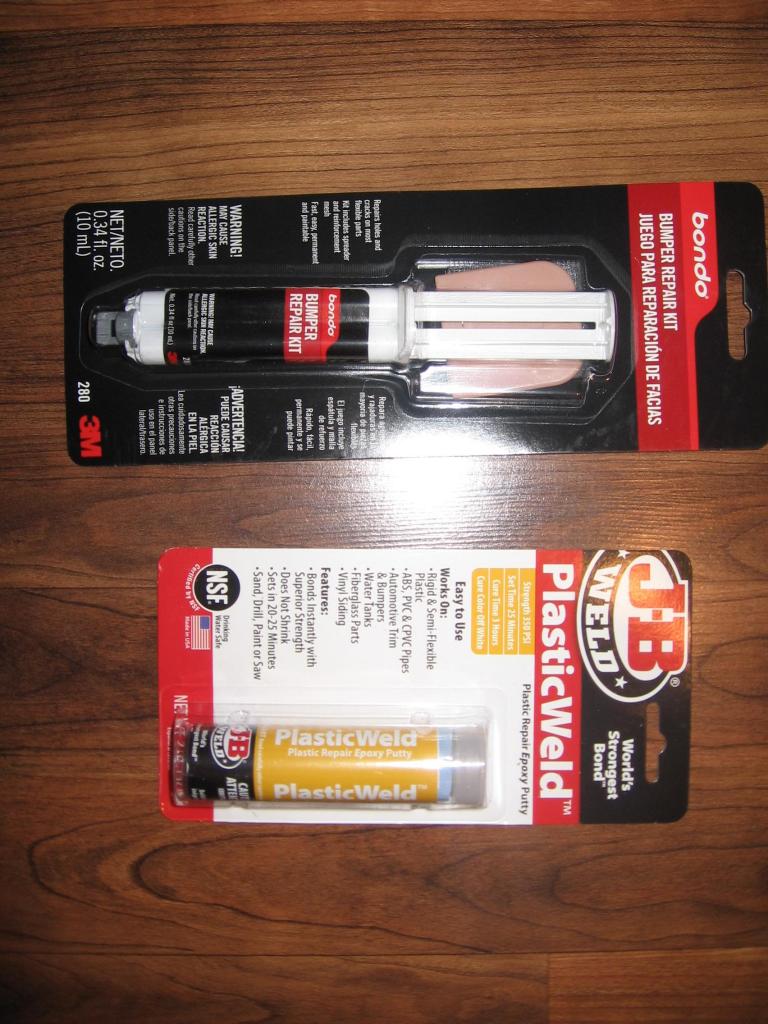
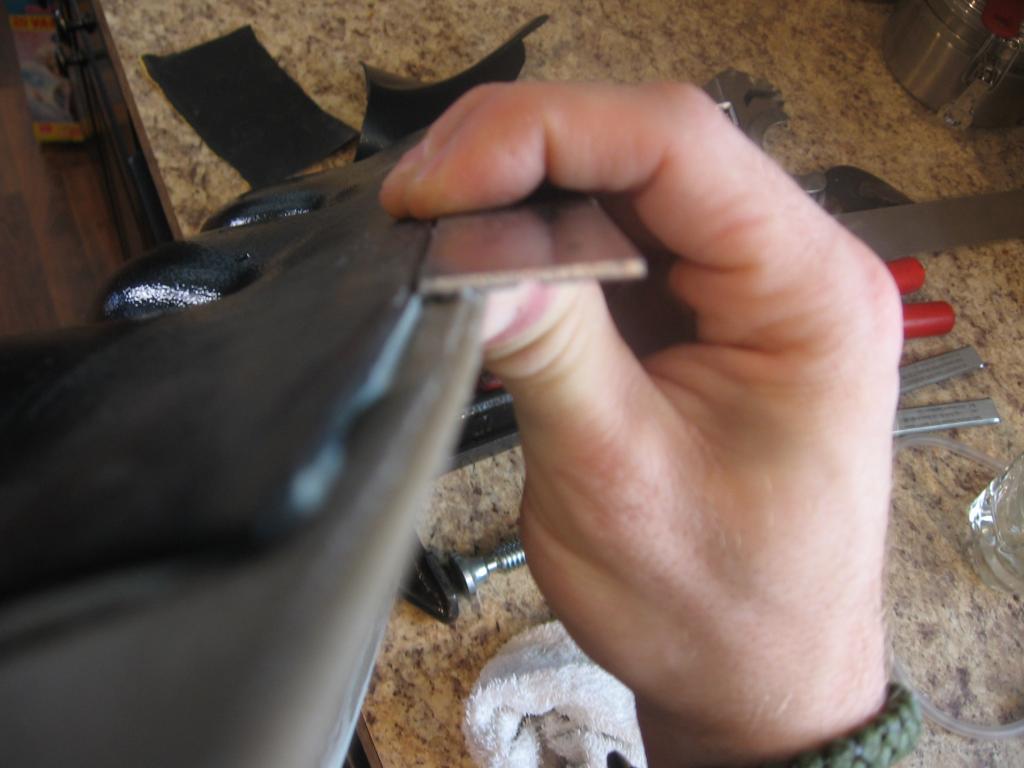
I used JB Weld Plastic Weld to bond the two pieces together. The 3M Bumper Repair Kit Part # 280 is for blending to two pieces together later on. First off I scuffed/sanded all the areas that would be bonded together with 60grit sand paper and cleaned with mineral spirits afterwards.
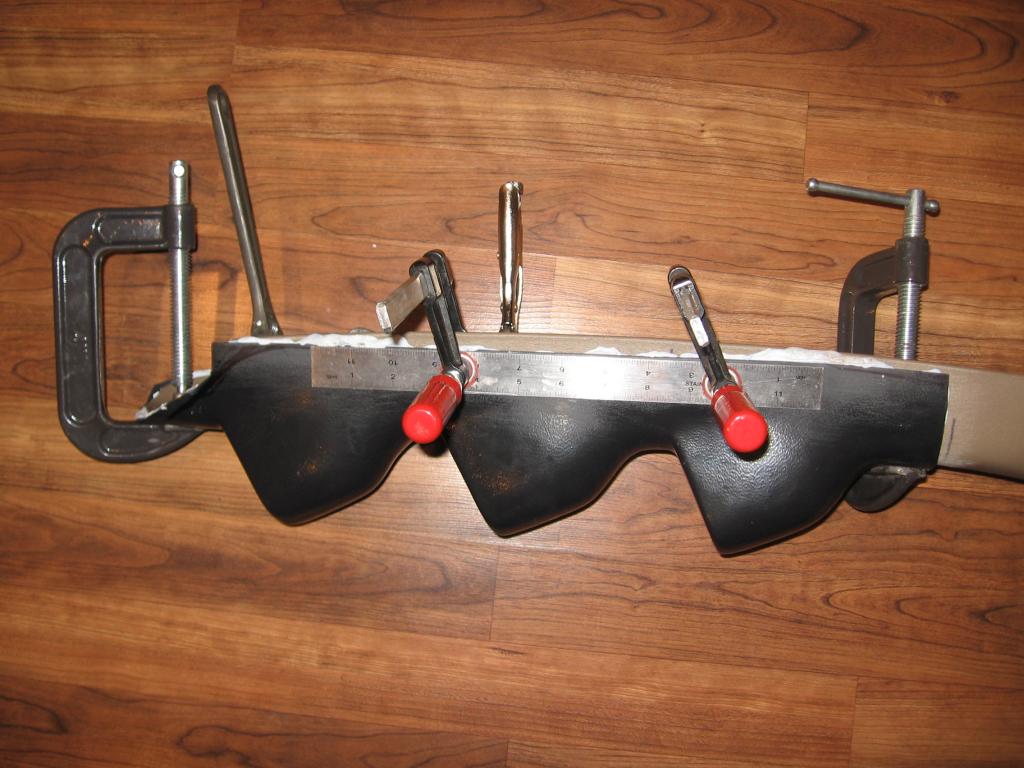
Then I held the two pieces together and roughly marked how far up I needed to put the JB Weld Plastic Weld on the aftermarket piece.
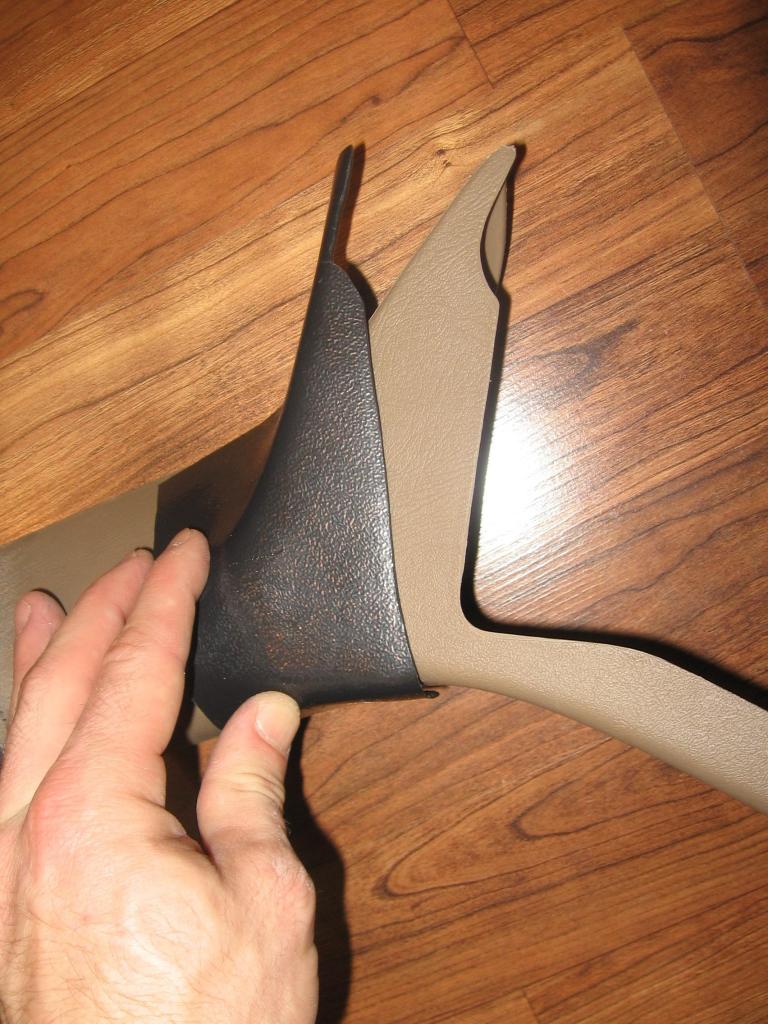
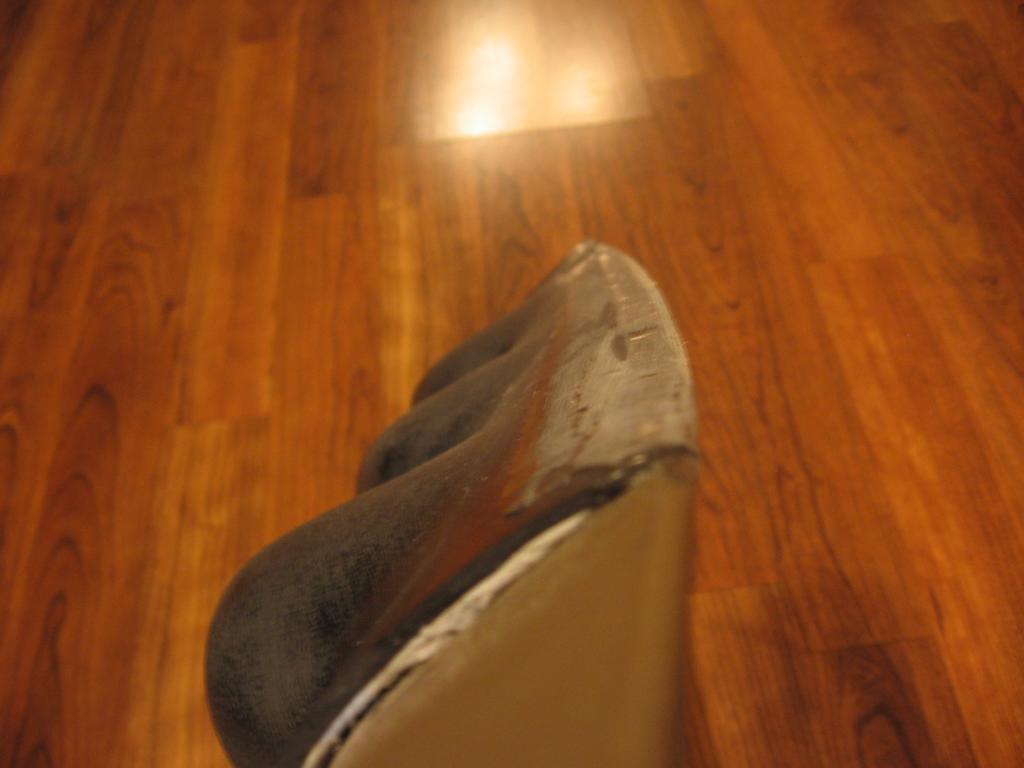
Then I followed the directions on the JB Weld and pressed it onto the aftermarket piece and clamped the two pieces together. I let it sit overnight and the next morning I couldn't pull the two pieces apart. Satisfied that they weren't coming apart I test fit them in the truck again made my final trim of were the aftermarket piece overhang off the factory one.
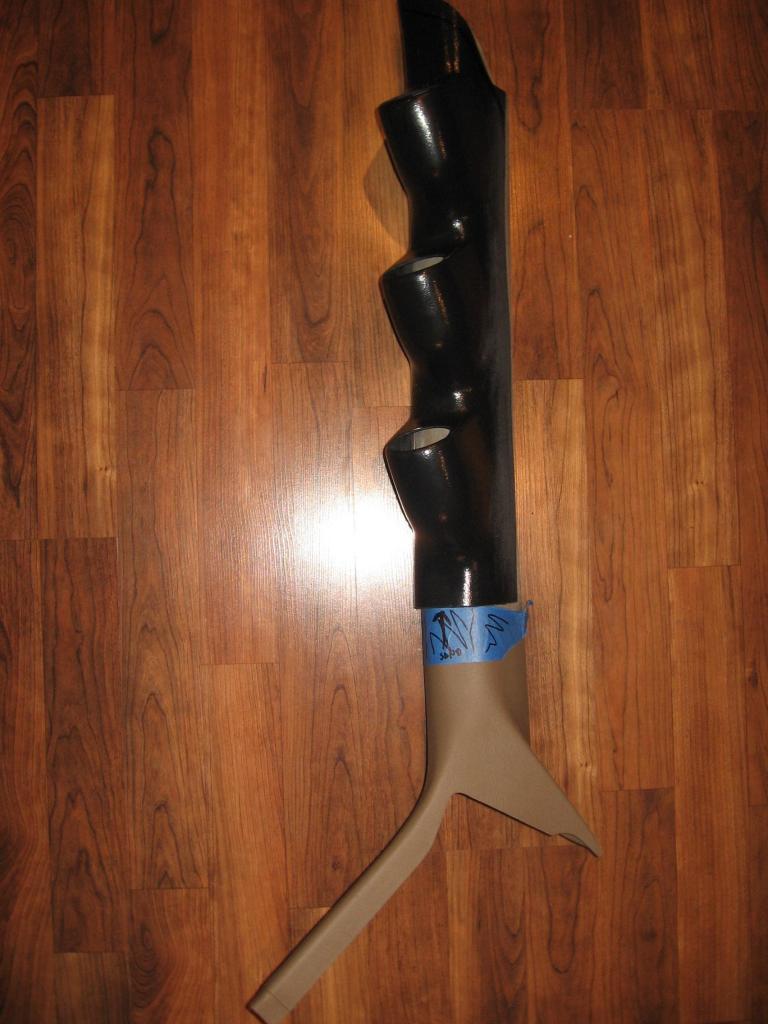
Now it's time for the 3M Bumper Repair Kit to blend the two pieces together. This stuff is great! It's semi-rigid, flexible, and sandable just like a molded ABS part. It's easy to work with and cures solid in like 3-4 hours. Plus along with blending the two pieces together it also helps bond them even further.
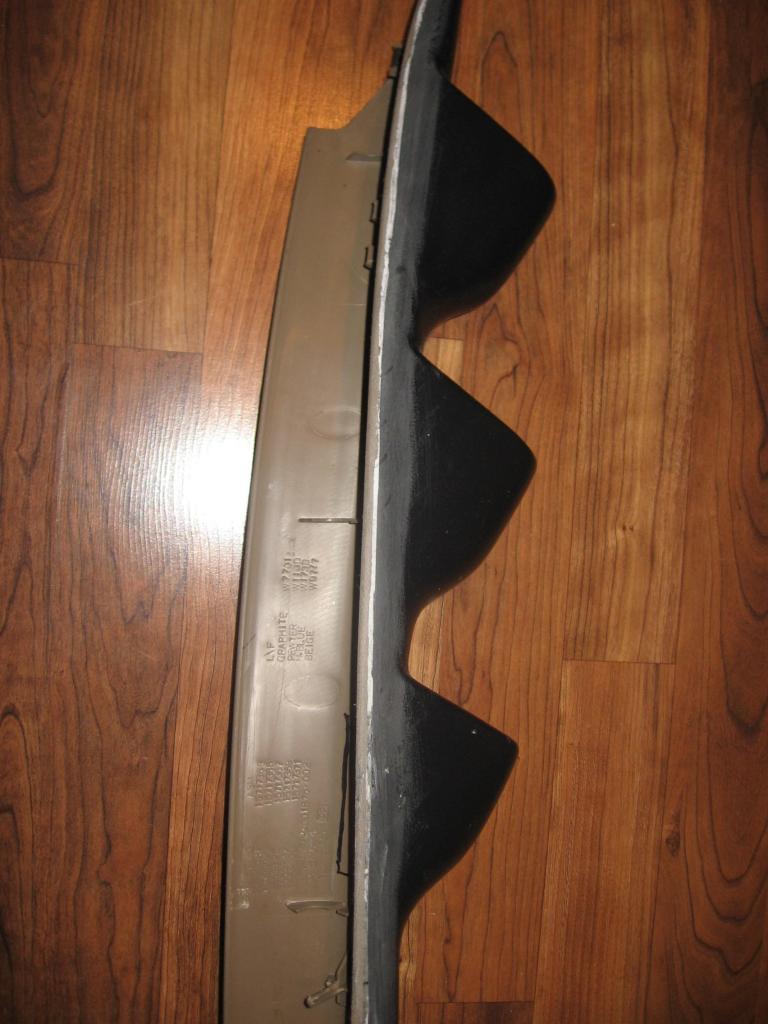
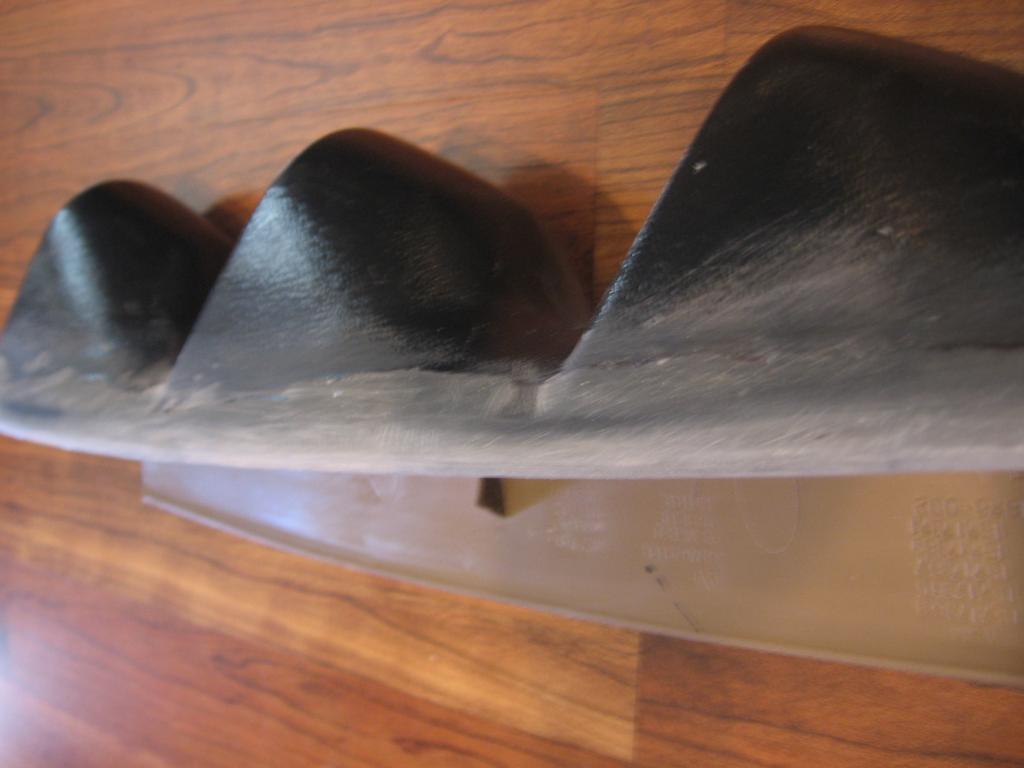
You can see the gap on the other side and how well the 3M fills it in.
Next I will be trying to replicate the factory grain with some graining pads and Viper Clear Tex. Then finally spray it to match the factory color with some SEM Color Coat spray.
https://www.performancetrucks.net/fo...am-vid-463957/
Here's where I'll start at with the new setup:
The Triple Pillar Gauge Pods that are sold for us 98+ guys are a horrible fit and don't snap into place like the factory piece. This build/write up can also apply to single or double pod installs I just used the triple pillar pod. I started off by doing a rough measurement of where to cut the aftermarket pod so that it would fit onto the factory one. Then after making my first cut I did another test fit to make sure it would all line up inside in cab and marked on the factory piece how far up the aftermarket one needed to be. This was only a rough fit and I didn't want to trim too much off. I waited to any more trimming until after I had bonded the pieces together.
You can see how the two piece are different


Aftermarket piece does not have this part on it:

Fitted together:

I used JB Weld Plastic Weld to bond the two pieces together. The 3M Bumper Repair Kit Part # 280 is for blending to two pieces together later on. First off I scuffed/sanded all the areas that would be bonded together with 60grit sand paper and cleaned with mineral spirits afterwards.

Then I held the two pieces together and roughly marked how far up I needed to put the JB Weld Plastic Weld on the aftermarket piece.

Then I followed the directions on the JB Weld and pressed it onto the aftermarket piece and clamped the two pieces together. I let it sit overnight and the next morning I couldn't pull the two pieces apart. Satisfied that they weren't coming apart I test fit them in the truck again made my final trim of were the aftermarket piece overhang off the factory one.

Now it's time for the 3M Bumper Repair Kit to blend the two pieces together. This stuff is great! It's semi-rigid, flexible, and sandable just like a molded ABS part. It's easy to work with and cures solid in like 3-4 hours. Plus along with blending the two pieces together it also helps bond them even further.


You can see the gap on the other side and how well the 3M fills it in.


Next I will be trying to replicate the factory grain with some graining pads and Viper Clear Tex. Then finally spray it to match the factory color with some SEM Color Coat spray.
 11-24-2015, 08:36 AM
#2

First off I sanded the entire thing with 150 grit to get the shiny texture pattern off then I went over it with 320 grit to get the 150 grit marks off of it since the texture coat doesn't hide imperfections. So with it all nice and smooth and wiped down with mineral spirits I started applying the texture coat. I let it sit for a few minutes then pressed the crumbled wax paper onto it making sure to gently press it on all over the area I was working on. Satisfied that it was all pressed down I would then rip it off like a band aid and begin work on the next small area. You can press it on and rip it off where the previous area and new area meet to help blend it together.


Once the texture coating dried I hit up with 400 grit to level and smooth it out.

I lightly wiped down with mineral spirits again to get rid of the little bit of sanding dust from the 400 grit. Then I sprayed light coats of the SEM Color Coat.


 11-24-2015, 08:37 AM
#3
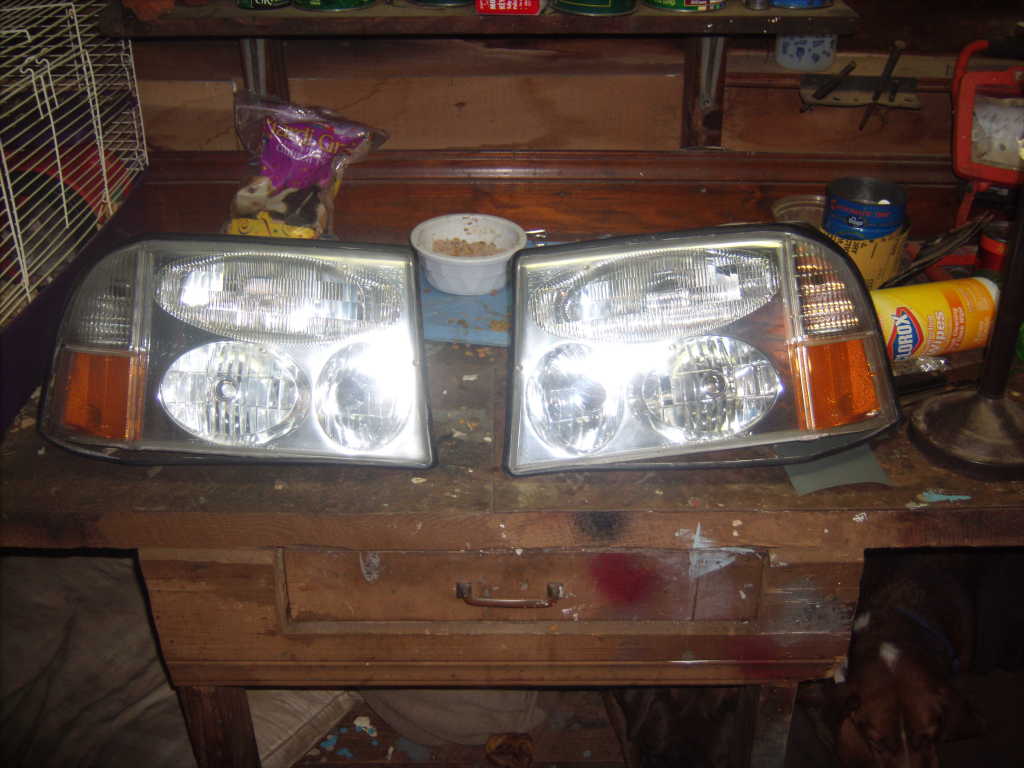
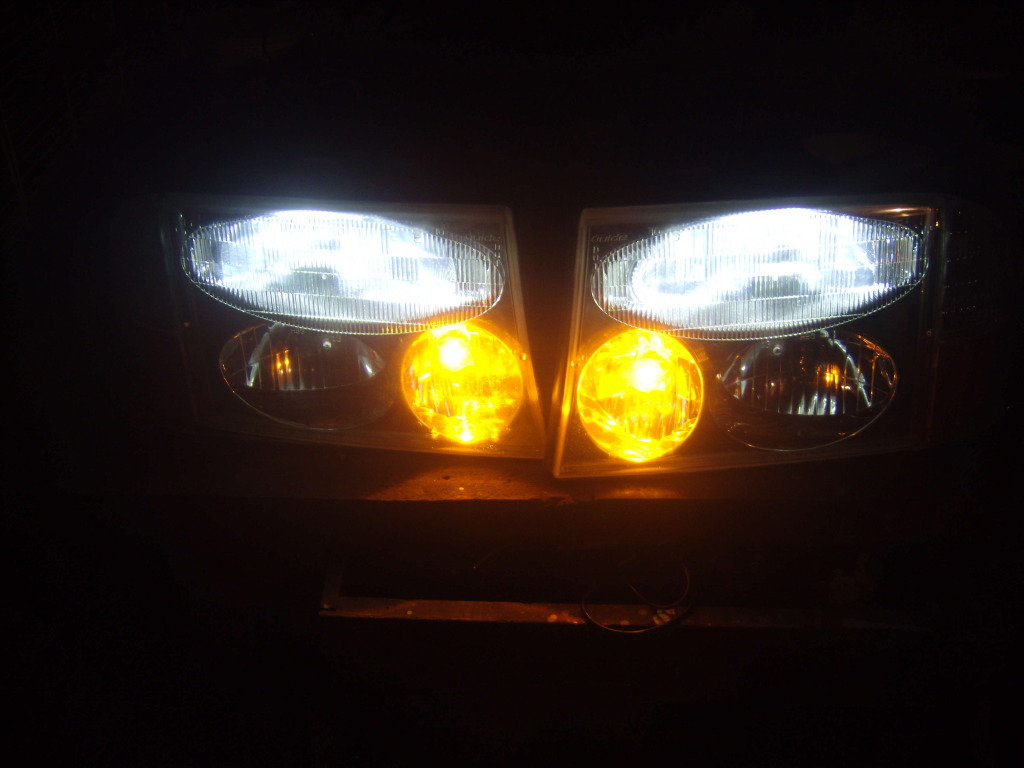
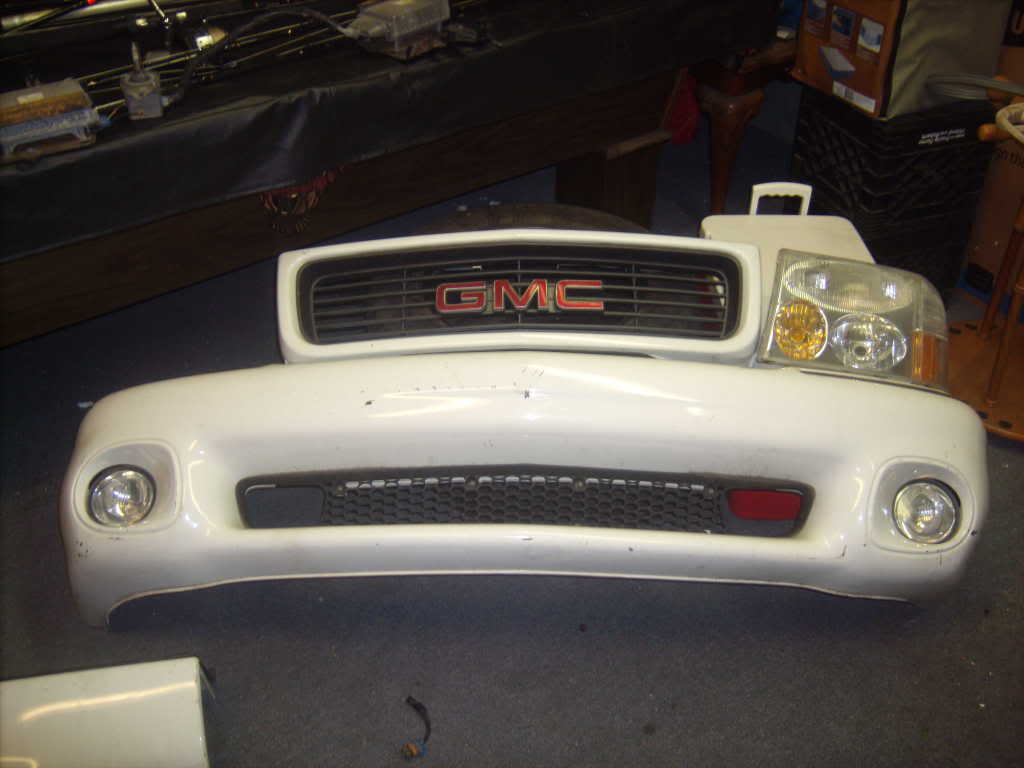
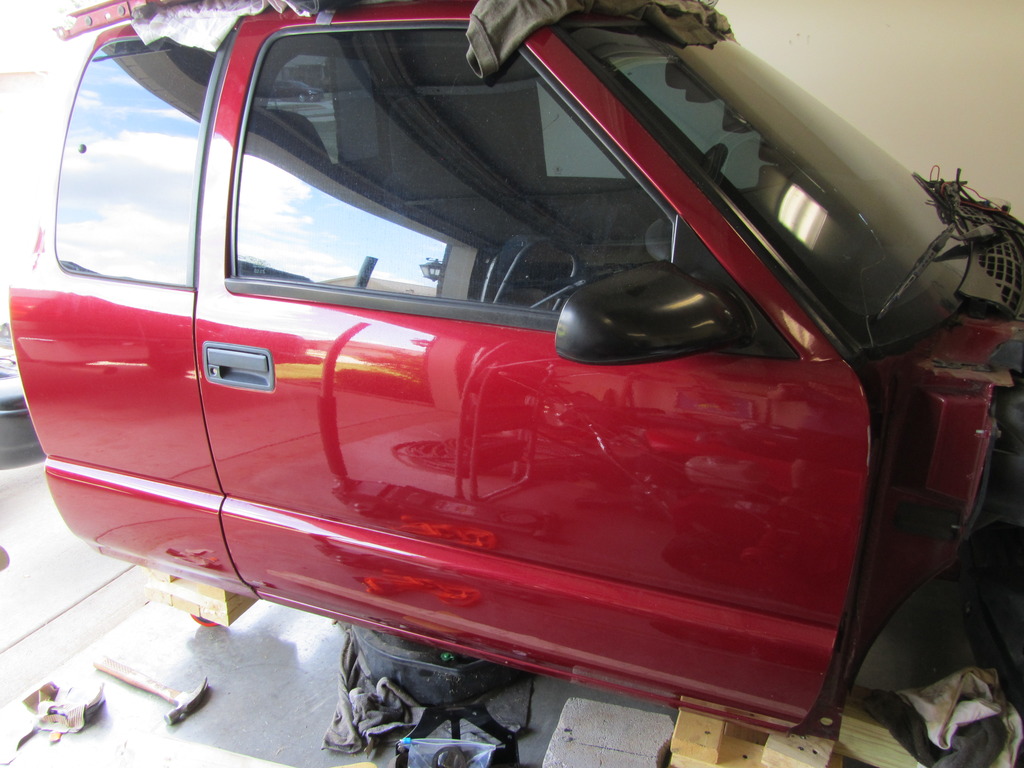
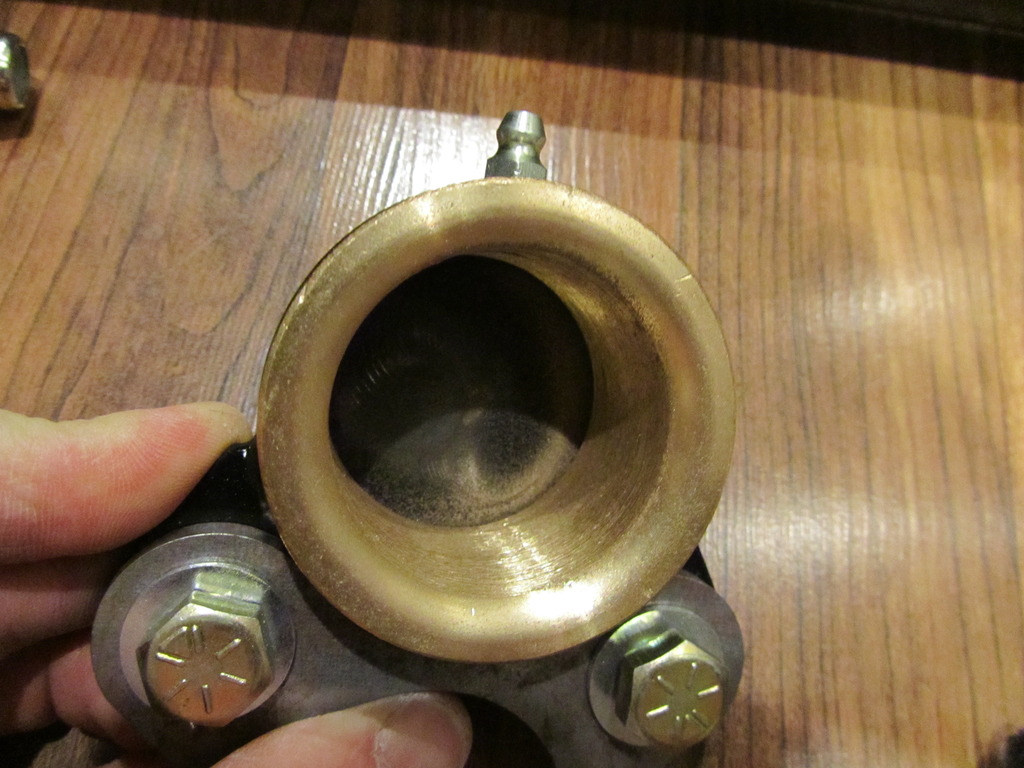
Finally got a Envoy Bumper Cover and Factory Envoy Headlights w/ real HIDs (actual ignitors and bulbs)
These are the ballasts for the OEM HID Envoy Edition lights. They are at least 15 years old and have lots of oxidization built up along with dirt etc embedded in them. FYI they were $1000 new from GM when they still mad them as they are a special GM only design. When these fail I'll retrofit the Envoy headlight assembly with a aftermarket D1S kit. Took some time and cleaned one up. I plan on everything being clean like new when I put the truck back together this go around. I had to use Rust Remover Gel and let it sit for 2 hours to get the oxidization off.
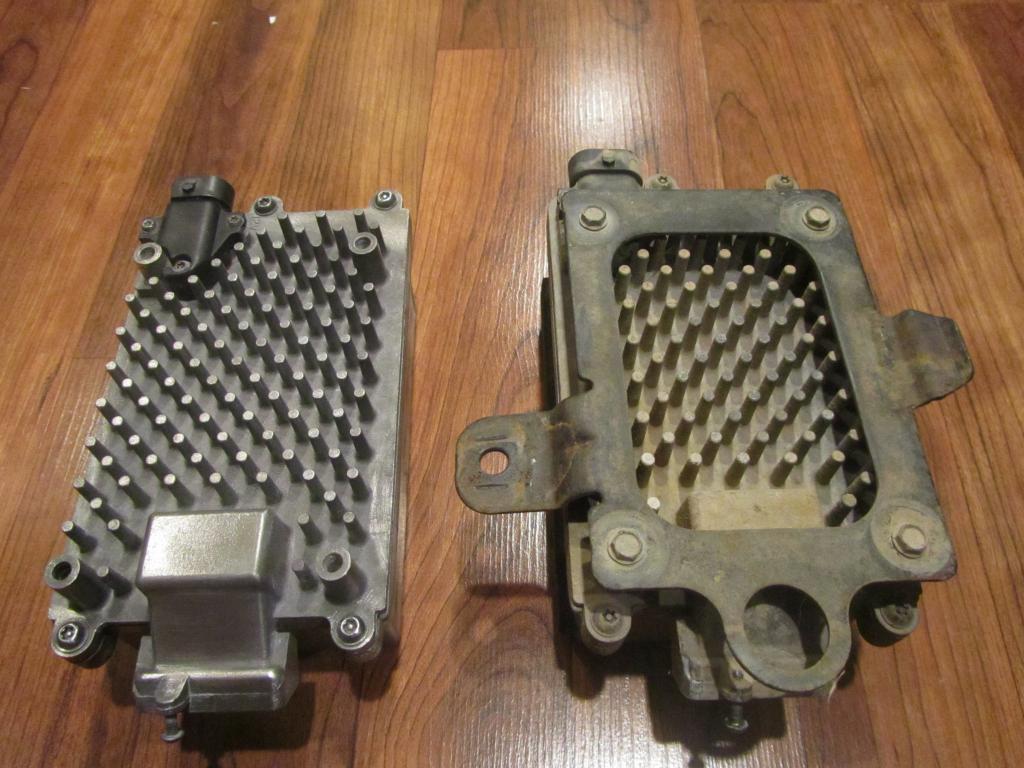
These are the ballasts for the OEM HID Envoy Edition lights. They are at least 15 years old and have lots of oxidization built up along with dirt etc embedded in them. FYI they were $1000 new from GM when they still mad them as they are a special GM only design. When these fail I'll retrofit the Envoy headlight assembly with a aftermarket D1S kit. Took some time and cleaned one up. I plan on everything being clean like new when I put the truck back together this go around. I had to use Rust Remover Gel and let it sit for 2 hours to get the oxidization off.


Last edited by Petraszewsky; 12-02-2015 at 09:58 AM.
11-24-2015, 08:37 AM
#4
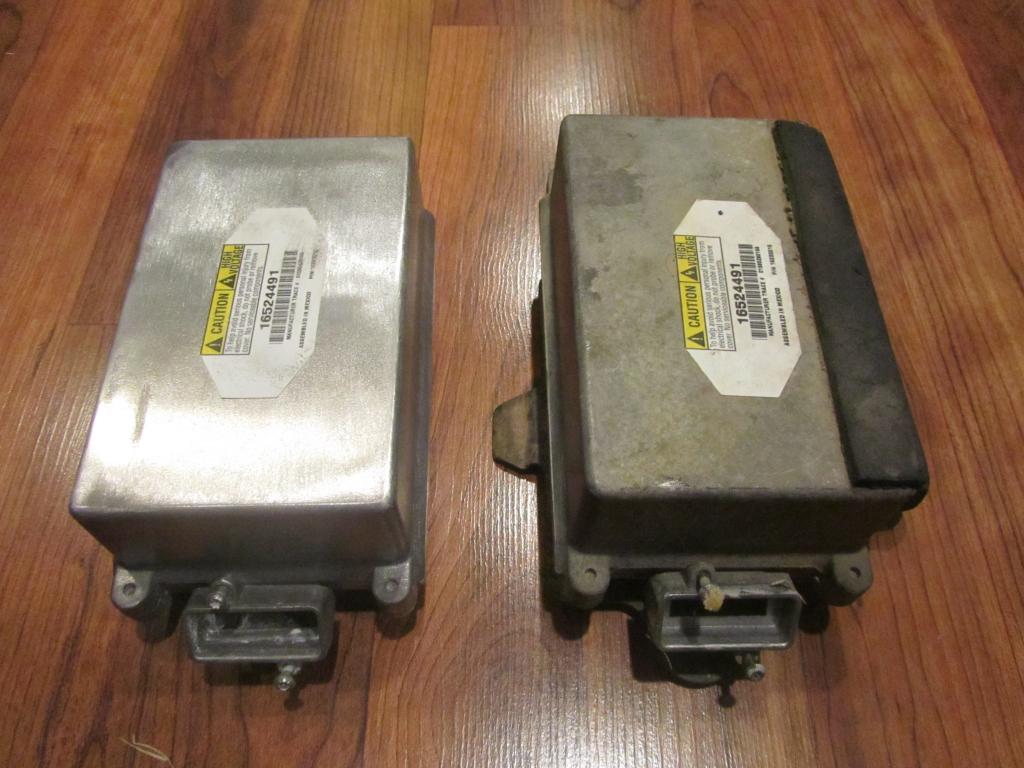
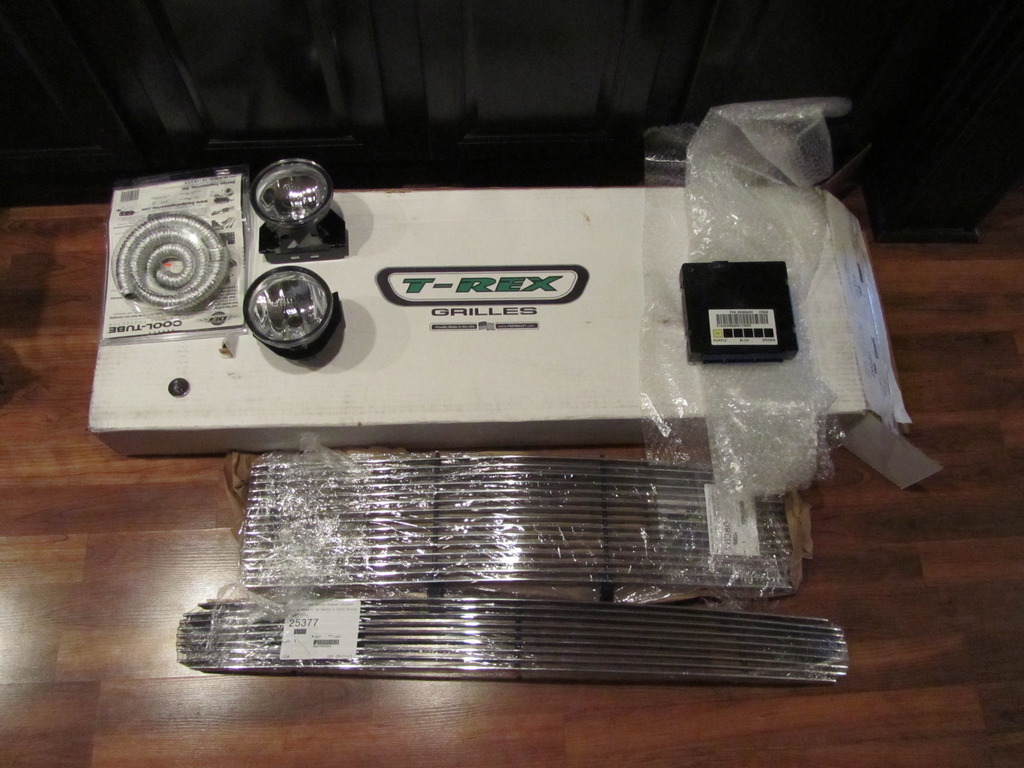
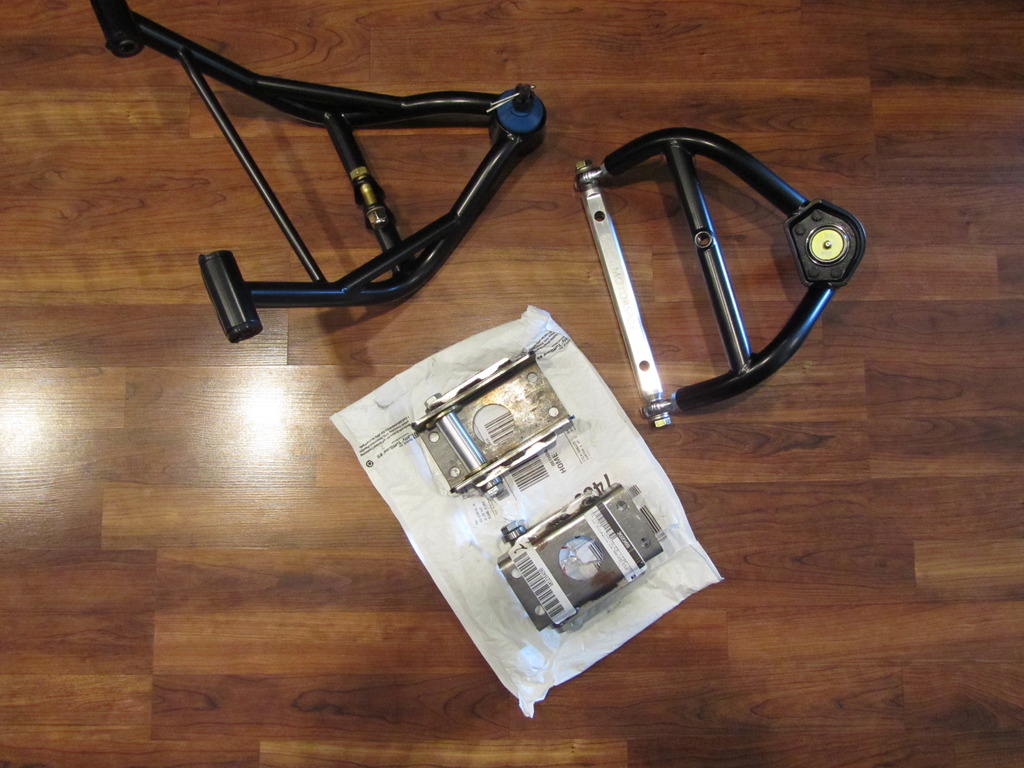
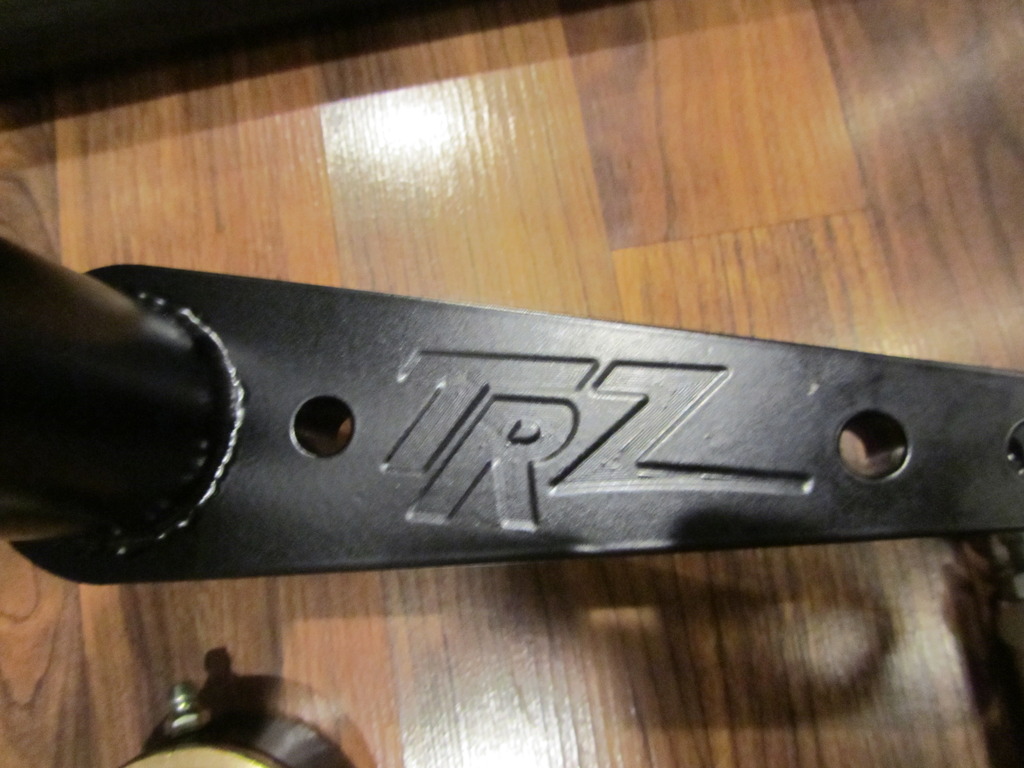
Got a few more parts in recently...Nothing crazy just Billet for the upper grill and for the Envoy edition bumper, New Fog lights , DEI Cool Tube, Tiny 35lb strength magnet, and loaded BCM. The TRZ control arms are going to take about 3 weeks or so to build since I ordered the lowers with slightly thicker walls...I could've gotten the engine done by ERL to be a 440 but knew it didn't make sense to get the engine finished up when I have so much more left that I want to do to the truck...
Hopefully some more goodness will coming as the summer progresses. (Frame painted, Mock up complete SS exhaust, Wilwood Superlite Brakes, Wheels,Tires,.....)
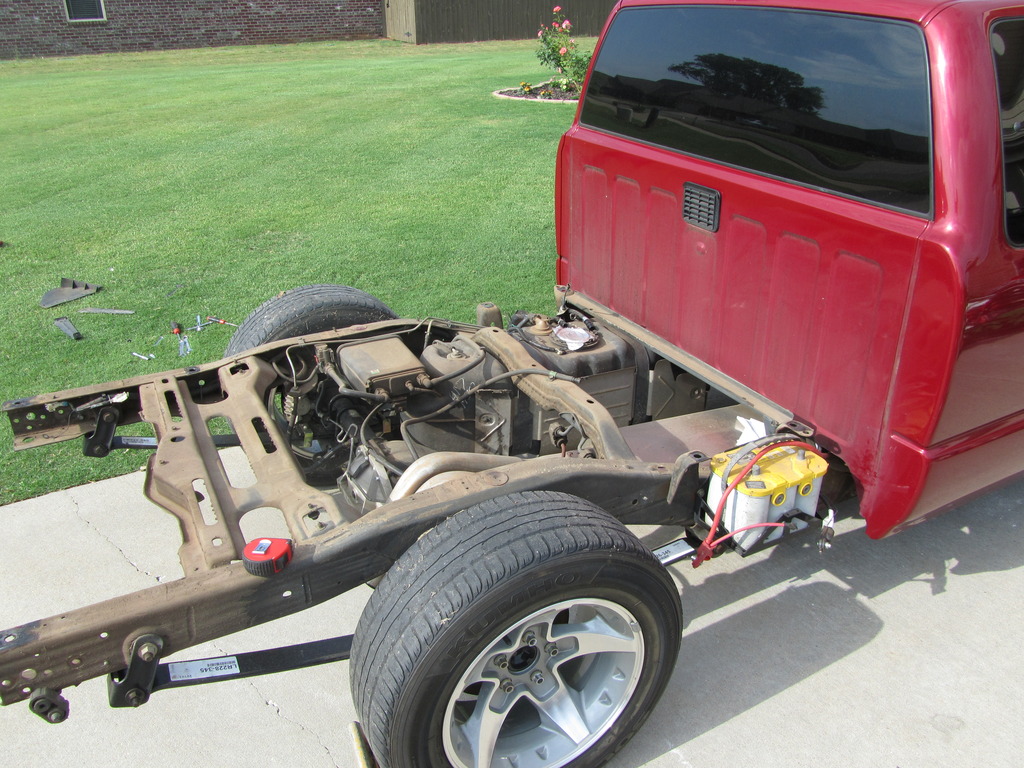
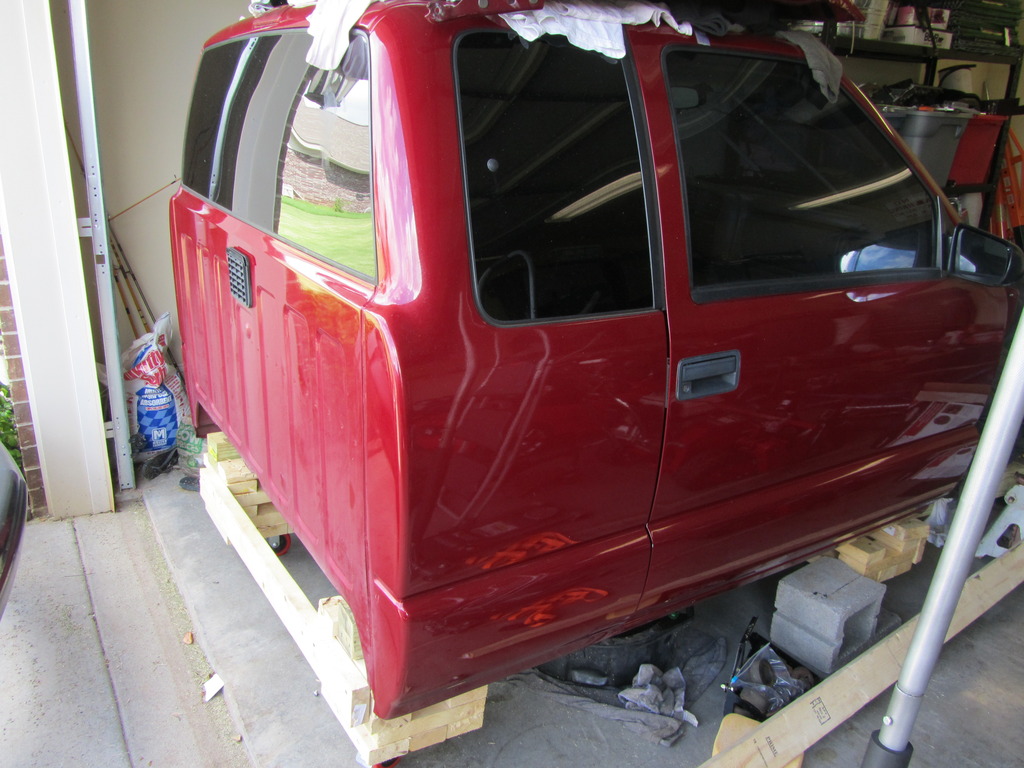
Got the bed off (I pressure washed it after this pic)
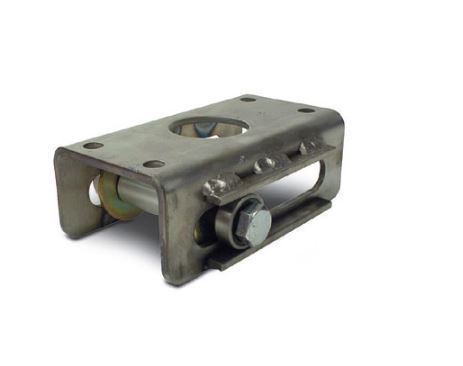
And I ordered these AFCO Sliders today too!

Hopefully some more goodness will coming as the summer progresses. (Frame painted, Mock up complete SS exhaust, Wilwood Superlite Brakes, Wheels,Tires,.....)
Got the bed off (I pressure washed it after this pic)

And I ordered these AFCO Sliders today too!

 11-24-2015, 08:39 AM
#5
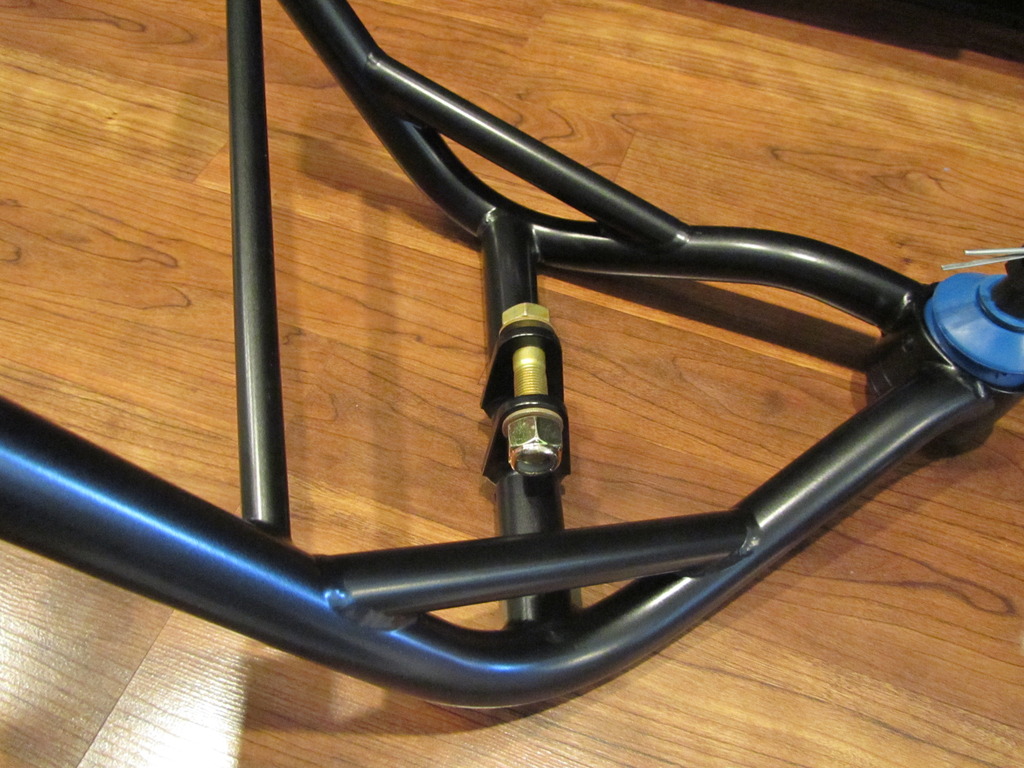
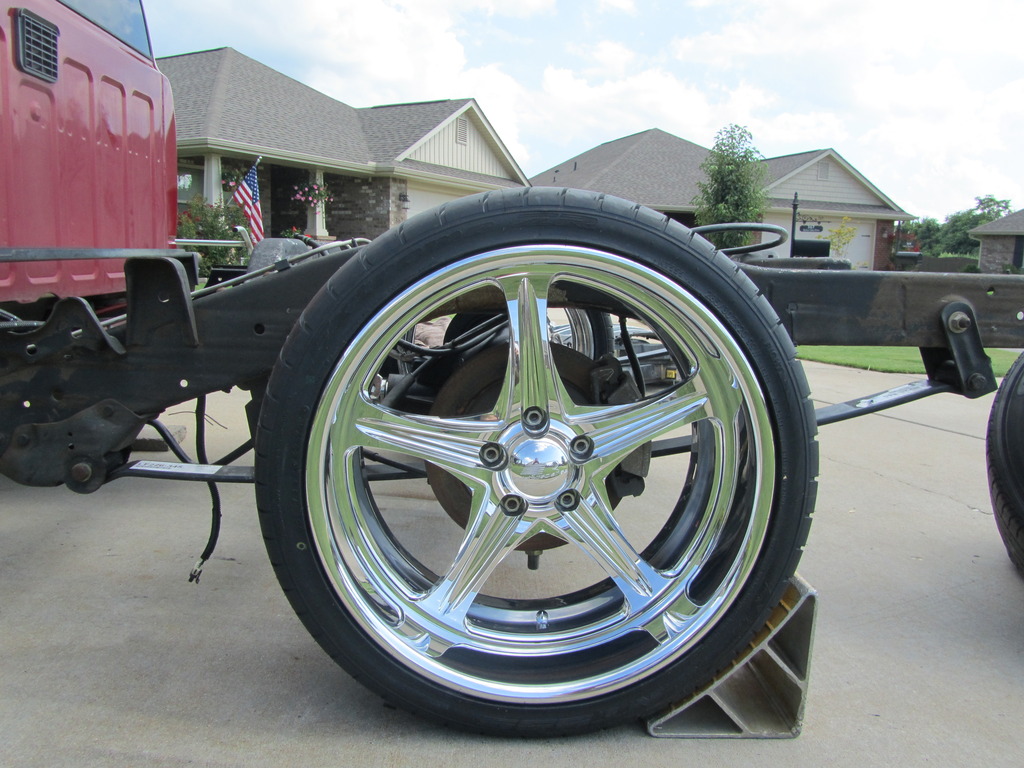
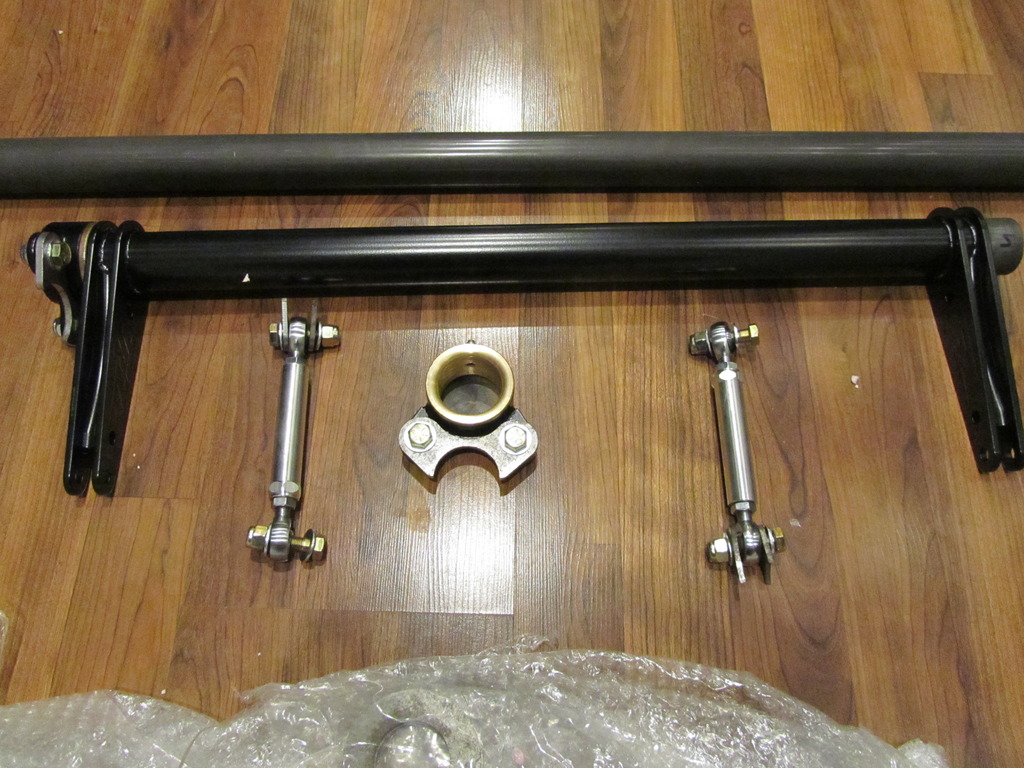
Here's the TRZ control arms and the Afco sliders. I got the double gusset and thicker walls on the lowers since I will be driving it on the street when finished. I'm not sure what brand of ball joints come with the TRZ arms but I have some basically new Afco low friction ball joints on the stock A-arms right now so I'll keep those for future use. My leaf springs are Cal-Vert Split Mono Leafs and they use Chrysler size bushings so I had to order the Afco sliders to accept the Chrysler bushings.
Got these in the mail yesterday the quality looks to be nice. Heavy as hell but no biggie like I said before I plan on having a set of some Weld RTS wheels for the dragstrip. The front fenders are sitting way up in outer space but they will be tucking the front tires just a little bit when it's all done. Same with the rear wheels they'll be tucking just a bit also. And all of this will look better when the 13-14" Wilwood brakes arrive
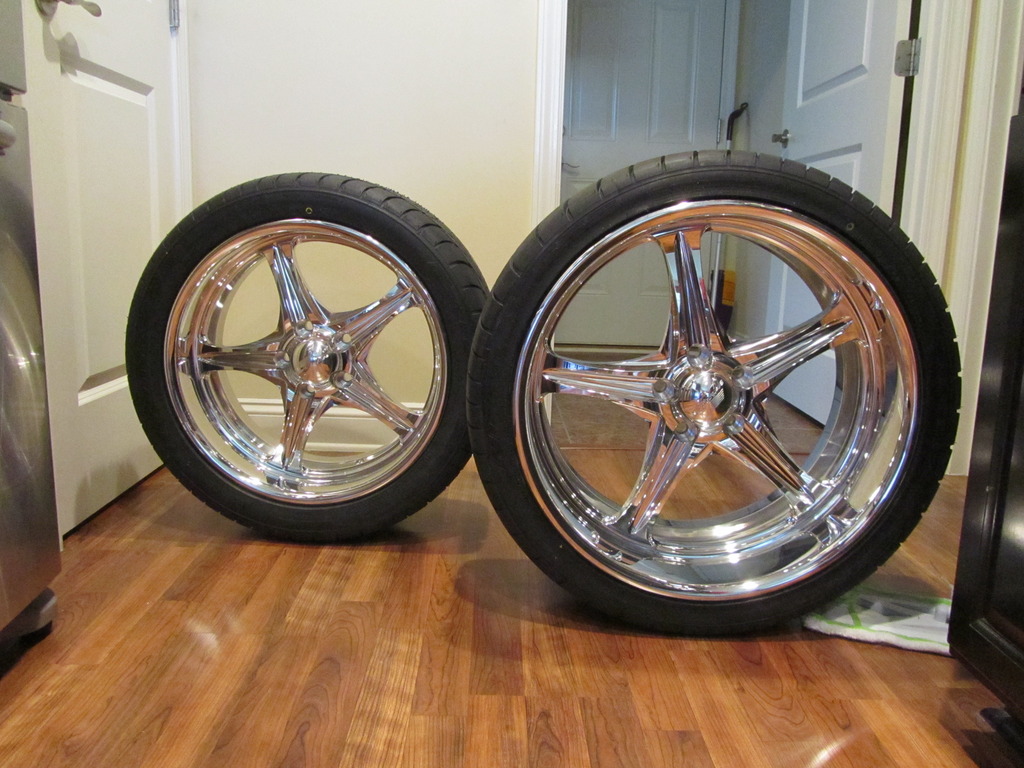
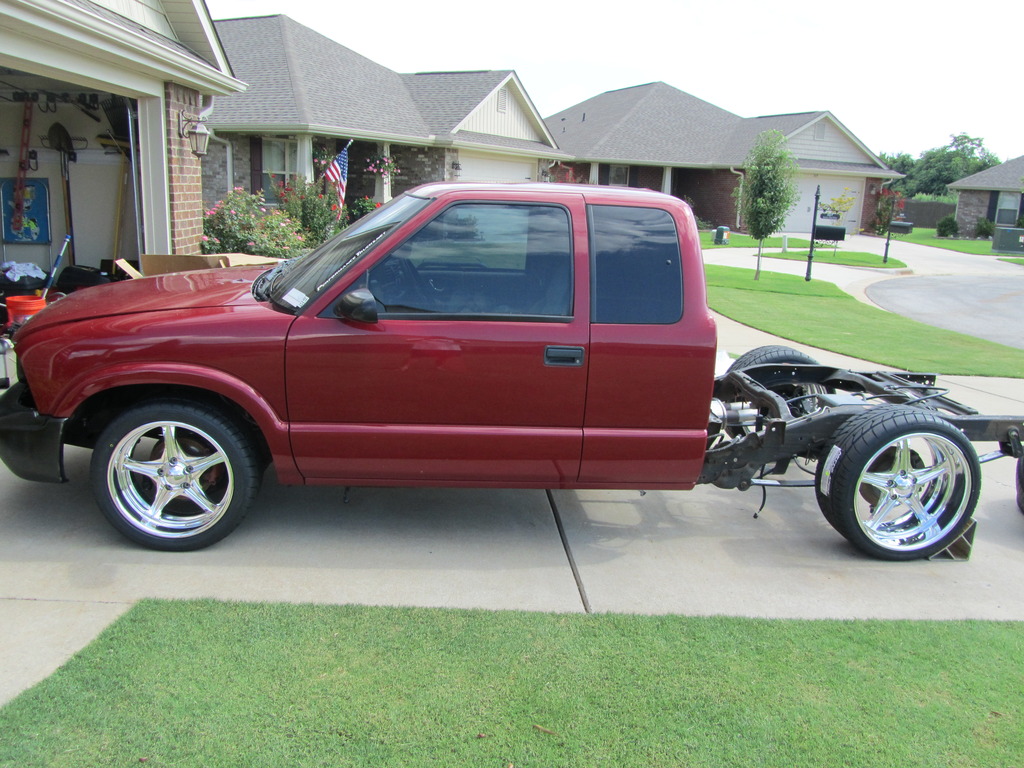
The 11.6" rotor in the rear looks tiny behind the 20" wheel
 11-24-2015, 08:42 AM
#6
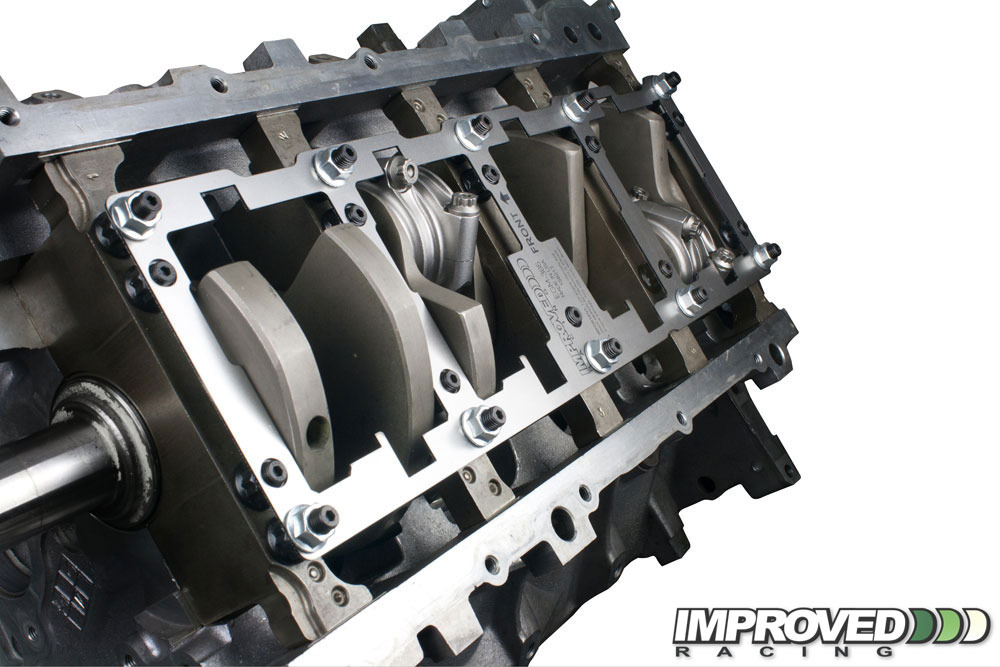
And here is the build sheet. Billet Main caps are also included but not listed with the ARP main cap studs. The Wiseco pistons are shelf part number K452X12de for racing and they are -20cc dished pistons with valve reliefs to fit LS1,6,2,3,7,92 valves. I can't afford the Callies Dragonslayer Crank and Rods they add a hefty amount to the build. I am confident the Callies Compstar Crank and Rods will be enough for the tiny amount of power I'll be making.

The cab was a bit more of a beast to get off than expected and required some collective thoughts and inputs and redneck engineering. My design for the stand with casters wasn't the best but it works. (While getting it in the garage with my wife I was lifting while she pushed and the caster got sideways like Mike had warned about and that corner collapsed crushing my hand between the body and the block of 2x4s I built. Needless to say if she wasn't there to kick and kick and kick the block out while I desperately tried to lift to get my hand uncrushed it could've have been a bad day.) So a BIG thanks to my wife and a life lesson learned. Anyways I'm about a week out from the fabrication work on the frame etc. Looking forward to some more progress. I'm hoping I'll have enough money to have it blasted and coated by the time the new engine arrives. Time will tell and I'm not in a big rush.
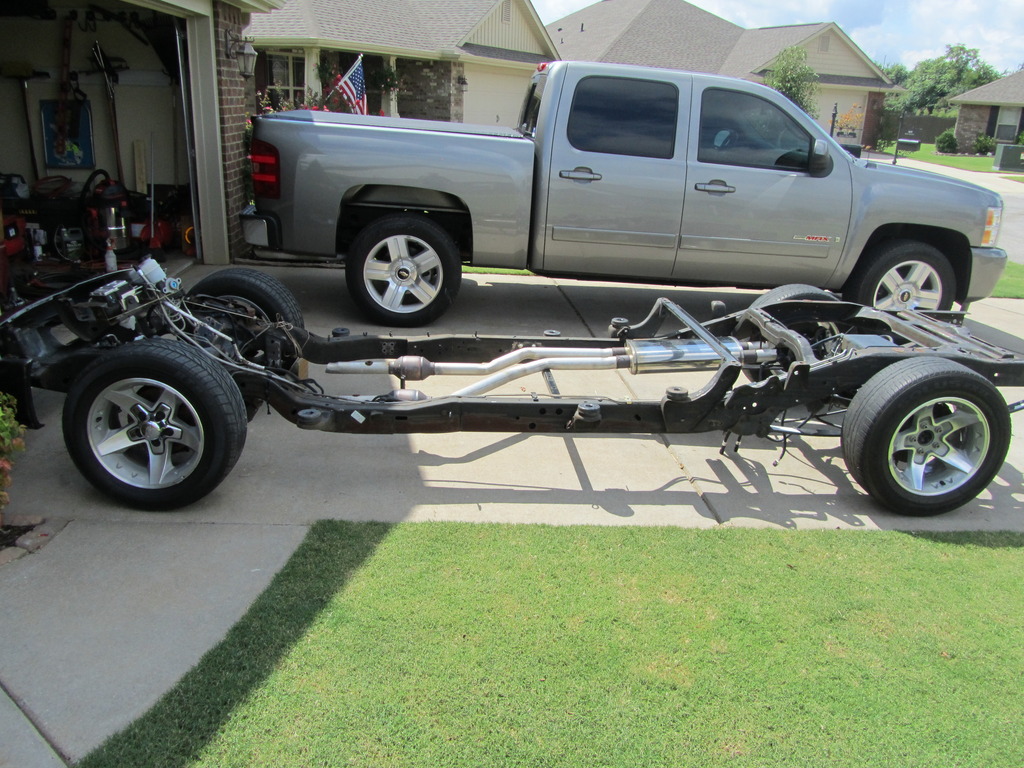
Just a update cause I'm excited about dropping the frame off today to have some major surgery done to it.
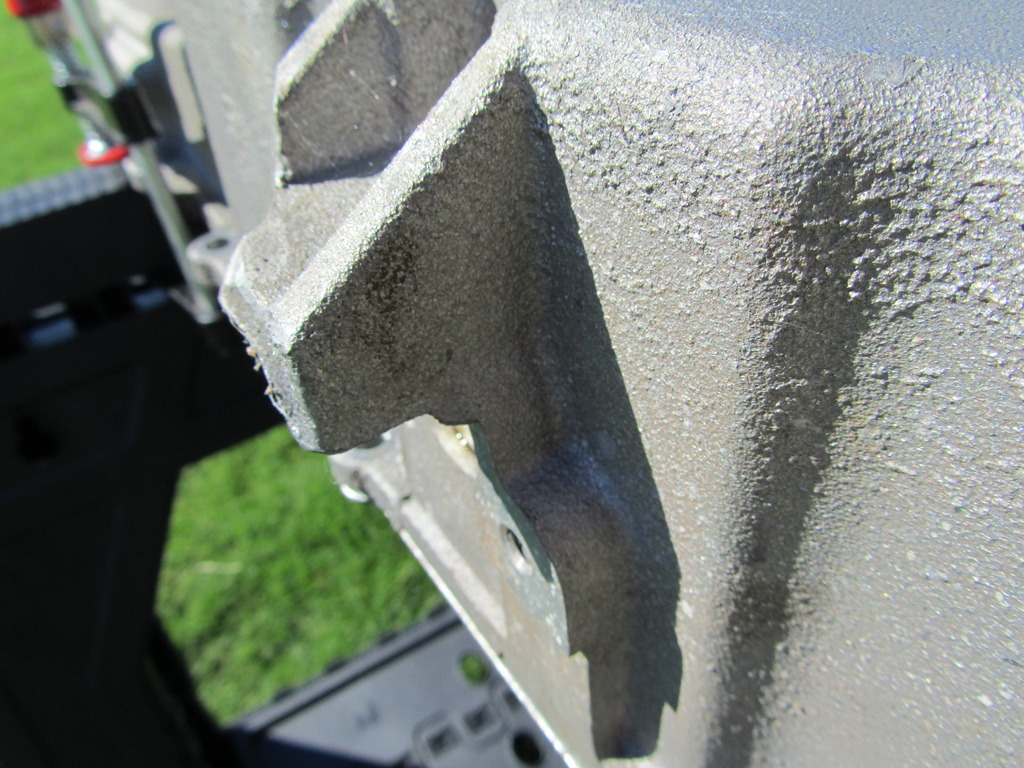
New shock bar to make shocks 90*
Afco sliders installed
Reinforcement bar at the rear welded in
Front crossmember redone to look and perform better
Notches cut and boxed in for the axle
Front spring eyelets raised 1" to drop the truck without using a tall drop block
V-bands welded onto headers
Few other little odds and ends too

The cab was a bit more of a beast to get off than expected and required some collective thoughts and inputs and redneck engineering. My design for the stand with casters wasn't the best but it works. (While getting it in the garage with my wife I was lifting while she pushed and the caster got sideways like Mike had warned about and that corner collapsed crushing my hand between the body and the block of 2x4s I built. Needless to say if she wasn't there to kick and kick and kick the block out while I desperately tried to lift to get my hand uncrushed it could've have been a bad day.) So a BIG thanks to my wife and a life lesson learned. Anyways I'm about a week out from the fabrication work on the frame etc. Looking forward to some more progress. I'm hoping I'll have enough money to have it blasted and coated by the time the new engine arrives. Time will tell and I'm not in a big rush.


Just a update cause I'm excited about dropping the frame off today to have some major surgery done to it.
New shock bar to make shocks 90*
Afco sliders installed
Reinforcement bar at the rear welded in
Front crossmember redone to look and perform better
Notches cut and boxed in for the axle
Front spring eyelets raised 1" to drop the truck without using a tall drop block
V-bands welded onto headers
Few other little odds and ends too
11-24-2015, 08:43 AM
#7
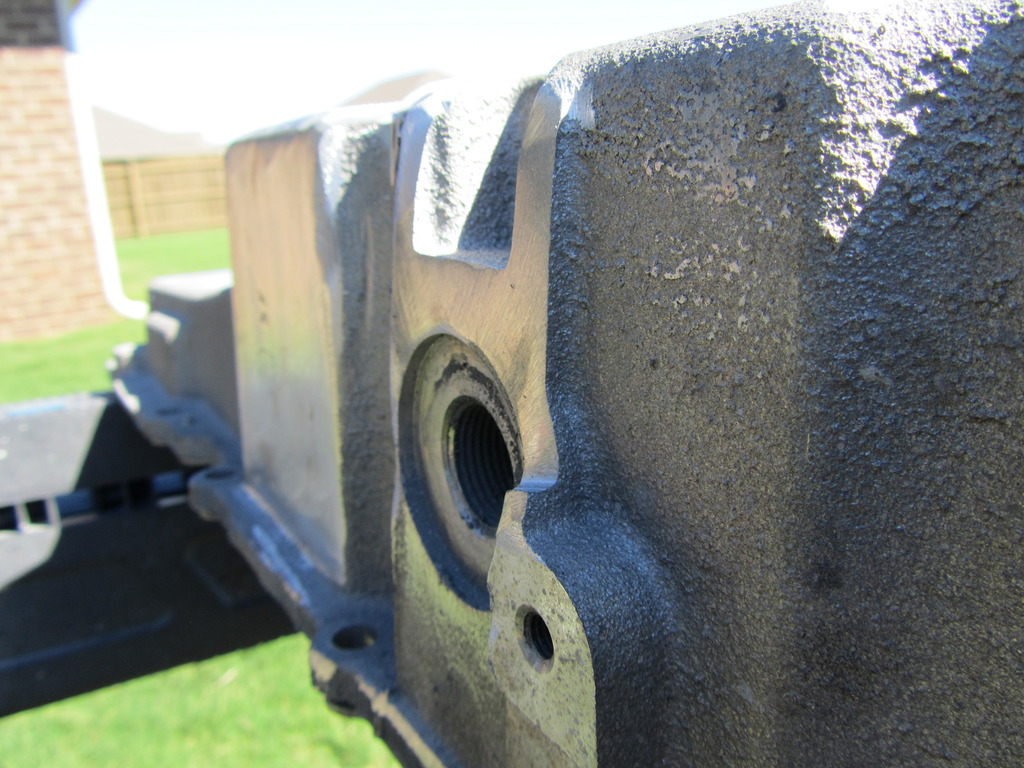
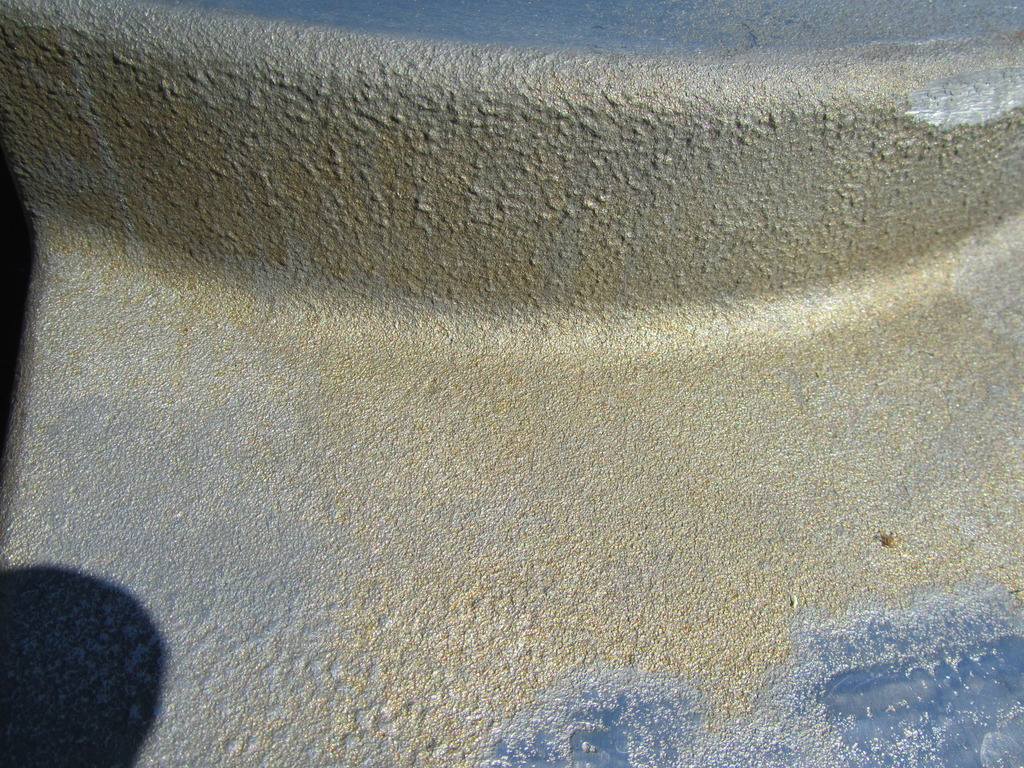
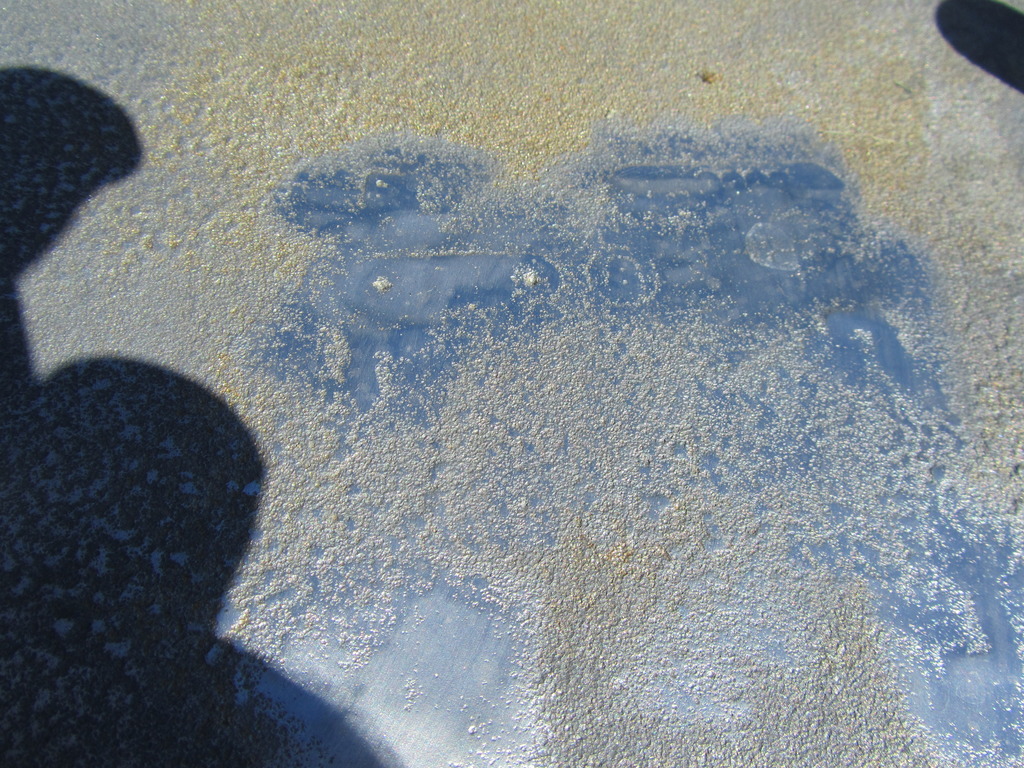
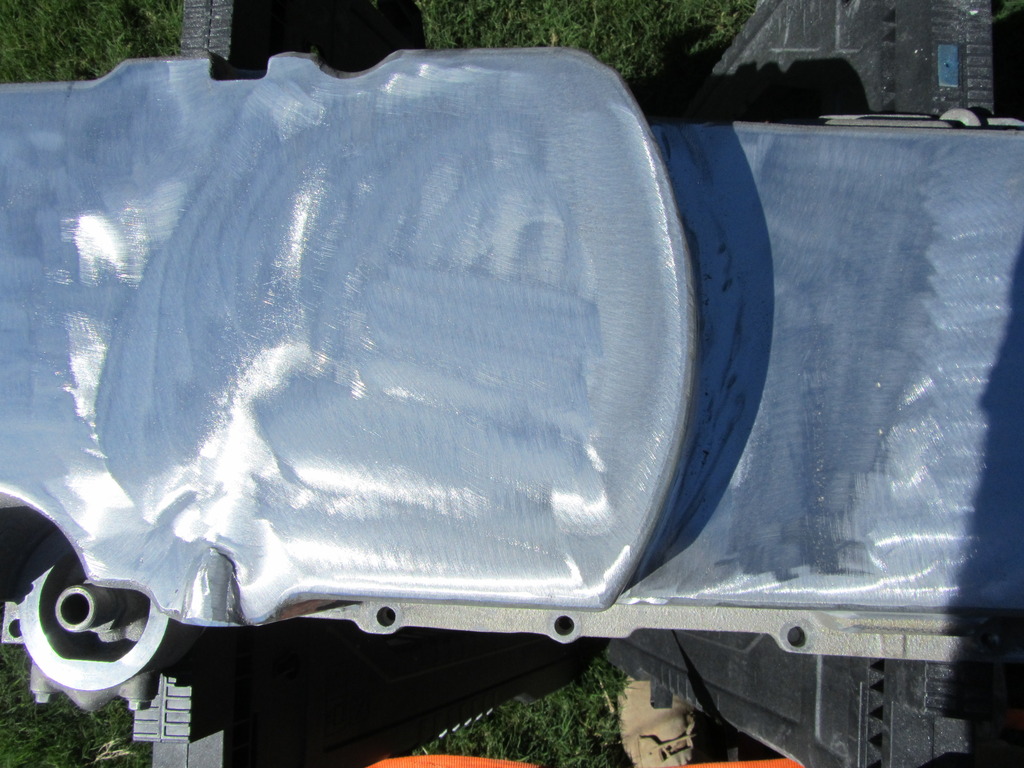
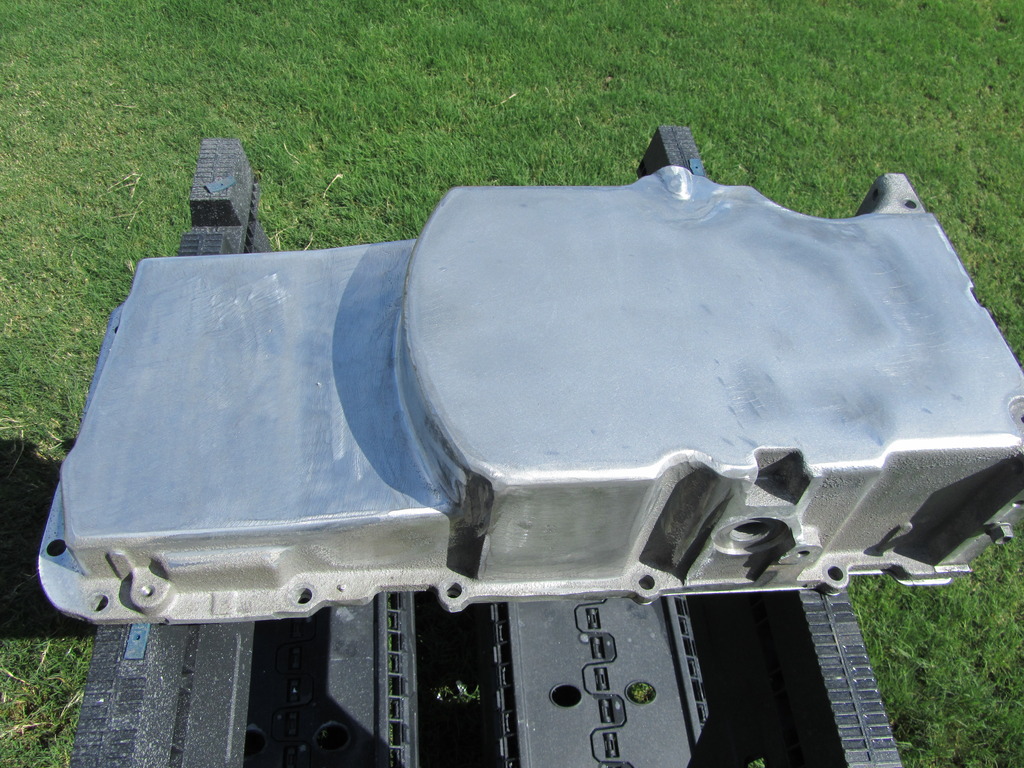
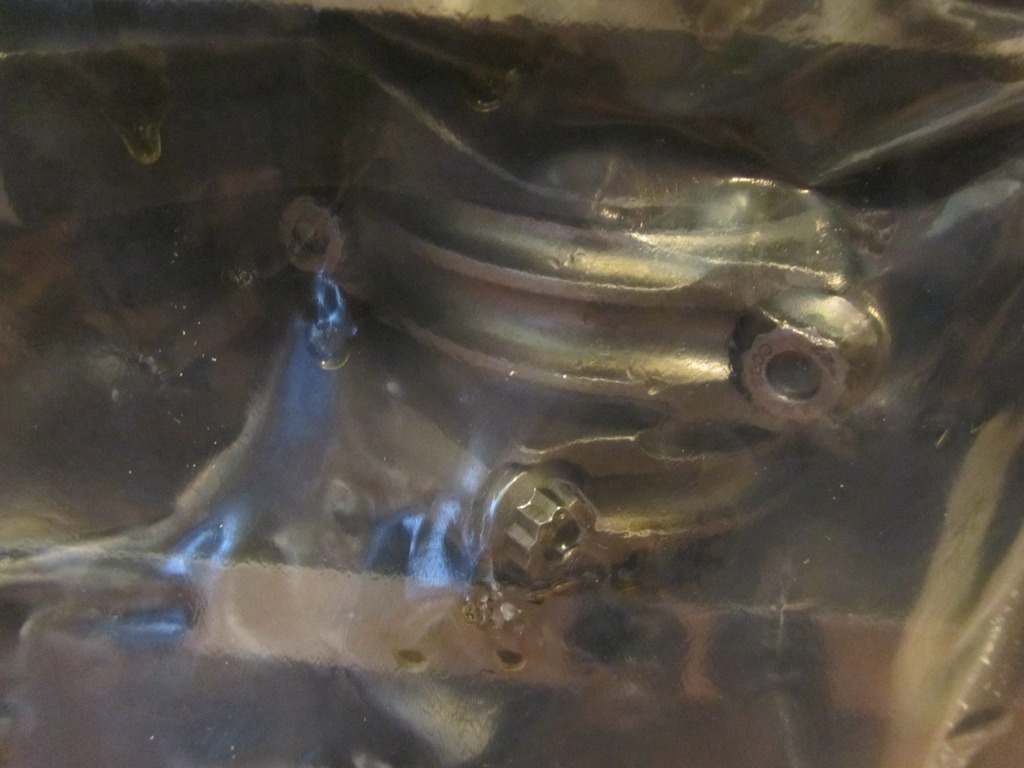
I got asked if I a could polish a cast aluminum turbo compressor housing and since I've never attempted a rough sand cast piece before I didn't feel super confident. I asked if he had a old one laying around I could test out but he didn't. So today I remembered the LS2 Vette oil pan I have is rough sand cast so I started going at it. As always still a ways to go but the process wasn't horrible to remove the super rough casting marks and this project will help make me a bit comfortable polishing his piece.
While I was at it I cut off the protective shroud piece where the low oil sensor would go. Since I don't need that sensor and that piece has very little clearance to the frame it went bye bye. (Maybe some cool hot rod part could take the threaded hole's place instead of just a plug)
Before:
After rough cut:
Then some more pics
While I was at it I cut off the protective shroud piece where the low oil sensor would go. Since I don't need that sensor and that piece has very little clearance to the frame it went bye bye. (Maybe some cool hot rod part could take the threaded hole's place instead of just a plug)
Before:

After rough cut:

Then some more pics


Trending Topics


 [/
[/

 11-24-2015, 08:45 AM
#10
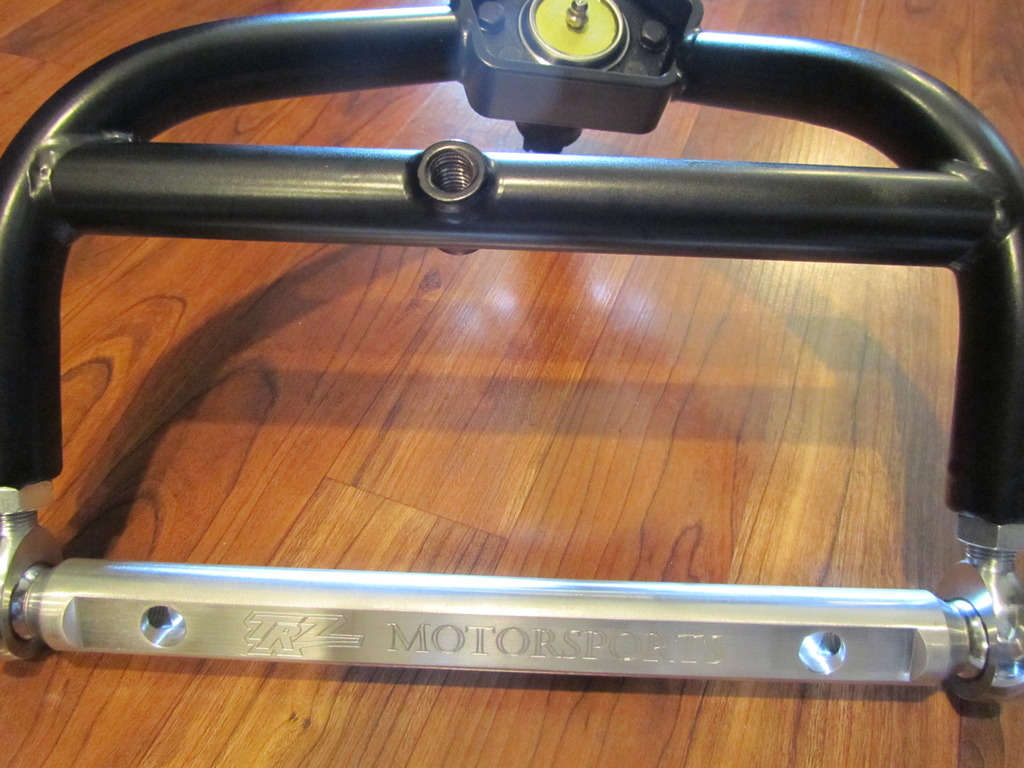
TRZ makes nice products and I'm just as impressed by their billet anti roll bar as I am with their control arms.
Just placed a pre-order a Improved Racing 4" stroke crank scraper kit. They are currently revising the design complete with new windage tray. Pre-order now and save before the price increase!
Possible gain of up to 2% HP increase at the wheels! I'll take 15 extra RWHP for $70!


Just placed a pre-order a Improved Racing 4" stroke crank scraper kit. They are currently revising the design complete with new windage tray. Pre-order now and save before the price increase!
Possible gain of up to 2% HP increase at the wheels! I'll take 15 extra RWHP for $70!
