Another Roush TVS on the road
 08-01-2014, 09:12 PM
#1
TECH Apprentice
Thread Starter
Since I am generally a lurker on here, few of you will probably know that my 2009 Silverado has been a run of the mill 93 octane tune, cat back, and CAI truck for about 3 years. I have had it on a dyno 2009 Silverado 1500 Crew 5.3 Dyno - YouTube. And I have had it at the track 2009 Silverado vs. Old Monte Carlo - YouTube. But, it never really lived up to my previous car, a restored ZZ4 powered 1987 Monte Carlo SS that was stolen and stripped (and ultimately gave me the down payment for the truck).
So, I had been wanting to put a supercharger on my for quite a while, but obviously funds are always difficult to set aside for something "frivolous" but recently my wife got tired of my saving up money on the side for my truck and ending up using it on...well...anything but the truck. So, she gave me her blessing when I found this:https://www.performancetrucks.net/fo...x-sale-529400/
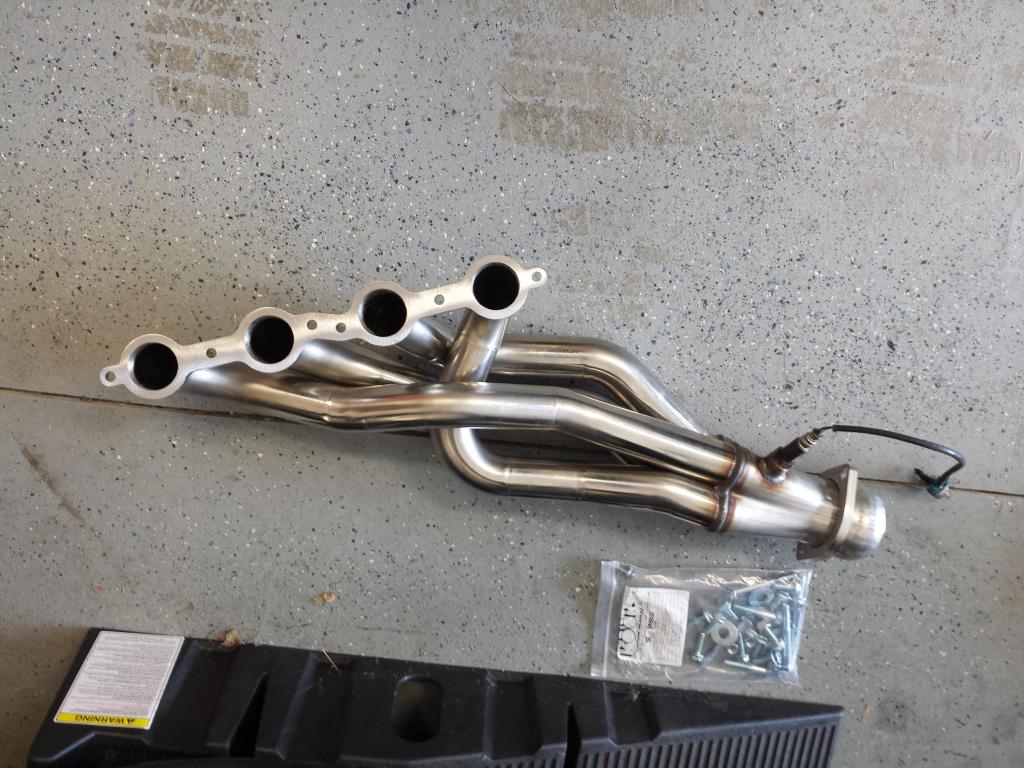
Well, I didn't want to pay quite what was being asked for that kit, so while the haggling was going on, I put in calls for some supporting items. Maryland Speed hooked me up with some Kooks 1 7/8" primary headers, catless y, AEM wideband, AEM boost gauge, and a dual pillar pod. So, fairly soon I got to work putting the headers on even without any supercharger in route.
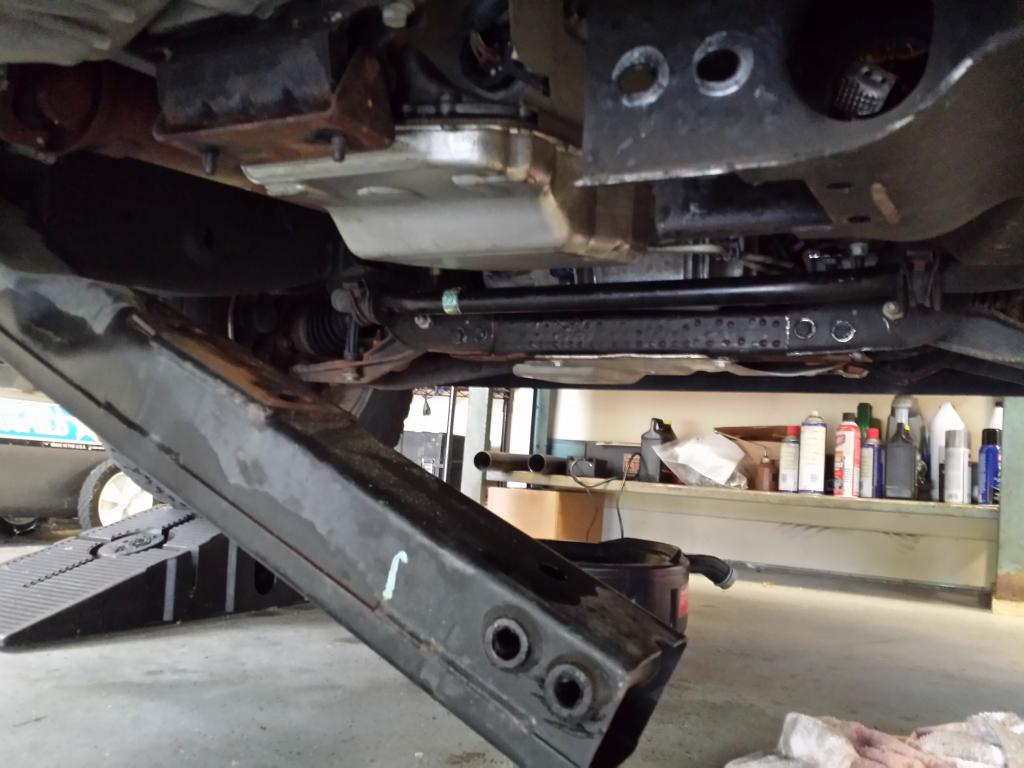
First, had to pull the trans crossmember. Two bolts on the passenger side, two bolts under the trans (after it is supported) and the crossmember is free.
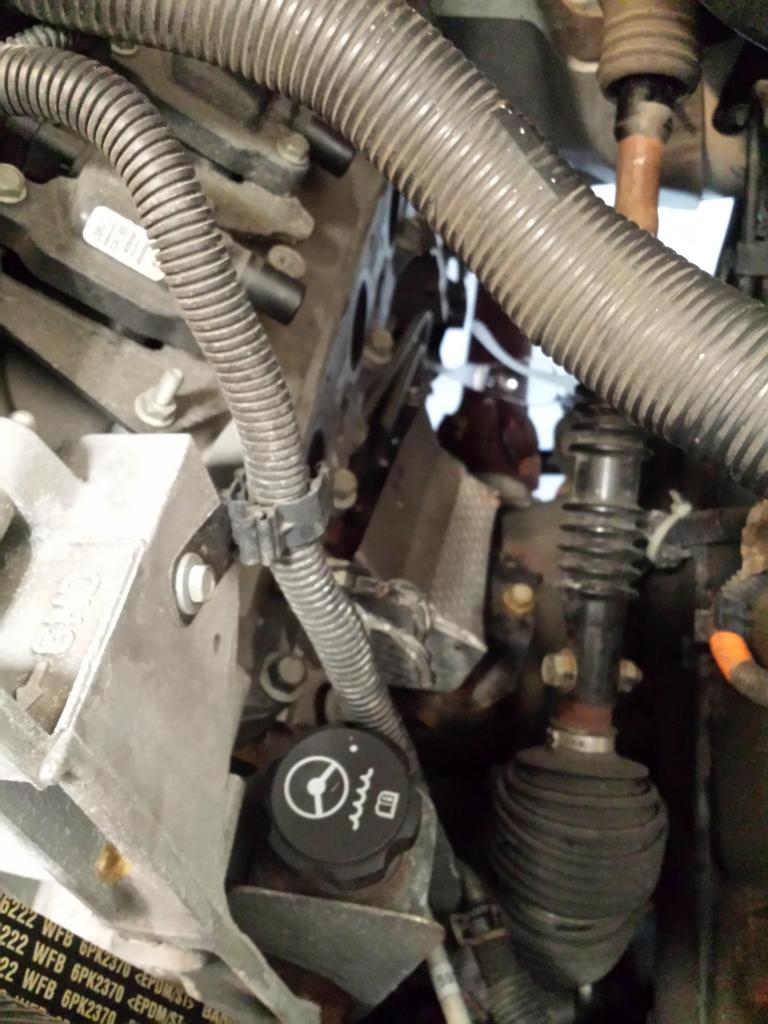
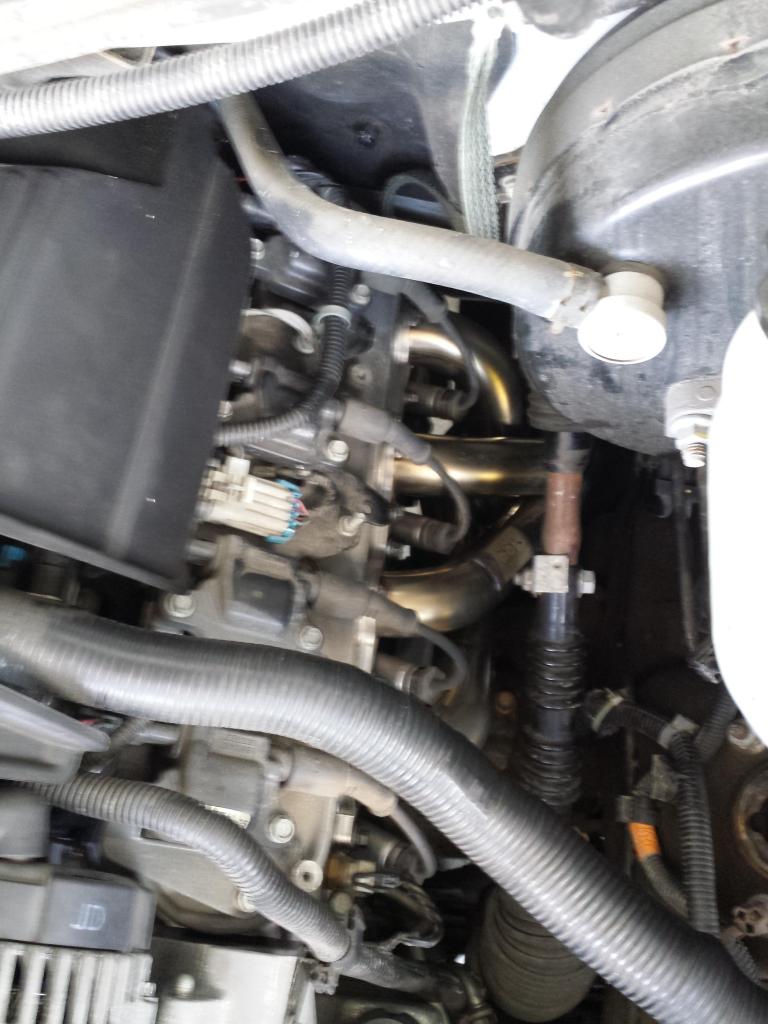
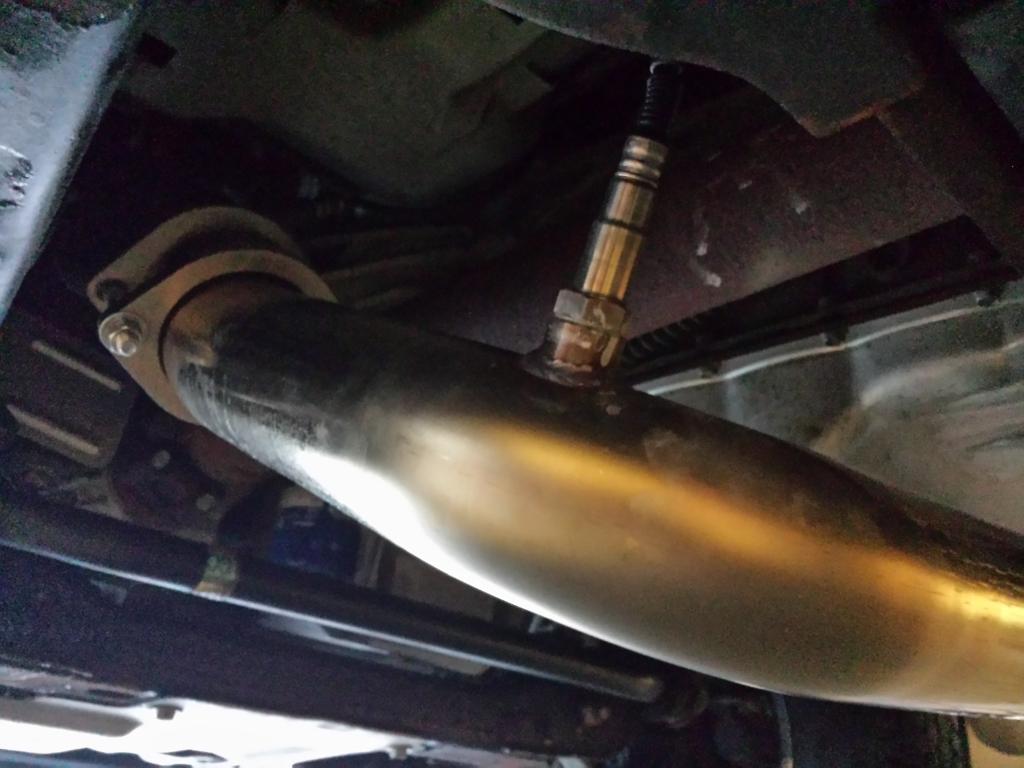
Next I undid the factory exhaust and started to undo the manifolds from the Y-Pipe...but, much like everything, it is never easy. So this guy gave me some trouble (notice the one nut that is partially off the stud, not to be removed without cutting):
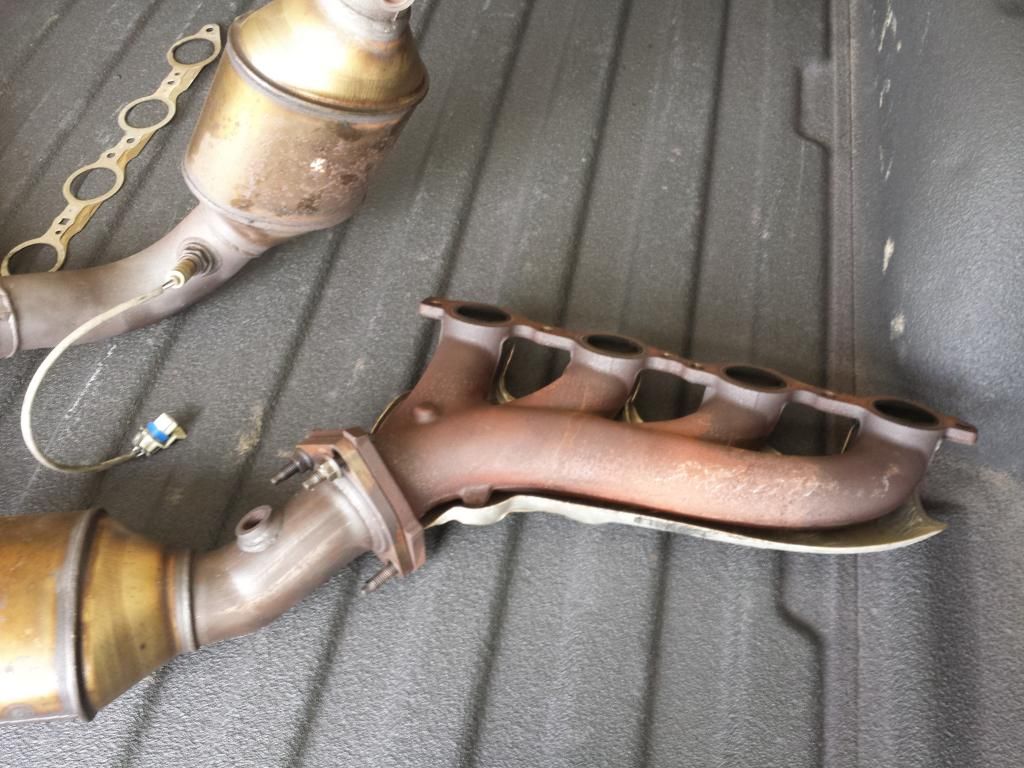
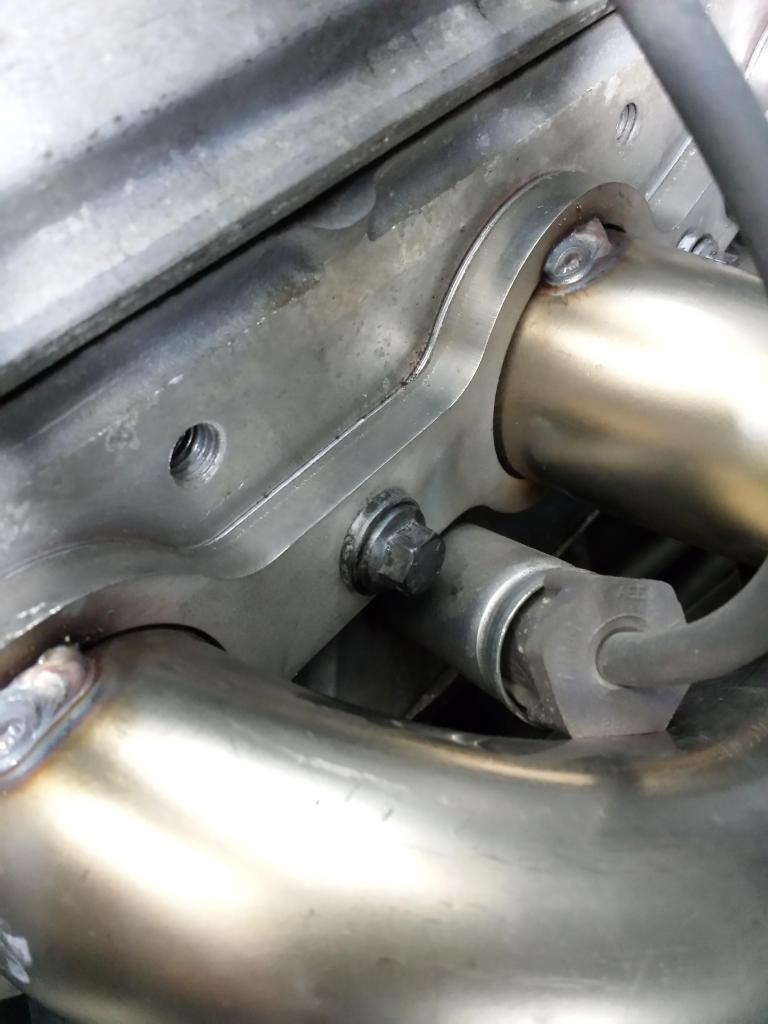
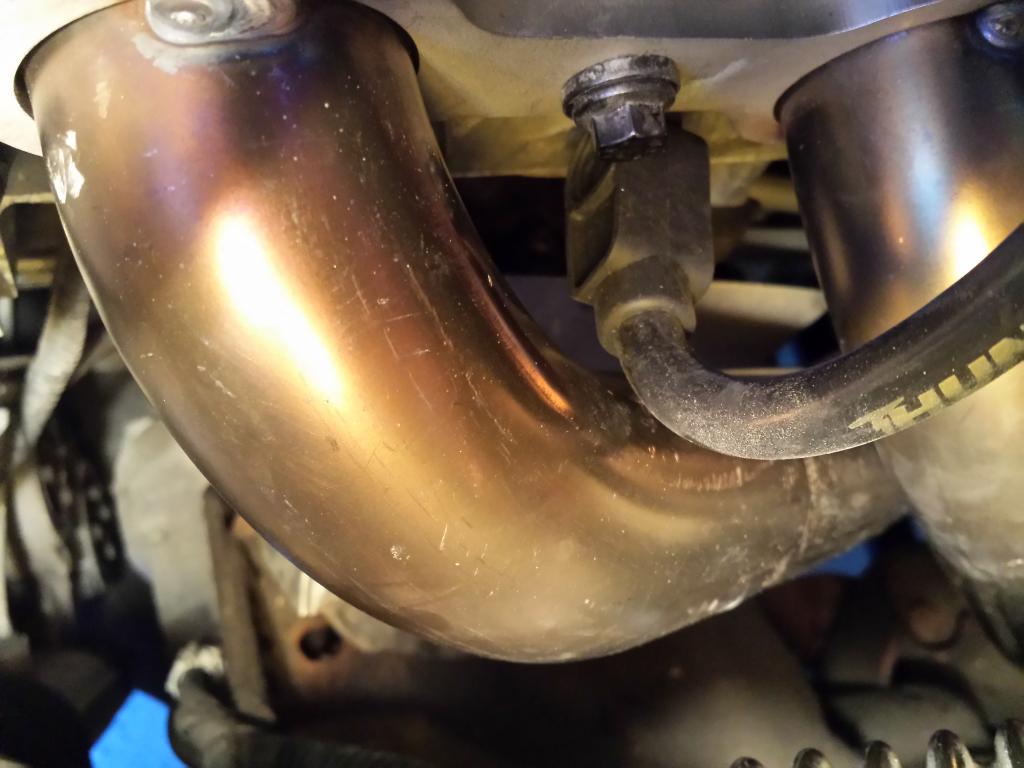
But a little time with a cutoff wheel (since I don't have a sawsall):
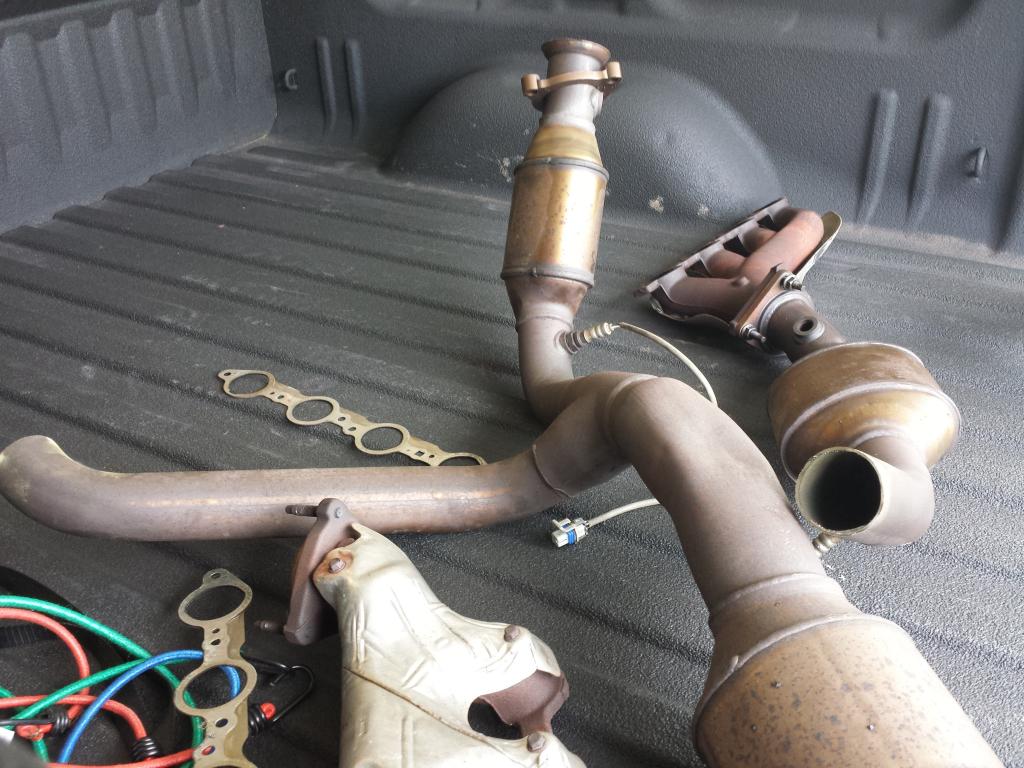
And tada, no more manifolds:
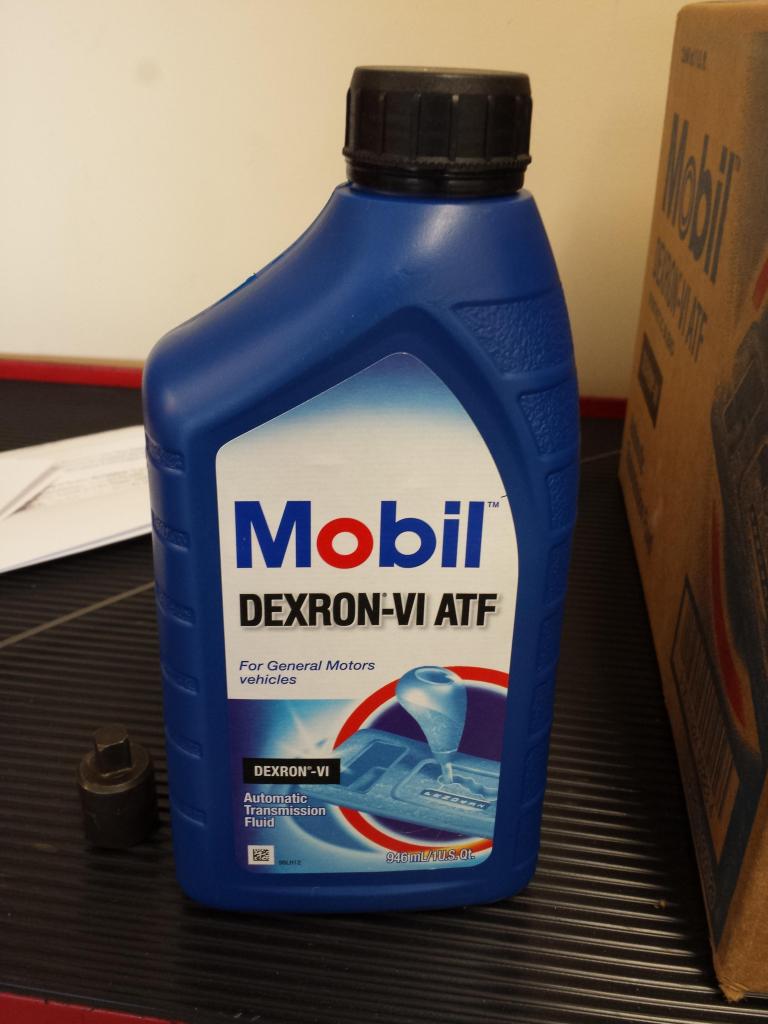
My truck has about 57k on it now and so I took the opportunity to pull the pan and change the filter. Topped it off with a little of this:
And carried on installing the headers:
And they're in (sorry for the blur):
But, I didn't like that a factory plug wire touched on the driver side:
So I ordered up some of the recommended Taylor wires:

And that did the trick:
And, by this time I had worked out the details with Dyno Dan on the supercharger and had put a check in the mail. In the mean time, I drove the truck around without a retune. It felt about the same, threw the expected codes, and had the normal Corsa sport plus catless header rasp which came in at about 3500 RPM. But under normal cruising there basically isn't any increase in noise for the cab.
Before I could get the packages from Dan, I got sent to Colorado for a work trip, but the wife sent me a text during the week:
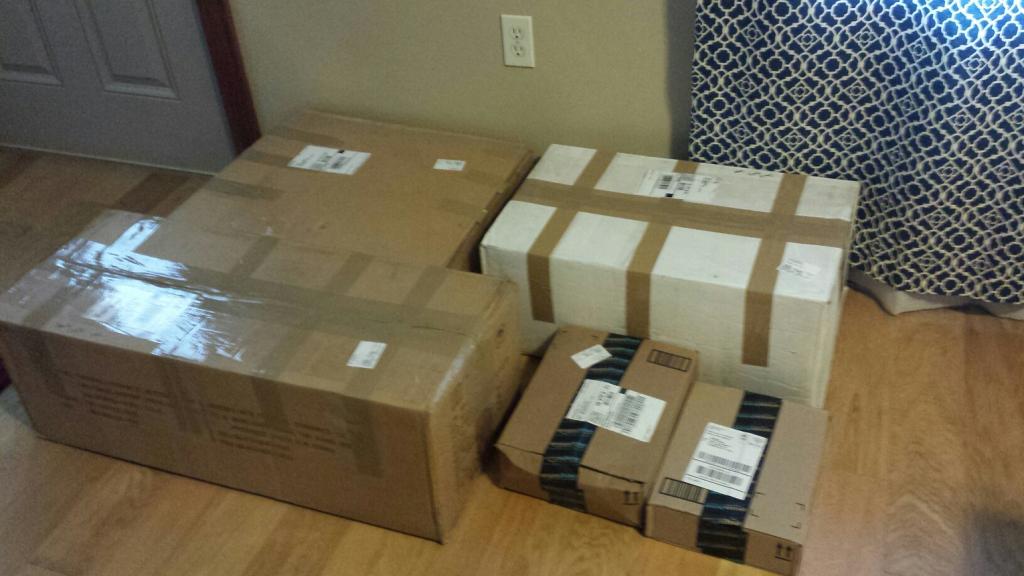
And so, the torture lasted for the remainder of the week, but when I got home, the fun started:
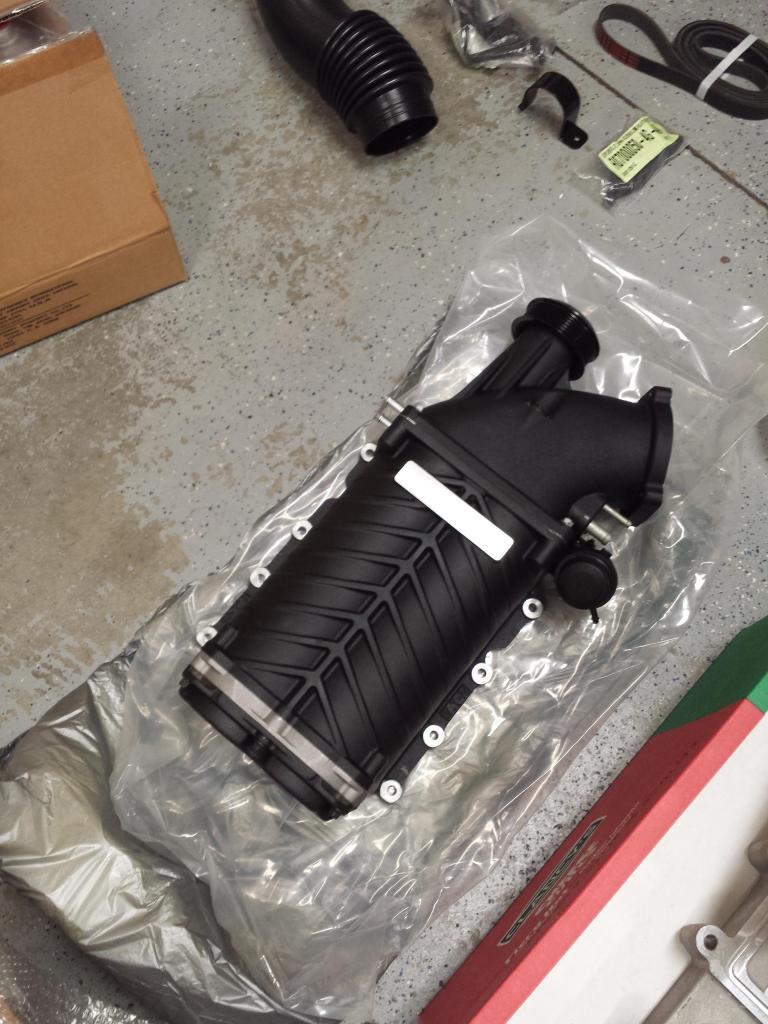
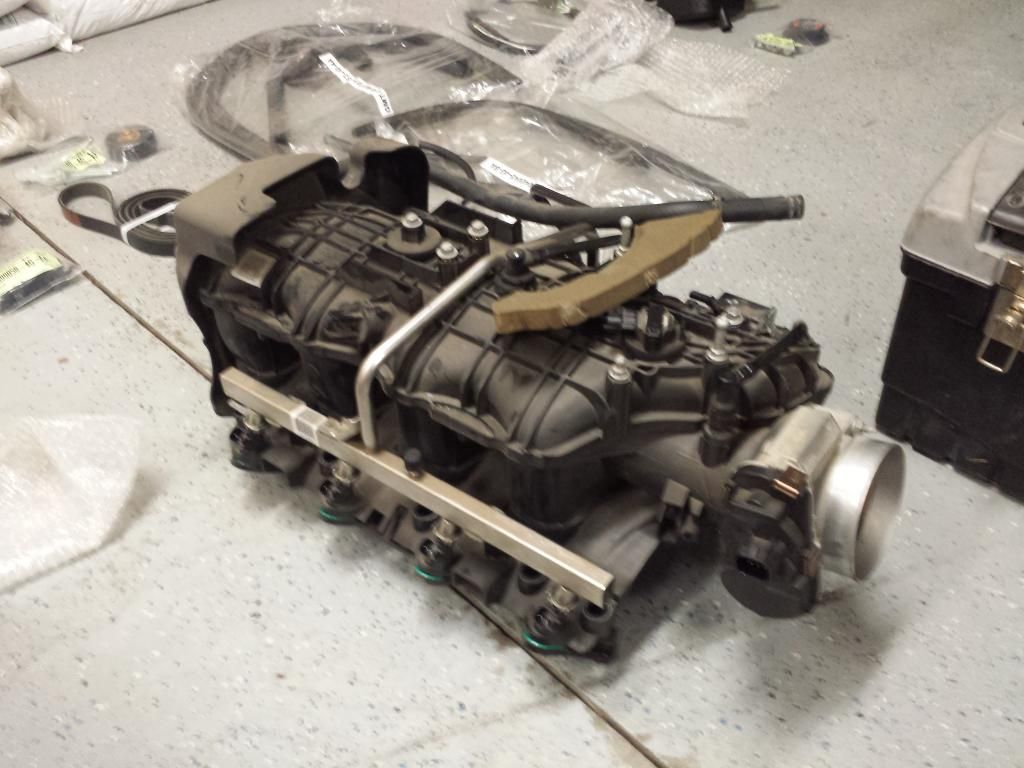
I had a friend come over to help, and he quickly had this pulled off (despite not having the correct fuel rail disconnect tool):
So, I had been wanting to put a supercharger on my for quite a while, but obviously funds are always difficult to set aside for something "frivolous" but recently my wife got tired of my saving up money on the side for my truck and ending up using it on...well...anything but the truck. So, she gave me her blessing when I found this:https://www.performancetrucks.net/fo...x-sale-529400/
Well, I didn't want to pay quite what was being asked for that kit, so while the haggling was going on, I put in calls for some supporting items. Maryland Speed hooked me up with some Kooks 1 7/8" primary headers, catless y, AEM wideband, AEM boost gauge, and a dual pillar pod. So, fairly soon I got to work putting the headers on even without any supercharger in route.
First, had to pull the trans crossmember. Two bolts on the passenger side, two bolts under the trans (after it is supported) and the crossmember is free.
Next I undid the factory exhaust and started to undo the manifolds from the Y-Pipe...but, much like everything, it is never easy. So this guy gave me some trouble (notice the one nut that is partially off the stud, not to be removed without cutting):
But a little time with a cutoff wheel (since I don't have a sawsall):
And tada, no more manifolds:
My truck has about 57k on it now and so I took the opportunity to pull the pan and change the filter. Topped it off with a little of this:
And carried on installing the headers:
And they're in (sorry for the blur):
But, I didn't like that a factory plug wire touched on the driver side:
So I ordered up some of the recommended Taylor wires:
And that did the trick:
And, by this time I had worked out the details with Dyno Dan on the supercharger and had put a check in the mail. In the mean time, I drove the truck around without a retune. It felt about the same, threw the expected codes, and had the normal Corsa sport plus catless header rasp which came in at about 3500 RPM. But under normal cruising there basically isn't any increase in noise for the cab.
Before I could get the packages from Dan, I got sent to Colorado for a work trip, but the wife sent me a text during the week:
And so, the torture lasted for the remainder of the week, but when I got home, the fun started:
I had a friend come over to help, and he quickly had this pulled off (despite not having the correct fuel rail disconnect tool):
Last edited by vettelovralexand; 09-01-2014 at 09:16 PM.
 08-01-2014, 09:13 PM
#2
TECH Apprentice
Thread Starter
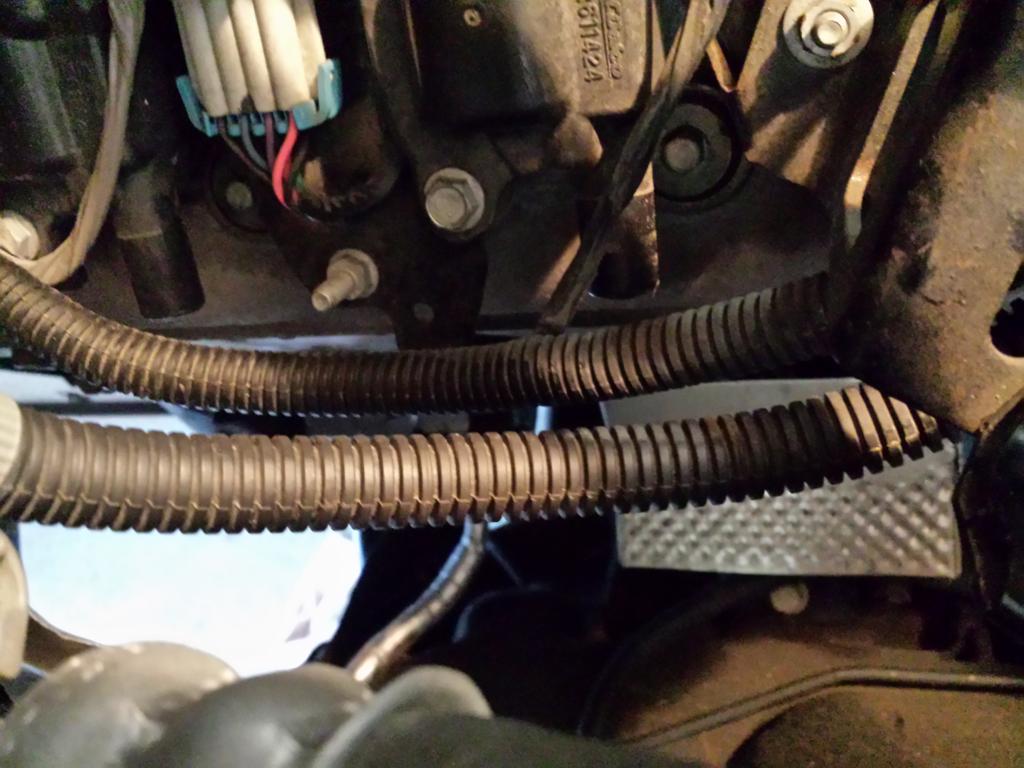
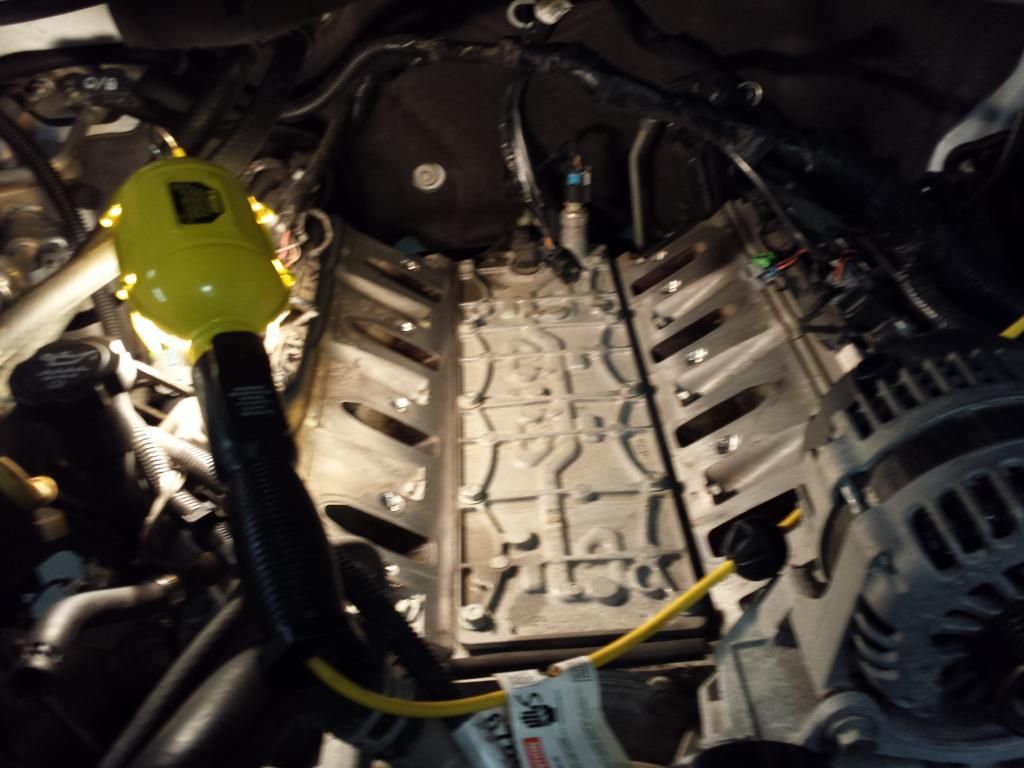
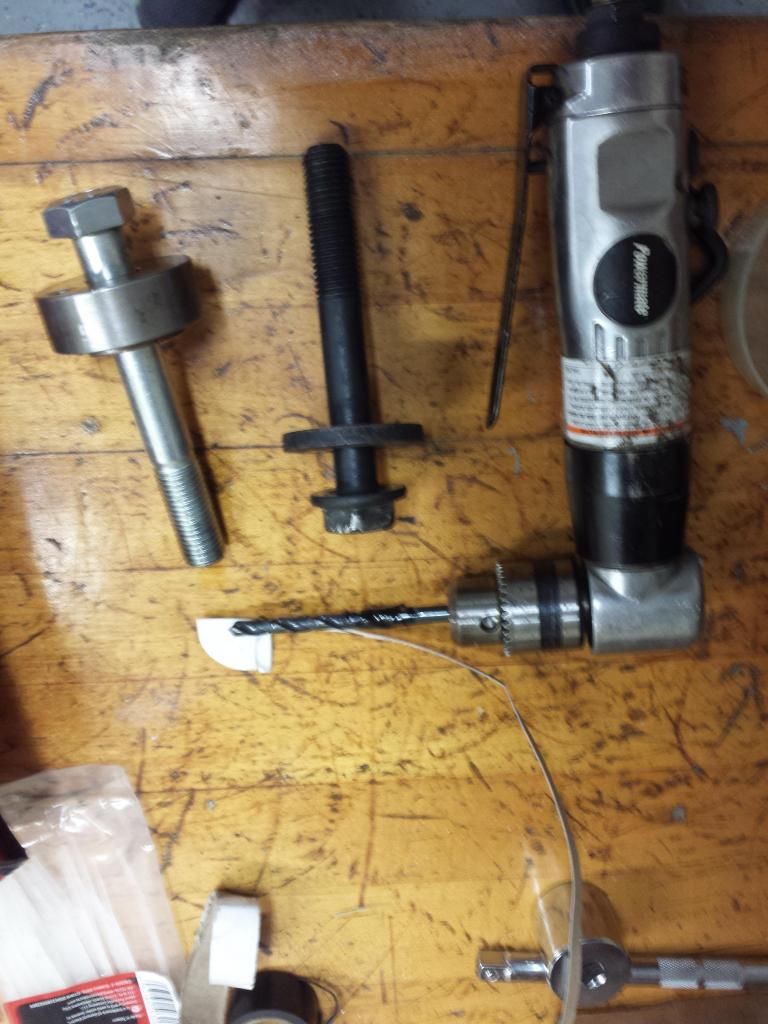
While I worked down low on pinning the crank:

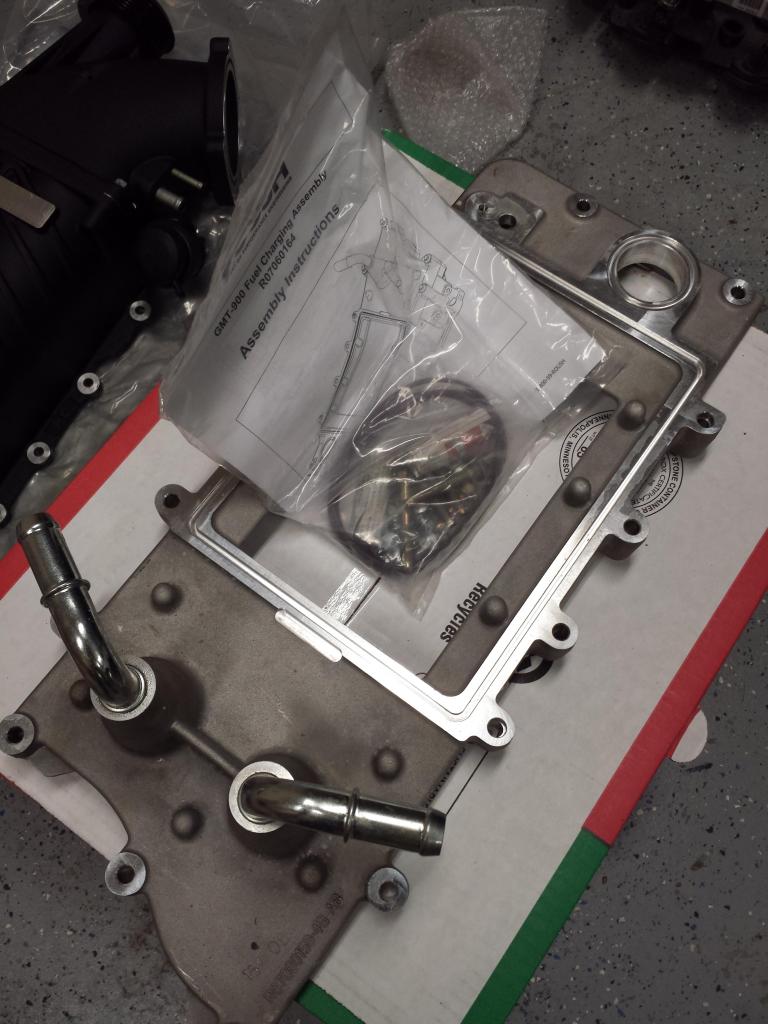
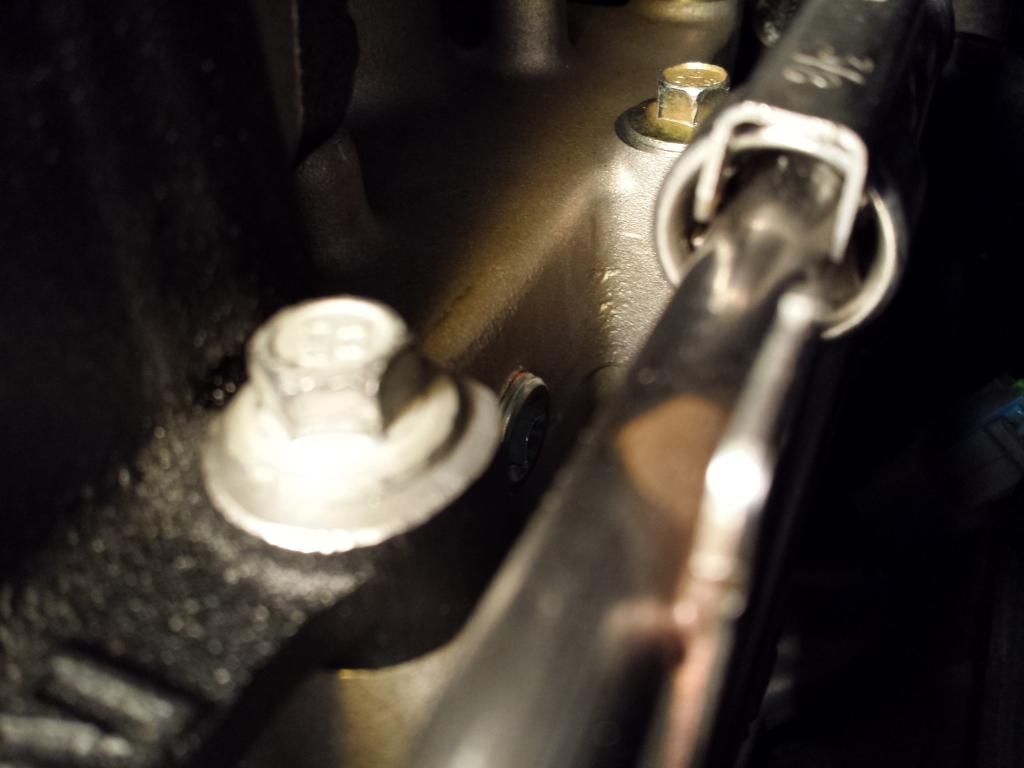
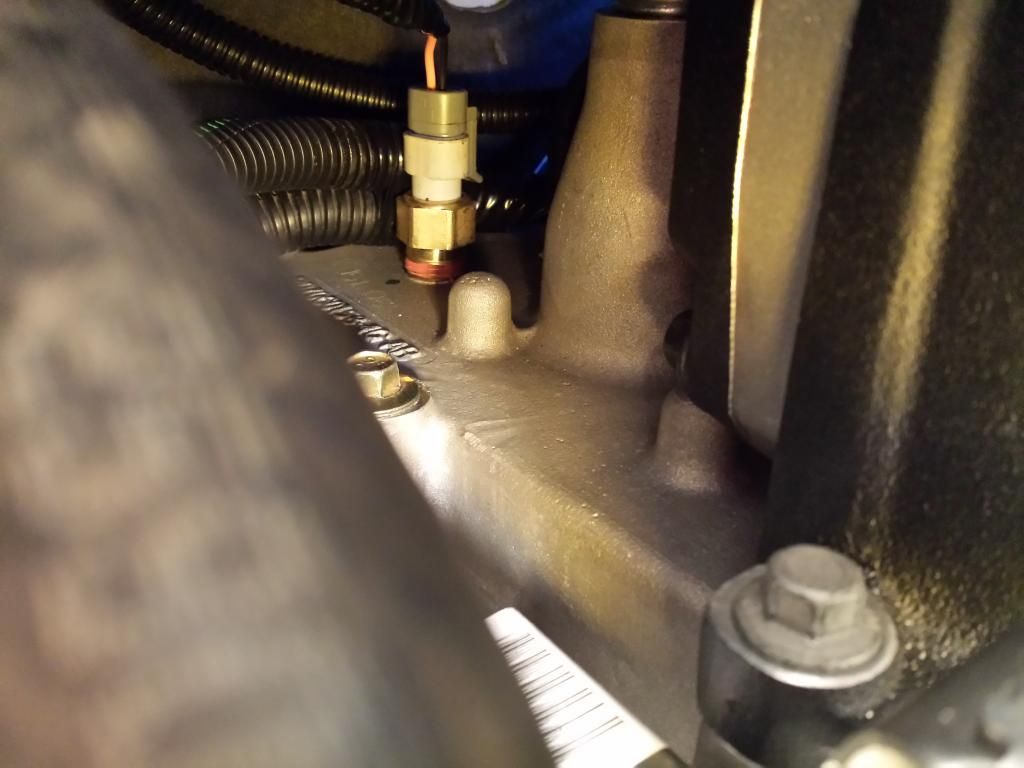
Once that was all done, I worked to drill and tap the 1/8" NPT and 3/8" NPT fittings for the intake pressure and intake temperature sensors. Note to all those involved, do not put them on the SIDE of the aluminum section between the heads and the head unit. I learned the hard way, that the rail is basically unavoidable :
:
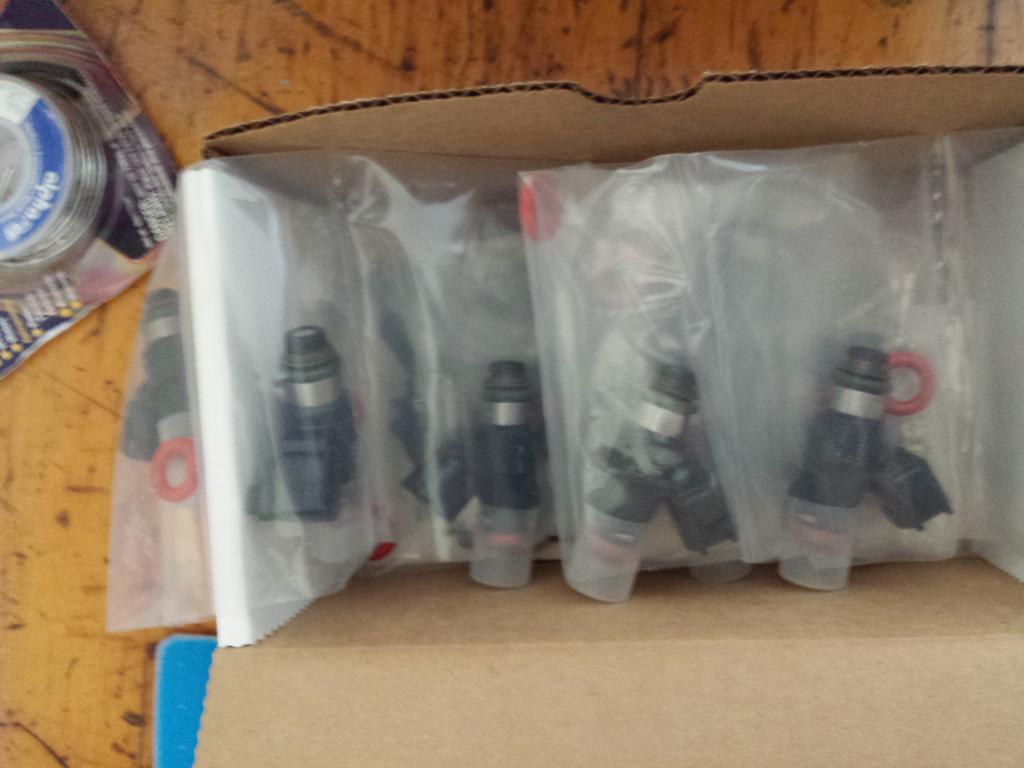
Anyway, I had to give up for the night until we could get plugs to fill those two holes and also because the L9H injectors I intended to use were about 10 mm shorter than the factory ones (yes I know I could/should have used the 42 lb ones from the kit, but I had these factory ones around from my dad's truck which used ID1000s for his procharged 6.2):
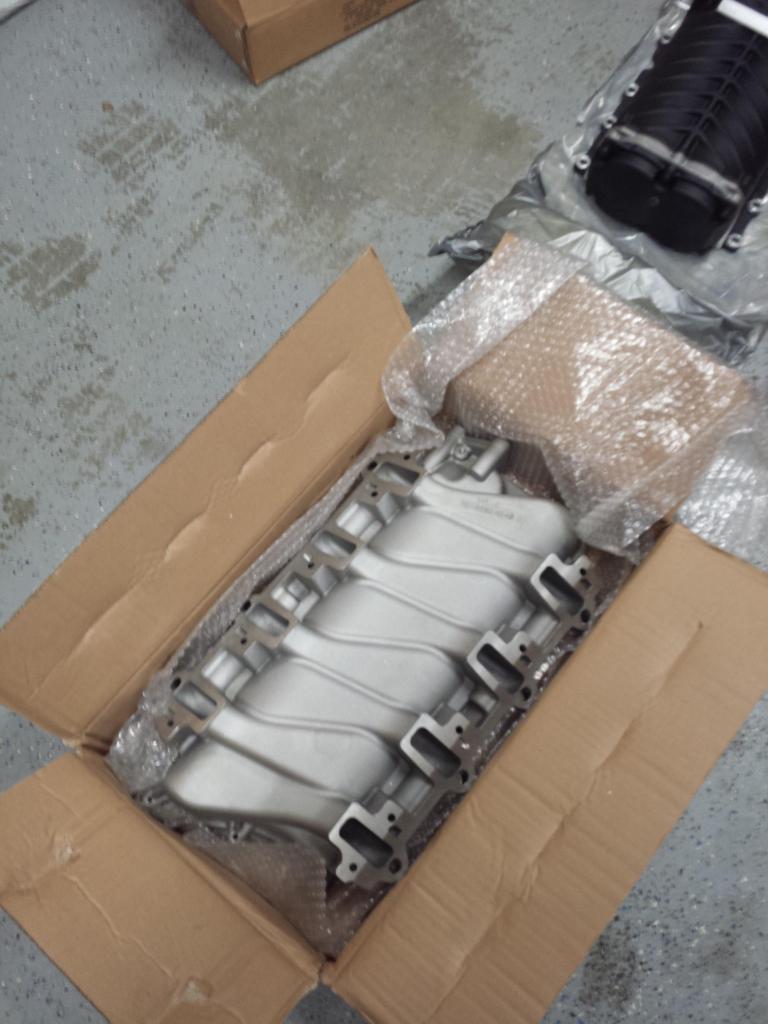
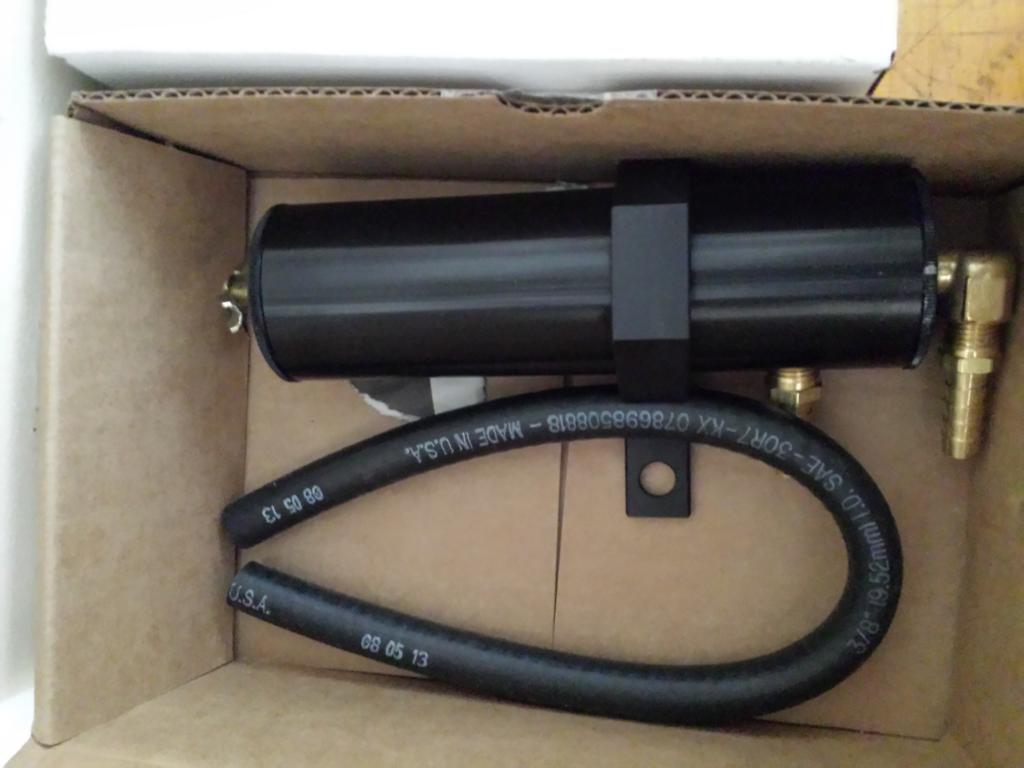
So, I put in a call to Fuel Injector Connection and got the top spacers for those while I licked my wounds. And since my factory intake basically drained a cup of oil out on my garage floor, I decided to pick up one of these:
I took the next couple days while things started to arrive to go ahead and install the gauges after painting the pillar with Colorbond 333 paint:

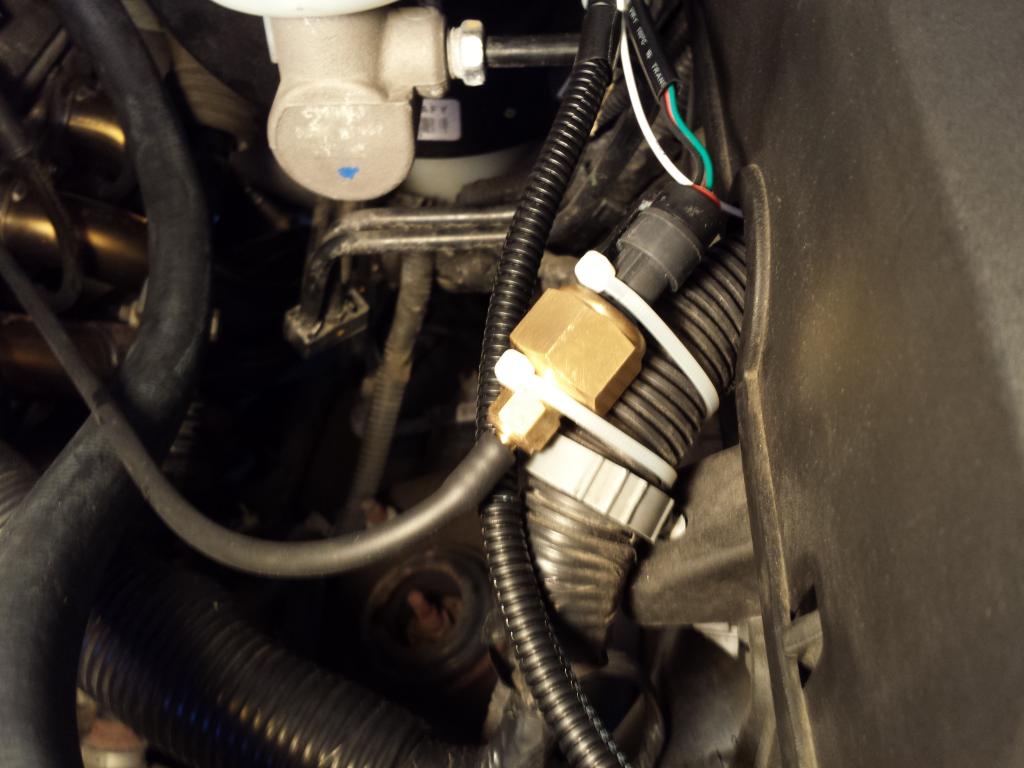
And also wired up the IAT sensor, and ran the boost gauge wiring under the hood. I figured out that the wiring wasn't quite long enough, so I had to just zip tie the sensor under the hood and run a hose to where I was going to fit the barb on the intake plate:
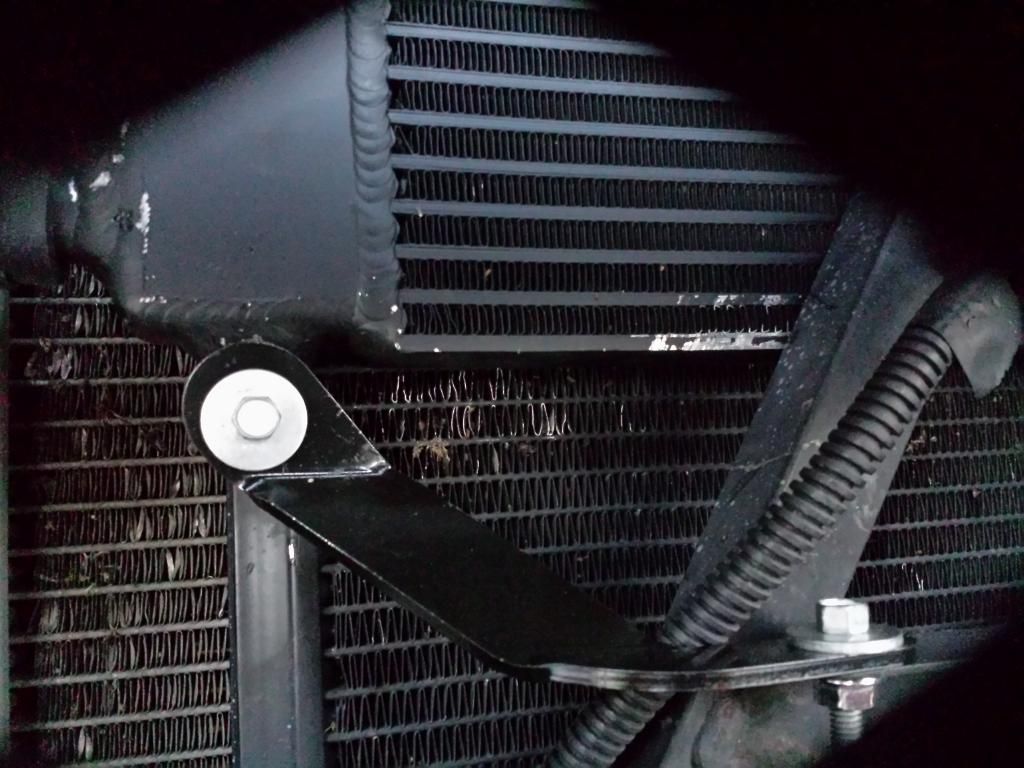
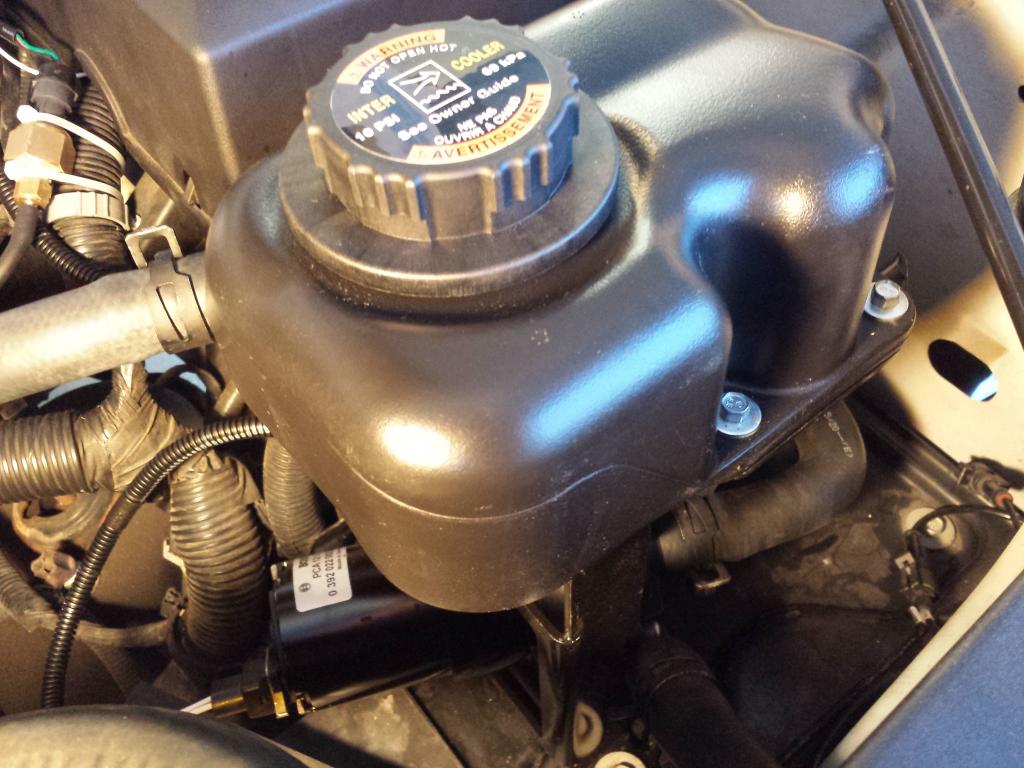
And last thing I could do was install the intercooler in front of the radiator and the pump/reservoir setup (and wouldn't you know it that I didn't take pics until after it was done through the grille):
Anyway, a day or two later, I got all the plugs, injectors with spacers in, got the fuel rails installed, and the IAT sensor put in:
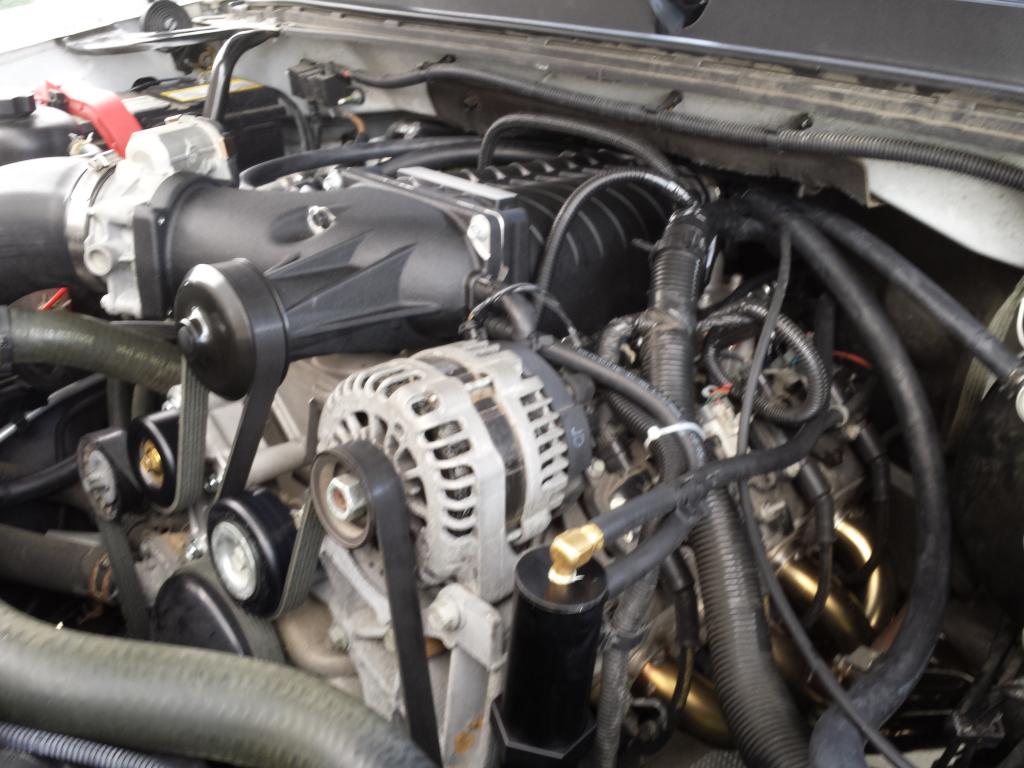
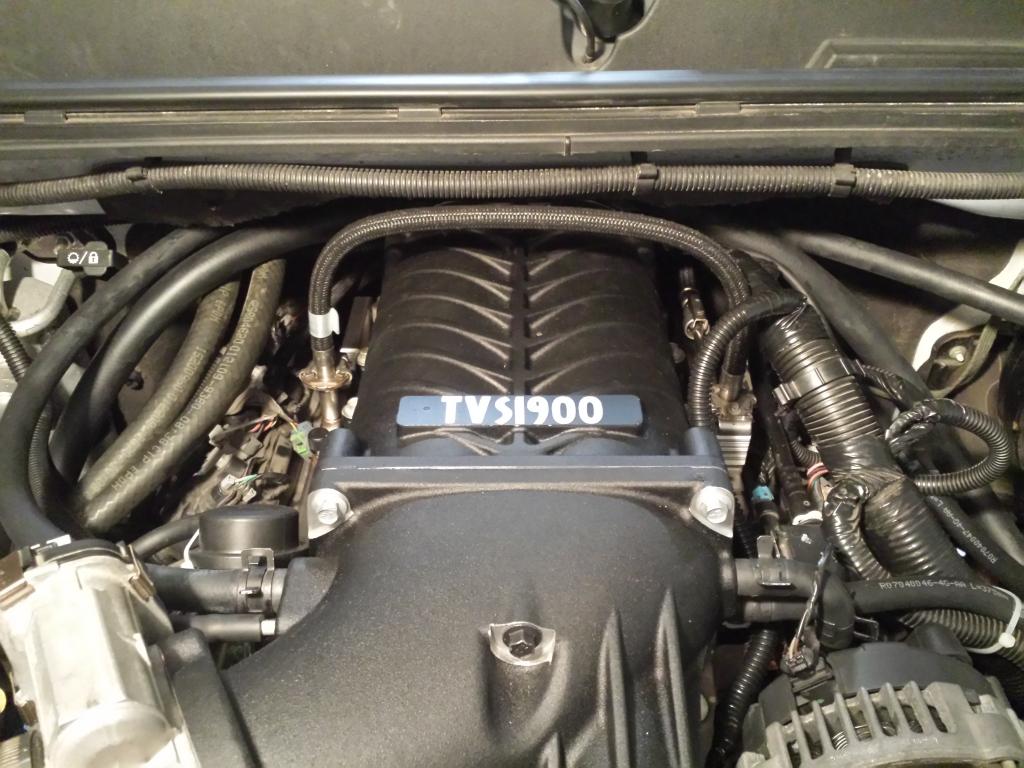
And finally, everything all put back together:
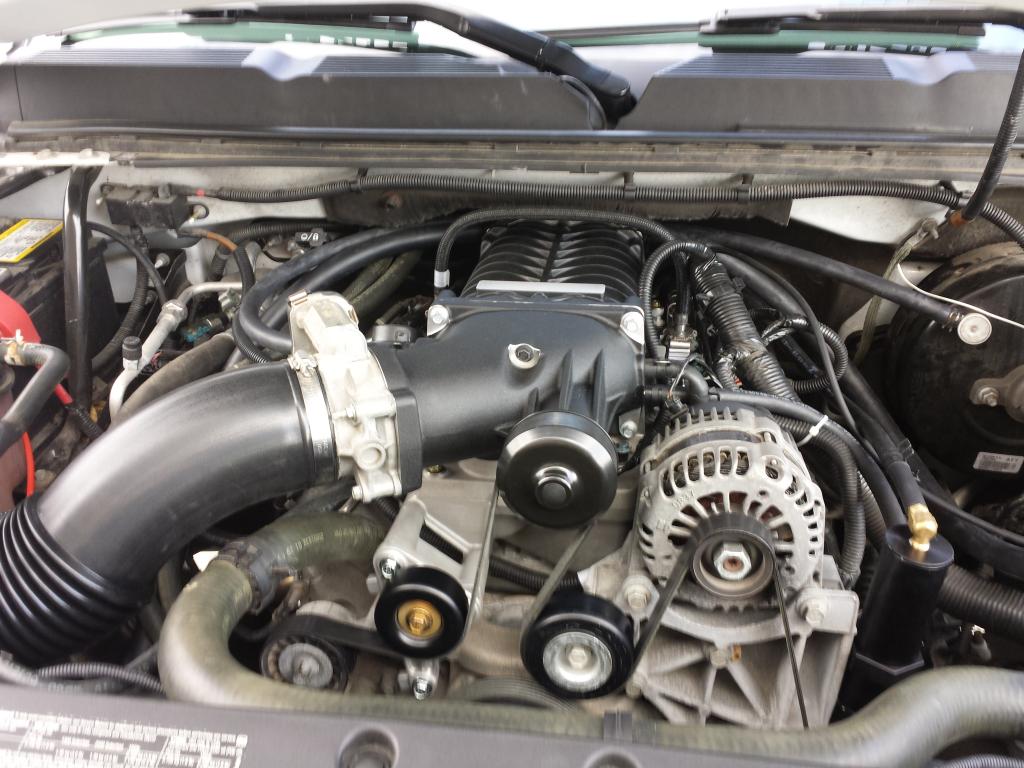
And this one is blurry too, but shows the catch can setup:
So, now it is running great with about 7 lbs of boost. It will now roast the tires off if you floor it from a stop in 2wd or chirp the 1-2 shift in 4wd. I am pleasantly surprised with the performance of the truck. I am still emailing back and forth with Justin on the tune since it seems to be a little leaner (12-12.5 ANR) than what I would want, but I am still very happy that the tune is as close as it is considering.
Now I just need to get it back to the track/dyno to see what the results are. Stay tuned!
Once that was all done, I worked to drill and tap the 1/8" NPT and 3/8" NPT fittings for the intake pressure and intake temperature sensors. Note to all those involved, do not put them on the SIDE of the aluminum section between the heads and the head unit. I learned the hard way, that the rail is basically unavoidable
:Anyway, I had to give up for the night until we could get plugs to fill those two holes and also because the L9H injectors I intended to use were about 10 mm shorter than the factory ones (yes I know I could/should have used the 42 lb ones from the kit, but I had these factory ones around from my dad's truck which used ID1000s for his procharged 6.2):
So, I put in a call to Fuel Injector Connection and got the top spacers for those while I licked my wounds. And since my factory intake basically drained a cup of oil out on my garage floor, I decided to pick up one of these:
I took the next couple days while things started to arrive to go ahead and install the gauges after painting the pillar with Colorbond 333 paint:
And also wired up the IAT sensor, and ran the boost gauge wiring under the hood. I figured out that the wiring wasn't quite long enough, so I had to just zip tie the sensor under the hood and run a hose to where I was going to fit the barb on the intake plate:
And last thing I could do was install the intercooler in front of the radiator and the pump/reservoir setup (and wouldn't you know it that I didn't take pics until after it was done through the grille):
Anyway, a day or two later, I got all the plugs, injectors with spacers in, got the fuel rails installed, and the IAT sensor put in:
And finally, everything all put back together:
And this one is blurry too, but shows the catch can setup:
So, now it is running great with about 7 lbs of boost. It will now roast the tires off if you floor it from a stop in 2wd or chirp the 1-2 shift in 4wd. I am pleasantly surprised with the performance of the truck. I am still emailing back and forth with Justin on the tune since it seems to be a little leaner (12-12.5 ANR) than what I would want, but I am still very happy that the tune is as close as it is considering.
Now I just need to get it back to the track/dyno to see what the results are. Stay tuned!
Last edited by vettelovralexand; 08-01-2014 at 09:30 PM.


Trending Topics


 01-16-2015, 01:56 PM
#10
TECH Apprentice
Thread Starter
Bumping this one back up. I will be moving to phase 2 here soon. I put everything on my christmas list to do a DOD delete on the truck, so I went ahead and ordered a custom spec BTR cam, bought a set of PRC stage 1 243 heads off of someone here (and installed BTR .650 lift dual springs w/titanium retainers), plus I ordered an overdrive crank pulley. Truck should pick up a lot more power after the change over, and I'll keep everyone updated as it moves along.