

2000 Chevy Silverado project "Charlie Murphy"


 Nov 11, 2013 | 03:49 AM
#242

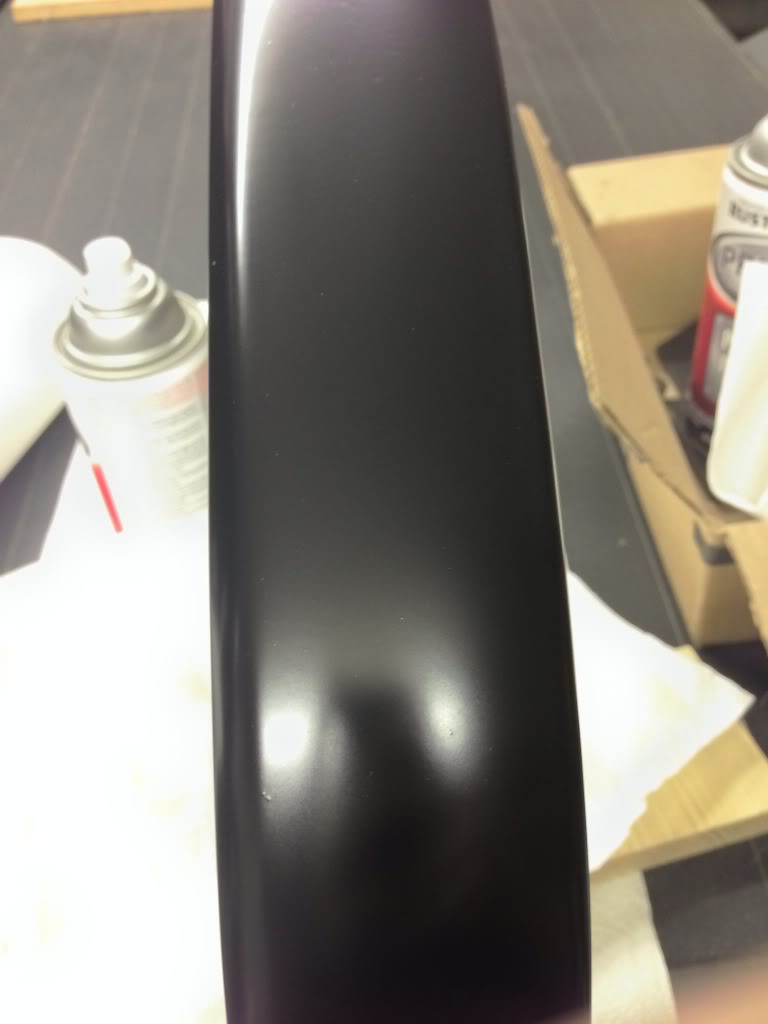
I sanded my primered pieces with some 1200 grit sandpaper. Then I painted them Satin black. I have to say, paints these days are pretty impressive. After it fully cures, I'll sand it with 1200 again and add another coat.
It's hard to capture exactly how it looks. Especially under fluorescent lighting. It looks like it's going to match nicely. Of course I'll get a picture when everything is put back together.

I used a sawsall to cut down my spacer. My step father actually has a metal bandsaw but the spacer I had was to short to fit in it. Consequently my spacer wasn't cut perfectly, but it gets the job done.
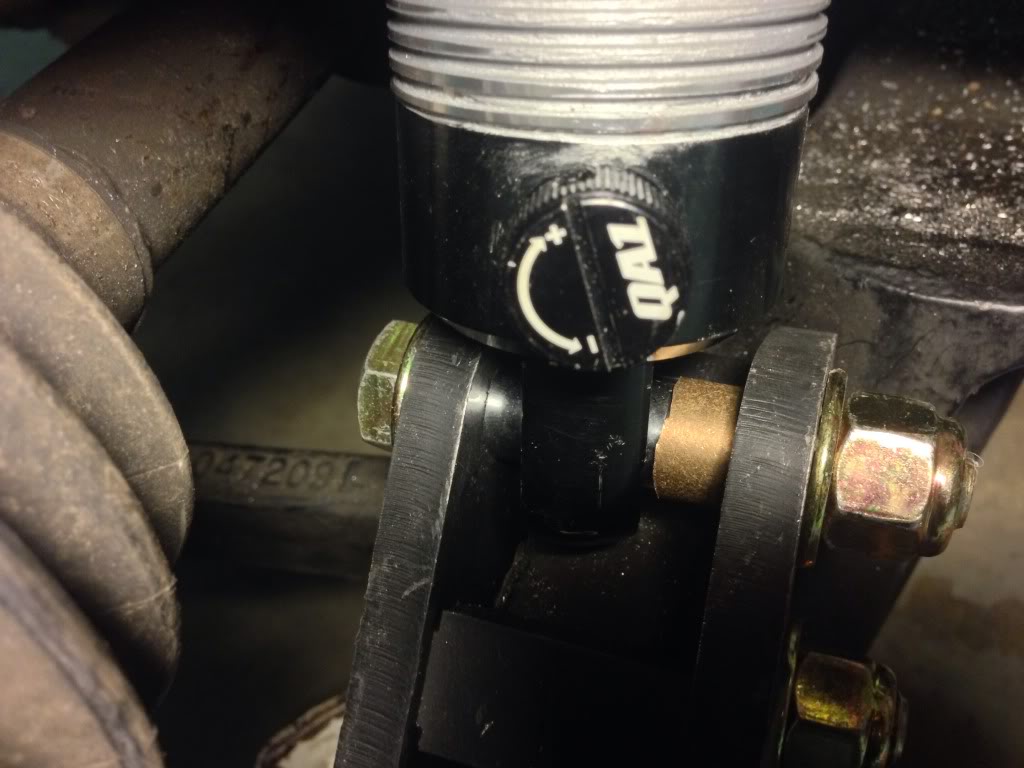
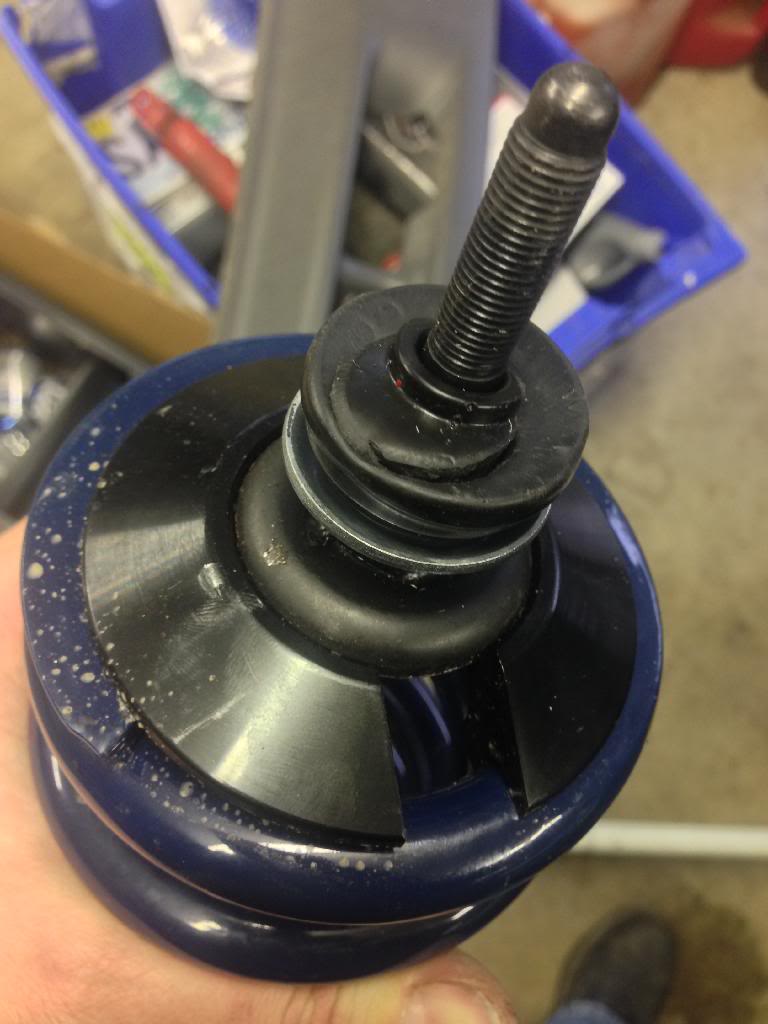
Something I noticed when I was jacking around with the coilover. I haven't even driven my truck yet and the upper shock bushing looks like this.
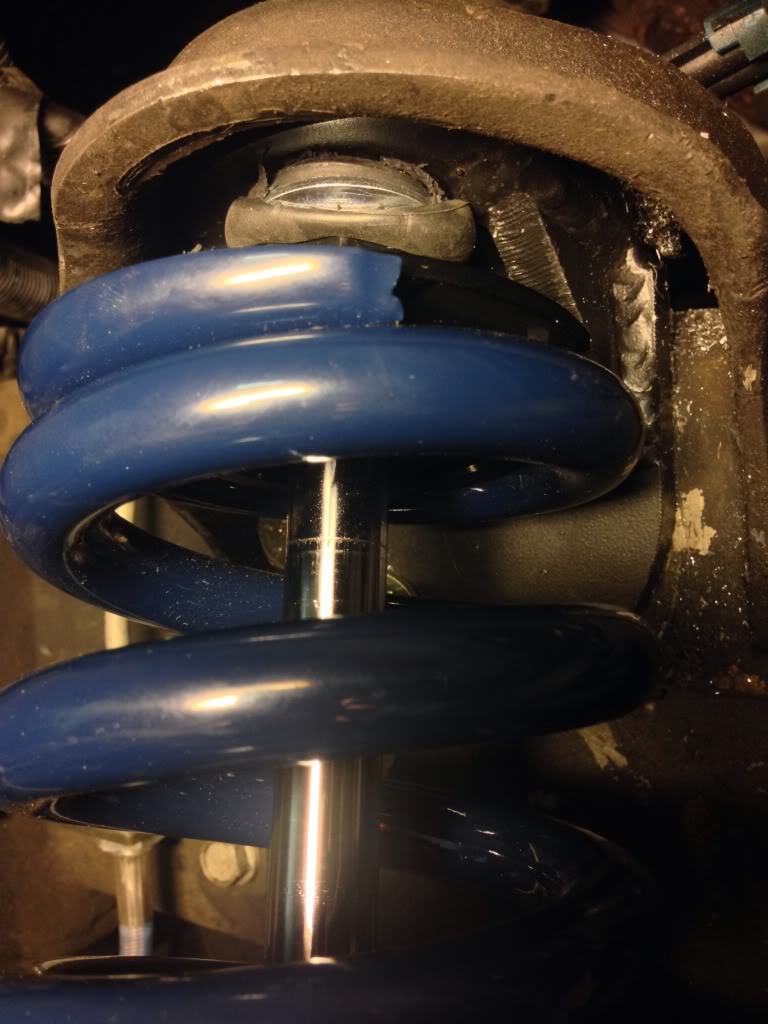
I'm not sure if I can get some more resilient shock bushings or what. I guess the weight of the truck is just too much for those bushings.
It seems to have cut through the bushing but there is still some rubber there. I'm afraid that eventually it'll wear through and it'll be metal on metal.
Thoughts?
It's hard to capture exactly how it looks. Especially under fluorescent lighting. It looks like it's going to match nicely. Of course I'll get a picture when everything is put back together.
I used a sawsall to cut down my spacer. My step father actually has a metal bandsaw but the spacer I had was to short to fit in it. Consequently my spacer wasn't cut perfectly, but it gets the job done.
Something I noticed when I was jacking around with the coilover. I haven't even driven my truck yet and the upper shock bushing looks like this.
I'm not sure if I can get some more resilient shock bushings or what. I guess the weight of the truck is just too much for those bushings.
It seems to have cut through the bushing but there is still some rubber there. I'm afraid that eventually it'll wear through and it'll be metal on metal.
Thoughts?
Nov 19, 2013 | 10:32 PM
#243
Awhile while back I started on my trailer brake/wiring install. Here's the post:
https://www.performancetrucks.net/fo...2/#post5150477
To install a trailer brake, you need to run two wires back from the 7 prong plug to the electrical box under the hood. This process is well documented elsewhere on the internet.
I spliced into the factory harness. The wires I bought off of eBay were meant for boats so the colors of the individual wires are different.

You basically unbury a red wire and a blue wire from the wire loom. Put the red wire on the nearest lug and splice the blue wire to the wire coming from the 7 prong plug in the rear. Then take the other wire coming from the plug, and put it on the other vacant stud (In my case, this was a black wire.)
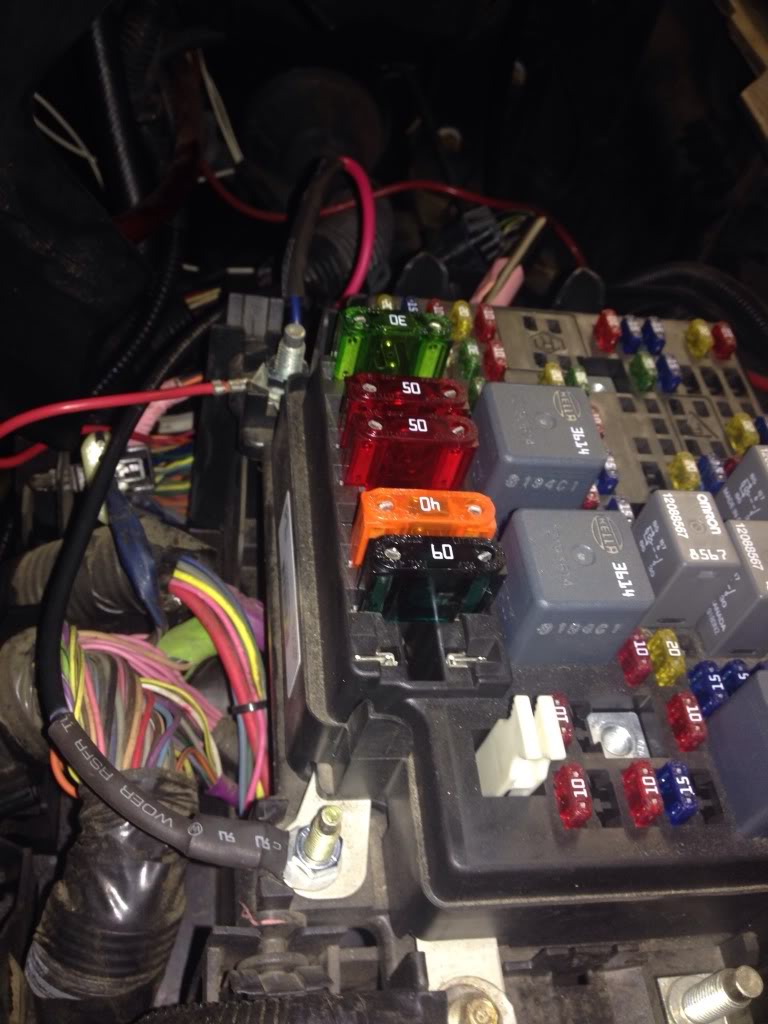
I wired everything up to my factory wires. They're hidden above the spare tire.
The wires that go to the front are light blue and black. They're easy to identify because they are a larger gauge wire.
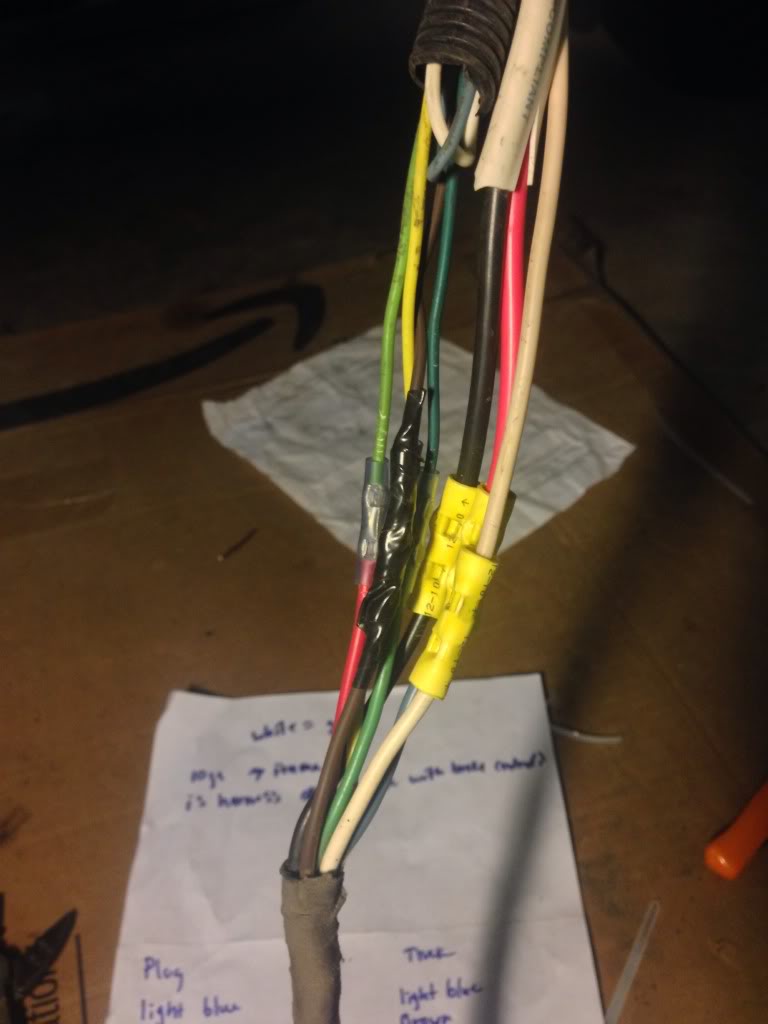
Hard to identify in the above picture, but for my setup, it goes,
Plug. -->. Electrical box under hood.
Blue. -->. Red
Black. -->. Black
The rest of the wires hook into the factory loom. This will vary depending on who makes the 7 prong plug.
The only other thing is running a ground wire. I ran mine to the passengers side.

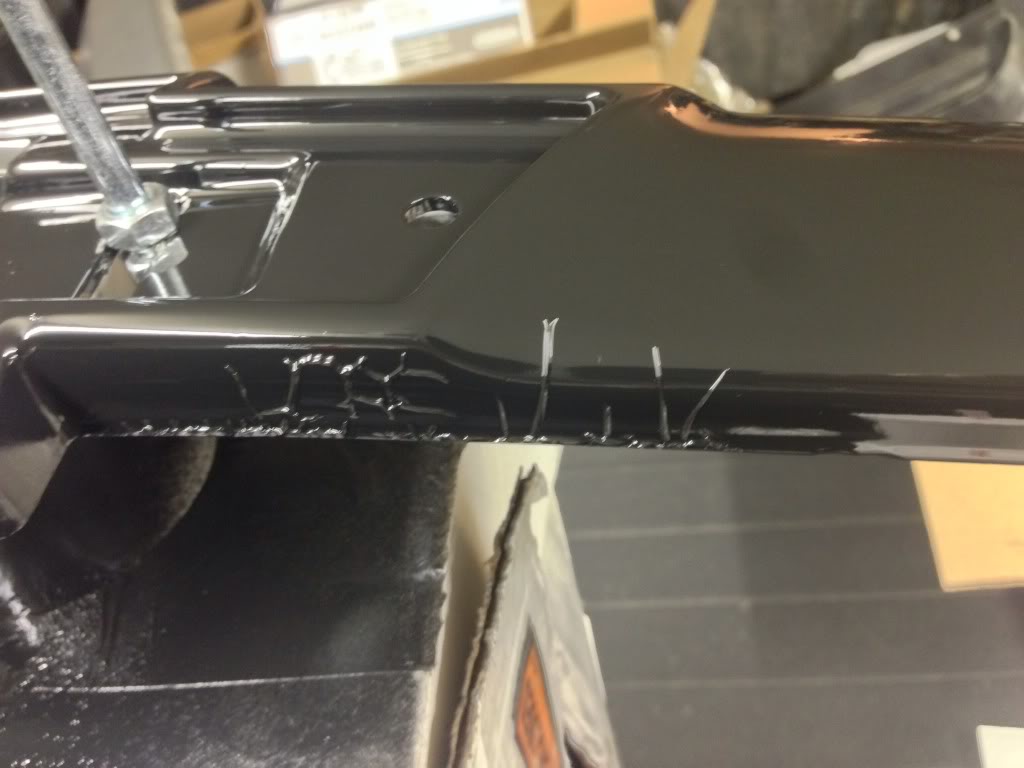
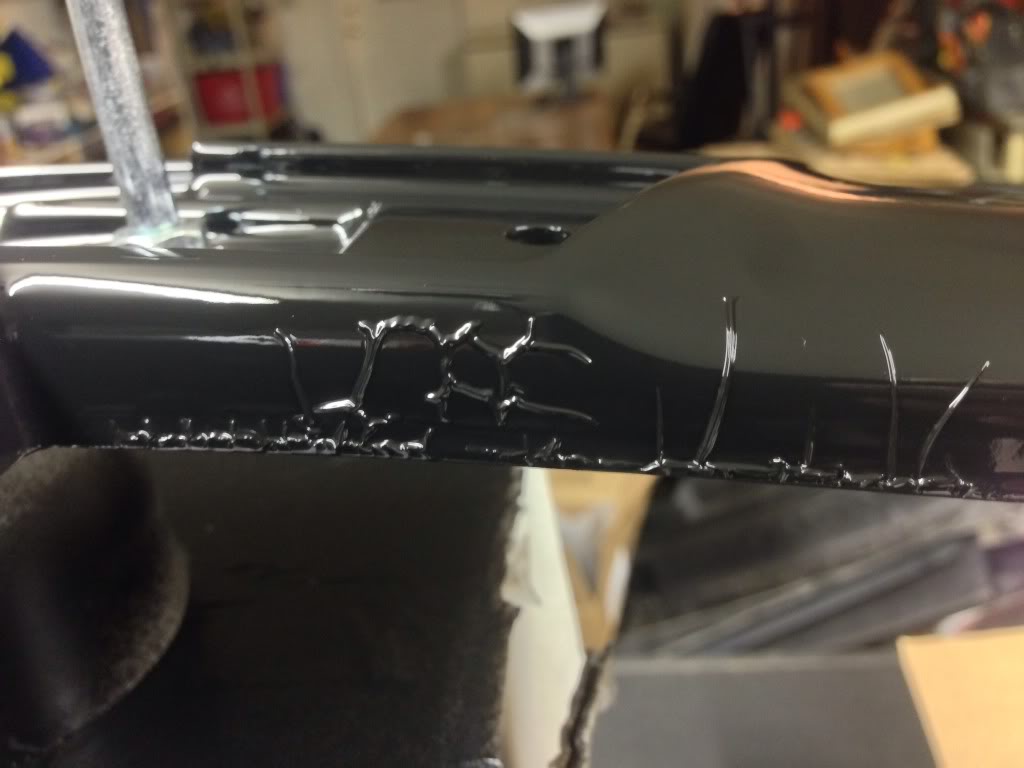
So I've got all the trailer wiring stuff taken care of. I have to do some repainting on my grill pieces. I'm not sure exactly what went wrong. I must have gotten some chemicals on my fingers or something.
Check it out. Pretty wild.
https://www.performancetrucks.net/fo...2/#post5150477
To install a trailer brake, you need to run two wires back from the 7 prong plug to the electrical box under the hood. This process is well documented elsewhere on the internet.
I spliced into the factory harness. The wires I bought off of eBay were meant for boats so the colors of the individual wires are different.
You basically unbury a red wire and a blue wire from the wire loom. Put the red wire on the nearest lug and splice the blue wire to the wire coming from the 7 prong plug in the rear. Then take the other wire coming from the plug, and put it on the other vacant stud (In my case, this was a black wire.)
I wired everything up to my factory wires. They're hidden above the spare tire.
The wires that go to the front are light blue and black. They're easy to identify because they are a larger gauge wire.
Hard to identify in the above picture, but for my setup, it goes,
Plug. -->. Electrical box under hood.
Blue. -->. Red
Black. -->. Black
The rest of the wires hook into the factory loom. This will vary depending on who makes the 7 prong plug.
The only other thing is running a ground wire. I ran mine to the passengers side.
So I've got all the trailer wiring stuff taken care of. I have to do some repainting on my grill pieces. I'm not sure exactly what went wrong. I must have gotten some chemicals on my fingers or something.
Check it out. Pretty wild.
Nov 20, 2013 | 01:01 PM
#244
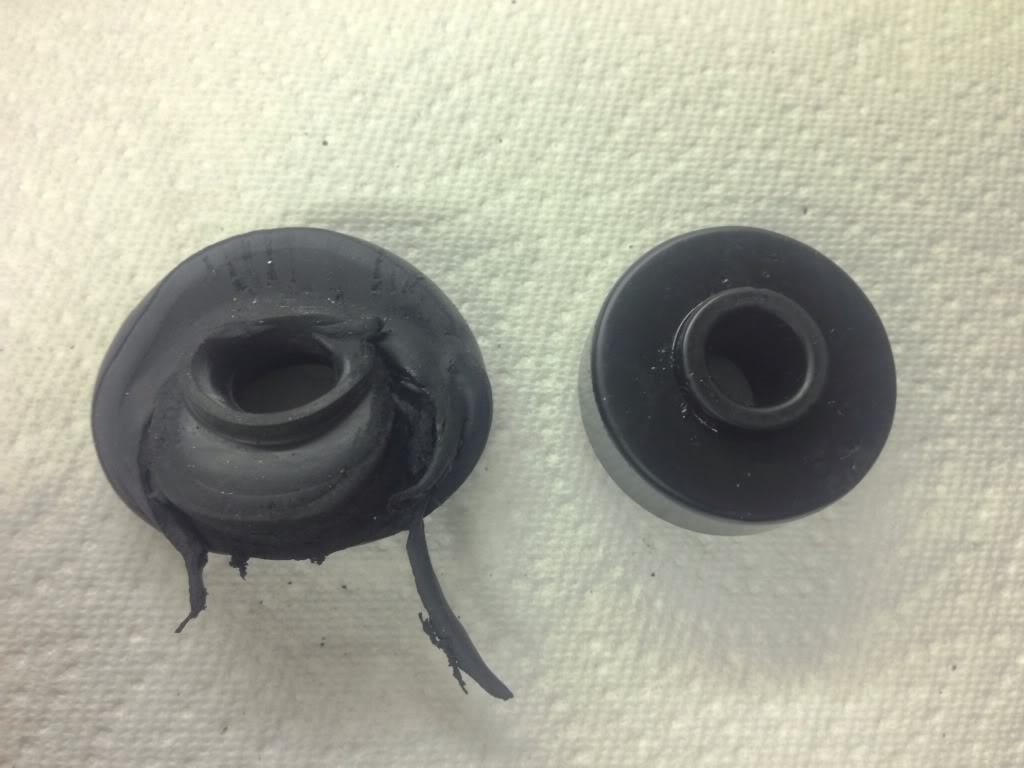
I received my polyurethane bushings. Here's what I ordered.
Prothane 19-921-BL Black Stem Type Shock Mount Bushing
Prothane 19-921-BL Black Stem Type Shock Mount Bushing : Amazon.com : Automotive
I don't know if this has happened to others, but this is a must have if you ask me. Here they are compared to the rubber bushings that were supplied with my Coilovers.
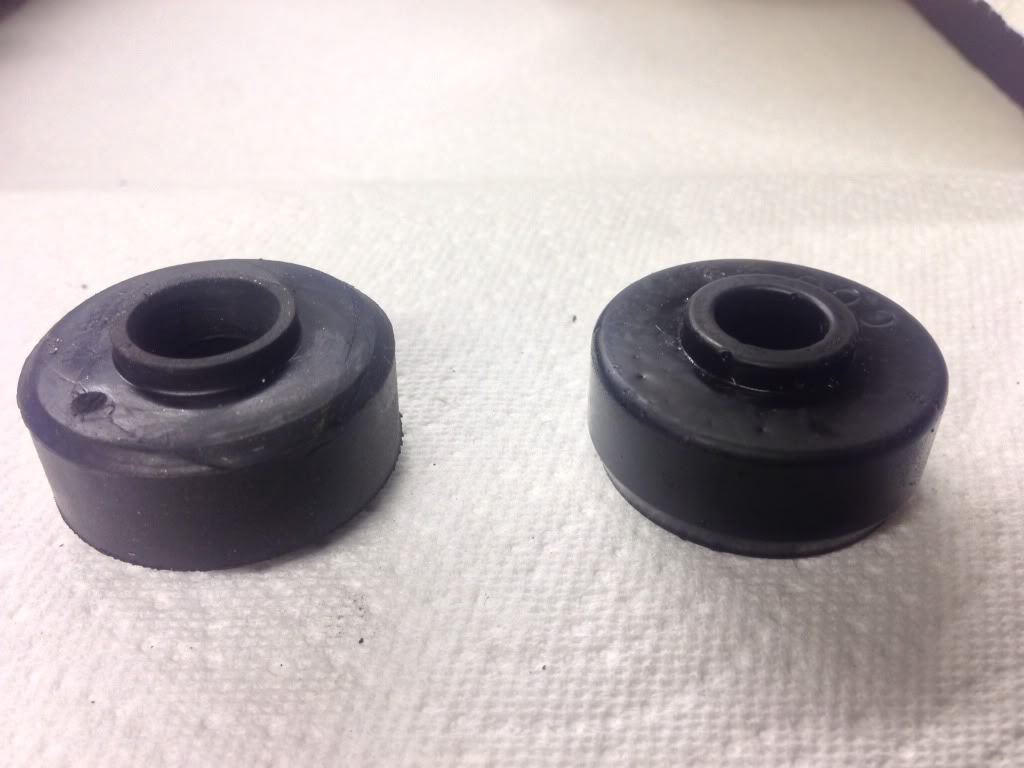
Here's what the weight of the truck did to them.
Prothane 19-921-BL Black Stem Type Shock Mount Bushing
Prothane 19-921-BL Black Stem Type Shock Mount Bushing : Amazon.com : Automotive
I don't know if this has happened to others, but this is a must have if you ask me. Here they are compared to the rubber bushings that were supplied with my Coilovers.
Here's what the weight of the truck did to them.
Nov 20, 2013 | 01:06 PM
#245

Joined: Jan 2006
Posts: 16,282
Likes: 438
From: Huntsville, AL
I cant see the pics since im at work, but I assume the new ones work fine? As far as I know you are the only one I have sold to that is doing the stud top mount (vs the procomp adapter).
Nov 20, 2013 | 02:46 PM
#246
I'm starting to wonder if the stud kit is the way to go or not. With the Procomp adapters, there are no bushings at all. I suppose if these fail, I can just build spacers in place of the bushings.
Dec 24, 2013 | 01:57 AM
#247
I've driven my truck ten miles since I completed the front coilover conversion. The polyeurathane bushings didn't fair much better.
So I decided to put some fender washers in.
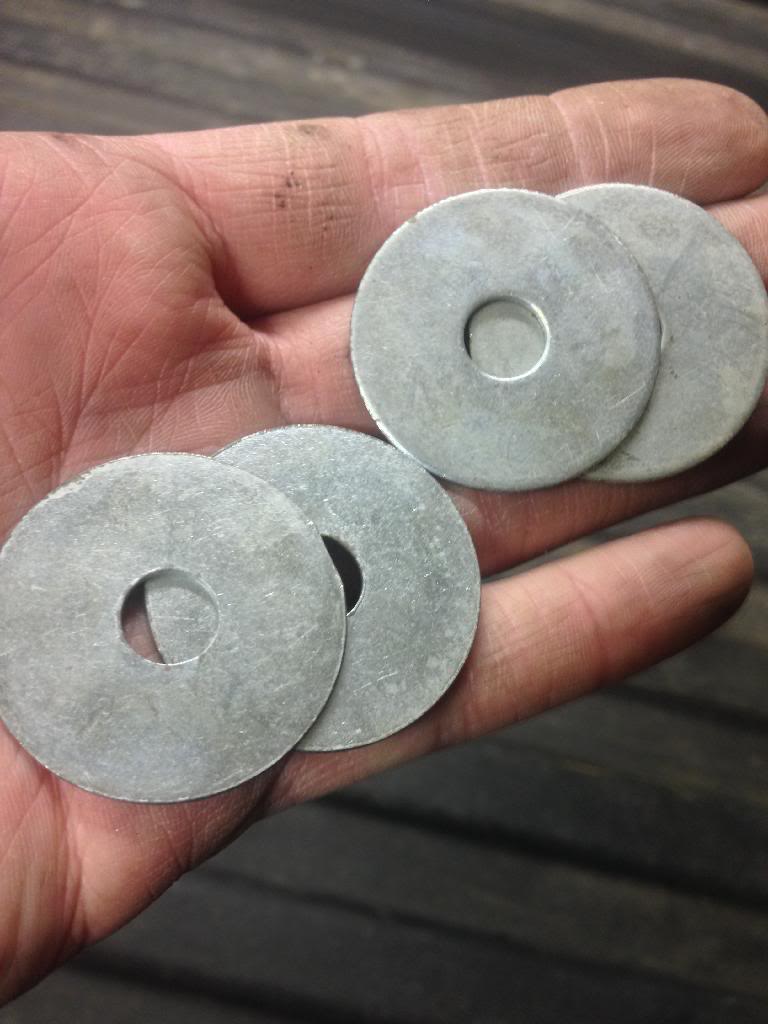
Like so.
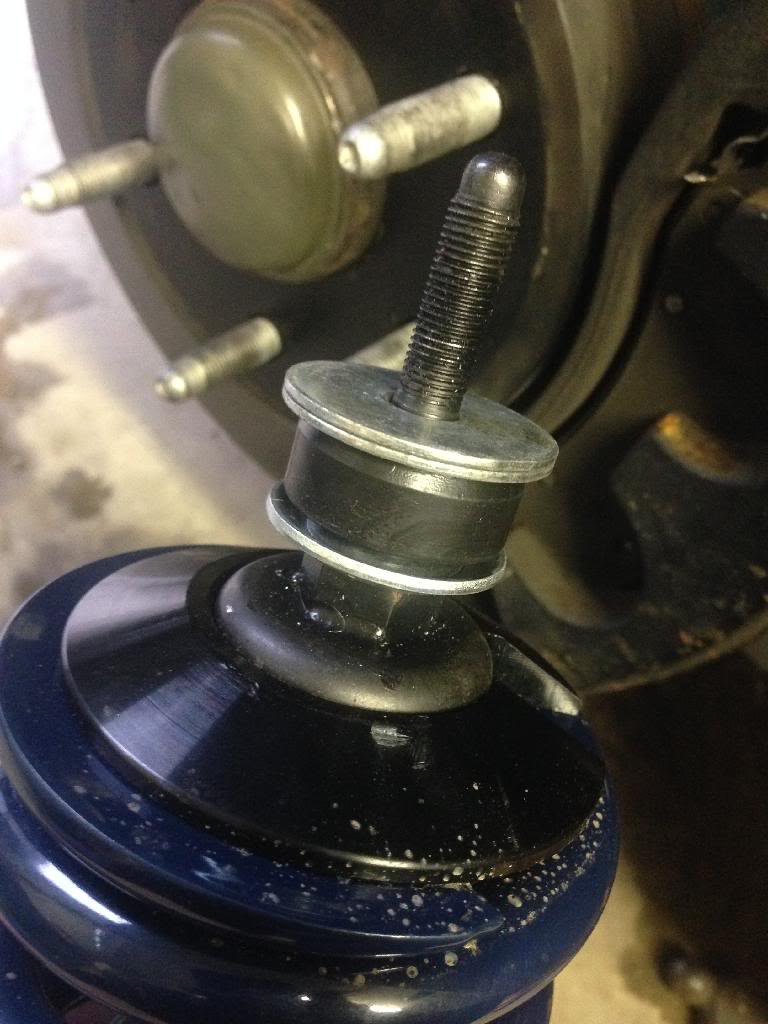
This should work. Now I need to get an alignment but that won't be until after Christmas. In the mean time, I'm going to get everything dialed in and level, then install my helper air bags.

So I decided to put some fender washers in.

Like so.

This should work. Now I need to get an alignment but that won't be until after Christmas. In the mean time, I'm going to get everything dialed in and level, then install my helper air bags.
Dec 24, 2013 | 10:11 AM
#249
I think it's silly how good the front suspension is compared to the rear. I was playing with it off camber a bit, ramping over the bumps on the edge of my parents driveway. It just absorbs it. I can jump up and down on the front bumper and there's more travel than it's ever had. I think the liner way a coil spring works is better than the twisting way a torsion bar works.
Like I said, I need to get it aligned. When the ride height is exactly where I want it, I'll drill the lower a-arms and install some bumpstops. I can't really do that until I'm 100% sure the height is correct. I may need to trim the bumpstops I bought.
I am curious to see if the addition of airbags in the rear will change things at all. Theoretically it shouldn't. Also, I was pondering what I could do to improve the rear in general. What if we fabbed up upper mounts (or modified the factory rear shock mounts), in the rear and went a similar route as we did in the front? I could remove all the leaf springs but one and use them to locate the rear.
A mono leaf + air bags + Coilovers. Do you think that would improve the rear suspension while maintaining the ability to tow on occasion?
