2012 Ram R/T high end audio install.
 Mar 24, 2013 | 10:37 AM
#1

Thread Starter
TECH Apprentice
Joined: Sep 2012
Posts: 321
Likes: 0
This will take place over the next week or so....I'll update as work progresses.
The whole truck will be deadened as well as a layer of CCF with some 1/2" Dynaliner on the inner firewall. Midbass in the built up doors, midrange in the OEM dash locations and tweeters in the Shok Pods on the pillars.
The sub will be centered between the bucket seats with an amp on each side so it's nice and symmetrical then the trim panel will show nothing but the sub face and the tops of the amps and will be covered in vinyl to match the leather seat color. The Mosconi 6to8 processor will be hidden somewhere...I left that up to my installer. As long as I have access to the USB port for laptop tuning I don't care where it is.
I guess that's the high points.
Here's the gear...minus the KRX3's which were sold.
Amps are a pair of Mosconi AS200.4's
Front stage...Focal Utopia Be N* 7 active...tweeters in the Shok Pods
DSP is the Mosconi 6to8
Sub is the new JL 12W6v3
Wiring is Monster and RCA's are Stinger 8000 series.
Deadening is Stinger Roadkill Expert.
I'm keeping the OEM head unit...it's way too integrated into the truck to just yank out.


Polished DC Power 250 amp alternator

I threw in an XS Power D4800 battery too.


From here on out I'm just gonna copy the installer's log from another forum.
The doors had already began their transformation, great job by Prince and Albert.

Took some before/sketch photos...


Next came some tear down. While I'm pulling the truck apart, I'm also looking at mounting, and wire running solutions.


Normally I get a little fancier on renderings but these were mainly to understand where wiring may be going rather than looking at the design per se.

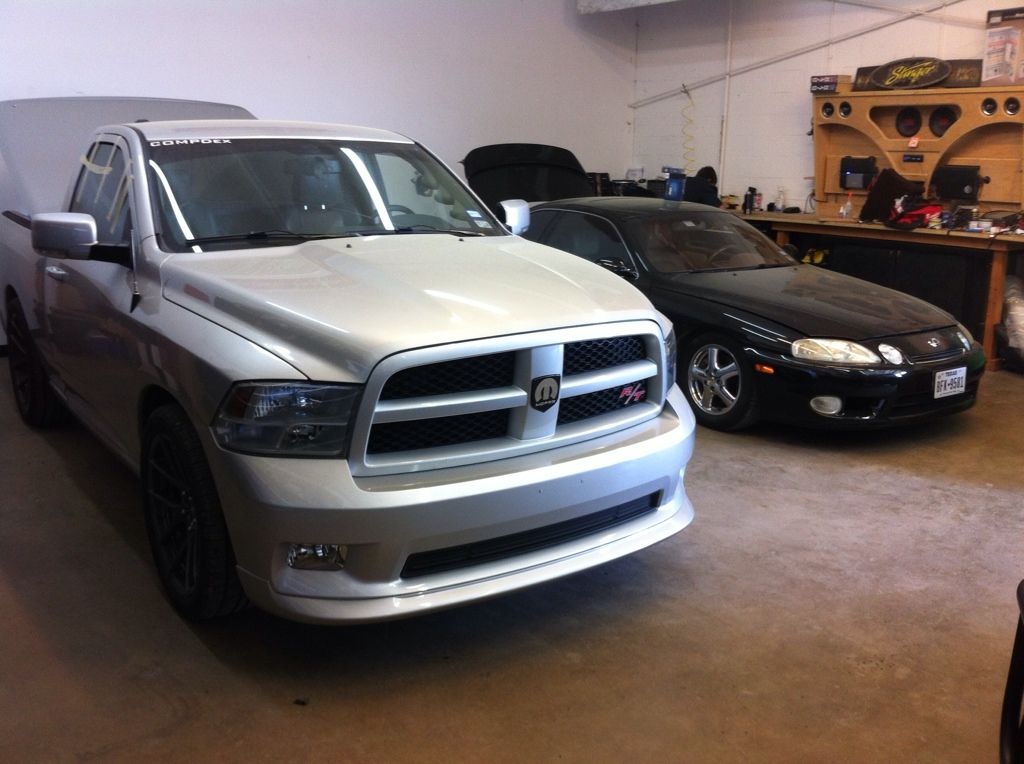
Alright!!! Time to get busy!! I have to build this truck and the Lexus next to it so no time to waste! Proper planning is the key, while resin dries in the Lexus I wire and dampen in the Ram, that kind of thing.
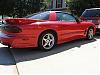
Everything goes on the inside, this is a gorgeous truck inside and out!!!! R/T shifter and matching trim pieces in the engine bay are nice, and I've caught myself staring at those rims several times now!!

Damping time!! Entire floor and back wall. I wonder if this is what a jiffy pop kernel feels like?

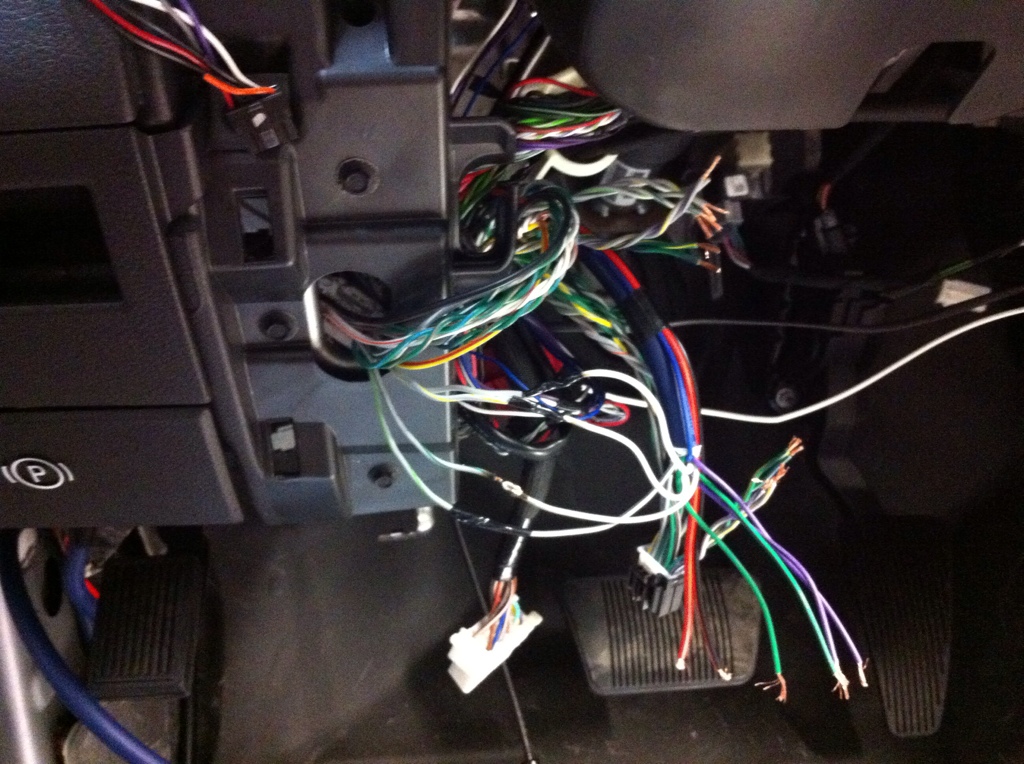
When I got under the dash for amp integration, I saw some wiring for accessories that I didn't like so I will be cleaning this up a bit, I think the truck deserves it.

"Structural" wiring is next. I consider this all that is required to reinstall the interior.


Later, with some wood shop time I knock out the mounts for the mid going in the factory dash location.


The whole truck will be deadened as well as a layer of CCF with some 1/2" Dynaliner on the inner firewall. Midbass in the built up doors, midrange in the OEM dash locations and tweeters in the Shok Pods on the pillars.
The sub will be centered between the bucket seats with an amp on each side so it's nice and symmetrical then the trim panel will show nothing but the sub face and the tops of the amps and will be covered in vinyl to match the leather seat color. The Mosconi 6to8 processor will be hidden somewhere...I left that up to my installer. As long as I have access to the USB port for laptop tuning I don't care where it is.
I guess that's the high points.
Here's the gear...minus the KRX3's which were sold.
Amps are a pair of Mosconi AS200.4's
Front stage...Focal Utopia Be N* 7 active...tweeters in the Shok Pods
DSP is the Mosconi 6to8
Sub is the new JL 12W6v3
Wiring is Monster and RCA's are Stinger 8000 series.
Deadening is Stinger Roadkill Expert.
I'm keeping the OEM head unit...it's way too integrated into the truck to just yank out.
Polished DC Power 250 amp alternator
I threw in an XS Power D4800 battery too.
From here on out I'm just gonna copy the installer's log from another forum.
The doors had already began their transformation, great job by Prince and Albert.
Took some before/sketch photos...
Next came some tear down. While I'm pulling the truck apart, I'm also looking at mounting, and wire running solutions.
Normally I get a little fancier on renderings but these were mainly to understand where wiring may be going rather than looking at the design per se.
Alright!!! Time to get busy!! I have to build this truck and the Lexus next to it so no time to waste! Proper planning is the key, while resin dries in the Lexus I wire and dampen in the Ram, that kind of thing.
Everything goes on the inside, this is a gorgeous truck inside and out!!!! R/T shifter and matching trim pieces in the engine bay are nice, and I've caught myself staring at those rims several times now!!
Damping time!! Entire floor and back wall. I wonder if this is what a jiffy pop kernel feels like?
When I got under the dash for amp integration, I saw some wiring for accessories that I didn't like so I will be cleaning this up a bit, I think the truck deserves it.
"Structural" wiring is next. I consider this all that is required to reinstall the interior.
Later, with some wood shop time I knock out the mounts for the mid going in the factory dash location.
Mar 24, 2013 | 10:37 AM
#2
Thread Starter
TECH Apprentice
Joined: Sep 2012
Posts: 321
Likes: 0
Soldering 6to8 inputs...
I got a little nervous that I may need to grab sub signal even though this truck wasn't equipped with one, so I hooked the factory amp back in and ran some tests.


Under the hood, fusing and the big 3 has begun.


I got a little nervous that I may need to grab sub signal even though this truck wasn't equipped with one, so I hooked the factory amp back in and ran some tests.
Under the hood, fusing and the big 3 has begun.