Kaane's 1999 Silverado RCLB Beater Build 6.0 Swap


 03-12-2018, 01:41 AM
#12

The problem with painting is you need to prep it well or it won't stick well.
Some guys have used POR15 Or other chassis type coatings.
In the past, I used PPG DPLF 90 directly after sand blasting and cleaning.
Now there is lots more choice. I would use an Epoxy type coating.
Summit even has its own brand Epoxy chassis paint.
Some guys have used POR15 Or other chassis type coatings.
In the past, I used PPG DPLF 90 directly after sand blasting and cleaning.
Now there is lots more choice. I would use an Epoxy type coating.
Summit even has its own brand Epoxy chassis paint.
 03-21-2018, 03:03 PM
#14
Waiting on the machine shop still. Block and heads should be done friday.
I worked on replacing the plastic wire looms. Half of them fell apart due to heat. Got all done except the big one from the ECU, just waiting on larger diameter one.
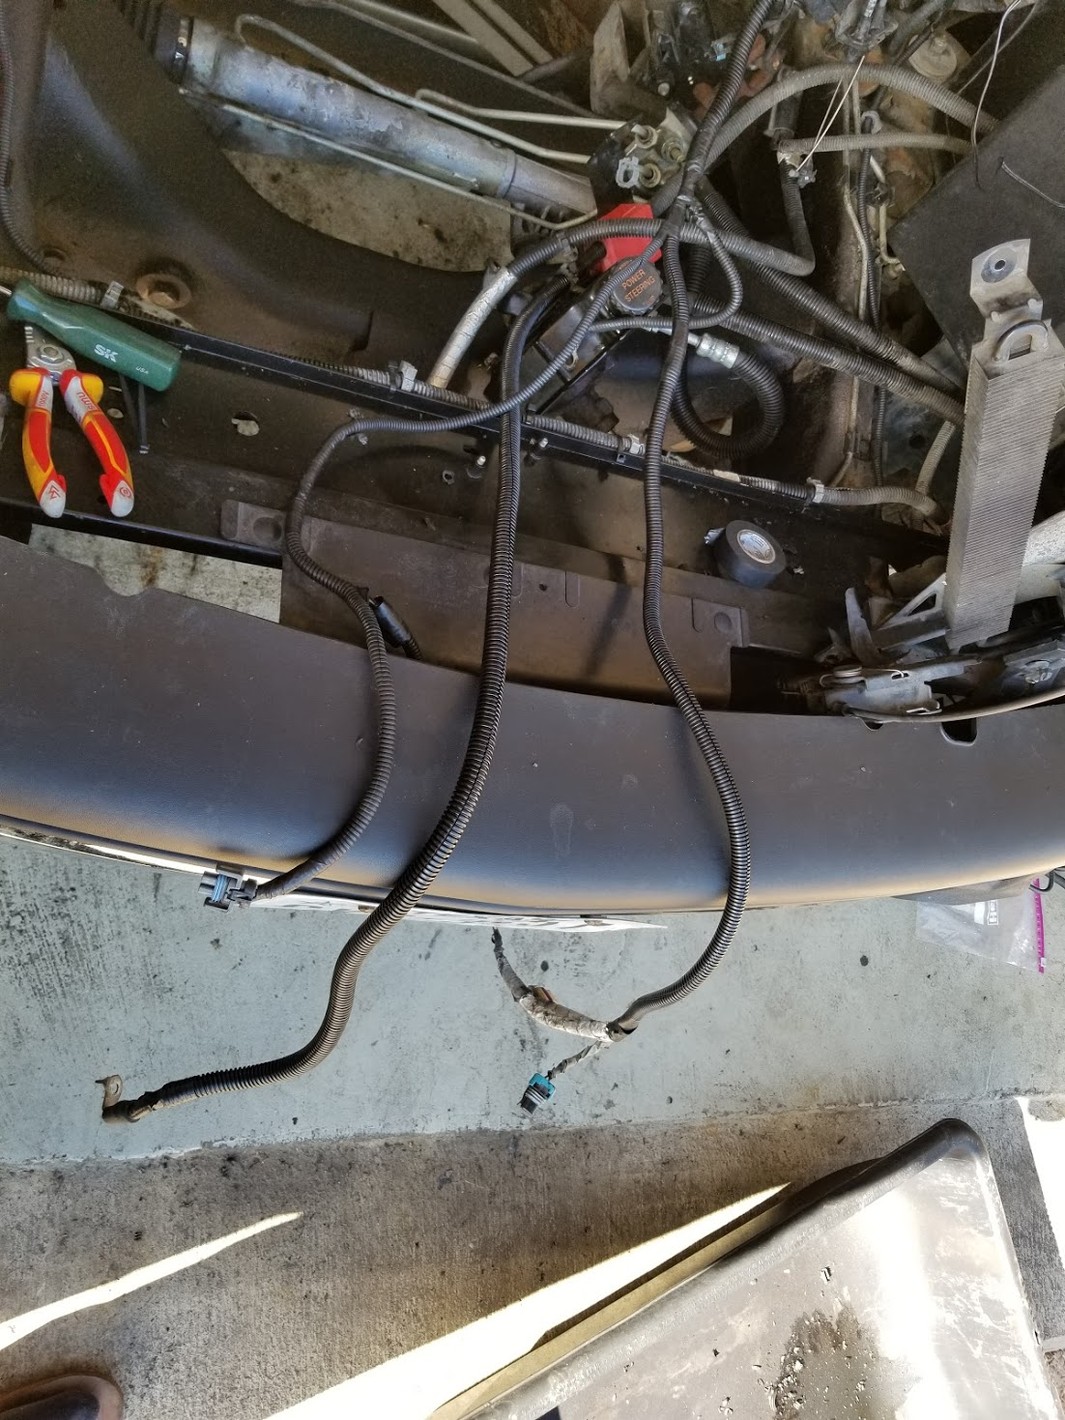
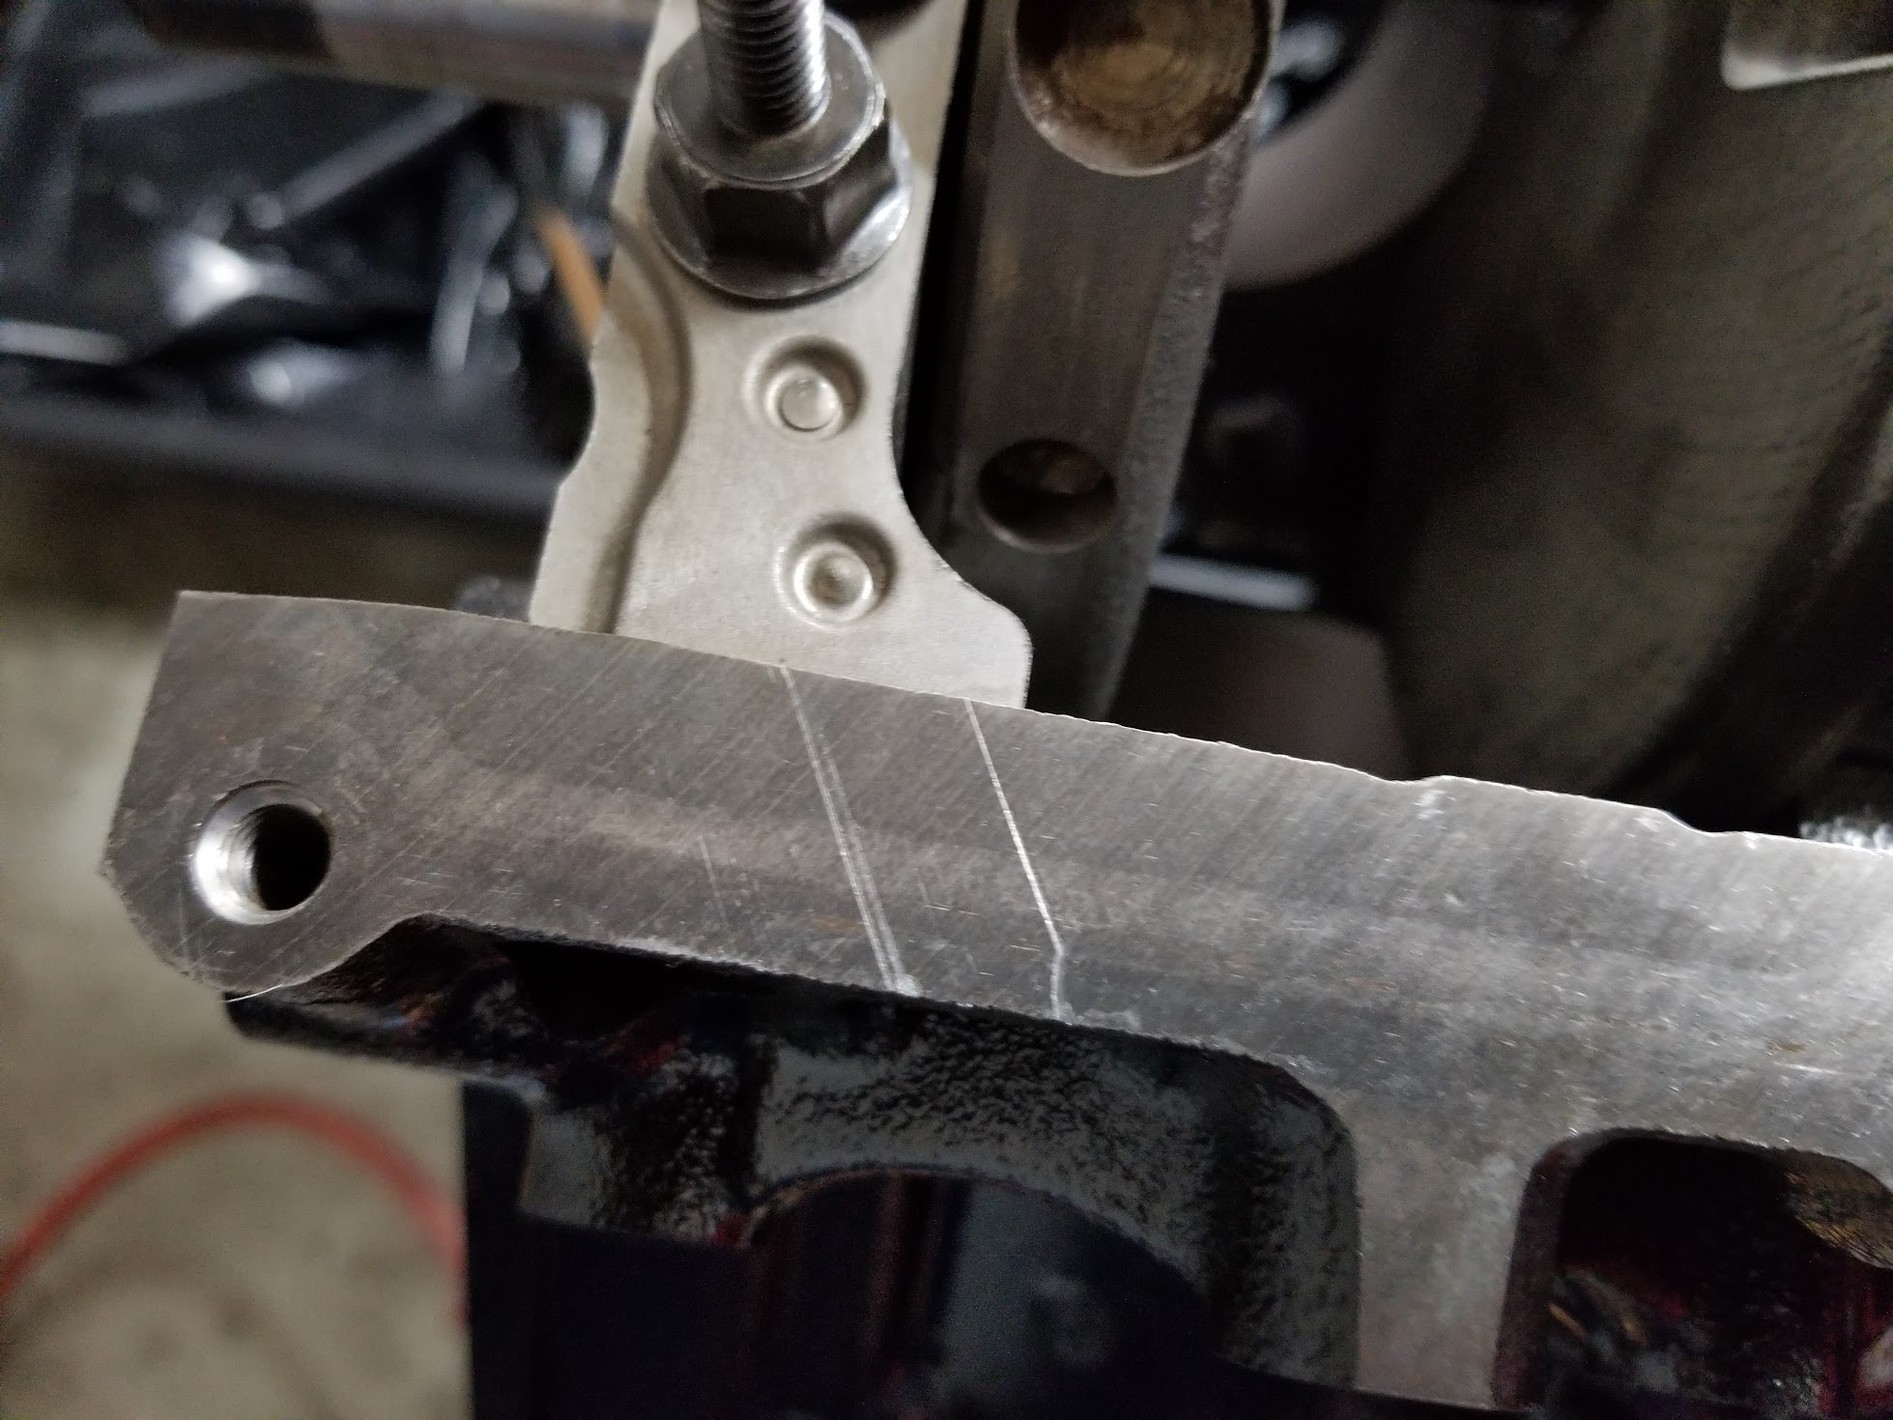
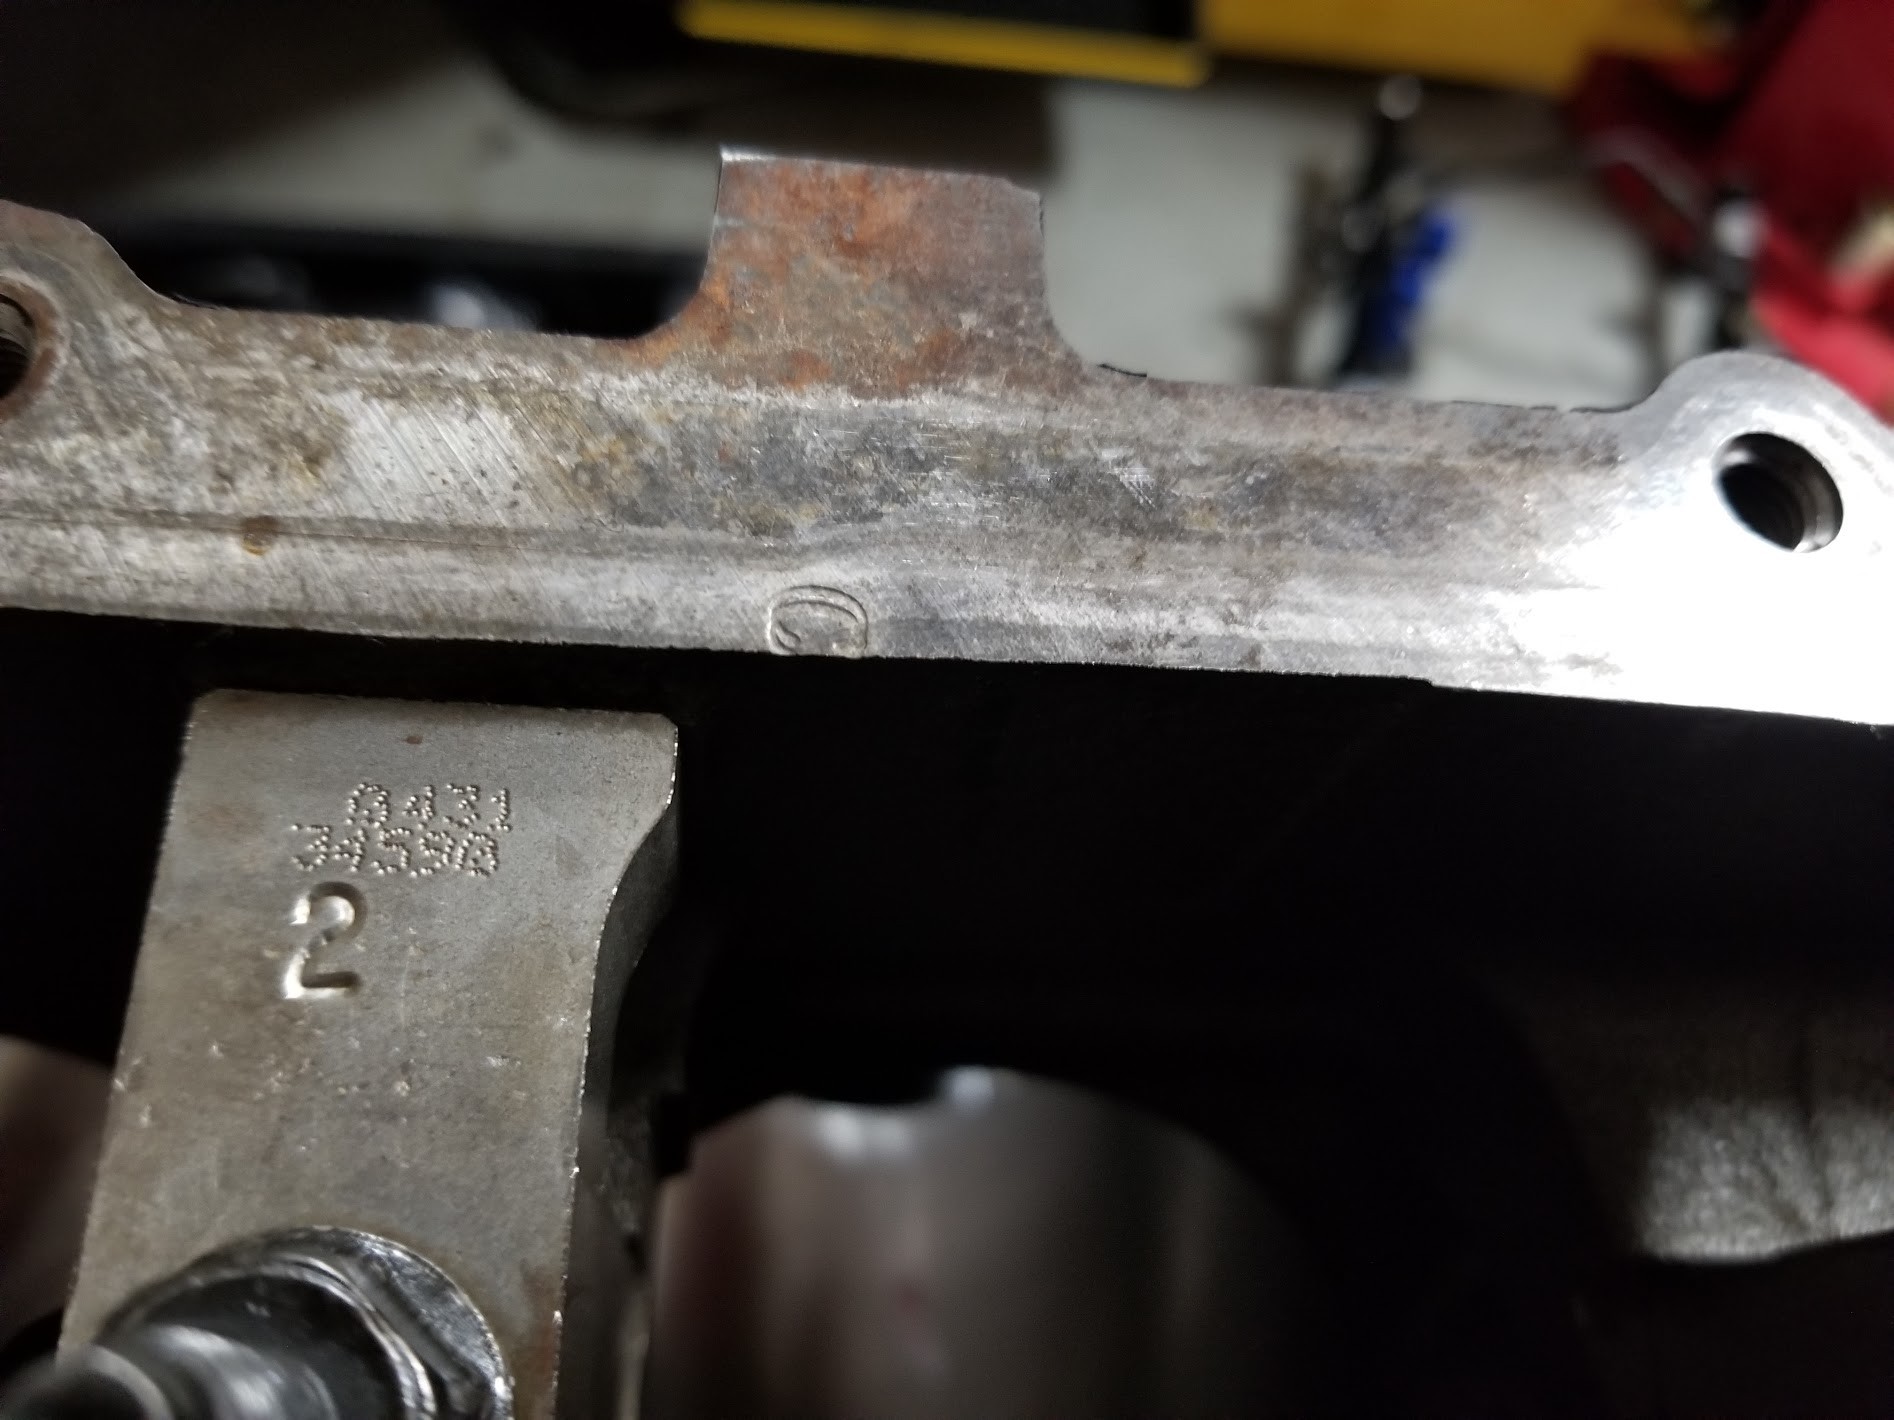
I painted the cross member with 3M undercoating to keep it from rusting.

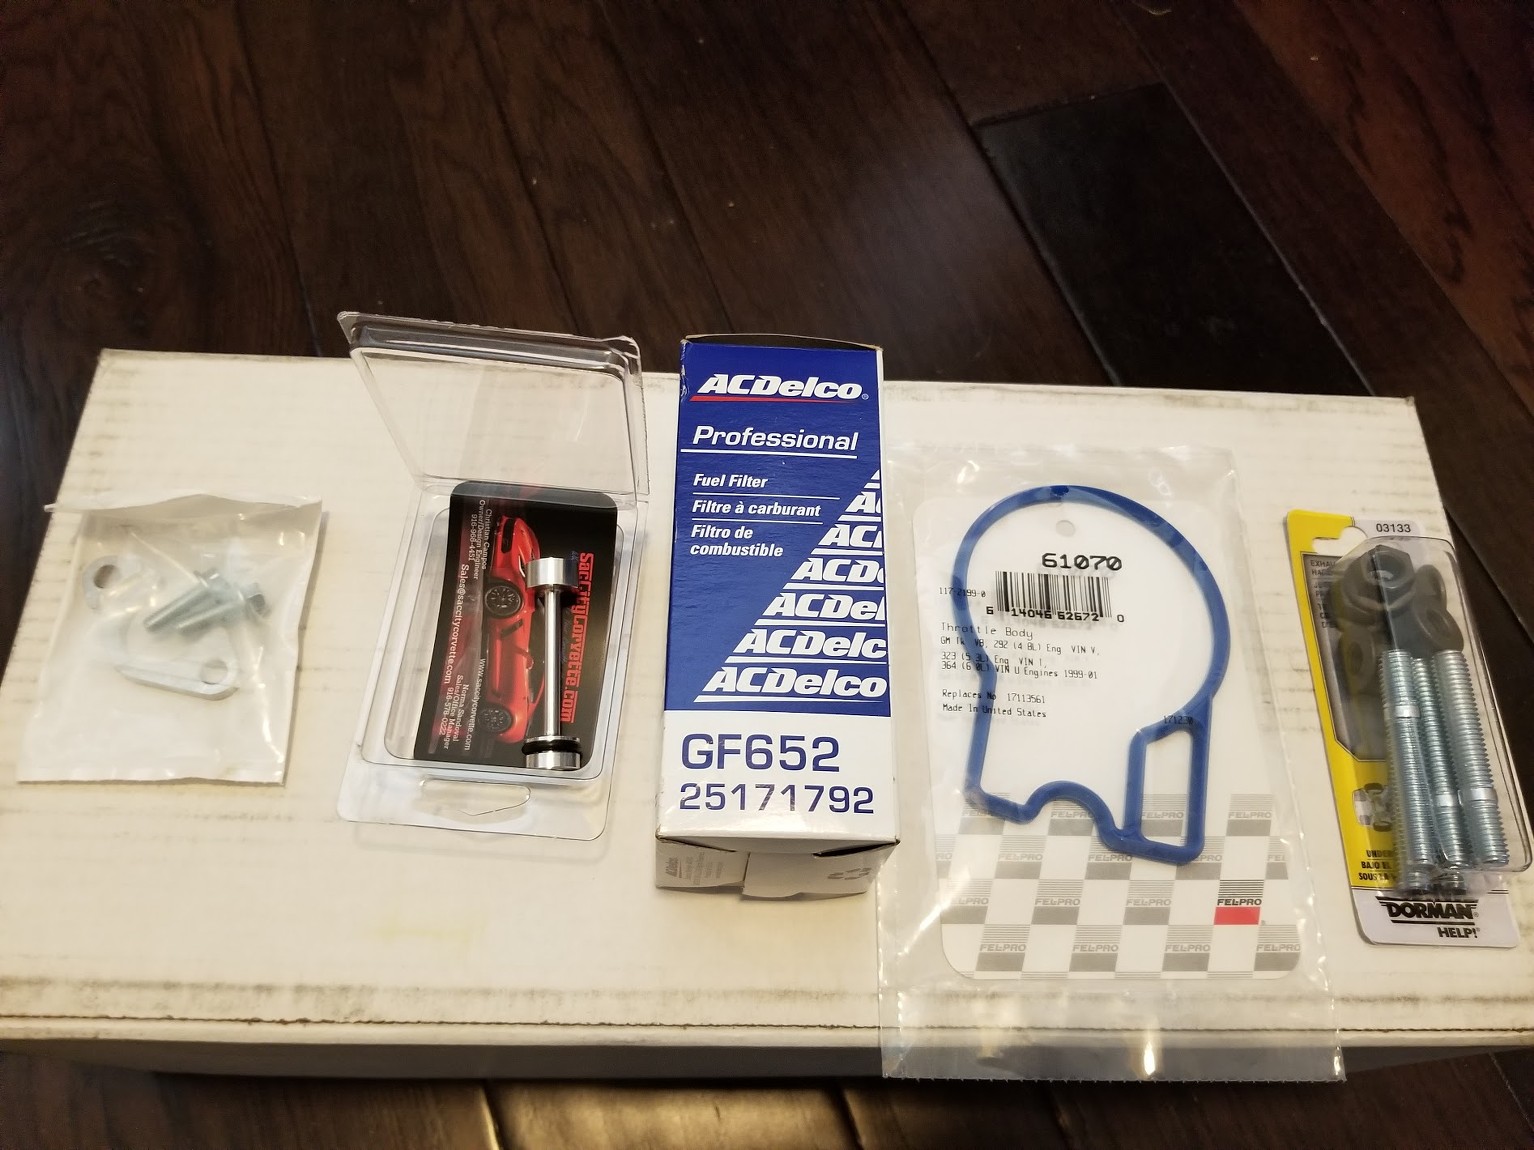
More parts arrived.
Walbro 432HP Fuel Pump Assembly, includes 255LPH fuel pump.
New Fuel Filter
New TB Gasket
SAC City Corvette Oil Barbell
Oil Pickup Girdle
New Exhaust Manifold Studs
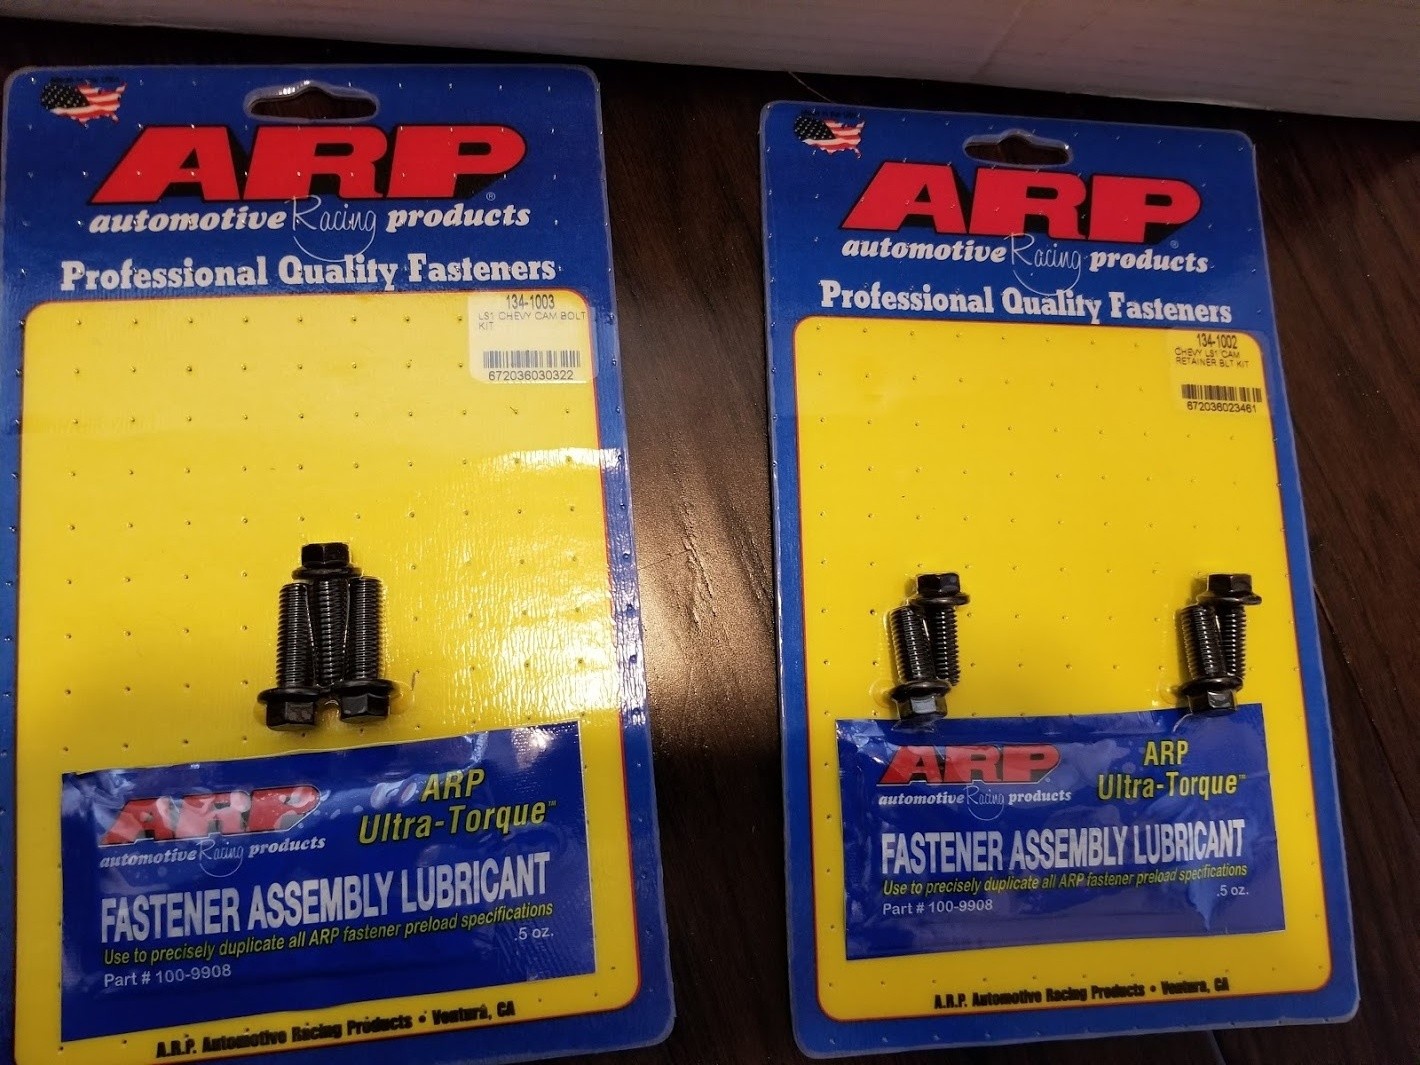
ARP Cam bolts
ARP Retainer Bolts
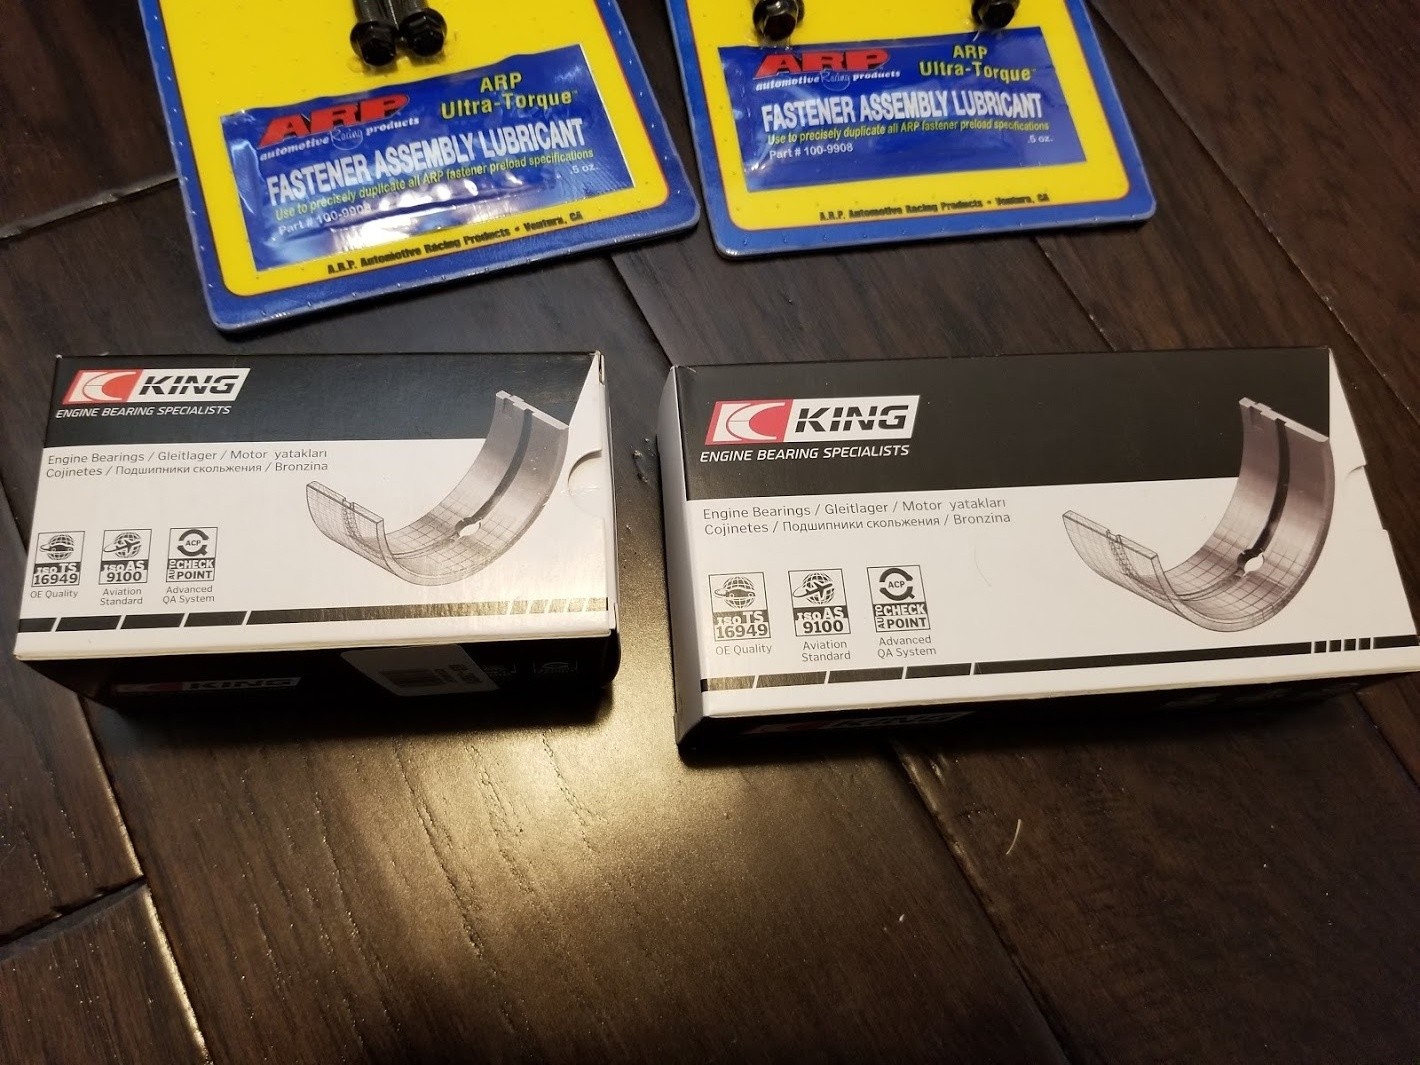
King Main and Rod Bearings
I worked on replacing the plastic wire looms. Half of them fell apart due to heat. Got all done except the big one from the ECU, just waiting on larger diameter one.
I painted the cross member with 3M undercoating to keep it from rusting.
More parts arrived.
Walbro 432HP Fuel Pump Assembly, includes 255LPH fuel pump.
New Fuel Filter
New TB Gasket
SAC City Corvette Oil Barbell
Oil Pickup Girdle
New Exhaust Manifold Studs
ARP Cam bolts
ARP Retainer Bolts
King Main and Rod Bearings
03-24-2018, 04:56 PM
#15
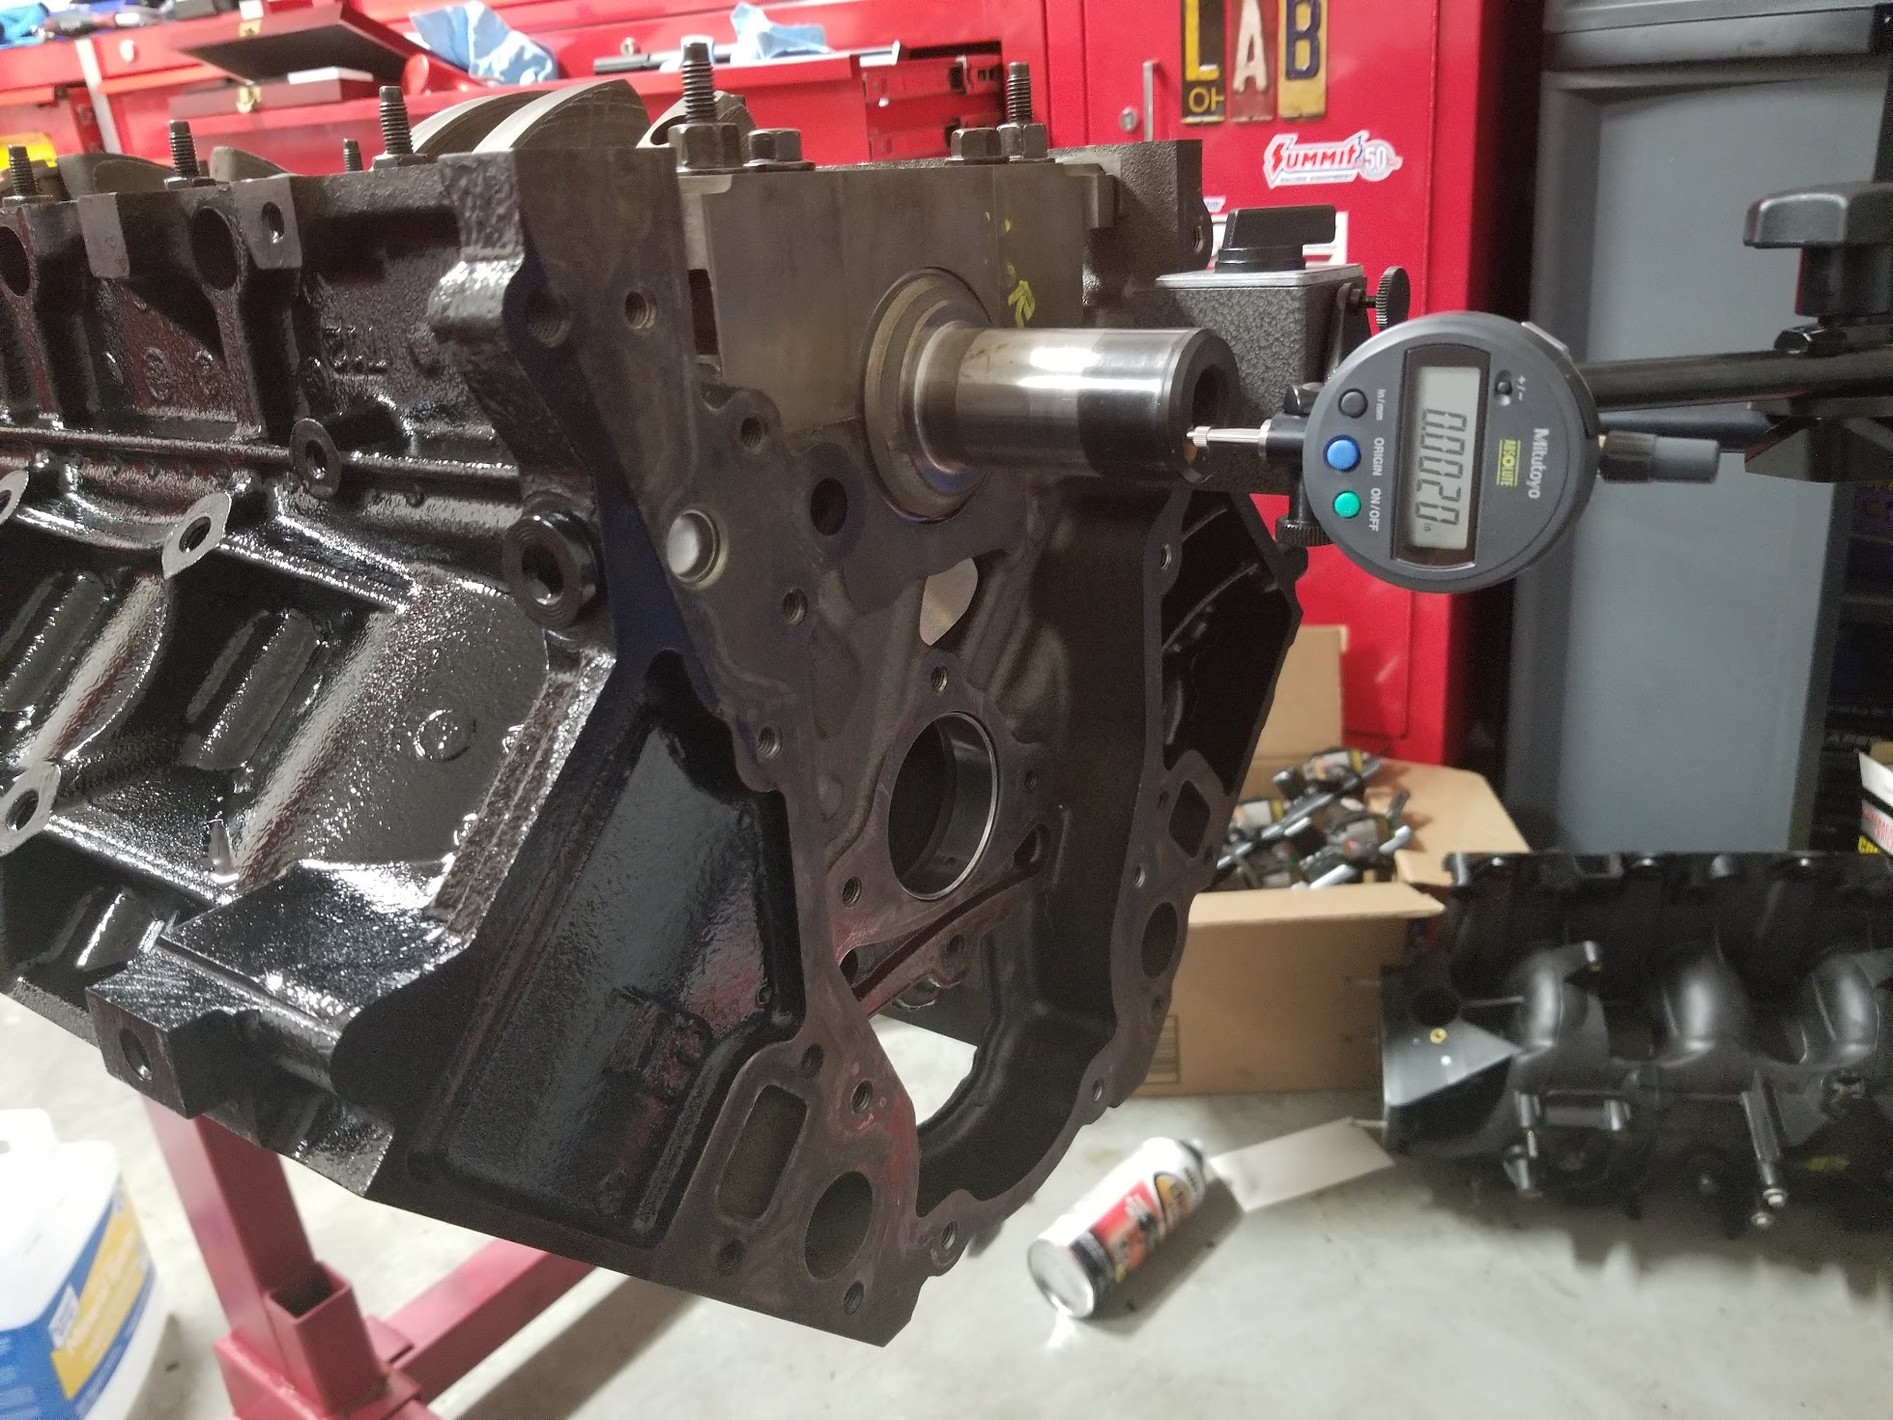
Got block and heads back from machine shop.
Now just need to clean it all and start assembly.
Did a quick bore check.
Pistons came at 4.0280
Bore at 4.0315
for a 0.0035 Piston to Wall clearance. Right where wiseco recommends it.
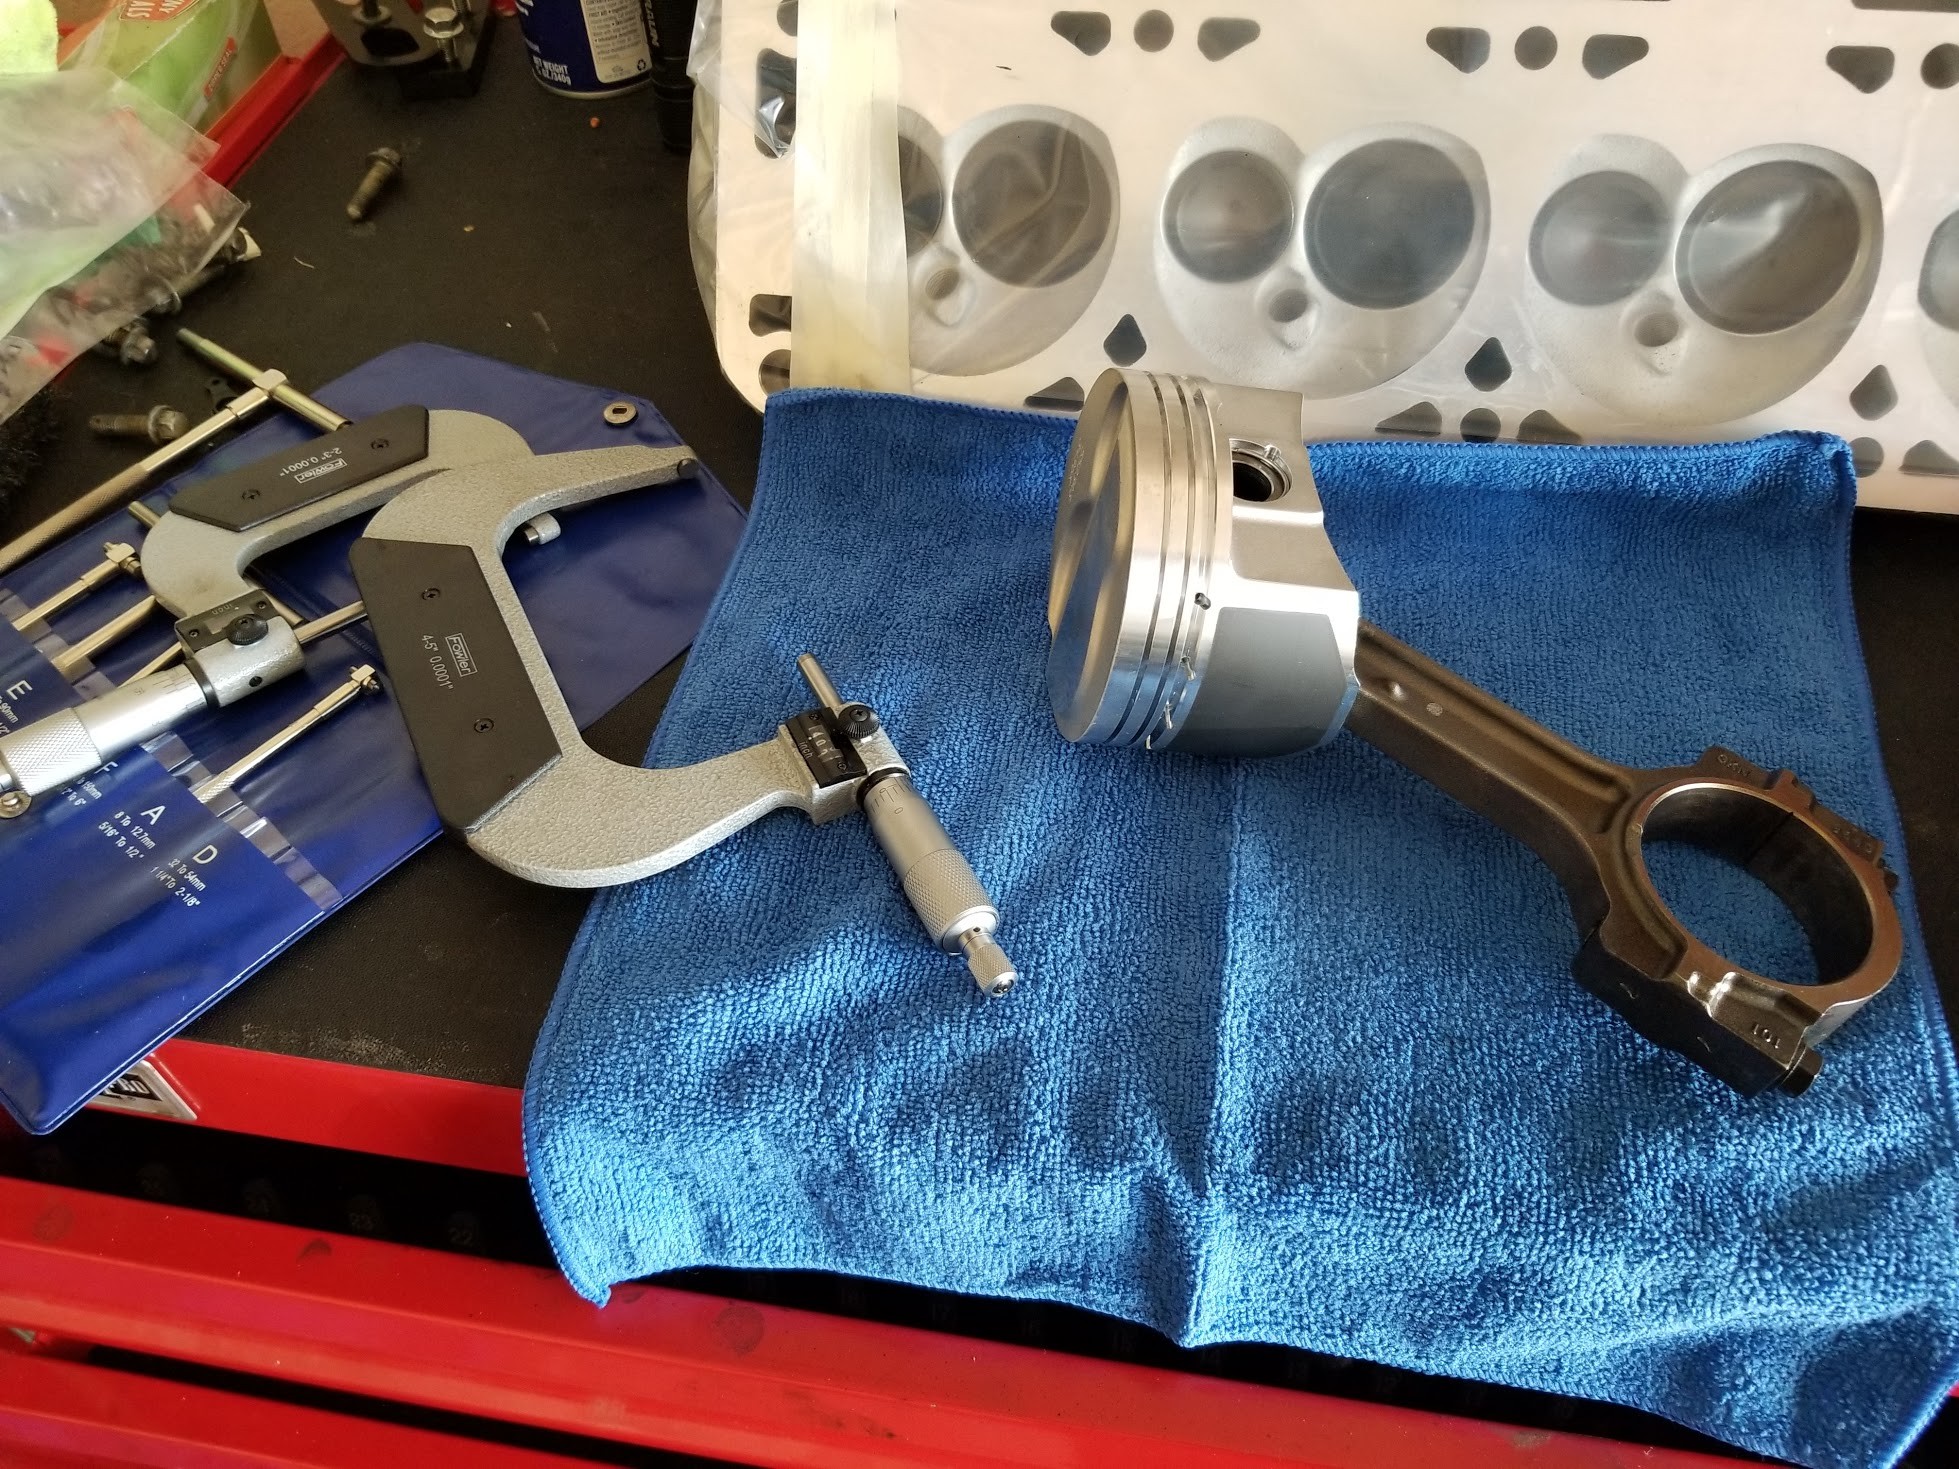
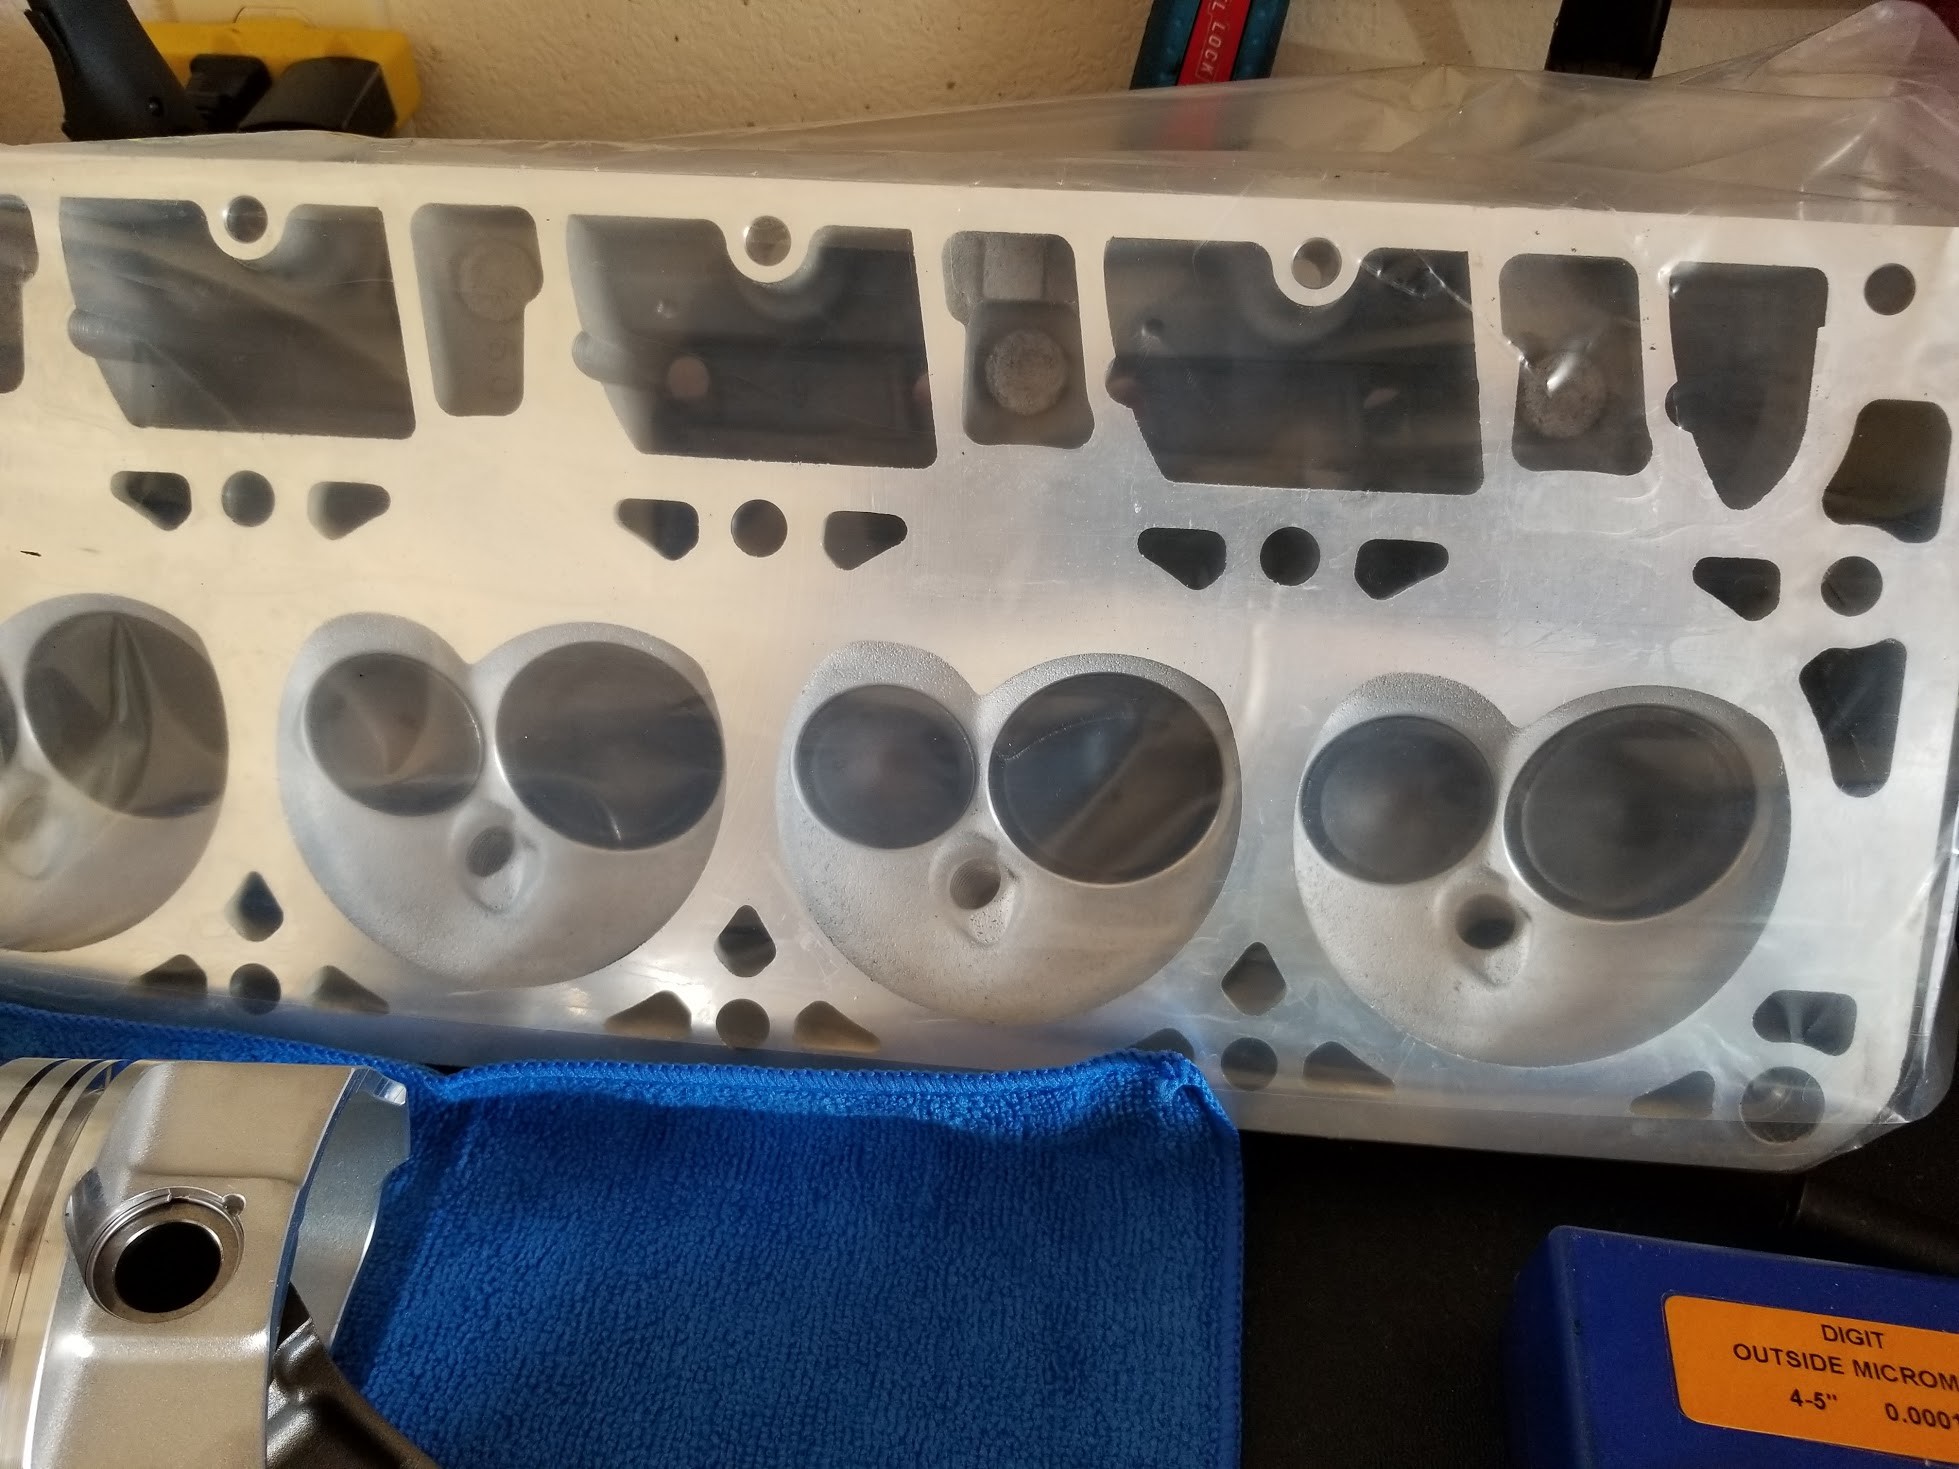
Heads all cleaned up, 3 angle valve job, Milled 0.010, ready for install.
Now just need to clean it all and start assembly.
Did a quick bore check.
Pistons came at 4.0280
Bore at 4.0315
for a 0.0035 Piston to Wall clearance. Right where wiseco recommends it.
Heads all cleaned up, 3 angle valve job, Milled 0.010, ready for install.
 03-26-2018, 10:59 PM
#19
Started engine assembly.
Filing rings is a pain in the ***, took forever.
Set the Top at 0.020 and bottom ring at 0.022, I did mess one up bottom ring and went to 0.027 somehow. Ordered a new ring to fix that one.
Painted the block and installed the crank, torqued the mains.
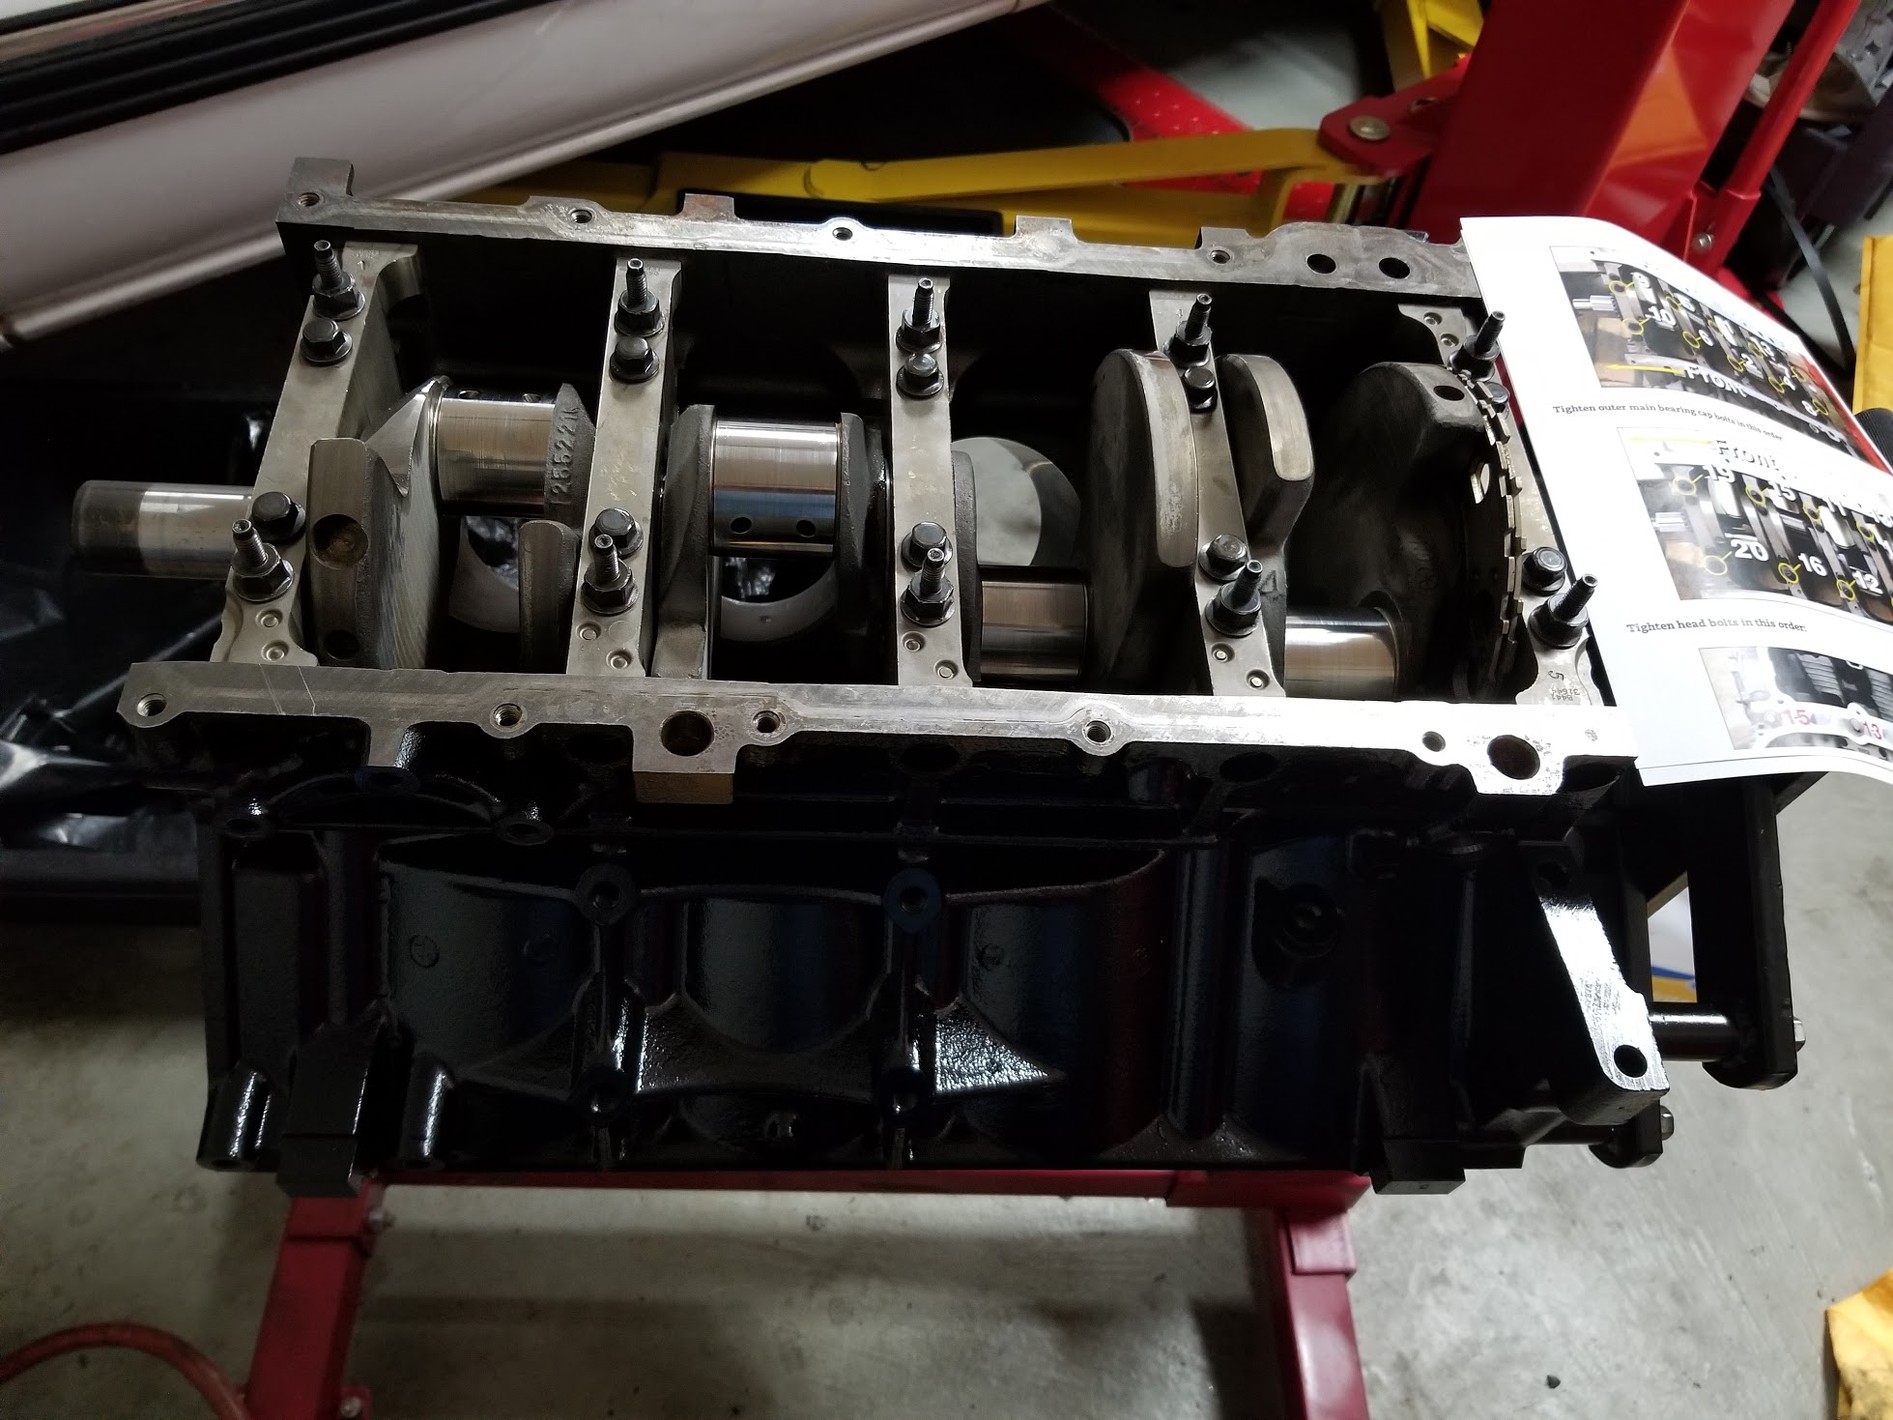
I did notice some damage to the block oil pan sealing surface. I have one deep scratch and one smaller one. How should I handle it? Not sure if gasket by itself will fill that gap. Should I put a dab of RTV in those spots?
Filing rings is a pain in the ***, took forever.
Set the Top at 0.020 and bottom ring at 0.022, I did mess one up bottom ring and went to 0.027 somehow. Ordered a new ring to fix that one.
Painted the block and installed the crank, torqued the mains.
I did notice some damage to the block oil pan sealing surface. I have one deep scratch and one smaller one. How should I handle it? Not sure if gasket by itself will fill that gap. Should I put a dab of RTV in those spots?