

Blown06 Suspension/Drivetrain Project: 4/6 Drop, QA-1's, 5-Lug, Bogarts, Long-bars
 May 14, 2009 | 10:27 PM
#1

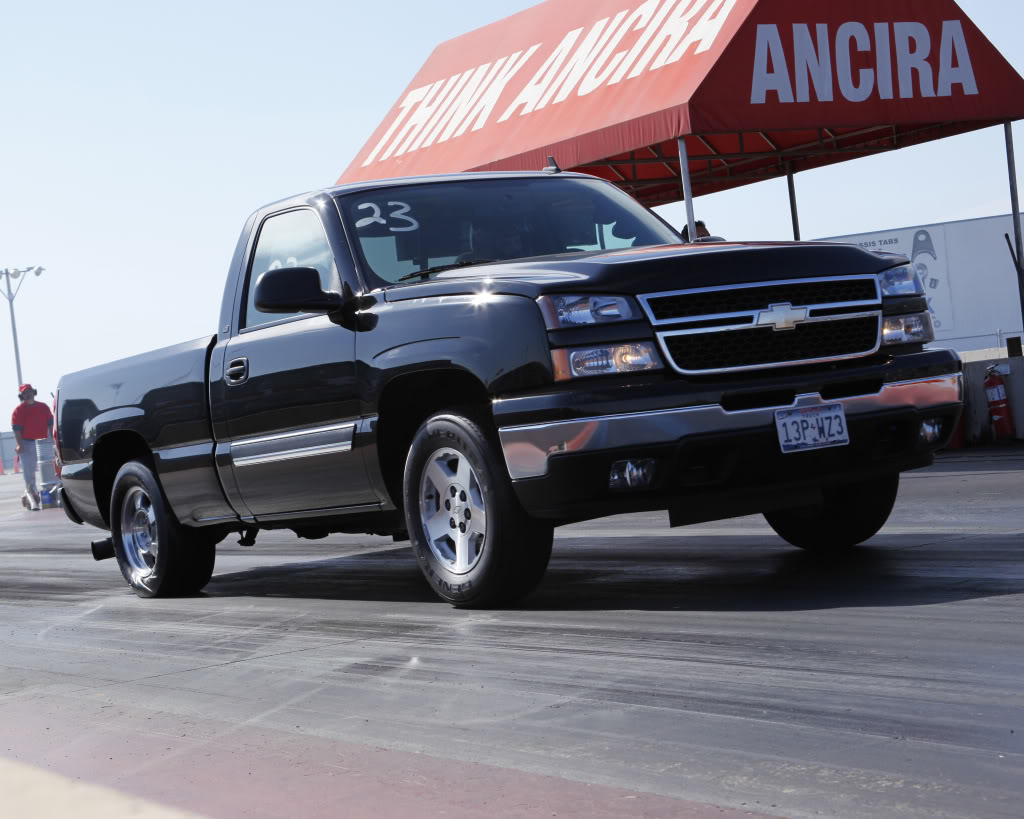
I'm tired of my truck looking completely stock so I decided to drop it 4/6, do some weight reduction, install some shocks friendly for drag racing, add some traction bars and put some Bogarts on it. My goal here is to still 60' in the 1.6 range. Rear shock mounting will be revised from stock location and I have a feeling that pinion angle is going to need some major tuning. I'm hoping that with the weight reduction, slightly improved aerodynamics and good air it will run 10's with the current power. We'll see...
Parts list for this build is as follows:
Front:
1. 2" Belltech Spindles
2. 2" DJM Coil Springs
3. 3/4" Belltech Spring Spacer (to fix the lean)
4. QA-1 Single Adjustable Stocker Star Shocks
5. 5 Lug conversion
6. 15x4.5 Bogarts
Rear:
1. Belltech Flip Kit with C-notch
2. QA-1 Single Adjustable Stocker Star Shocks
3. QA-1 Lower Shock Mount Kit
4. Torque-Arm
5. 5 Lug Conversion
6. 15x10 Bogarts
7. Eaton Posi
8. 4.56 gears for now, will likely be switching to 4.10's
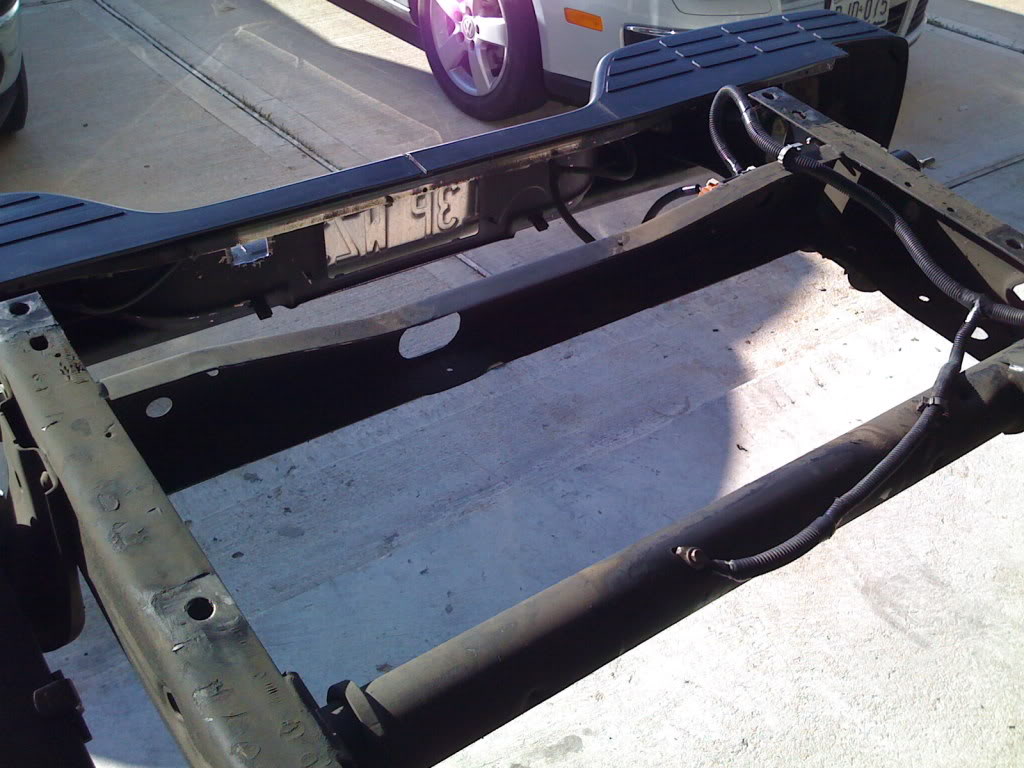
Alright, to get things started I removed the bed to make all of this alot easier and started installing the C-notch kit.

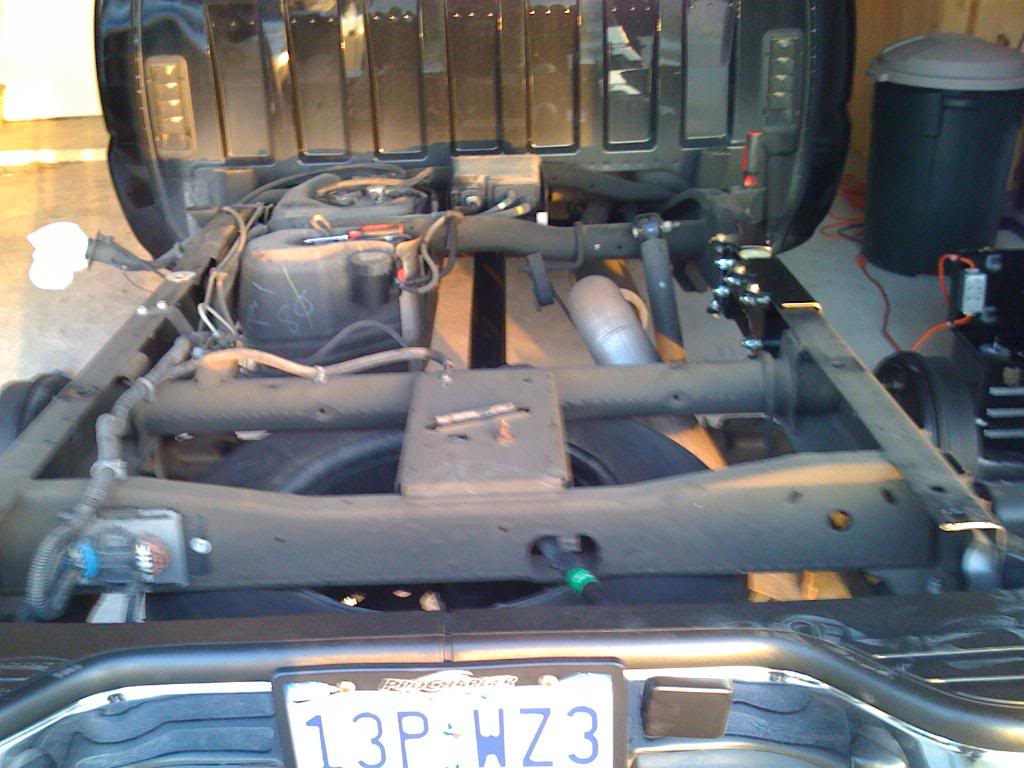
While I was cutting I decided to remove the spare tire and cut the bracket out that the tire mounts on. I then removed the receiver hitch and trailer light wiring. Reattached the ground to the frame crossmember and rerouted the rearend vent line to the brake line braket on the frame.
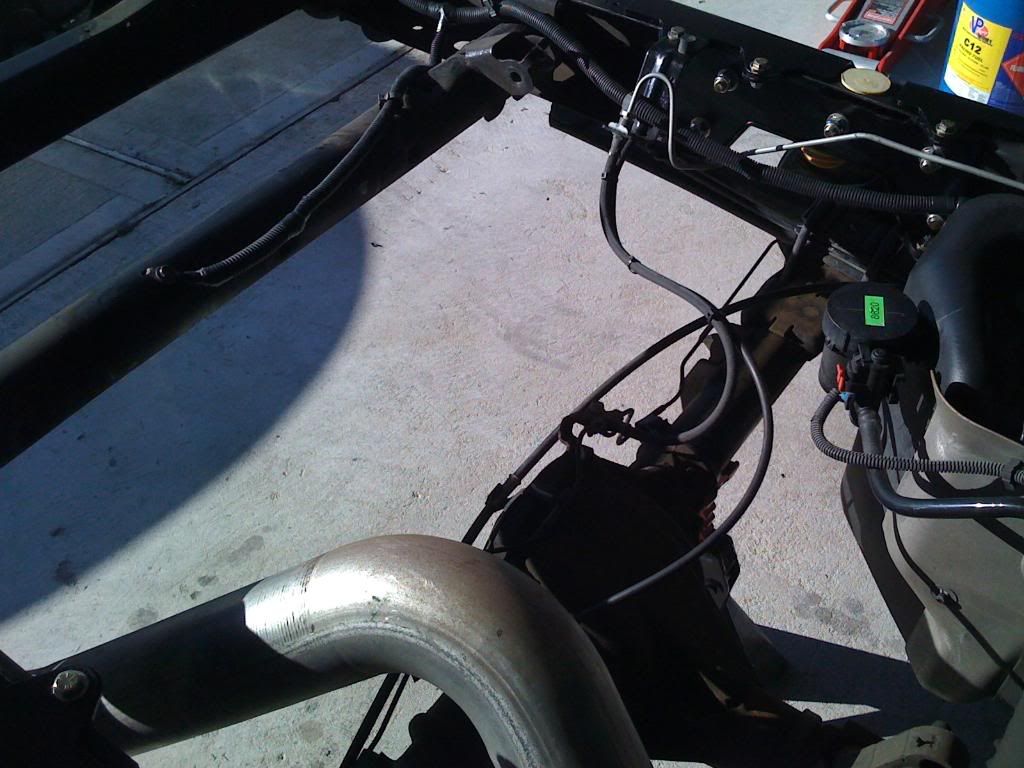
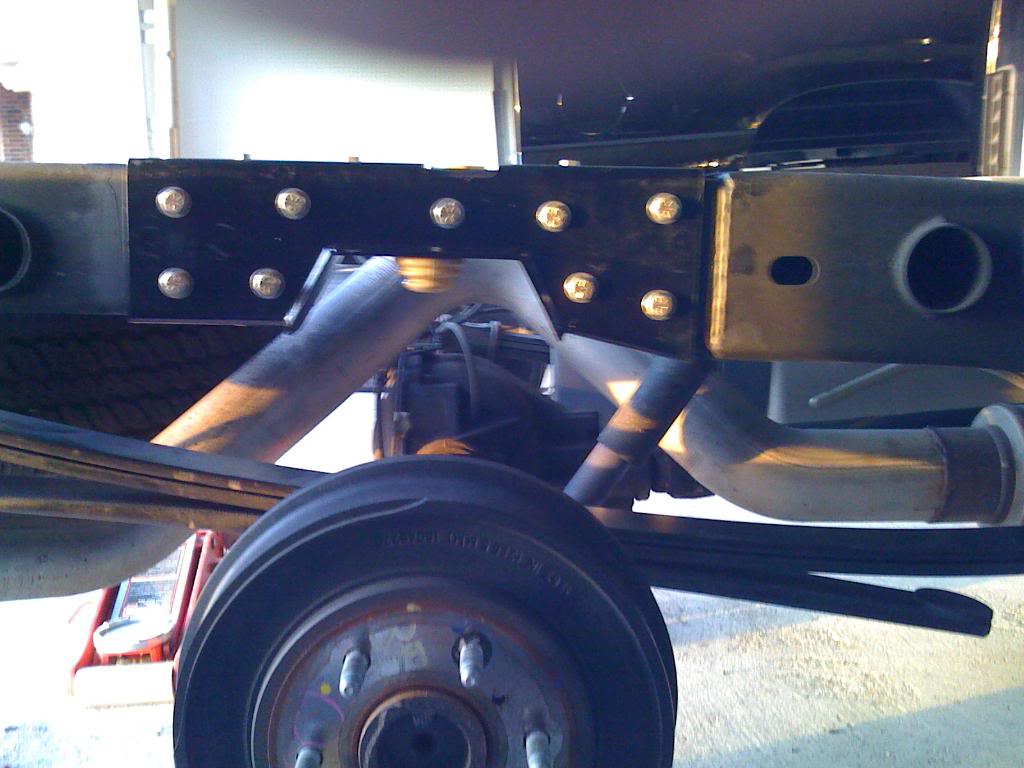
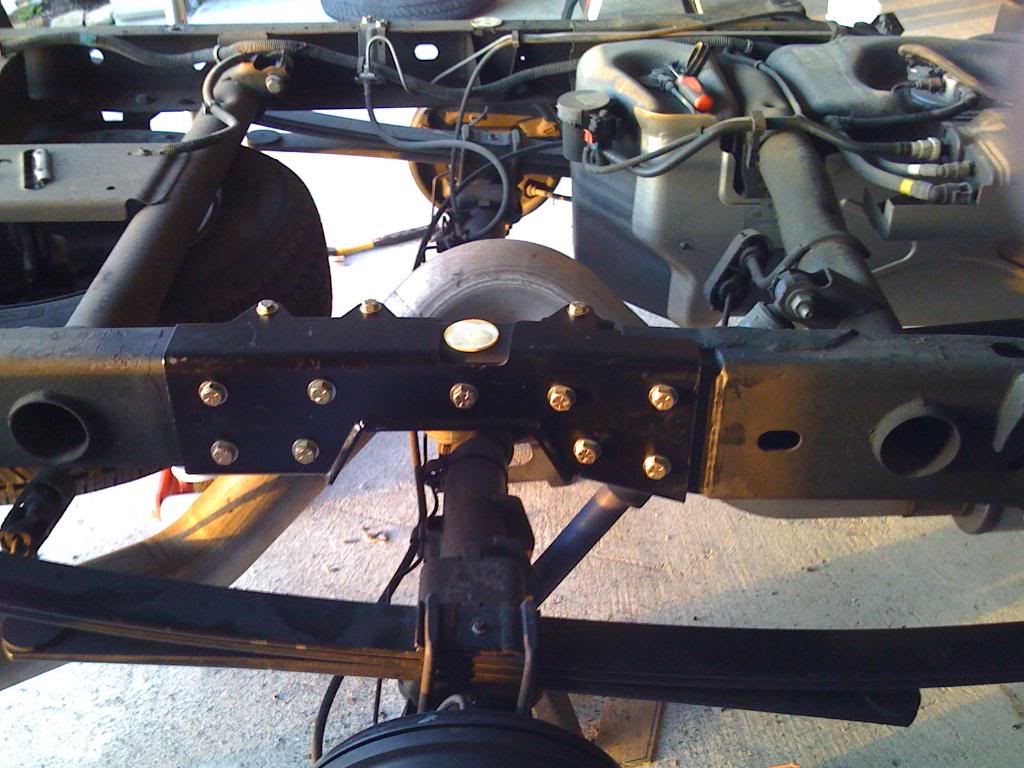
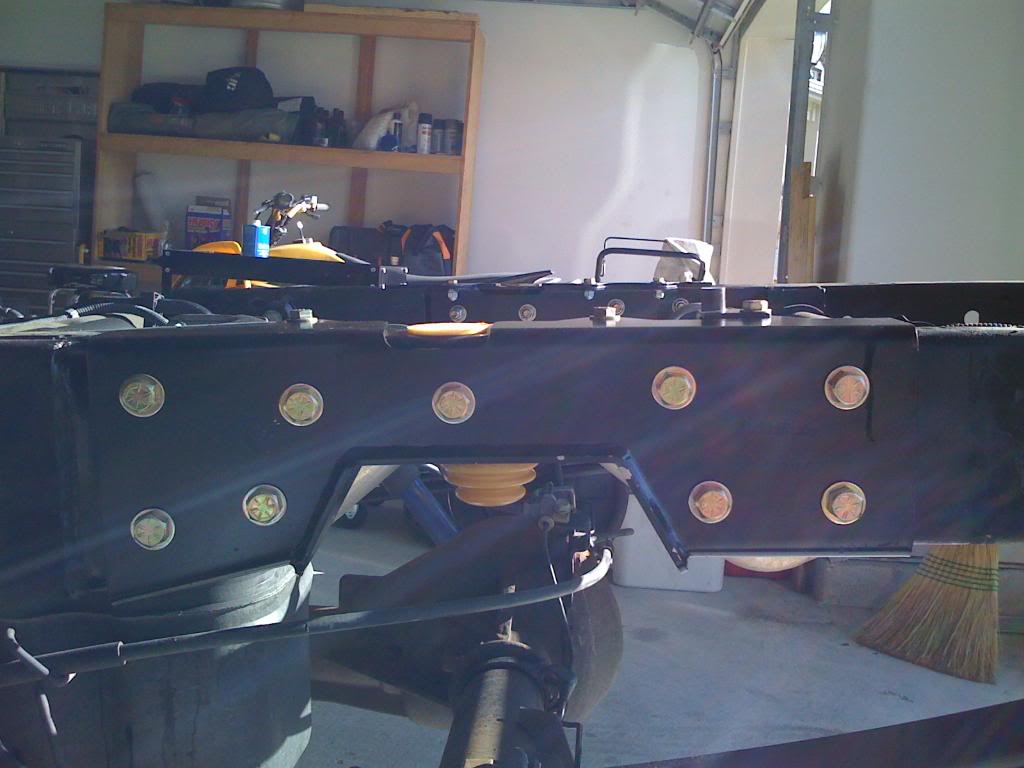
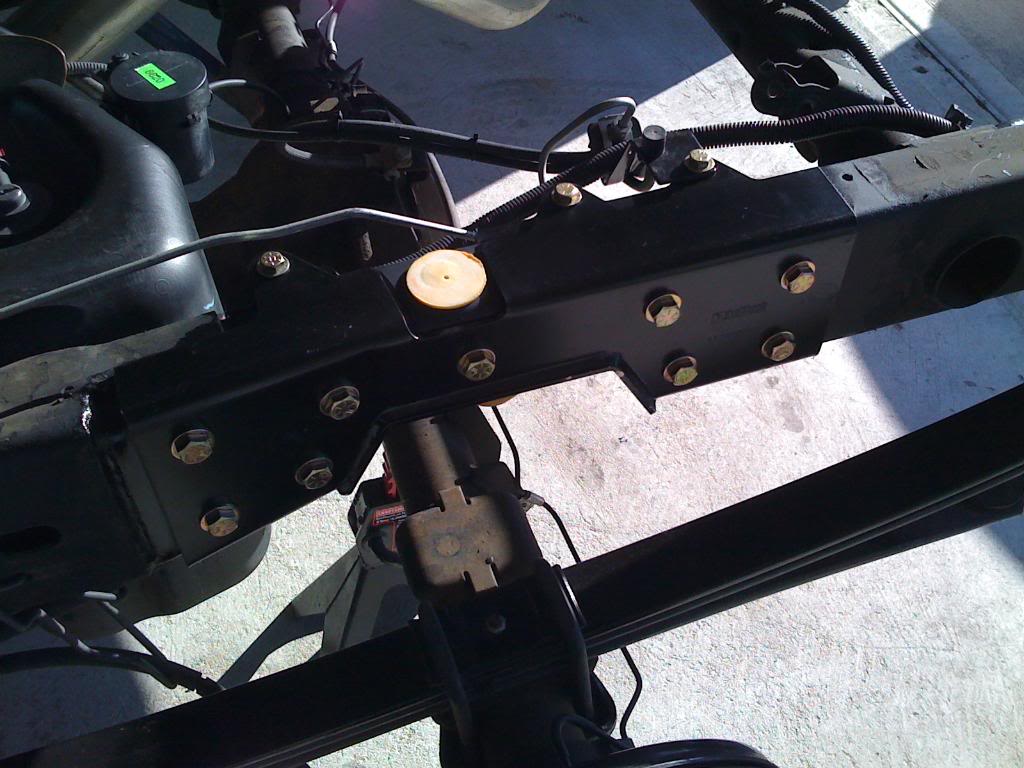
Here are the pics of the finished C-notch install.
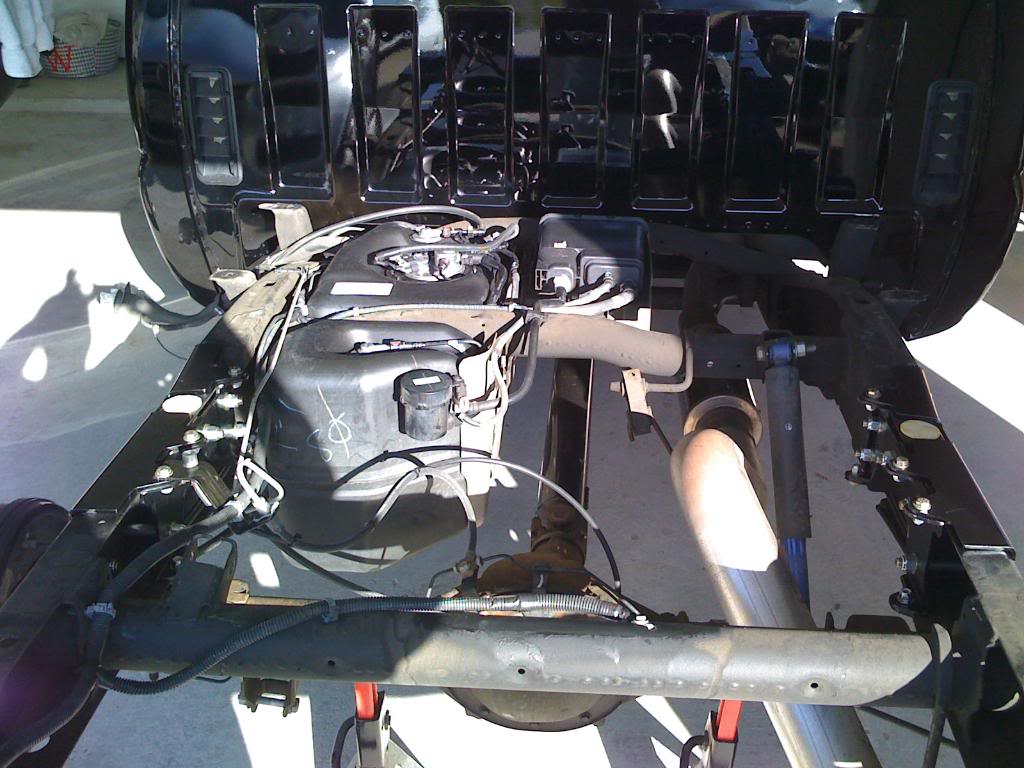
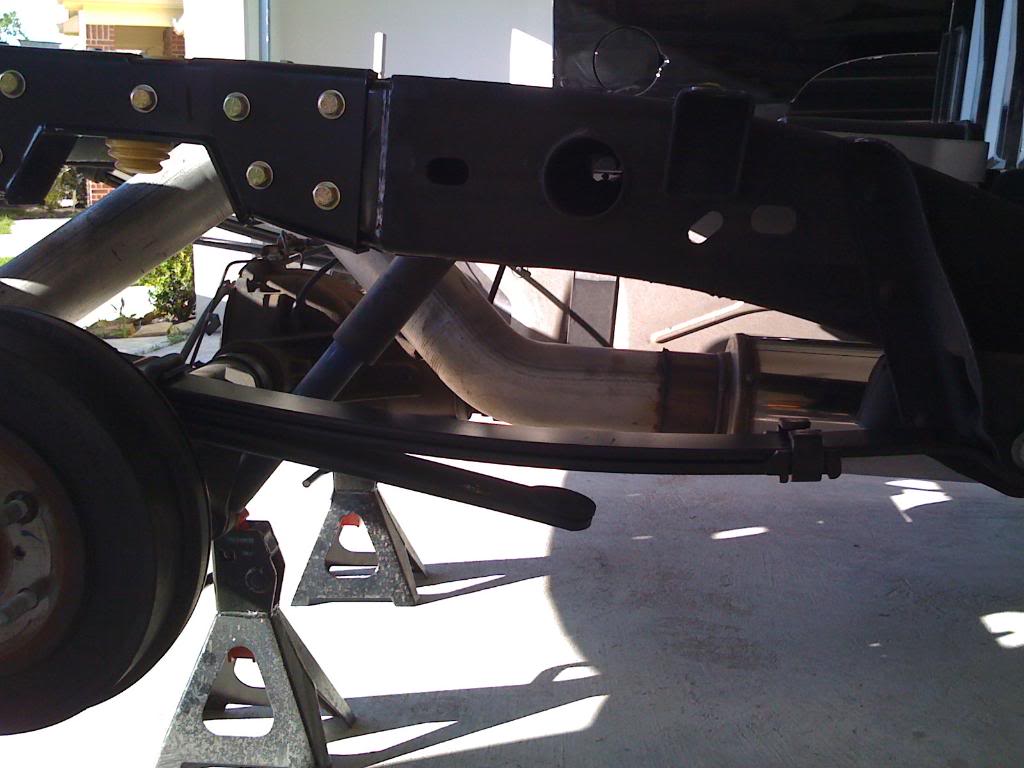
I've got the flip kit installed and the rearend bolted back down. Just eye balling the pinion angle I can tell that I'm going to have to do some work as far as shimming the rearend as well as the trans. That will come later along with the QA-1 installation/relocation on the rear. For now I've moved to the front. Pics coming soon.
Parts list for this build is as follows:
Front:
1. 2" Belltech Spindles
2. 2" DJM Coil Springs
3. 3/4" Belltech Spring Spacer (to fix the lean)
4. QA-1 Single Adjustable Stocker Star Shocks
5. 5 Lug conversion
6. 15x4.5 Bogarts
Rear:
1. Belltech Flip Kit with C-notch
2. QA-1 Single Adjustable Stocker Star Shocks
3. QA-1 Lower Shock Mount Kit
4. Torque-Arm
5. 5 Lug Conversion
6. 15x10 Bogarts
7. Eaton Posi
8. 4.56 gears for now, will likely be switching to 4.10's
Alright, to get things started I removed the bed to make all of this alot easier and started installing the C-notch kit.
While I was cutting I decided to remove the spare tire and cut the bracket out that the tire mounts on. I then removed the receiver hitch and trailer light wiring. Reattached the ground to the frame crossmember and rerouted the rearend vent line to the brake line braket on the frame.
Here are the pics of the finished C-notch install.
I've got the flip kit installed and the rearend bolted back down. Just eye balling the pinion angle I can tell that I'm going to have to do some work as far as shimming the rearend as well as the trans. That will come later along with the QA-1 installation/relocation on the rear. For now I've moved to the front. Pics coming soon.
Last edited by Blown06; Jan 18, 2010 at 02:46 AM.
May 14, 2009 | 10:36 PM
#2

Looks like you're headed in the right direction. What's the plan for the bars?
Also, where does the QA1 kit relocate the shock mounts to? I always thought the stock location was ok unless you wanted to get away from leafs all together, then design a different shock system.
Also, where does the QA1 kit relocate the shock mounts to? I always thought the stock location was ok unless you wanted to get away from leafs all together, then design a different shock system.


 May 16, 2009 | 01:43 AM
#5

lookin good. you will have to do something with the 4" exhaust over the axle, though. i had 3 inch tucked up as close to the bed as possible, and the axle would still hit just as the axle touched the bump stop with a 4/6 drop.


Trending Topics
May 18, 2009 | 04:45 PM
#9
i dont think the frame mount would have to be so low, i would be more worried about the axle mount and how far down they would have to hang to clear the leaves.
May 18, 2009 | 05:33 PM
#10
No one ever seems to have issues with the caltracs for a flip kit. However, the caltracs mount to the hangers rather than the frame.