PROJECTS GALLERY Vehicle builds | Engine Swaps | Conversions | Installation write ups |
Sponsored by:
Sponsored by: CARiD

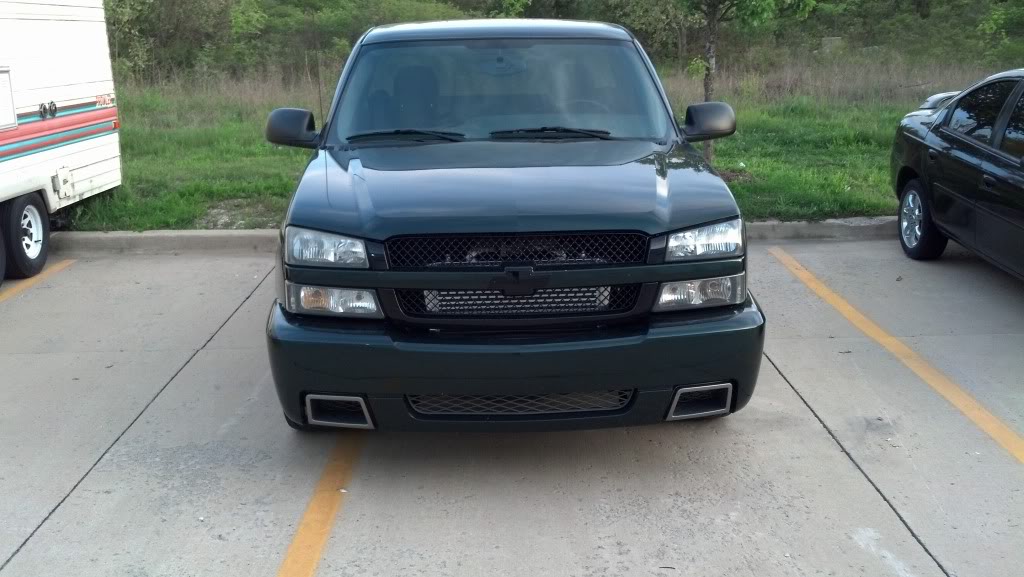
Another Turbo Silverado...

Thread Tools
 
Search this Thread
 
Old Aug 16, 2012 | 08:28 PM
  #11  
boostedc10's Avatar
Thread Starter
Teching In
 
Joined: Aug 2011
Posts: 37
Likes: 0
Default

Manifold, crossover and exhaust housing ceramic coated and back from the powder coater (Thanks Bill and crew over at QC)

Name:  8cabc6b9.jpg
Views: 192
Size:  117.9 KB

Here it is wrapped
Name:  90be3cb9.jpg
Views: 124
Size:  71.4 KB

Last edited by boostedc10; Aug 18, 2012 at 09:18 AM.
Reply
Old Aug 16, 2012 | 08:29 PM
  #12  
boostedc10's Avatar
Thread Starter
Teching In
 
Joined: Aug 2011
Posts: 37
Likes: 0
Default

Originally Posted by Bigschwerm
Nice work!
Thanks man its been a challenge to say the least! 4l80 is getting a rebuild and shift kit, which will be the next big project!
Reply
Old Aug 16, 2012 | 08:30 PM
  #13  
boostedc10's Avatar
Thread Starter
Teching In
 
Joined: Aug 2011
Posts: 37
Likes: 0
Default

Injectors installed and rail spaced up...

Name:  835d7537.jpg
Views: 126
Size:  81.4 KB

Name:  f31825dc.jpg
Views: 134
Size:  78.5 KB
Reply
Old Aug 16, 2012 | 08:35 PM
  #14  
boostedc10's Avatar
Thread Starter
Teching In
 
Joined: Aug 2011
Posts: 37
Likes: 0
Default

Powder coated inter cooler piping installed...

Name:  1544d4c1.jpg
Views: 149
Size:  104.9 KB

Name:  7005fbe6.jpg
Views: 119
Size:  55.4 KB
Reply
Old Aug 16, 2012 | 08:36 PM
  #15  
boostedc10's Avatar
Thread Starter
Teching In
 
Joined: Aug 2011
Posts: 37
Likes: 0
Default

Downpipe wrapped and heater lines re-routed, almost done putting it together...

Name:  c1483a56.jpg
Views: 111
Size:  103.5 KB
Reply
Old Aug 16, 2012 | 08:40 PM
  #16  
Sweet_Z71's Avatar
On The Tree
 
Joined: Jun 2011
Posts: 99
Likes: 0
From: Ohio
Default

Good looking truck, nice attention to detail.
Reply
Old Aug 16, 2012 | 08:41 PM
  #17  
boostedc10's Avatar
Thread Starter
Teching In
 
Joined: Aug 2011
Posts: 37
Likes: 0
Default

Intercooler installed, I actually recently went back and painted it black to hide it a little better...

Name:  1da53f9a.jpg
Views: 164
Size:  101.2 KB

Here is the engine bay as it sits today...

Name:  f7b73ed0.jpg
Views: 199
Size:  82.0 KB
Reply
Old Aug 16, 2012 | 08:41 PM
  #18  
boostedc10's Avatar
Thread Starter
Teching In
 
Joined: Aug 2011
Posts: 37
Likes: 0
Default

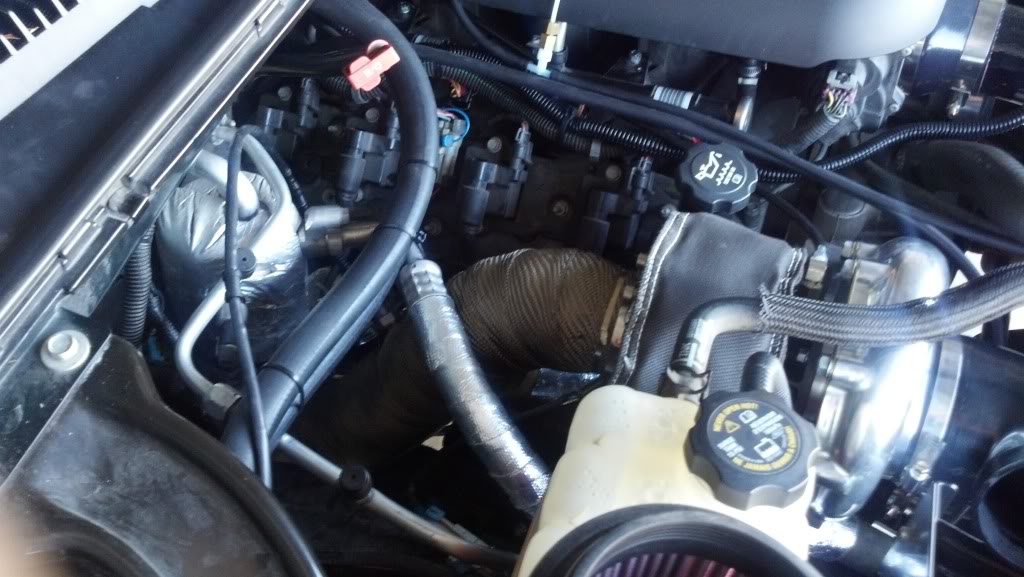
I am working on a fiberglass gauge pod also for the overhead console. I should have more pics when I get it done, but for now it's the Woodward Dream Cruise (http://www.woodwarddreamcruise.com/)weekend and I will be putting some miles on it!

Last edited by boostedc10; Aug 17, 2012 at 06:23 AM.
Reply
Old Aug 16, 2012 | 09:55 PM
  #19  
Kameron's Avatar
Teching In
iTrader: (1)
 
Joined: Nov 2010
Posts: 27
Likes: 0
From: Gonzales, LA
Default

Awesome rig! I like the DIY approach to everything. I didn't think regular powder coating could withstand the heat of the turbine housing. I guess I was wrong
Reply
Old Aug 16, 2012 | 10:58 PM
  #20  
Atomic's Avatar
I have a gauge for that
15 Year Member
Loved
Liked
Community Favorite
iTrader: (42)
 
Joined: Jan 2006
Posts: 16,282
Likes: 438
From: Huntsville, AL
Default

Could you elaborate on that tool you made? I dont quite see how it works and it looks very useful!

Nice project and great attention to detail. 70mm on a 5.3 with an 80e is fun all day long
Reply


All times are GMT -5. The time now is 12:29 AM.