

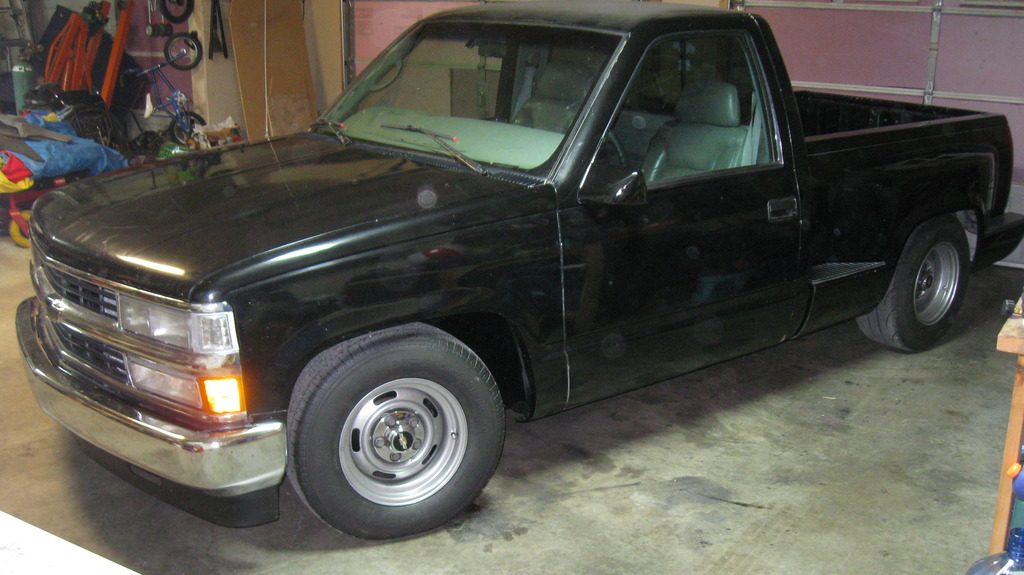
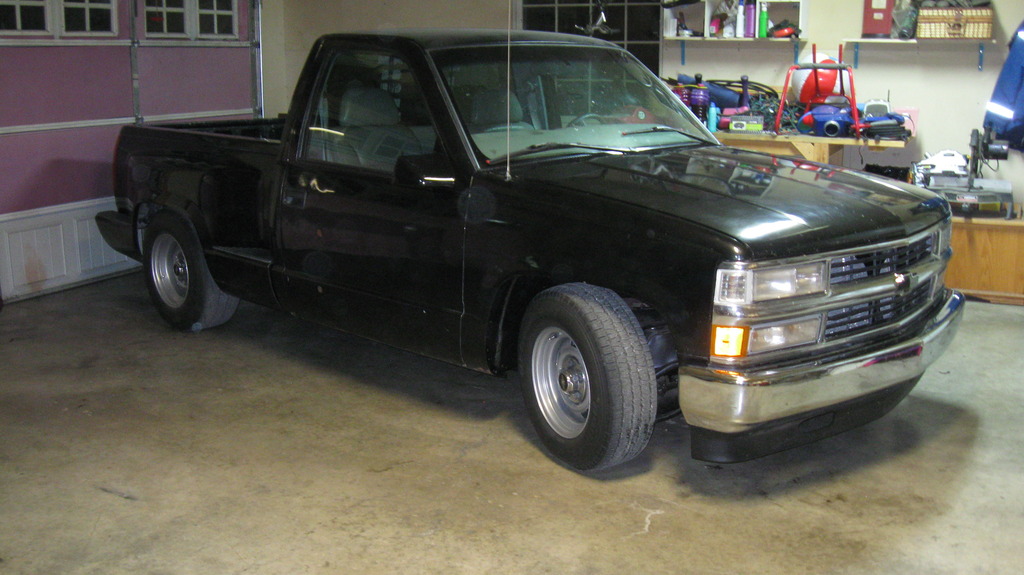
97 silverado rcsb street truck

 Sep 28, 2015 | 10:48 AM
#43

Thread Starter
Staging Lane
Joined: Apr 2012
Posts: 88
Likes: 0
From: Calgary, Alberta
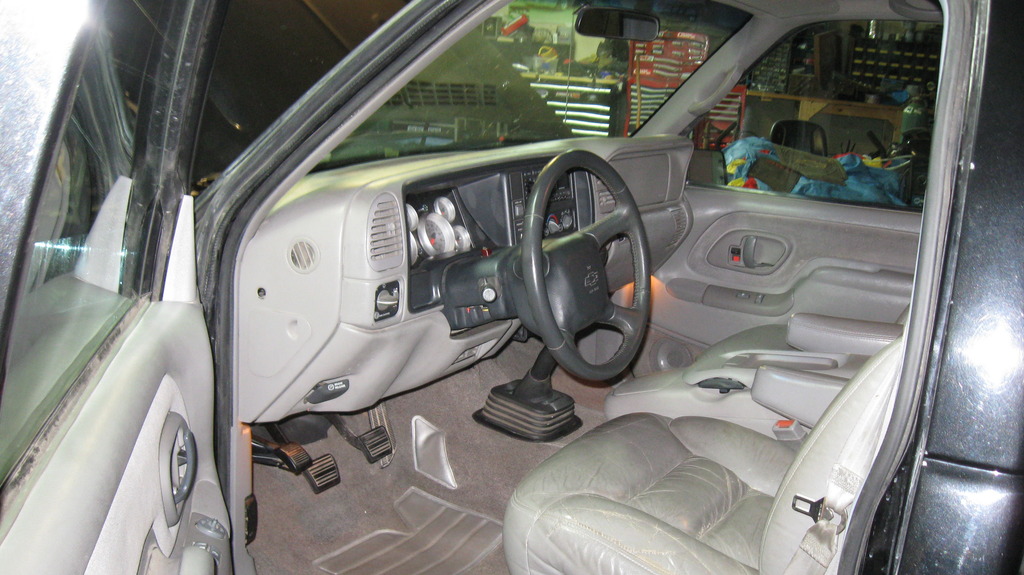
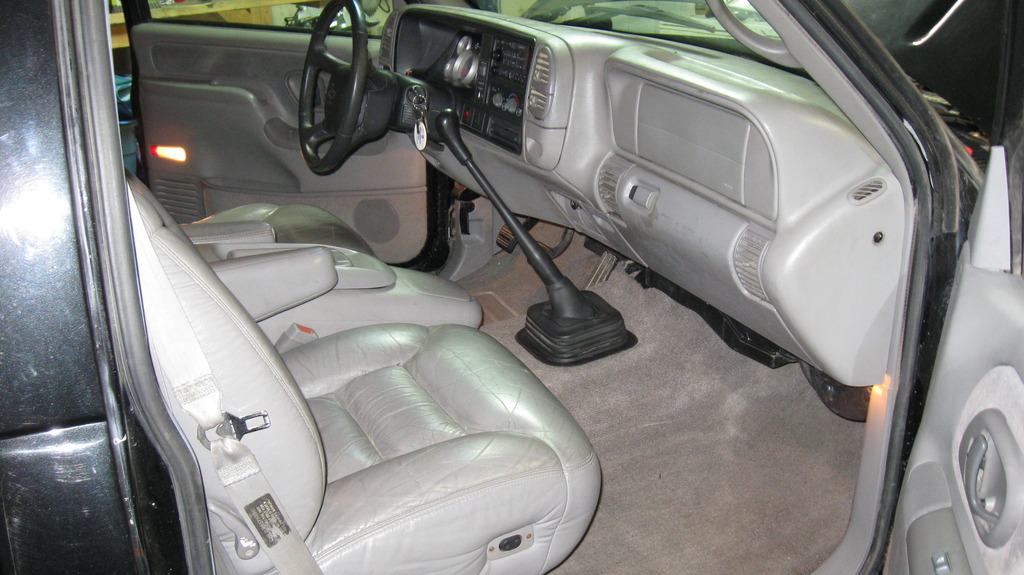
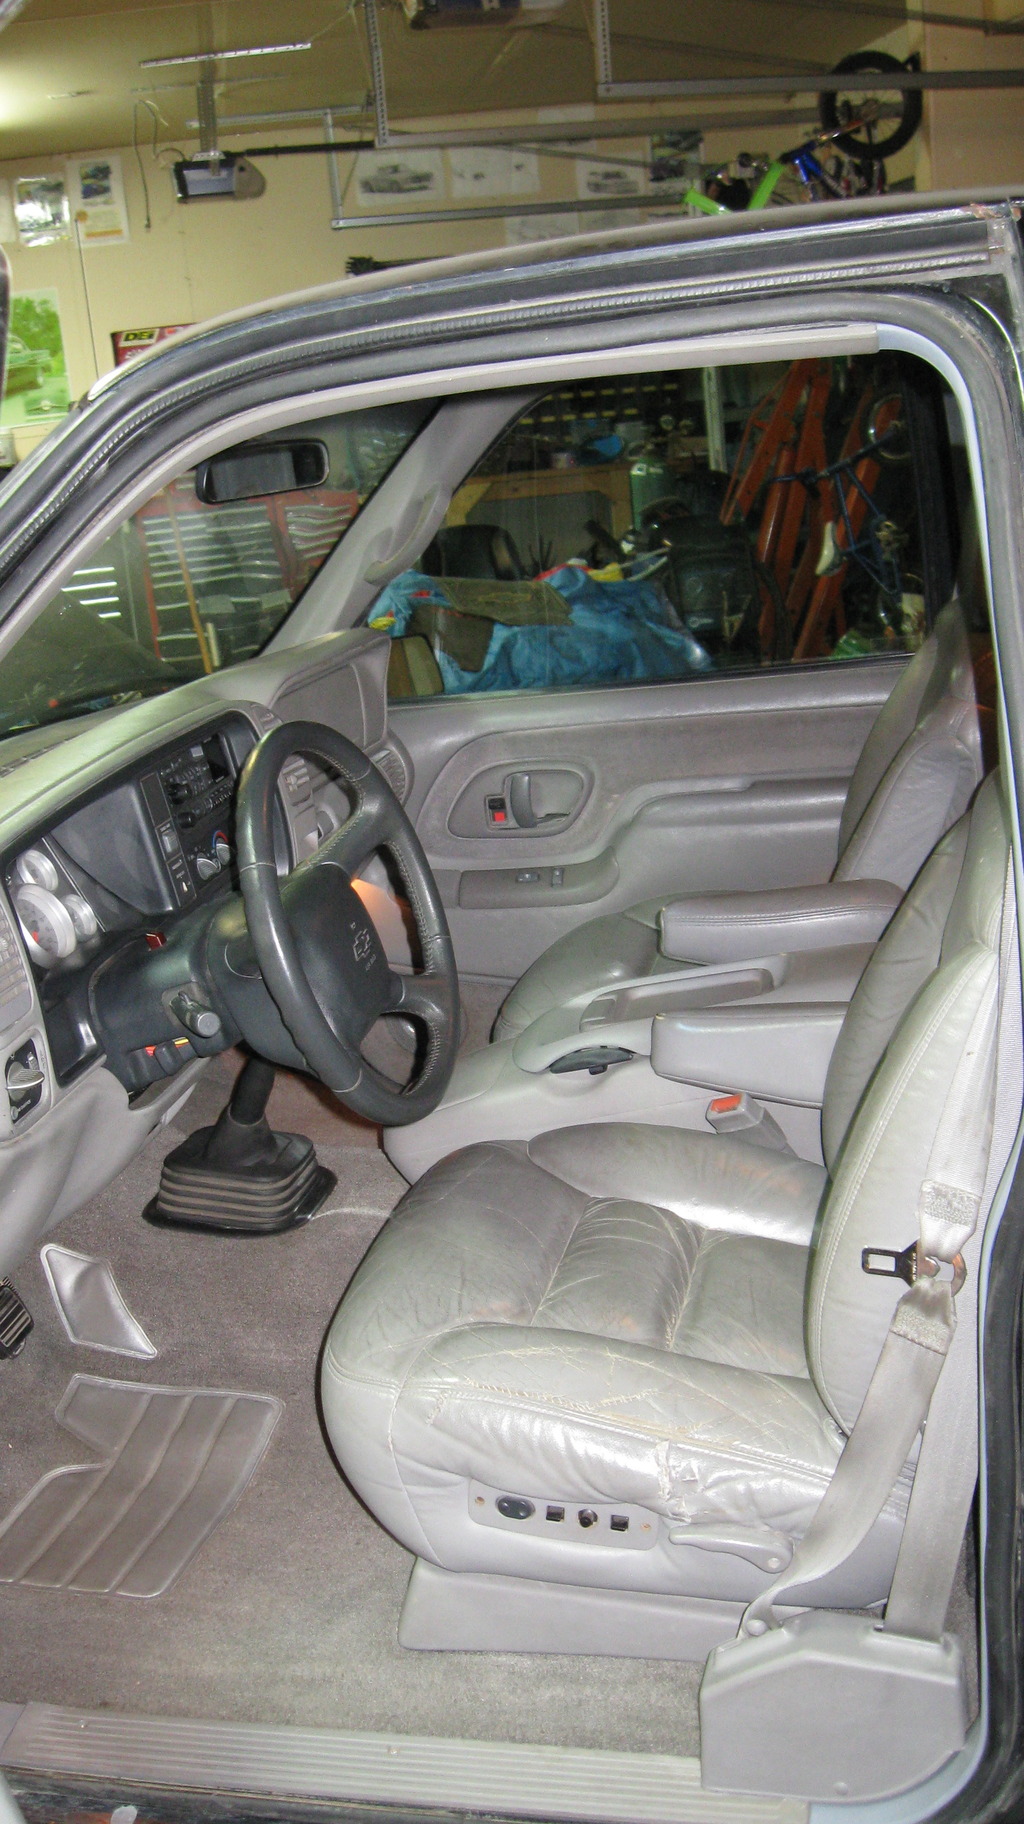
I made a trip to pick n pull and grabbed a bunch of interior stuff. I now have all the correct grey parts, and the interior is complete. I even found a nbs with a 5 speed, so I grabbed the clutch and brake pedal rubber covers, shifter, and boot also, so that looks way better now. I also found a local guy selling a bunch of new roll pans, and picked up one for the truck. Its made by precision grills, fits sort of crappy, but it wont take much to make it fit nice...plus it was only 75 bucks!
Also just before the video was made i was having trouble with the right signals, and brakes lights blowing fuses. After going through the dash, and making sure I didn't pinch, or cut, or cross something, I ended up trouble shooting the front and rear harness's. Sort of backwards, but I thought since I had my hands in the dash, that it was the best place to start. The culprit is somewhere in the tail light harness between the firewall plug, and the rear tail light harness plug section. The truck is back up on jack stands, to yank it out, and have a look. While its up there I'm going to finish detailing the frame under the cab, and re-attach the e-brake cable.
Also just before the video was made i was having trouble with the right signals, and brakes lights blowing fuses. After going through the dash, and making sure I didn't pinch, or cut, or cross something, I ended up trouble shooting the front and rear harness's. Sort of backwards, but I thought since I had my hands in the dash, that it was the best place to start. The culprit is somewhere in the tail light harness between the firewall plug, and the rear tail light harness plug section. The truck is back up on jack stands, to yank it out, and have a look. While its up there I'm going to finish detailing the frame under the cab, and re-attach the e-brake cable.
Sep 28, 2015 | 10:49 AM
#44
Thread Starter
Staging Lane
Joined: Apr 2012
Posts: 88
Likes: 0
From: Calgary, Alberta
Who thought a person could have so much trouble with 4 wires....I pulled the harness from the fire wall to the tail of the truck out and checked for ground spots...and found them to be plentiful. So I re-wired it front to back, and in the process got rid of the old fuel pump harness and a couple of extra plugs at the firewall connection spot under the booster. All in all much cleaner now. I was ready for a win, but then after no right tail signals again, I found the tail light harness had issues too. No biggie...I swapped it for the spare one I had from one of the donors, and wouldn't you know...same problem. What are the odds of that. Both harness had issues right at the plug, one broken wire, and the other bad terminal corrosion. I have the fix for it now, but wow...what a pain.
On the plus side, this forced a couple of other items to get finished. I stripped and finished detailing the frame under the cab, so that looks nice now. The e-brake cables are re-attached, but one or both need to be replaced as the don't retract well. The 454ss mirrors are painted to match now, and I started sectioning the roll pan to fit it properly. I also ran wires to the reverse sensor on the trans, so hopefully after the harness fiasco, this gets put to bed.
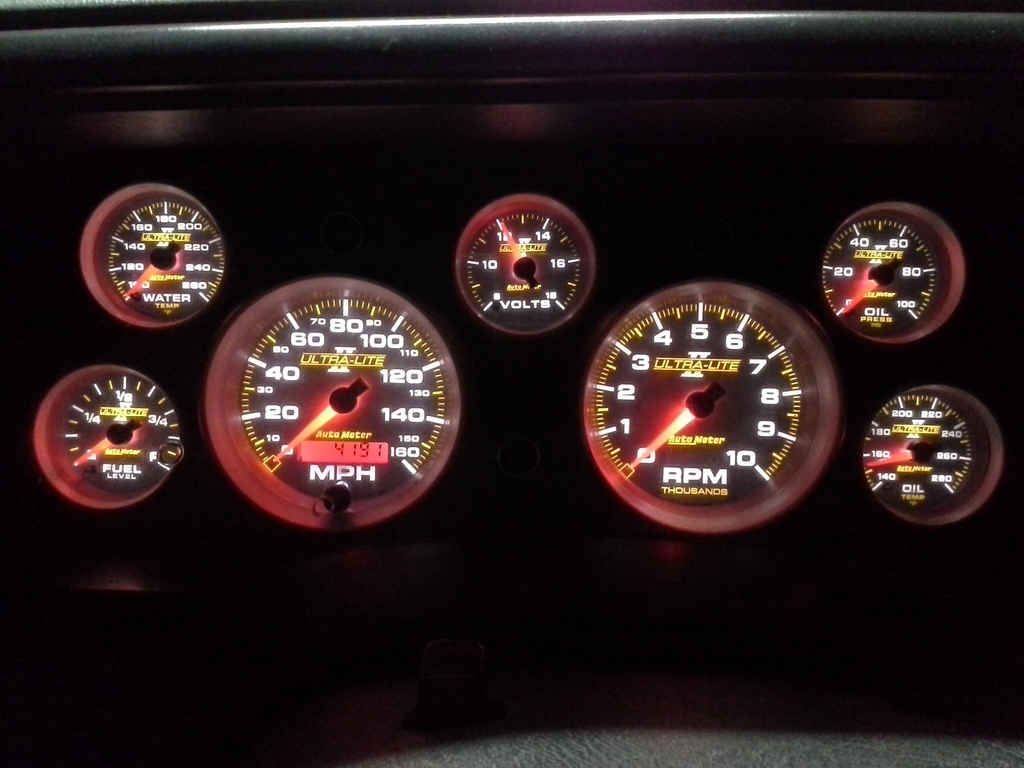
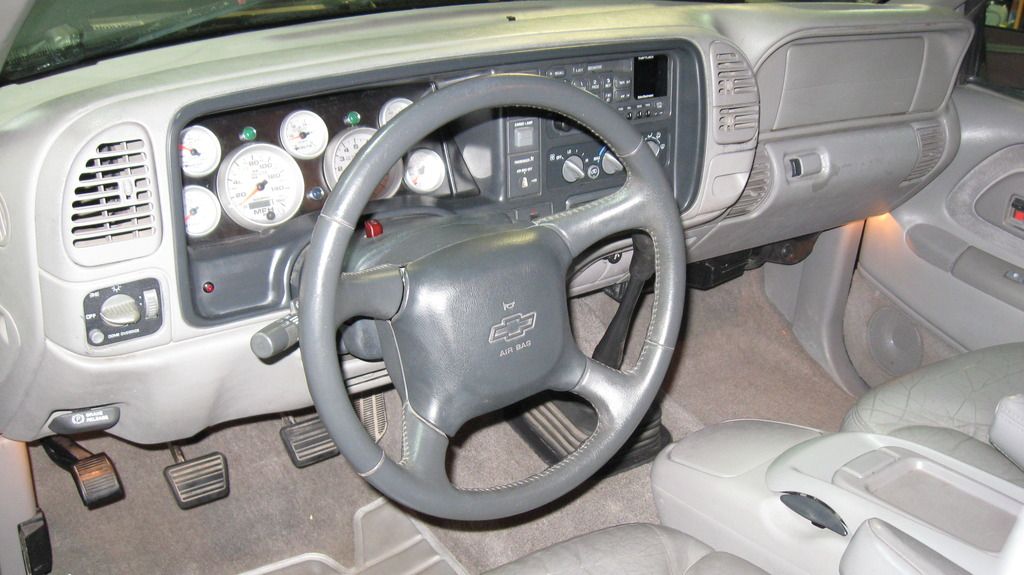
Also since I'm getting withdrawals from not posting a pic in a while, here's a cool cluster pic
On the plus side, this forced a couple of other items to get finished. I stripped and finished detailing the frame under the cab, so that looks nice now. The e-brake cables are re-attached, but one or both need to be replaced as the don't retract well. The 454ss mirrors are painted to match now, and I started sectioning the roll pan to fit it properly. I also ran wires to the reverse sensor on the trans, so hopefully after the harness fiasco, this gets put to bed.
Also since I'm getting withdrawals from not posting a pic in a while, here's a cool cluster pic

Last edited by lsxponcho; Sep 28, 2015 at 11:21 AM.
Sep 30, 2015 | 10:06 AM
#45

TECH Enthusiast


Joined: Aug 2015
Posts: 602
Likes: 141
From: Houston TX
If you need them to tuck at all you need at least 6" bs. You could even go 6.25" but depending on tire size it looks like you run the risk of rubbing the front half of the leafs with the tire (say if you went with a 315/60 or 325/50) at least on my truck. With my 28x11.5 I wouldn't have any issue if I had gone 6.25, but I wanted the most outside I could fit and tuck..will probably go 28x12.5 next.
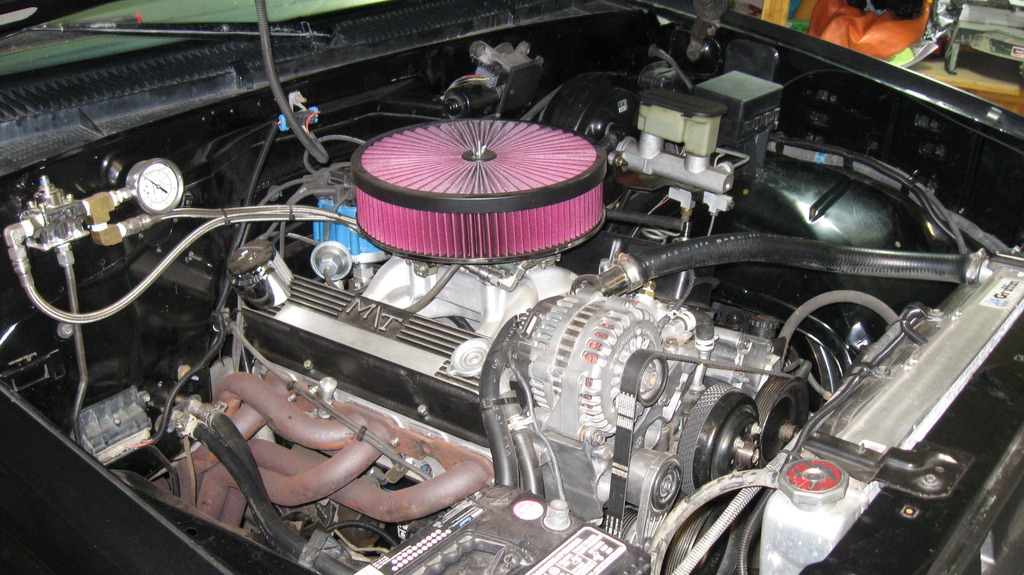
Oh, and those M\T valve covers not sealing well, pretty sure those are bootleg. The original Mickey's have the properly-oriented slash, M/T, and were pretty decent other than one little flaw - all the ones I've seen for SBC's had no baffle under the hole for the PCV. I learned this the hard way forever ago on a '69 Chevelle that after a really hard run began smoking like crazy. I thought I'd blown it up, but after a lot of hair-pulling I eventually discovered it was shooting oil from a pushrod right into the PCV thanks to no baffle. A little scrap metal and some JB-Weld
 fixed it right up.
Truck's looking great.
Richard
Oct 1, 2015 | 09:35 AM
#46
Thread Starter
Staging Lane
Joined: Apr 2012
Posts: 88
Likes: 0
From: Calgary, Alberta
Absolutely right, 6" on a 10" wheel is what fits in the back. Probably fits slightly better on a fleetside vs. stepside, at least that's how it seemed to me looking at stepside beds - might just be an optical illusion that the stepside is slightly narrower, though.
Funny; as I was reading through and looking at the older pics with the regular folding mirrors, I was thinking, "Man, that truck needs some 454SS mirrors!"
Oh, and those M\T valve covers not sealing well, pretty sure those are bootleg. The original Mickey's have the properly-oriented slash, M/T, and were pretty decent other than one little flaw - all the ones I've seen for SBC's had no baffle under the hole for the PCV. I learned this the hard way forever ago on a '69 Chevelle that after a really hard run began smoking like crazy. I thought I'd blown it up, but after a lot of hair-pulling I eventually discovered it was shooting oil from a pushrod right into the PCV thanks to no baffle. A little scrap metal and some JB-Weld fixed it right up.
Truck's looking great.
Richard
Funny; as I was reading through and looking at the older pics with the regular folding mirrors, I was thinking, "Man, that truck needs some 454SS mirrors!"
Oh, and those M\T valve covers not sealing well, pretty sure those are bootleg. The original Mickey's have the properly-oriented slash, M/T, and were pretty decent other than one little flaw - all the ones I've seen for SBC's had no baffle under the hole for the PCV. I learned this the hard way forever ago on a '69 Chevelle that after a really hard run began smoking like crazy. I thought I'd blown it up, but after a lot of hair-pulling I eventually discovered it was shooting oil from a pushrod right into the PCV thanks to no baffle. A little scrap metal and some JB-Weld
fixed it right up.Truck's looking great.
Richard
Oct 3, 2015 | 12:15 AM
#47
Thread Starter
Staging Lane
Joined: Apr 2012
Posts: 88
Likes: 0
From: Calgary, Alberta
Little things here worth updating. I wasn't happy with the beat up parking brake cables as mentioned before, so I picked up a new pair. That blossomed into doing shoes, drums and wheel cyl's. Now the rear brakes will be trouble free for a long time. I also finished up wiring jobs here, and there (and the tail lights are fixed for good now). The interior is done in one color now, lol. Basically the truck is finished for now...which feels weird. Just have to get it alligned, and pic up the autometer gps unit so my speedo will work. Last but not least, one other little project is working on the roll pan. I have the first sectioning done now, but there is still some slice and dice yet before it should fit nice...then get to layin the fiberglass.


 Oct 5, 2015 | 08:28 PM
#48
Thread Starter
Staging Lane
Joined: Apr 2012
Posts: 88
Likes: 0
From: Calgary, Alberta
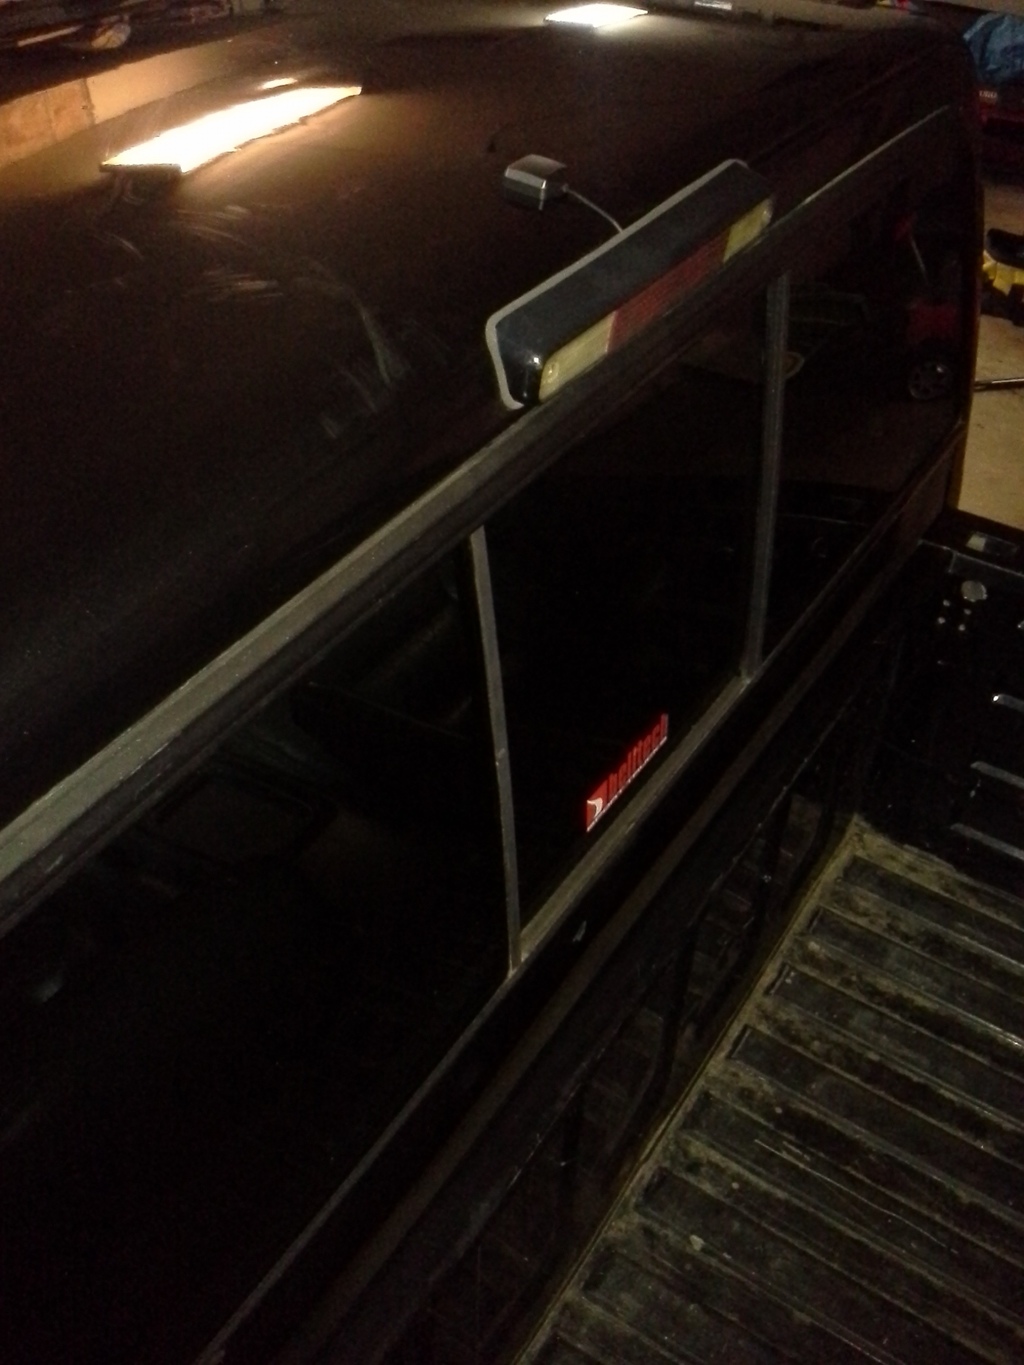
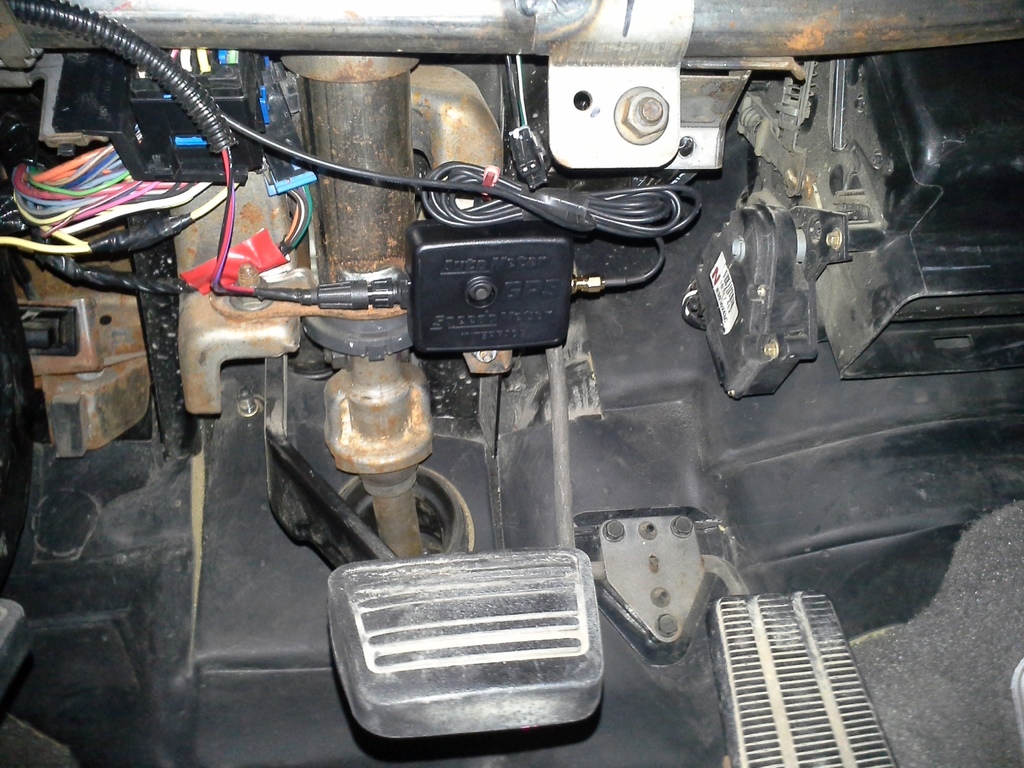
I made a trip into Mopac this weekend and finally got the truck a gps interface module for the speedo. It was pretty simple to put in, but fishing the antenna cable through the interior was kind of a pain. The antenna itself is magnetized, and doesn't want to sit anywhere that isn't almost perfectly flat, so the only good place I found was at the back of the roof, in front of the high mount tail light. Its almost the perfect spot, and you don't notice it. I calibrated the module quick, and finally took the truck on a nice highway cruise. I made a stop in at the weigh scales in my travels. The piglet tips the scales at 3873 # without the driver, and a 1/4 tank of gas. Not sure how acurate the scale was, but I think that's pretty decent...kinda wish I knew what it weighed originally for comparison. I'm guessing it was over 4000# somewhere. Then I went to town for ice cream and back home. It was pretty much a success except for the drivers side window kicking itself off the track when I rolled it down. It was only around 4 degrees Celsius...so the ice cream didn't melt on the way home at least, lol. I'll chalk that up as a win.

 Oct 6, 2015 | 07:33 AM
#49
TECH Enthusiast
Joined: Aug 2015
Posts: 602
Likes: 141
From: Houston TX
If you're not satisfied with where the GPS sender sits, put some 3M VHB tape (body trim tape) on it and it'll stick wherever it touches.
On the window coming off the track - be sure you put both 10mm-headed bolts back in the front track. I've made that mistake before when swapping door guts, get in a hurry and forget one of those 2 bolts, lets the track flop and the window comes out. Also, I've seen the track break loose from those mount points. Not common but it does happen; easy fix to swap another in of course.
Richard
Oct 6, 2015 | 10:48 AM
#50
Thread Starter
Staging Lane
Joined: Apr 2012
Posts: 88
Likes: 0
From: Calgary, Alberta
Ya the front track is bolted in, but its the track further up attached to the door panel that stabilizes the window that pooped its pants. Its like the window is able to travel too far down, and lets the wheel out of the front side of the track. I also found my door speaker magnets protrude too far inside of the door, and it contacts the window on its last few inches down. So there are a few problems to deal with.