2000 Chevy Silverado project "Charlie Murphy"


 05-20-2012, 10:19 PM
#52
Bck in the 90's I was sorta into car audio. I never really could afford all the stuff I really wanted. Over the years, I've managed to collect parts here and there. I have a collection of parts that I personally love.
I don't have thousands of dollars into this stuff and I don't have thousands of dollars to put into my stereo.
If you looked at the blog, you'll see my first plan for my truck. Well rather than buy a bunch of new stuff, I decided to use what I already have.
Almost all of my music is digital these days so I was planning on going with the Alpine 305S. Instead, I'm going to take that money and buy a JBL MS-8. I can get a factory refurbished one for 399.00 shipped and it has a warranty.
I'm getting ahead of myself.
Here's the equipment I have:
Clarion DRX9255
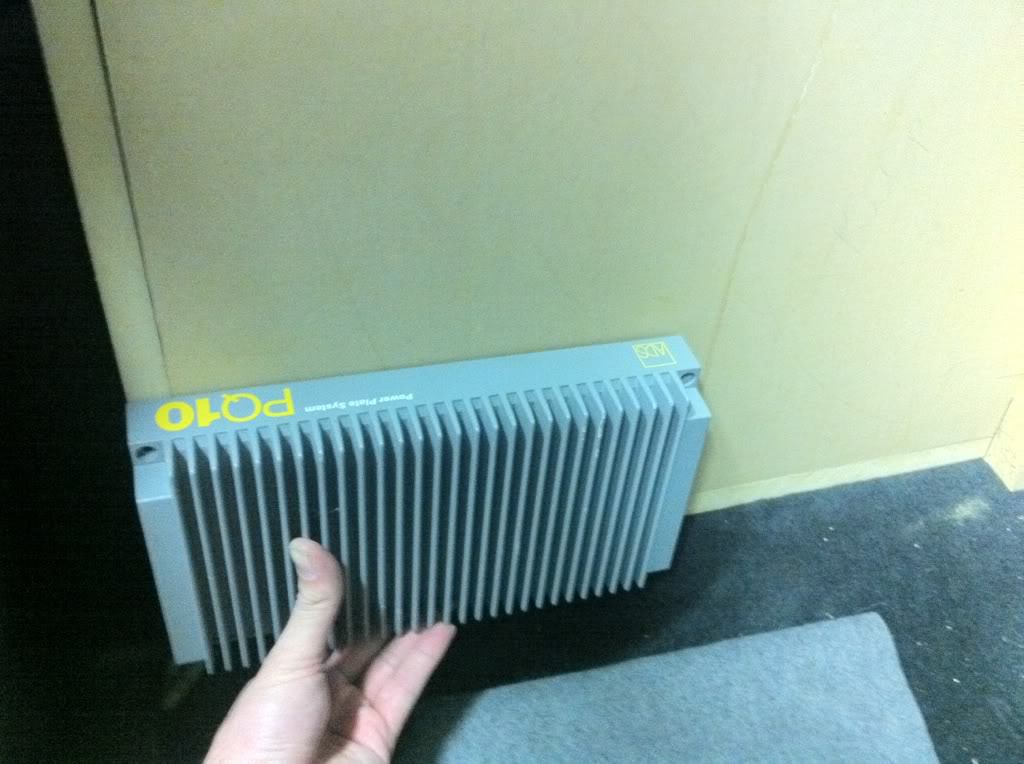
(2) A/D/S PQ10's
(1) Rockford Fosgate 500bd
12" IDMAX V3 D4
Boston Acoustics 6.43
I've biamped the Boston's before. They consist of a 1" tweeter, 4" midrange and a 6 1/2" midbass.
This time around I am going fully active.
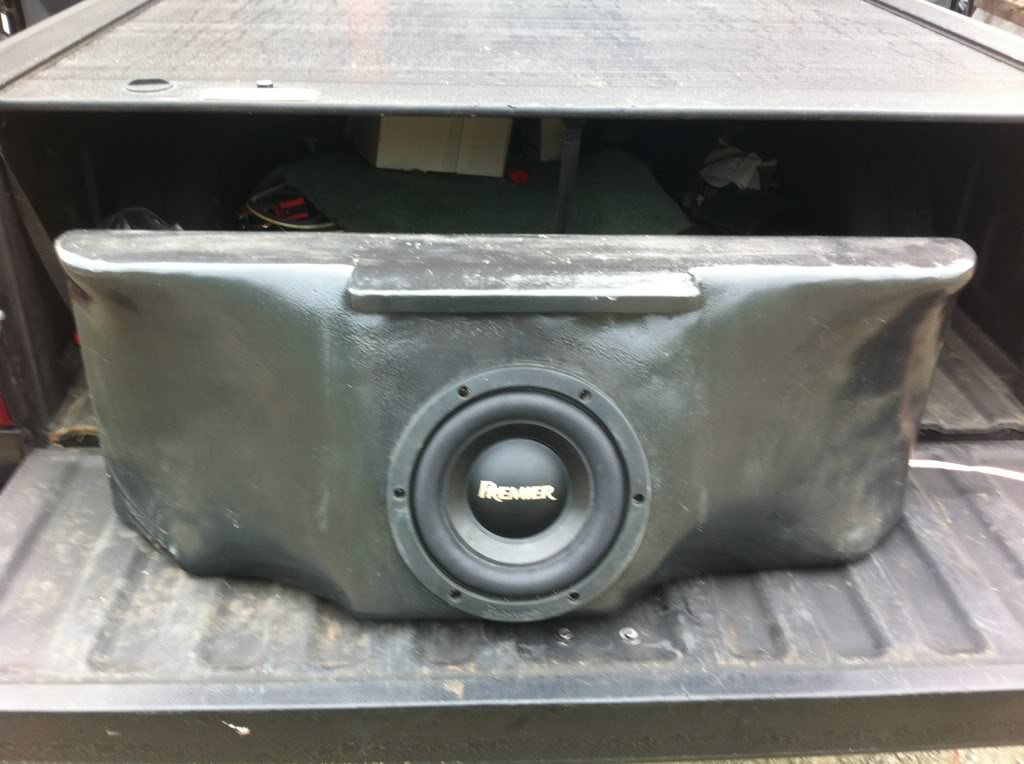
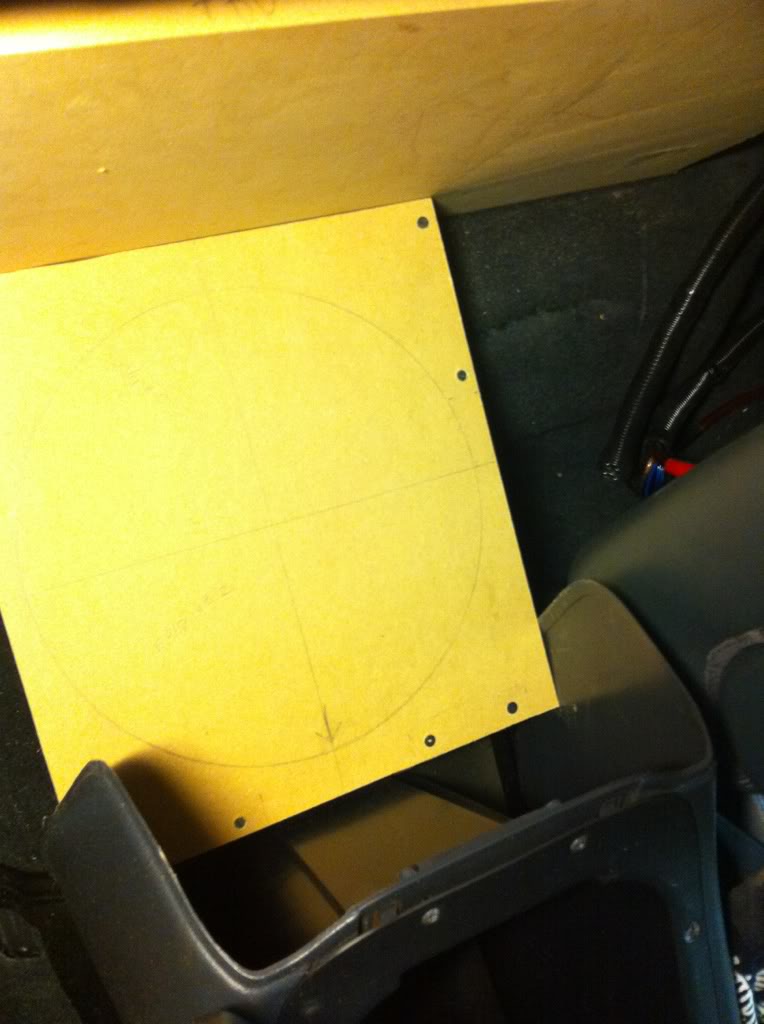
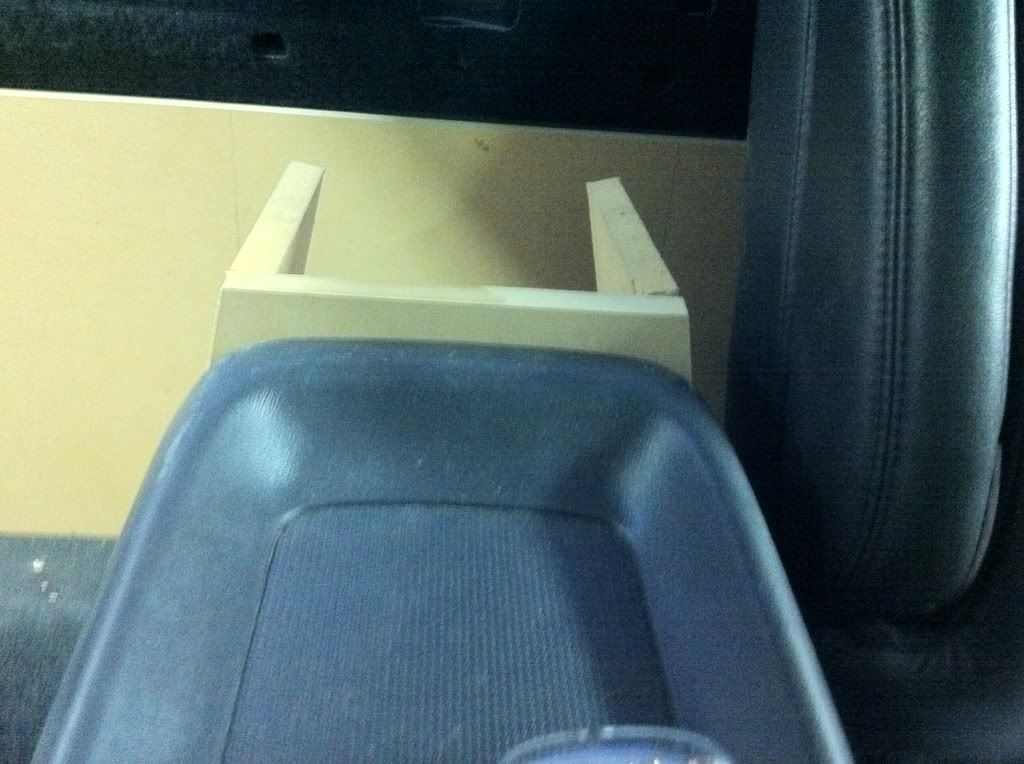
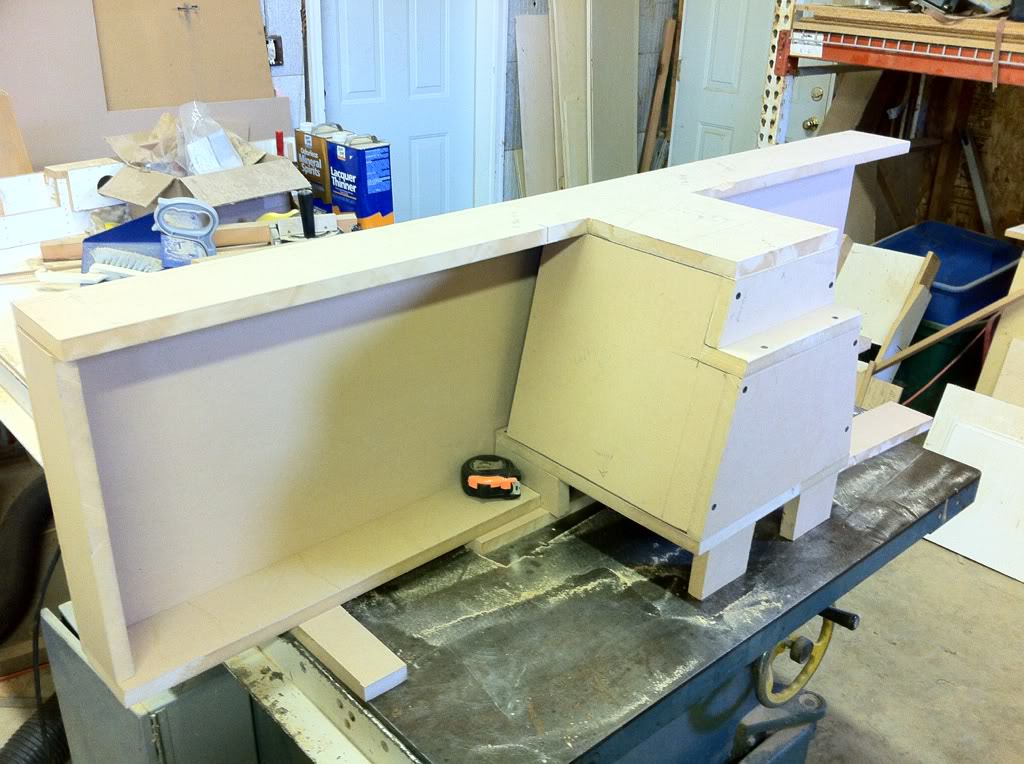
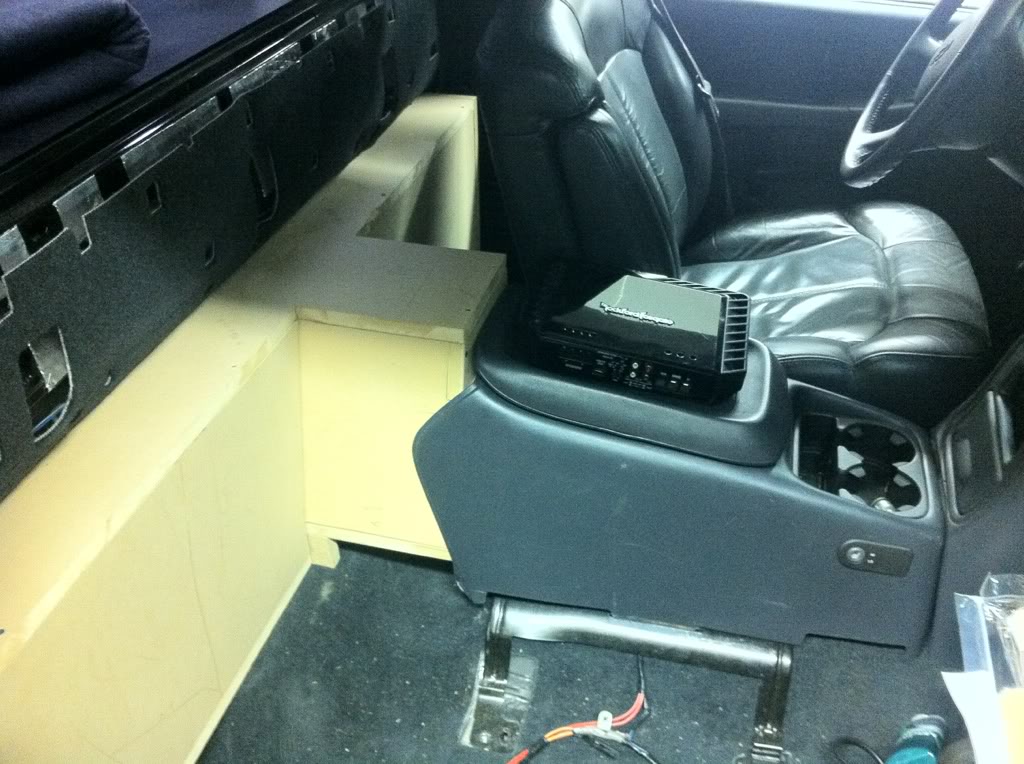
Today I took out my old subwoofer box. It didn't fit quite right since I swapped the leather seats and console in. Plus I need to figure out how I'm going to fit the IDMAX.
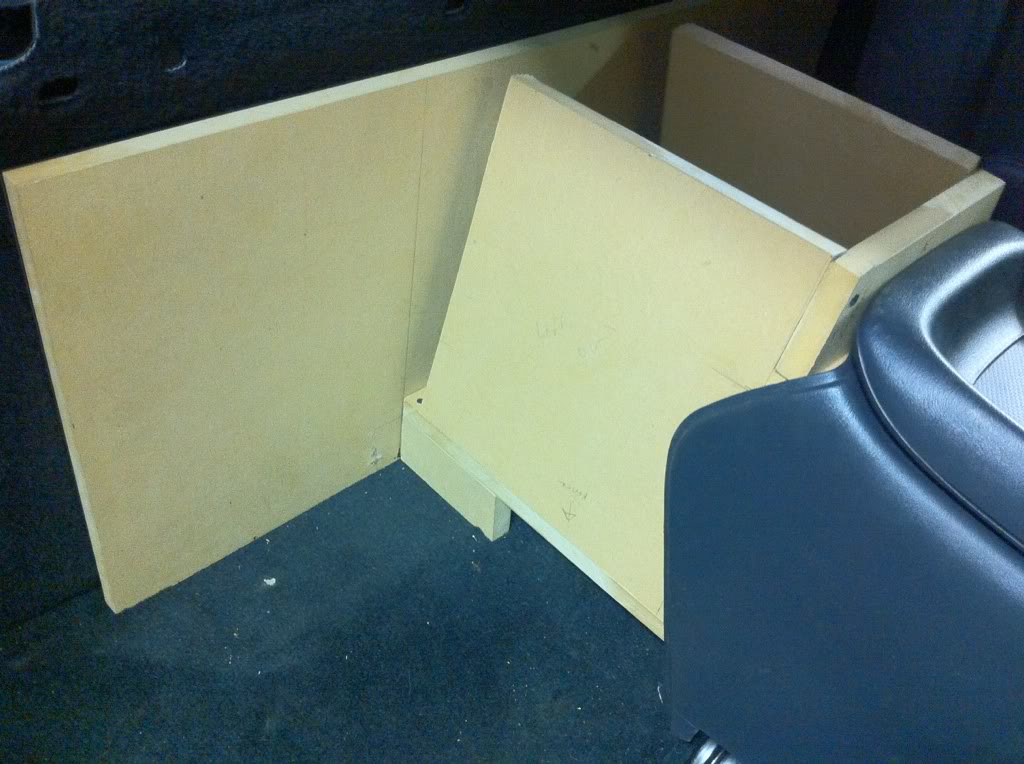
Here is box 1.0. I was messing around with fiberglass and contouring the box around the seats.
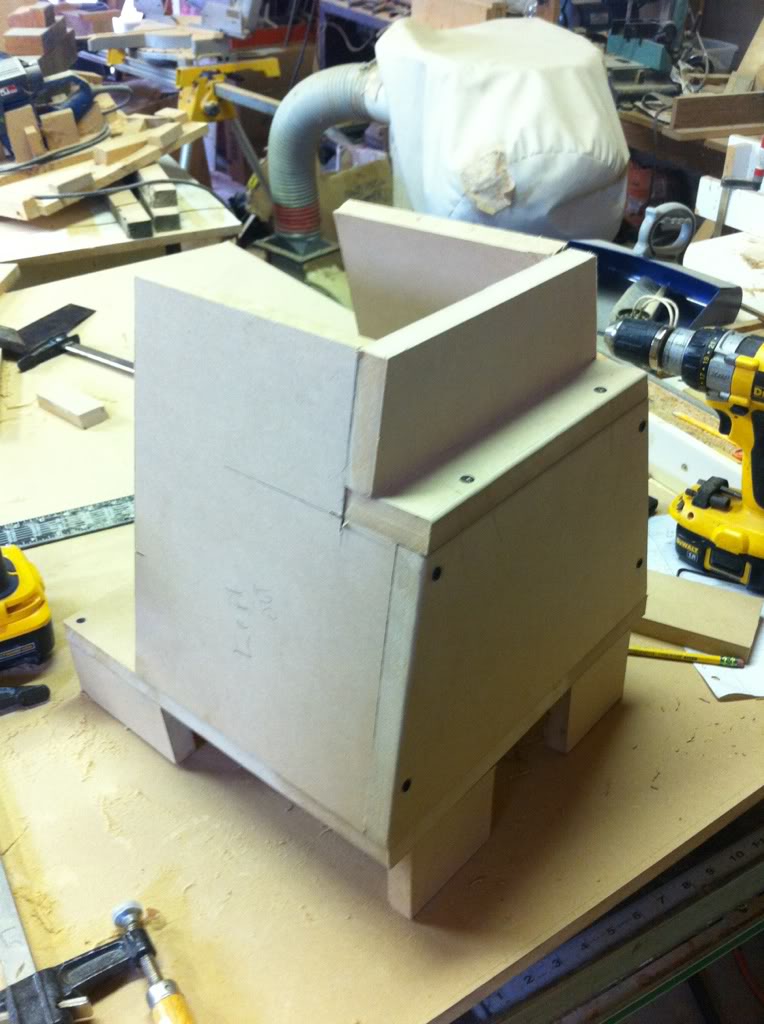
Here's the beginnings of subwoofer box 2.0.
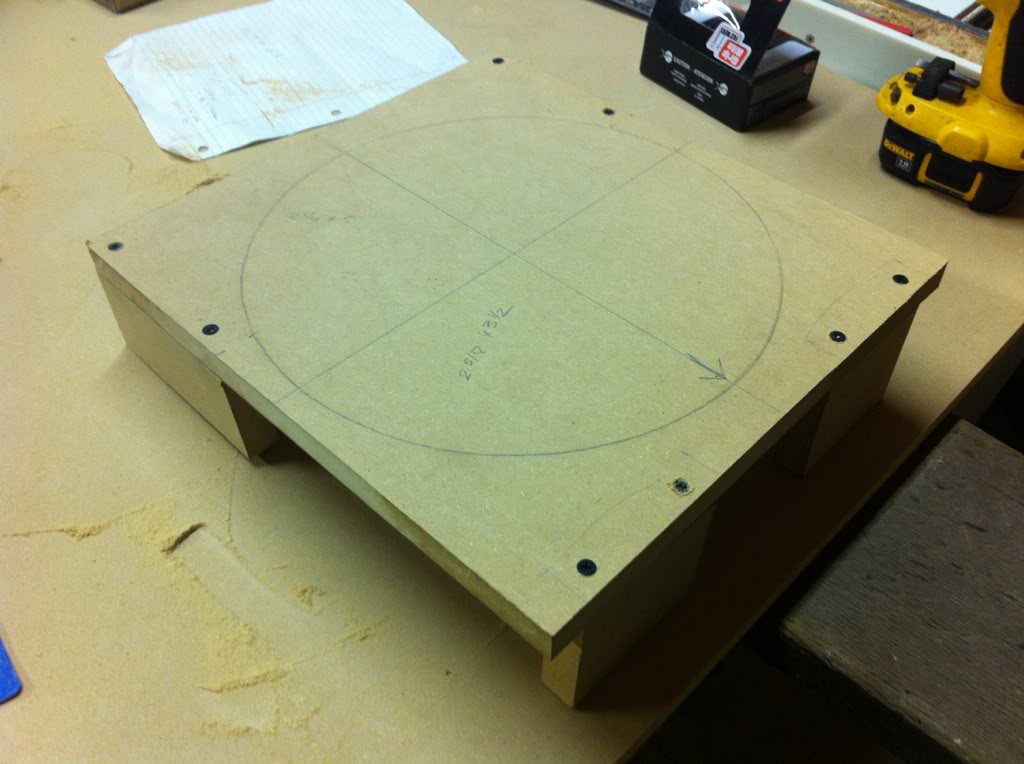
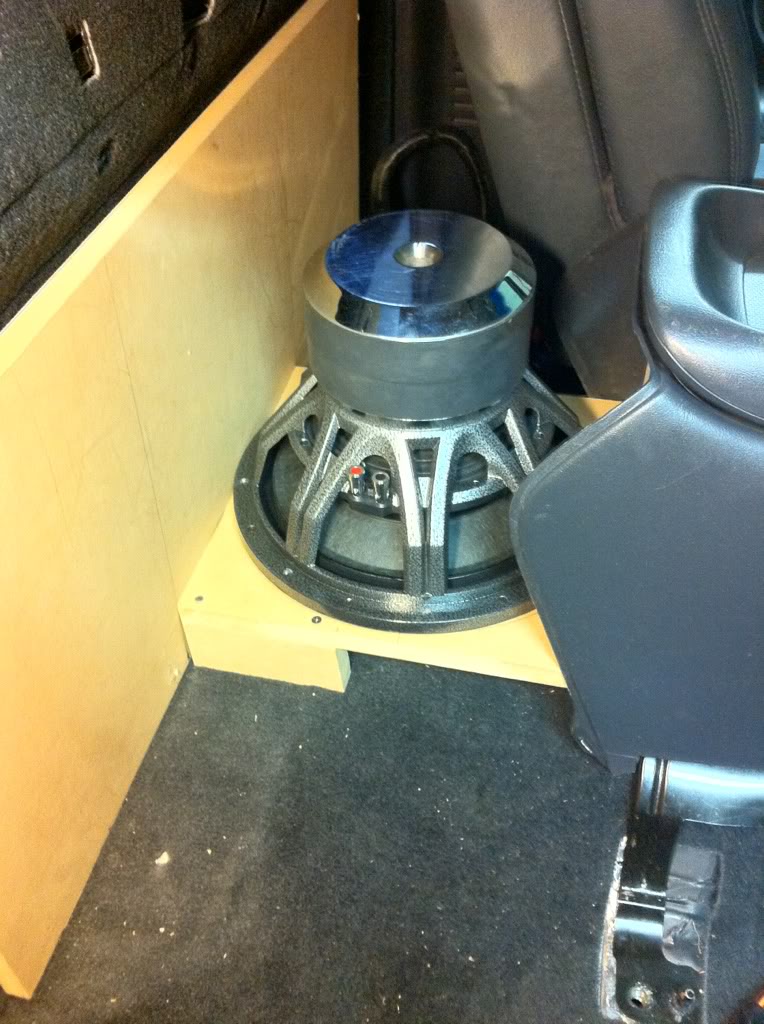
The underside where the IDMAX will mount. I gave it 2 1/2 inches of clearance.
Space is so limited. I'm mocking everything up to make sure it fits.
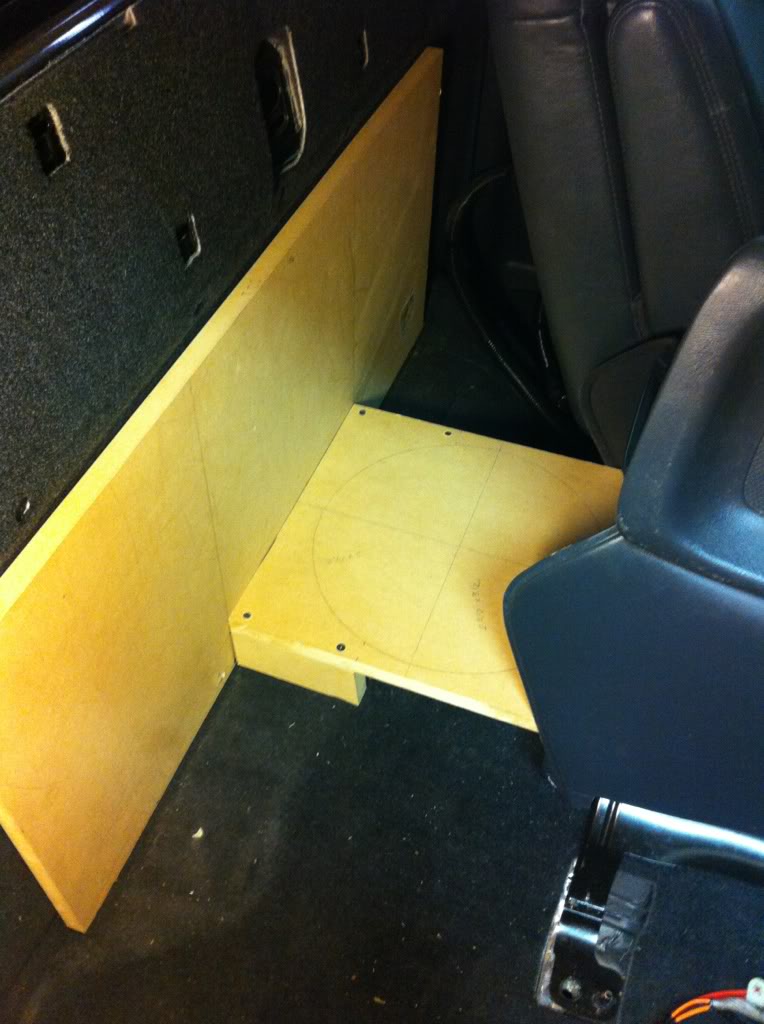
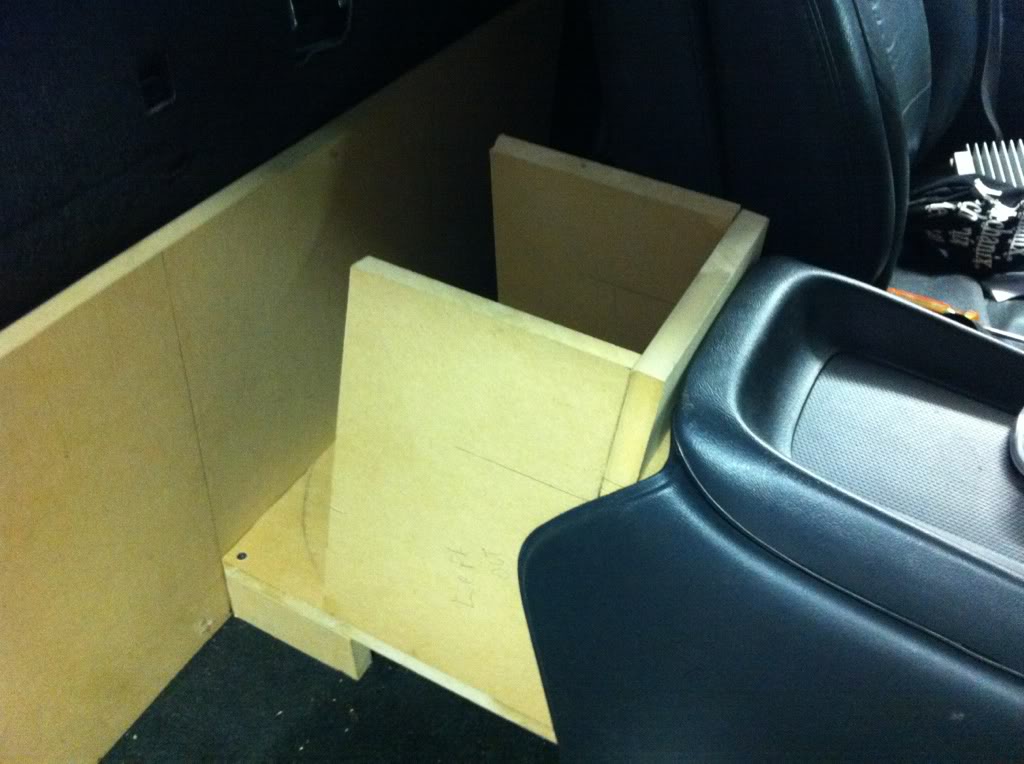
I recessed the box into the center console as close as I could.
It'll fit! Of course it's going to be mounted underneath.
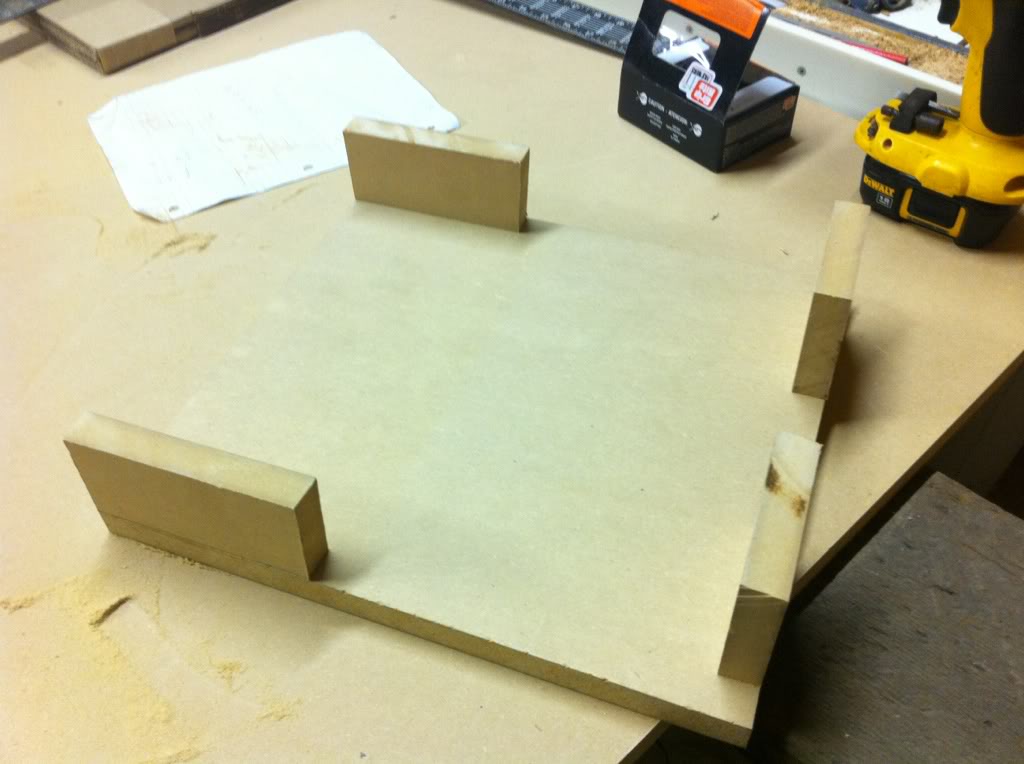
Little more progress.

Sorry, I'm not much of a carpenter and all these angles suck. Especially cutting everything with a circular saw.
I don't have thousands of dollars into this stuff and I don't have thousands of dollars to put into my stereo.
If you looked at the blog, you'll see my first plan for my truck. Well rather than buy a bunch of new stuff, I decided to use what I already have.
Almost all of my music is digital these days so I was planning on going with the Alpine 305S. Instead, I'm going to take that money and buy a JBL MS-8. I can get a factory refurbished one for 399.00 shipped and it has a warranty.
I'm getting ahead of myself.
Here's the equipment I have:
Clarion DRX9255
(2) A/D/S PQ10's
(1) Rockford Fosgate 500bd
12" IDMAX V3 D4
Boston Acoustics 6.43
I've biamped the Boston's before. They consist of a 1" tweeter, 4" midrange and a 6 1/2" midbass.
This time around I am going fully active.
Today I took out my old subwoofer box. It didn't fit quite right since I swapped the leather seats and console in. Plus I need to figure out how I'm going to fit the IDMAX.
Here is box 1.0. I was messing around with fiberglass and contouring the box around the seats.
Here's the beginnings of subwoofer box 2.0.
The underside where the IDMAX will mount. I gave it 2 1/2 inches of clearance.
Space is so limited. I'm mocking everything up to make sure it fits.
I recessed the box into the center console as close as I could.
It'll fit! Of course it's going to be mounted underneath.
Little more progress.
Sorry, I'm not much of a carpenter and all these angles suck. Especially cutting everything with a circular saw.
05-20-2012, 10:26 PM
#53
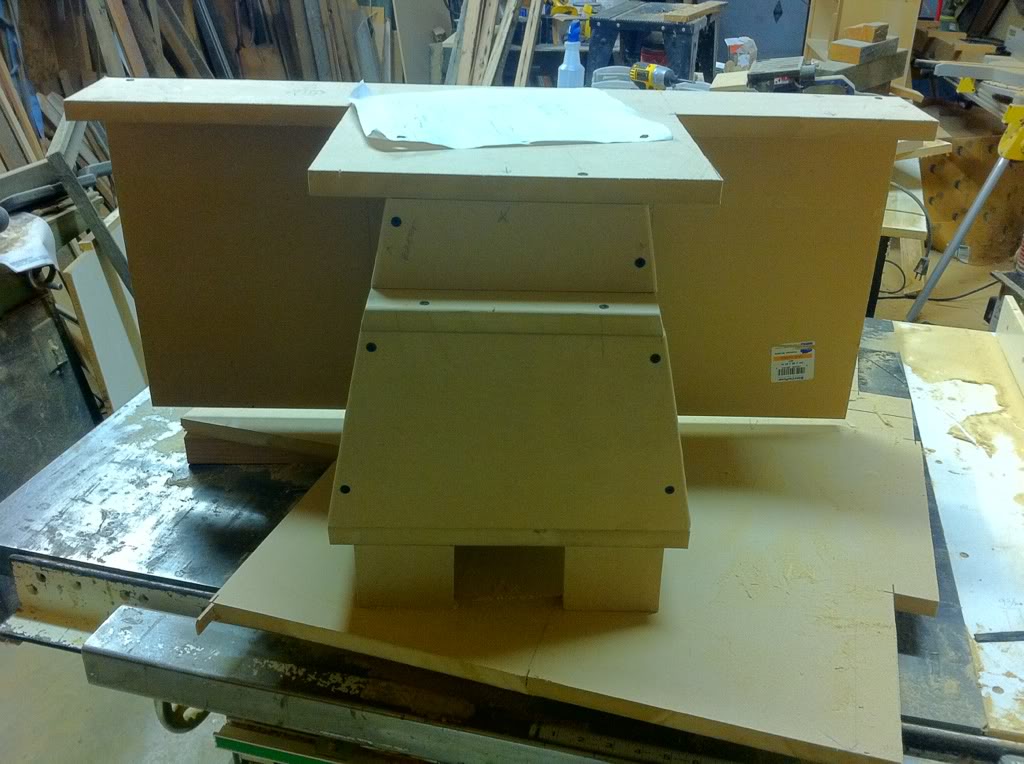
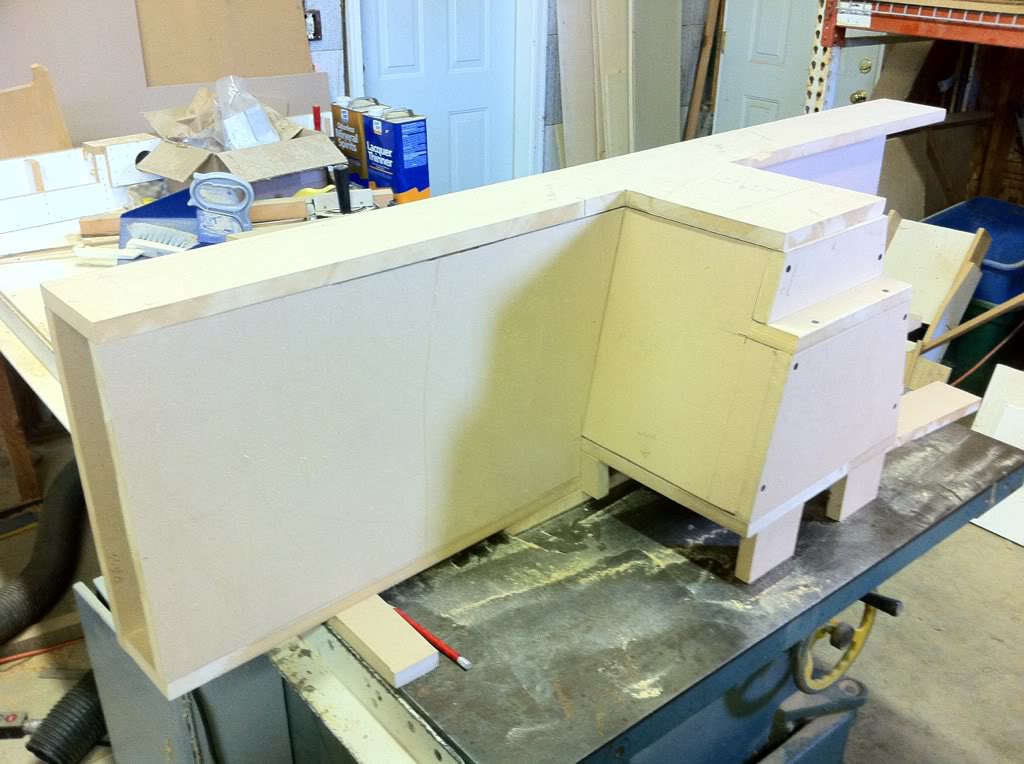
It's been tricky but a fun process. I like the idea of using a minimal amount of tools. If I can pull it off with basic tools anyone can.
I've built this entire box with a hand drill, a circular saw, a measuring tape, and a square. I drilled pilot holes for the screws. Nothing's glued yet. I wanted to make sure it'll fit.
Here it is fitted into the center console.
I still need to square off the top parts, but here's how it'll sit above the console. It'll be nice to have a flat area to set my backpack on.
How do you guys think I should finish the box? Carpet? Paint?
05-23-2012, 04:40 AM
#54
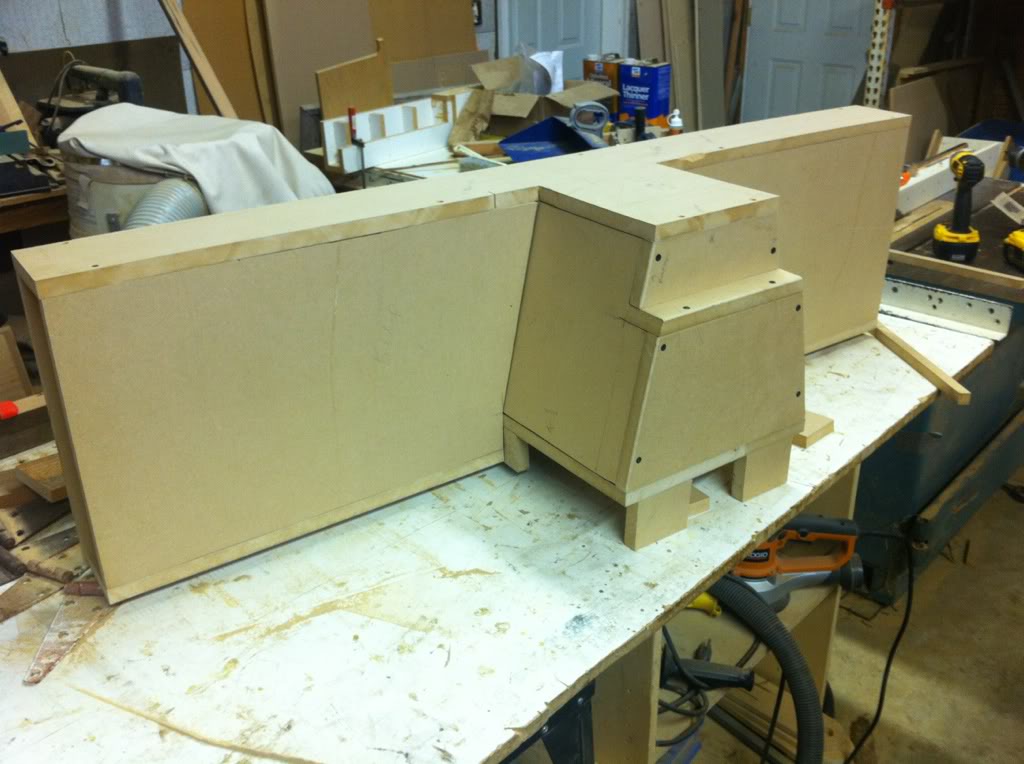
I go a bit more done today.
The first thing I had to do was measure behind the seats so I can see exactly how much room I have. Well I got to looking at it and realized I made the side pieces surrounding the subwoofer to short! So I had to remake the 2 side parts. It was frustrating, but I think they actually turned out a bit better than the first ones.
I actually made them a bit to long on purpose. So I can trim them when I put the side pieces on.
Here's what I've got so far.

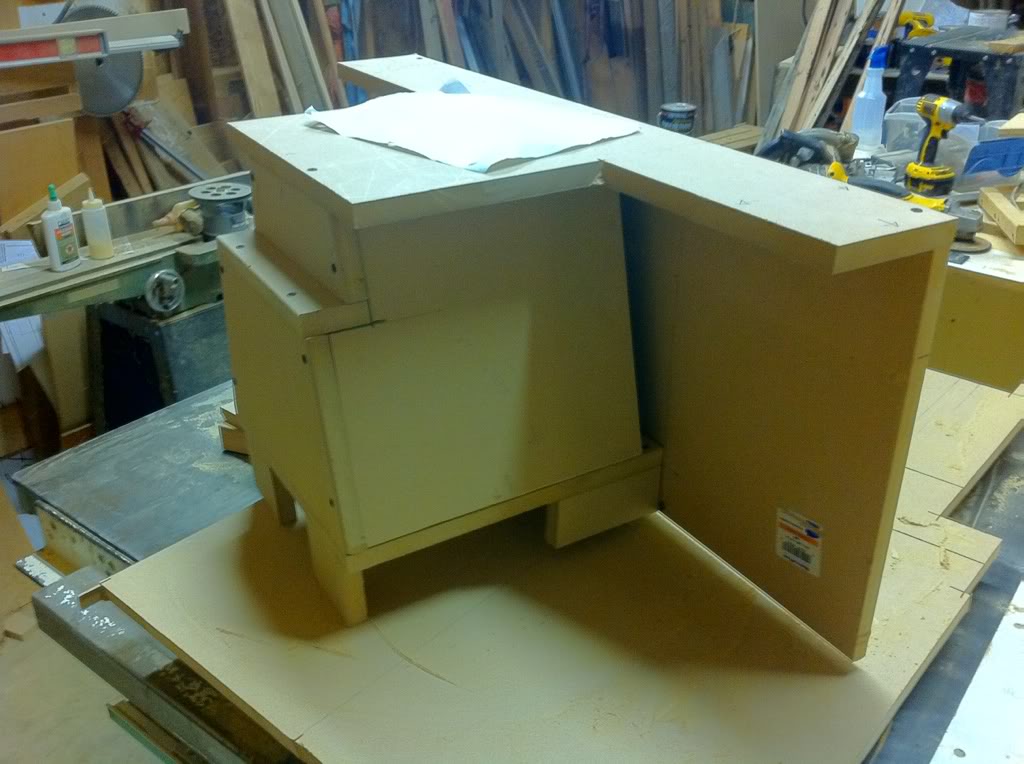
On the bottom I'll make a rectangular piece and then enclose the box. I'll also trim that top piece.
Everything is just loosely screwed together. All these angles are much more of a pain then I thought they would be. I kinda wish I knew how to use cad.
I did some measurements. It looks like I'll have approximately 1.33 cubic feet of air space.
The first thing I had to do was measure behind the seats so I can see exactly how much room I have. Well I got to looking at it and realized I made the side pieces surrounding the subwoofer to short! So I had to remake the 2 side parts. It was frustrating, but I think they actually turned out a bit better than the first ones.
I actually made them a bit to long on purpose. So I can trim them when I put the side pieces on.
Here's what I've got so far.
On the bottom I'll make a rectangular piece and then enclose the box. I'll also trim that top piece.
Everything is just loosely screwed together. All these angles are much more of a pain then I thought they would be. I kinda wish I knew how to use cad.
I did some measurements. It looks like I'll have approximately 1.33 cubic feet of air space.
 05-23-2012, 05:40 PM
#56
You know, I was thinking about it and I think I'm just going to carpet it. If I an find some grey carpet that's close to the GM factory grey. If not, I can always go with that greyish black stuff.
It's hard to paint something like this. Every little imperfection really shows up.
For the most part you won't even see the box. What I though would be kind of cool is if you made that top part out of granite. It would be super solid, but I don't know anyone around here with the tooling to do such a project.
I've done this entire thing using only a circular saw. My step father has a pretty awesome wood shop, but the table saw's start up capacitor went out and froze the saw itself. We're waiting on parts and I couldn't wait to start the stereo portion.
Feel free to copy or be inspired any anything I do! Take lots of pictures and post them up!
05-28-2012, 09:49 PM
#57
You know, if I'd just stop changing the design of this box, I'd be done already!
I've got all the pieces cut and just need to start gluing it together.
I decided to make the enclosure as large as I could. I'll have to remeasure, but I'd guess there's somewhere around 2.0^ now. In doing that, I'm going to have to do something I usually tell people never to do. I'm going to mount my amps to my box.
I plan on reinforcing where the amps will mount. I'll also put a layer of ensolite between the amp and the box. I may even throw a layer of deadener in their as well.
06-09-2012, 12:52 AM
#58
I finally got to get back to my stereo project. My wife and I recently went to Vegas.
Anywho, we got the table saw repaired, but it's a little bit too late. *LOL. I've already made all my cuts. I did decide to make some minor changes. I cut 3/4 of an inch off of each end and put caps on instead of cutting a small piece to fit in. My cuts aren't quite square, so it will be easier this way.
So anyway, here's the box during pre-assembly. I pre-drilled all the holes for the screws.
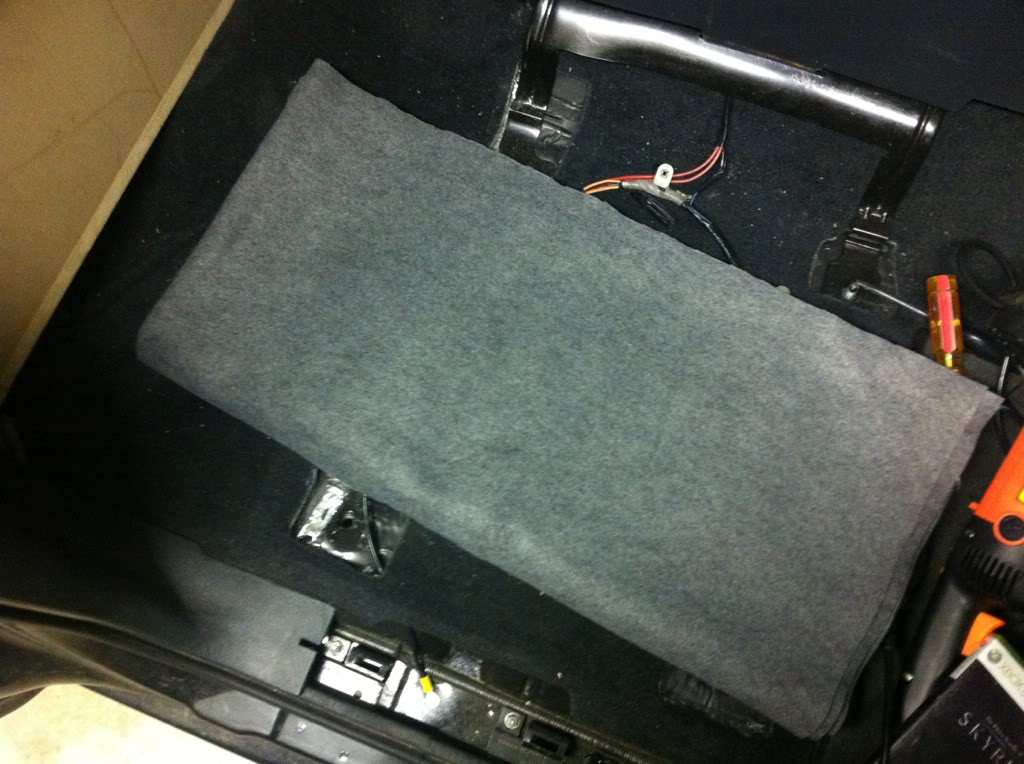
Check it out. It totally fits!
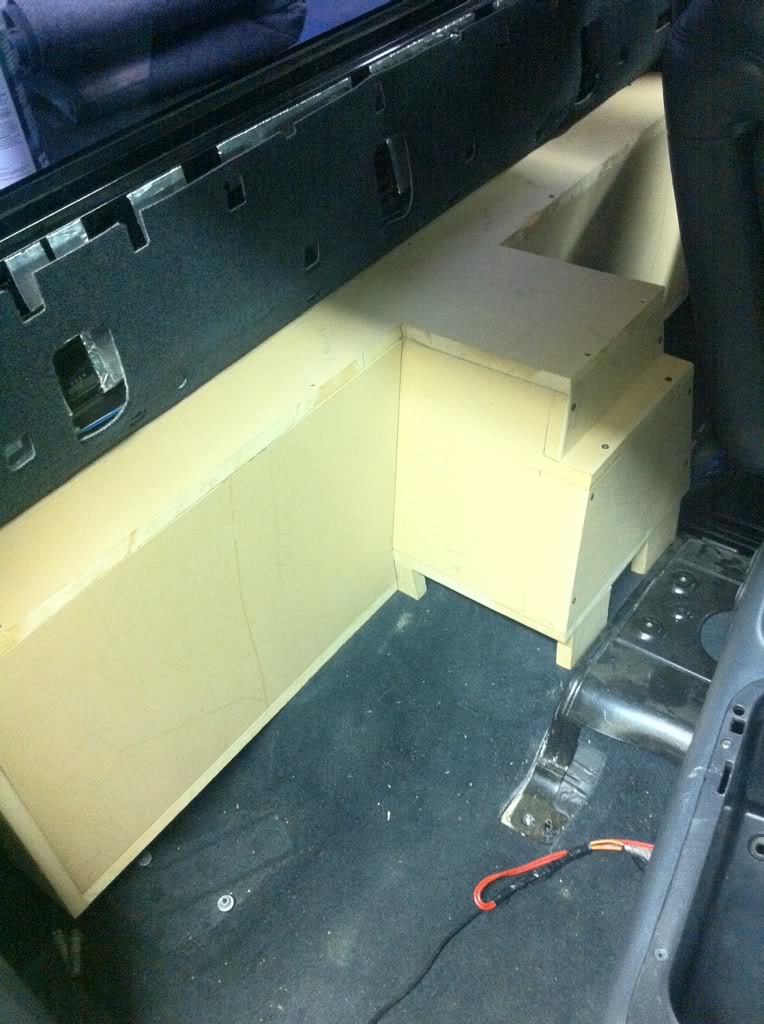
It fits right around the center console.
Here's the carpet I picked up. It's felt from Walmart. I got 3 yards of the stuff for 12 bucks. I think it'll match pretty well.
Here's how I'm going to end up mounting the amplifiers. I have a few pieces to cut. I'm going to reinforce the inside where the amps mount. I'm also going to play around with raammat and ensolite.
It's a pretty bad pic, but you can kinda see how this color will tie into the grey.
Anywho, we got the table saw repaired, but it's a little bit too late. *LOL. I've already made all my cuts. I did decide to make some minor changes. I cut 3/4 of an inch off of each end and put caps on instead of cutting a small piece to fit in. My cuts aren't quite square, so it will be easier this way.
So anyway, here's the box during pre-assembly. I pre-drilled all the holes for the screws.
Check it out. It totally fits!
It fits right around the center console.
Here's the carpet I picked up. It's felt from Walmart. I got 3 yards of the stuff for 12 bucks. I think it'll match pretty well.
Here's how I'm going to end up mounting the amplifiers. I have a few pieces to cut. I'm going to reinforce the inside where the amps mount. I'm also going to play around with raammat and ensolite.
It's a pretty bad pic, but you can kinda see how this color will tie into the grey.
06-11-2012, 04:39 AM
#59
Well I've had the box cut into shape for a bit, but today I actually had time to glue it together.
Now, the box isn't perfectly square. I made all of these pieces with a circular saw remember. So I decided to try a product that I've never used. Gorilla Glue.
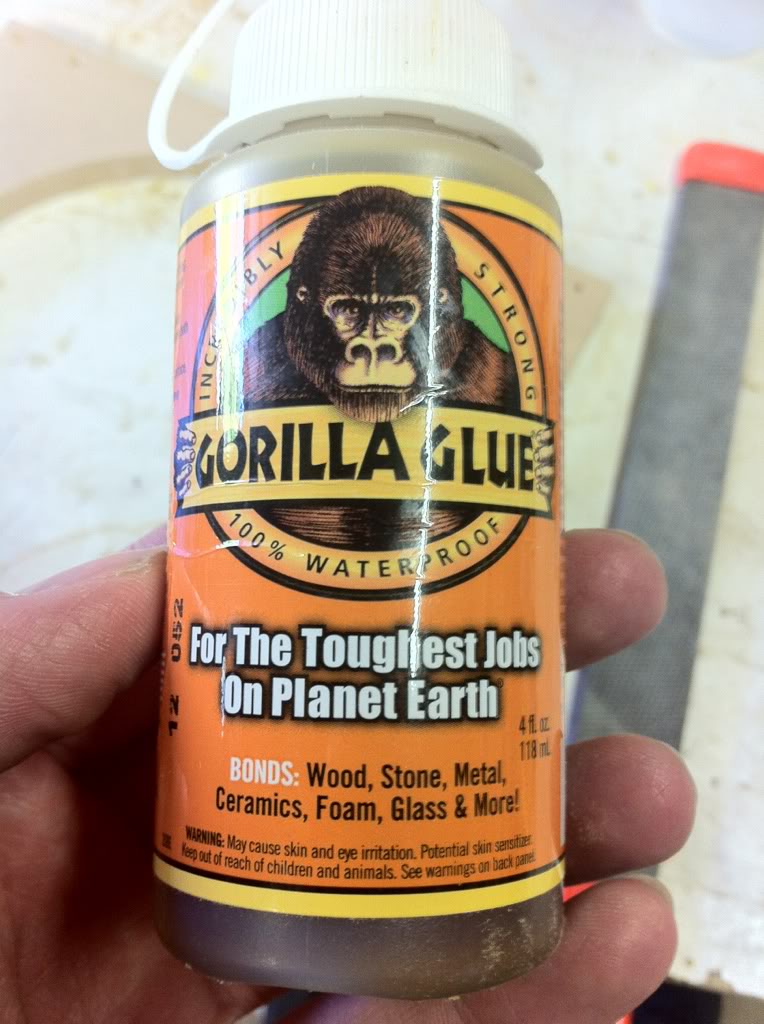
This is an expanding glue. I've never used it before but basically you wet down to two surfaces you're gluing together, apply the glue, and clamp down.
I didn't realize how much this glue would actually expand. It's a good thing I'm not making professional furniture or something. If you do decide to use a glue like this, you might want to keep a damp rag handy or something.
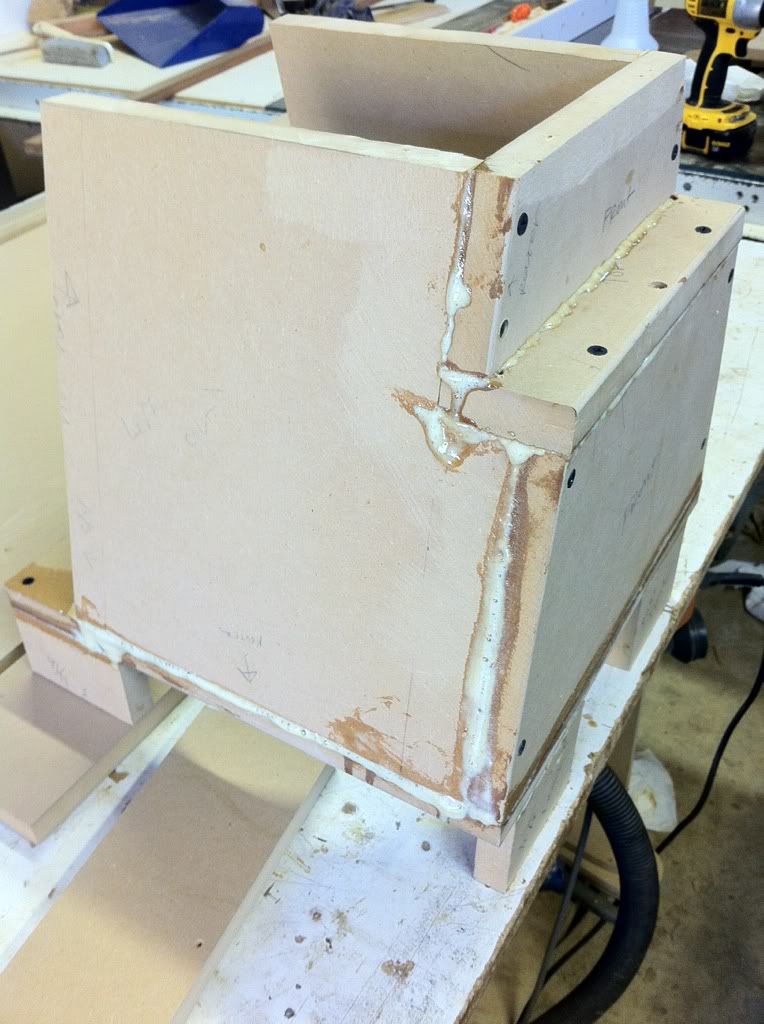
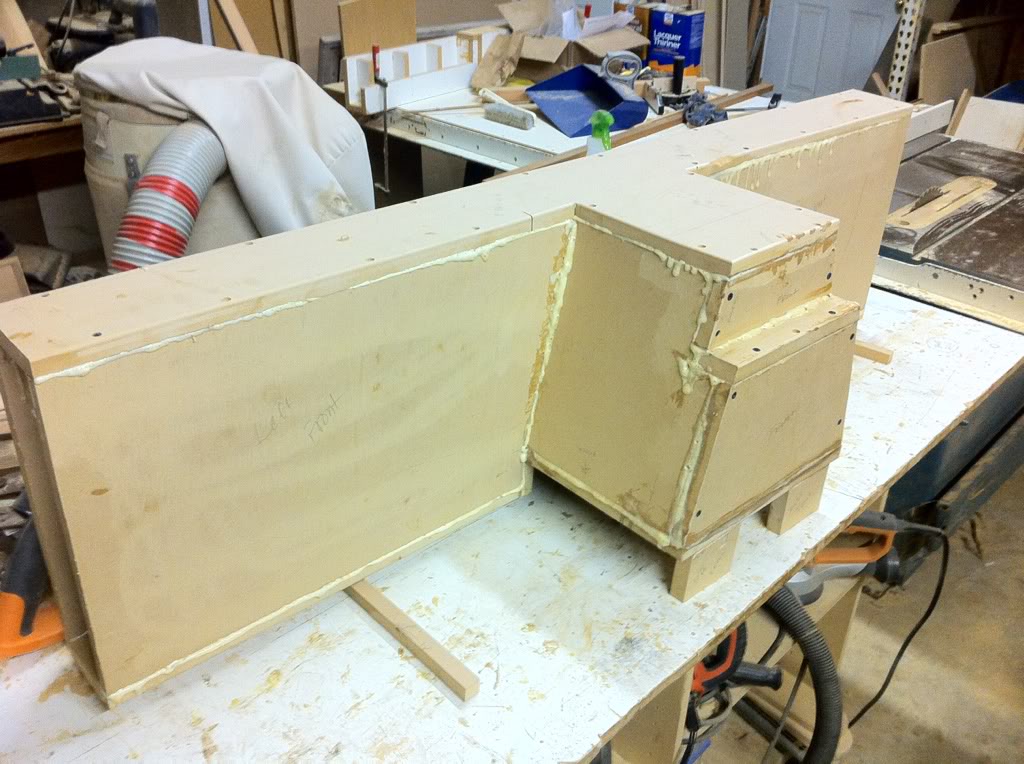
The entire box, except the end caps, glued together.
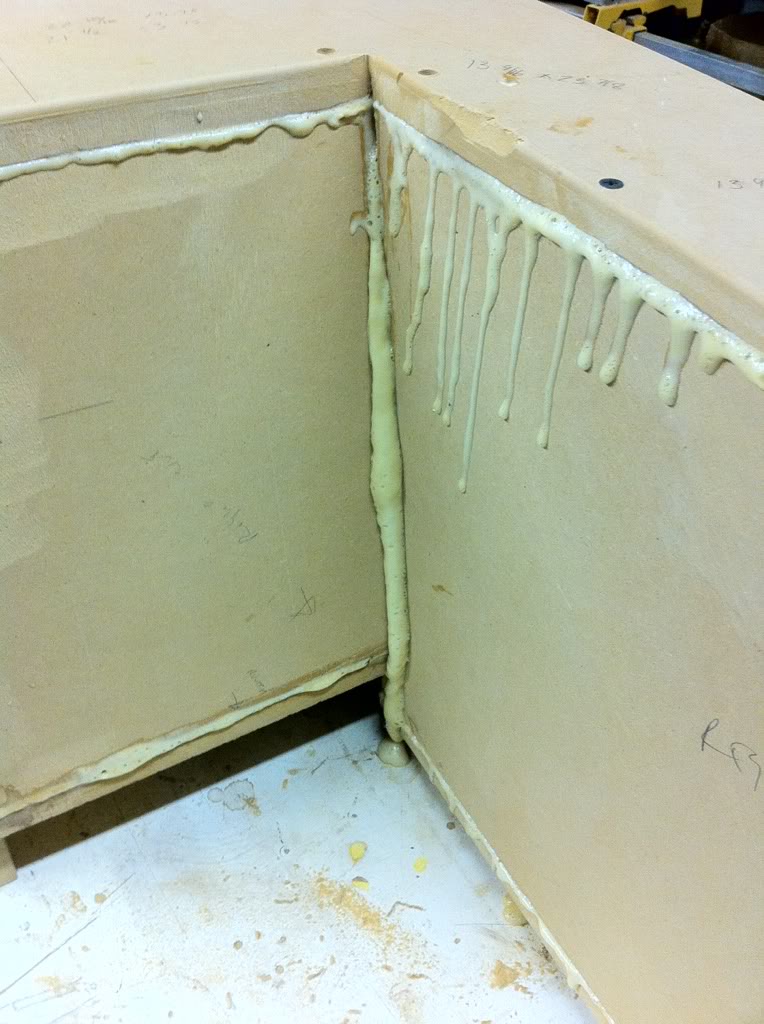
Check out how much this glue expanded!
I didn't glue the end caps on because I wanted to be able to reach the inside of the box so I could run a bead of silicone along all of the joints. With the way this glue looks, I'm wondering if that's even necessary.
While I was waiting for the glue to dry, I started taking apart my door. I had previously installed damplifier on my inner and outer door panels.
I wanted to try something different this time so I ordered some peel and stick ensolite foam and raammat.
It turns out, the last time I deadened it, I did a reasonable job. So I didn't have to add much in the way of deadener. What I did add was a patch of ensolite foam behind the mid bass driver. I also used some raammat bxt to seal up all of the unnecessary holes.
This is as far as I got.
[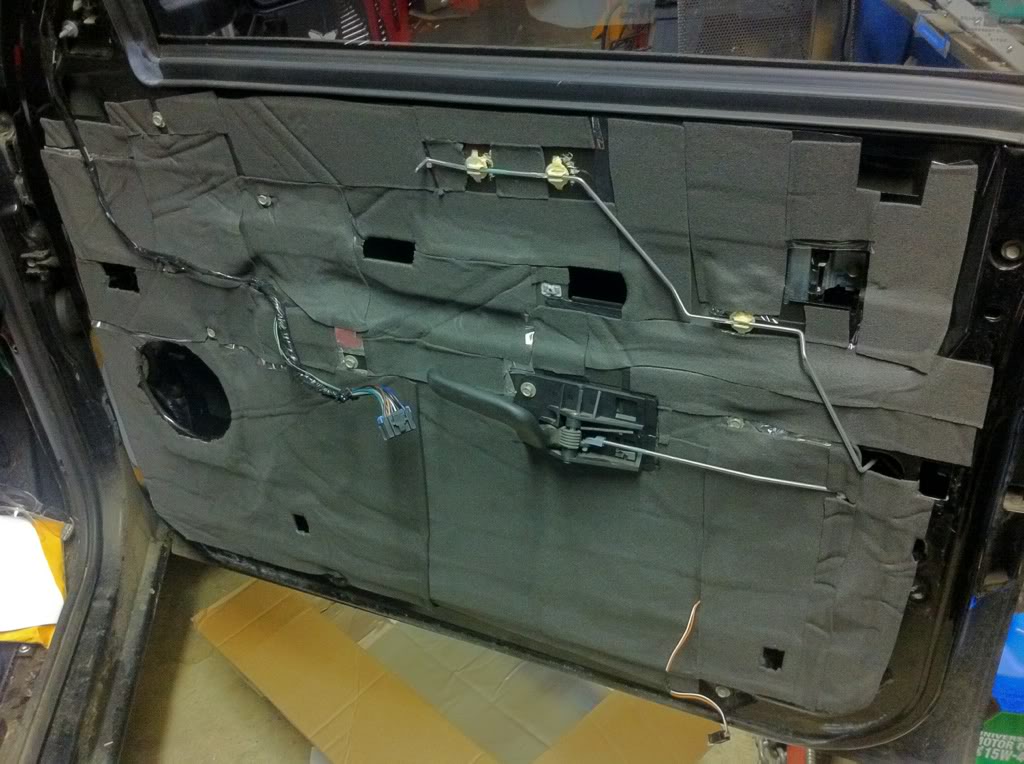
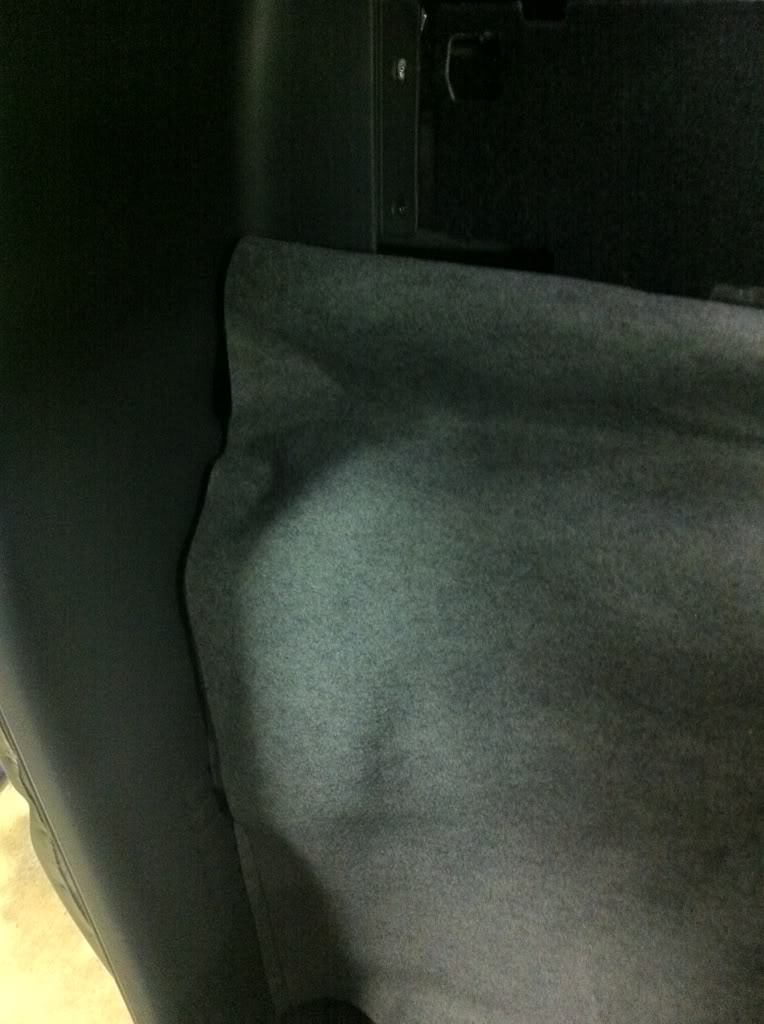
I think this door panel is done. I'm not sure if I ordered enough ensolite though.
My subwoofer box runs the entire span of the back of my truck. How beneficial would it be to install ensolite on the sheet metal behind the box?
Now, the box isn't perfectly square. I made all of these pieces with a circular saw remember. So I decided to try a product that I've never used. Gorilla Glue.
This is an expanding glue. I've never used it before but basically you wet down to two surfaces you're gluing together, apply the glue, and clamp down.
I didn't realize how much this glue would actually expand. It's a good thing I'm not making professional furniture or something. If you do decide to use a glue like this, you might want to keep a damp rag handy or something.
The entire box, except the end caps, glued together.
Check out how much this glue expanded!
I didn't glue the end caps on because I wanted to be able to reach the inside of the box so I could run a bead of silicone along all of the joints. With the way this glue looks, I'm wondering if that's even necessary.
While I was waiting for the glue to dry, I started taking apart my door. I had previously installed damplifier on my inner and outer door panels.
I wanted to try something different this time so I ordered some peel and stick ensolite foam and raammat.
It turns out, the last time I deadened it, I did a reasonable job. So I didn't have to add much in the way of deadener. What I did add was a patch of ensolite foam behind the mid bass driver. I also used some raammat bxt to seal up all of the unnecessary holes.
This is as far as I got.
[
I think this door panel is done. I'm not sure if I ordered enough ensolite though.
My subwoofer box runs the entire span of the back of my truck. How beneficial would it be to install ensolite on the sheet metal behind the box?
Last edited by iregret; 06-11-2012 at 08:28 PM.
