Assembly on forged lq4
 May 18, 2013 | 02:34 PM
#1
I am assembling a forged lq4 370ci mahle flat tops and eagle H beam rods.
Very simple to do, but curious if i need to know anything or any tricks with these blocks and parts before i assemble?
Thanks for any input
Very simple to do, but curious if i need to know anything or any tricks with these blocks and parts before i assemble?
Thanks for any input
May 18, 2013 | 02:43 PM
#2
If you look at the big end of the rod where the bearing is installed,
you should notice one edge has a large bevel (or chamfer) and the other edge
has a smaller bevel. On each journal, the large bevel on each rod should
face away from the adjacent rod. That will leave the two small bevels facing
each other. This is how they are oriented unless they have been modified or
there is some situation or circumstance that I am not aware of.
This is how eagle rods are installed can someone verify this?
May 18, 2013 | 04:18 PM
#3
If you look at the big end of the rod where the bearing is installed,
you should notice one edge has a large bevel (or chamfer) and the other edge
has a smaller bevel. On each journal, the large bevel on each rod should
face away from the adjacent rod. That will leave the two small bevels facing
each other. This is how they are oriented unless they have been modified or
there is some situation or circumstance that I am not aware of.
This is how eagle rods are installed can someone verify this?
you should notice one edge has a large bevel (or chamfer) and the other edge
has a smaller bevel. On each journal, the large bevel on each rod should
face away from the adjacent rod. That will leave the two small bevels facing
each other. This is how they are oriented unless they have been modified or
there is some situation or circumstance that I am not aware of.
This is how eagle rods are installed can someone verify this?
May 18, 2013 | 04:35 PM
#4
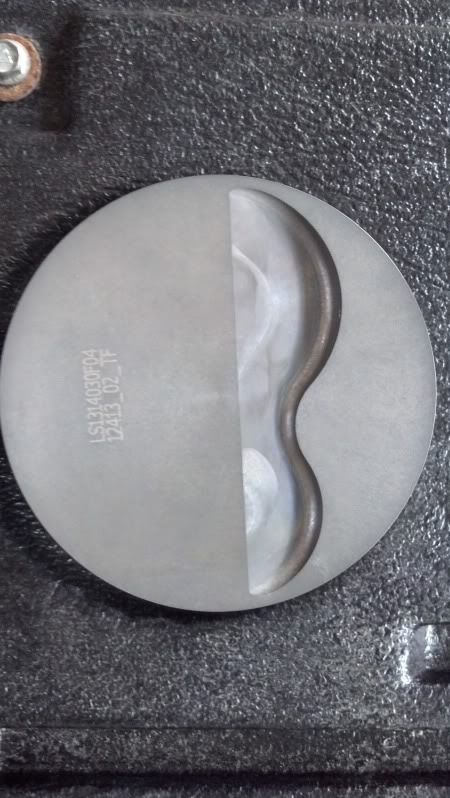
Also on the valve relief's on these pistons are always installed up as in towards the intake..


 May 20, 2013 | 09:56 PM
#7
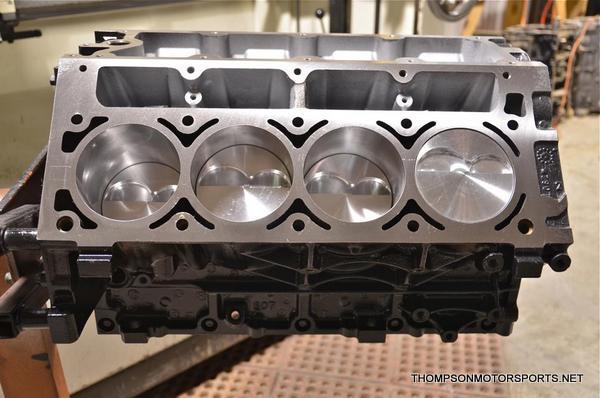
Make sure you seat the thrust bearing in properly for the center cap. The caps will have numbers 1-4 stamped on one side and 5 will be stamped on the other side. Make sure the deck is very clean. I scrape it with a razor blade and hit it with fine sandpaper on a metal block if the engine block is bare. Clean clean clean, and clean some more.
Last edited by Gadgetized; May 21, 2013 at 05:53 PM.
Trending Topics
May 20, 2013 | 10:06 PM
#8

Joined: Jan 2006
Posts: 16,282
Likes: 438
From: Huntsville, AL
I would be careful using sandpaper on the block deck...you can actually do some damage with that even if it looks smooth it will be wavy. Iron not as easily as AL, but I would still advise against it.
May 21, 2013 | 09:16 AM
#9
When I got my block back from my 1st machine shop, I wasnt happy with the surface after it was cleaned with shot. I took it to another machine shop, and he told me they will use a perfectly flat metal block with fine sandpaper on it to go over it. I used 600 on a metal block with WD40. He said to be careful near the chlinders as the area is smaller and you are actually applying more pressure due to the size. You could make that area slightly thinner as Richard states. If you decide to use the sandpaper and block method dont get carried away. You arent decking it, just cleaning it.