2008 GMC Sierra hydroboost how-to
#1
This is a detailed write up of what I had to do for my truck to swap to hydroboost. Pictures of everything I did, changed, and used. With the help of Foxxer's write up , I was able to feel like I was ready to tackle this project.
As for the pedal, it seems to be the same size as the factory one (length wise) from the bottom of the sleeve for the bolt to the top left edge of the brake pedal rubber is about 14 1/2" just like the oem one.
Brand new pedal from GM
part number 15906961
Hoses used:
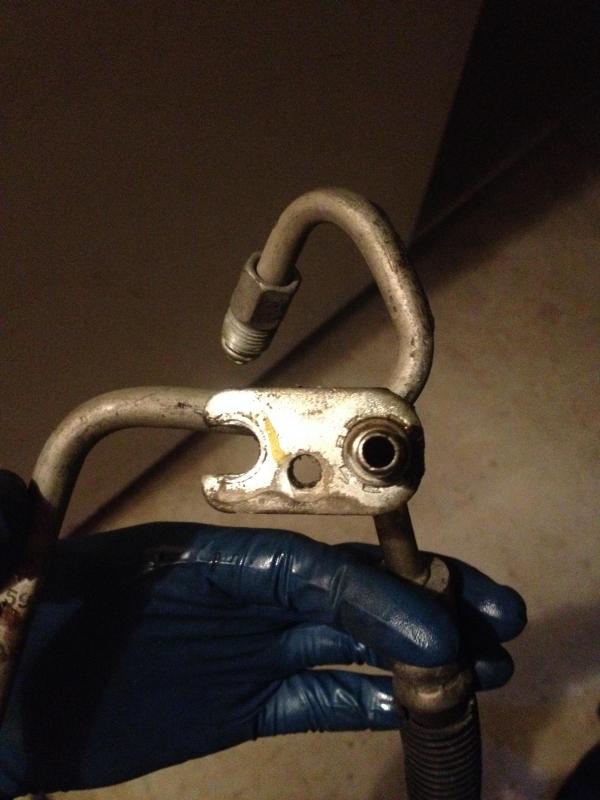
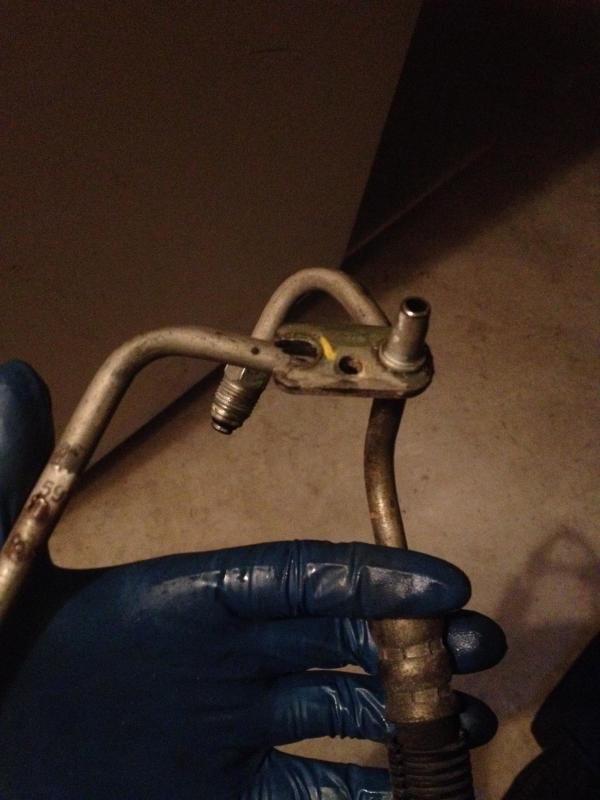
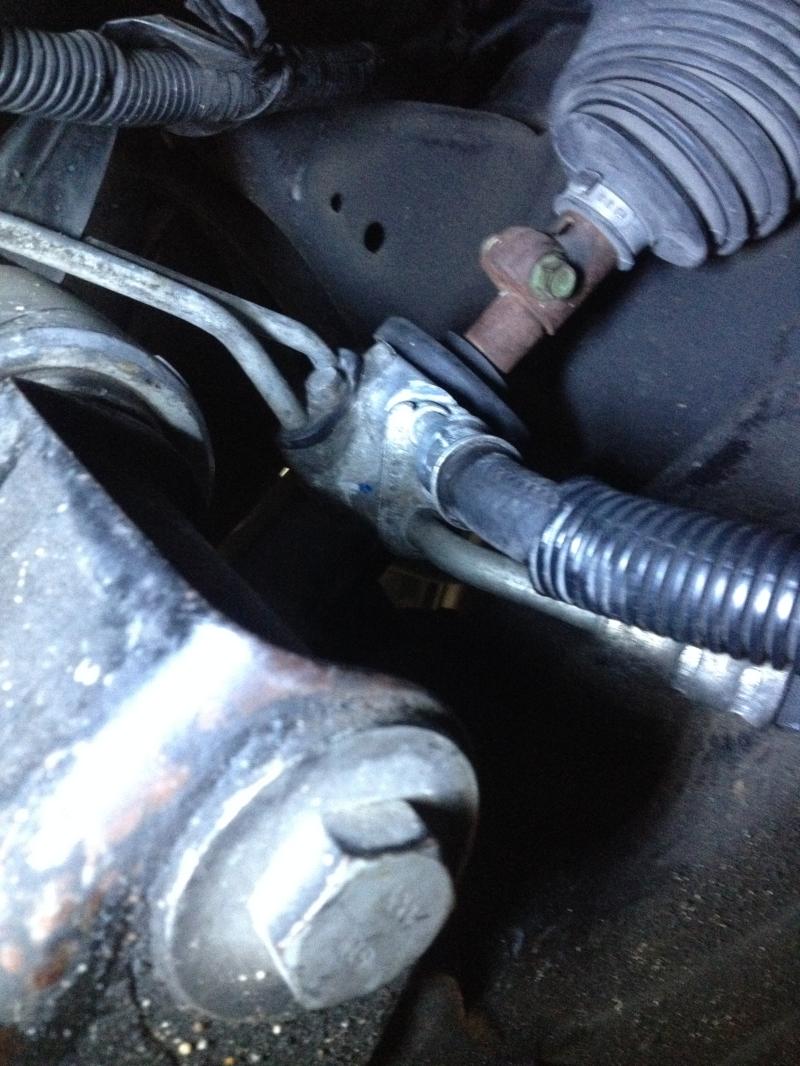
part number: booster to rack GM 19147663 Ac Delco: 365466
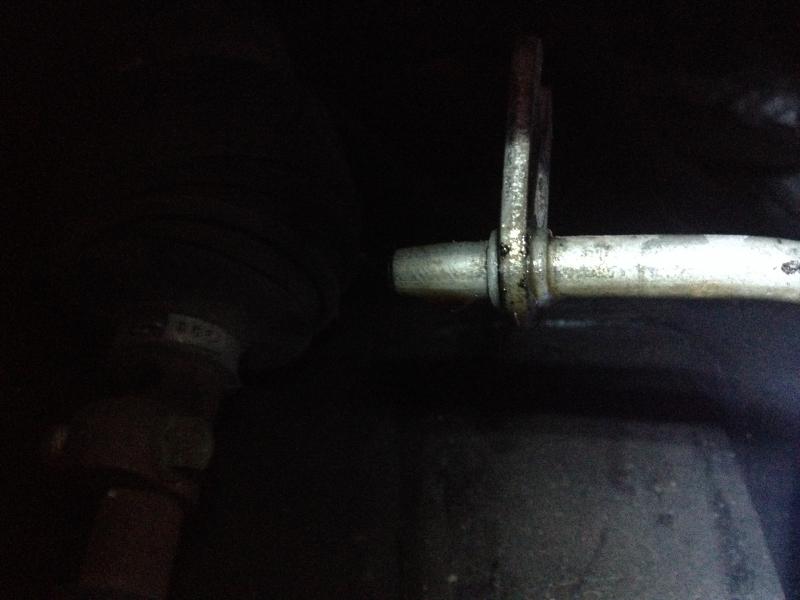
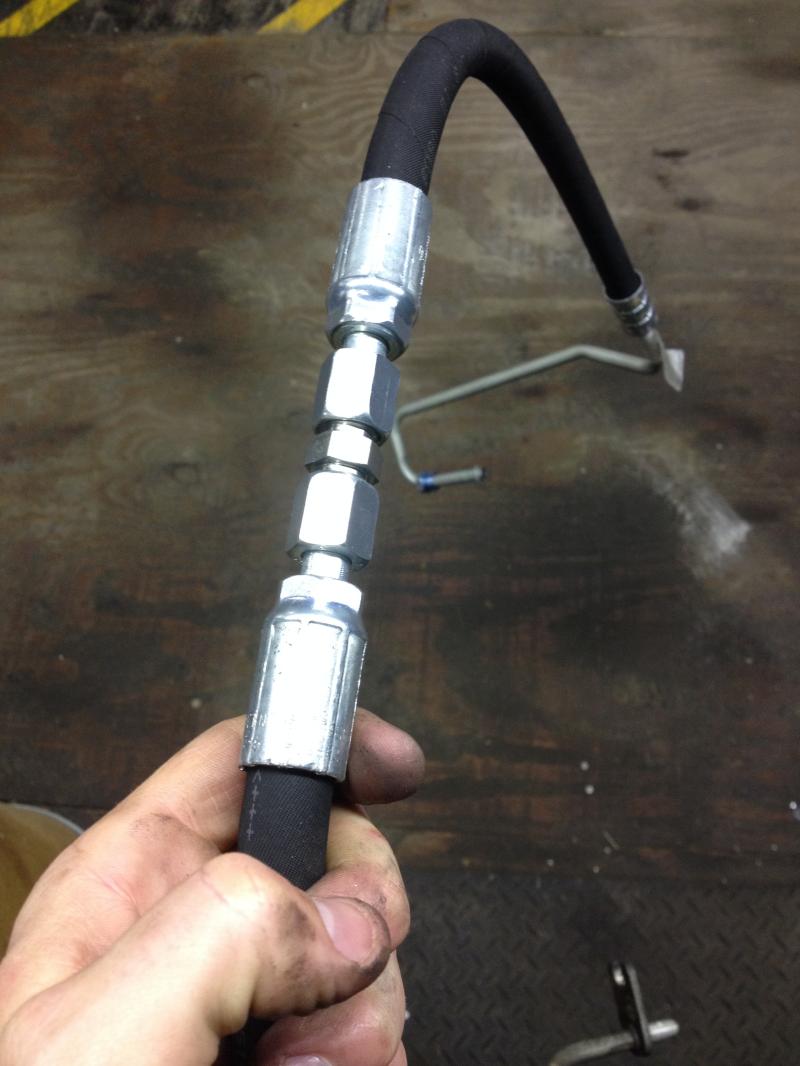
part number: booster to pump GM 19147651 Ac Delco: 365454
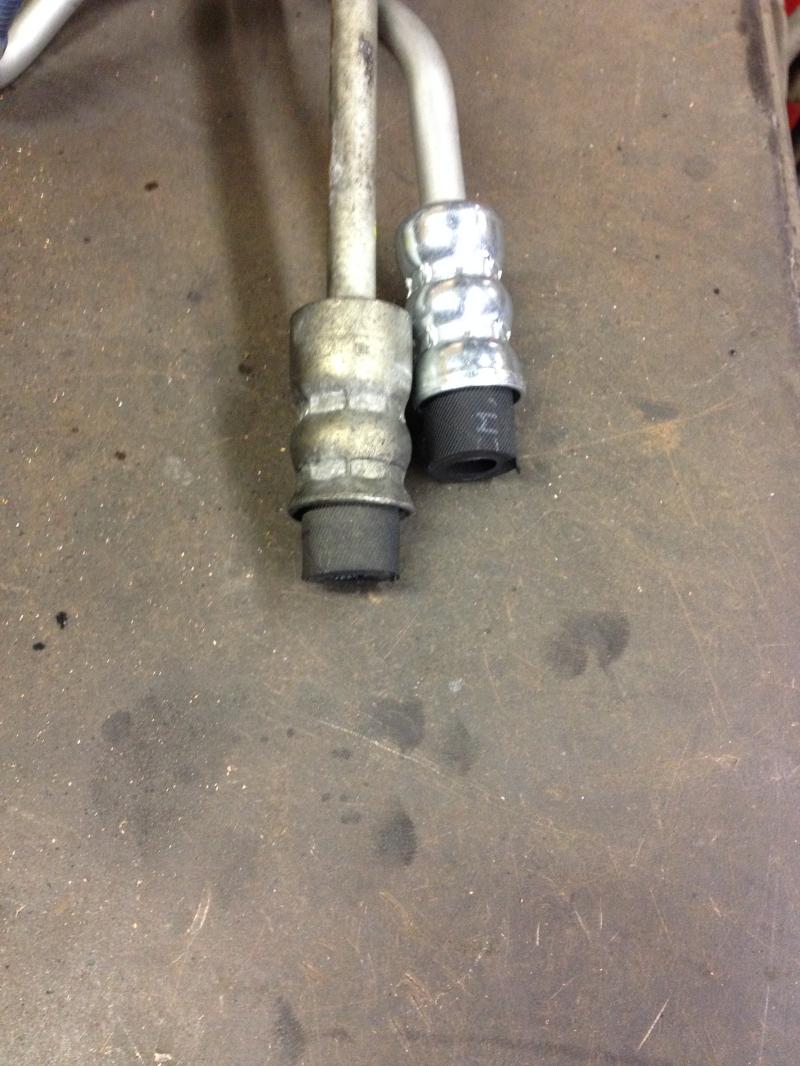
part number: return line Gates 363520
Booster:
part number: Ac Delco: 1780854
part number: Master Cylinder Ac Delco: 1741137 GM: 19209189
 , I was able to feel like I was ready to tackle this project.
 As for the pedal, it seems to be the same size as the factory one (length wise) from the bottom of the sleeve for the bolt to the top left edge of the brake pedal rubber is about 14 1/2" just like the oem one.
Brand new pedal from GM
part number 15906961
Hoses used:
part number: booster to rack GM 19147663 Ac Delco: 365466
part number: booster to pump GM 19147651 Ac Delco: 365454
part number: return line Gates 363520
Booster:
part number: Ac Delco: 1780854
part number: Master Cylinder Ac Delco: 1741137 GM: 19209189
Last edited by iamkeniff; 12-15-2014 at 12:12 PM.
#2
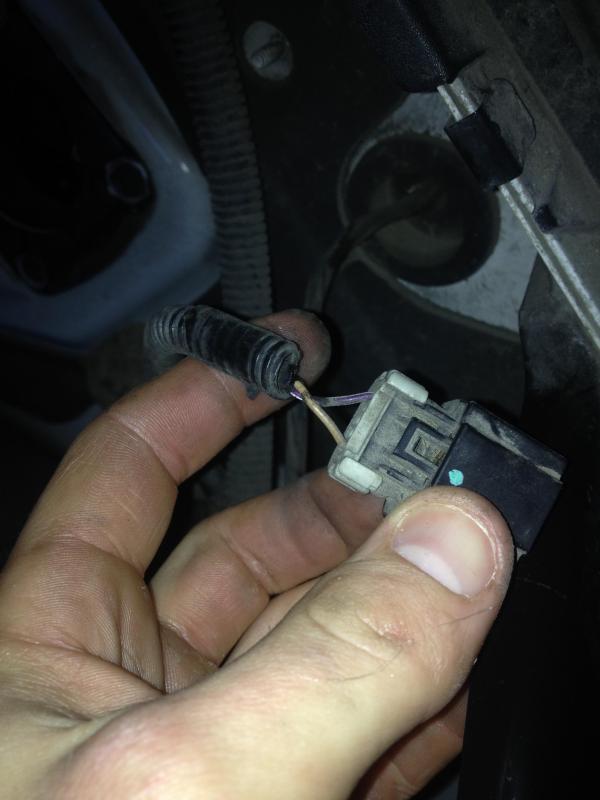
I do not know exactly what this sensor is used for. yet the harness that it goes to is at the base of the spring in the oem booster. I will try jumping it, adding diodes or even resistors to cancel it out if I have to.
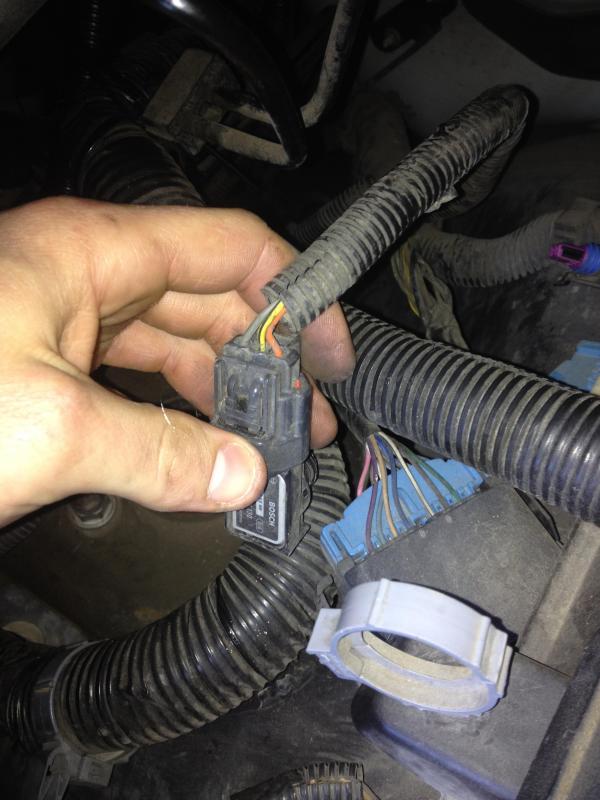
unplug both of these harnesses. I just rolled them down and out of the way. I removed the whole sensor from the bottom (it was a simple removal) I am going to try to reuse this sensor in the Vac port from the back of the intake. as the oem booster is just a housing that this sensor sits in and the intake pulls vac from
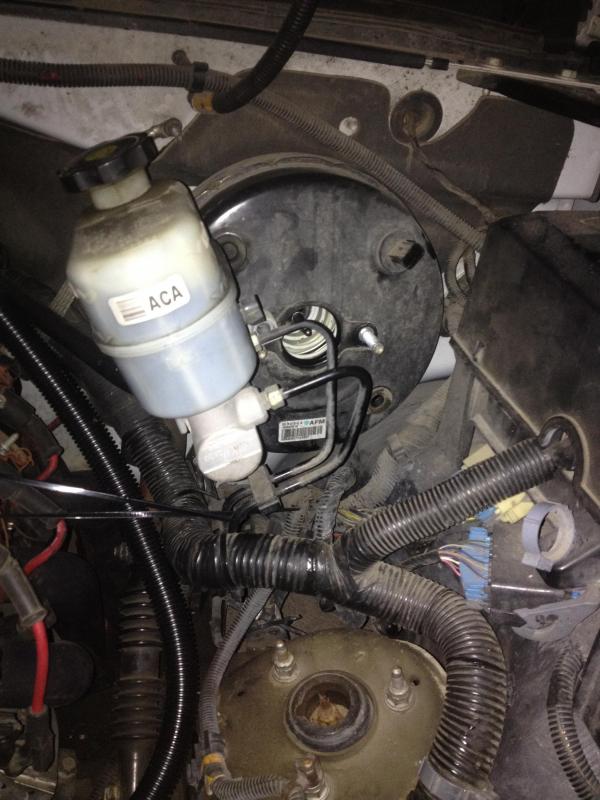
15mm ratchet wrench works great to remove the master cylinder
ziptie it out of the way so you can use both hands to remove the booster
Last edited by iamkeniff; 12-15-2014 at 12:16 PM.
#4
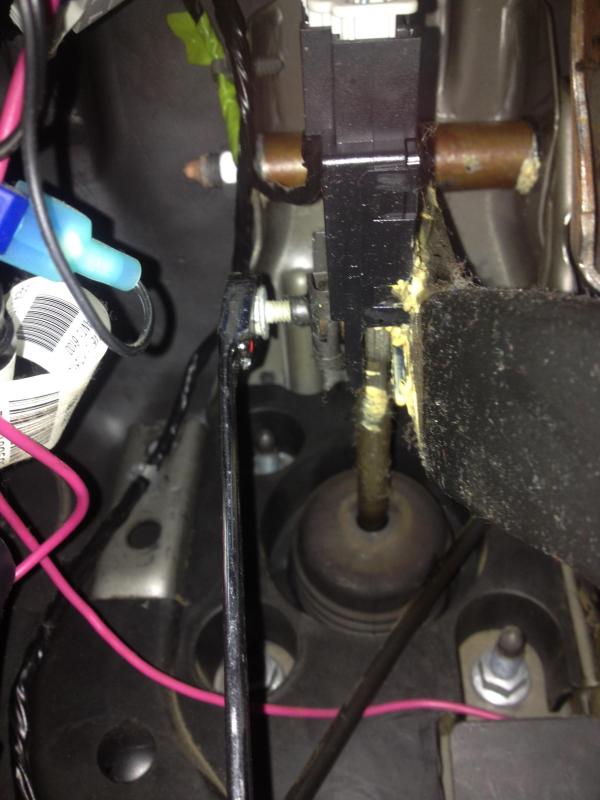
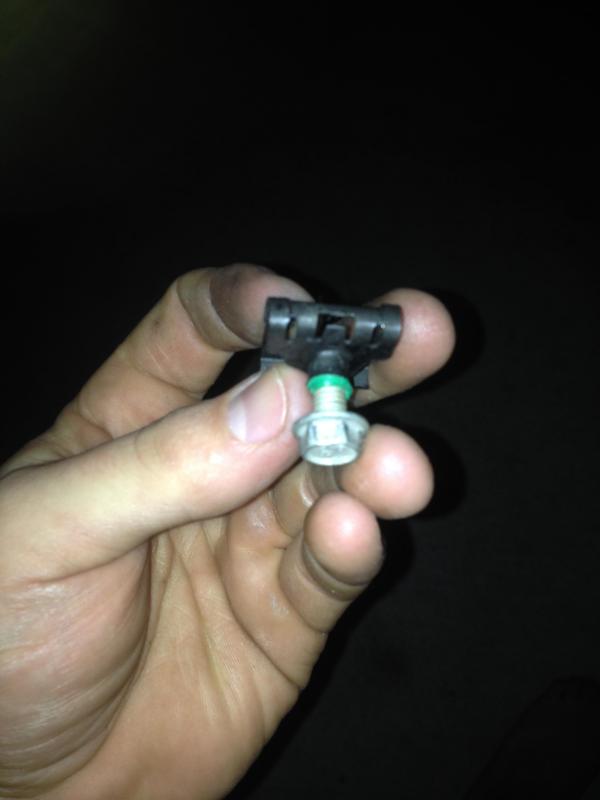
loosen the 10mm bolt that holds the clip (it will not come out of the clip) you will then use a small flat head to pry the clip open and roll it out. the clip will then be able to be removed with ease.
you will need an 18mm ratchet wrench, a deep drive 18mm socket, 3" extension, 3/8" ratchet to remove the brake pedal.
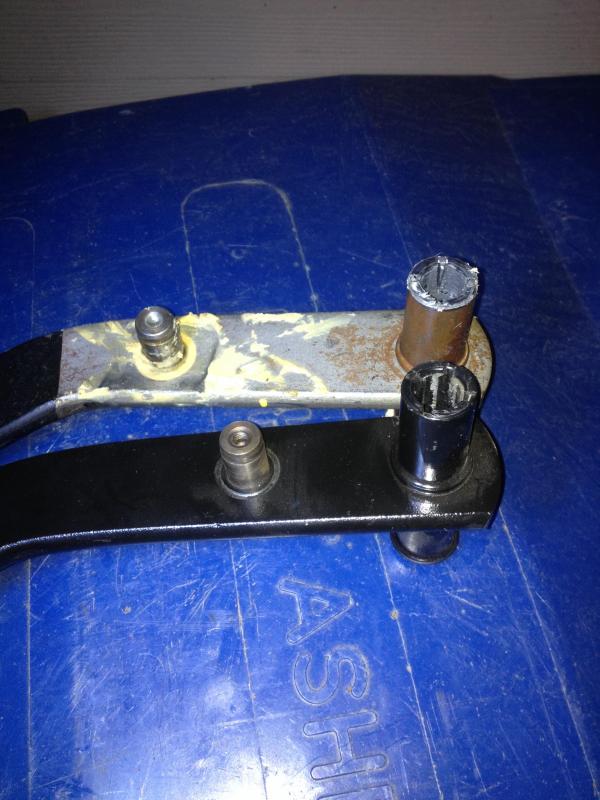
factory vs 2500hd pedal
#5
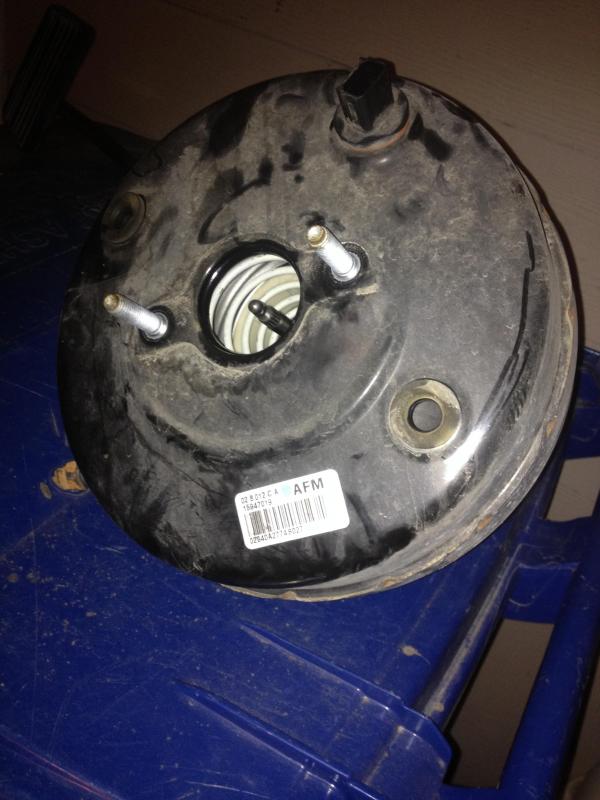
15mm with a swivel, extension, cordless impact worked for me to remove the nuts for the booster. I did have to use a short ratchet to remove the top left nut though. I did not take pics of the removal.
I have installed the booster to pump hose, drilled the new hole, test fit the booster. I will have to trim a little out of the upper part of the hole due to the jam nut on the back of the booster not being "Flat" to allow the booster to sit flush. it's a simple task with a pencil grinder so I will deal with that tomorrow.
I will be going to the part store tomorrow to hopefully look at a master cylinder to see if the steel tubing will fit the booster I will need to order.
#6
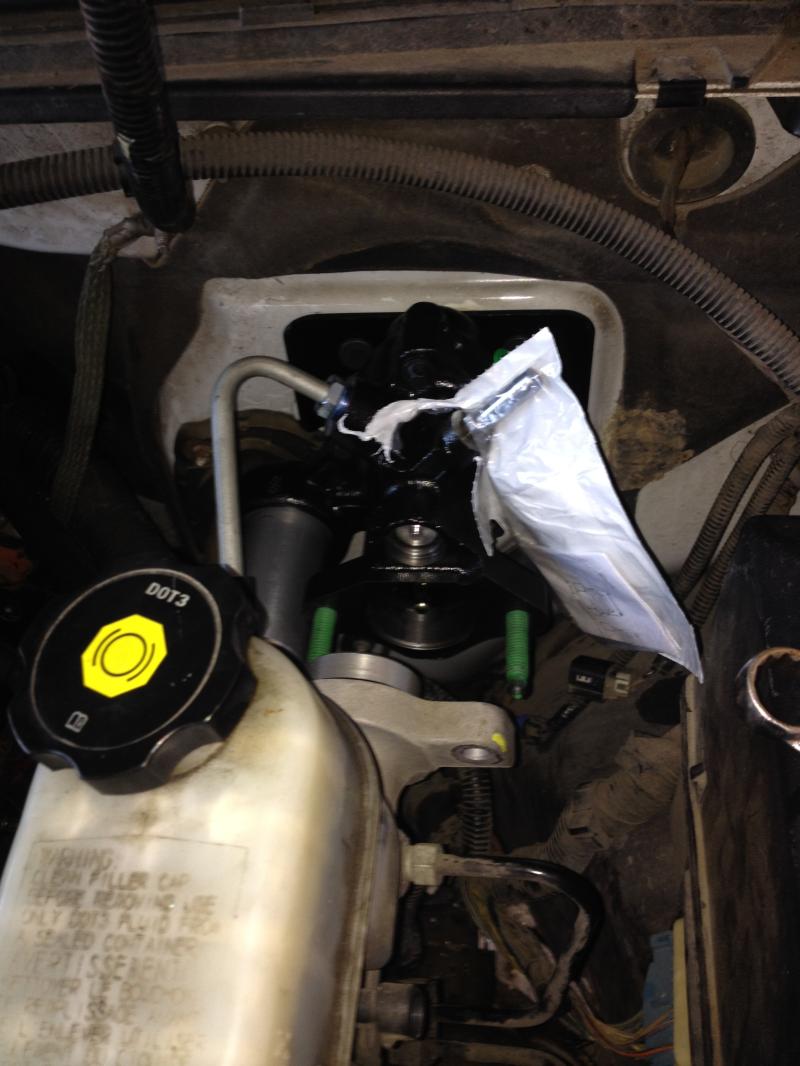
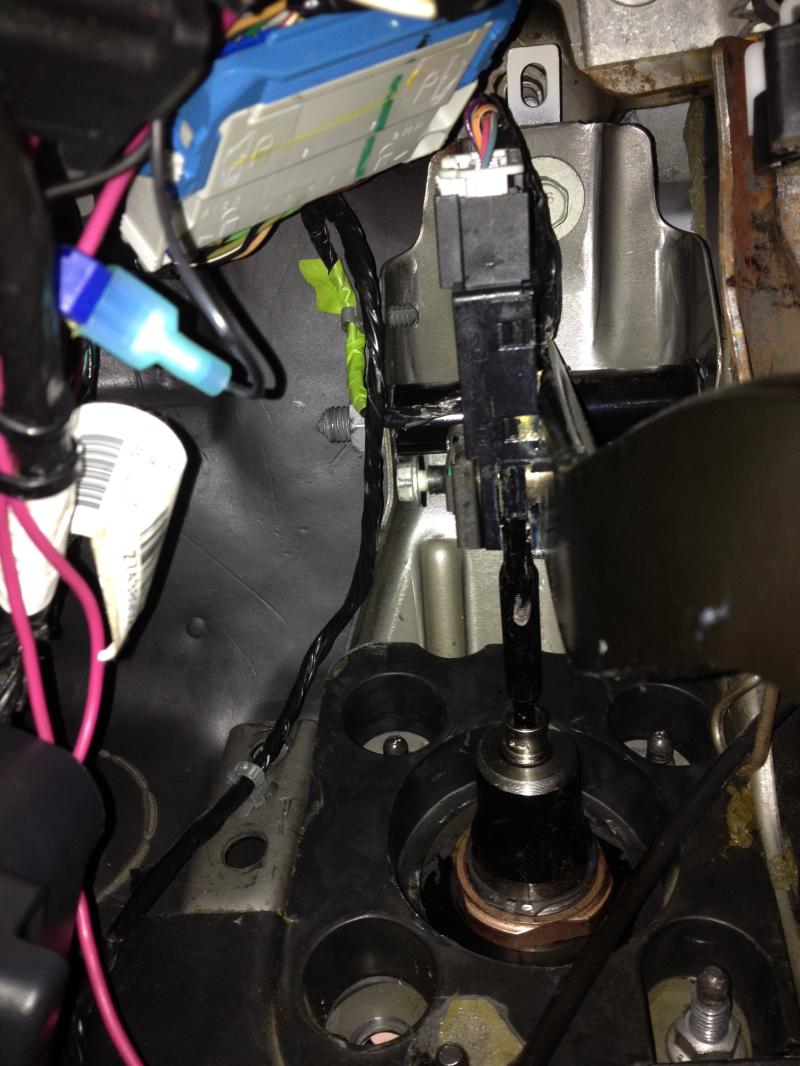
Everything installed. Just waiting on my master cylinder to come in now.
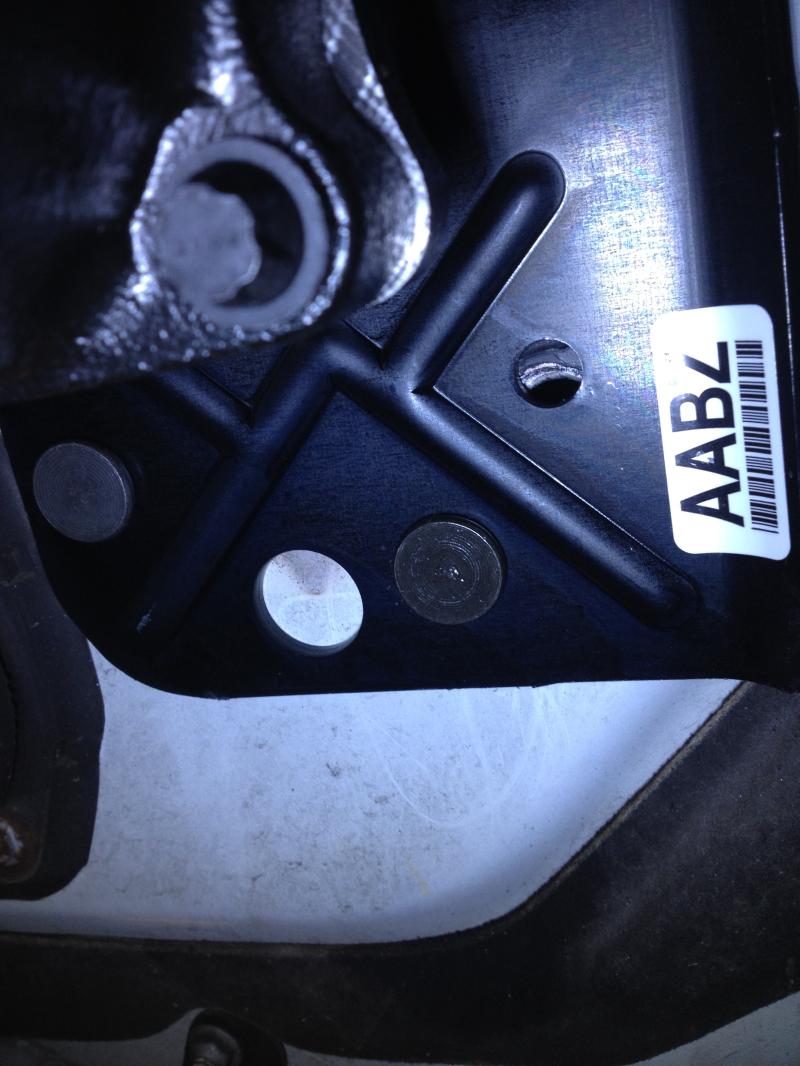
You can see the hole in the bracket is close to the factory hole. So IF you wanted you can cut the bottom stud off, slot the bracket more and run a bolt with a flat washer combo.
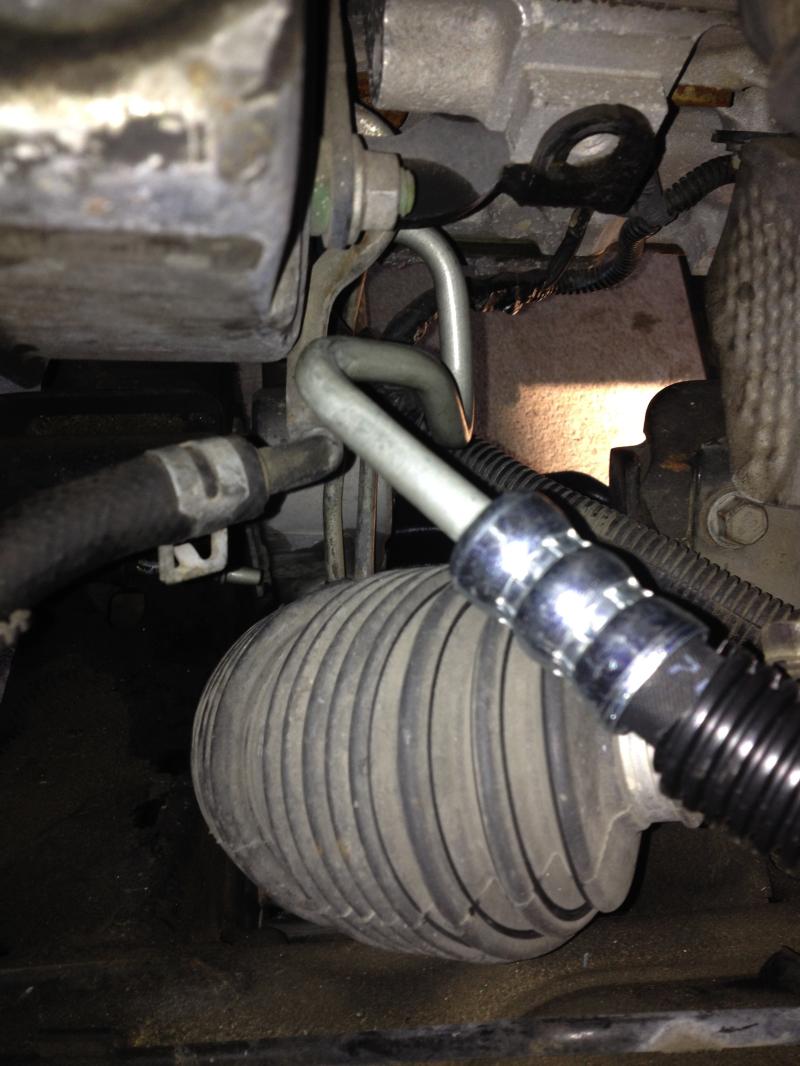
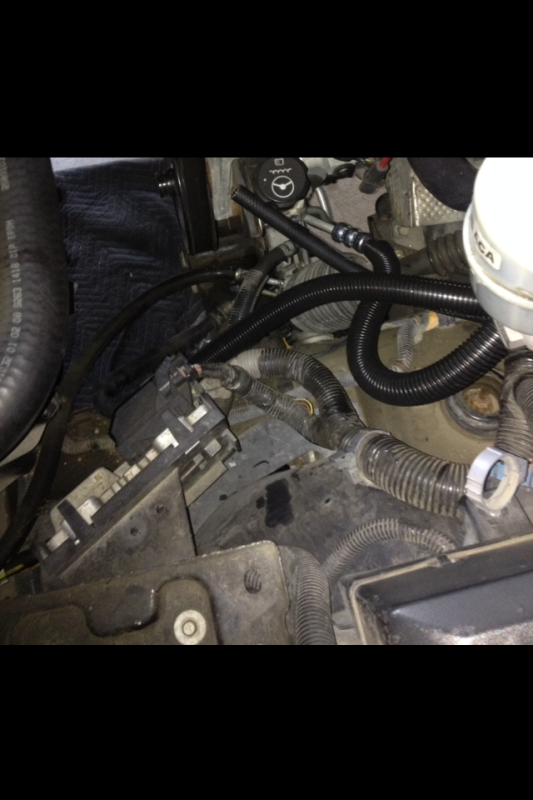
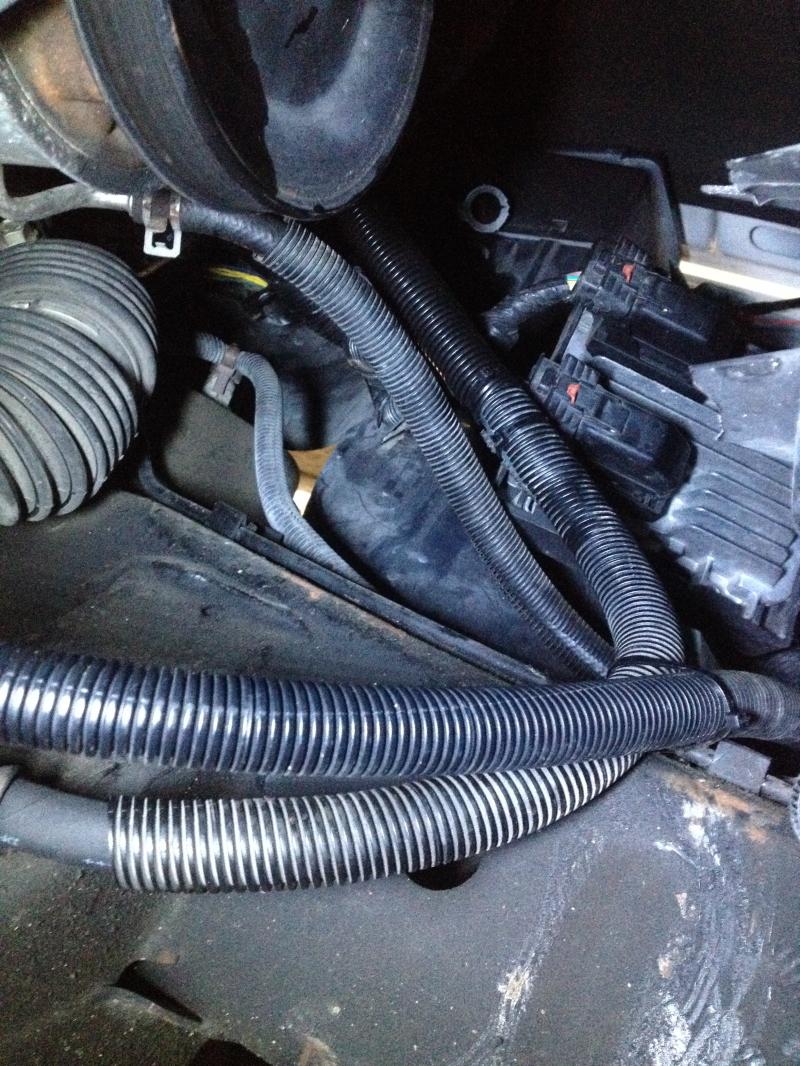
I moved the pump to booster hose off of the pump a little for safety


