My Nitrous Kit Install
 02-06-2011, 01:18 PM
#1

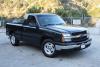
I started on my nitrous install on the 03 Silverado. It is a Nitrous Outlet GM EFI Truck Specific Plate System.

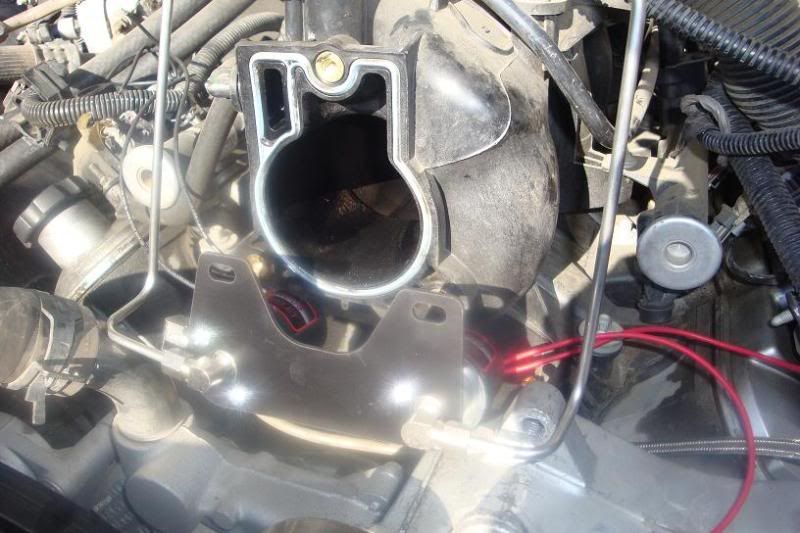
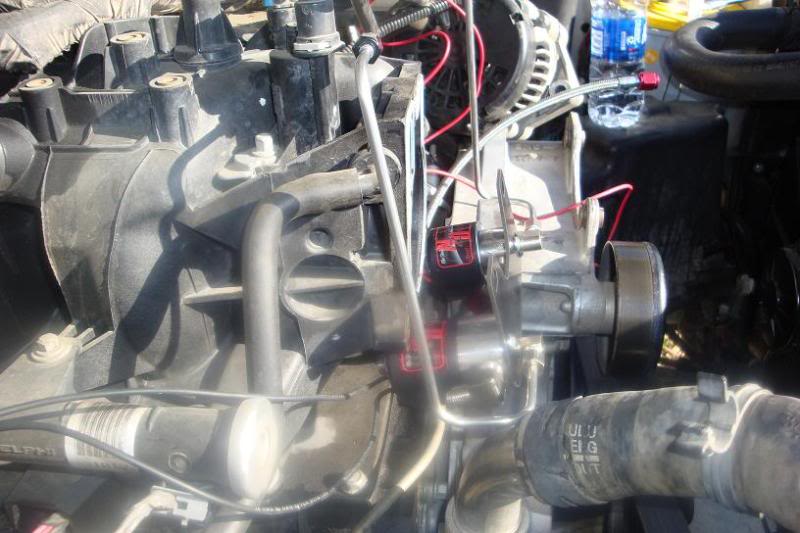
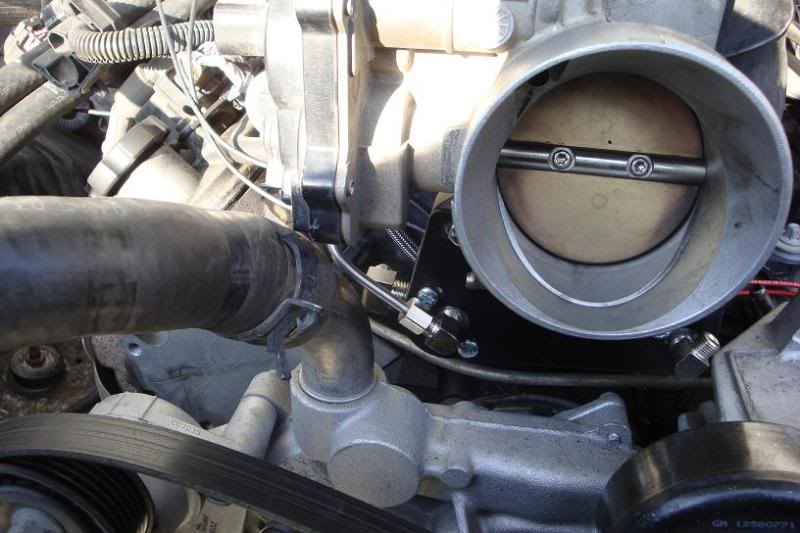
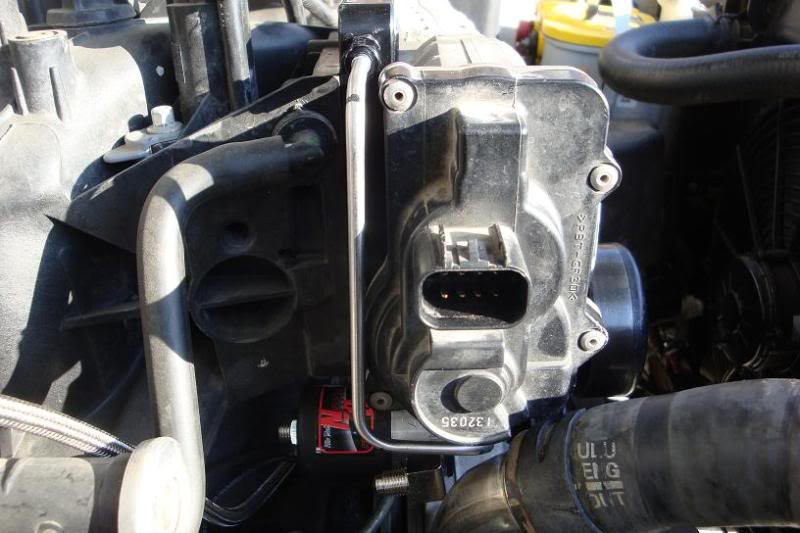
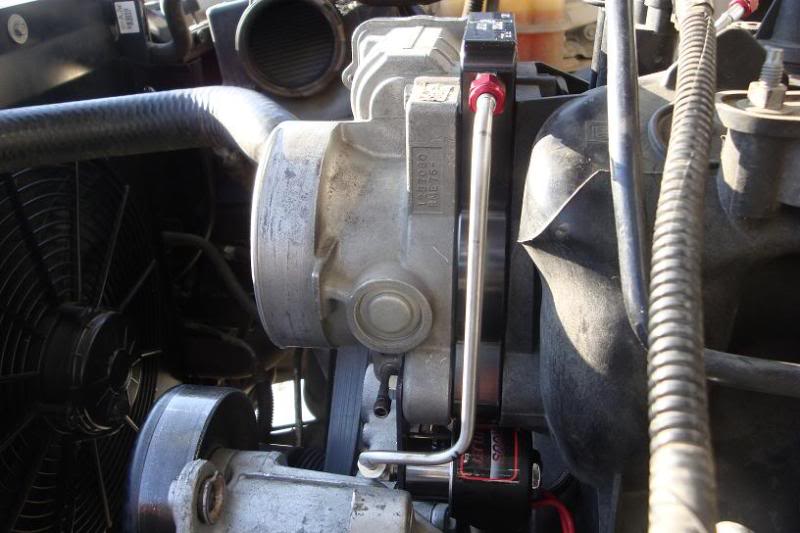
The first step was taking off the stock intake tubing and removing the tb. I would also suggest removing the alternator for better access to the coolant lines attached to the tb. I then proceeded to bolting on the plate along with the bracket for the solenoids and hard lines. I ran into a little problem with the prefabricated lines hitting the alternator bracket and water pump neck.
Here are some pics:

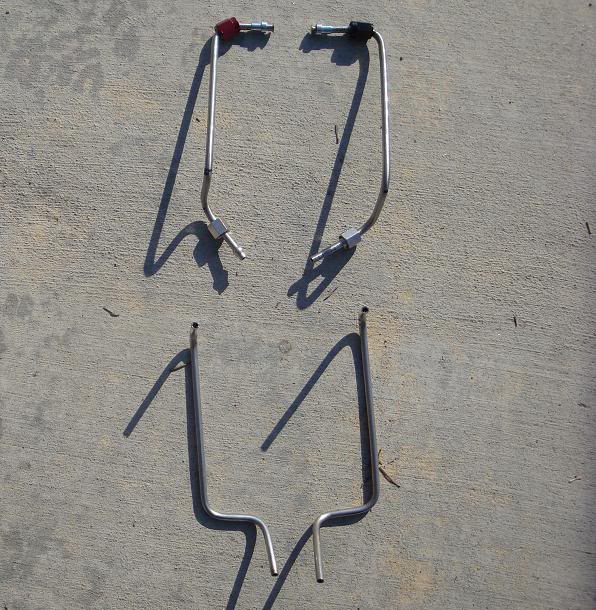
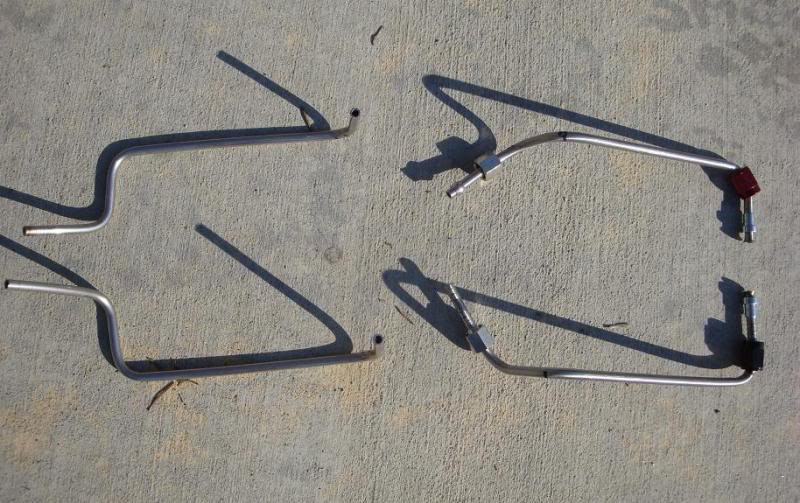
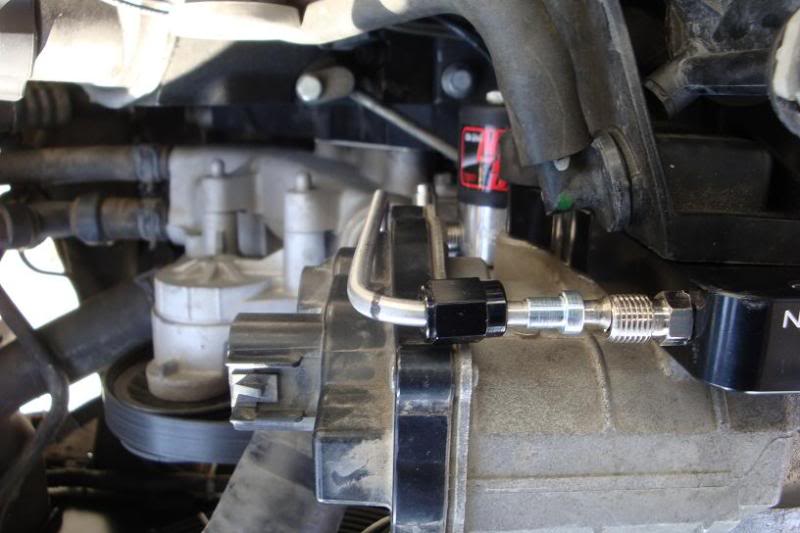
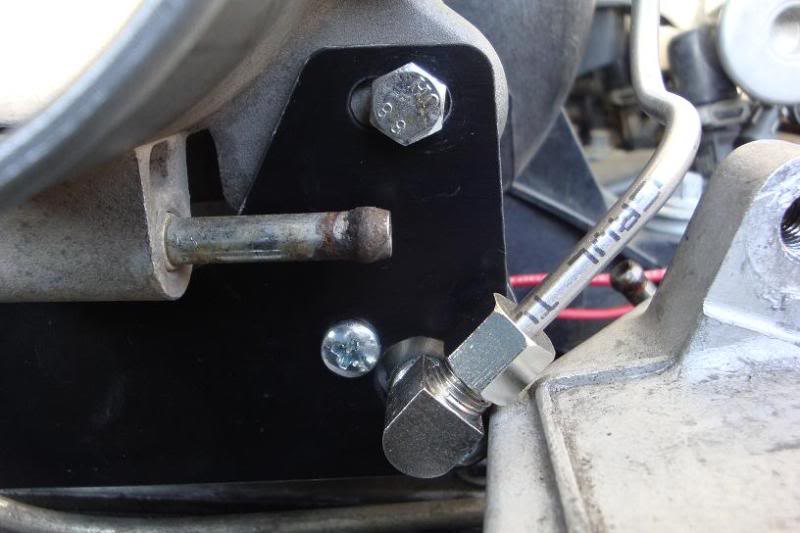
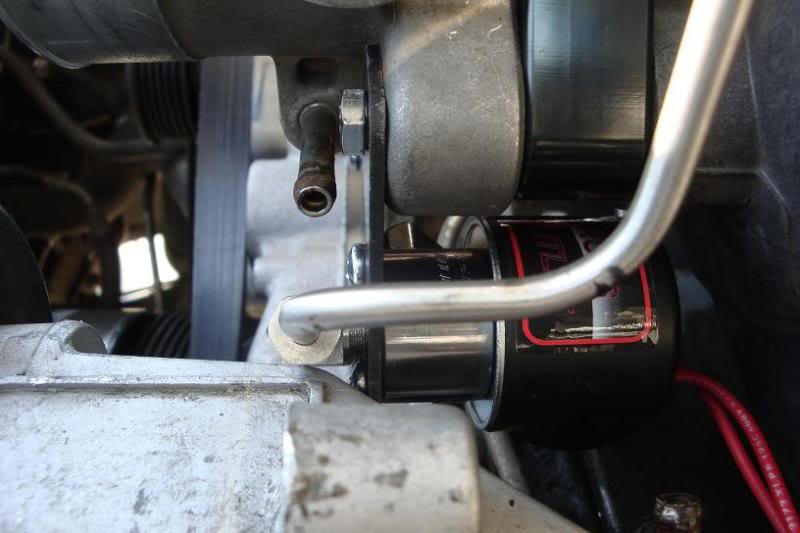
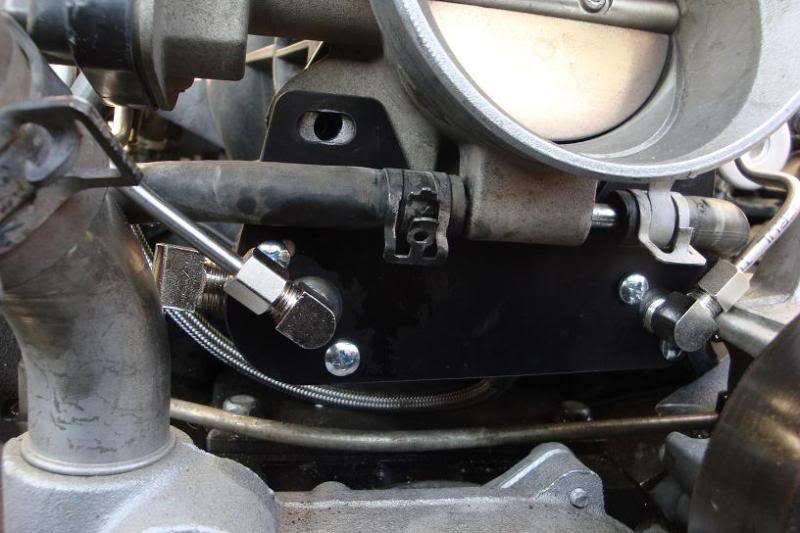
I clocked the fittings attached to the solenoids and hand bent the supplied lines to fit. The top of the line required cutting and flaring and I did not have the correct tools. I went to a buddies house and he used my hand bent lines as a template and cut and bent new lines for me them flared the ends.
Here are pics:
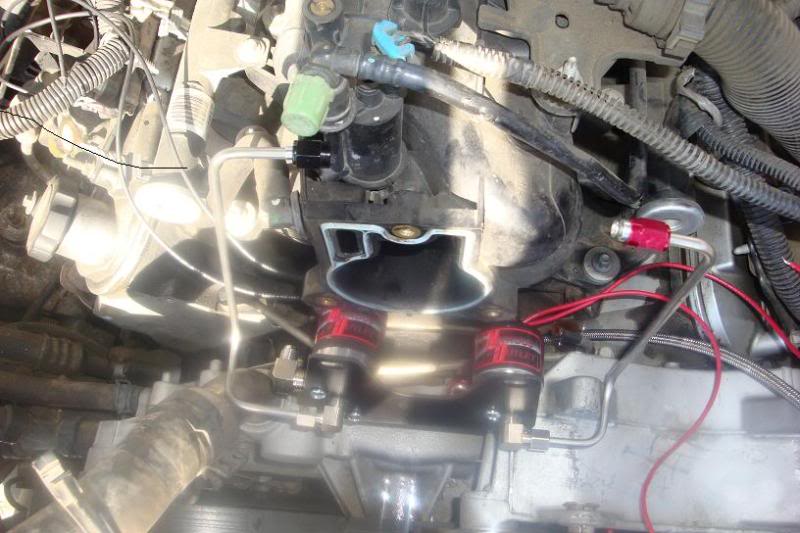
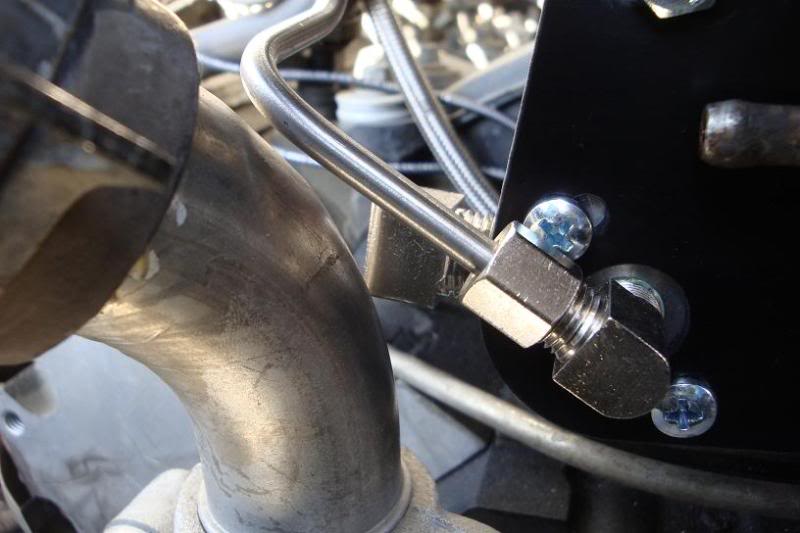
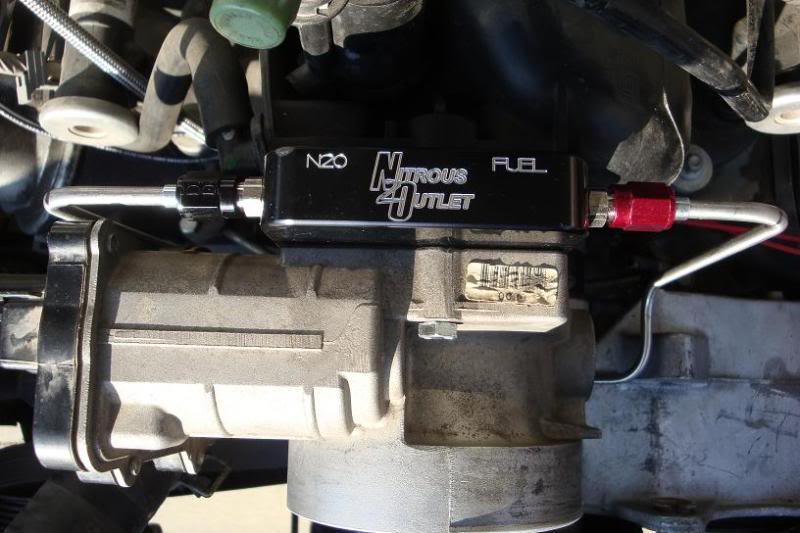
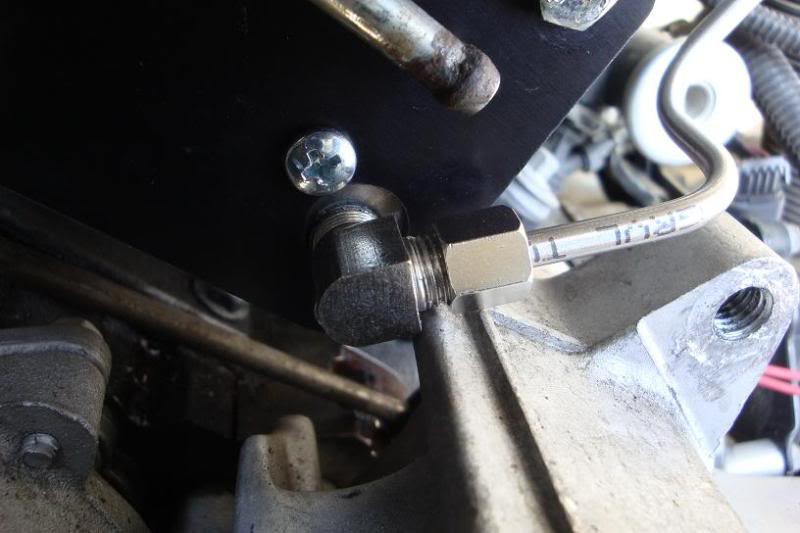
I then bolted everything up and installed the fuel and nitrous line.
Here are pics with the new lines attached.

BTW, I have already contacted Nitrous Outlet and have been working with Chris about using my lines for them to fab up new lines for their kit.
The first step was taking off the stock intake tubing and removing the tb. I would also suggest removing the alternator for better access to the coolant lines attached to the tb. I then proceeded to bolting on the plate along with the bracket for the solenoids and hard lines. I ran into a little problem with the prefabricated lines hitting the alternator bracket and water pump neck.
Here are some pics:
I clocked the fittings attached to the solenoids and hand bent the supplied lines to fit. The top of the line required cutting and flaring and I did not have the correct tools. I went to a buddies house and he used my hand bent lines as a template and cut and bent new lines for me them flared the ends.
Here are pics:
I then bolted everything up and installed the fuel and nitrous line.
Here are pics with the new lines attached.
BTW, I have already contacted Nitrous Outlet and have been working with Chris about using my lines for them to fab up new lines for their kit.
Last edited by SRTKLLR; 02-06-2011 at 01:26 PM.
 02-06-2011, 01:20 PM
#2
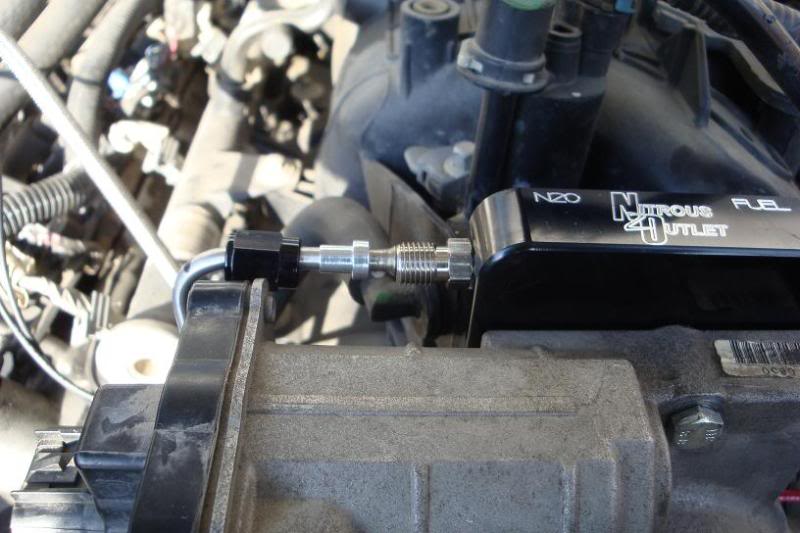
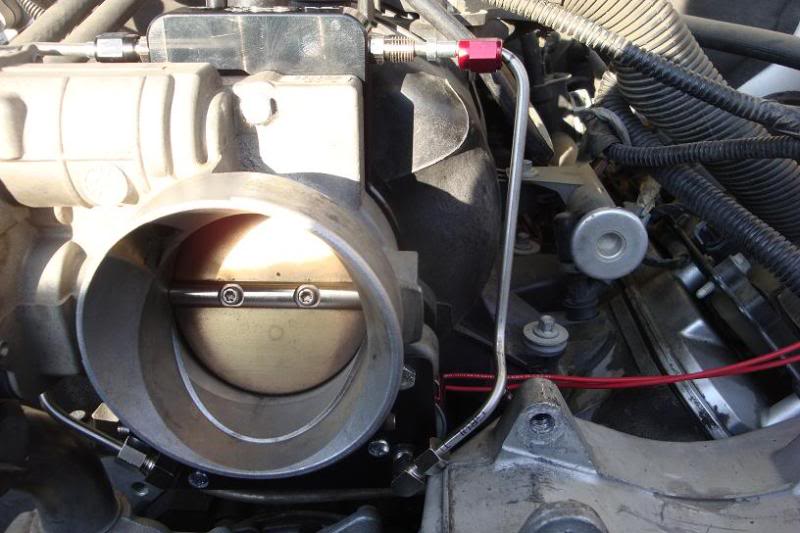
Here is a picture with the fuel line and nitrous line attached.
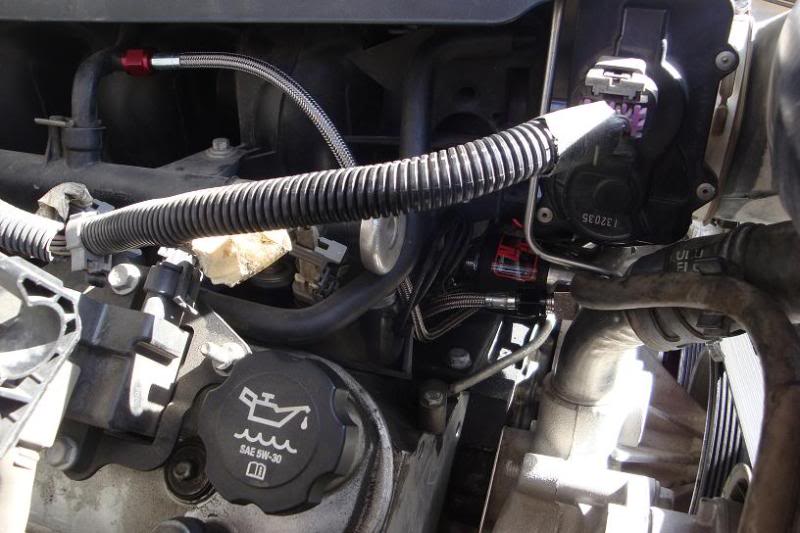
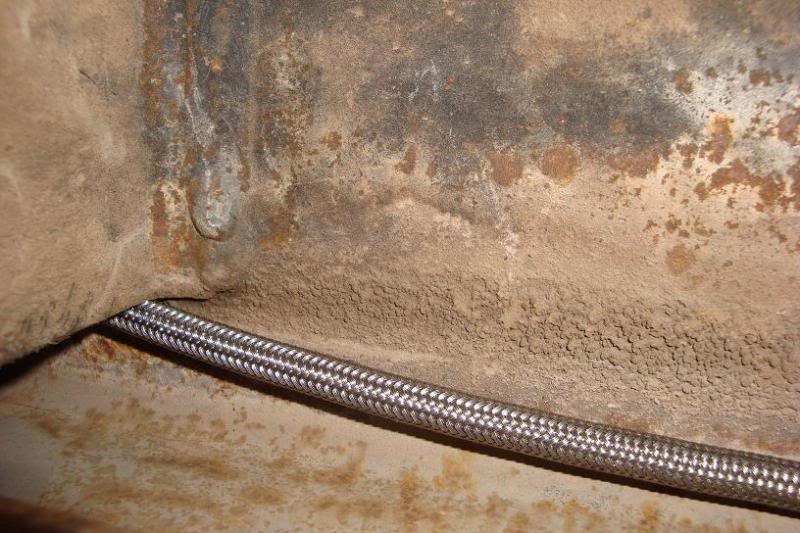
I routed the main feed line through the bottom of the intake down the back of the engine near the firewall and down. I then put it through an existing hole in the frame and ran it all the way to the back. The goal was to mount it to the bed all the way in the back by the tailgate. The supplied 16ft line was about 3-4 feet to short for that.
Here are pics of how I had routed the main line.

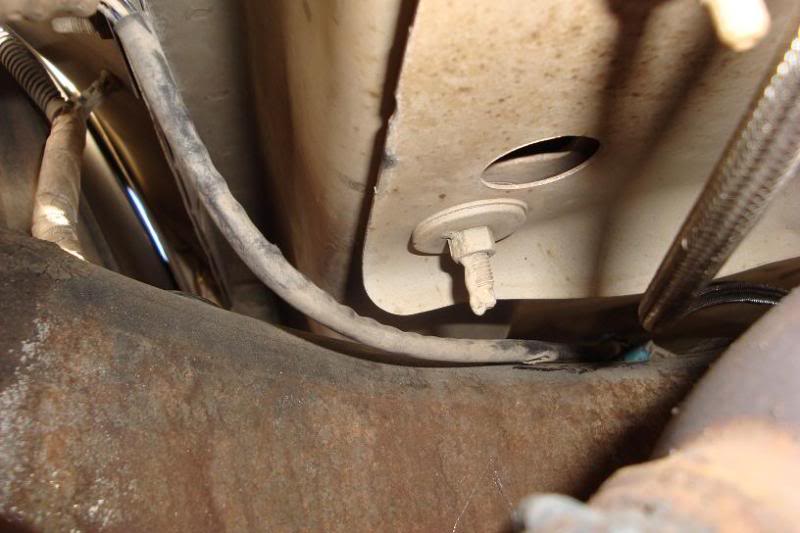
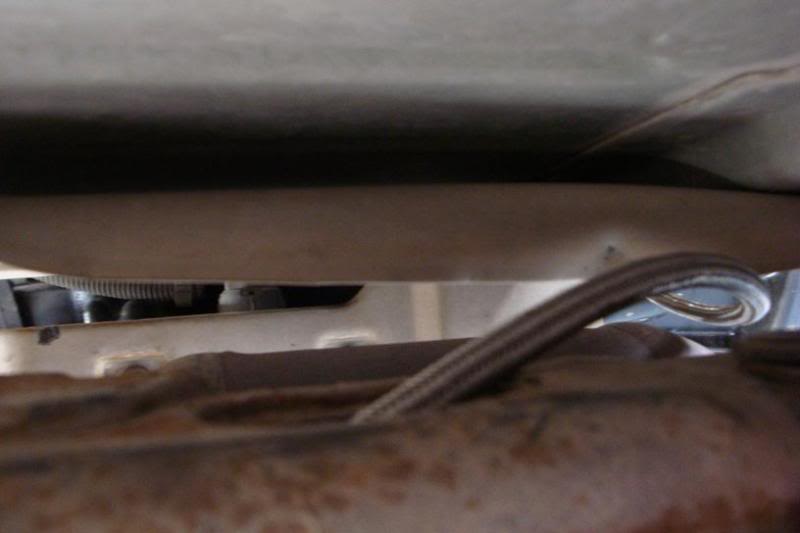

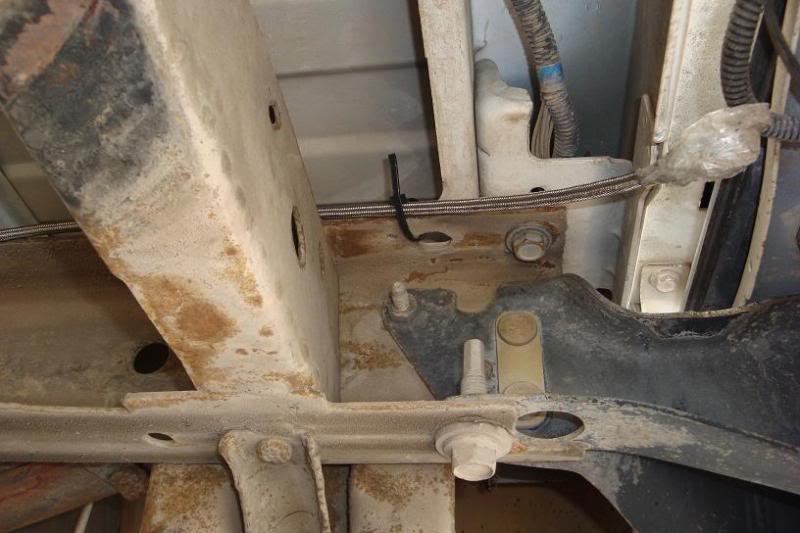
I have enough line to mount it in the back between the frame and the body of the trick near the tire. Don't like the idea of getting hit in the back and having the bottle get crushed though.
Here is where it could be mounted.

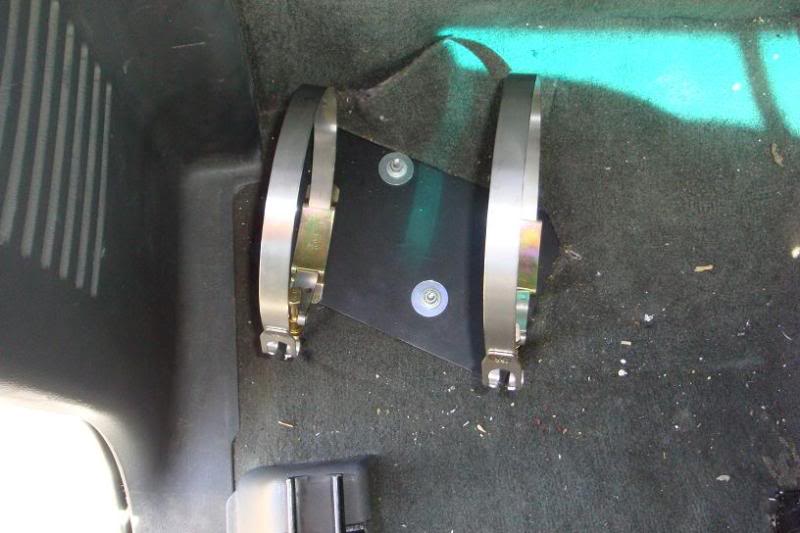
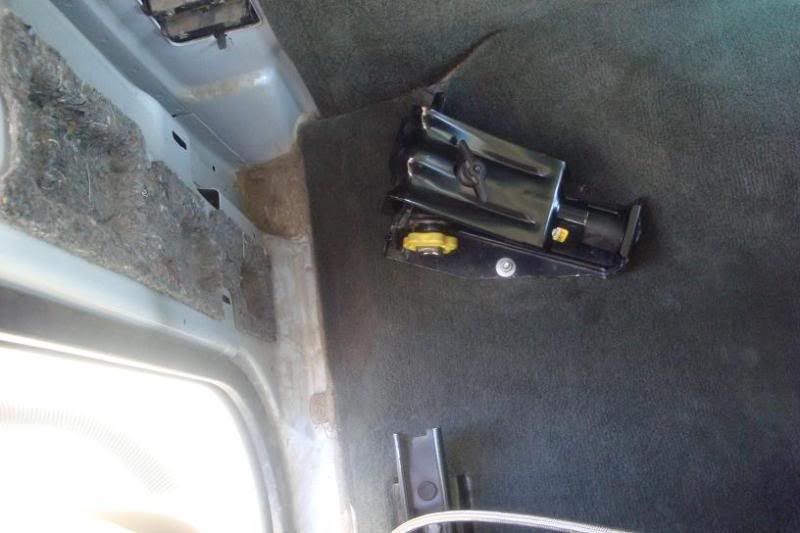
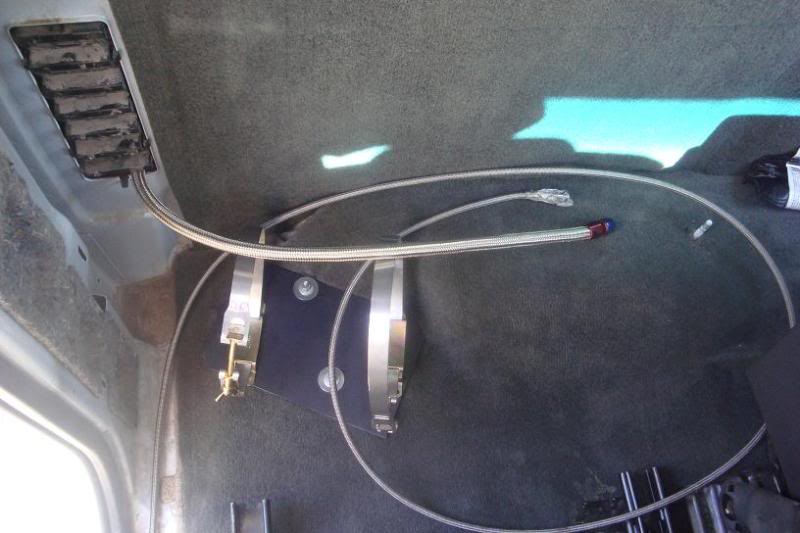
Since I was pressed for time because I wanted to get it all buttoned up for the track I decided to just mount it in the cab for now. I used a piece of cardboard to make a template to mount it where the jack is. I used the existing holes from the bracket holding the jack and bought a piece of steel and had it cut. I then spray painted it flat black and mounted the bottle brackets to it.
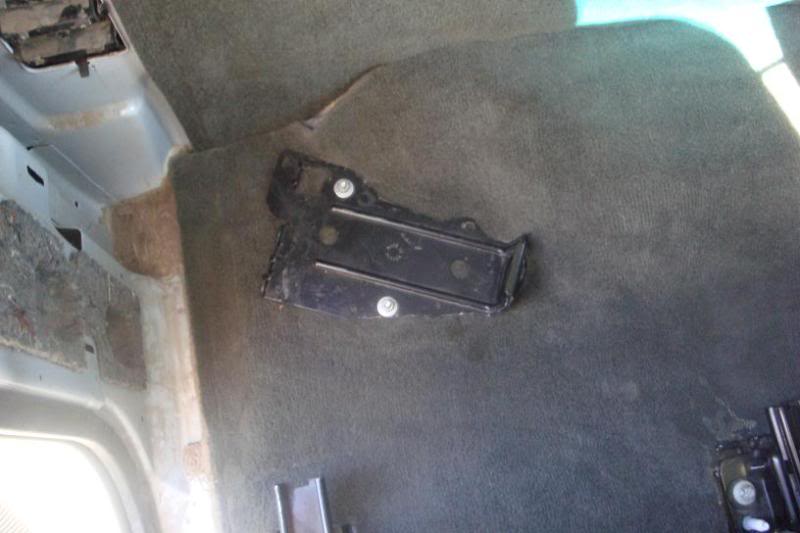
Here are pics of the bracket.
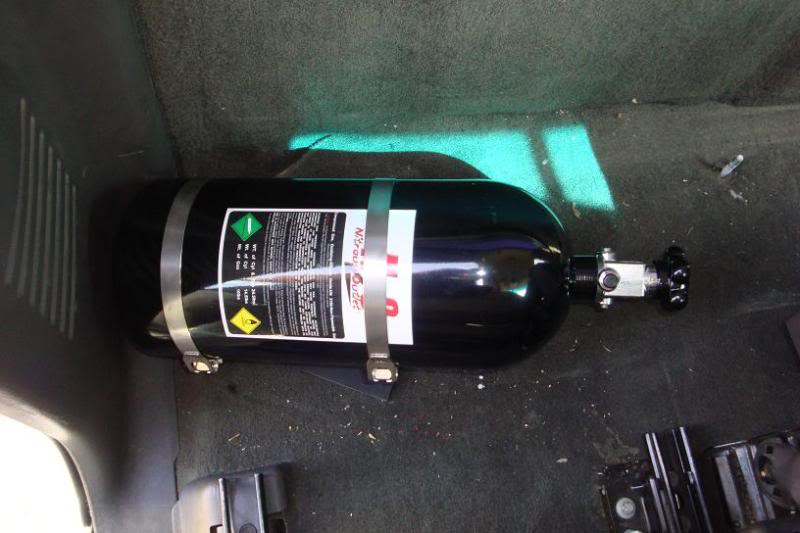
I am going to use an existing hole near the back of the cab that has a plug and use the vent for the blow down tube.
I routed the main feed line through the bottom of the intake down the back of the engine near the firewall and down. I then put it through an existing hole in the frame and ran it all the way to the back. The goal was to mount it to the bed all the way in the back by the tailgate. The supplied 16ft line was about 3-4 feet to short for that.
Here are pics of how I had routed the main line.
I have enough line to mount it in the back between the frame and the body of the trick near the tire. Don't like the idea of getting hit in the back and having the bottle get crushed though.
Here is where it could be mounted.
Since I was pressed for time because I wanted to get it all buttoned up for the track I decided to just mount it in the cab for now. I used a piece of cardboard to make a template to mount it where the jack is. I used the existing holes from the bracket holding the jack and bought a piece of steel and had it cut. I then spray painted it flat black and mounted the bottle brackets to it.
Here are pics of the bracket.
I am going to use an existing hole near the back of the cab that has a plug and use the vent for the blow down tube.
Last edited by SRTKLLR; 02-06-2011 at 03:30 PM.
02-06-2011, 03:35 PM
#3
Earlier I showed how to route the main line to the back for those that want to mount the bottle in the bed. Here I am routing the line into the cab to mount the bottle behind the passenger seat.
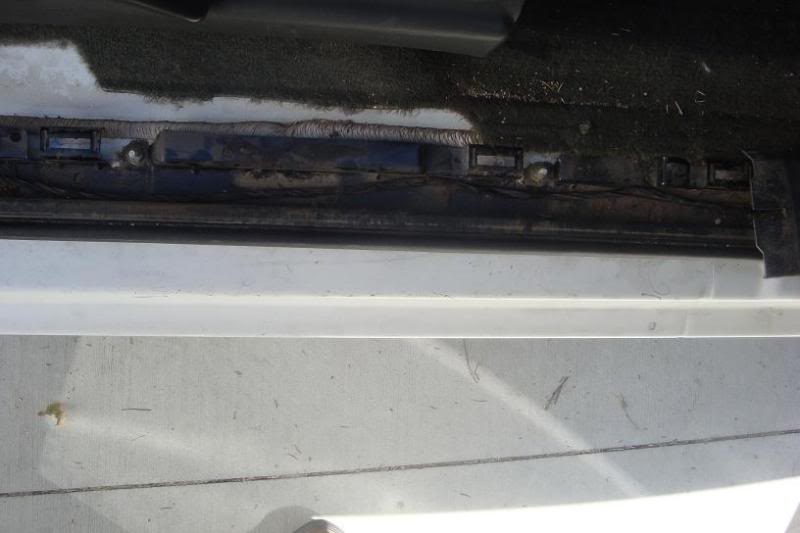
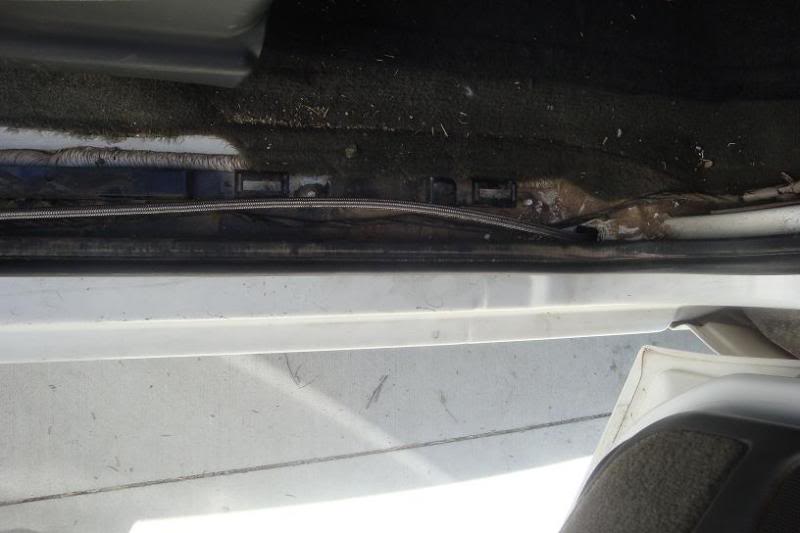
First, you need to remove the door sill by just pulling straight up on it. You might have to adjust the seat forward or back to pull it completely out.
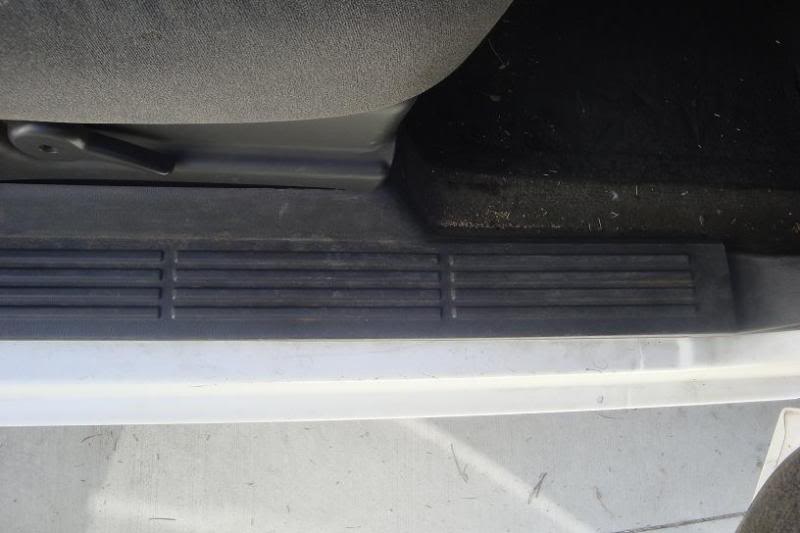
It will look like this afterwords.
Next, remove the kick panel by pulling towards you as you are looking at it while next to the passenger seat.
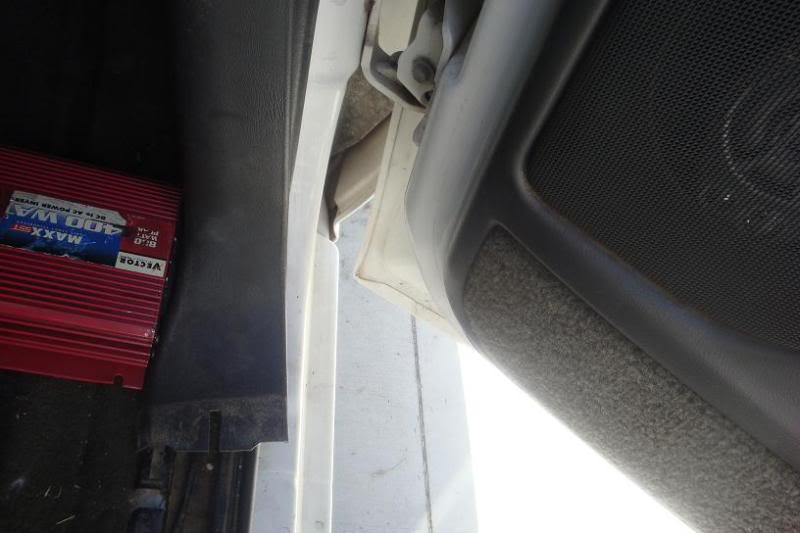
Next, pull the back panel below the rear window. Just pull straight back. This will expose two screws that need to be removed in order to pull out the rear side panel where the speaker goes.
Once the screws are removed you can pull the side panel off by pulling straight out.
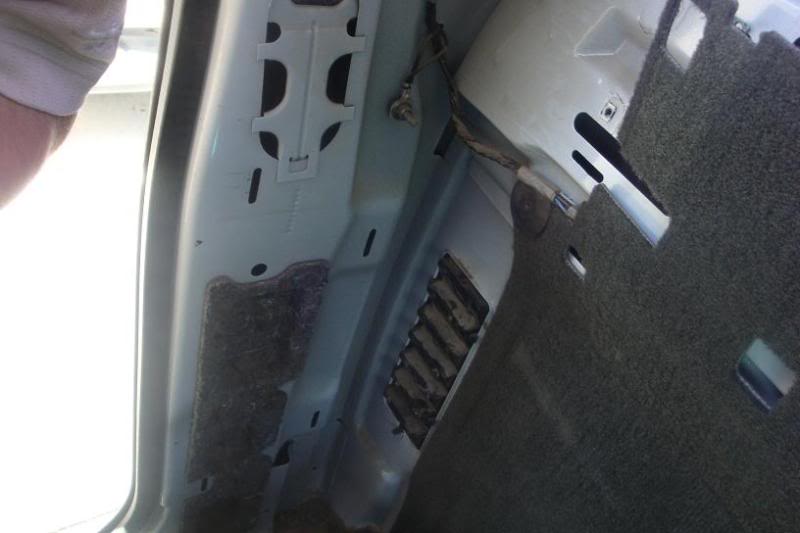
It might make it easier to remove the jack and bracket before removing the back side panel.
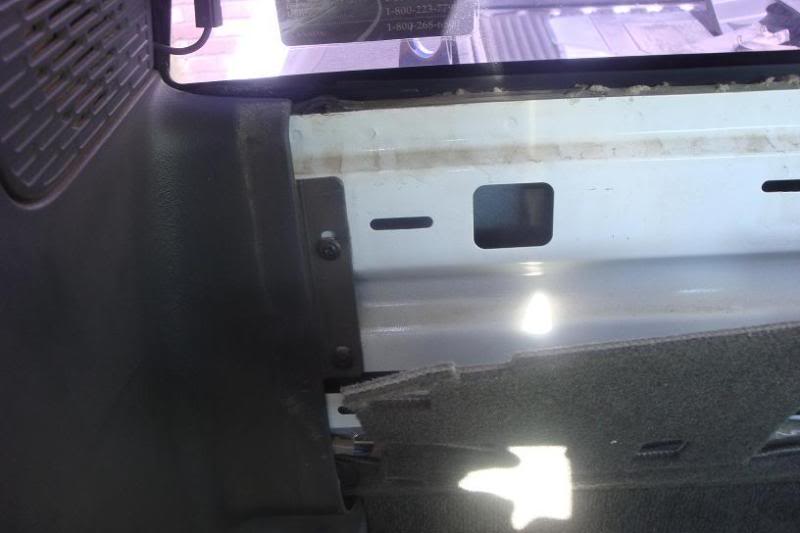
Next you need to drill a small hole under the sill near where the front panel starts. There is an existing hole with a plug on the underside. I will take a pic of the hole on the bottom tomorrow.
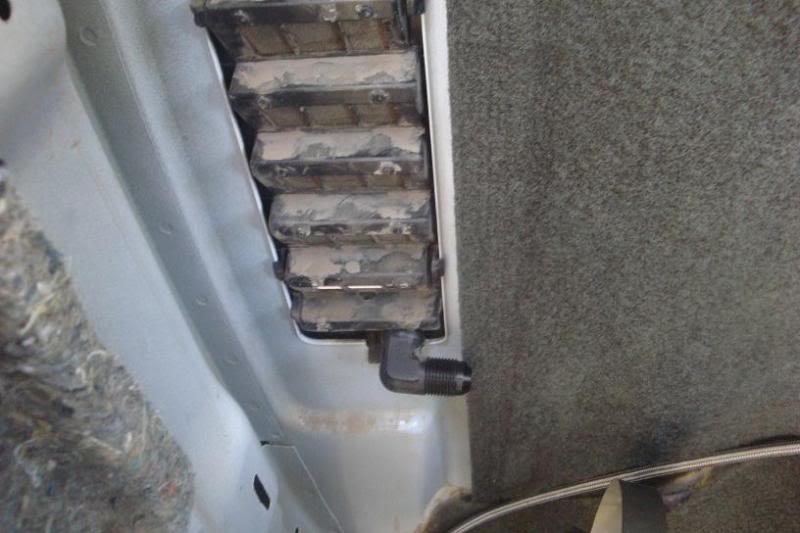
You can then route the flexible blow down tube through the existing vent at the rear of the cab.
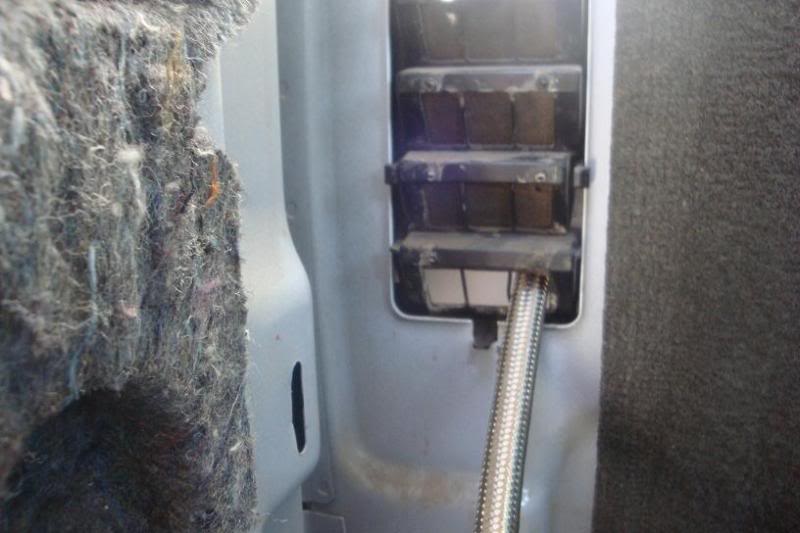
Or you can use a 90* bulkhead fitting.
Now that the lines for the nitrous and blow down are run you can put all the panels back on.
Now for the fun part, ELECTRICAL. I would like to thank Reynaldo(chpspecial) as he did all the wiring while I was doing the other stuff.
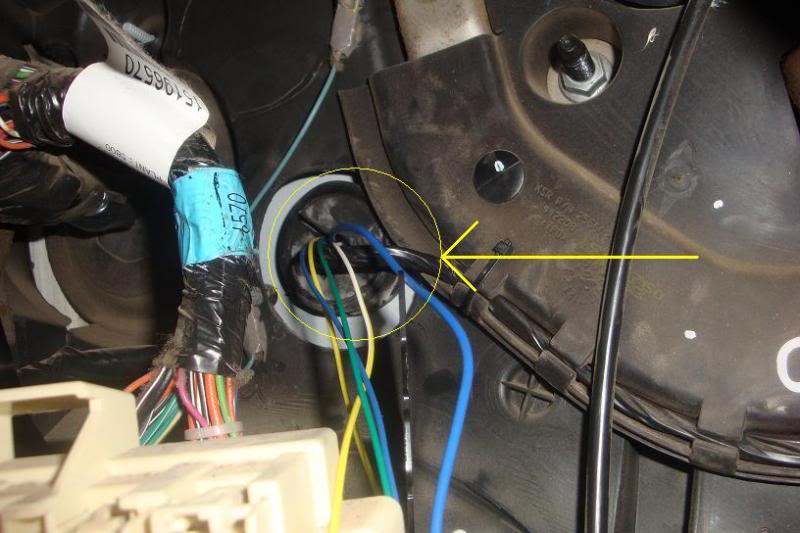
There is an existing grommet on the firewall by the brake master cylinder on the drivers side. There are more than one but we used the small one on the left of the very big one because it was easier to access from the inside of the cab.
You have to push some wires through from the inside. The amount of wires will vary depending on what accessories you are running. I am going to be using only a progressive controller and purge. If you are going to use a bottle heater, electric pressure gauge etc. you will have to run some more wires. There is some sort of electrical box in front of the grommet you need so just unscrew it and move it out of the way.
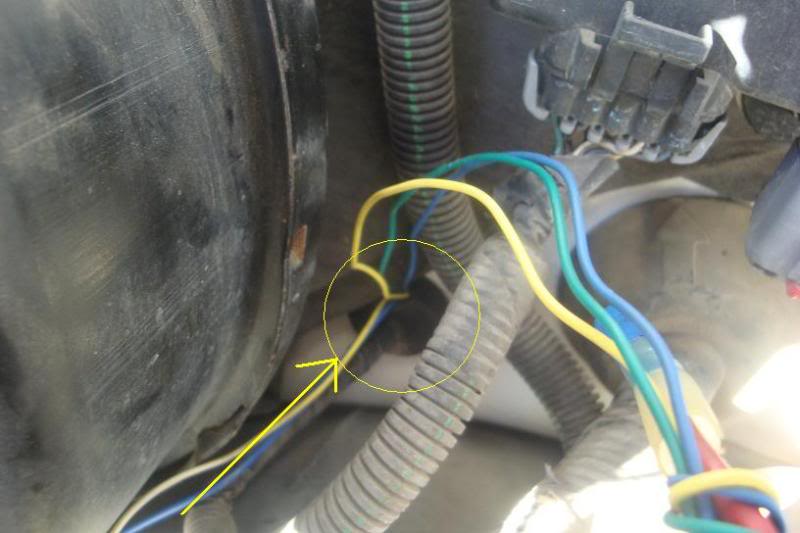
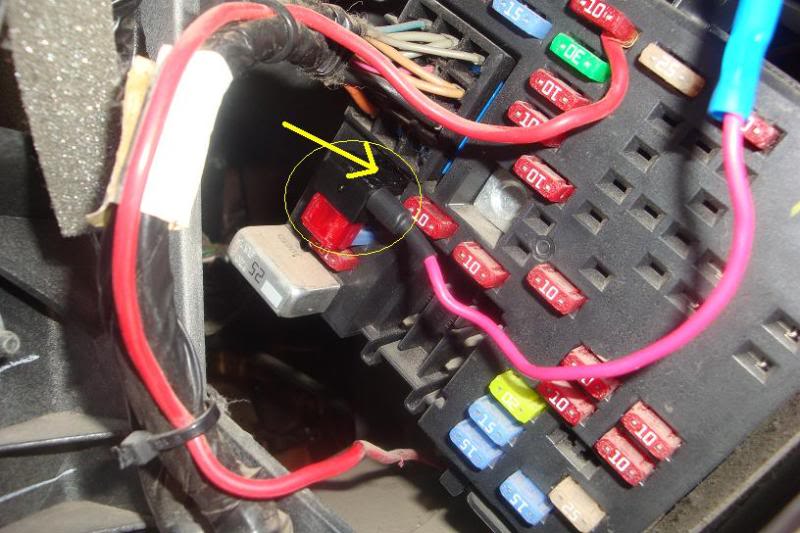
For a 12v source there is a non-interrupted fuse in the drivers side dash panel. I went to the local auto parts store and picked up a fuse holder than goes where the stock fuse would go but has two new fuse locations one for the existing fuse and one for whatever you want to run.
I will finish the install tomorrow.
Reserved for more info and pics.
First, you need to remove the door sill by just pulling straight up on it. You might have to adjust the seat forward or back to pull it completely out.
It will look like this afterwords.
Next, remove the kick panel by pulling towards you as you are looking at it while next to the passenger seat.
Next, pull the back panel below the rear window. Just pull straight back. This will expose two screws that need to be removed in order to pull out the rear side panel where the speaker goes.
Once the screws are removed you can pull the side panel off by pulling straight out.
It might make it easier to remove the jack and bracket before removing the back side panel.
Next you need to drill a small hole under the sill near where the front panel starts. There is an existing hole with a plug on the underside. I will take a pic of the hole on the bottom tomorrow.
You can then route the flexible blow down tube through the existing vent at the rear of the cab.
Or you can use a 90* bulkhead fitting.
Now that the lines for the nitrous and blow down are run you can put all the panels back on.
Now for the fun part, ELECTRICAL.
I would like to thank Reynaldo(chpspecial) as he did all the wiring while I was doing the other stuff.There is an existing grommet on the firewall by the brake master cylinder on the drivers side. There are more than one but we used the small one on the left of the very big one because it was easier to access from the inside of the cab.
You have to push some wires through from the inside. The amount of wires will vary depending on what accessories you are running. I am going to be using only a progressive controller and purge. If you are going to use a bottle heater, electric pressure gauge etc. you will have to run some more wires. There is some sort of electrical box in front of the grommet you need so just unscrew it and move it out of the way.
For a 12v source there is a non-interrupted fuse in the drivers side dash panel. I went to the local auto parts store and picked up a fuse holder than goes where the stock fuse would go but has two new fuse locations one for the existing fuse and one for whatever you want to run.
I will finish the install tomorrow.
Reserved for more info and pics.
Last edited by SRTKLLR; 02-11-2011 at 10:46 PM. Reason: Added info and pics