Relocating ECM / Fuse box to inside the dash
 11-10-2014, 09:19 AM
#1
Staging Lane
Thread Starter

Join Date: Jun 2014
Location: Houston, Texas
Posts: 57
Likes: 0
Received 0 Likes
on
0 Posts
Yesterday I was under the truck finishing up the wiring for my A4 to M5 swap and without the transmission in I finally found a good spot to route all the wires from the engine bay into the interior. My plan is to have only the motor in the engine bay with everything else shaved or tucked so obviously the fusebox and ecm had to go. I'm pulling the engine harness along with everything else back behind the motor and than I'm going to bring it all up into the truck right in front of the shifter hole.
I sat there and thought about everything for awhile trying to make sure I wasn't about to do it wrong but than I decided screw it and just started cutting into stuff. I started with the harness that already comes from the interior I'm about 80% done with extending it I've got all the plugs it has extended except the big one. Several months ago I move my cruise, alarm, and horns into the wiper cowl so I already had that one extended. I'm going to pull the entire harness into the truck and than drill a hole into the wiper cowl to pass the cruise and all those wires back.
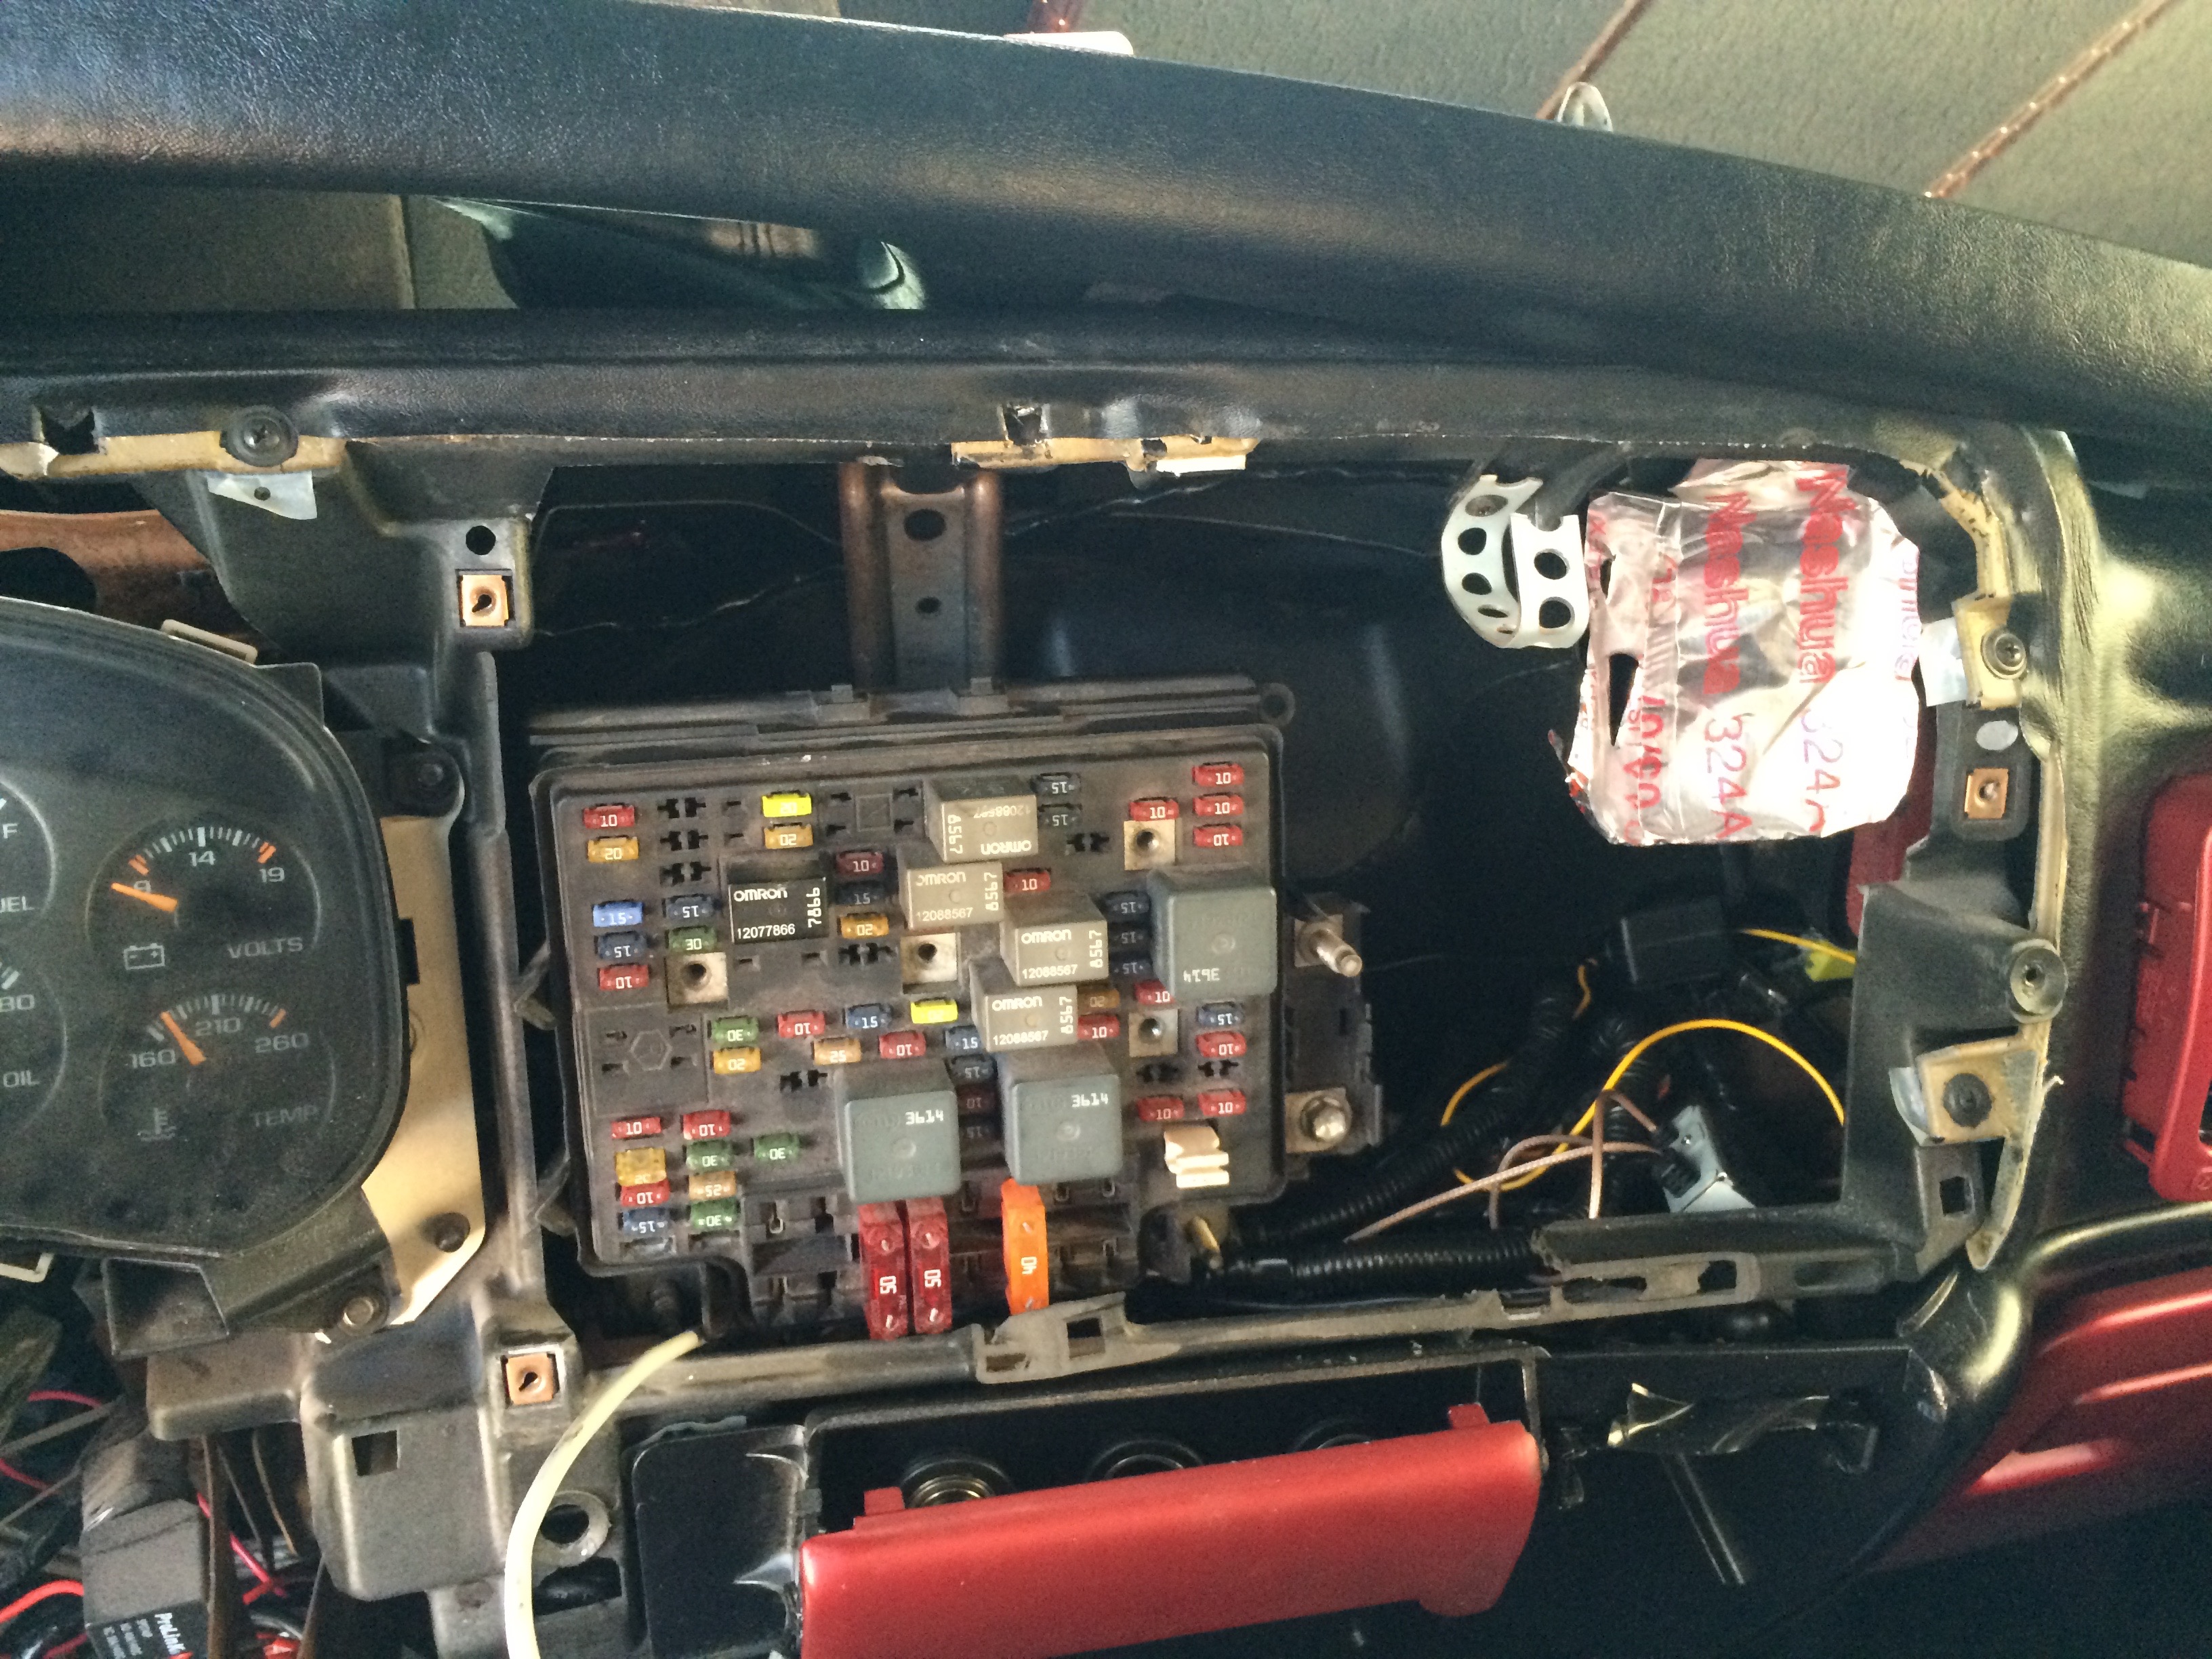
I have a iPad mounted in my dash so I'm going to tuck the fuse box behind where its mounted so that I can just remove the iPad to get to fuses.
The ECM is pretty perfect, there is a spot behind the glove box that fits the pocket of the ECM absolutely perfectly no cutting required.
I'm going to post as much information and pictures as I can because while searching for how to do this I couldn't find much more than people saying how bad it sucks and pictures of it completed.
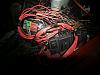
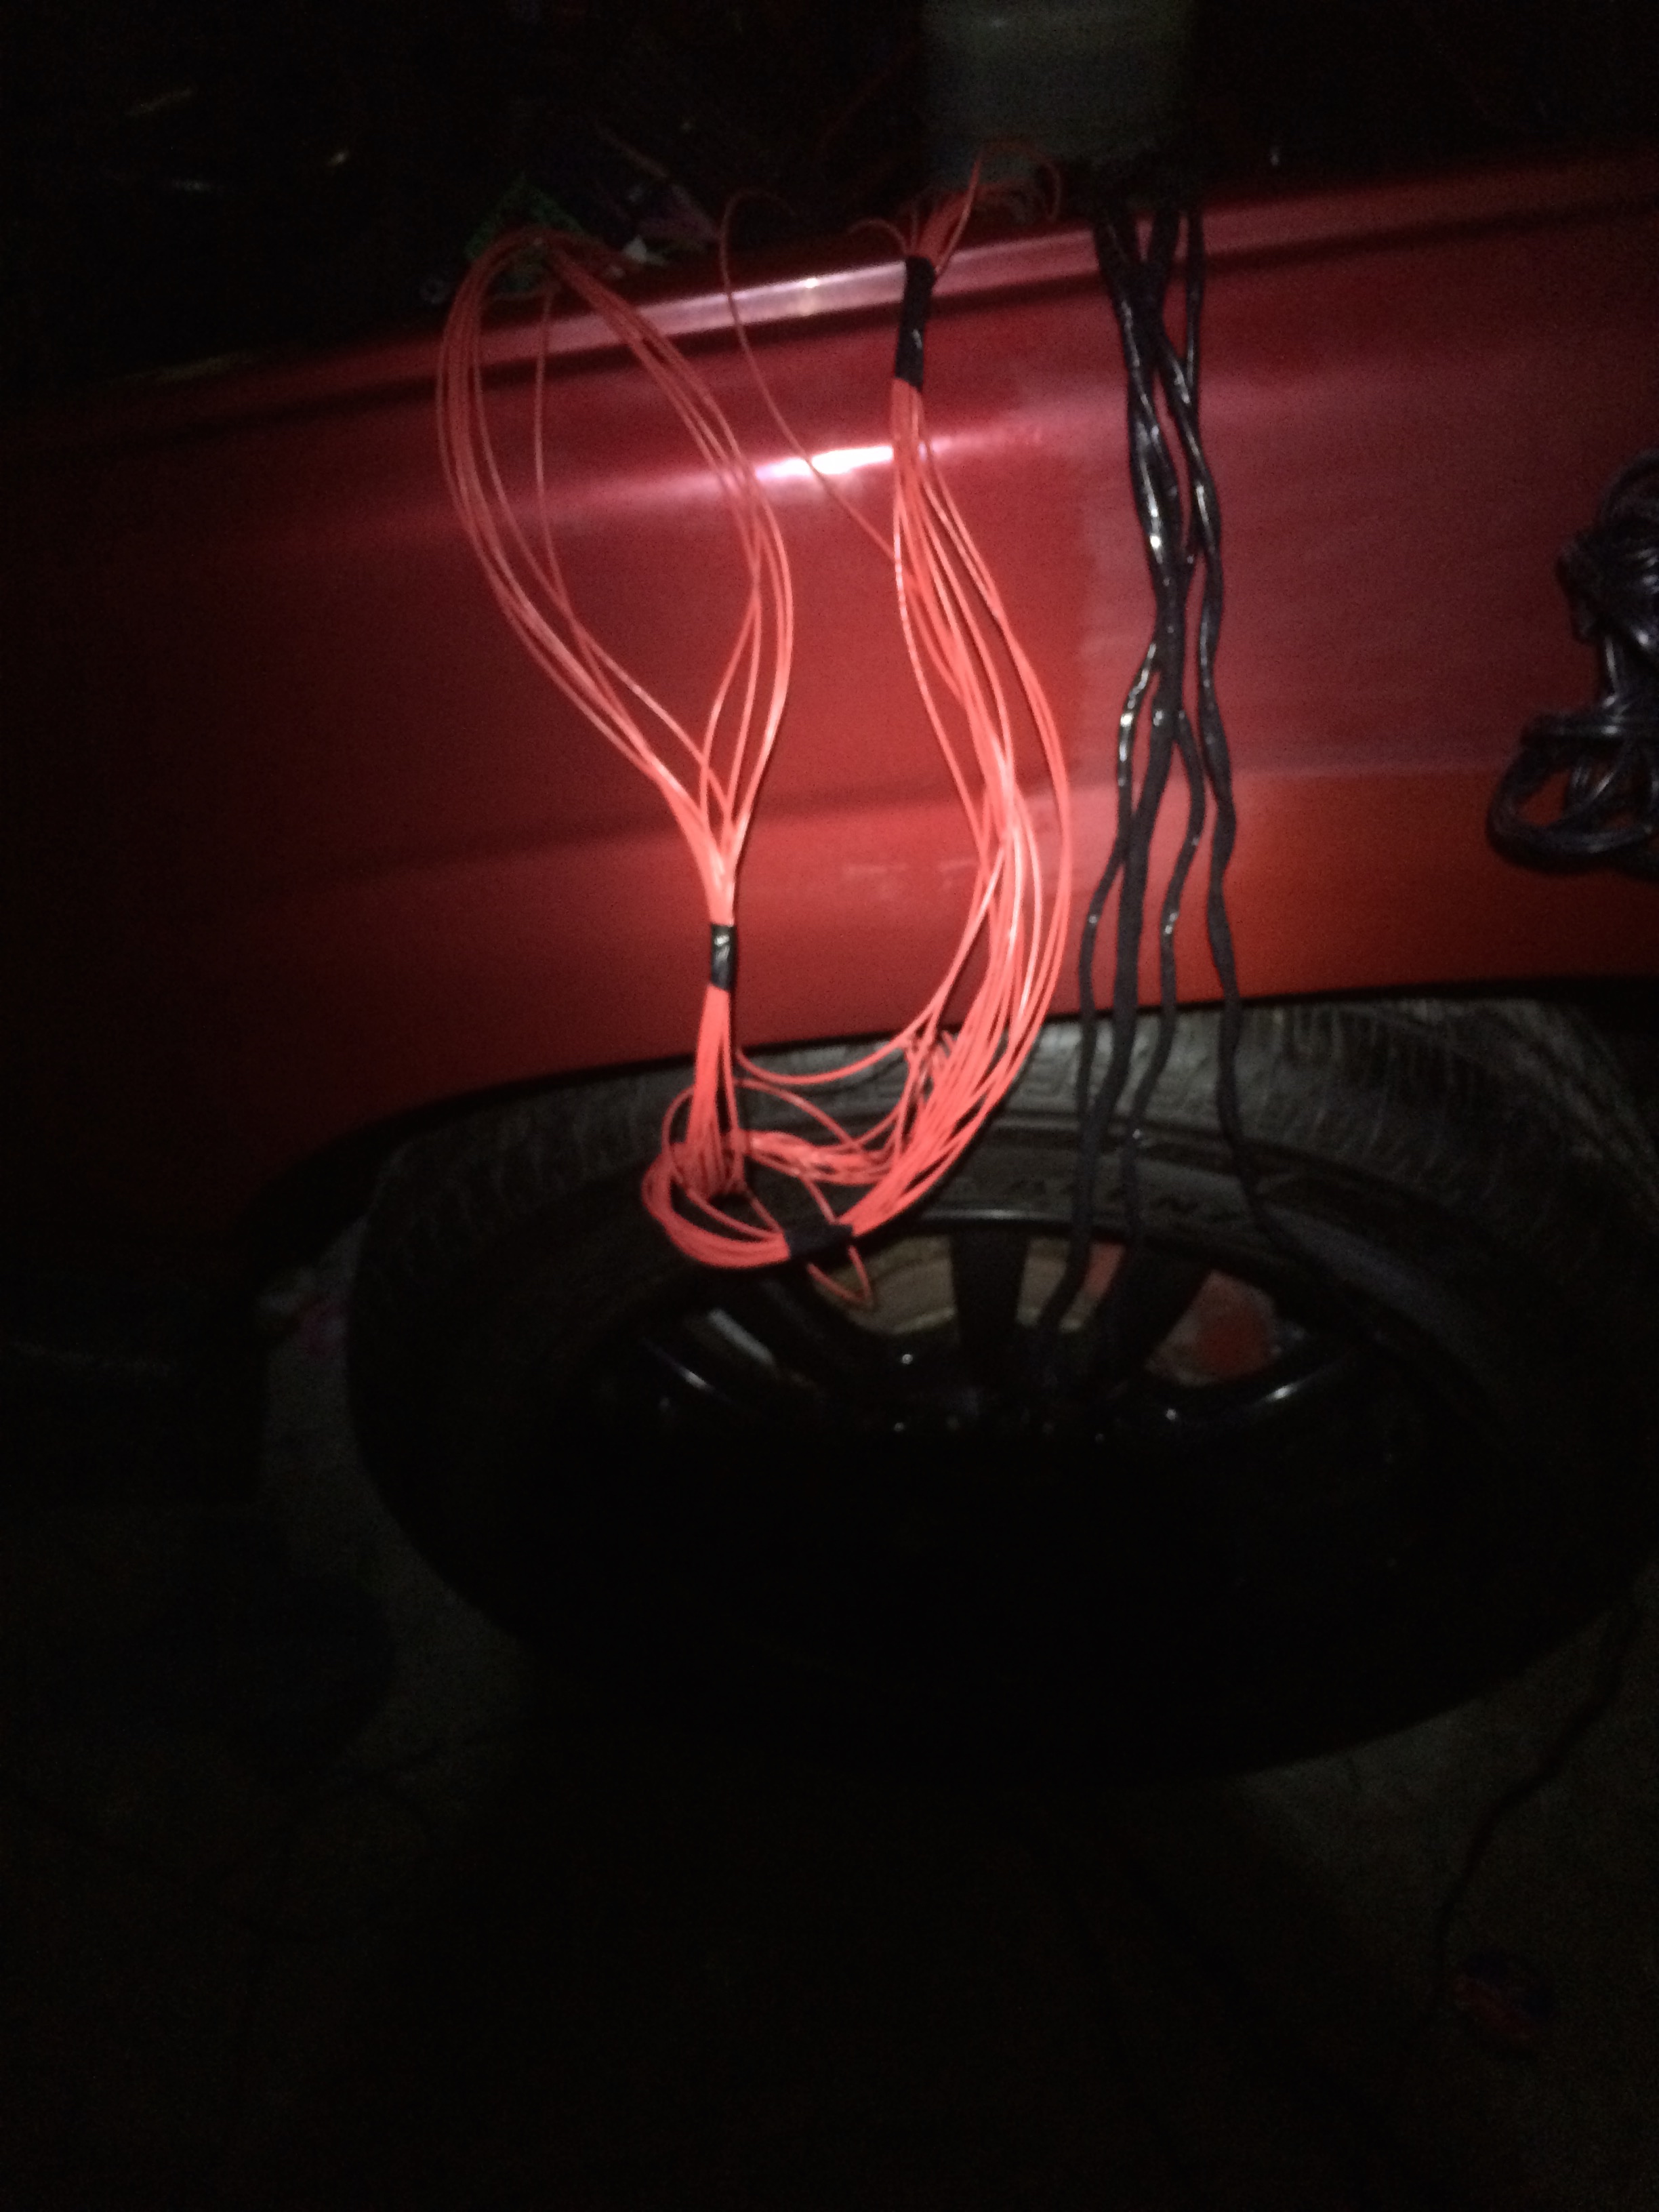
Last night I was pretty focused and didn't take many pictures but heres a few of the harnesses I made 250 feet of wire later.

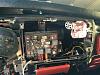
And here is the fuse box location
I'm going to be spending all of Tuesday working on this so i'll take a lot of pictures
-Matt
I sat there and thought about everything for awhile trying to make sure I wasn't about to do it wrong but than I decided screw it and just started cutting into stuff. I started with the harness that already comes from the interior I'm about 80% done with extending it I've got all the plugs it has extended except the big one. Several months ago I move my cruise, alarm, and horns into the wiper cowl so I already had that one extended. I'm going to pull the entire harness into the truck and than drill a hole into the wiper cowl to pass the cruise and all those wires back.
I have a iPad mounted in my dash so I'm going to tuck the fuse box behind where its mounted so that I can just remove the iPad to get to fuses.
The ECM is pretty perfect, there is a spot behind the glove box that fits the pocket of the ECM absolutely perfectly no cutting required.
I'm going to post as much information and pictures as I can because while searching for how to do this I couldn't find much more than people saying how bad it sucks and pictures of it completed.
Last night I was pretty focused and didn't take many pictures but heres a few of the harnesses I made 250 feet of wire later.
And here is the fuse box location
I'm going to be spending all of Tuesday working on this so i'll take a lot of pictures
-Matt

 11-10-2014, 10:03 AM
#3
Staging Lane
Thread Starter
Join Date: Jun 2014
Location: Houston, Texas
Posts: 57
Likes: 0
Received 0 Likes
on
0 Posts
I totally agree, I plan on welding in some trailer wheel wells when I'm done so it should look pretty good. I'll take some pics of where it goes in, I'm also going to mount my coils up there above the tranny too so I'll throw in some pics of how it all fits together.
 11-10-2014, 02:26 PM
#5
Staging Lane
Thread Starter
Join Date: Jun 2014
Location: Houston, Texas
Posts: 57
Likes: 0
Received 0 Likes
on
0 Posts
Its not that bad, I'm mostly using 18 gauge wire and 3/32nds heat shrink. Each solder only takes about 30 seconds. The hardest part is trying to figure out the exact length of the wire, once I'm done I'll post up all the lengths that worked and where to pass them through


Trending Topics
11-30-2014, 09:29 AM
#8
Staging Lane
Thread Starter
Join Date: Jun 2014
Location: Houston, Texas
Posts: 57
Likes: 0
Received 0 Likes
on
0 Posts
 12-04-2014, 10:19 PM
#10
Staging Lane
Thread Starter
Join Date: Jun 2014
Location: Houston, Texas
Posts: 57
Likes: 0
Received 0 Likes
on
0 Posts
Took vacation and than liked it too much so stayed out longer but I'm back now.
Stayed up through the night the day before I left town and finished up the job for the most part.
The whole project took a lot of these 2 things,

Scotch super 88 and sonic, I really like this tape because it does well with heat and water, thats what its there for.
This is the part I imagine a few people might want to know about, for the actual joints what I did was determine what wire lengths I needed and used the truck as a measuring tape. For example all the wires coming from the back of truck along frame where extended the length between the two headlight pins. Its much easier to measure a wire against that 40 times than a actual measuring tape. After I cut the wire length I put 2 3/32nd's heat shrink tubes on the wire and striped both sides. Than I cut ONE WIRE AT A TIME FROM THE HARNESS!!!! This is imperative, it is literally almost impossible to cut through the entire harness and put it back, obvious for most I know. Anyway I cut one wire at a time strip both sides than smash the new wire so their threads intertwine and than twist until I can't anymore, this makes a mechanical connection thats already pretty hard to pull apart. Next just take your soldering iron put it under the wire and melt some rosin core solder into the joint, these are small wires about 18 gauge for most and the flux makes the entire joint saturated almost instantly they are very quick to make. Next just melt the heat shrink into place over the joints and move to the next wire.

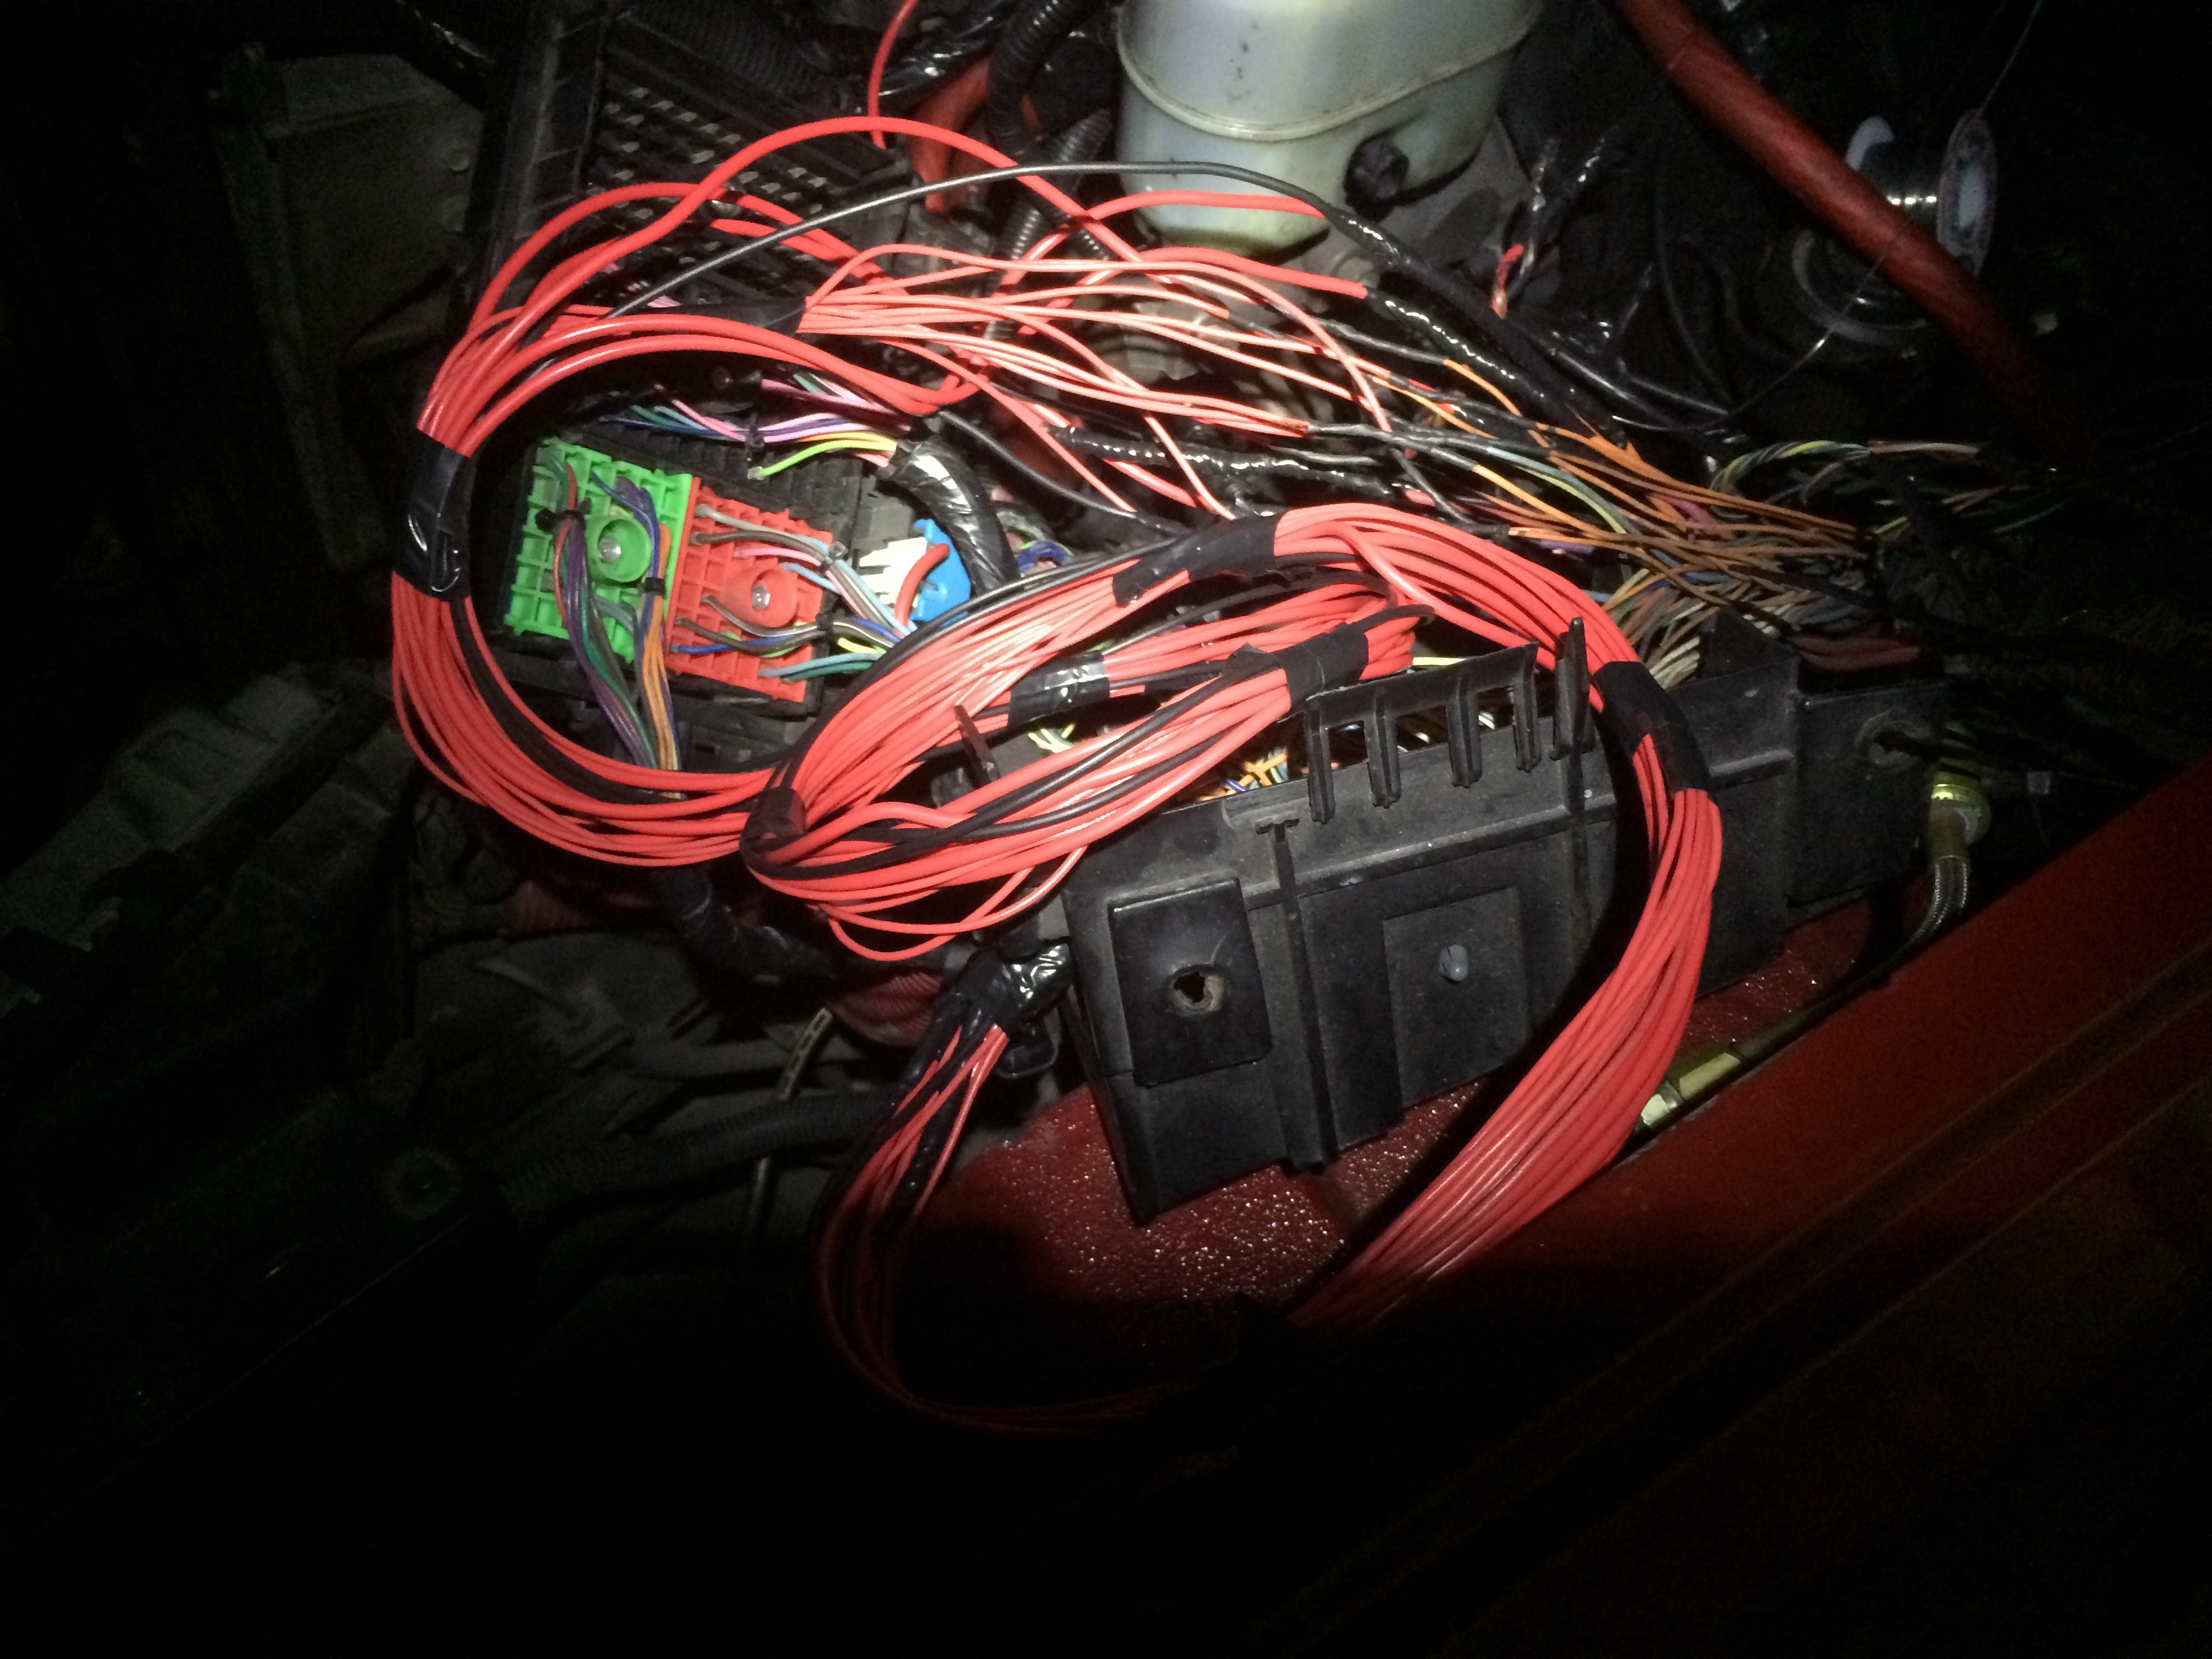
This is what one of the bundles looks like I found that cool see through heat shrink and was like why not I was getting so mind numb from doing such monotonous soldering and wanted something to look at.

I grouped the wires by twisting them together, I first twisted groups of wires to a plug for example this is to the drivers O2 sensor, than took and twisted a group of wires going somewhere such as drivers side frame.

These next 2 pictures are as I was grouping up wires by what they do and where they go, It took awhile to find a feasible way to pull the entire harness behind the motor, the wires were all designed to be pulled towards drivers side so it was weird untangaling the factory grouping and making it how I wanted.


More than a few of us have probably eliminated a few things in our trucks, for example I no longer have any use for any transmission, EGR, or O2 sensor wires so I just cut, labeled, and noted how to find them again in my maintenance record.

A fishing tape helps run things through the frame, I just used a coat hanger and it was... less than optimal got it done though. I ran a few things through the frame such as this wheel sensor, my negative battery cable and a few others

I finally got to measuring and finishing parts of the harness, I started at the front of the motor and went back, for this I basically just plugged in the furthest forward plug and worked back, In this picture I started with throttle body cables and worked back through alternator, injectors etc. You can't see it but a lot of things have extra wire and I thought it would be dumb to cut things I didn't need to so the extra is folded, coiled, and taped than the entire bundle is taped again than loomed and taped yet again.

This is the injector harness for the passenger side

Once I got some of the simpler connections made I took the entire harness out so it would be easier to work with, this is the entire wiring harness for the truck except for whats in the interior or on the frame coming from the back.

Taping a bundle

Extending sensors for ECM

Harness starting to make more sense

For the coils I got a aluminum bracket off eBay than I just used the same harness lengths because it was close enough, you'll see the coil on the end is looped. Taped it up to keep everything and place and metal off of metal as these are getting mounted to the body.


This is how groups going the same way look

The harness mostly done

I cut this hole in the truck, it is on the passenger side of the transmission hump, I would follow this design exactly if you are doing anything similar, the wide part is to get the connector through than you push the wire to the skinny part to fit the next big connector through. It worked flawlessly and with the dynomat there I didn't have to worry about damaging my work

Stayed up through the night the day before I left town and finished up the job for the most part.
The whole project took a lot of these 2 things,
Scotch super 88 and sonic, I really like this tape because it does well with heat and water, thats what its there for.
This is the part I imagine a few people might want to know about, for the actual joints what I did was determine what wire lengths I needed and used the truck as a measuring tape. For example all the wires coming from the back of truck along frame where extended the length between the two headlight pins. Its much easier to measure a wire against that 40 times than a actual measuring tape. After I cut the wire length I put 2 3/32nd's heat shrink tubes on the wire and striped both sides. Than I cut ONE WIRE AT A TIME FROM THE HARNESS!!!! This is imperative, it is literally almost impossible to cut through the entire harness and put it back, obvious for most I know. Anyway I cut one wire at a time strip both sides than smash the new wire so their threads intertwine and than twist until I can't anymore, this makes a mechanical connection thats already pretty hard to pull apart. Next just take your soldering iron put it under the wire and melt some rosin core solder into the joint, these are small wires about 18 gauge for most and the flux makes the entire joint saturated almost instantly they are very quick to make. Next just melt the heat shrink into place over the joints and move to the next wire.
This is what one of the bundles looks like I found that cool see through heat shrink and was like why not I was getting so mind numb from doing such monotonous soldering and wanted something to look at.
I grouped the wires by twisting them together, I first twisted groups of wires to a plug for example this is to the drivers O2 sensor, than took and twisted a group of wires going somewhere such as drivers side frame.
These next 2 pictures are as I was grouping up wires by what they do and where they go, It took awhile to find a feasible way to pull the entire harness behind the motor, the wires were all designed to be pulled towards drivers side so it was weird untangaling the factory grouping and making it how I wanted.
More than a few of us have probably eliminated a few things in our trucks, for example I no longer have any use for any transmission, EGR, or O2 sensor wires so I just cut, labeled, and noted how to find them again in my maintenance record.
A fishing tape helps run things through the frame, I just used a coat hanger and it was... less than optimal got it done though. I ran a few things through the frame such as this wheel sensor, my negative battery cable and a few others
I finally got to measuring and finishing parts of the harness, I started at the front of the motor and went back, for this I basically just plugged in the furthest forward plug and worked back, In this picture I started with throttle body cables and worked back through alternator, injectors etc. You can't see it but a lot of things have extra wire and I thought it would be dumb to cut things I didn't need to so the extra is folded, coiled, and taped than the entire bundle is taped again than loomed and taped yet again.
This is the injector harness for the passenger side
Once I got some of the simpler connections made I took the entire harness out so it would be easier to work with, this is the entire wiring harness for the truck except for whats in the interior or on the frame coming from the back.
Taping a bundle
Extending sensors for ECM
Harness starting to make more sense
For the coils I got a aluminum bracket off eBay than I just used the same harness lengths because it was close enough, you'll see the coil on the end is looped. Taped it up to keep everything and place and metal off of metal as these are getting mounted to the body.
This is how groups going the same way look
The harness mostly done
I cut this hole in the truck, it is on the passenger side of the transmission hump, I would follow this design exactly if you are doing anything similar, the wide part is to get the connector through than you push the wire to the skinny part to fit the next big connector through. It worked flawlessly and with the dynomat there I didn't have to worry about damaging my work