When you click on links to various merchants on this site and make a purchase, this can result in this site earning a commission. Affiliate programs and affiliations include, but are not limited to, the eBay Partner Network.
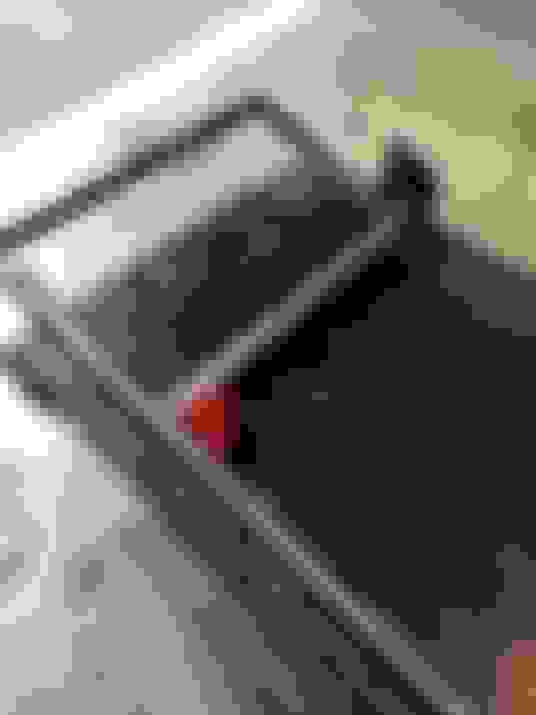
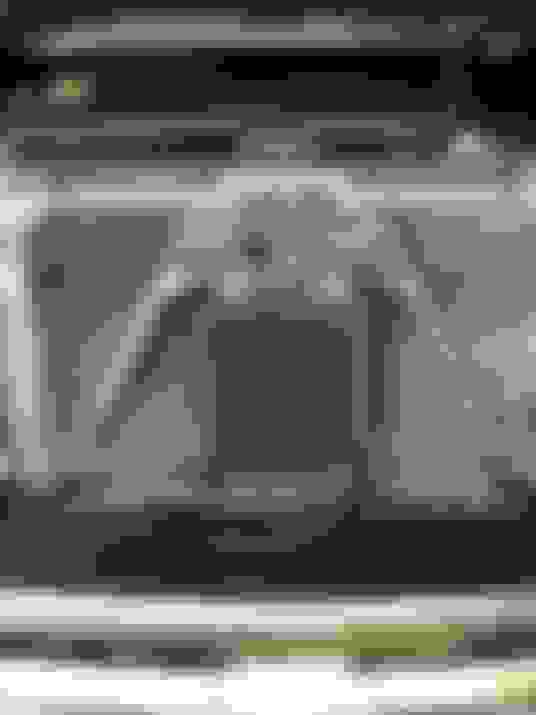
Installed a new control arm brace from VAS fabrication. It is really light compared to the stock piece, looks way cleaner. Using this brace removed some factory bracing, not sure how important or structural the removed bracing is, but wanted to make a couple of pieces to replace the ones removed. I have read a lot of different options on the frame braces. Most people just remove them due to rust issues, or being so low they hang too low. Some say they are important and are there for a reason. I wanted to keep them but was not able to due to the different design of the aftermarket part. So I came up with these braces, one is to tie the frame together near the oil pan. The other ties the frame rails together, then connects to the control arm mounts. It is all bolt in so if I have issues I can remove it. We will see how it performs of if it makes any difference at all. Needs a little paint and should be ready to go.
Modifications look good. Hopefully it's stiff enough. Been thinking about doing that VA brace. Update us after a week or so and see what you think about it.
Modifications look good. Hopefully it's stiff enough. Been thinking about doing that VA brace. Update us after a week or so and see what you think about it.
I was a little worried about the strength of it. That's why I wanted to add the additional bracing, especially the price near the oil pan. Got it all painted and installed. So far so good, has plenty of clearance around everything. Is not in the way of anything like exhaust or oil drain plug or oil filter. Plenty of ground clearance too. Took it for a quick spin, seems to be holding up fine. Haven't noticed much of a difference, but I haven't really driven very hard on it yet. The weather has been shi**y here lately. Here are a few more pics of the install.
Picked up a cooler that is twice the size and twice as thick as the factory one. Hopefully this one is large enough. I have new -6 AN push lock fitting and hose. Plan to just go to the cooler and back eliminating the radiator part. Here are a few pics of the trans cooler install. Had to make a few brackets from some aluminum to hold the new lines away from the exhaust and one to hold where the old bracket for the hard lines was. Cleaned up and painted the hood latch bracket.
Do you hands/arms a favor and buy the flush cut pliers below. Use them for zip ties only. I started using flush cut pliers for zip ties several years ago. They're game changers.
Not sure what caused this, but after a little spirited driving, backing the truck into the garage I could hear a slight knock. Drained the oil to find bearing material in the oil. Dropped the pan and found a disaster. #7 rod bearing was the one causing the noise. Pulled the rest of the caps and it appears there is a oil starvation issue. Cant say why, always had good oil pressure 40+ at hot idle and 60+ when higher RPMS. Motor needs to be pulled to find out what happened. Got some help from my son. He has some plans for the rebuild.
Because the motor needs to be pulled my son asked if we could put on a turbo. I have a bunch of parts and pieces form other peoples projects. Gathered up some piping and started working on the hot side piping.
 06-17-2019, 07:44 PM