72 Ford onto 2002 F150 chassis


 That's a good one, I'll have to use that.
 11-06-2011, 11:32 AM
#13
Staging Lane
Thread Starter

Join Date: Nov 2011
Location: Washington
Posts: 55
Likes: 0
Received 0 Likes
on
0 Posts
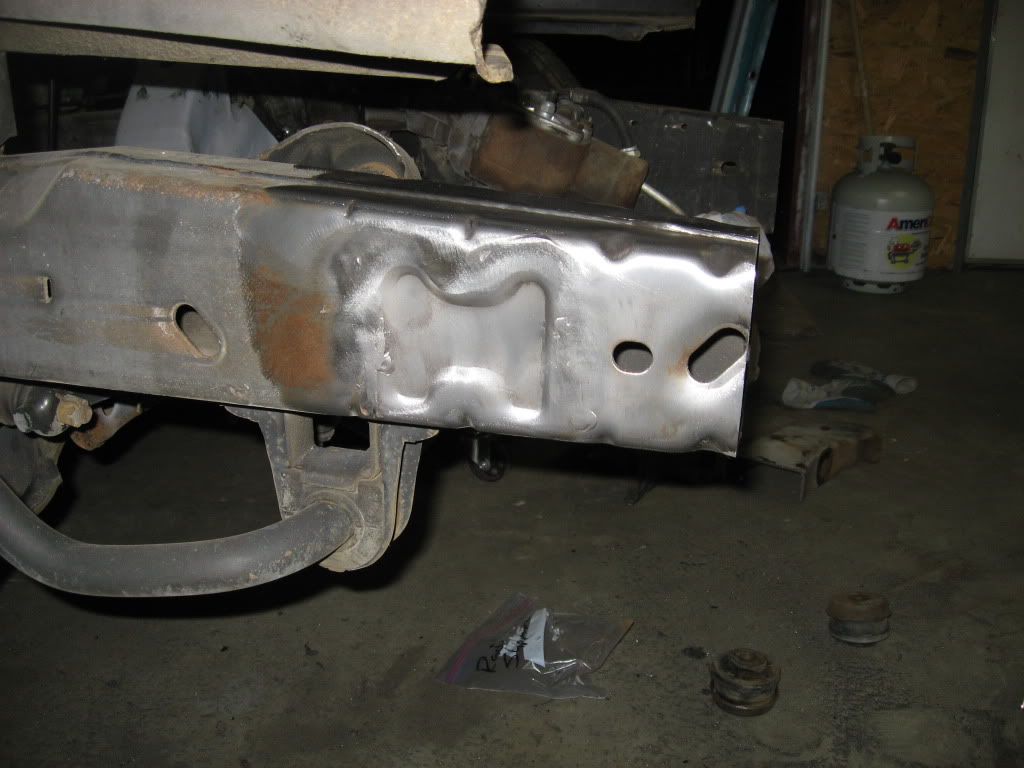
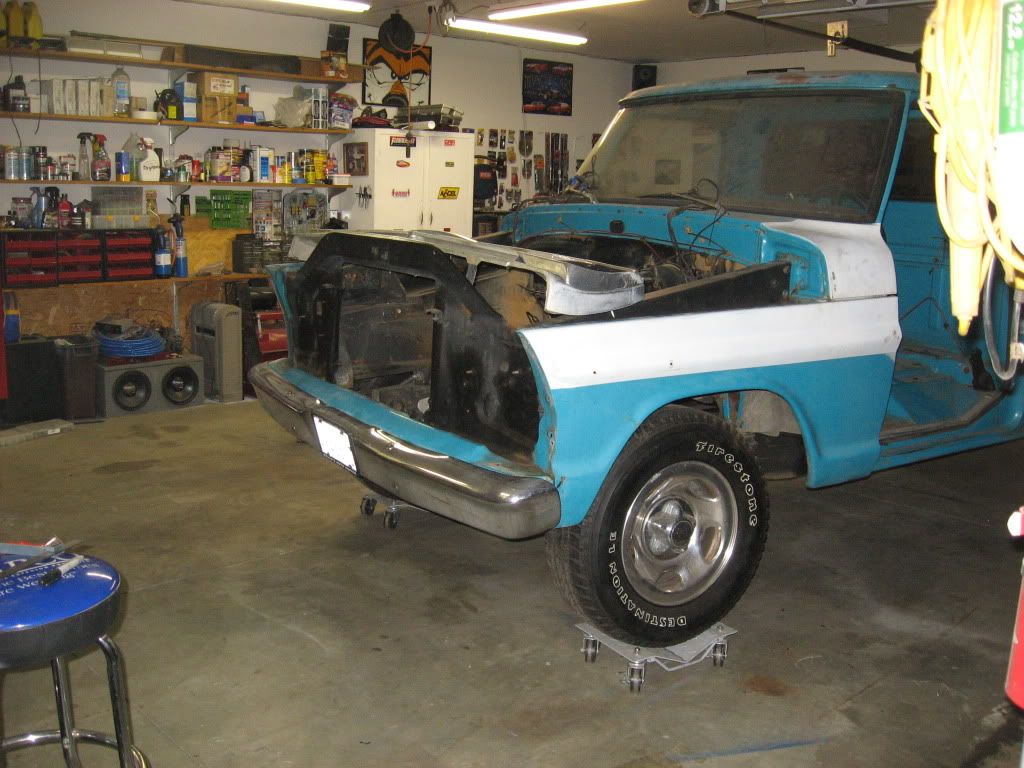
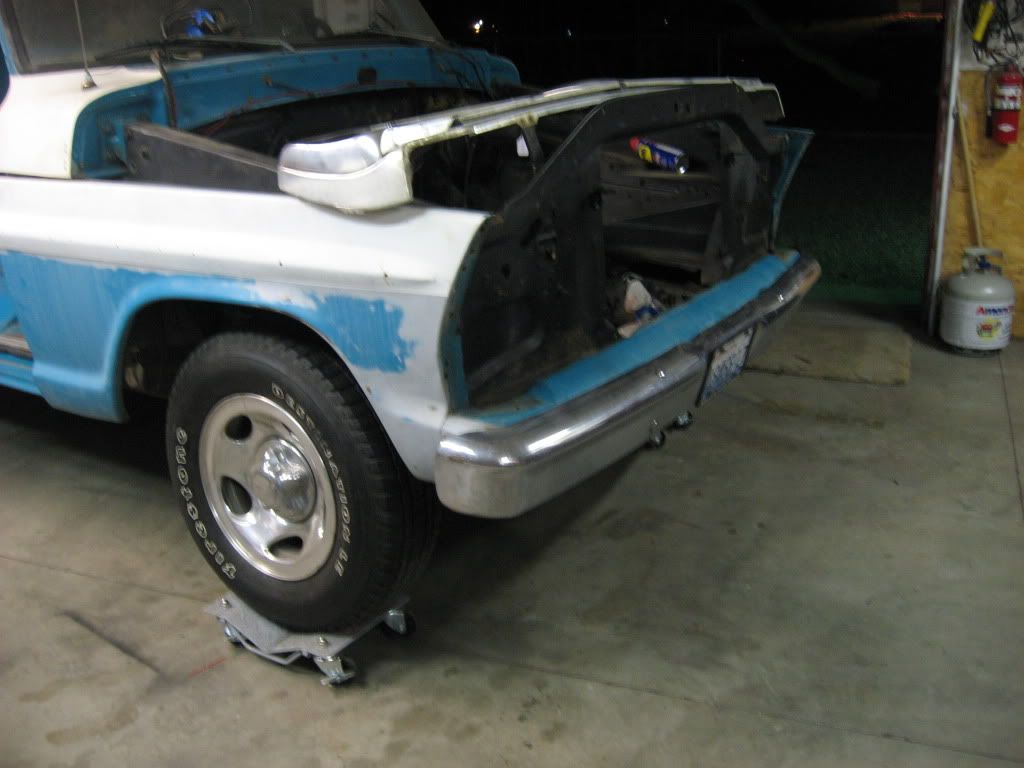
Back to work on the front end today. The flat part that's tucked under the front bumper was damage on both ends, so I pounded them back into shape. I also got the frame parts close to lined up but my front bumper is not at all straight so it's making it near to impossible to line up. So it looks like I will need to order a new bumper before I will be able to finish this part of the build.
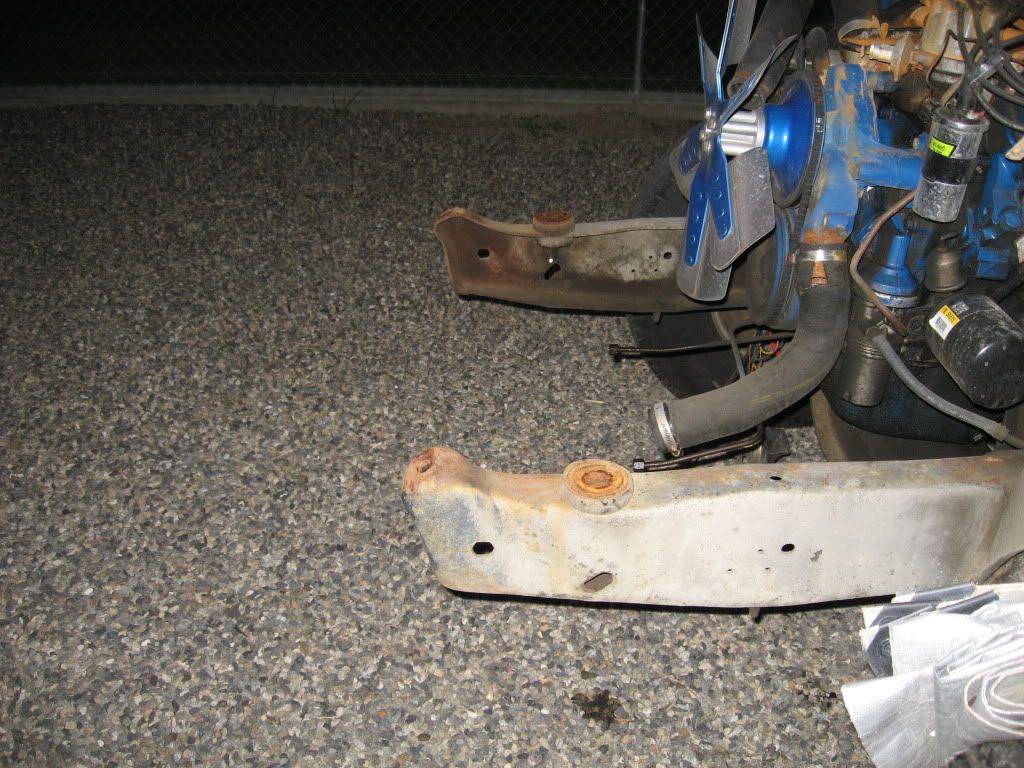
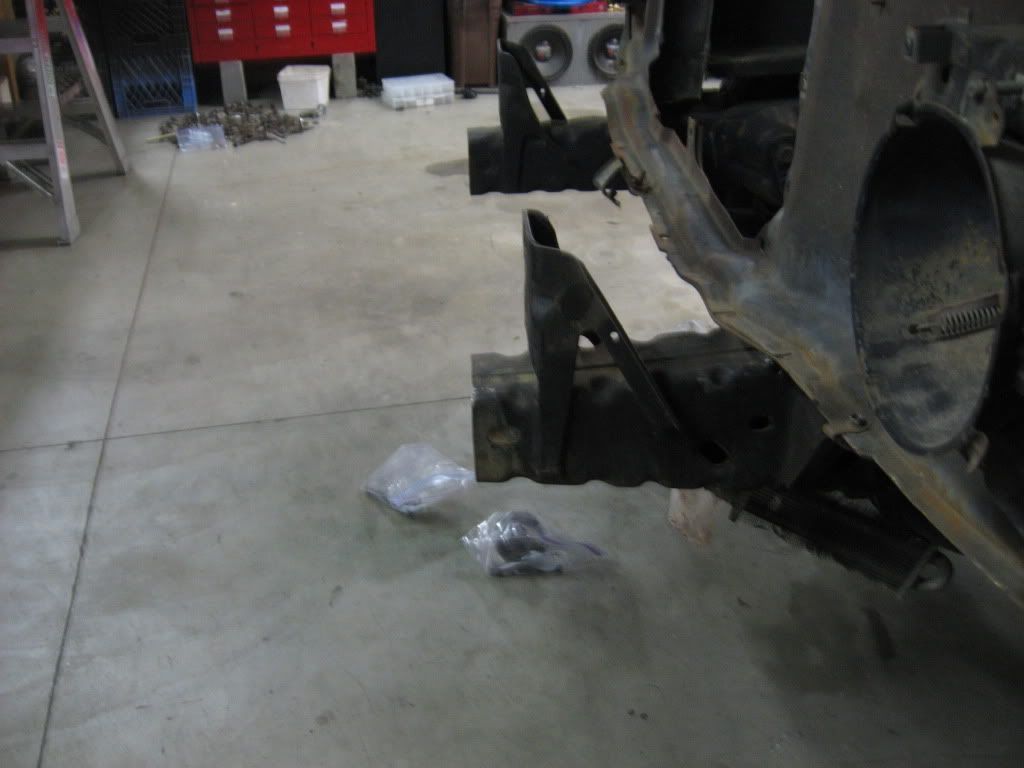
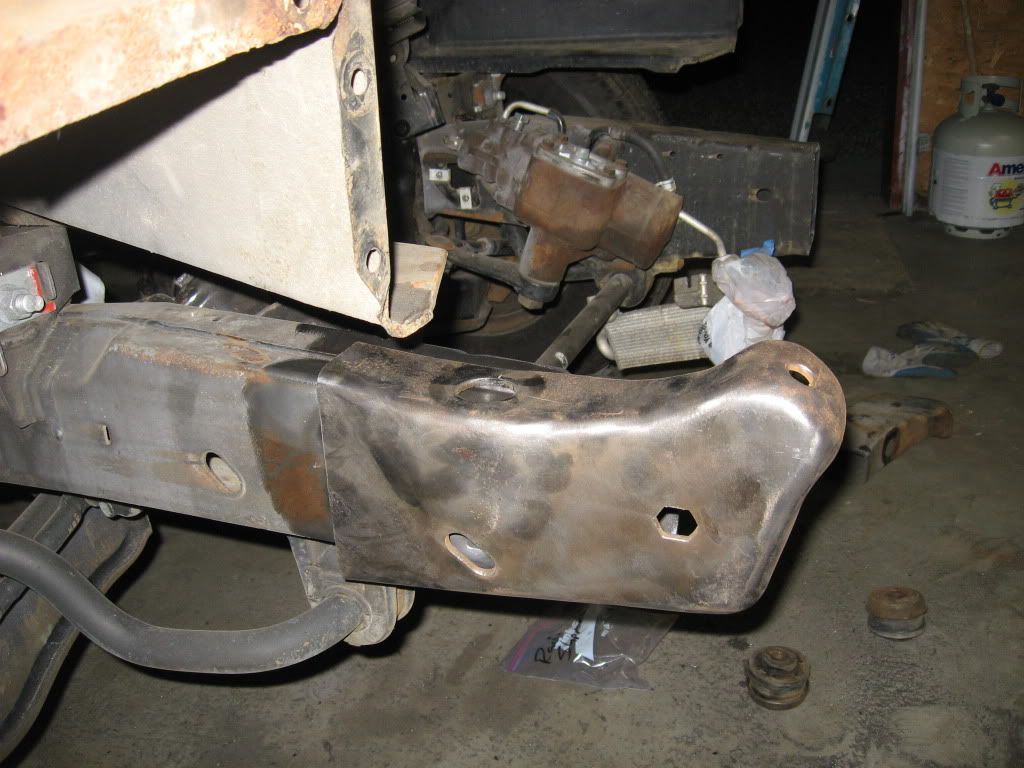
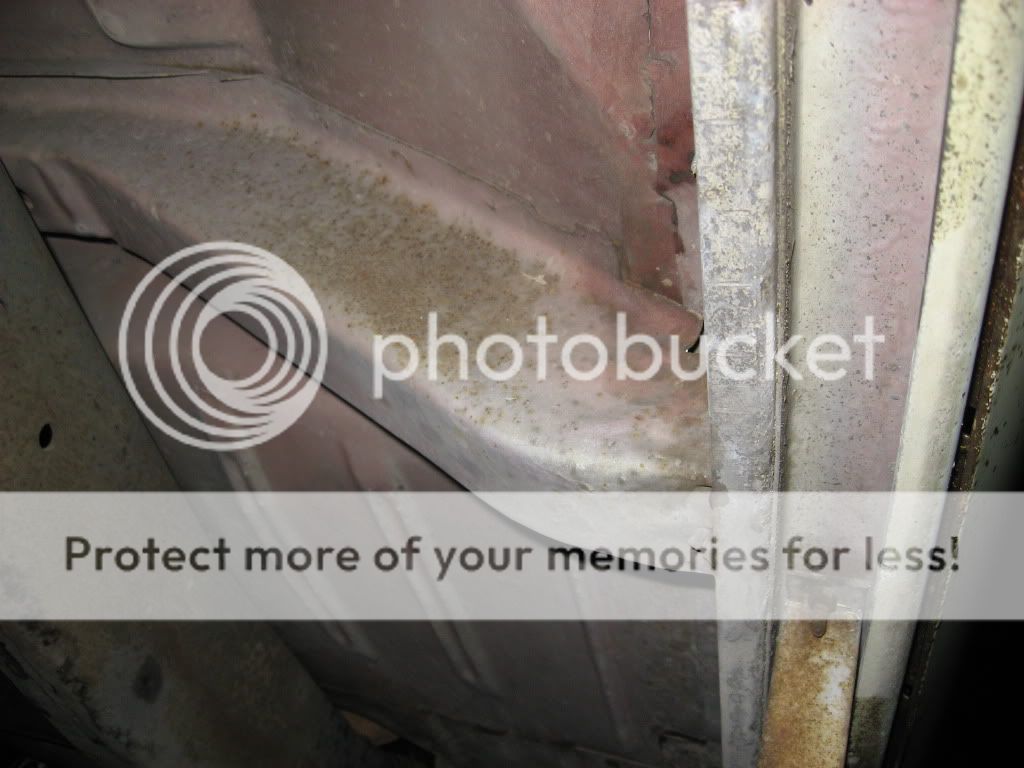
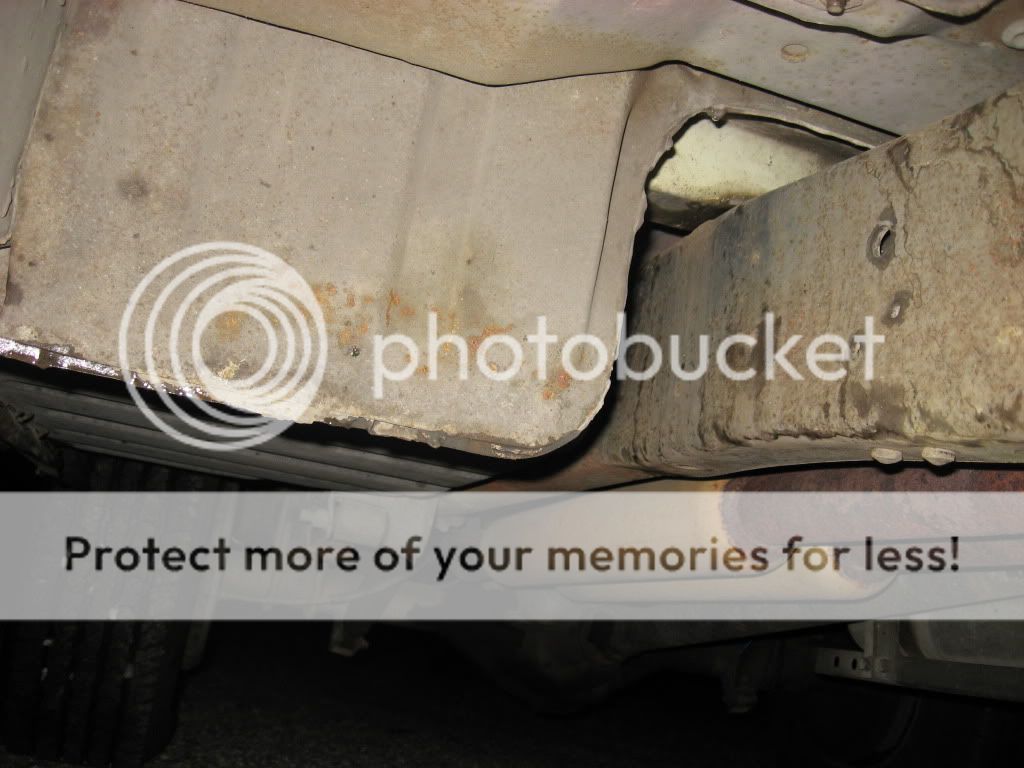
Very strange on this 2002 frame, not sure why but the drivers side frame rail is larger than the passenger side. as you can see in the next pic's I had to notch, tuck, and overlap the driver side but the passenger side is overlapped by the old frame
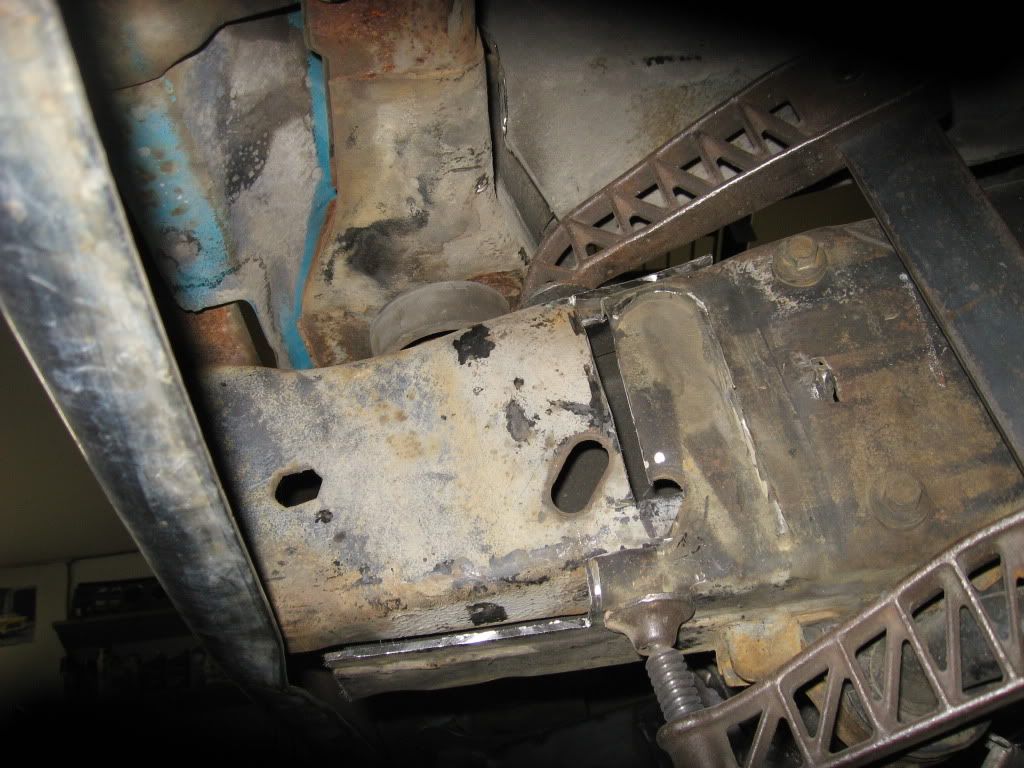
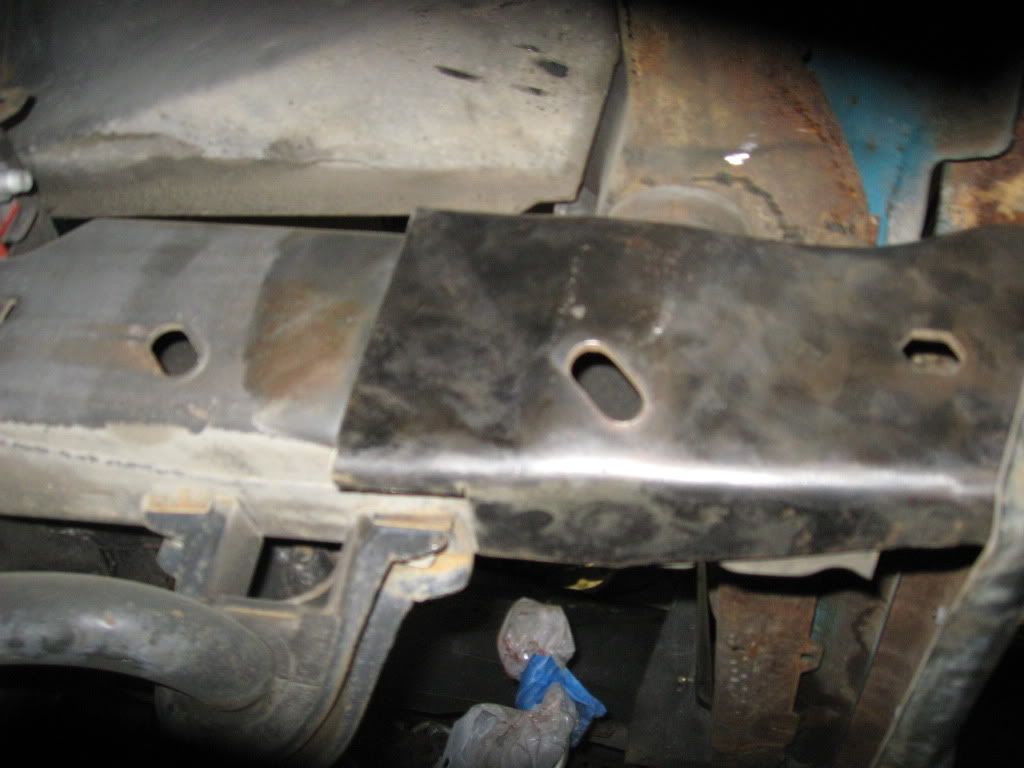
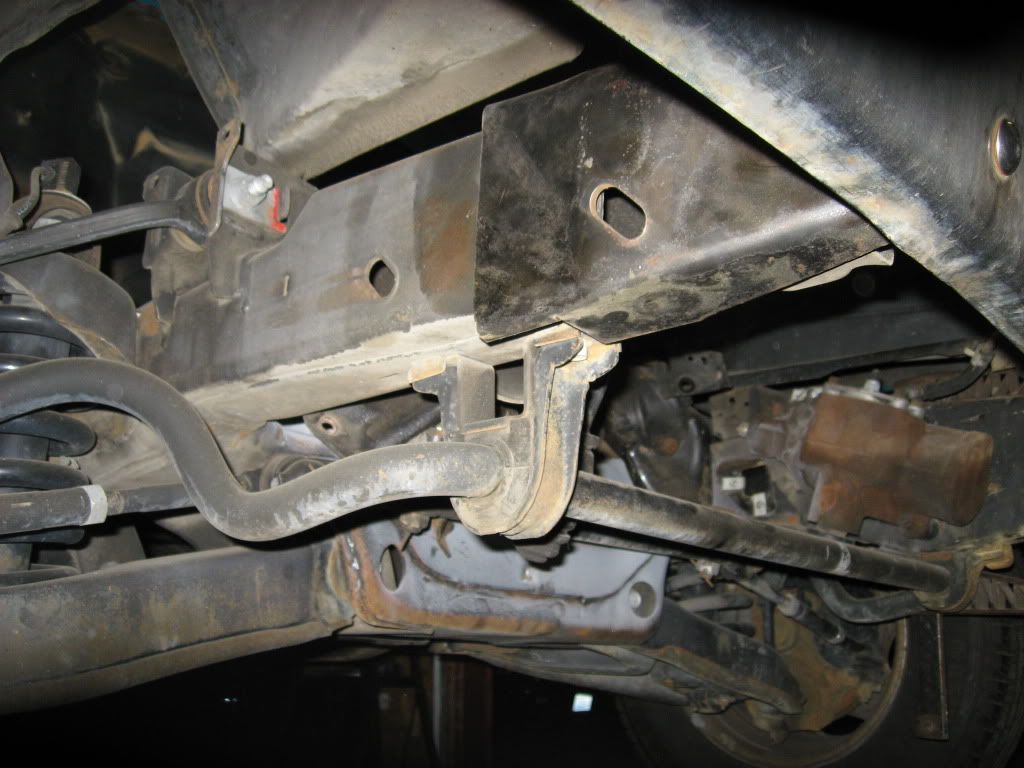
Very strange on this 2002 frame, not sure why but the drivers side frame rail is larger than the passenger side. as you can see in the next pic's I had to notch, tuck, and overlap the driver side but the passenger side is overlapped by the old frame


 11-08-2011, 10:16 PM
#18
Staging Lane
Thread Starter
Join Date: Nov 2011
Location: Washington
Posts: 55
Likes: 0
Received 0 Likes
on
0 Posts
Incredible dedication on a budget, I love it
When you have 3 kids, a mortgage, 2 dogs & a cat, 3 project vehicles and 2 daily drivers all on one income you have to get creative.............
 .......
11-14-2011, 02:58 AM
.......
11-14-2011, 02:58 AM
#19
Staging Lane
Thread Starter
Join Date: Nov 2011
Location: Washington
Posts: 55
Likes: 0
Received 0 Likes
on
0 Posts
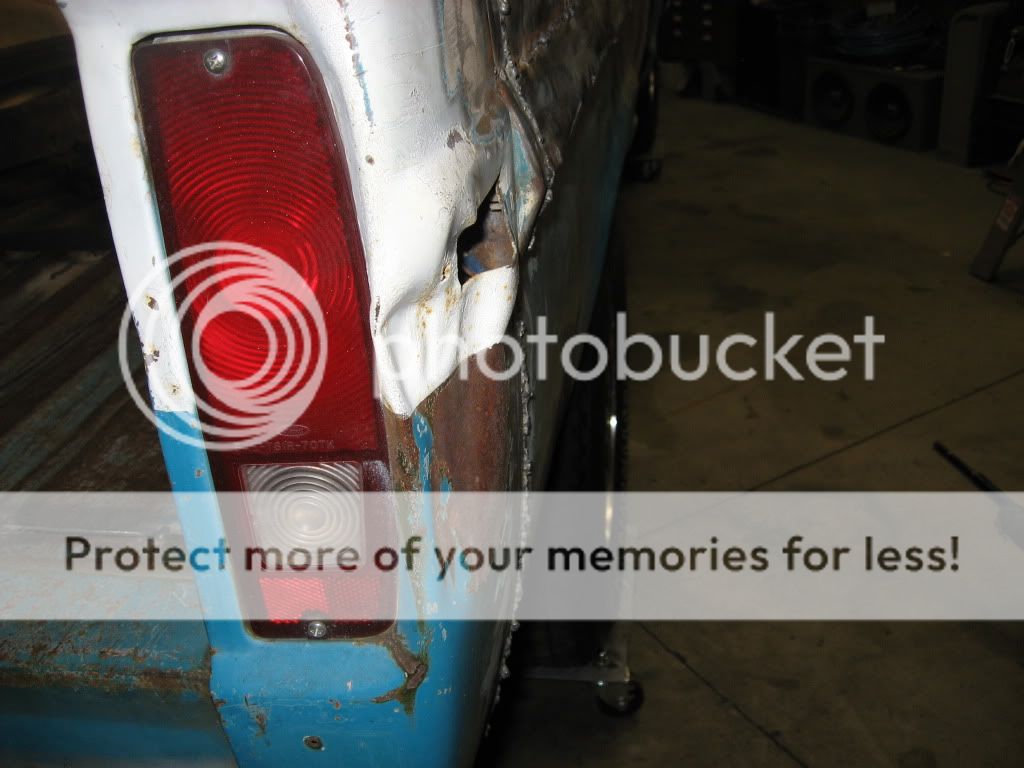
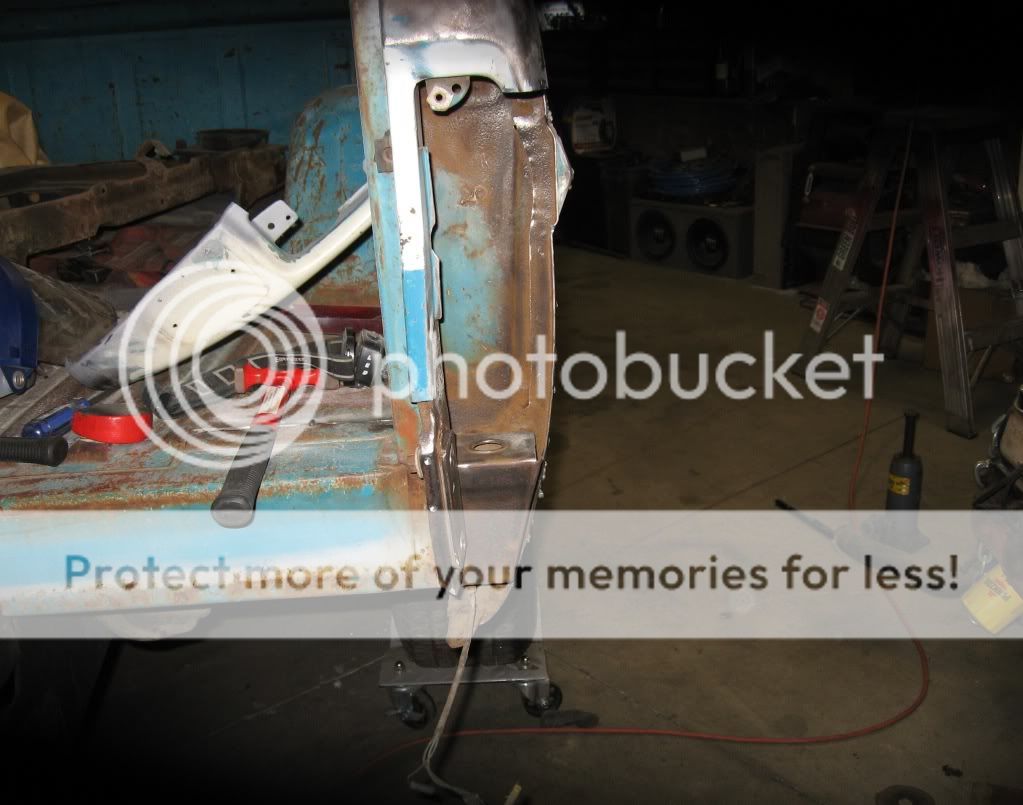
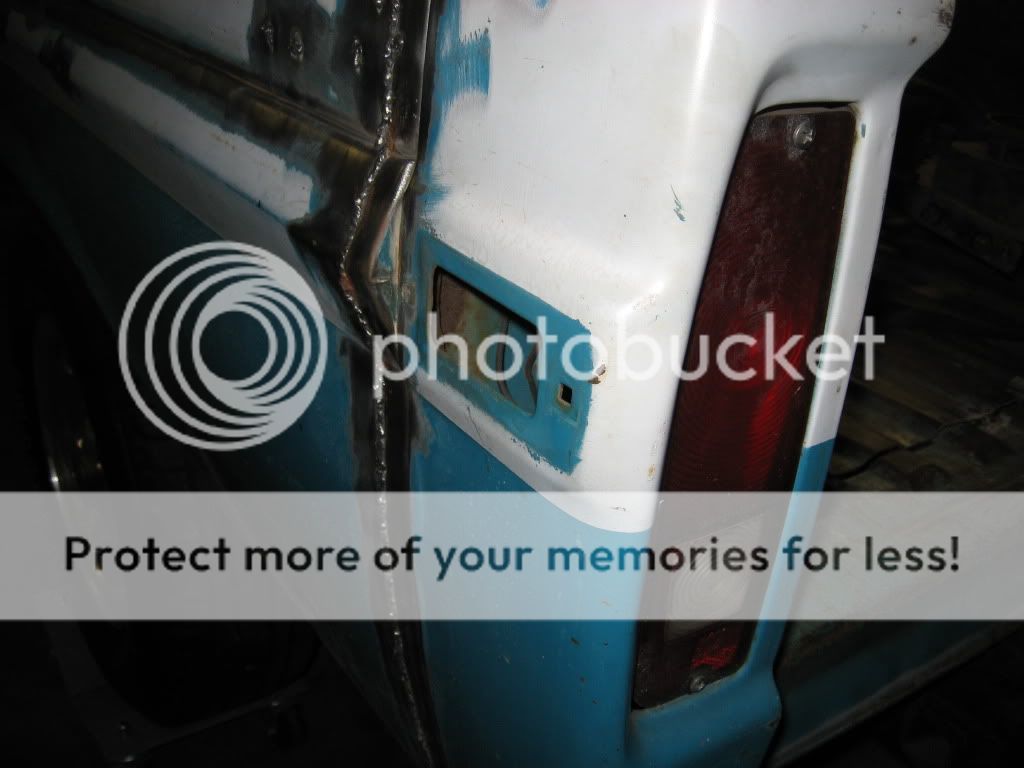
Well I got a little more done today, I figured now was as good a time as any to fix the nice dent the truck had when I bought it.
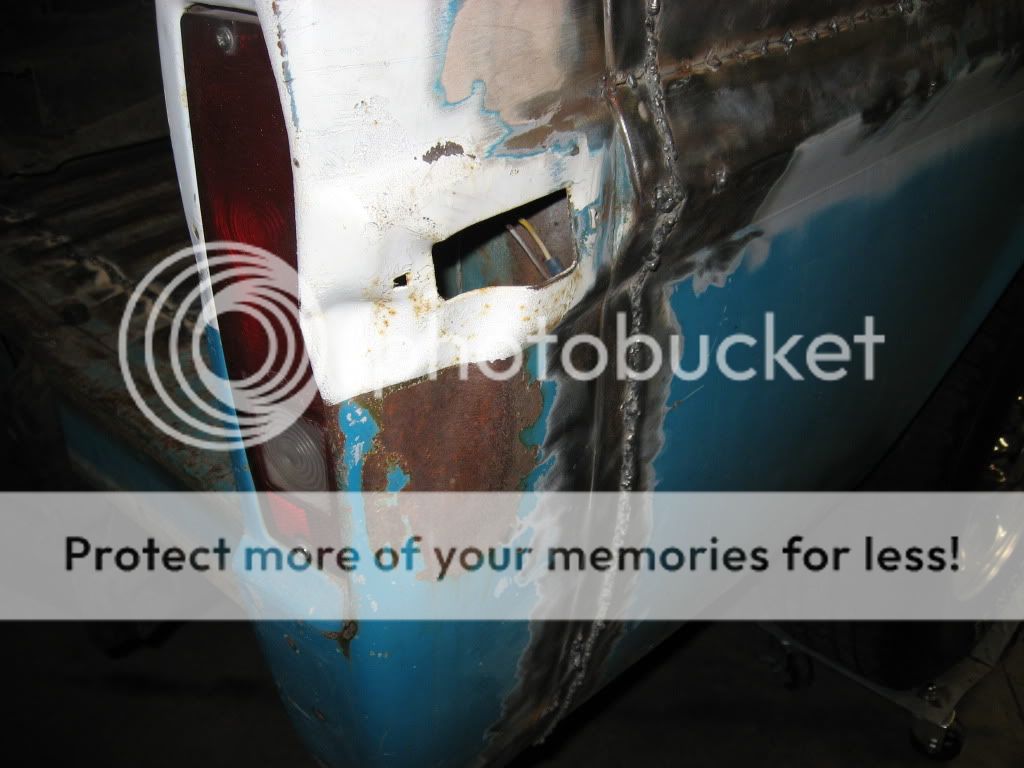
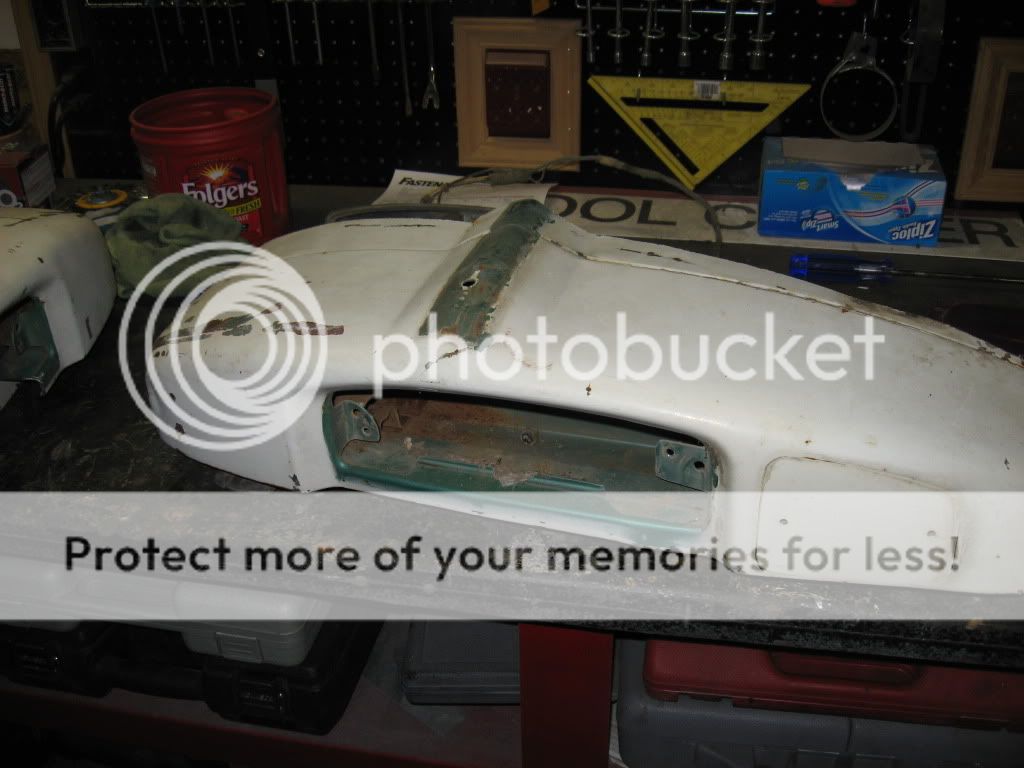
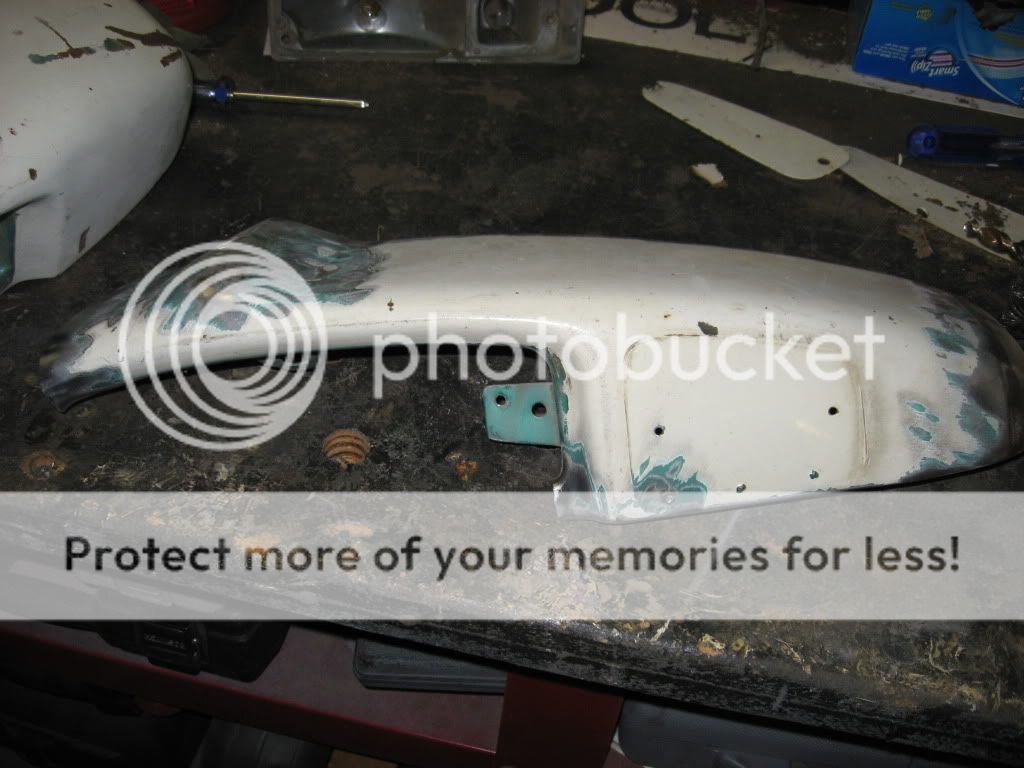
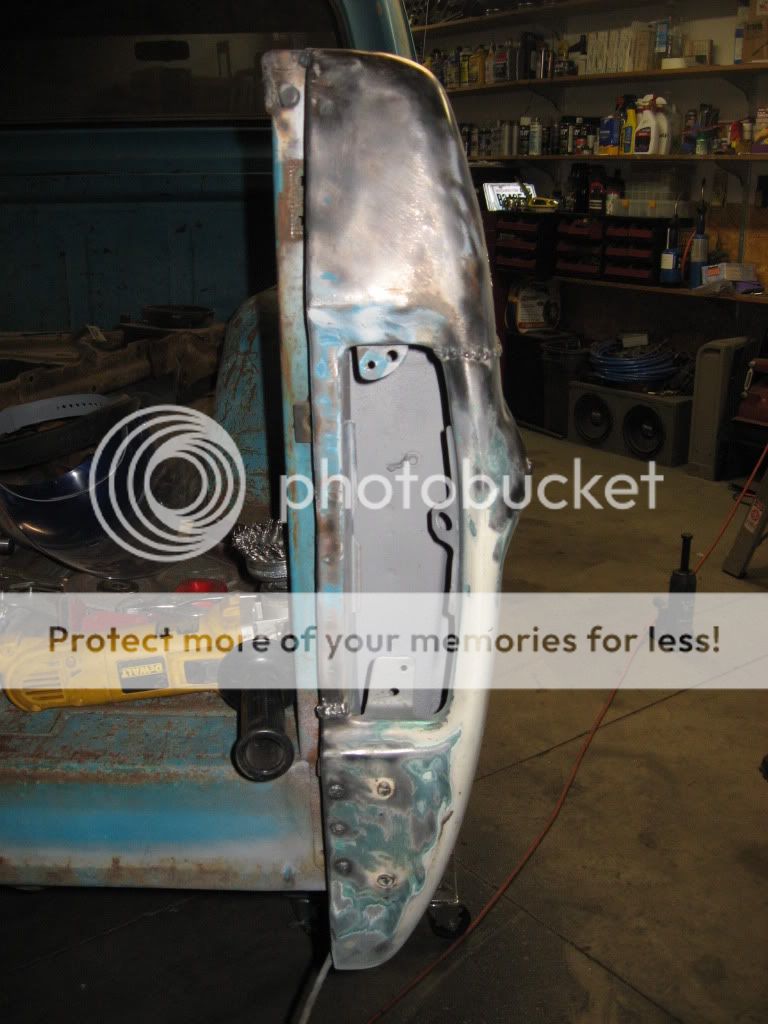
Also going to use panels from a 67 to fix it so the bed will have a more smooth look to it. I picked these corner post up from a junk yard for $10 ea.
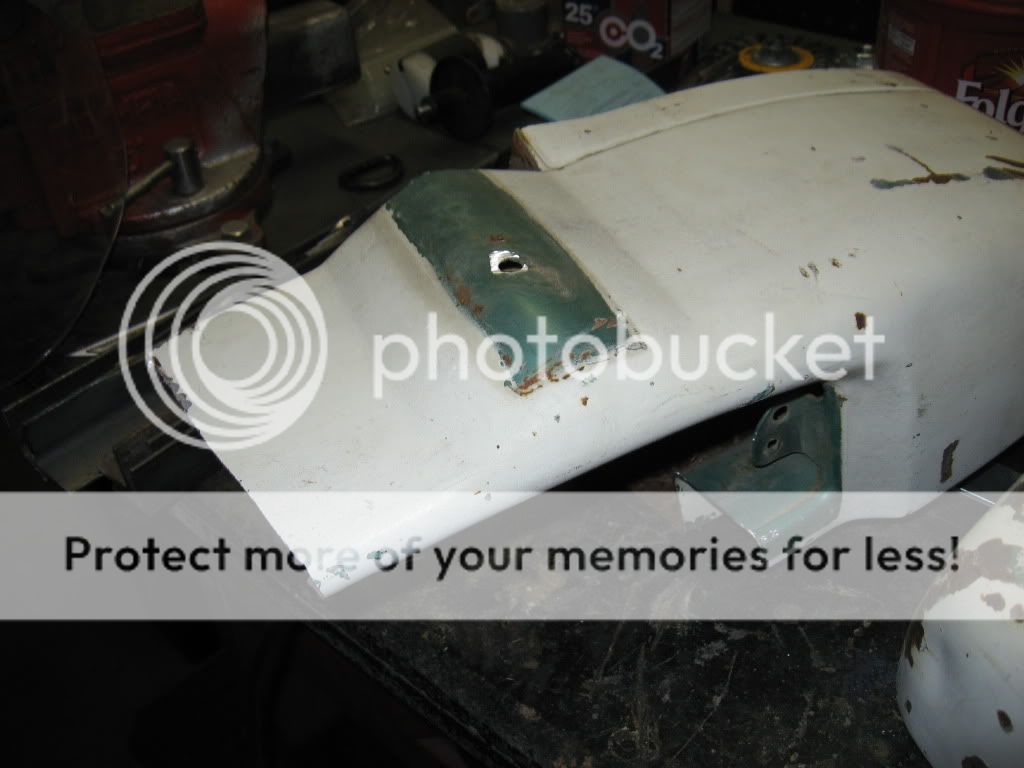
Cut out my patch panel and then cut out the damaged panel on the truck.
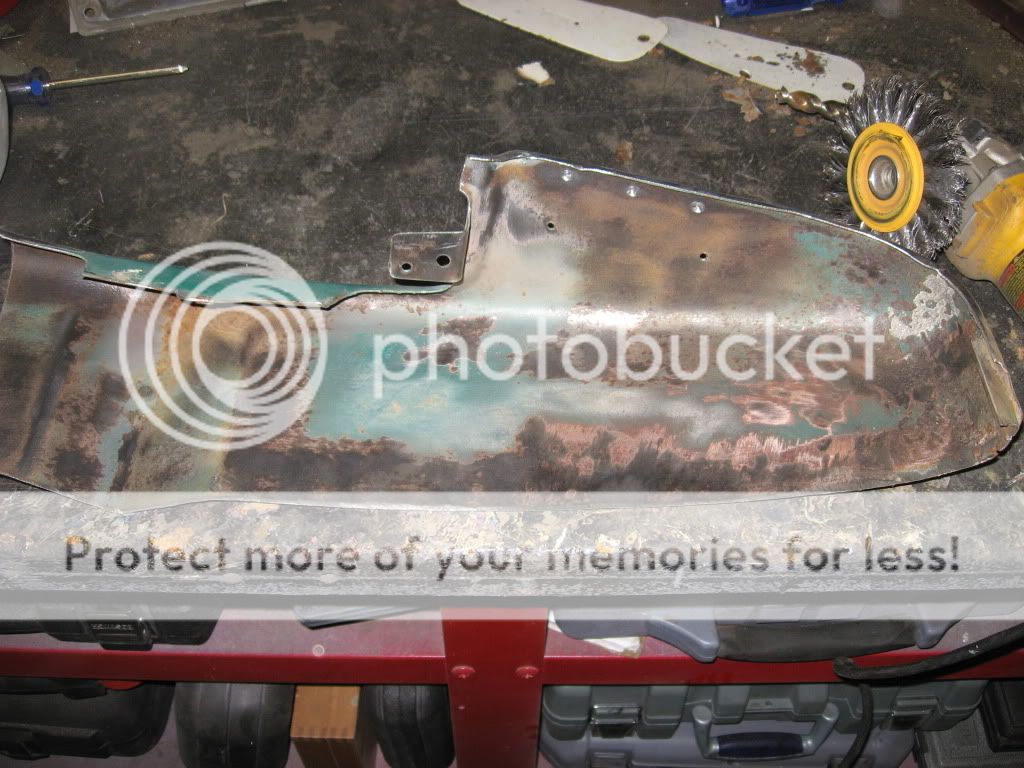
Clamped in the new patch and then started tacking it in.
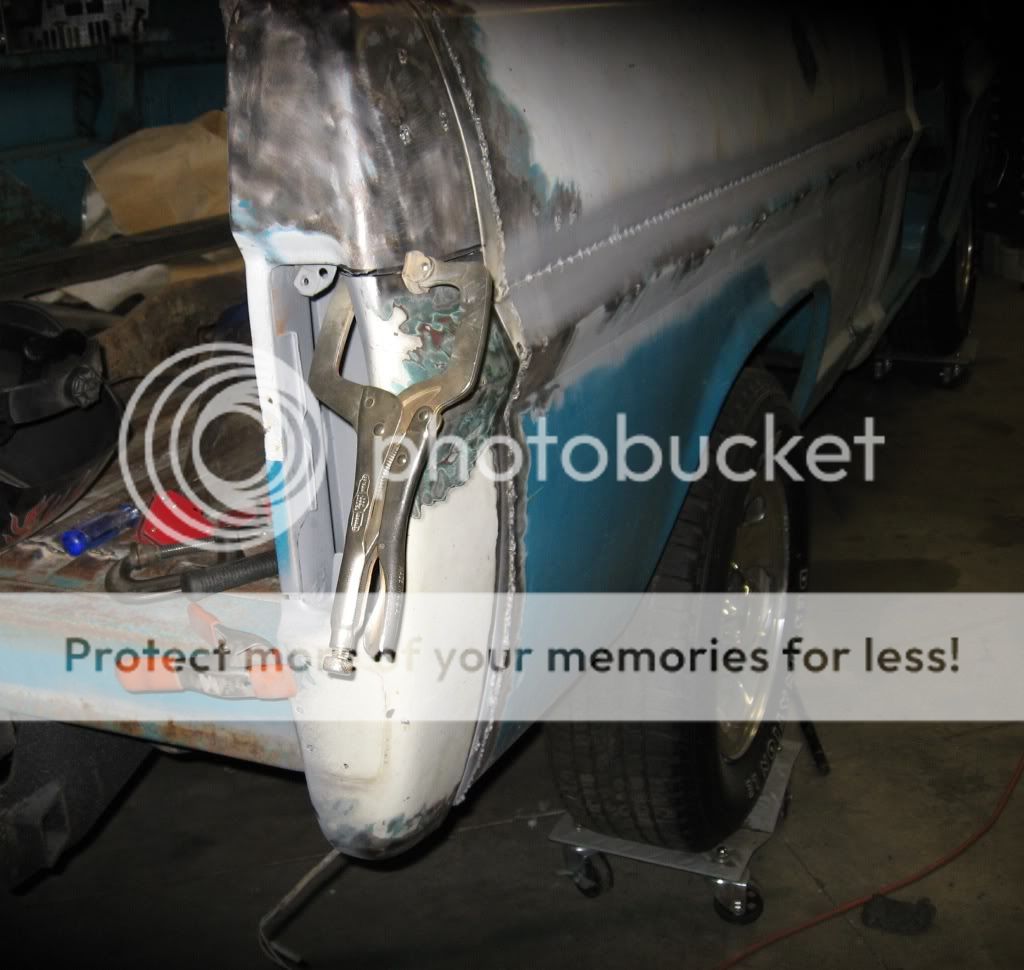
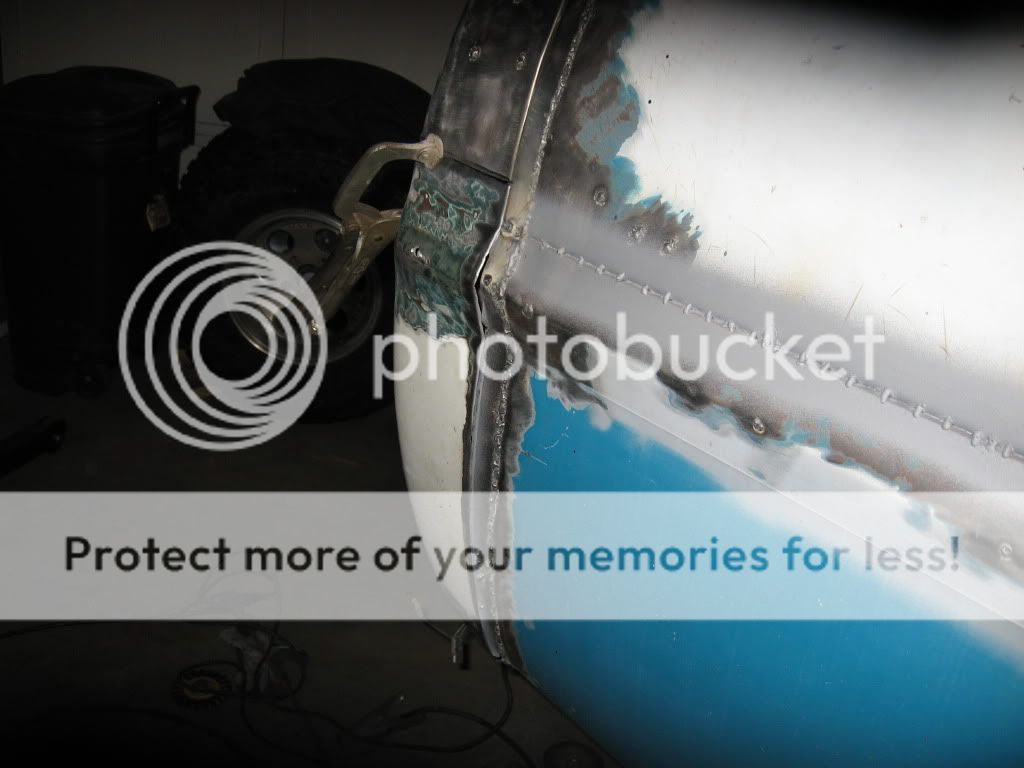
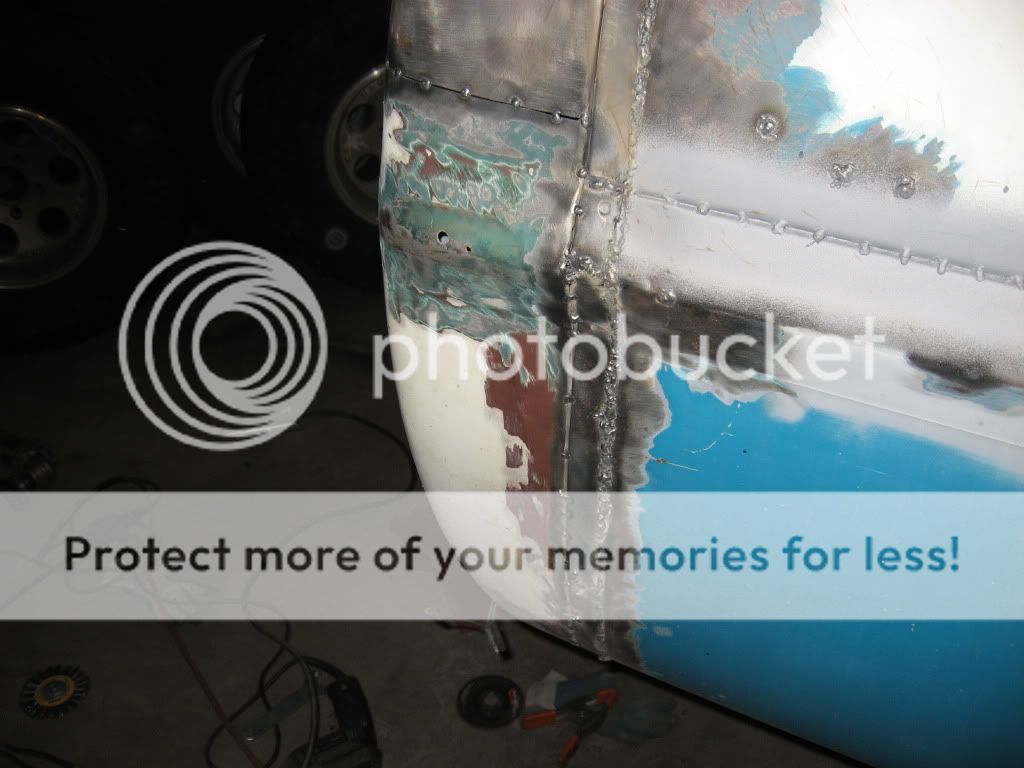
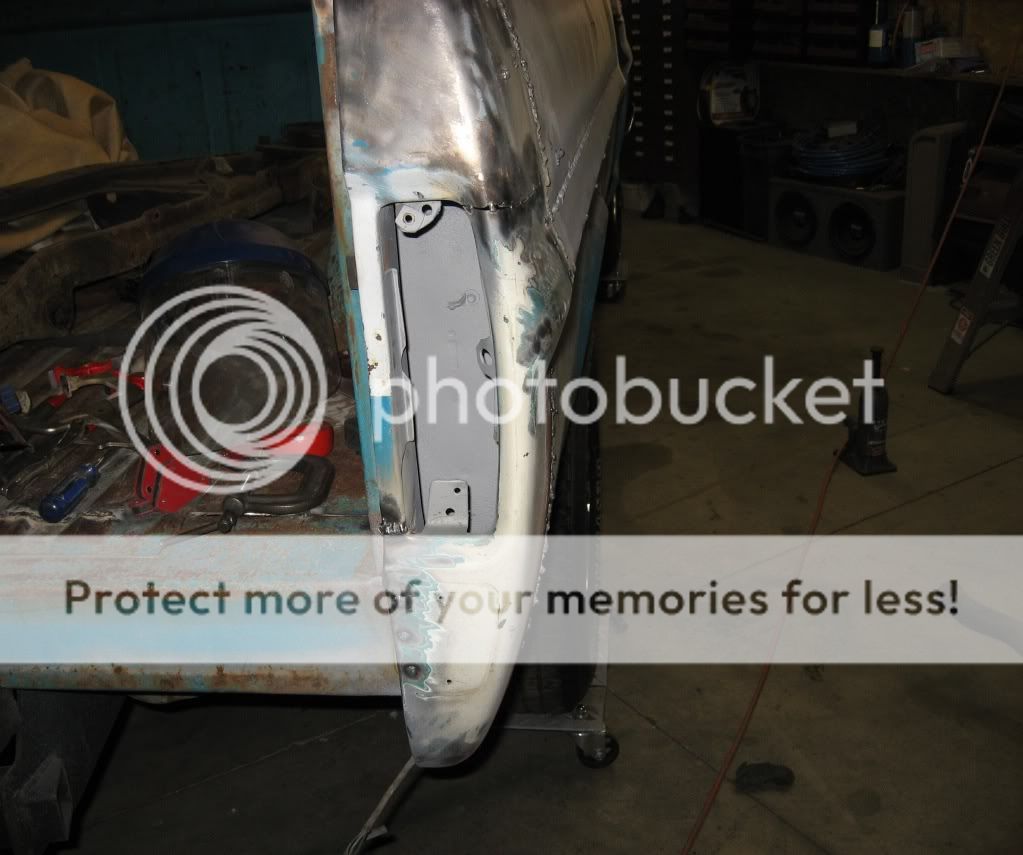
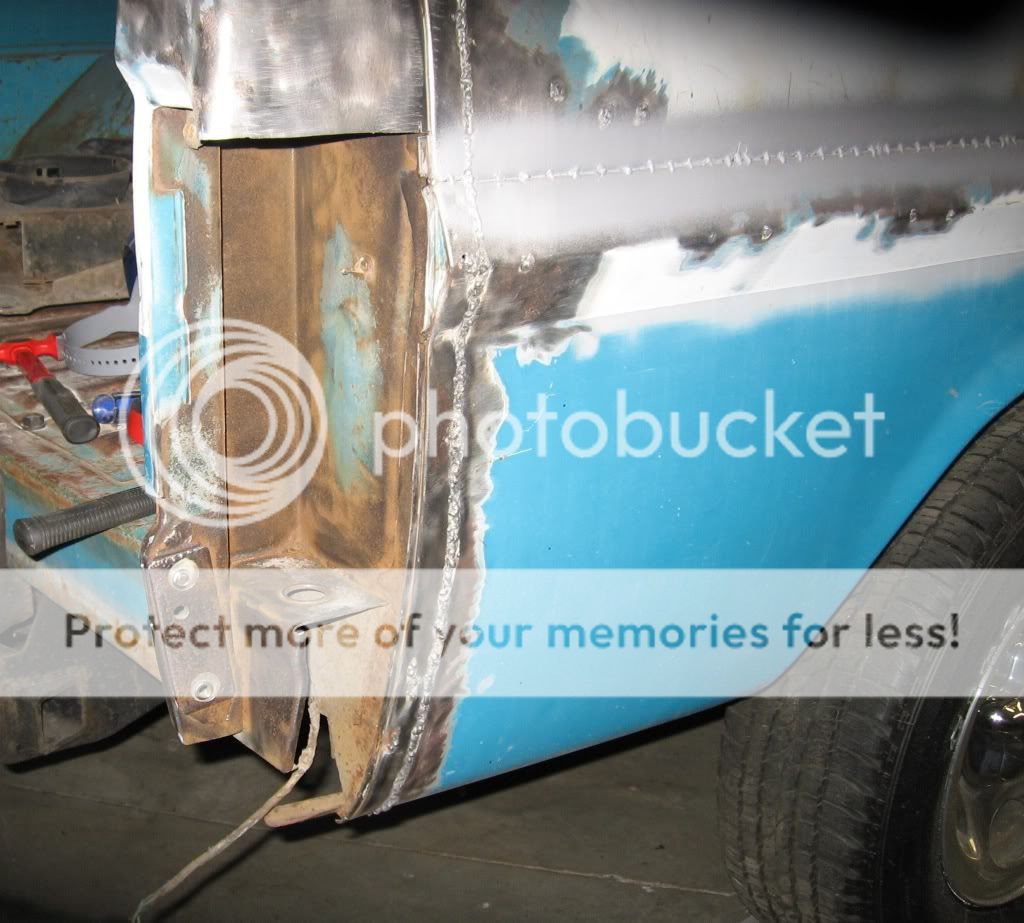
So after a ton of spot welds it is done.

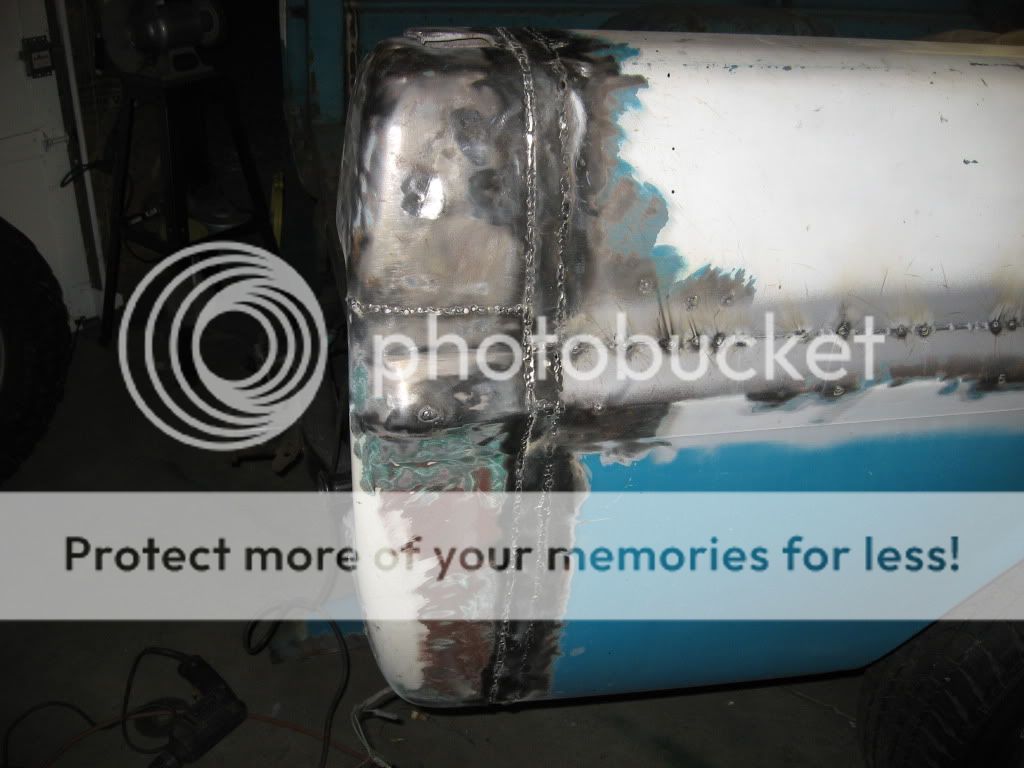
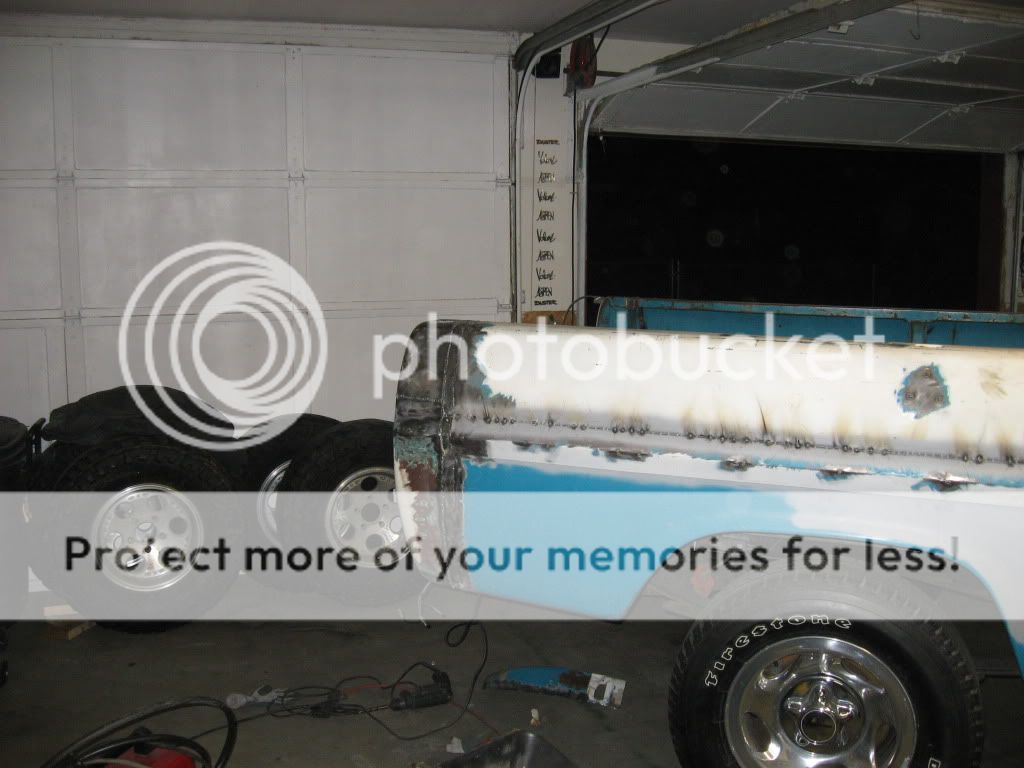
Now I get to start the drivers side
Also going to use panels from a 67 to fix it so the bed will have a more smooth look to it. I picked these corner post up from a junk yard for $10 ea.
Cut out my patch panel and then cut out the damaged panel on the truck.
Clamped in the new patch and then started tacking it in.
So after a ton of spot welds it is done.
Now I get to start the drivers side
11-22-2011, 01:14 AM
#20
Staging Lane
Thread Starter
Join Date: Nov 2011
Location: Washington
Posts: 55
Likes: 0
Received 0 Likes
on
0 Posts
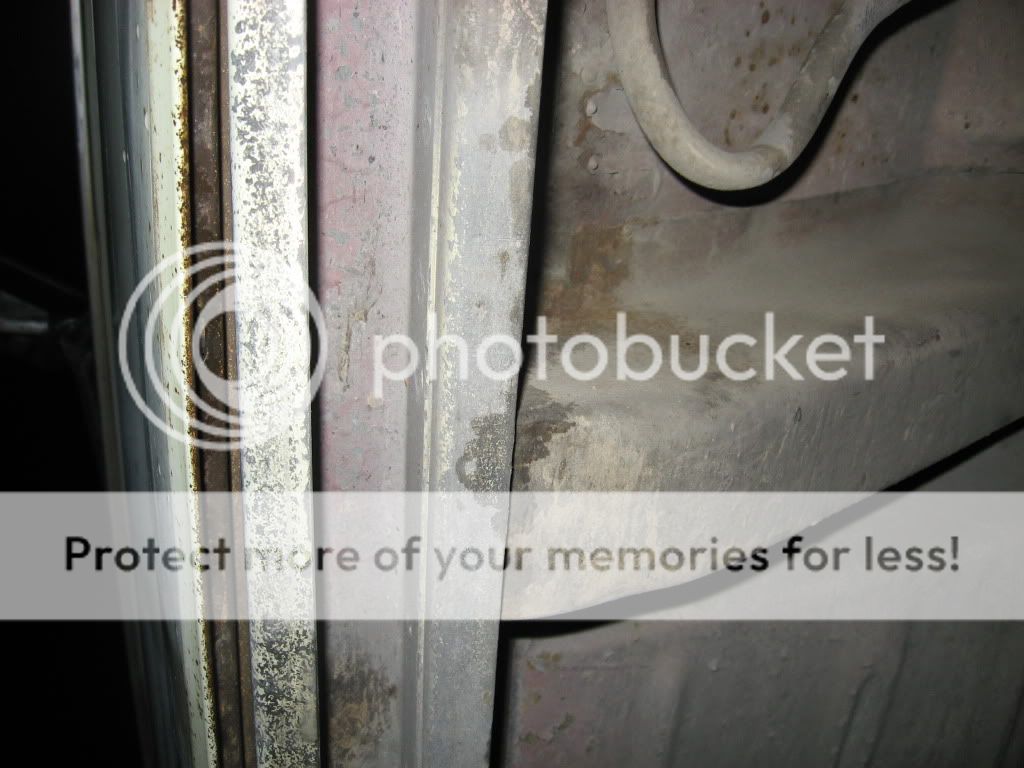
well working on blowing the budget...  been watching this truck on craigslist and finally went over and checked it out. $600.00 is a bit more than what I wanted to spend but it's very solid, only surface rust. The bed has some big dents but the tail gate is straight. It's a 1969 camper special with the dual battery set up.
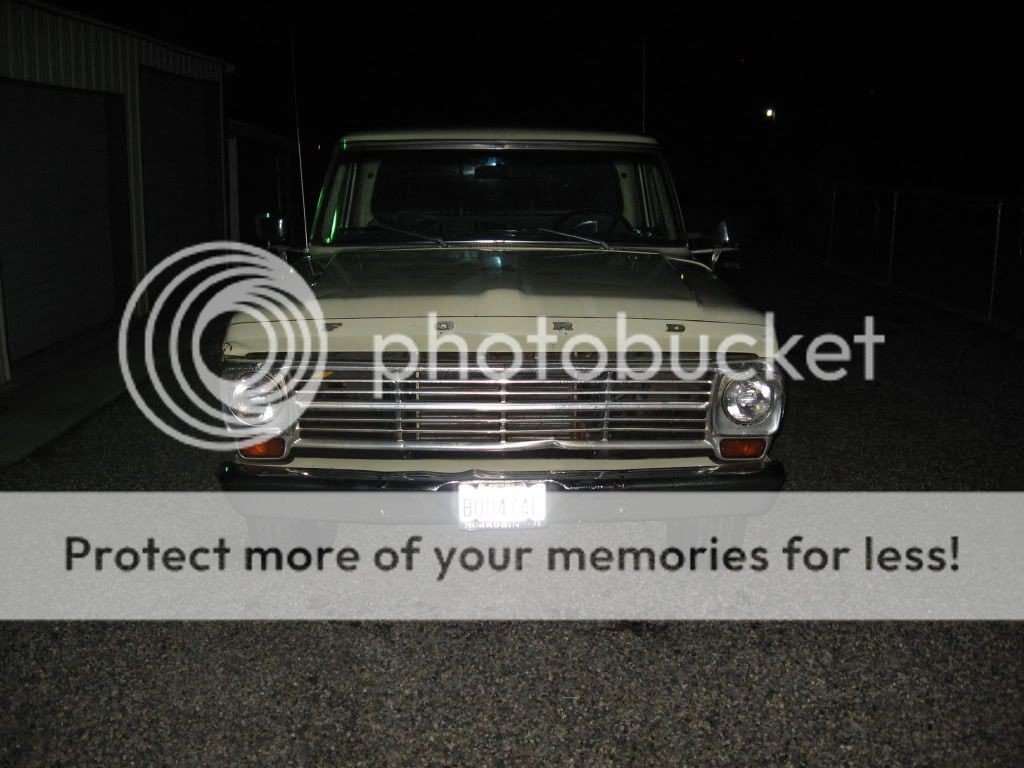
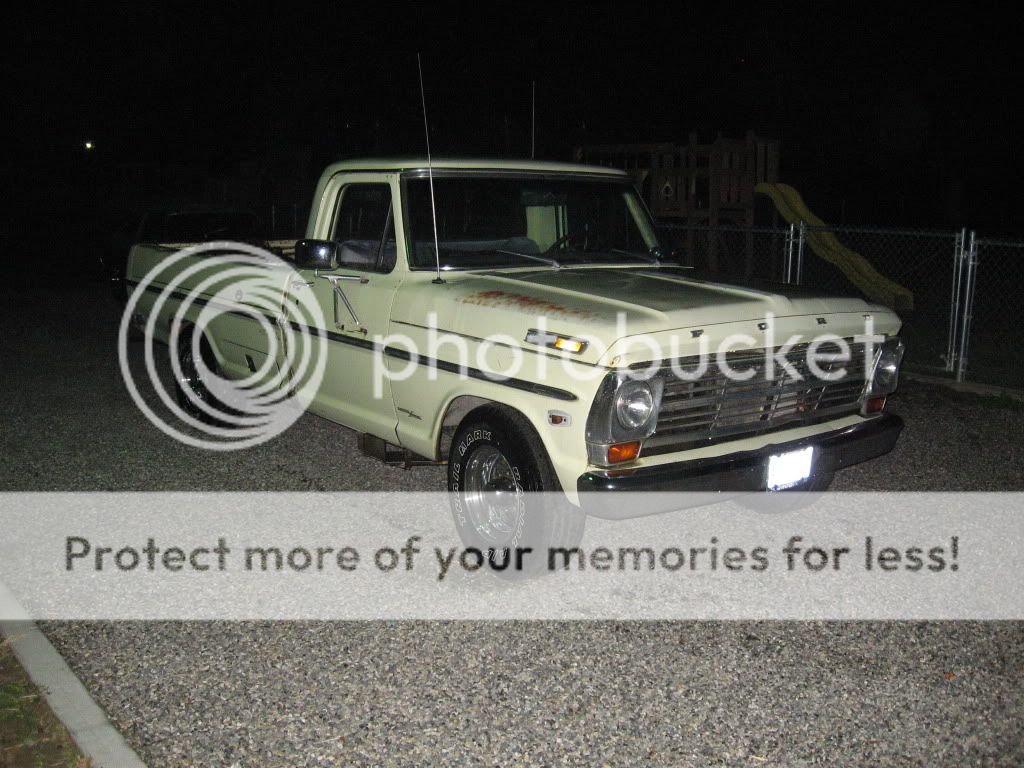
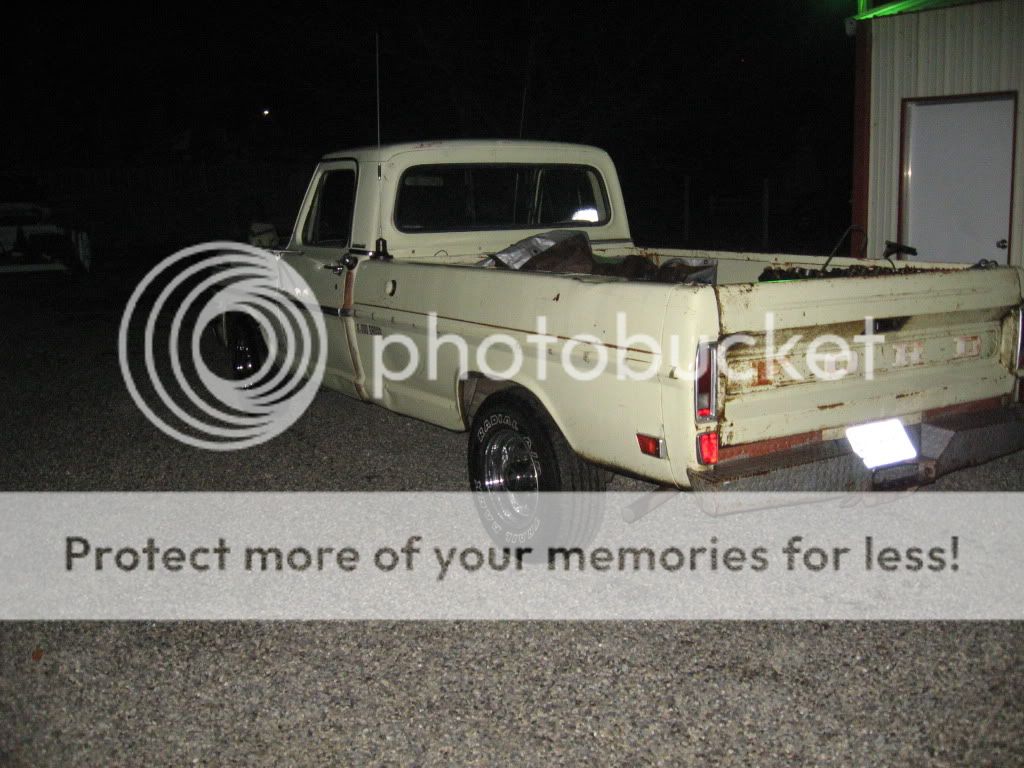
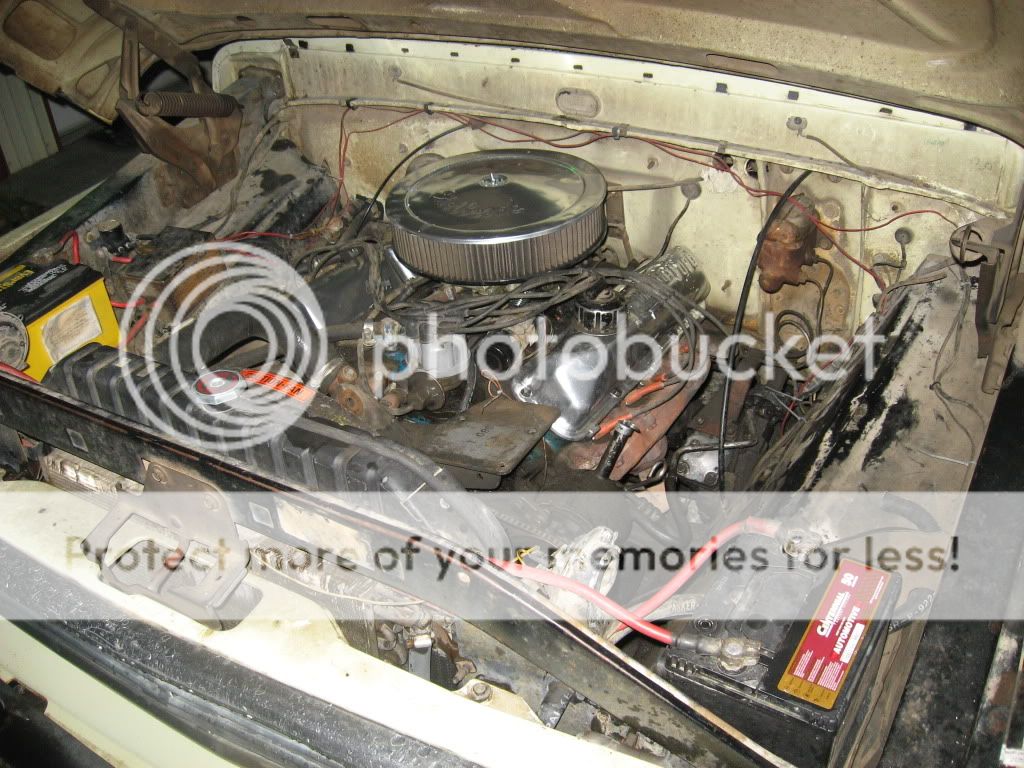
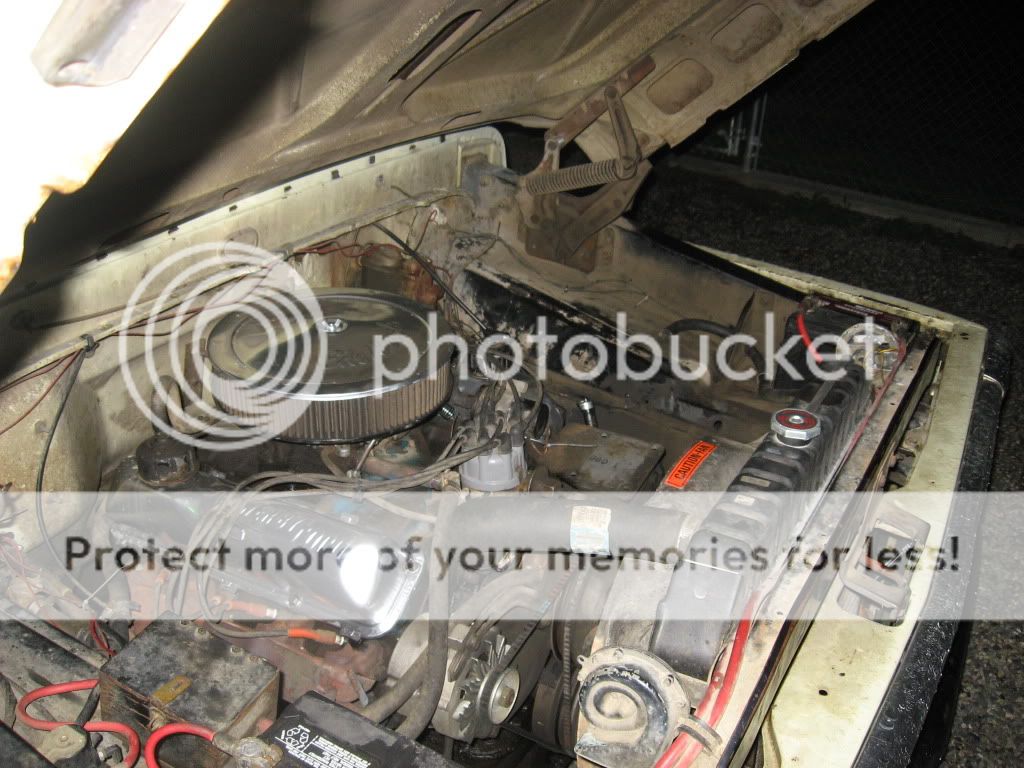
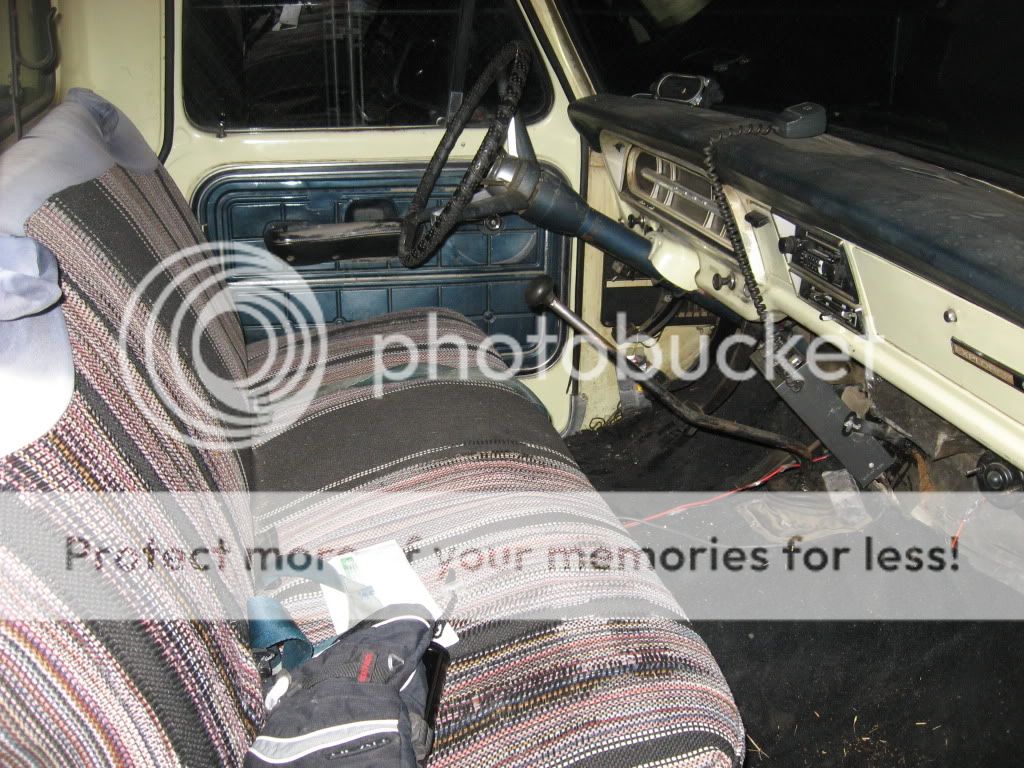

The guy said that it is a 360 (rebuilt 40,000 miles ago) with a manual 4 speed trany but this thing has some serious power more like my friends 390 so I'm not sure if it really is a 360 or not.
The list of parts that I needed from this truck are:
Cab
Windshield
Inner fender (passenger side)
Tail gate
Hood
Wanted a 67-69 grill and I should be able to fix this one
Bonus is a very strong engine yet to be determined 360 or 390
So in the end I think it was worth the $600
Oh and it drives nice so I have a truck again for the time being and it is great to drive a bump again!!!!