PROJECTS GALLERY Vehicle builds | Engine Swaps | Conversions | Installation write ups |

1995 sleeper truck 6.0

Thread Tools
 
Search this Thread
 
Old 01-10-2010, 11:45 AM
  #11  
TECH Apprentice
Thread Starter
iTrader: (1)
 
SCOTT_A's Avatar
 
Join Date: Jan 2010
Location: Lebanon, NH
Posts: 335
Likes: 0
Received 10 Likes on 8 Posts
Default

Attached Thumbnails 1995 sleeper truck 6.0-rear-spring2.jpg  
Old 01-10-2010, 11:52 AM
  #12  
TECH Apprentice
Thread Starter
iTrader: (1)
 
SCOTT_A's Avatar
 
Join Date: Jan 2010
Location: Lebanon, NH
Posts: 335
Likes: 0
Received 10 Likes on 8 Posts
Default

Attached Thumbnails 1995 sleeper truck 6.0-img_1317.jpg  
Old 01-10-2010, 11:55 AM
  #13  
TECH Apprentice
Thread Starter
iTrader: (1)
 
SCOTT_A's Avatar
 
Join Date: Jan 2010
Location: Lebanon, NH
Posts: 335
Likes: 0
Received 10 Likes on 8 Posts
Default

Attached Thumbnails 1995 sleeper truck 6.0-443156-r1-031-14_016.jpg  
Old 01-10-2010, 12:00 PM
  #14  
TECH Apprentice
Thread Starter
iTrader: (1)
 
SCOTT_A's Avatar
 
Join Date: Jan 2010
Location: Lebanon, NH
Posts: 335
Likes: 0
Received 10 Likes on 8 Posts
Default


Here is an early picture of the engine bay... I painted the firewall before I put the motor in. Lots of loose ends here.
Attached Thumbnails 1995 sleeper truck 6.0-img_1326.jpg  
Old 01-10-2010, 08:57 PM
  #15  
TECH Enthusiast
iTrader: (1)
 
Nicksilverado's Avatar
 
Join Date: Aug 2009
Location: Beaumont, Tx.
Posts: 635
Likes: 0
Received 0 Likes on 0 Posts
Default

cool project!!
Old 01-17-2010, 06:13 PM
  #16  
TECH Apprentice
Thread Starter
iTrader: (1)
 
SCOTT_A's Avatar
 
Join Date: Jan 2010
Location: Lebanon, NH
Posts: 335
Likes: 0
Received 10 Likes on 8 Posts
Default


Here is the beginning of the intake tube... It is 4" OD .065 wall Aluminum tubing. I found pre-bent tubes from http://www.globaltecheng.com.
Attached Thumbnails 1995 sleeper truck 6.0-174.jpg  
Old 01-17-2010, 06:19 PM
  #17  
TECH Apprentice
Thread Starter
iTrader: (1)
 
SCOTT_A's Avatar
 
Join Date: Jan 2010
Location: Lebanon, NH
Posts: 335
Likes: 0
Received 10 Likes on 8 Posts
Default

https://www.performancetrucks.net/fo...1&d=1263773913

TIG welding the tubes together. Later I welded in a bung for the nitrous kit.
Attached Thumbnails 1995 sleeper truck 6.0-178.jpg  
Old 01-17-2010, 06:21 PM
  #18  
Where's the Beef?
iTrader: (8)
 
viciousknid's Avatar
 
Join Date: Jan 2007
Location: Dover, Oklahoma
Posts: 9,382
Likes: 0
Received 1 Like on 1 Post
Default

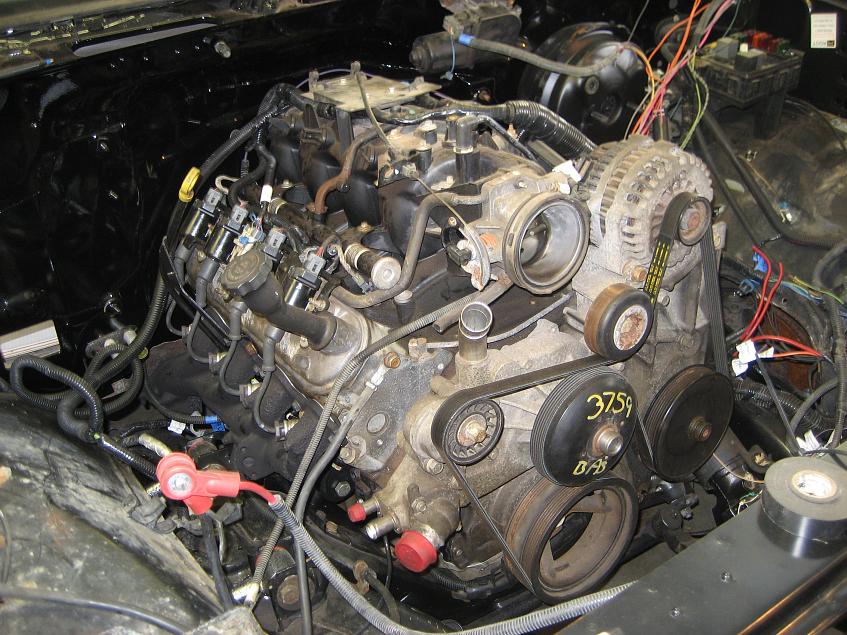
YOu took the bed off to work on the rearend and suspension but you didn't bother to wash the engine??

FAIL!!!. lol. jfwy. That would definitely surprise the hell out of me on the road. You don't expect that body style to move out like it will now.
Old 01-17-2010, 06:33 PM
  #19  
TECH Apprentice
Thread Starter
iTrader: (1)
 
SCOTT_A's Avatar
 
Join Date: Jan 2010
Location: Lebanon, NH
Posts: 335
Likes: 0
Received 10 Likes on 8 Posts
Default

This is the gauge cluster I made. I started with the original cluster and modeled the overall shape on a computer using AutoCAD. Then I drew in Auto Meter gauges to see if they would fit. I used a large block of black PVC plastic to make it out of. I milled the part on a ProtoTrac Mill. It took a lot of time start to finish, but I wanted to hide a huge tach and not have a big monster tach ontop of my dash. You can't buy one of these clusters anywhere.
Attached Thumbnails 1995 sleeper truck 6.0-dash-cluster1.jpg  

Last edited by SCOTT_A; 01-22-2010 at 08:12 PM.
Old 01-17-2010, 06:44 PM
  #20  
TECH Apprentice
Thread Starter
iTrader: (1)
 
SCOTT_A's Avatar
 
Join Date: Jan 2010
Location: Lebanon, NH
Posts: 335
Likes: 0
Received 10 Likes on 8 Posts
Default


Quick Reply: 1995 sleeper truck 6.0


All times are GMT -5. The time now is 04:20 PM.