When you click on links to various merchants on this site and make a purchase, this can result in this site earning a commission. Affiliate programs and affiliations include, but are not limited to, the eBay Partner Network.
I understand the sequence you posted up. That was very helpful
Good and did you get the picture to work so you know which order (sequence) to tighten the bolts?
DO NOT forget to clean out the bolt holes in the block, did you see where I posted what to do with a head bolt and understand all that?
Also one thing that hasn't been posted. When you go to put the front crank pulley on, lightly lube the snout of the crank and heat your crank pulley to 250 degrees in the oven then rush out and shove it on. You might make a few practice runs with pulley in hand first to make sure nothing is in the way. You don't want to hammer it on or use the bolt to pull it all the way on, if you use the bolt to pull it all the way it can strip the front threads in the crank. If it's a good ways on you can use the bolt.
When you get the heads off you'll need to clean the block. Get off any chunks of anything by getting a razor blade under the chunks and slide it under them. With MLS gaskets you probably wont have much if any. I finish the cleaning with 300-400 grit sand paper. IMPORTANT don't use discs with power tools (too easy to **** up aluminum with those). Don't use scotch brite, it sheds like crazy and gets all in the rings and down in the block.
Use 300-400 grit sandpaper or emory cloth. Make LONG and LIGHT pressure strokes. Cannot emphasize enough to make long strokes. Short strokes in a rapid movement in a small area is a good way to make a low spot. You are not going for a mirror finish or a perfect looking finish. You're going for what you can feel. You want it to be smooth to the touch when you rub your finger around on the block. If it feels smooth you're good. Stains in the metal are fine dont try to sand them out (you'll usually see that around the cylinder liners). You want to take off NO metal, just old bits of gasket.
Clean up with PAPER TOWELS and brake cleaner. But first vacuum the cylinders and head surface, get as much crap with a vacuum first to keep it from ending up in the motor. Then get a air nozzle and your air compressor and blow the **** out of the cylinders and around the rings, also make sure to blast out the head bolt holes often, different liquids will get in there as you work. Then spray it down with brake clean and wipe the surfaces with paper towels. Old shop rags hold oil and metal shavings, that's why I use new paper towels, scott's shop rags to be specific. My manager gets them at Sams.
When everything is clean take the drain plug out of the oil pan and leave a container under it. Pour a few quarts of fresh oil all through the valley, lifter bores, oil return holes in block and everything to try to flush any metal, cleaners, debris down and out of the motor. Then keep everything super clean and lubed as you assemble everything.
Last edited by 00pooterSS; 05-17-2019 at 03:20 PM.
Here's a stroker I did a few years back. You can see there are still some stains on the surface but they don't matter. Just flat and smooth.
I wouldn't go below mid 300 grit paper, the grooves could get too deep for proper gasket sealing. If you want to use finer paper by all means go ahead, but you actually do not want a perfectly slick surface. I forget the term for it but there's actually a preferred roughness to the head and deck surfaces.
When I take off the crank pulley and cam sprocket do I need to block anything up. One video I watched said when he put the cam sprocket bolt back on. He stuck a large screw driver on through the crank pulley to hold it in place. The lethal garage didn�t talk about it but looked like one person had a breaker bar on the crank pulley and the other tightened it the 90 degrees
To me it seems like it would spin the motor over trying to take it off or putting it on.
impact will work for taking it off . to put them back on i grabbed a lock for the flexplate that bolts where the starter does, kinda looks homemade but does the trick.
also just noticed, not sure if works for LTX engines
I�m so glad y�all talked about resurfacing the block. None of the videos I watched ever talked about doing anything to the block other than cleaning the gasket material off.
Head are off crank pulley bolt is out. Just waiting on my neighbor to get home so I can barrow his three jaw gear puller. Then I can take the timing gear cover. Then I�m going to stop until my cam gets hear beside cleaning the block. I don�t want to pull the old cam until I got a new cam to slide right in.
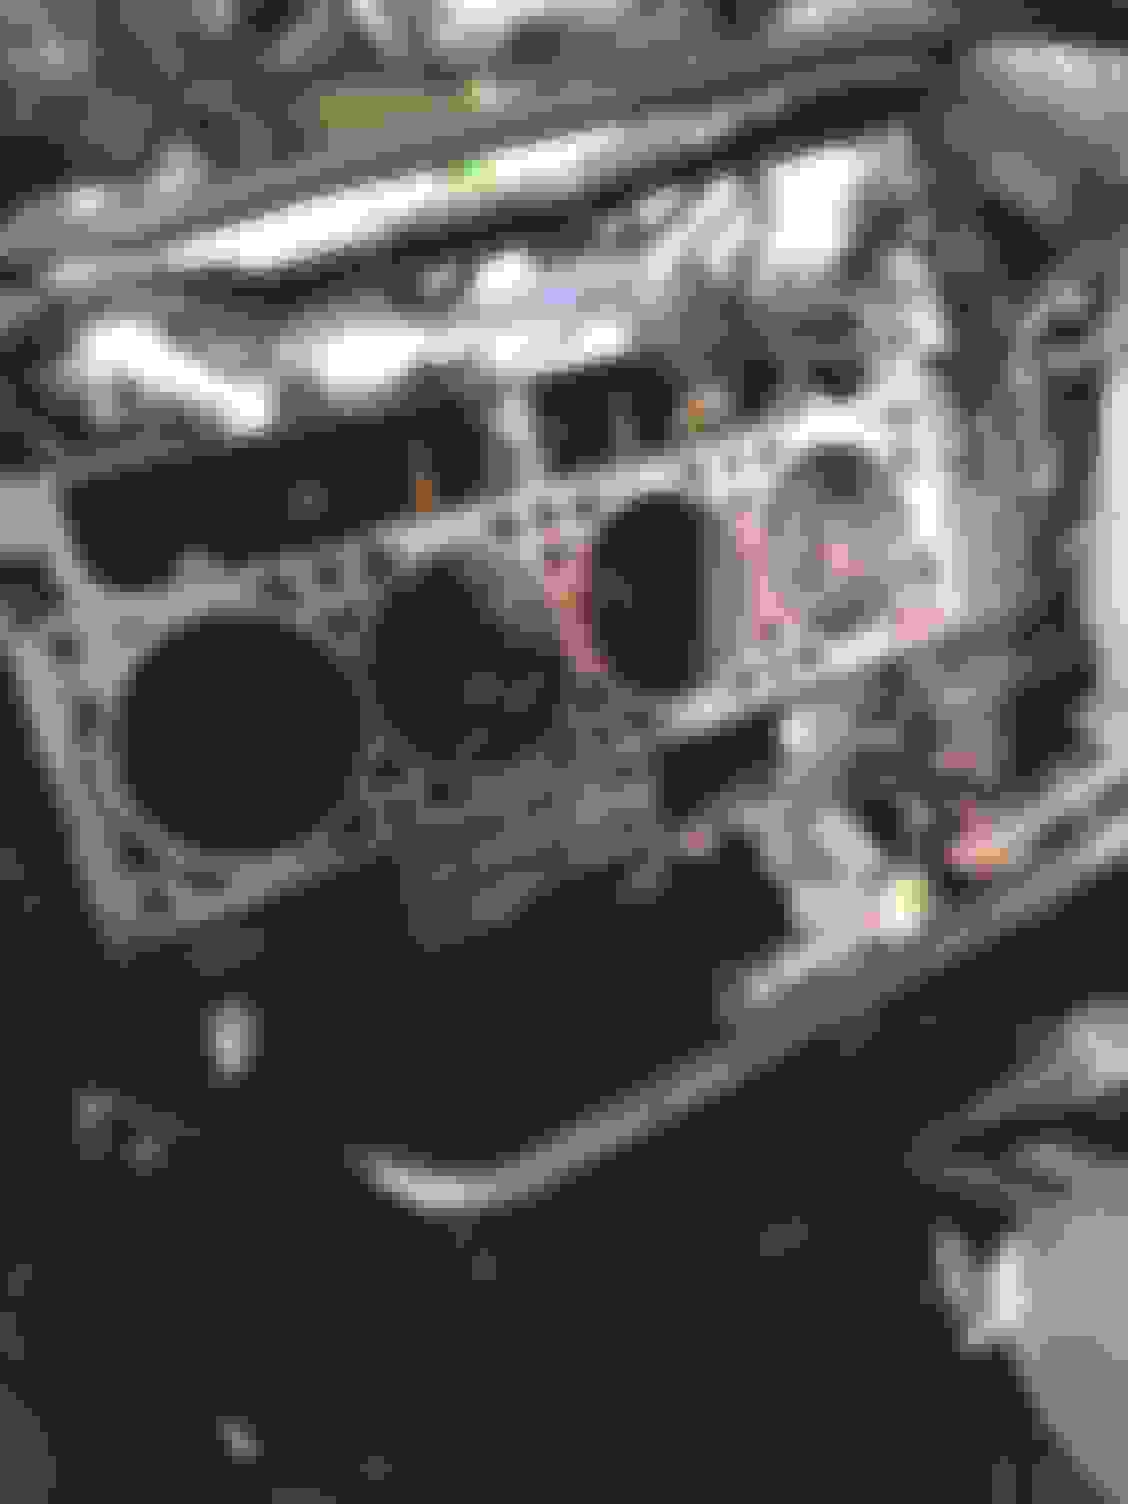
Here are some pics. Looks like four of the lifters are scored but non of them look pitted or really missed up. And all the cylinder wall feel smooth.
Oh yea that Allen head bolt on the drivers side head was F@&$ing tight.
i had to drop the drivers side exhaust manifold to get a socket on the bottom bolts of the head on that side. The passenger side was no problem. And since I�m tall and skinny is was able to stand in the engine bay on the ground with the radiator out. That helped a lot since I didn�t remove the tires and drop the front end. I�m on 4� of lift with 33� so the top of the fender is at my arm pit.
The picture of the valve is what 122k miles with no catch can just in case you where wondering
 05-17-2019, 03:08 PM