First ever cam swap L86 will take any advice
#1
TECH Fanatic
Thread Starter


This is my first ever cam swap. I’ve watched every YouTube video I could find on this and I feel pretty good about it. I’m pulling the heads and doing the DOD delete too.
I doing this because I think I have a hurt lifter. I talked about that in this thread.
https://www.performancetrucks.net/fo...6-code-554952/
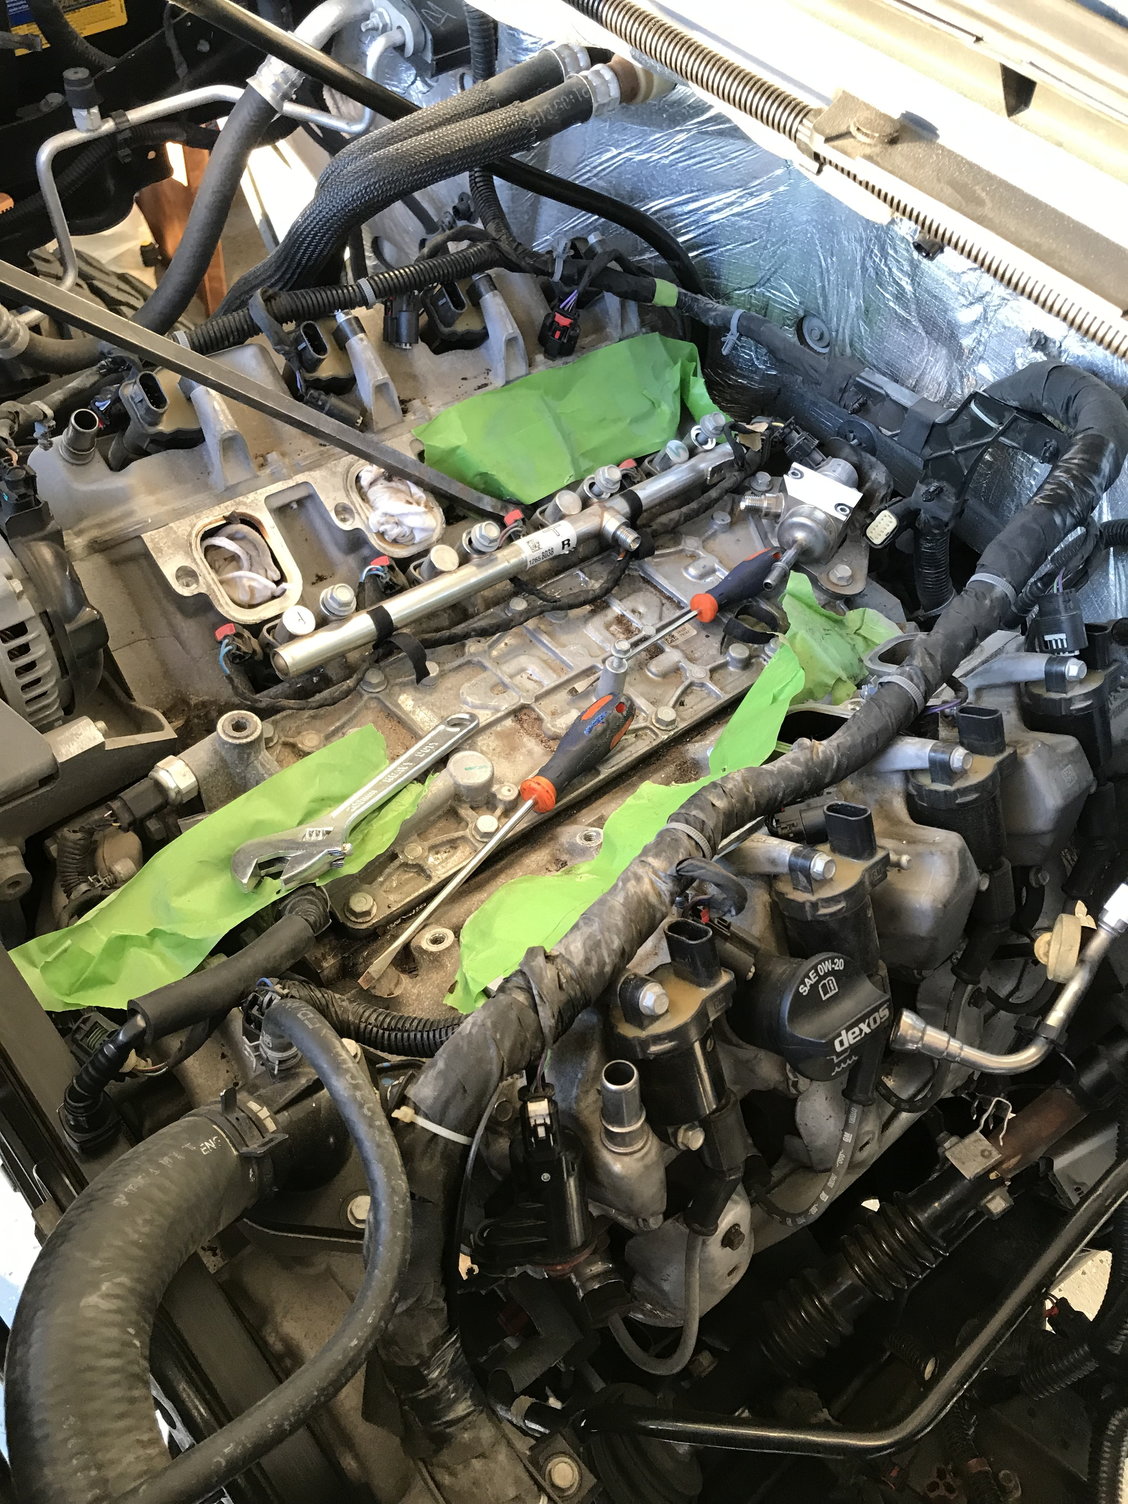
So far I got the intake manifold off. The three hinden clips that hold the wires that run down the back of the intake hold the wires in place are a bastered to get to. I pulled all the bolts out and lifted the intake off the engine. I turned intake to the side so I could get a screw driver in behind there to pry them apart.
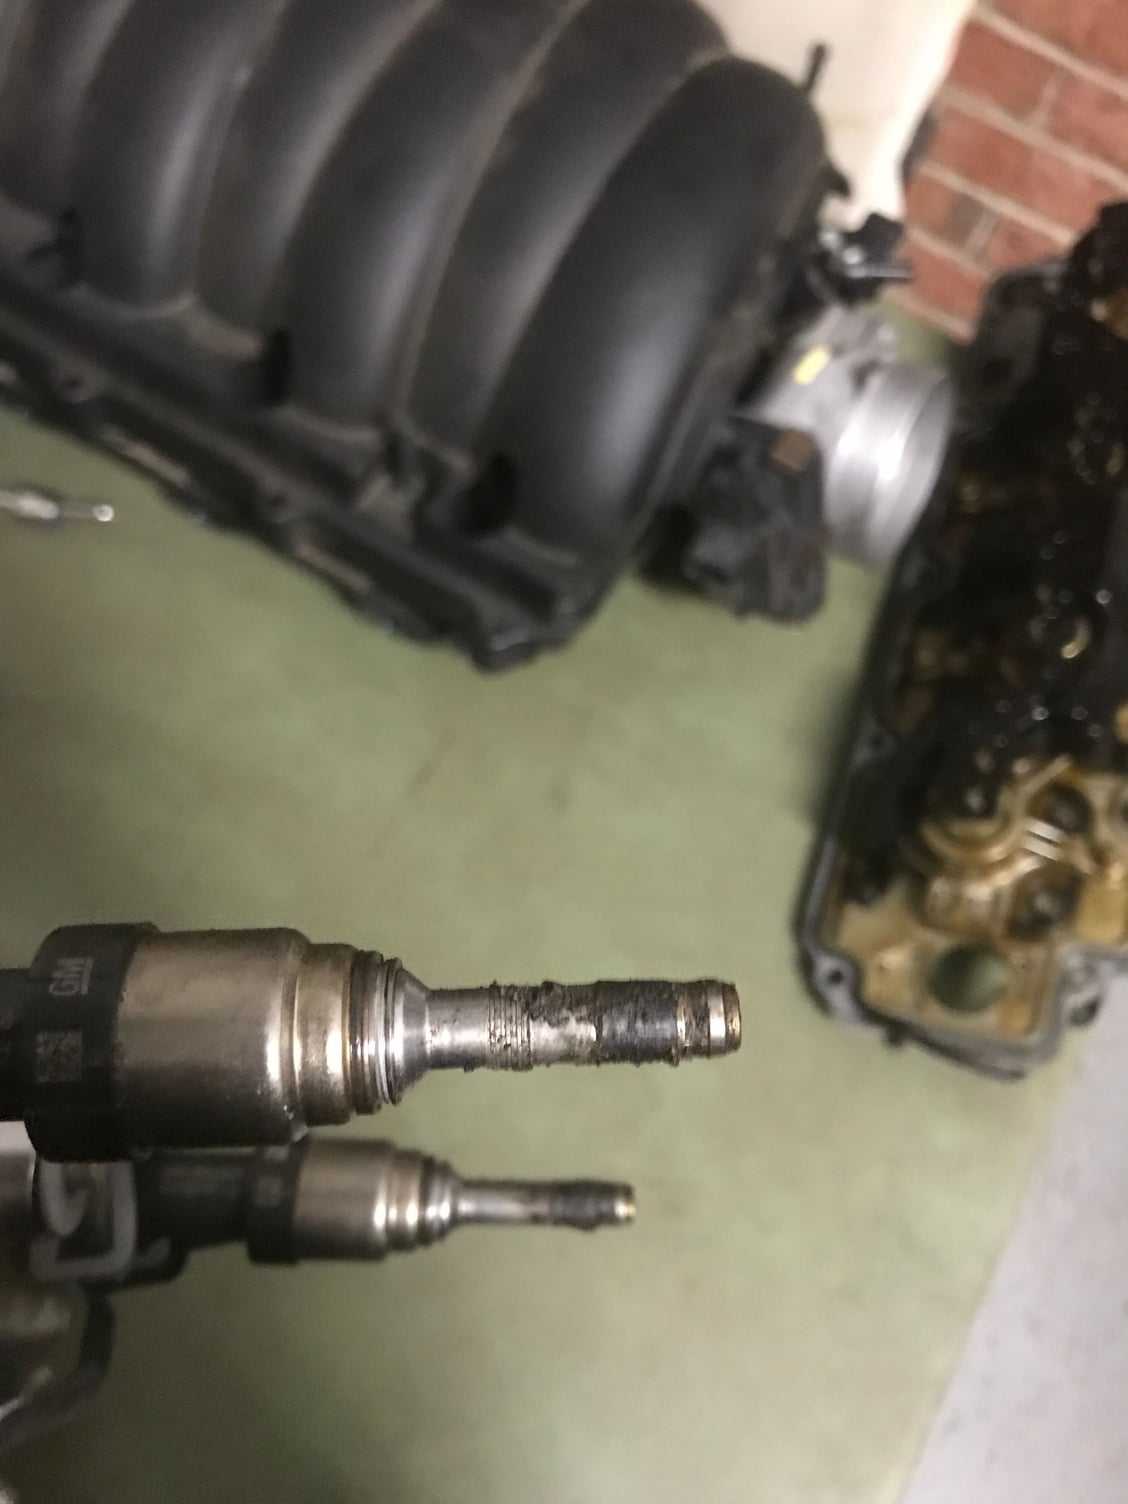
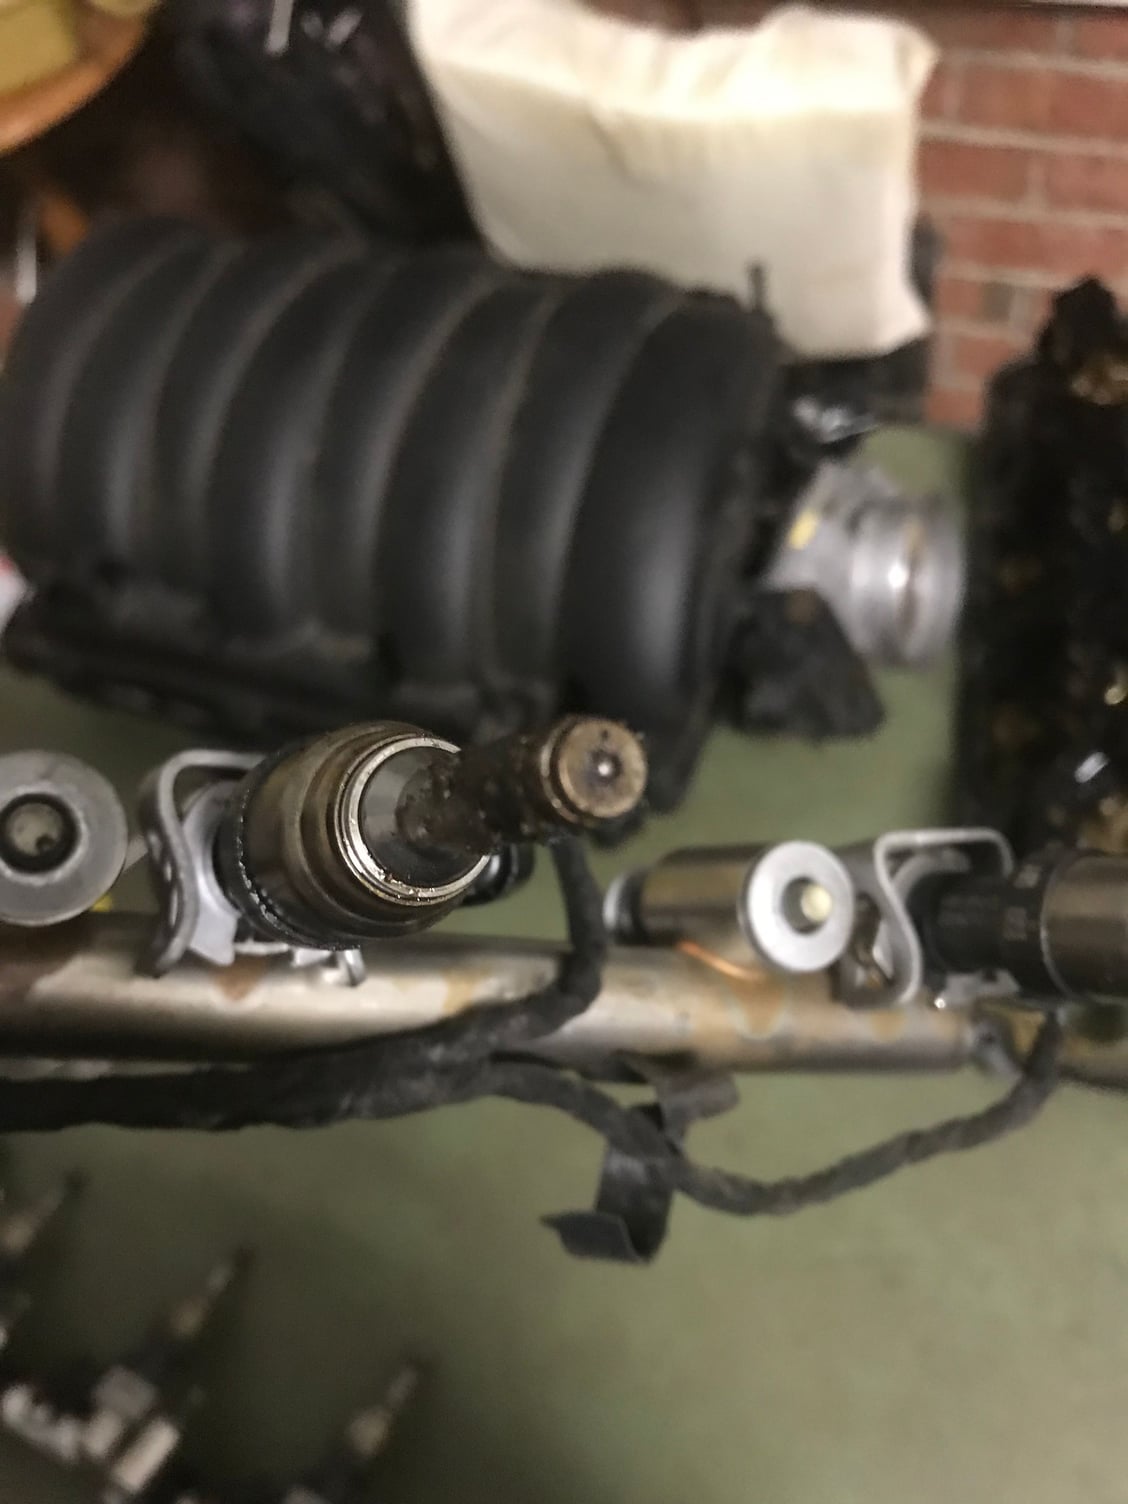
Now the fuel rails. My neighbor came over lucky because I couldn't pry them out. He is a monster of a man and really mechanical. We just barely got them out. It took us and hour of prying to get them out. My injectors are so dirty. Can I clean them or do I need to send them off?
BUT now my fuel rails are bent, so I have to buy new ones.
Anybody got suggestions how to get them out for other people that would be great.
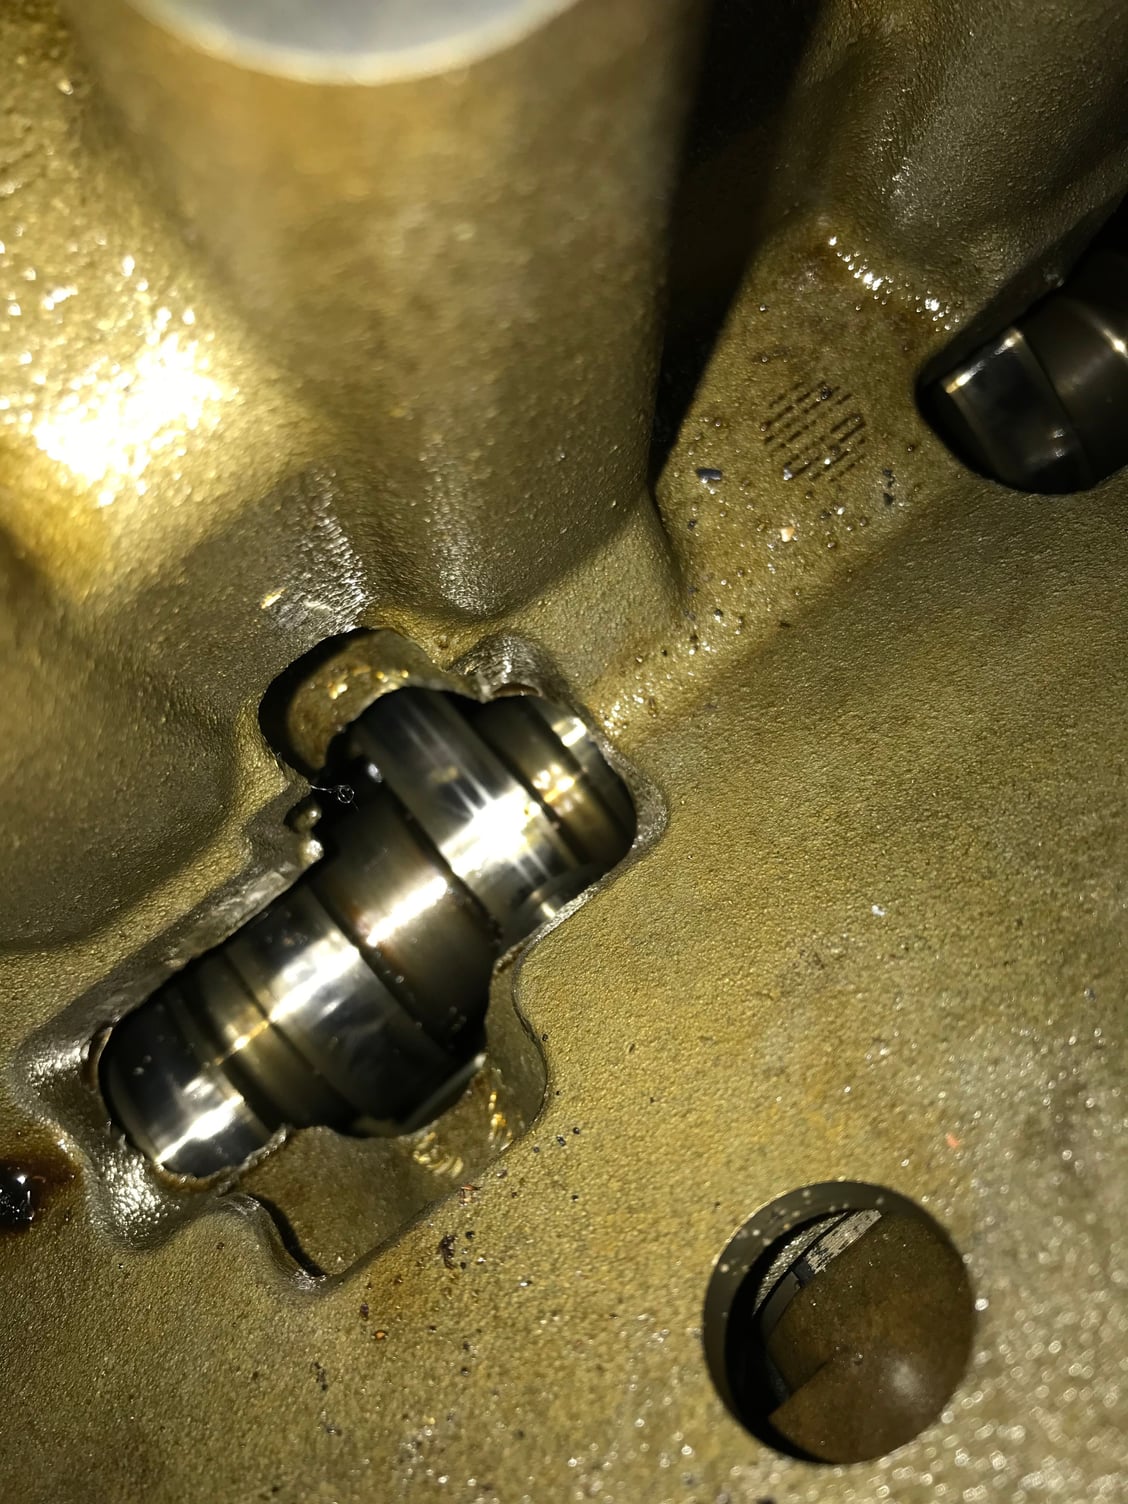
The one lob on the cam looks like it’s scored but I don’t know how bad this is.
I’ll take any advice and I’m all ears.
Edit on 6-12-19 on page 20 I added Youtube video's I watched and why they where helpful.
Last edited by Jonblarc7; 06-12-2019 at 10:14 AM. Reason: because i can't write
#2
TECH Junkie
iTrader: (40)
That cam lobe isn't that bad but something ain't right there.
On the fuel rails (I also PM'd you). SLOW AND EASY AND EVENLY. Take a pry bar and put a rag between it and the rail. Slowly pull upward until you see a little movement then go back closer to the next injector inline and do the same. You need to pull up on the rail evenly by pulling up a tiny amount from front to back and prying in several places, the goal is to not warp or bend it by prying one end way up then going to another part of the rail. I did this on mine and they were fine. Also try not to pry dead in the center of two injectors, the rail will be weakest there, try to find the strongest parts of the rail and pry there, and since the injectors are holding it down, the further you place the pry bar away from the injector the more the rail will bend as it tries to pull the injector out, so pry up on the rail as close to the injector as possible.
TAKE YOUR HEADS TO THE MACHINE SHOP. This is always a good plan. Have the decks checked for flatness and the valves inspected for any leaking, bends, seat condition etc. Have them looked over it isn't much and see what they say. If you have the money get a valve job done, it helps a lot with sealing but you'll also see some good gains from doing a valve job, we're talking multi angle valve job here. Lapping them in will give you a good seal but the multi angle cut will give you some hp. Also ask about a bowl blend. A bowl blend and valve job are a good portion of the power you get from port work on heads. And the L86 ports are pretty damn big as it is so porting the port isn't likely to be as much of the power gained as the bowl blend and valve job.
Other than that, pull the radiator and condenser or pull the radiator and push the condenser to the side. On your truck there are 3 bolts on each side of the radiator support that come in from the bottom. This is the big metal bar that goes over the radiator and you need to pull it out. The bolts are a pain in the *** to get to, they are 10mm bolt head bolts.
You'll need a good balancer puller to get the balancer off. I prefer the chrysler balancer puller for LS motors. Not sure if it works the same on LT but it's likely it does.
Don't forget when you put the front cover back on it needs to be aligned properly but we can get into that later. Essentially what you want to do here is leave the bolts loose and put the balancer back on and let the seal center the cover then tighten the bolts.
Take the cam out VERY SLOW AND EASY while rotating it. Be very careful not to yank on it and damage a cam bearing.
When putting it back together coat everything with a lot of oil. Pour oil all over the cam, all down the lifter holes, all over the lifters (don't soak them just coat them)... pour it on everything. The lifters will pump up quickly after you start the truck, they will make a lot of noise while pumping up but give it a minute and running it around 1200 or so RPM helps sometimes too to get them pumped up faster. Or little revs.
It's pretty straight forward just take your time and don't thrash on anything here. Make sure your dots are for sure lined up.
I've heard it can be a pain to get the chain on on the LT so place the gear in the chain then lift it up onto the cam, that should make it go on fairly easy.
You'll need a pick to place in the chain tensioner to hold it back
Get lots of brake cleaner at the store, clean the lower corners of the front cover where it meets the block and oil pan and put a dab of ultra black or ultra grey silicone in those corners when you go to put it back together. There shouldn't be any other place that requires silicone on the whole thing. You may have to use the bolts that go through the bottom of the front cover to pull it down to center the crank seal around the pulley. Pay lots of attention to the exact position of the front cover before you pull it, maybe make marks that show how high it sits up and down and left and right. I have the sac city LS cover alignment set but I don't know if it works on LT motors. Maybe check into that and order it, I have done many without the tool without a leak though, if you're careful you'll be okay.
Get new head bolts and GM gaskets. You can buy a tq angle gauge for the head bolts or you can do the torque steps and make a mark on the bolt and head and rotate them the degrees it calls for.
Keep one of your old head bolts and take a cut off wheel on a die grinder and make slits all the way down length wise in the threads. This will be your cylinder head bolt thread chaser. So slot it up and down like a thread chaser looks and run it up and down every hole. I like to spray brake clean in the holes and run the bolt up in down then blast the head bolt holes REALLY GOOD with compressed air. You don't want any liquid in them when you put the new bolts in.
Follow tq procedures to the t and take your time with everything and you should be fine man. As always let me know if you have any questions.
The following 2 users liked this post by 00pooterSS:
orangesilvie (05-24-2019),
Resolute_welding (06-07-2019)
#3
TECH Junkie
iTrader: (40)
Just wipe the injectors off real good. I wouldn't worry about cleaning them. They do fail sometimes on these motors and if you have a problem with one in the future you know exactly how to get them out now. But if it was running good when you took it apart they should be fine to be put right back in.
The following users liked this post:
orangesilvie (05-24-2019)
#4
TECH Fanatic
Thread Starter
Thanks man I didn't know about letting the crank seal line the cover back up.
And your saying don't spread the ultra grey silicone around the entire cover lip. Just do it down at the bottom?
But I still should clean all the silicone off the block and cover right?
And your saying don't spread the ultra grey silicone around the entire cover lip. Just do it down at the bottom?
But I still should clean all the silicone off the block and cover right?
#5
TECH Junkie
iTrader: (40)
No DO NOT silicone the entire gasket. Put a new one on it. The only time you silicone an entire cover is if it does not use a gasket and uses silicone for the gasket. Don't do both. The oil pan on your truck is silicone only for example. But even with gaskets you put a dab of silicone on points where two covers meet. When you take it apart you'll see how it was, redo it the same way. No silicone on the valve covers, obviously none on the head gaskets, and two little dabs in the corners on the front cover should be the only silicone you see during the entire job.
Clean old silicone off yes, but there won't be much to clean. Just two little dots.
We can get into the front cover more later but here's the jest of it, if you tighten the front cover off center it will pull the crank seal off to one side and it won't make even contact all the way around the crank pulley. I hope that gm has put locating dowels on the gen 5 stuff, they did not on LS motors. I haven't pulled a LT (gen 5) front cover yet so it's possible the improved the design.
The following users liked this post:
orangesilvie (05-24-2019)
#6
TECH Fanatic
Thread Starter
I know you know more but Iím pretty sure these LT motors donít have a gasket on the timing cover. All the videos I watch they put silicone on the entire surface.
Trending Topics
#8
TECH Fanatic
Thread Starter
I watched a video of the lethal performance Camaro. He had a lead tech from a big name shop helping do a cam swap. And they put the silicone all over the block.
#9
TECH Fanatic
Thread Starter
I got the radiator ready to come out just got disconnect the hoses. But my catch pan is full from me draining the oil tonight. Because I want to double check I didnít see any metal in the oil. I didnít see any metal.
#10
TECH Junkie
iTrader: (40)
Nice!
Looks like there isn't a gasket. I don't see one in this diagram
https://www.gmpartsdirect.com/auto-p...ine-parts-scat
Looks like there isn't a gasket. I don't see one in this diagram
https://www.gmpartsdirect.com/auto-p...ine-parts-scat

