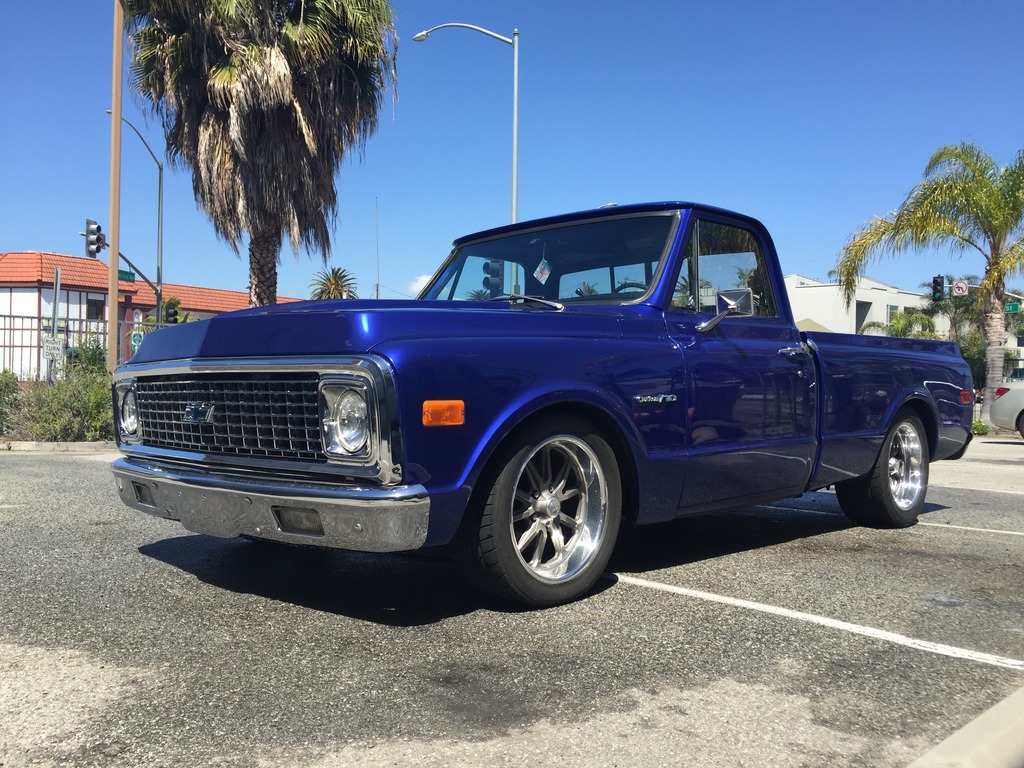
my '72 SWB L33/4L60e


 03-22-2016, 08:54 AM
#22
Teching In
Thread Starter

Join Date: Jan 2016
Posts: 31
Likes: 0
Received 0 Likes
on
0 Posts
last night i got home from work and decided to toss on the cruise control setup.
few wires, few bolts and its done...yeah right
first i started by extending the pigtail that goes to the box. 9 wires. simple. done.
then i figured i would take off the engine cover and get an idea on the mounting...which was where all the fun began
the PO used a universal throttle cable and while it did work nice and smooth, after i saw how it was routed it had to go.
the wire went around the throttle body then out the bottom and actually hooked up on the ball mount where the cruise goes.
well of course i had some spare bike stuff laying around and went inside and grabbed a cable stop and hooked it up essentially where it should have went the first time.
throttle cable fixed. boom. done.
now on to actually mounting the cruise cable.
the ball mount to which i was referring to in the last paragraph actually turned out to be too big for the plastic cable hookup.
so of course my thought its...lets drill it!
well it got the job done BUT then the plastic c clip style piece wouldnt sit correctly or securely so another option was needed.
i decided to then file down the end of the ball a bit to sit deeper. nope. still not working. try again.
then i scrounged up a metal c-clip that looked like it could fit and modified it a bit to fit in the plastic piece and bingo!
mission accomplished finally.
next up i ran the pigtail through the firewall and into the cab and mounted the cruise module on the firewall.
this part was actually simple.
then i ran out of daylight and patience (more-so the 2nd)
wiring shall continue tonight...maybe
03-31-2016, 08:53 AM
#23
Teching In
Thread Starter
Join Date: Jan 2016
Posts: 31
Likes: 0
Received 0 Likes
on
0 Posts
so i know i havent updated in like a week but ive been pulling my hair out over the cruise control.
i spent a day last week and wired it up. nothing.
the only thing that changed is i was getting a faint brake light which i later tracked down to the cruise module sending 9/10v to the cold brake wire. so i went and grabbed a diode (thanks to CTN for pointing it out) then installed it. phantom brake lights gone!
double checked all my wiring and nothing.
triple checked everything....NOTHING.
so i figure the cruise box is smoked even though the seller claimed it was working prior to being sent out.
well ive been searching for another locally and even had a forum member who is familiar with the cruise control swap offer to help.
fast forward to last night.
i took some time to fix a few little annoying things. i had a minor split in the fabric where it meets the vinyl so i stitched it up quick.
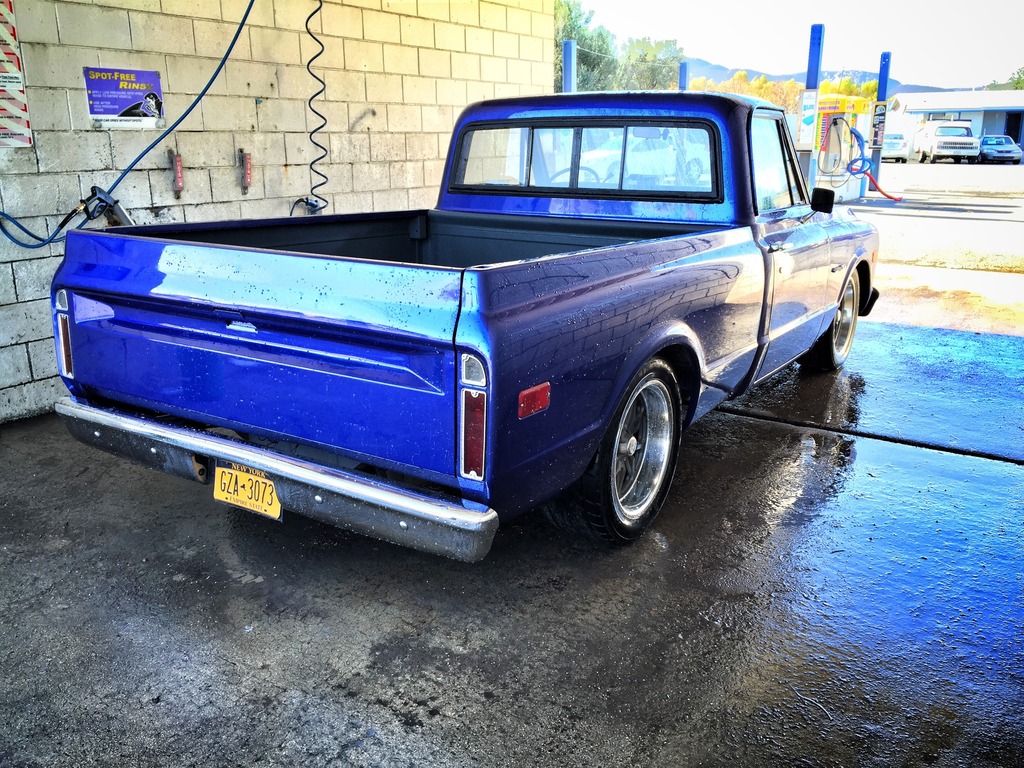
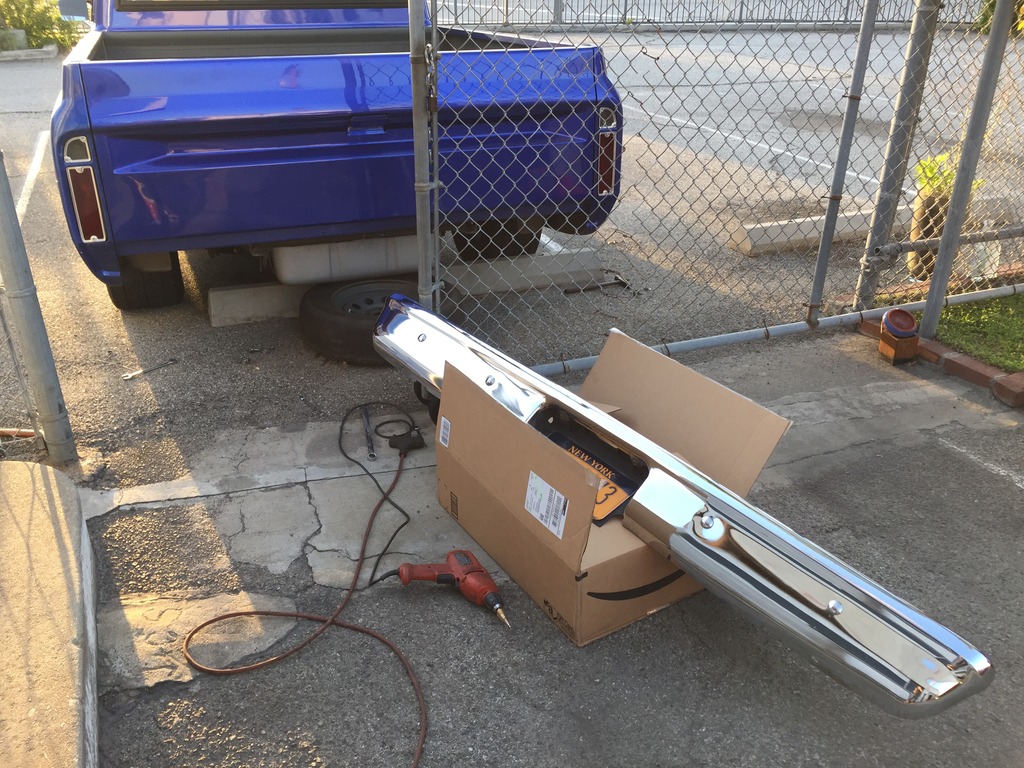
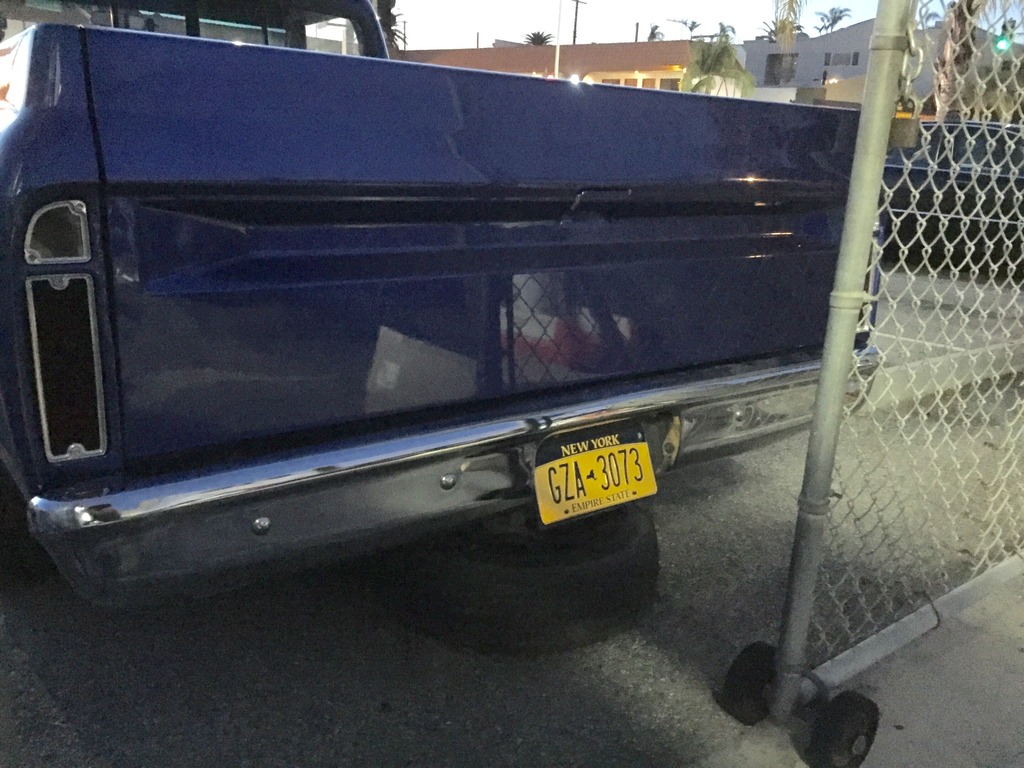
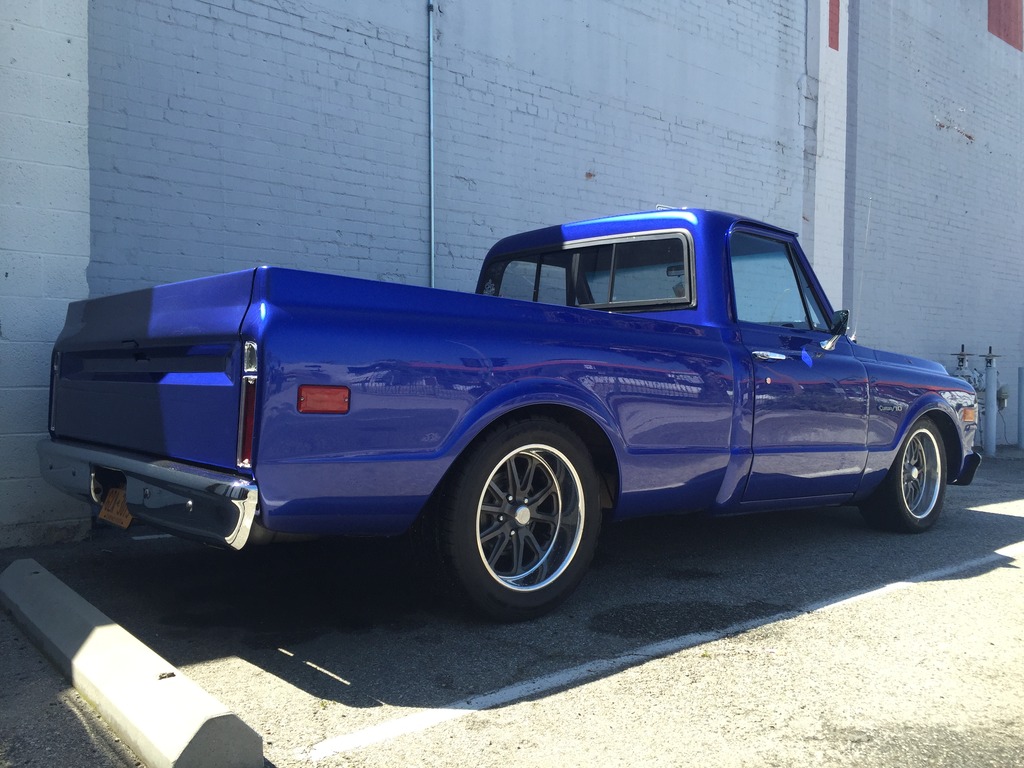
next i decided to do something about that ANNOYING bumper sag in the rear.
pic for reference
first i mocked it up
then i "adjusted" the mounting points
and i know its not the greatest pic but it sits MUCH better now
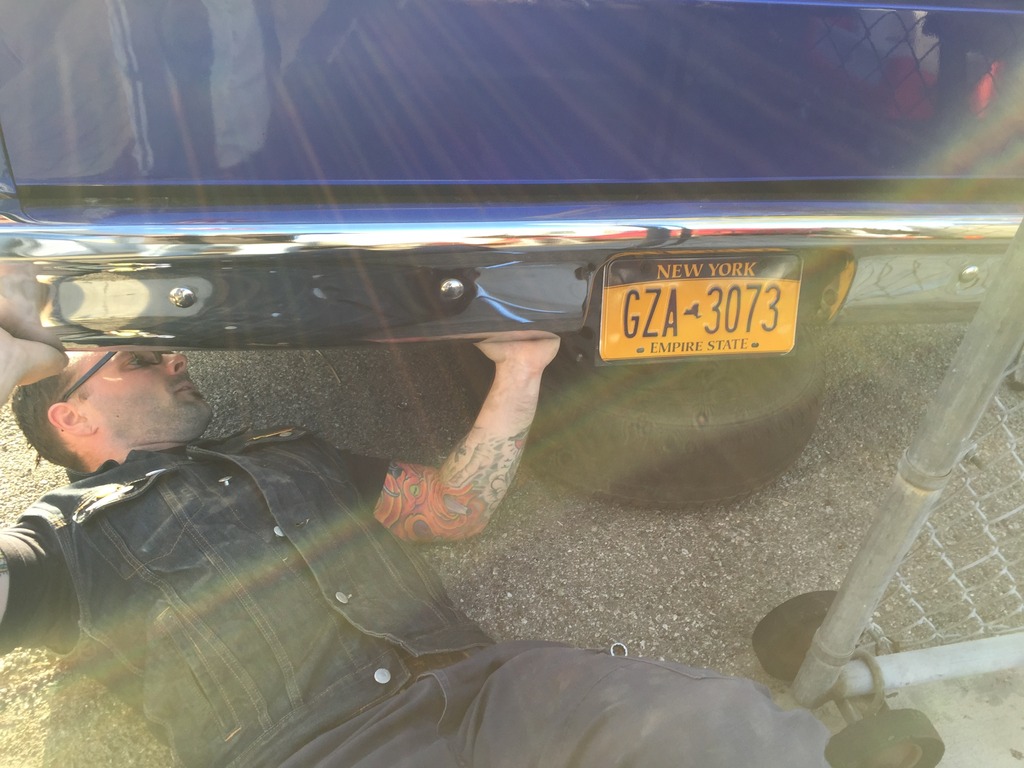
so after it was all said and done i tested the running lights (to make sure the plate lights still worked) and i happened to hit the brakes. well i noticed only one worked so **** let me replace the bulb while im out here. well wouldnt you ******* know it. i have ******* LED brake lights! so the non working cruise control totally makes sense now because the cruise module cant find ground through the brake lights. ugh. so now this evening im going to wire in a relay to fix that...hopefully.
stay tuned.
i spent a day last week and wired it up. nothing.
the only thing that changed is i was getting a faint brake light which i later tracked down to the cruise module sending 9/10v to the cold brake wire. so i went and grabbed a diode (thanks to CTN for pointing it out) then installed it. phantom brake lights gone!
double checked all my wiring and nothing.
triple checked everything....NOTHING.
so i figure the cruise box is smoked even though the seller claimed it was working prior to being sent out.
well ive been searching for another locally and even had a forum member who is familiar with the cruise control swap offer to help.
fast forward to last night.
i took some time to fix a few little annoying things. i had a minor split in the fabric where it meets the vinyl so i stitched it up quick.
next i decided to do something about that ANNOYING bumper sag in the rear.
pic for reference
first i mocked it up
then i "adjusted" the mounting points
and i know its not the greatest pic but it sits MUCH better now
so after it was all said and done i tested the running lights (to make sure the plate lights still worked) and i happened to hit the brakes. well i noticed only one worked so **** let me replace the bulb while im out here. well wouldnt you ******* know it. i have ******* LED brake lights! so the non working cruise control totally makes sense now because the cruise module cant find ground through the brake lights. ugh. so now this evening im going to wire in a relay to fix that...hopefully.
stay tuned.
03-31-2016, 04:06 PM
#24
Teching In
Thread Starter
Join Date: Jan 2016
Posts: 31
Likes: 0
Received 0 Likes
on
0 Posts
mini update...
so obviously this has been consuming me all morning and I just had to know I actually found the problem.
so on lunch break I went home and wired in the relay and took a spin around the block...
IT WORKS!!!!
fyi here is the relay setup for those who may run into the same problems I did

so obviously this has been consuming me all morning and I just had to know I actually found the problem.
so on lunch break I went home and wired in the relay and took a spin around the block...
IT WORKS!!!!
fyi here is the relay setup for those who may run into the same problems I did
Last edited by XwalkerX; 03-31-2016 at 04:23 PM.
04-01-2016, 07:18 PM
#27
Teching In
Thread Starter
Join Date: Jan 2016
Posts: 31
Likes: 0
Received 0 Likes
on
0 Posts
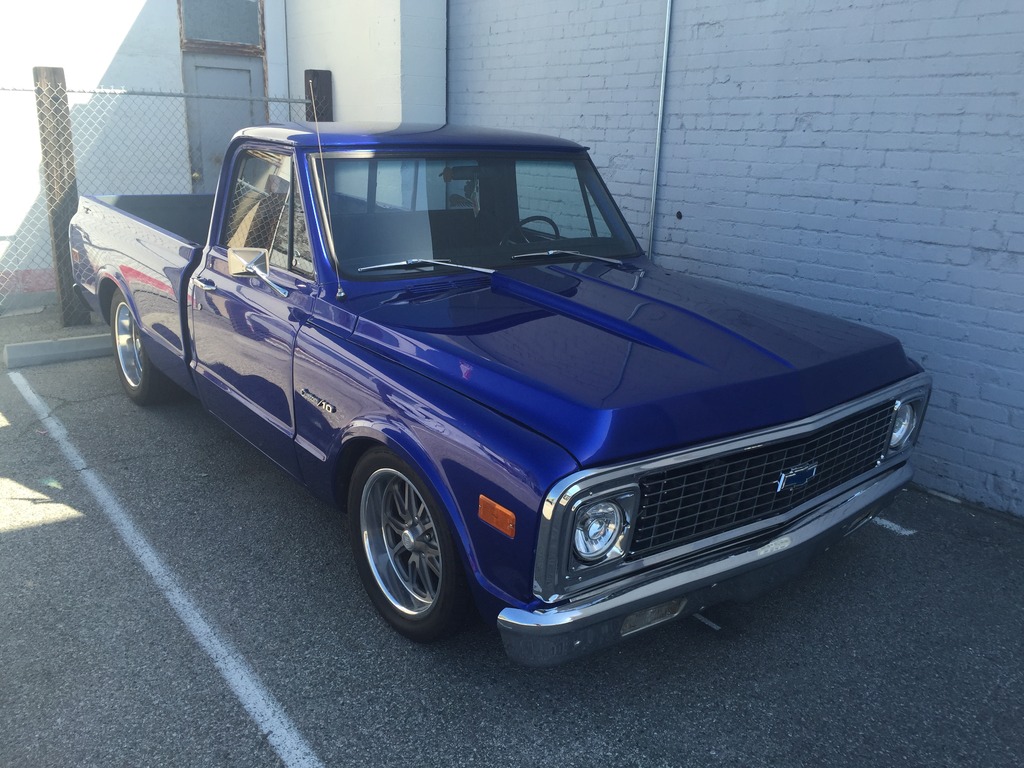
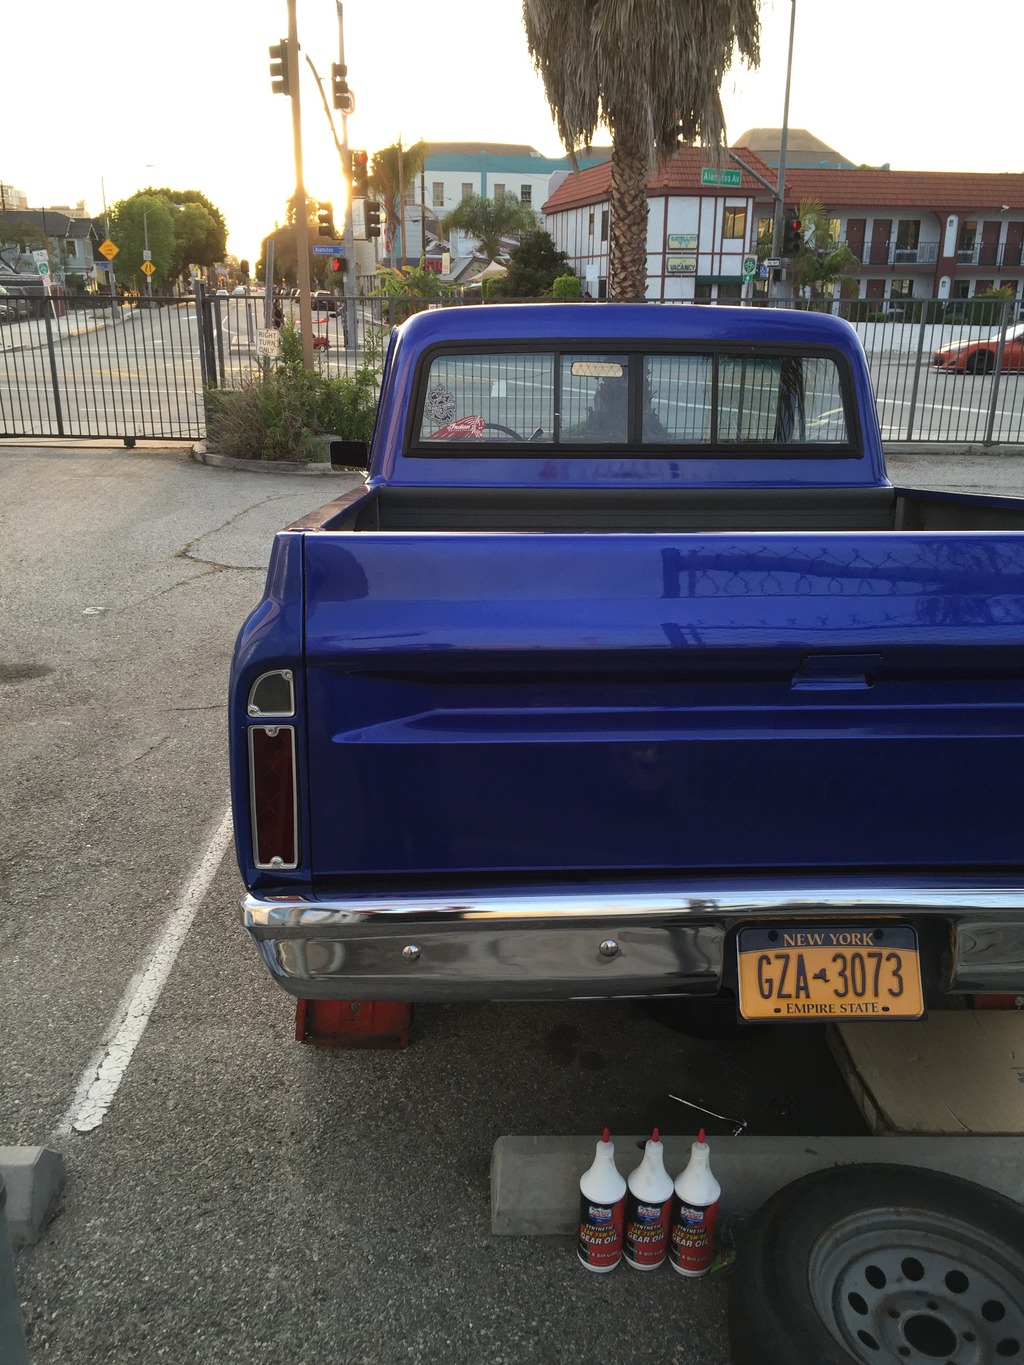
spent the afternoon doing a proper detail on the truck.
the paint literally felt like sandpaper
anyway. the list.
wash/dry
Meguiars claybar
Meguiars polish wax
Meguiars gold class carnauba
due to the color you may not be able to tell much of a difference in the paint but i assure you that it feels like glass now.
so...success!
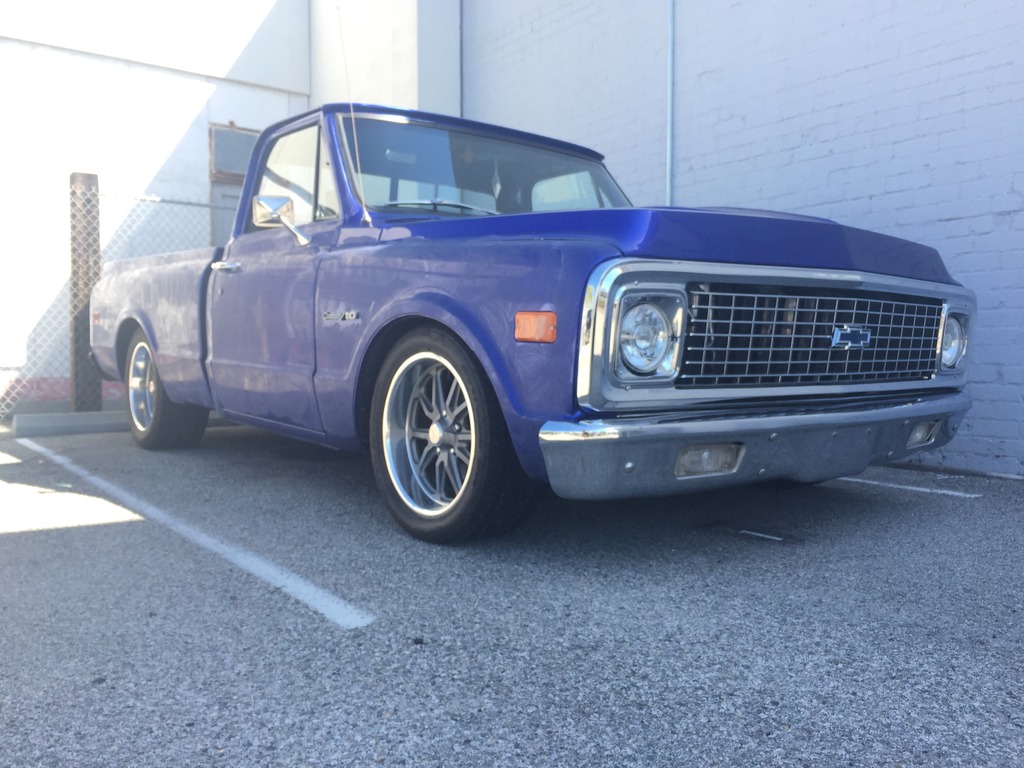
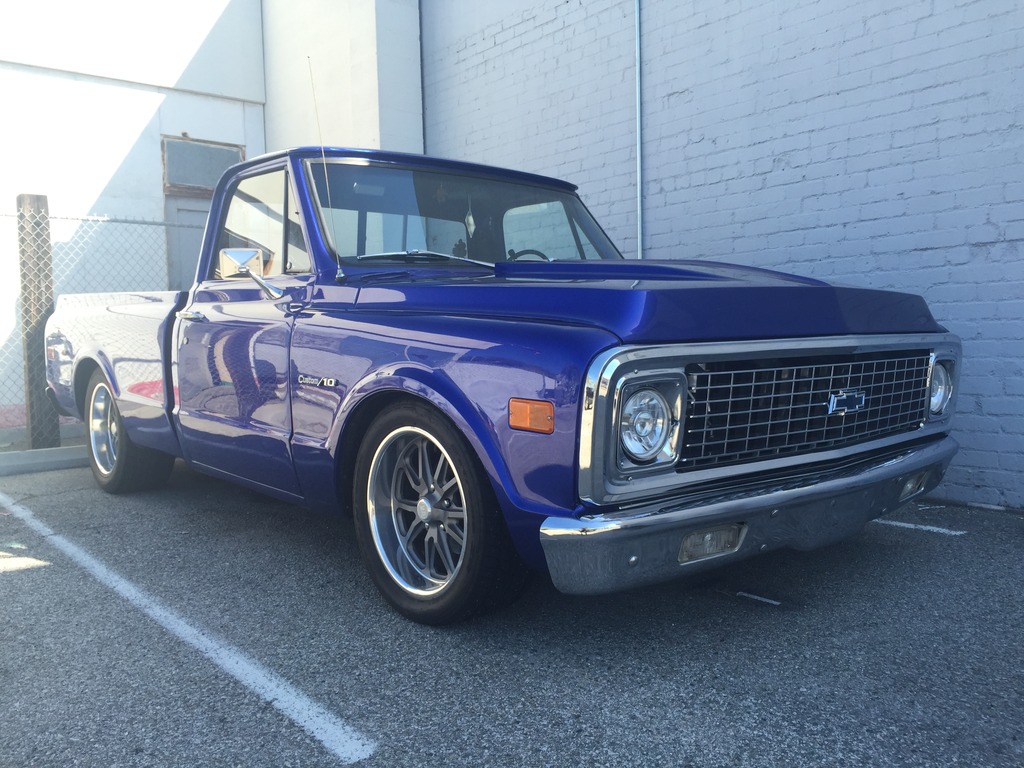
the paint literally felt like sandpaper
anyway. the list.
wash/dry
Meguiars claybar
Meguiars polish wax
Meguiars gold class carnauba
due to the color you may not be able to tell much of a difference in the paint but i assure you that it feels like glass now.
so...success!
04-04-2016, 11:25 PM
#28
Teching In
Thread Starter
Join Date: Jan 2016
Posts: 31
Likes: 0
Received 0 Likes
on
0 Posts
another successful evening
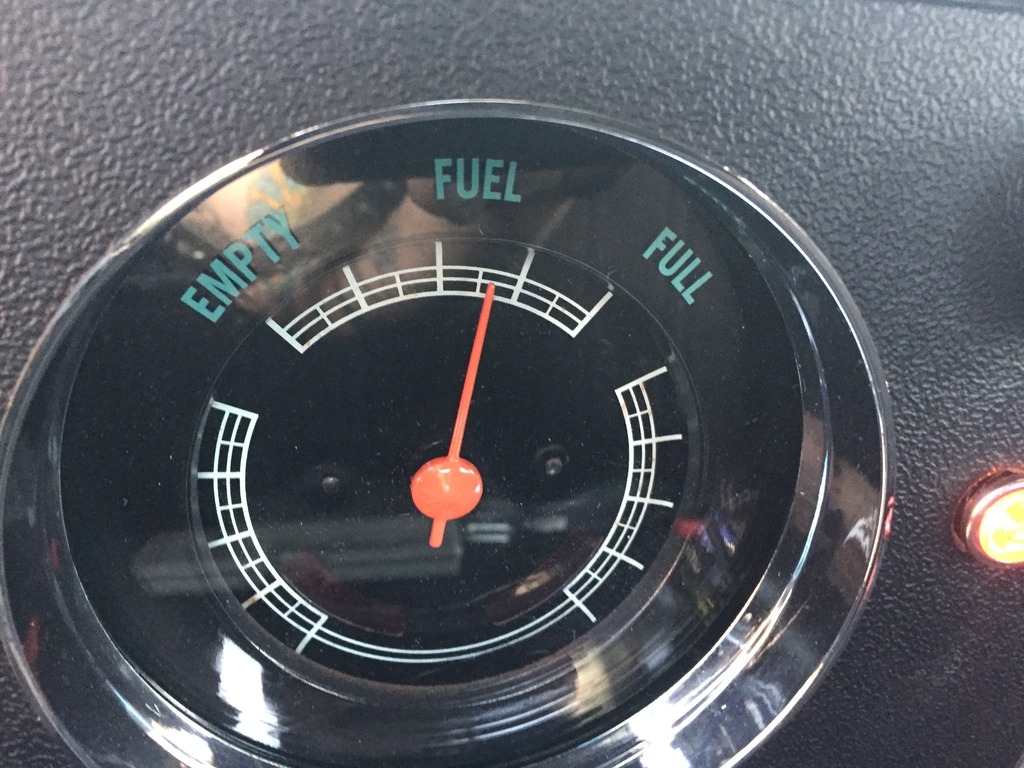
ever since i bought the truck the fuel gauge was stuck on Empty and i finally decided to investigate the situation
so i dropped the tank and everything looked normal
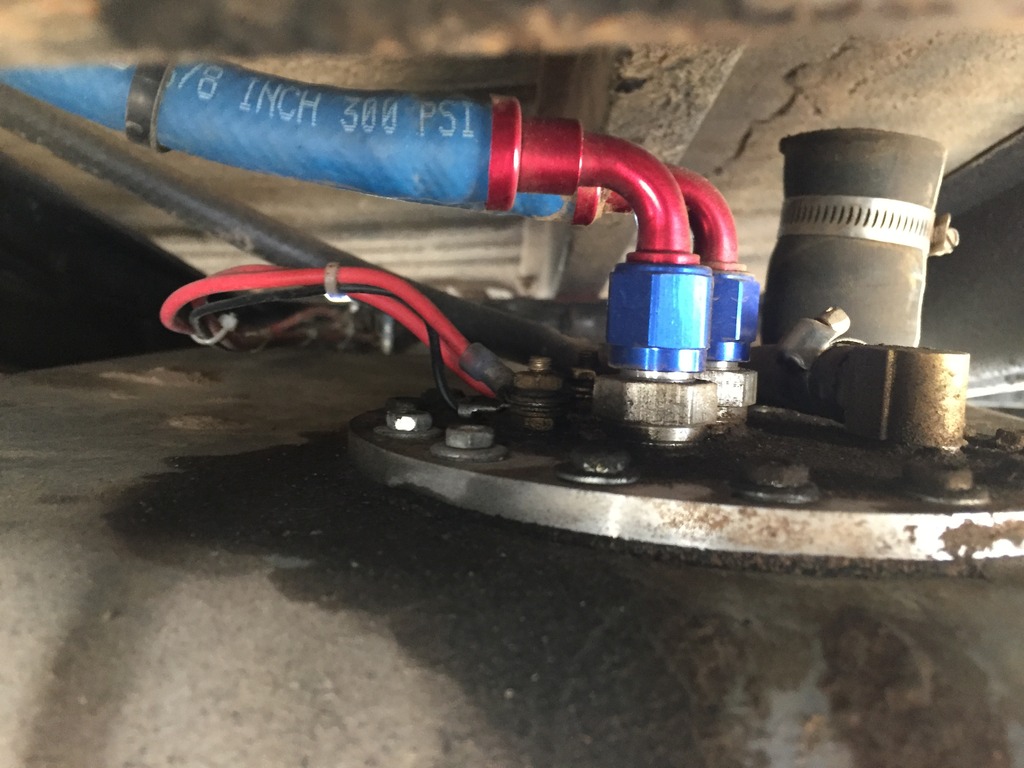
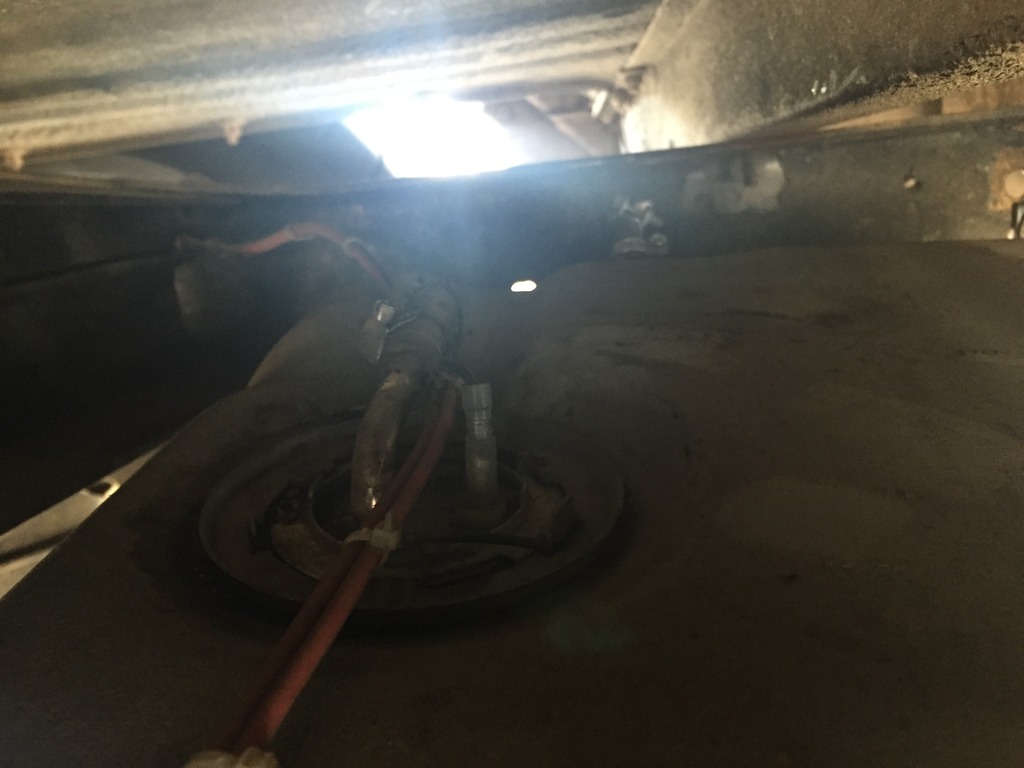
so i pulled off the wire heading to the sending unit (which should be a positive wire) and it was coming up grounded...then i just had to find out where
after tracing the wire from the fuse block back i finally found the short to ground where it was pinched on the frame above the rear spring.
so i cut out and replaced the broken wire and BAM!
ever since i bought the truck the fuel gauge was stuck on Empty and i finally decided to investigate the situation
so i dropped the tank and everything looked normal
so i pulled off the wire heading to the sending unit (which should be a positive wire) and it was coming up grounded...then i just had to find out where
after tracing the wire from the fuse block back i finally found the short to ground where it was pinched on the frame above the rear spring.
so i cut out and replaced the broken wire and BAM!
04-05-2016, 11:08 PM
#29
Teching In
Thread Starter
Join Date: Jan 2016
Posts: 31
Likes: 0
Received 0 Likes
on
0 Posts
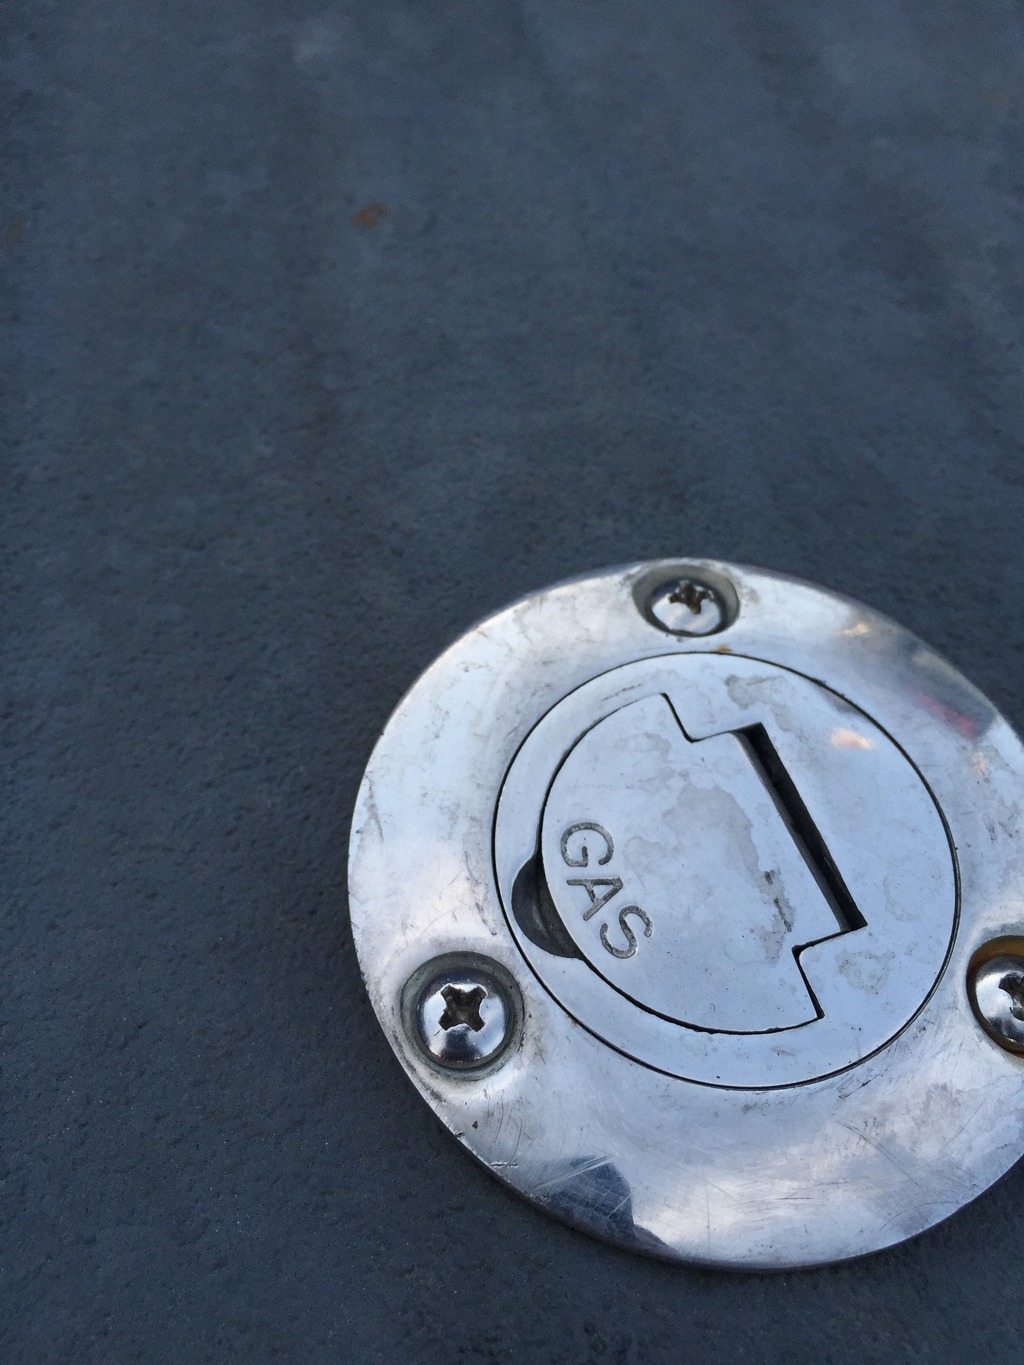
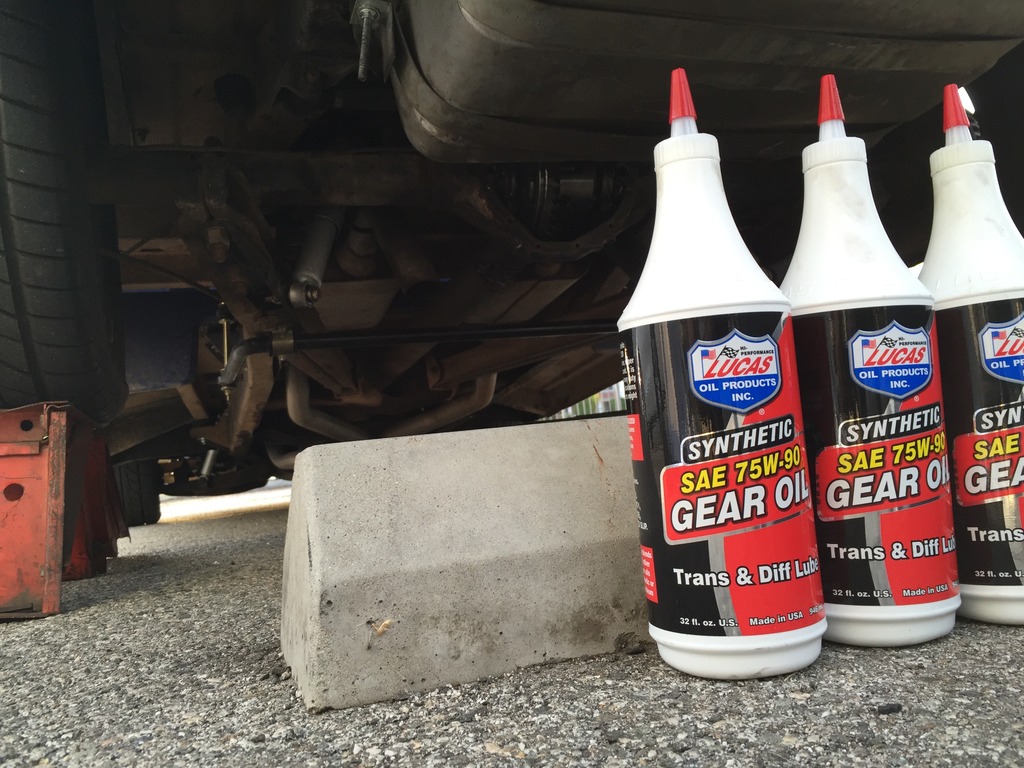
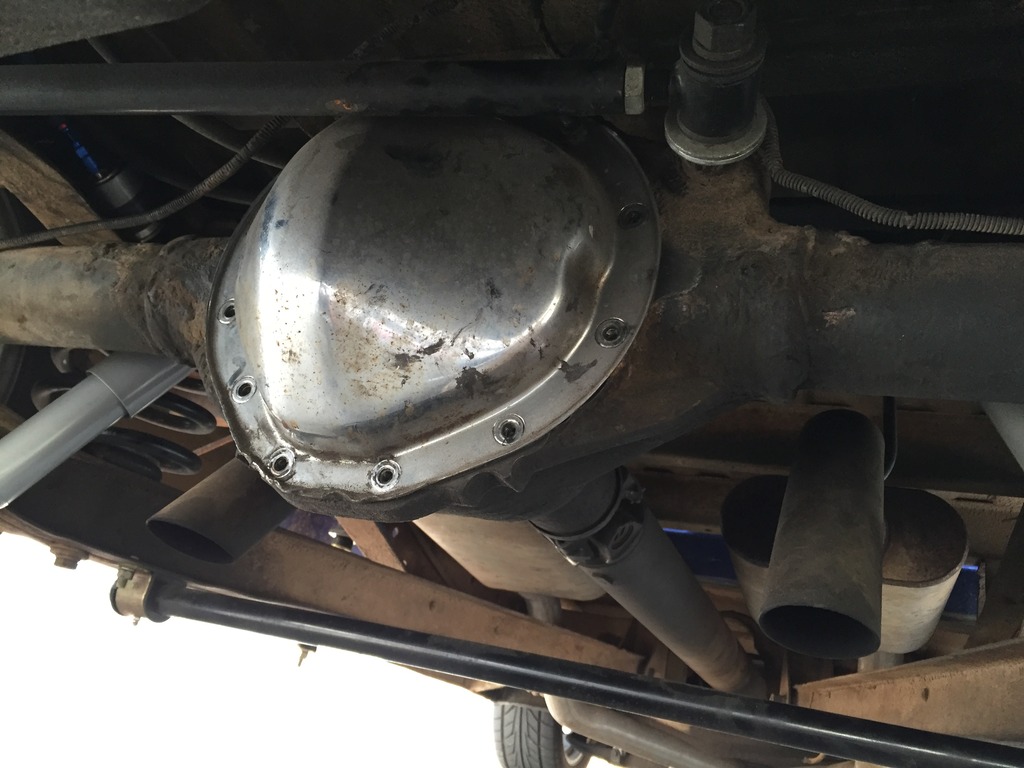
tonights task was changing out the rear diff oil and inspecting the new rear end after about 5k of use.
but first these shitty screws have been annoying me and i stopped at the local ACE hardware and swapped them out for stainless
and now the rear end
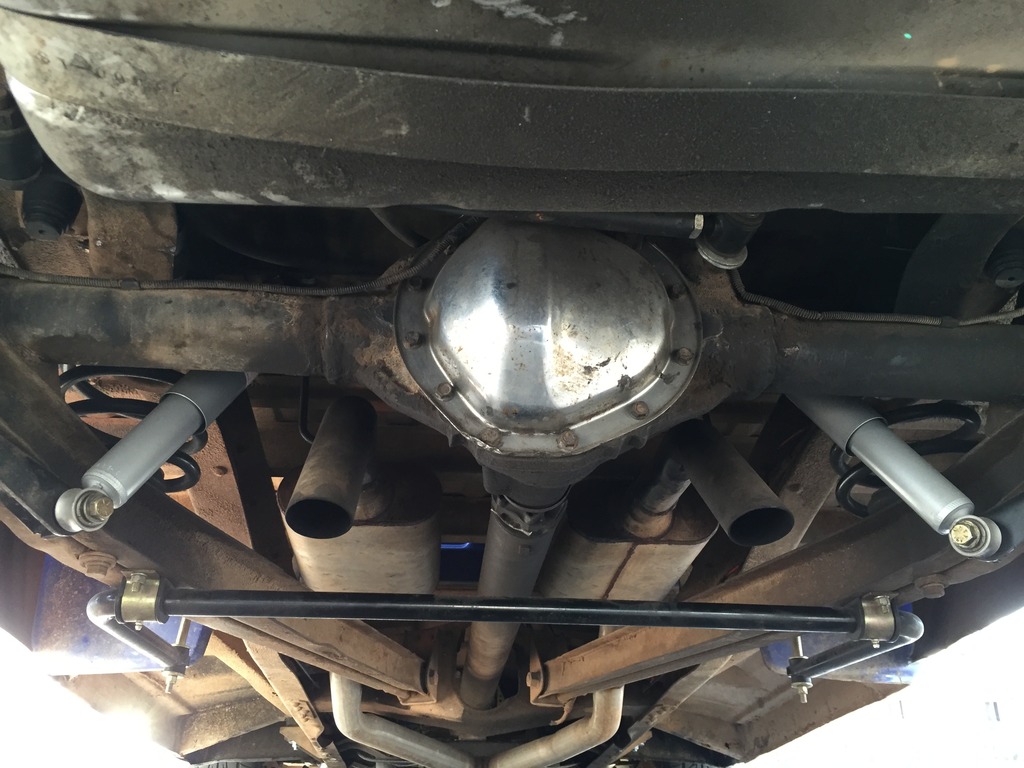
everything looking great inside.
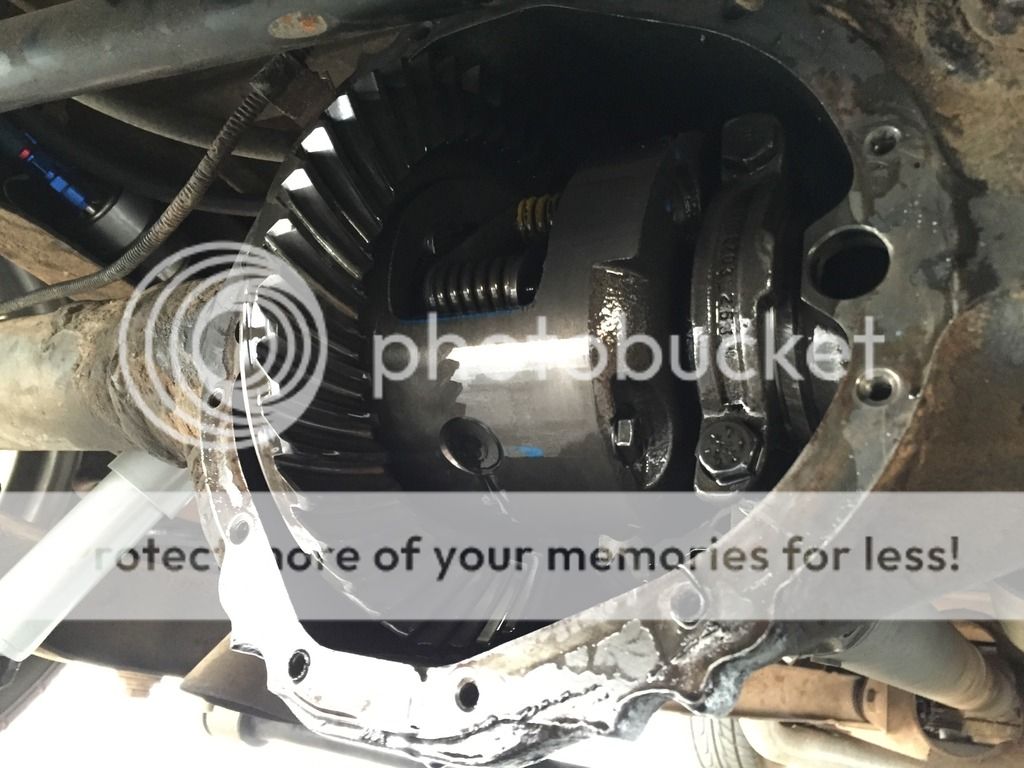
didnt take a final pic of it all buttoned up since it was dusk by that time but here is an extra 'before' pic for you to pretend that i did.
but first these shitty screws have been annoying me and i stopped at the local ACE hardware and swapped them out for stainless
and now the rear end
everything looking great inside.
didnt take a final pic of it all buttoned up since it was dusk by that time but here is an extra 'before' pic for you to pretend that i did.
04-29-2016, 02:35 AM
#30
Teching In
Thread Starter
Join Date: Jan 2016
Posts: 31
Likes: 0
Received 0 Likes
on
0 Posts
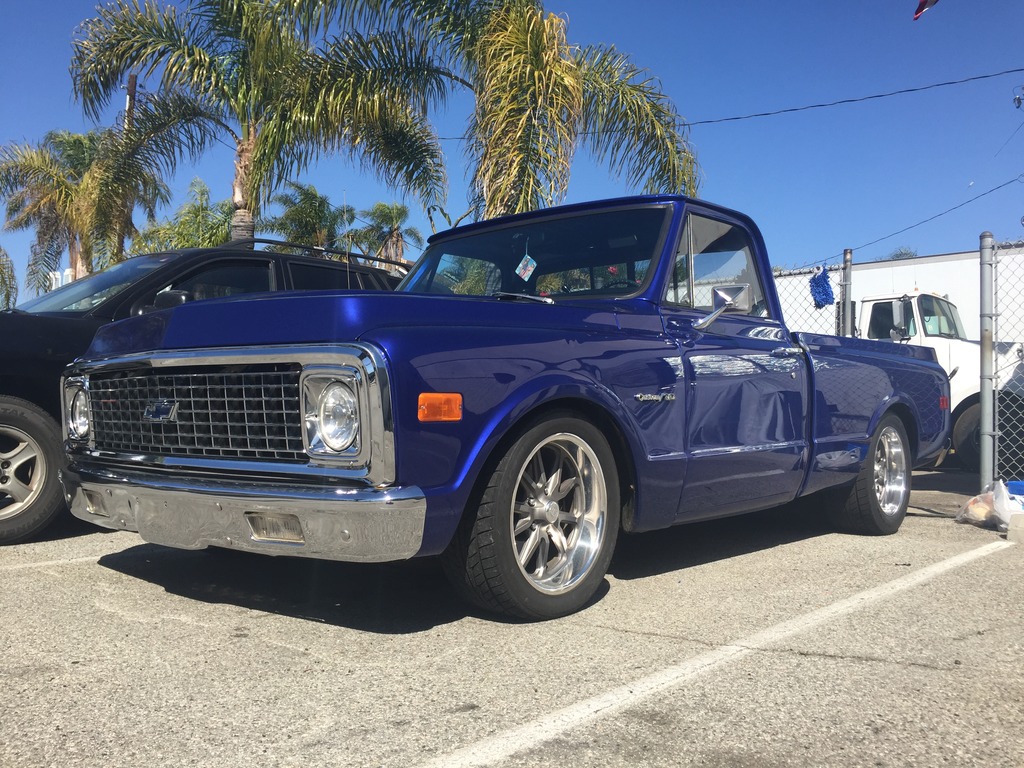
so ive been looking for replacement wheels with more of an old muscle era look.
i still plan on grabbing a set of rally wheels but my project this week was rescuing a set of old Cragar SS wheels.
found these of course on craigslist.
2- 15x7 with 2.5" of backspace
2- 15x10 with 4.25" of backspace
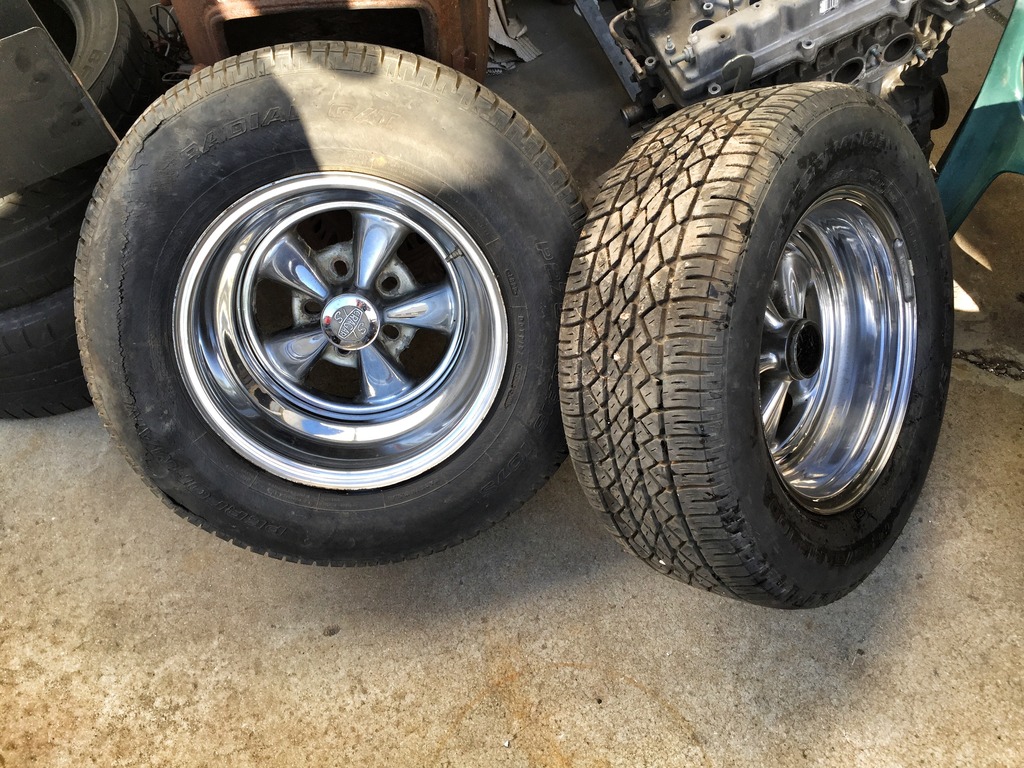
i also picked up some good condition used rubber on craigs site.
rears are 265/70/15 while the front tires are 215/70/15
i should have taken more pics but i always forget...or have greasy hands
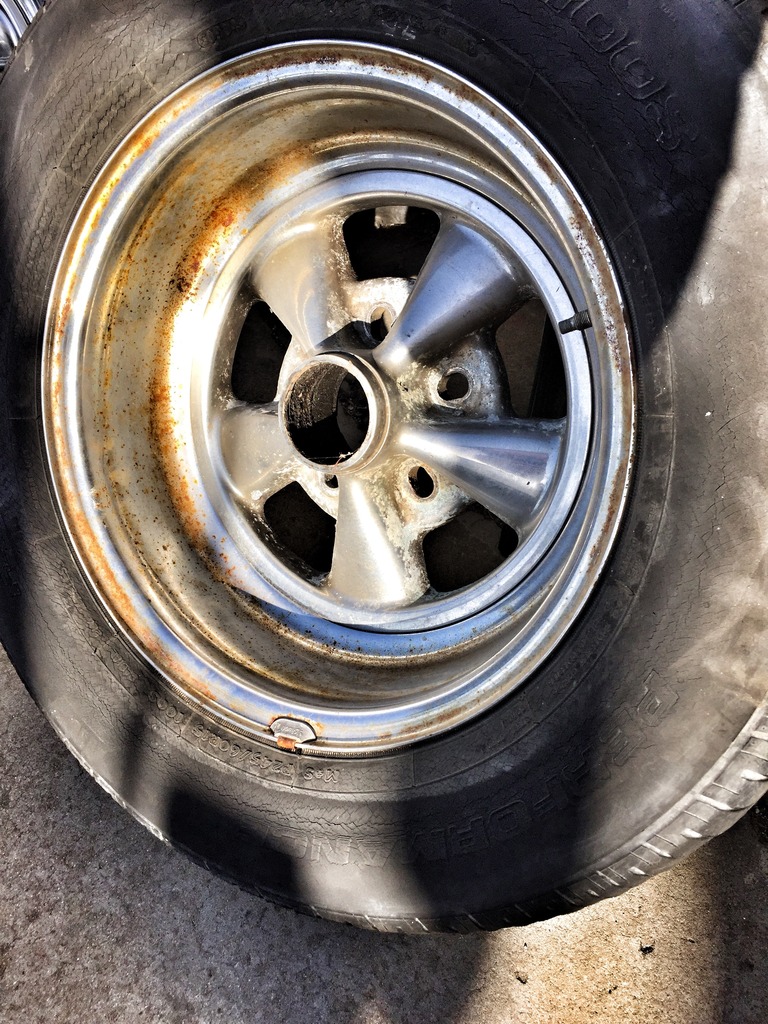
anyway this is what i started with.
i would say there was one rear wheel that was worse than this but most were about this clapped out.
i did a quick 10 min cleanup using WD-40 and 0000 grade steelwool then a quick coat of chrome polish and here are the results
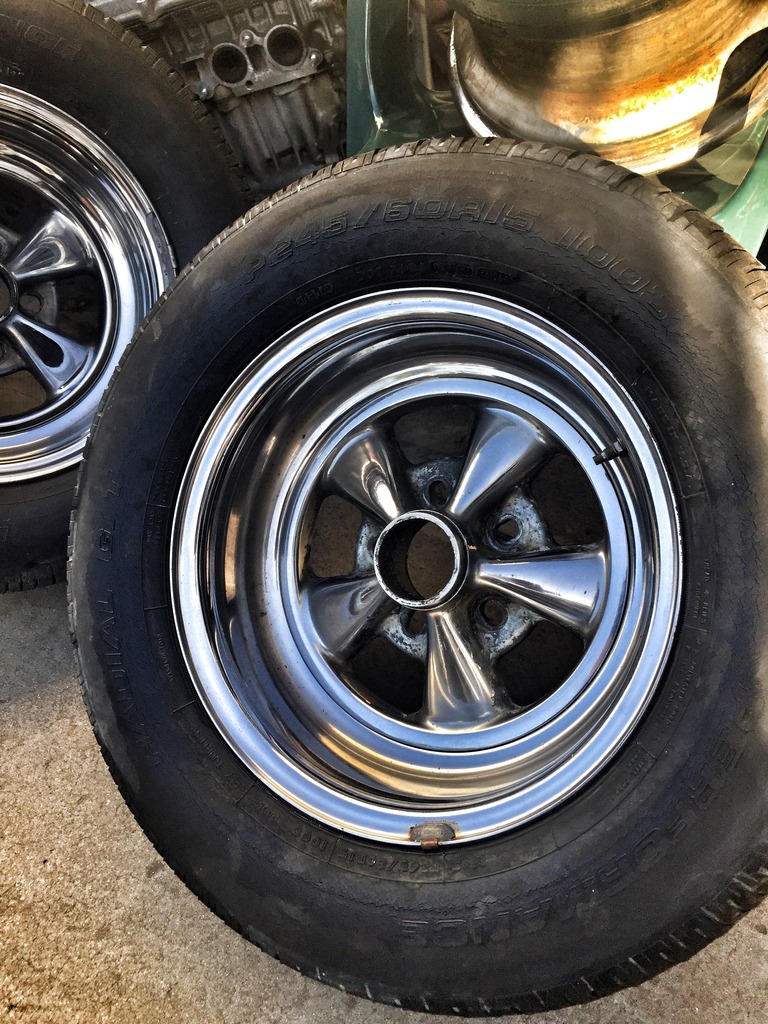
not too bad.
however, the real problem with these wheels (like most old Cragar wheels) is that the center is aluminum and its real corroded and the chrome is smoked beyond repair/even flaking off in spots.
then came the fun part of removing severely dry rotted tires and installing the "new" craigslist rubber.
i didnt take any pics of the process but i did it all without a tire machine.
it certainly took a bit to break the beads but its kind of satisfying doing it the old fashioned way.
once i got done mounting and balancing it was time to put them on...
so once i did my final torquing a lug stud snapped off and a slew of expletives began spewing from my mouth.
but i guess i was "lucky" that it happened now and not on the road somewhere.
i ended up buying two new studs from a place right down the street and slapped one back in on my lunch break today.
the real problem is that i was already down one Cragar specific lug and now a stud is broke off in this other so looks like only the rears are going on.
its not a huge issue for a few reasons.
-the current lug/washers are rusted and well worn
-bought a new set of 20 lugs and washers for $22
-bought a set of 4 center caps on ebay for $20 since im missing the two for the front wheels
-going to the Barona drag strip antique drags this sat and i can just look the part LOL
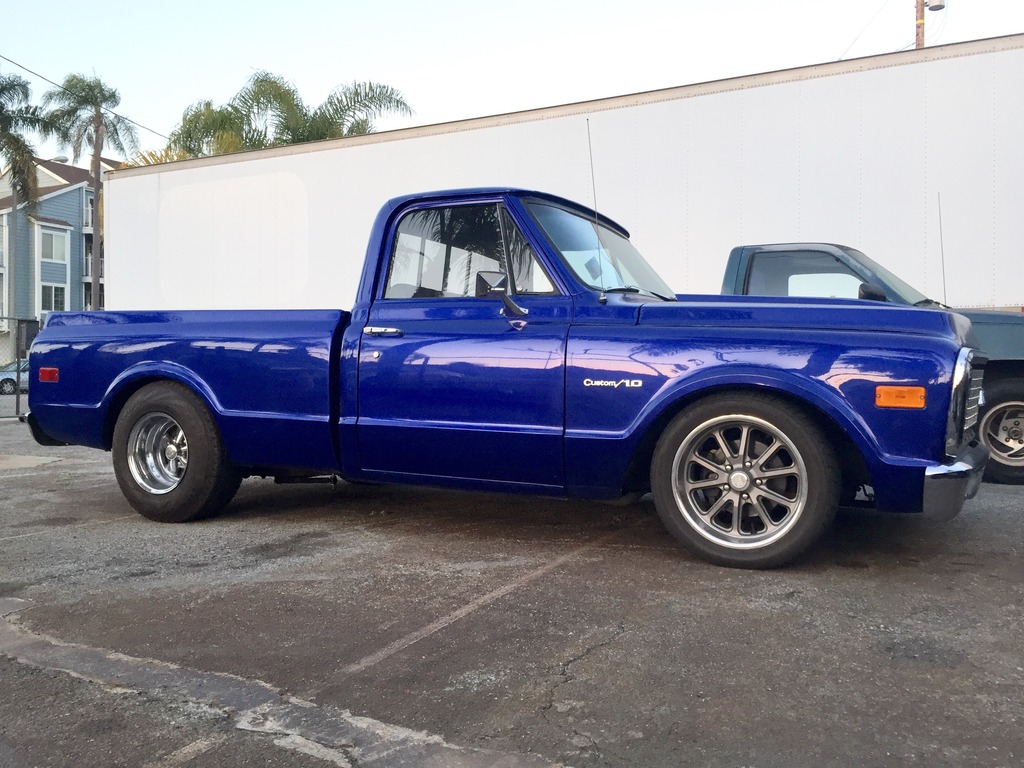
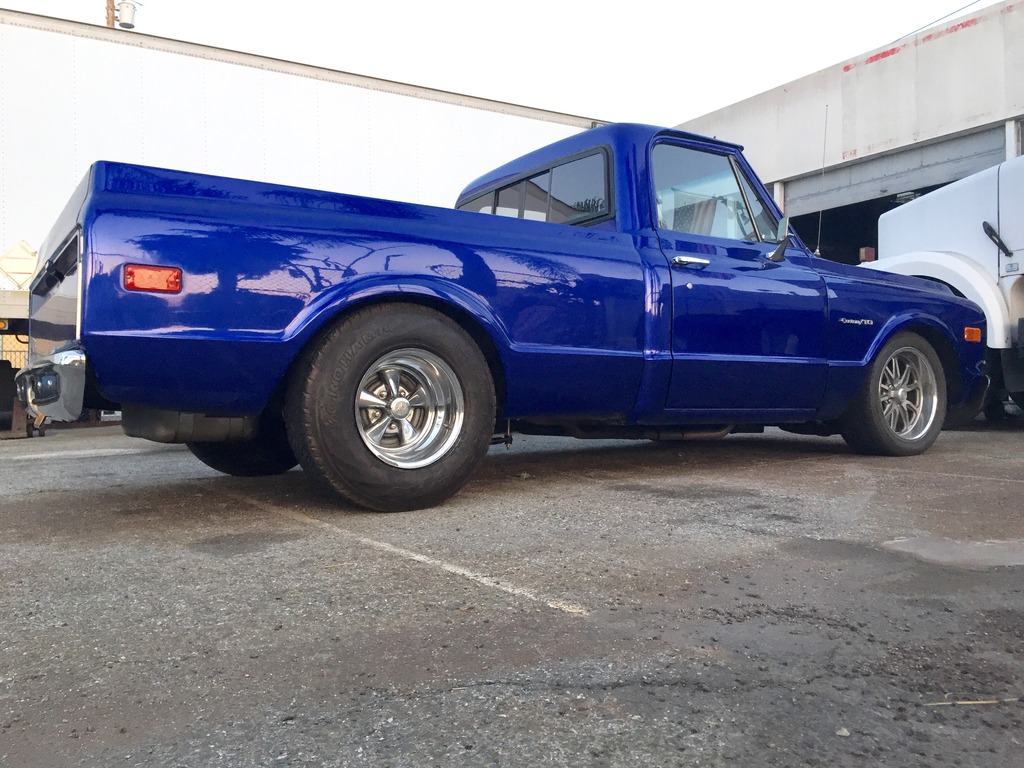
so here is how it looks now with the big meat in back

i still plan on grabbing a set of rally wheels but my project this week was rescuing a set of old Cragar SS wheels.
found these of course on craigslist.
2- 15x7 with 2.5" of backspace
2- 15x10 with 4.25" of backspace
i also picked up some good condition used rubber on craigs site.
rears are 265/70/15 while the front tires are 215/70/15
i should have taken more pics but i always forget...or have greasy hands
anyway this is what i started with.
i would say there was one rear wheel that was worse than this but most were about this clapped out.
i did a quick 10 min cleanup using WD-40 and 0000 grade steelwool then a quick coat of chrome polish and here are the results
not too bad.
however, the real problem with these wheels (like most old Cragar wheels) is that the center is aluminum and its real corroded and the chrome is smoked beyond repair/even flaking off in spots.
then came the fun part of removing severely dry rotted tires and installing the "new" craigslist rubber.
i didnt take any pics of the process but i did it all without a tire machine.
it certainly took a bit to break the beads but its kind of satisfying doing it the old fashioned way.
once i got done mounting and balancing it was time to put them on...
so once i did my final torquing a lug stud snapped off and a slew of expletives began spewing from my mouth.
but i guess i was "lucky" that it happened now and not on the road somewhere.
i ended up buying two new studs from a place right down the street and slapped one back in on my lunch break today.
the real problem is that i was already down one Cragar specific lug and now a stud is broke off in this other so looks like only the rears are going on.
its not a huge issue for a few reasons.
-the current lug/washers are rusted and well worn
-bought a new set of 20 lugs and washers for $22
-bought a set of 4 center caps on ebay for $20 since im missing the two for the front wheels
-going to the Barona drag strip antique drags this sat and i can just look the part LOL
so here is how it looks now with the big meat in back