GMT 800 / 900 Cabin Air Filter Retro Kit GM/OEM parts
 10-30-2014, 08:30 PM
#1

How to install GMT 800 - 900 chassis Cabin Air Filter Retro Fit Kit using GM/OEM parts
Complete this retrofit at your own risk, I am not responsible for any damage.
GMT 800's 2003+ (Notice possible conflict, check "L" bracket with dual filters on 2500/3500's) - (Older style - I have not done this to a GMT - 800 series try at your own risk)
GMT 900's All
UPDATE: DOES NOT FIT WT's on GMT 900's, the HVAC case is different.
If anyone finds issues or the parts conflict, please PM me ASAP, I will do my best to update this thread.
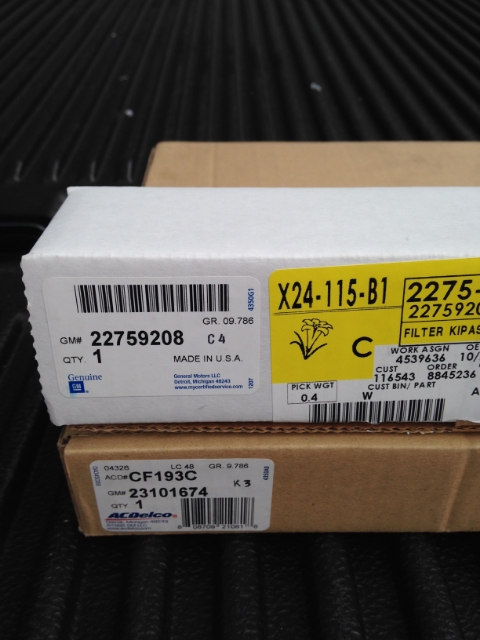
GM Part Numbers (GMT 900 series straight bracket)
22759208 - Retro Fit Kit (bracket & screw ONLY, no filter)
22759203 - Cabin Air Filter
23101674 - Cabin "Carbon" Air Filter
Only 1 type filter is needed
Dorman Retrofit Kit part number (GMT 900 series ONLY)
259-200 - standard filter w/ HVAC bracket & screw
259-201 - carbon filter w/ HVAC bracket & screw
GM Part Numbers early NBS's 1500/2500/3500 GMT 800 "L" bracket type (Older style)
52494070 - "L" Bracket Cabin Air Filter Cover (not sure if screw is included)
19257782 - Cabin "standard" air filter (QTY 2 half filters)
12489479 - Cabin "Carbon" air filter (QTY 2 half filters)
Only 1 type filter is needed
Notes/Maintenance :
Going forward replace cabin filter/s once a year.
Retro fit kit top side bracket
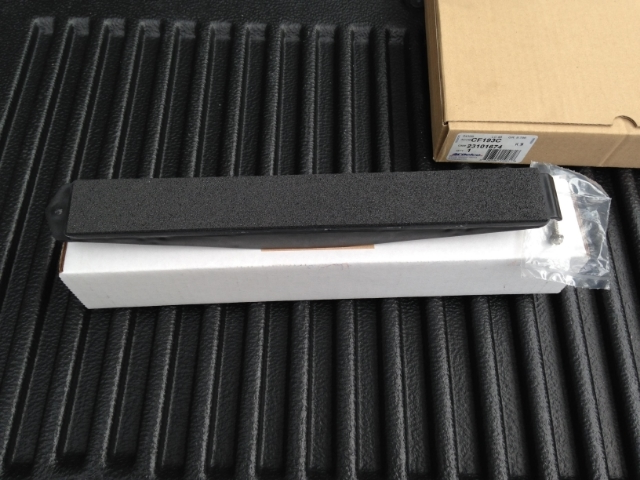
Retro fit kit Bottom side of bracket

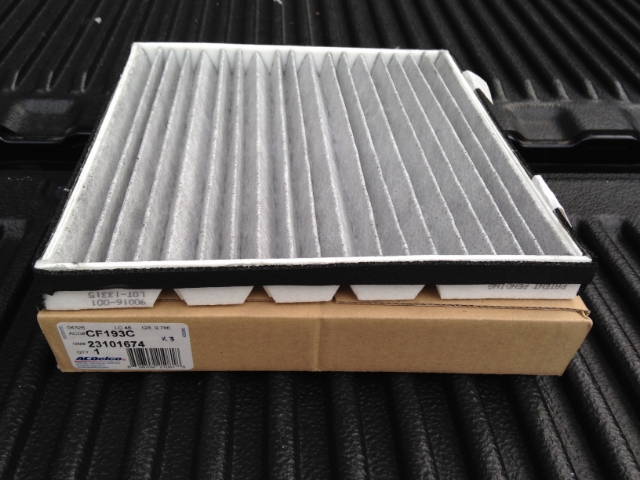
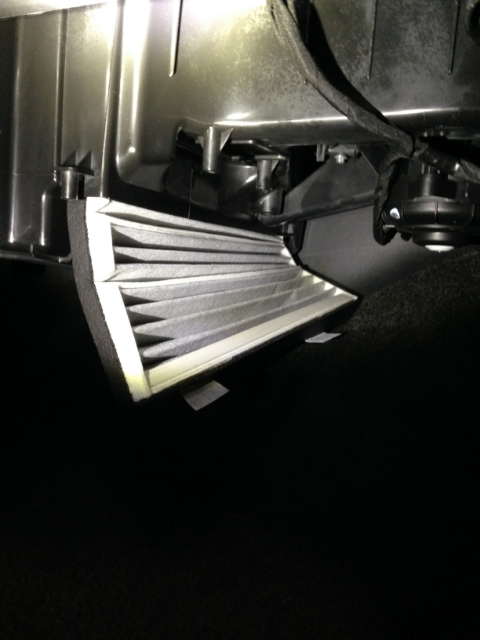
Carbon air filter (Notice the "V" cuts)
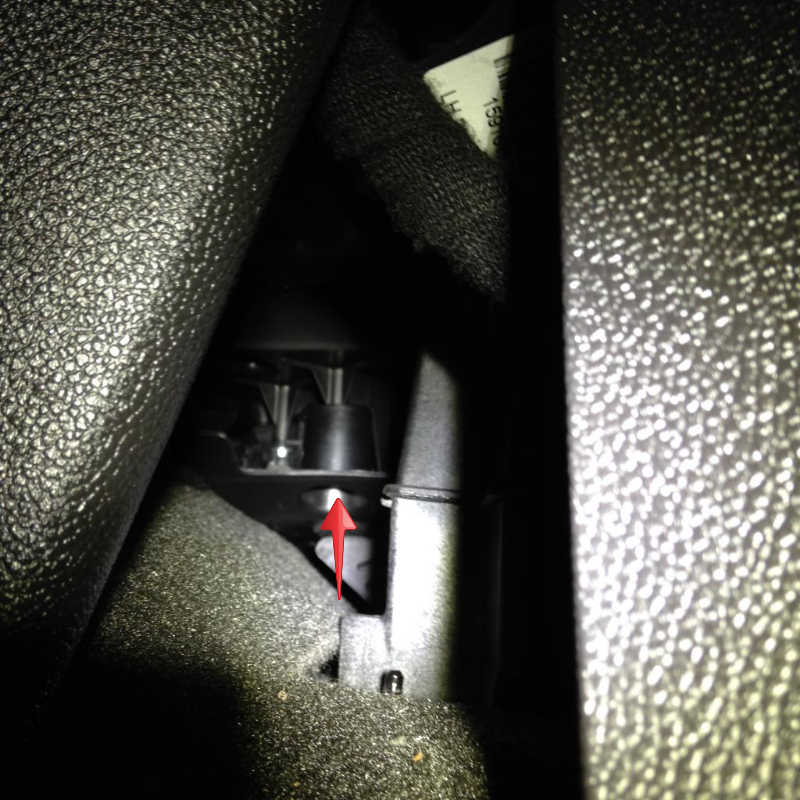
Remove lower HVAC panel cover (3 screws, 1 under console is difficult 7mm magnetic bit works well)
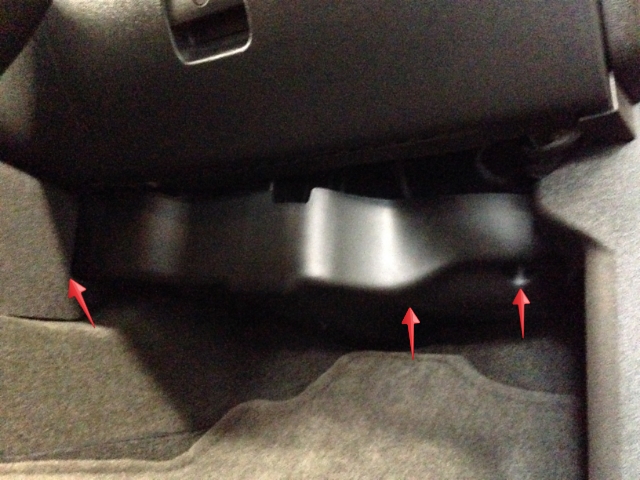
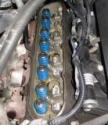
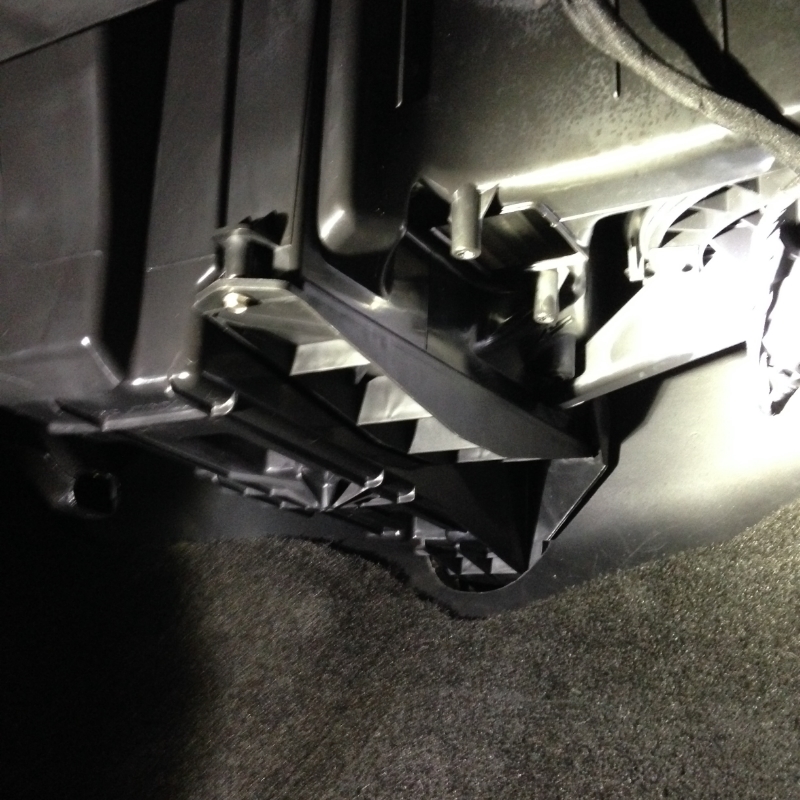
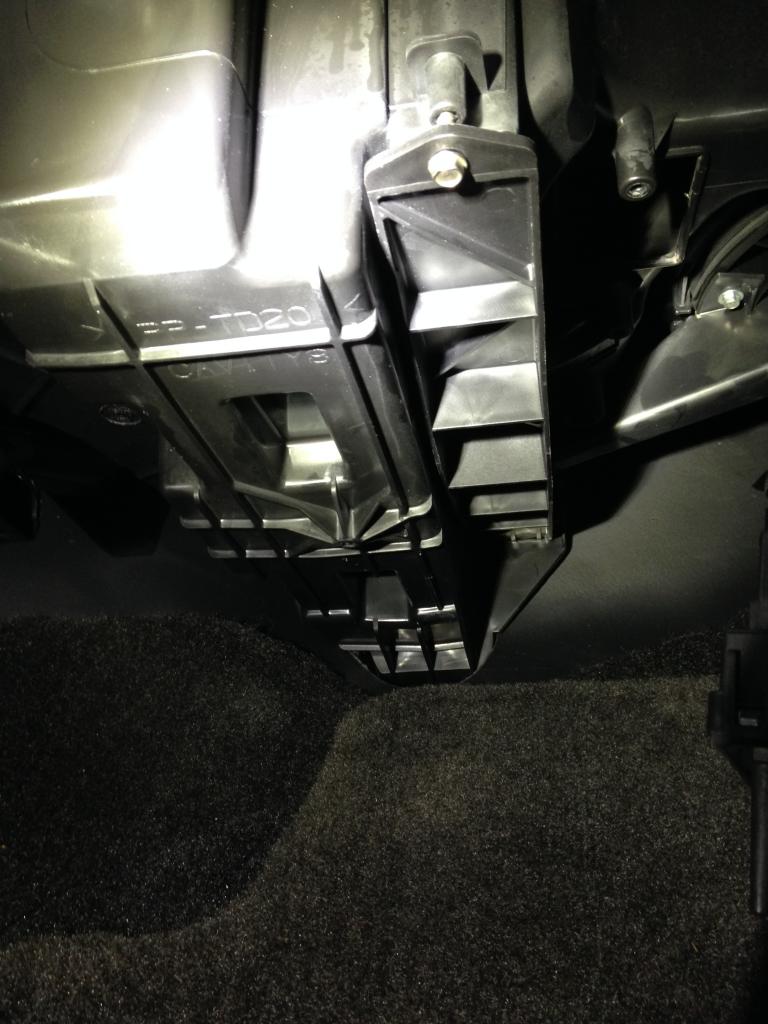
Before retro fit kit modification
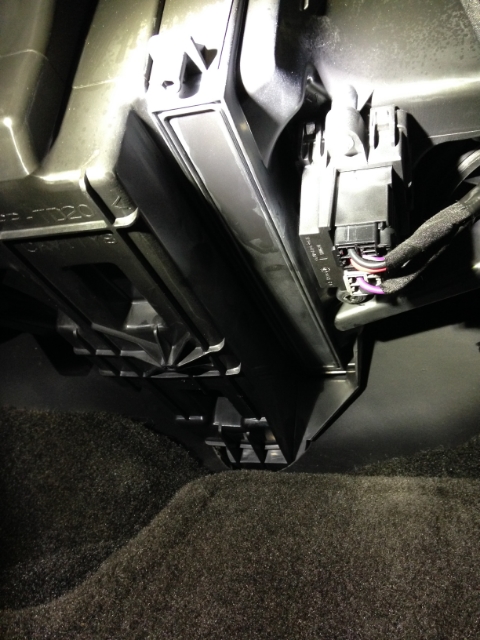
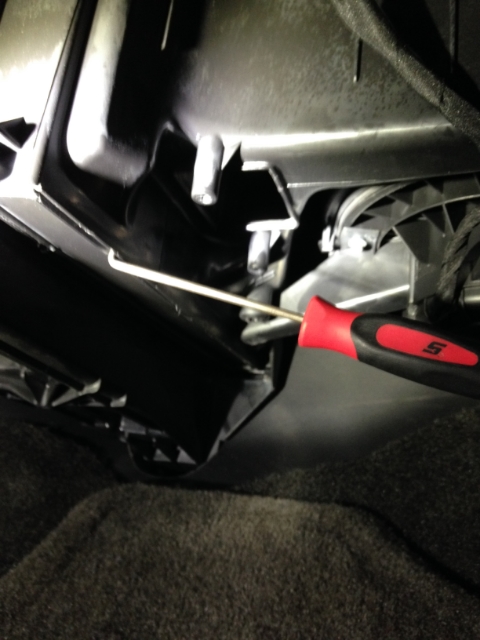
Remove blower motor resistor/regulator (allows for more wiggle room)
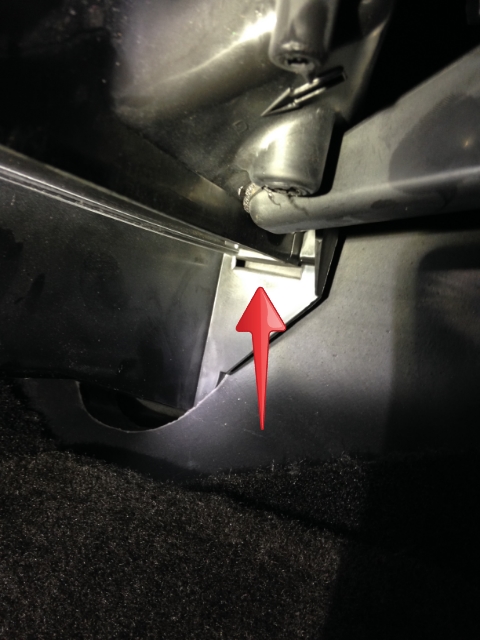
Rear slot
Score the plastic, repeat over and over shaving/thinning the plastic as you go (I was able to scrape most the plastic away using a 90 degree pick, only needed a razor blade to make a very lite cut afterwards) This material is very soft and doesnt take long to slice through from scoring it, just be patient and don't rush it
I would NOT recommend using a blade or razor when "first" scoring the plastic
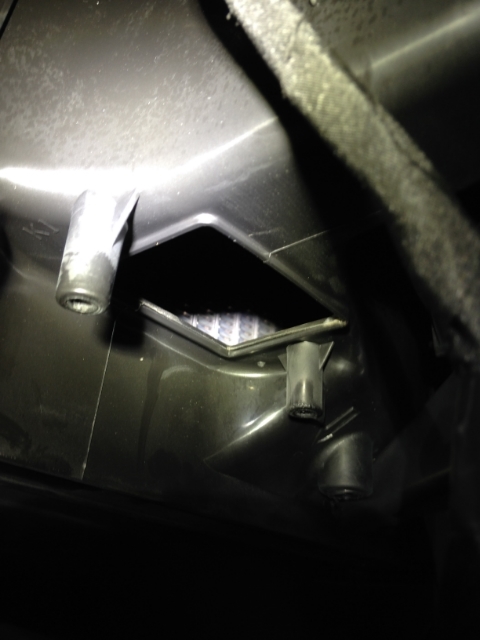
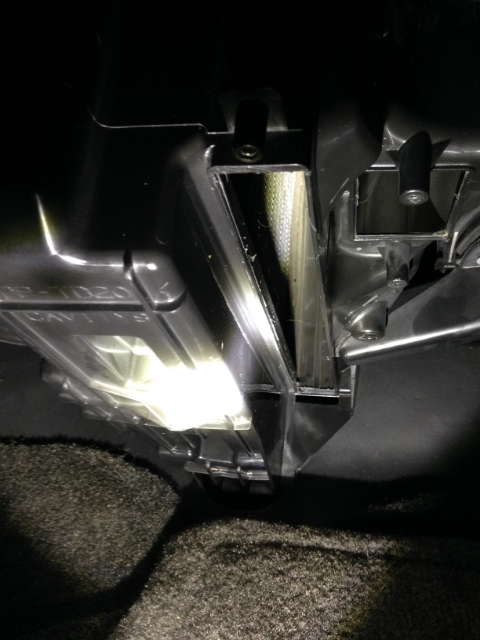
Air filter access, now cut away (Clean all debris and such)
Carbon air filter (remember the "V" cuts, so we can install it, take note that the white pull tabs are on bottom)
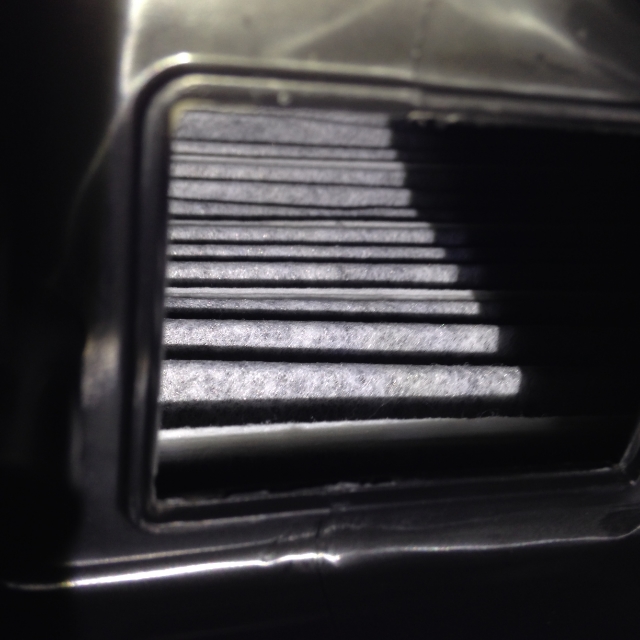
Checking alignment for good measure, don't forget to reinstall blower motor resistor/regulator.
Retro fit kit and Carbon air filter installed
Don't over tighten the screw, there should be a small gap between the bracket and screw housing hole.
I found it easier to start the 3rd screw that's under the center console from the drivers side
Complete this retrofit at your own risk, I am not responsible for any damage.
GMT 800's 2003+ (Notice possible conflict, check "L" bracket with dual filters on 2500/3500's) - (Older style - I have not done this to a GMT - 800 series try at your own risk)
GMT 900's All
UPDATE: DOES NOT FIT WT's on GMT 900's, the HVAC case is different.
If anyone finds issues or the parts conflict, please PM me ASAP, I will do my best to update this thread.
GM Part Numbers (GMT 900 series straight bracket)
22759208 - Retro Fit Kit (bracket & screw ONLY, no filter)
22759203 - Cabin Air Filter
23101674 - Cabin "Carbon" Air Filter
Only 1 type filter is needed
Dorman Retrofit Kit part number (GMT 900 series ONLY)
259-200 - standard filter w/ HVAC bracket & screw
259-201 - carbon filter w/ HVAC bracket & screw
GM Part Numbers early NBS's 1500/2500/3500 GMT 800 "L" bracket type (Older style)
52494070 - "L" Bracket Cabin Air Filter Cover (not sure if screw is included)
19257782 - Cabin "standard" air filter (QTY 2 half filters)
12489479 - Cabin "Carbon" air filter (QTY 2 half filters)
Only 1 type filter is needed
Notes/Maintenance :
Going forward replace cabin filter/s once a year.

Retro fit kit top side bracket

Retro fit kit Bottom side of bracket

Carbon air filter (Notice the "V" cuts)

Remove lower HVAC panel cover (3 screws, 1 under console is difficult 7mm magnetic bit works well)

Before retro fit kit modification

Remove blower motor resistor/regulator (allows for more wiggle room)

Rear slot

Score the plastic, repeat over and over shaving/thinning the plastic as you go (I was able to scrape most the plastic away using a 90 degree pick, only needed a razor blade to make a very lite cut afterwards) This material is very soft and doesnt take long to slice through from scoring it, just be patient and don't rush it
I would NOT recommend using a blade or razor when "first" scoring the plastic

Air filter access, now cut away (Clean all debris and such)

Carbon air filter (remember the "V" cuts, so we can install it, take note that the white pull tabs are on bottom)

Checking alignment for good measure, don't forget to reinstall blower motor resistor/regulator.

Retro fit kit and Carbon air filter installed
Don't over tighten the screw, there should be a small gap between the bracket and screw housing hole.


I found it easier to start the 3rd screw that's under the center console from the drivers side

Last edited by camcamaro1991; 01-26-2016 at 06:34 PM.
 10-31-2014, 12:09 AM
#3
Yes sir, GM went cheap, its already nice not to see little dust particles go flying out the vents when I run the air. Looked into it a while back when I got the truck, but parts guys don't spend much time on us regular ol customers.
Since we are in TX, did you notice any reduced a/c odor. I always run my air on high for about 2 minutes before I get home to blow out the condensation as much as possible but it always seems to creep back every so often. It plagued us a Mercedes. Some clients would make me want to pass out when I test drove their vehicles, woof.
What other items did you add to your truck?
 11-03-2014, 11:58 AM
#5
formerly 04 Rooster (2013-12-10)
iTrader: (1)

Join Date: Dec 2006
Location: Oilerville
Posts: 60
Likes: 0
Received 0 Likes
on
0 Posts
THANK YOU! This is awesome. Canadian price on the kit is $44 counter price. Now if I can just get a supplier price this should be a fairly low cost upgrade