When you click on links to various merchants on this site and make a purchase, this can result in this site earning a commission. Affiliate programs and affiliations include, but are not limited to, the eBay Partner Network.
I wanted to write everything down that I wish I would have known as I went through my swap. I'm a YouTube mechanic so I learn on the job lol.
Wiring Harness: There are minor differences in the wiring harnesses between RCSB trucks, Tahoes, and Extended Cab/Crew Cab trucks with rear AC functionality. In my instance, going from the 2001 Tahoe to the 2000 Silverado LS RCSB, there were 2 extra connections and what I believe to be a relay, that did not need to be used. I just zip tied them right above the wheel well and left them.
Manifolds: As noted in the previous guide, many of us will be upgrading to headers. I chose the speed engineering headers and ORY which actually mated to the the factory catback (I am trying to keep it quite). There is an important thing to note here that you need new plug wires. There are various lengths and you should measure yours to get the appropriate length. My 2001 LR4 engine needed the shorter version 10” length and you have to make sure that whatever brand you get that you get them with the 45 degree boot.
**When you are removing the manifold bolts, take the utmost care to spray them a few times with PB Blaster to loosen them up. Do not use an impact gun on these as it can easily snap them. I had three broken bolts from the idiots who removed the motor at the junkyard. 1 I was able to remove with an extractor and the others I was not able to. I had to take my engine to a friend that welded a nut to the stud and then we took it out using the nut. Those other two were very stubborn and I thought I was going to snap the extractor so I went this route.**
The header on the passenger side went in from the top while the AC was still disconnected. The header from the driver’s side also goes in from the top, you just need to unbolt the steering shaft and then move it out of the way.
When you install the headers. It can be difficult to line up the header and so I used a ratchet strap to hold the manifold in place while I threaded bolts. This is what you have to do when all your friends are lazy POSs lol.
PCM- The PCMs are not the same for all trucks. Some 99s and early 00s came with a blackbox PCM (from what I have been told) does not work with the V8 tune and electric fans. I opted to have a local tuner flash the silver PCM from the Tahoe and put my VIN within it, and then turn on my efans. The two connectors that go onto the PCM are much easier to place if you take the rubber oring off first, place it on the female side, and then push the connector on. Below is a picture of the black box PCM.
Transmission- The stock 4L60E is fine as long as you are not doing some heads/cam setup or a turbo. I opted for a stock 4L60E. If for some reason you bought a V6 4L60E transmission from a OBS style vehicle, it will not have the right bell housing bolt pattern. It is missing the top hole. Be aware of this. I bent the transmission lines on the 4L60Ewhen I set the motor in. I ended up running new rubber lines just out of the transmission to an auxiliary transmission cooler meant for a big truck. It is hot here in Phoenix and often times I can get stuck at the border crossing so my truck sits in lines for hours, thus, I wanted to take the load off the radiator. The items I used are below:
(2) Derale 13032 3/8" Cooler line to 3/8" NPT Hose Barb Universal Transmission Line Fitting I like the quick disconnects on the 4L60E so I didn’t want to take those fitting out of the the transmission.
Derale 13017 Transmission/Engine Oil Hose I only needed about 18ft of the 25ft that the box comes with.
Hayden Automotive 679 Rapid-Cool Plate and Fin Transmission Cooler, Black, 11 Inch
Procedure for installing trans cooler:
I removed the original channel support bracket and cut it in half along the 90 degree bend with an angle grinder. I use the piece that bolted to the truck as the bottom mount, then I cut the 2nd piece in two pieces to make the upper 'ear' style mounts. I cut the transmission lines about 12” after the exit from the transmission, put on the above mentioned fittings, and ran the hose to my transmission cooler. I ran it along side the oil pan, underneath the AC compressor, and up through the plastic covers on the top headlight (99-02 Silverado) to the trans cooler. Make sure you put a little bit of the copper lube on the compression fitting side and a little oil on the barb sides to make sure the hose slides all the way on.
Hoses: The AC lines from the condenser work from the V6 to V8. The hose coming from the compressor needs to be the V8 one and the issue with this hose is the Accumulator has the fitting on the 3 o’clock side and it really needs to be on the 4 or 5 o'clock side for it to mate. Below is a picture of the V6 accumulator with the v8 hose coming from the compressor. As you can see, it does not mate.
There is a hose on the manifold for the Tahoe that you do not need, just plug it up.
Last edited by 00cls1camaross; 05-16-2021 at 11:02 PM.
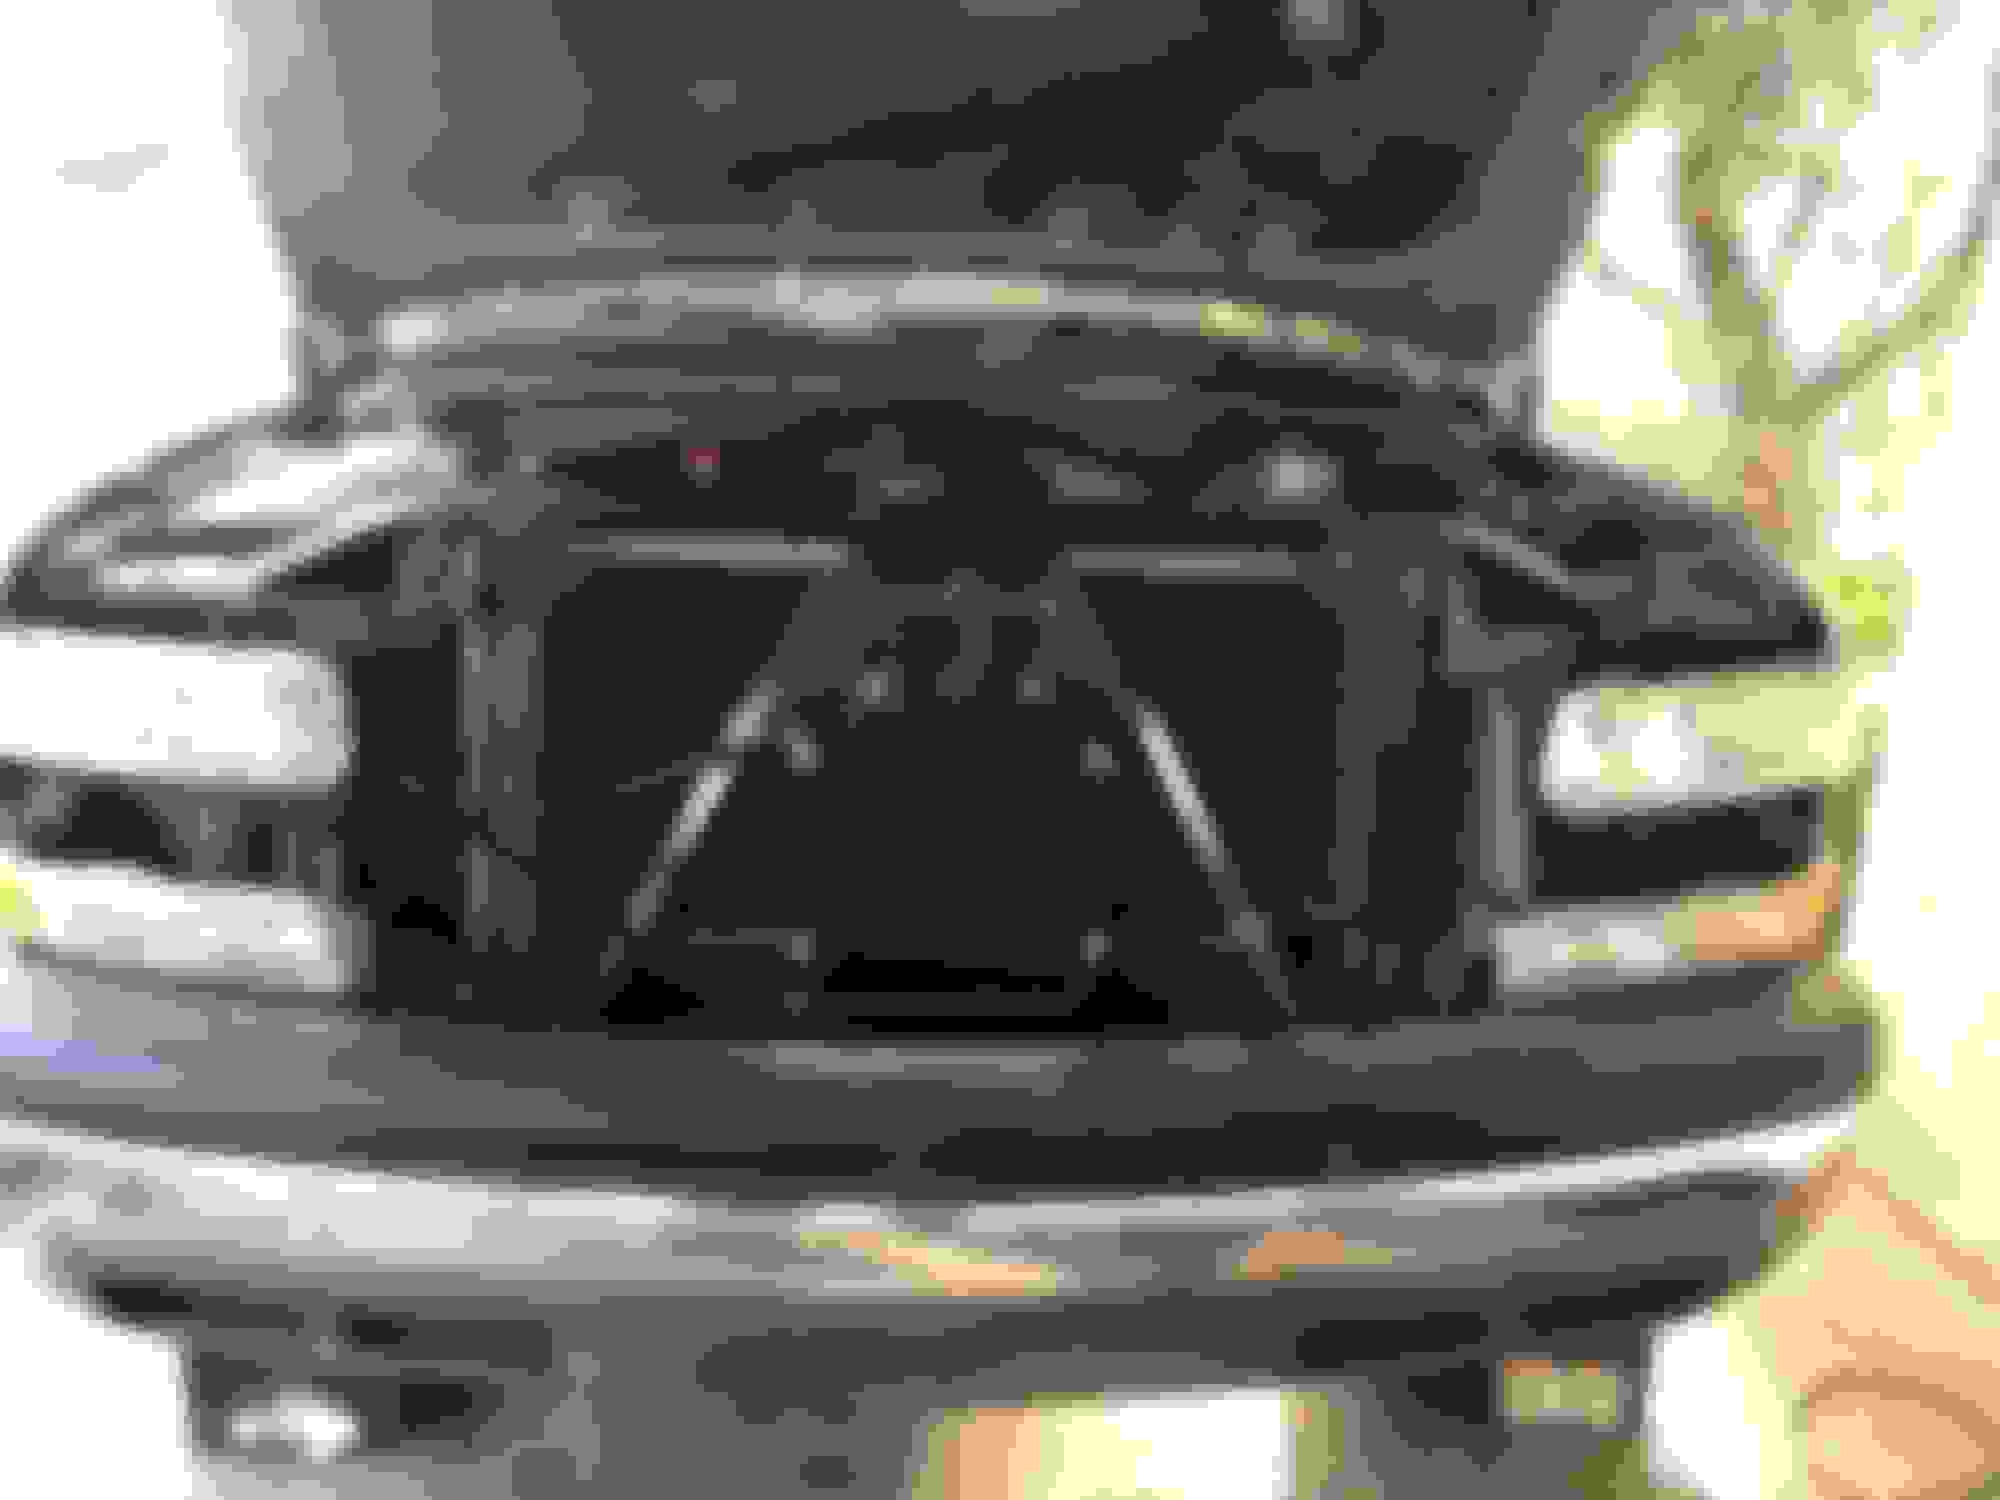
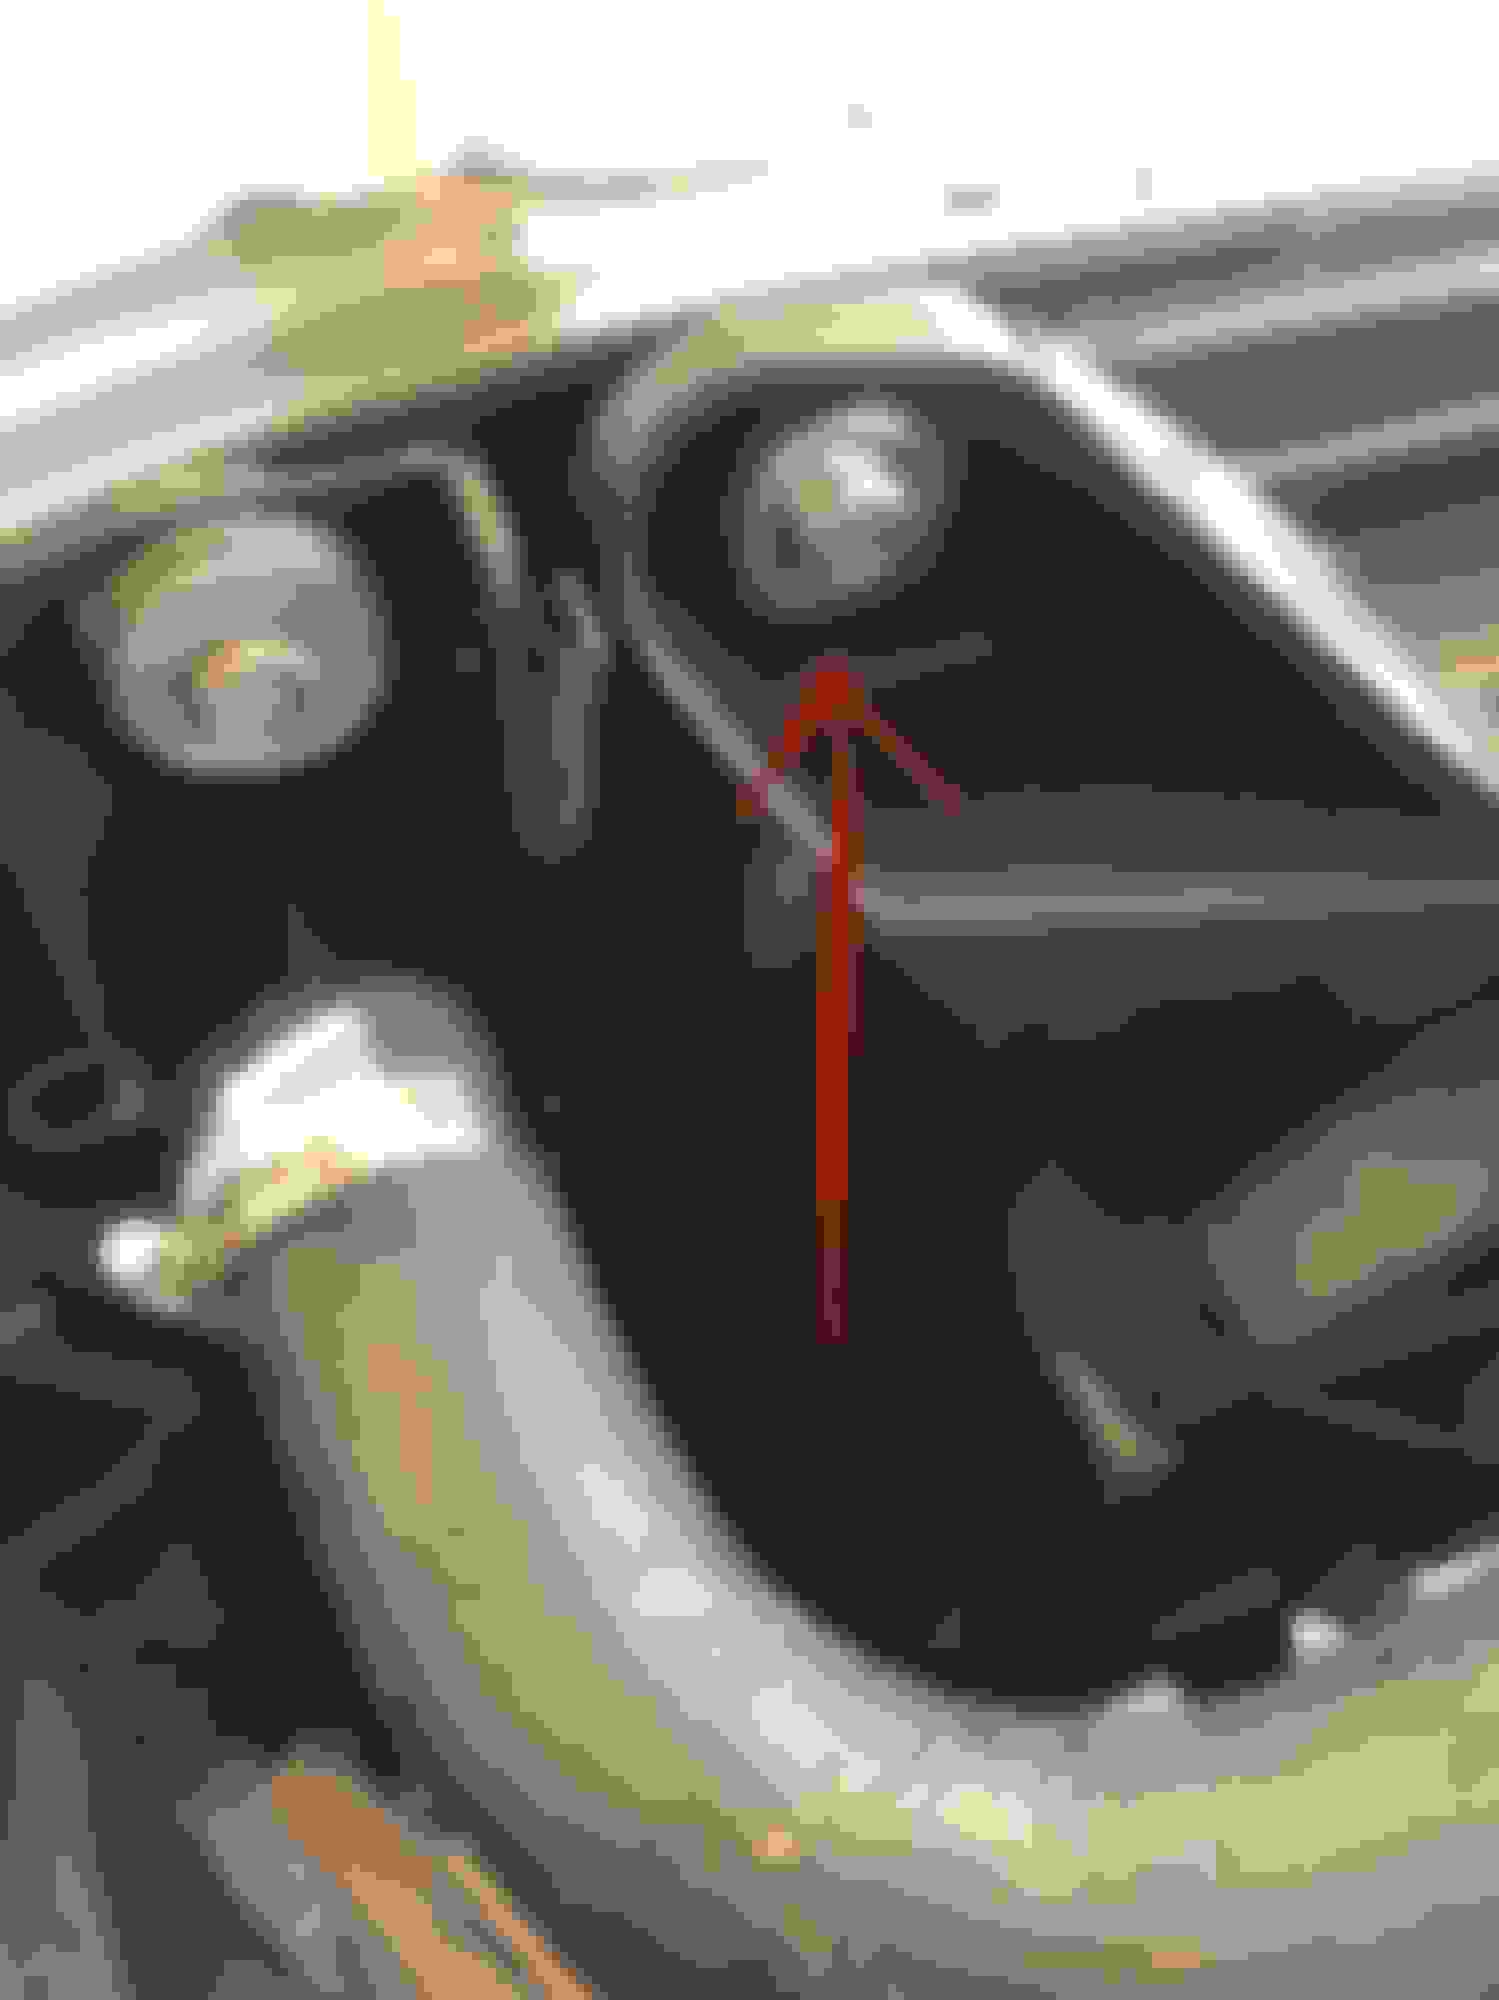
Radiator/Fans: In order to run electric fans, you need a harness and to have your computer tuned. The 28” radiator probably can be made to work, but I like to do things right so I opted for the 34” radiator w/o the built in oil cooler. The 34” radiator bolts right in. You just need to remove the pads from the old radiator and put them on the 34” radiator. You also need two more bolts for the efans and I got them at Ace Hardware. They are identical to the bolts that hold the radiator on. Also, they do not need to be tapered as the GM ones are to work correctly. The 34” radiator also has nipple on it for the coolant passage that goes from the heads into the radiator. This does not exist on the 28” radiator. I opted for �” fuel line because I couldn’t find any line that said it was rated for coolant. The hose was 3.4 bar which is about 50psi. This exceeds the pressure rating for the coolant so I think it will be fine. Traditionally, the coolant flows through the TB for cold weather environments, but I live in Phoenix and chose to bypass it because I don’t want 210 degree coolant warming my TB.
Picture 1: Supplemental bolts to hold the efans, the shiny ones
Picture on passenger side of the radiator of the nipple
Picture 3: This is running from the nipple on the radiator toward the drivers side head. I bypassed the TB. ***This is toward the driver's side head*** I mislabeled the picture.
Air Intake: All you need is the air intake tube, the V8 tube works. You can build yourself one out of PVC, buy a metal one and throw away the cone filter, or buy the Air Raid elbow. Don’t screw with the cone filters, those things are junk and the stock airbox is fine. I was lucky enough to find a used air raid one that was designed for the mechanical fan truck. It fit just fine.
The throttle body and cruise control wires were too short from the LR4 and thus did not let the blade seal entirely on my setup. I drilled out the holes on the bracket to 1/2" and scooted it as far forward as I could. This was sufficient to make the cruise control work and the blade seal entirely.
Fuel Lines: This is really important. When you are searching for your donor motor, it is best to match up the fuel line assemblies. My truck has a return style fuel system so I made sure that when I was getting the donor motor, it too, had a return style fuel system. When you are cutting the lines on the manifold side, make sure you cut them as close as you can to the quick disconnect fitting. The Earl’s Fittings barely fit. Also, the non Earl’s brand fittings that are sold on Amazon and the like are much larger. Don’t cheap out here because it could be a headache. Buy the Earl’s fittings.
There is a 3rd hard line coming from the fuel take that is the EVAP line. This line was attached to a plastic piece when you pulled the motor. It has a connection on the manifold and I just mated them with some hose I had laying around and a couple of band clamps. You might be able to use the plastic lines from the V8 EVAP system to mate it in a nicer fashion, but I couldn’t get them to connect without kinking the line.
Good luck everyone! I hope this is helpful to you all. The previous thread was very helpful! Long live forums, can't stand the FB groups... killed the real tech that used to be on here.
Last edited by 00cls1camaross; 05-16-2021 at 10:49 PM.
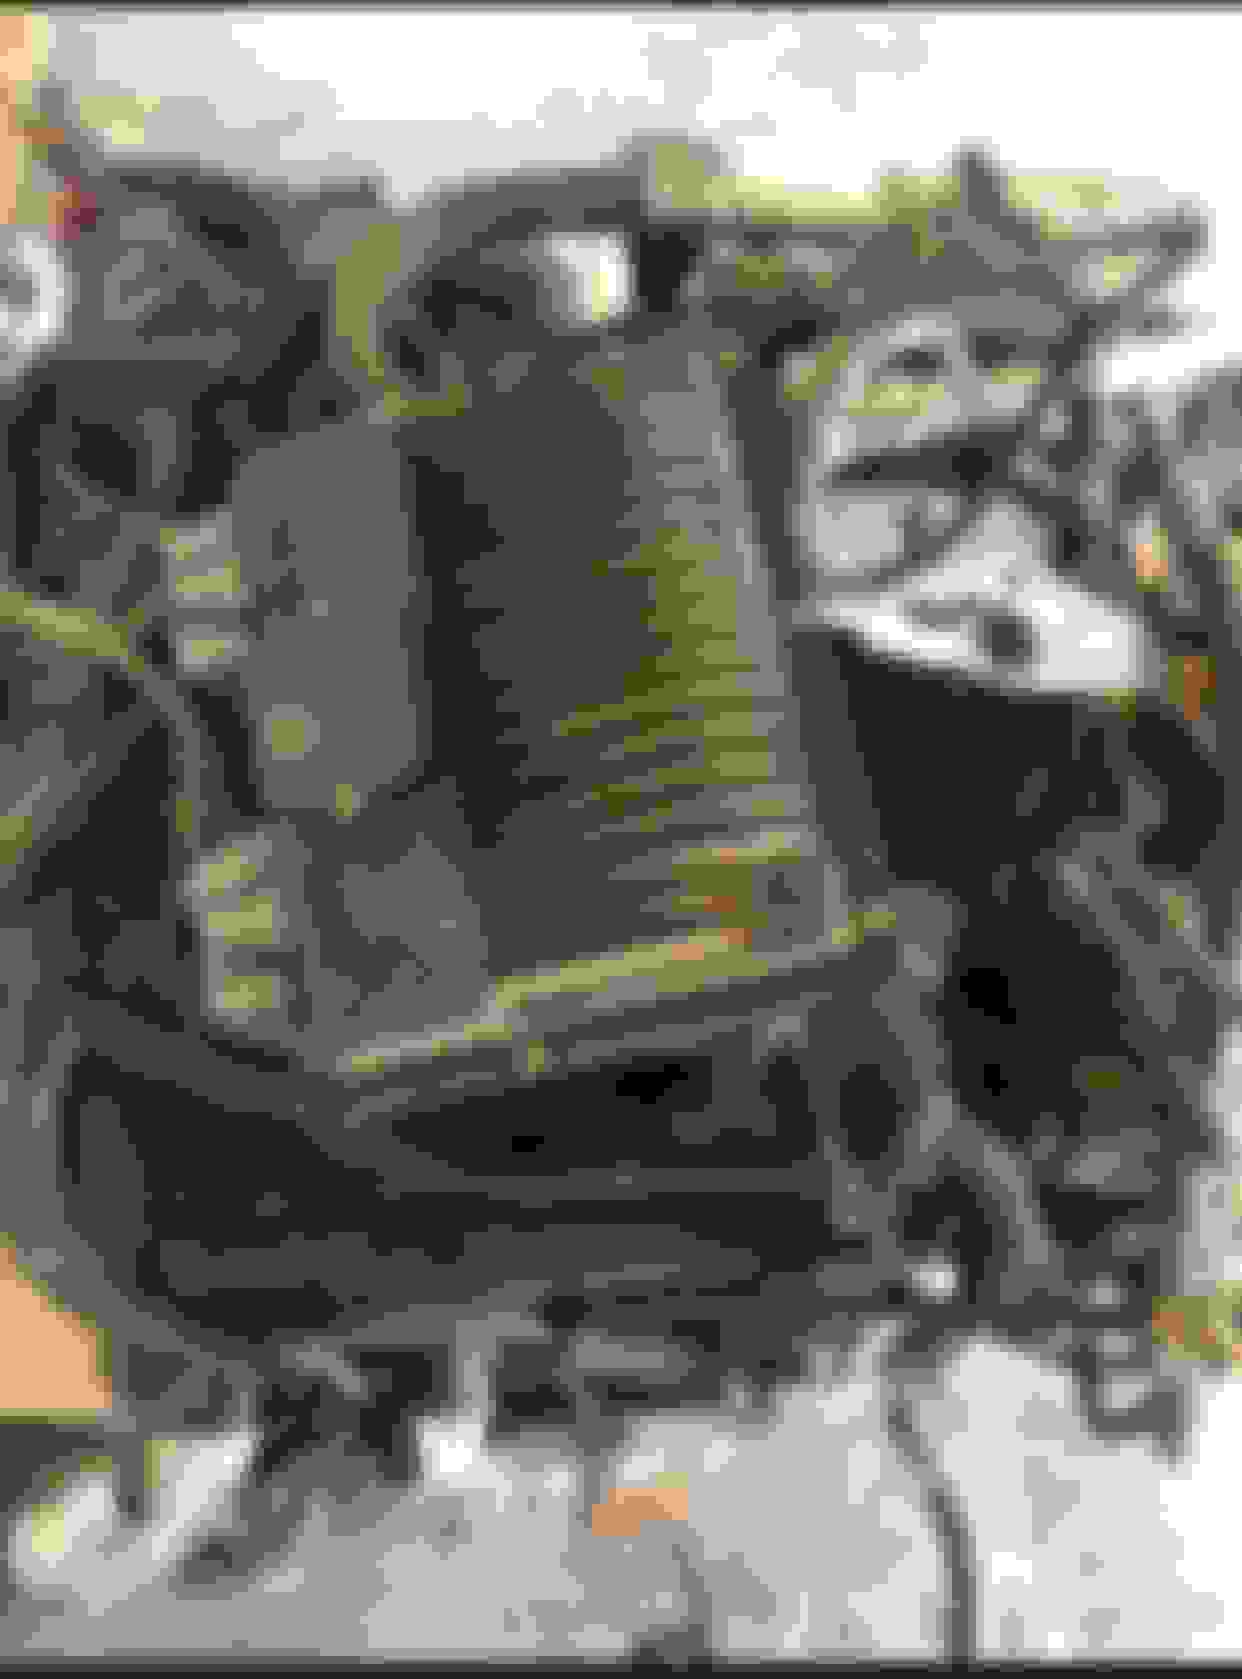
I have come back to add this to this. I was having oil consumption issues and come to find out there is a revised drivers side valve cover that has an integrated PCV valve that corrects the older design. The older design can become a problem if it becomes clogged or if you have the old PCV valve with the ball check inside rather than the pin hole. Below are pictures of the new valve cover with the improved baffling.
Dorman 264-965
Last edited by 00cls1camaross; 11-05-2021 at 11:34 AM.
Oh **** I probably should pick that up then. I knew that was for a NNBS but never for NBS.
My 04 LQ4 I think had some oil consumption before I started leaking out my rear main.
See below, another fix besides the fixed orifice is the upgraded valve cover with the build in PCV valve.
Bulletin No.: 01-06-01-029B
Date: July, 2002
Subject: Higher than Expected Engine Oil Consumption (Replace PCV Valve)
Models: 2002 Chevrolet Avalanche 1999-2002 Chevrolet Silverado, Suburban, Tahoe Models 2002 Cadillac Escalade, Escalade EXT 1999-2002 GMC Denali, Sierra, Suburban, Yukon Models with 4.8L, 5.3L or 6.0L Engine (VINS V, T, N, U - RPOs LR4, LM7, LQ9, L04)
This bulletin is being revised to clarify the parts information. Please discard Corporate Bulletin Number 01-06-01-029A (Section 06 - Engine/Propulsion System).
Condition
Some customers may comment on higher than expected engine oil consumption. They may further comment on consumption in the range of 3,200 km (2,000 mi) or less per quart (0.946 liter) of oil under normal driving conditions.
Cause
The condition may be due to the positive crankcase ventilation (PCV) valve flow rate under certain engine operating conditions.
Correction
1. Verify that the oil consumption is not the result of an oil leak or other engine concern.
2. The dealer should perform an oil consumption test. The vehicle should have accumulated over 6,450 km (4,000 mi) before establishing the oil consumption rate. Reference Corporate Bulletin Number 01-06-01-011, Information on Engine Oil Consumption Guideline, for details.
3. Remove the PCV valve and inspect the hose going to the intake manifold for signs of excessive oil being present.
4. If excessive oil is present in the PCV hose, replace the PCV valve (Type 948C) (2) with a new-style fixed orifice PCV valve, GM P/N 12572717 (1).
Important: The new style fixed orifice PCV valve contains no moving parts, and does not rattle when shaken. If the vehicle has an orifice style PCV valve, investigate other causes for high oil consumption.
 05-16-2021, 10:26 PM