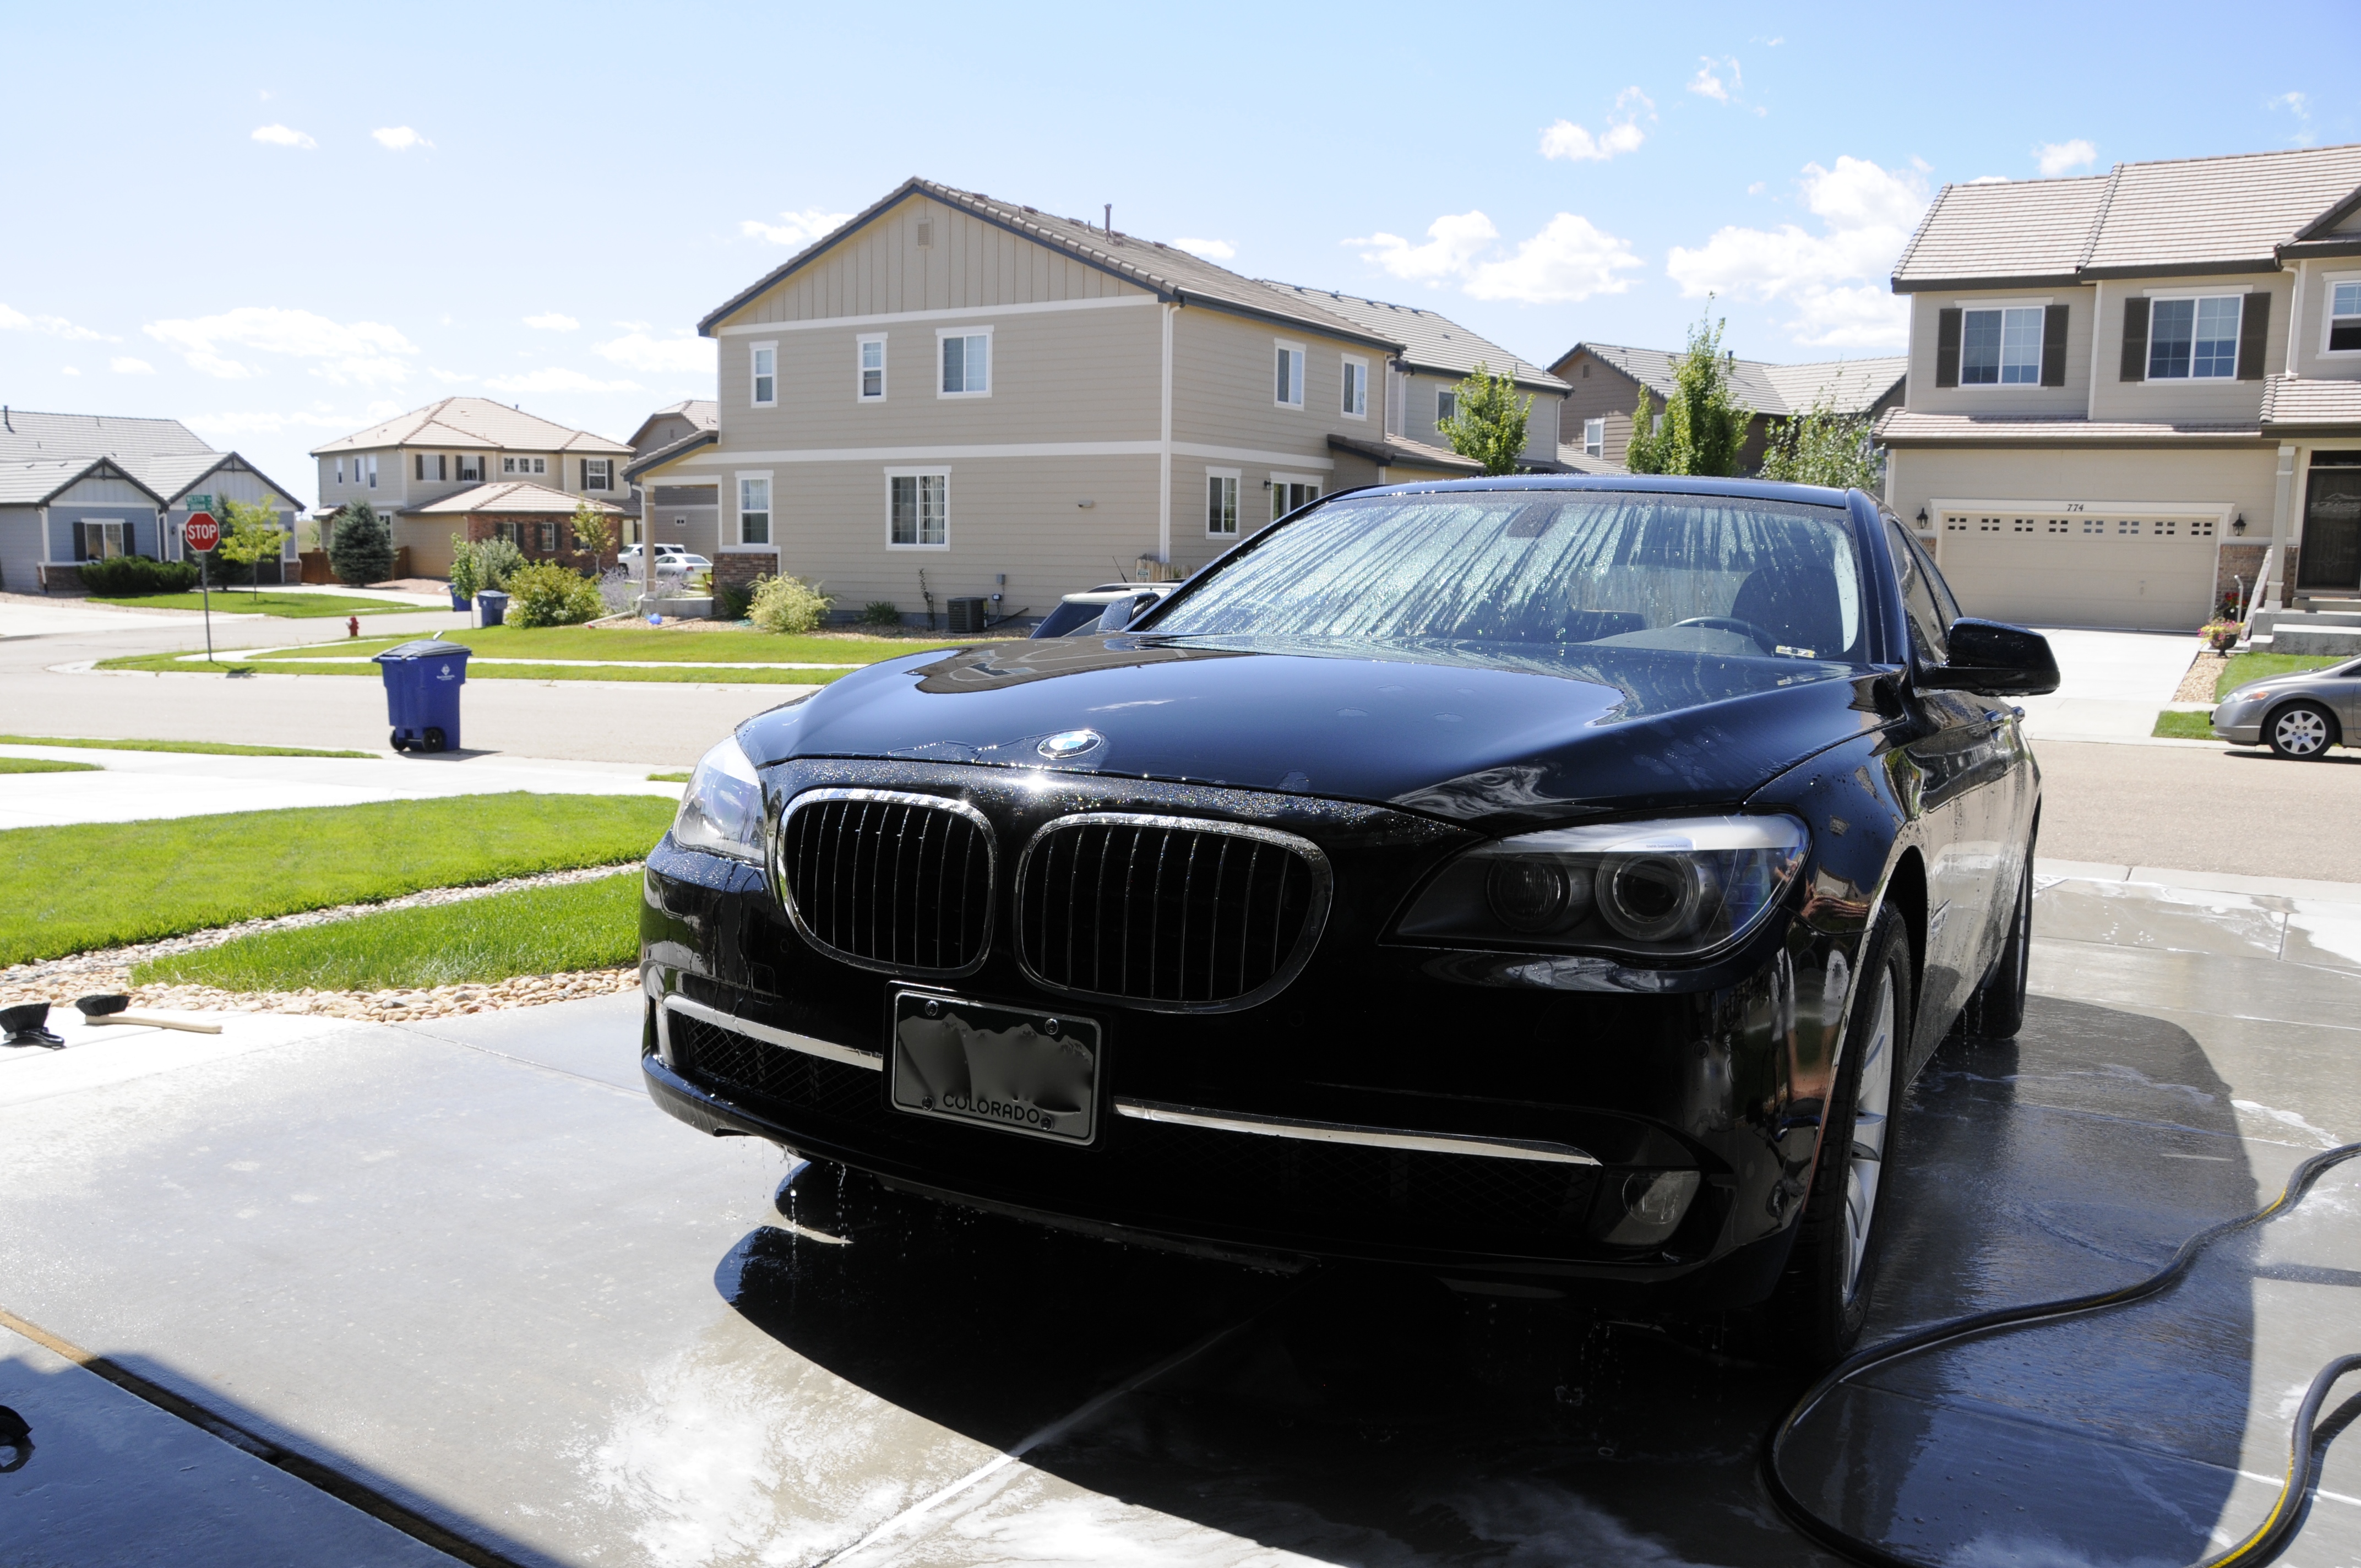
SCG PRO Detailed: BMW 750Li Xdrive
#1
I will just copy and paste this from our Forum. Easier than switching all the tenses and changing words...
-------------------------------------------------------------------------------------
I had been waiting for a good 'test subject' to perform a full paint correction on using the new SCG Pro polishes and luckily this 750Li belongs to a friends dad. Lots of swirled up paint (forgotten how big these 7 series actually are) to show what the polishes are capable of and since the job was performed free of charge I knew the owner would really appreciate me giving his car a makeover.
DIAGNOSIS:
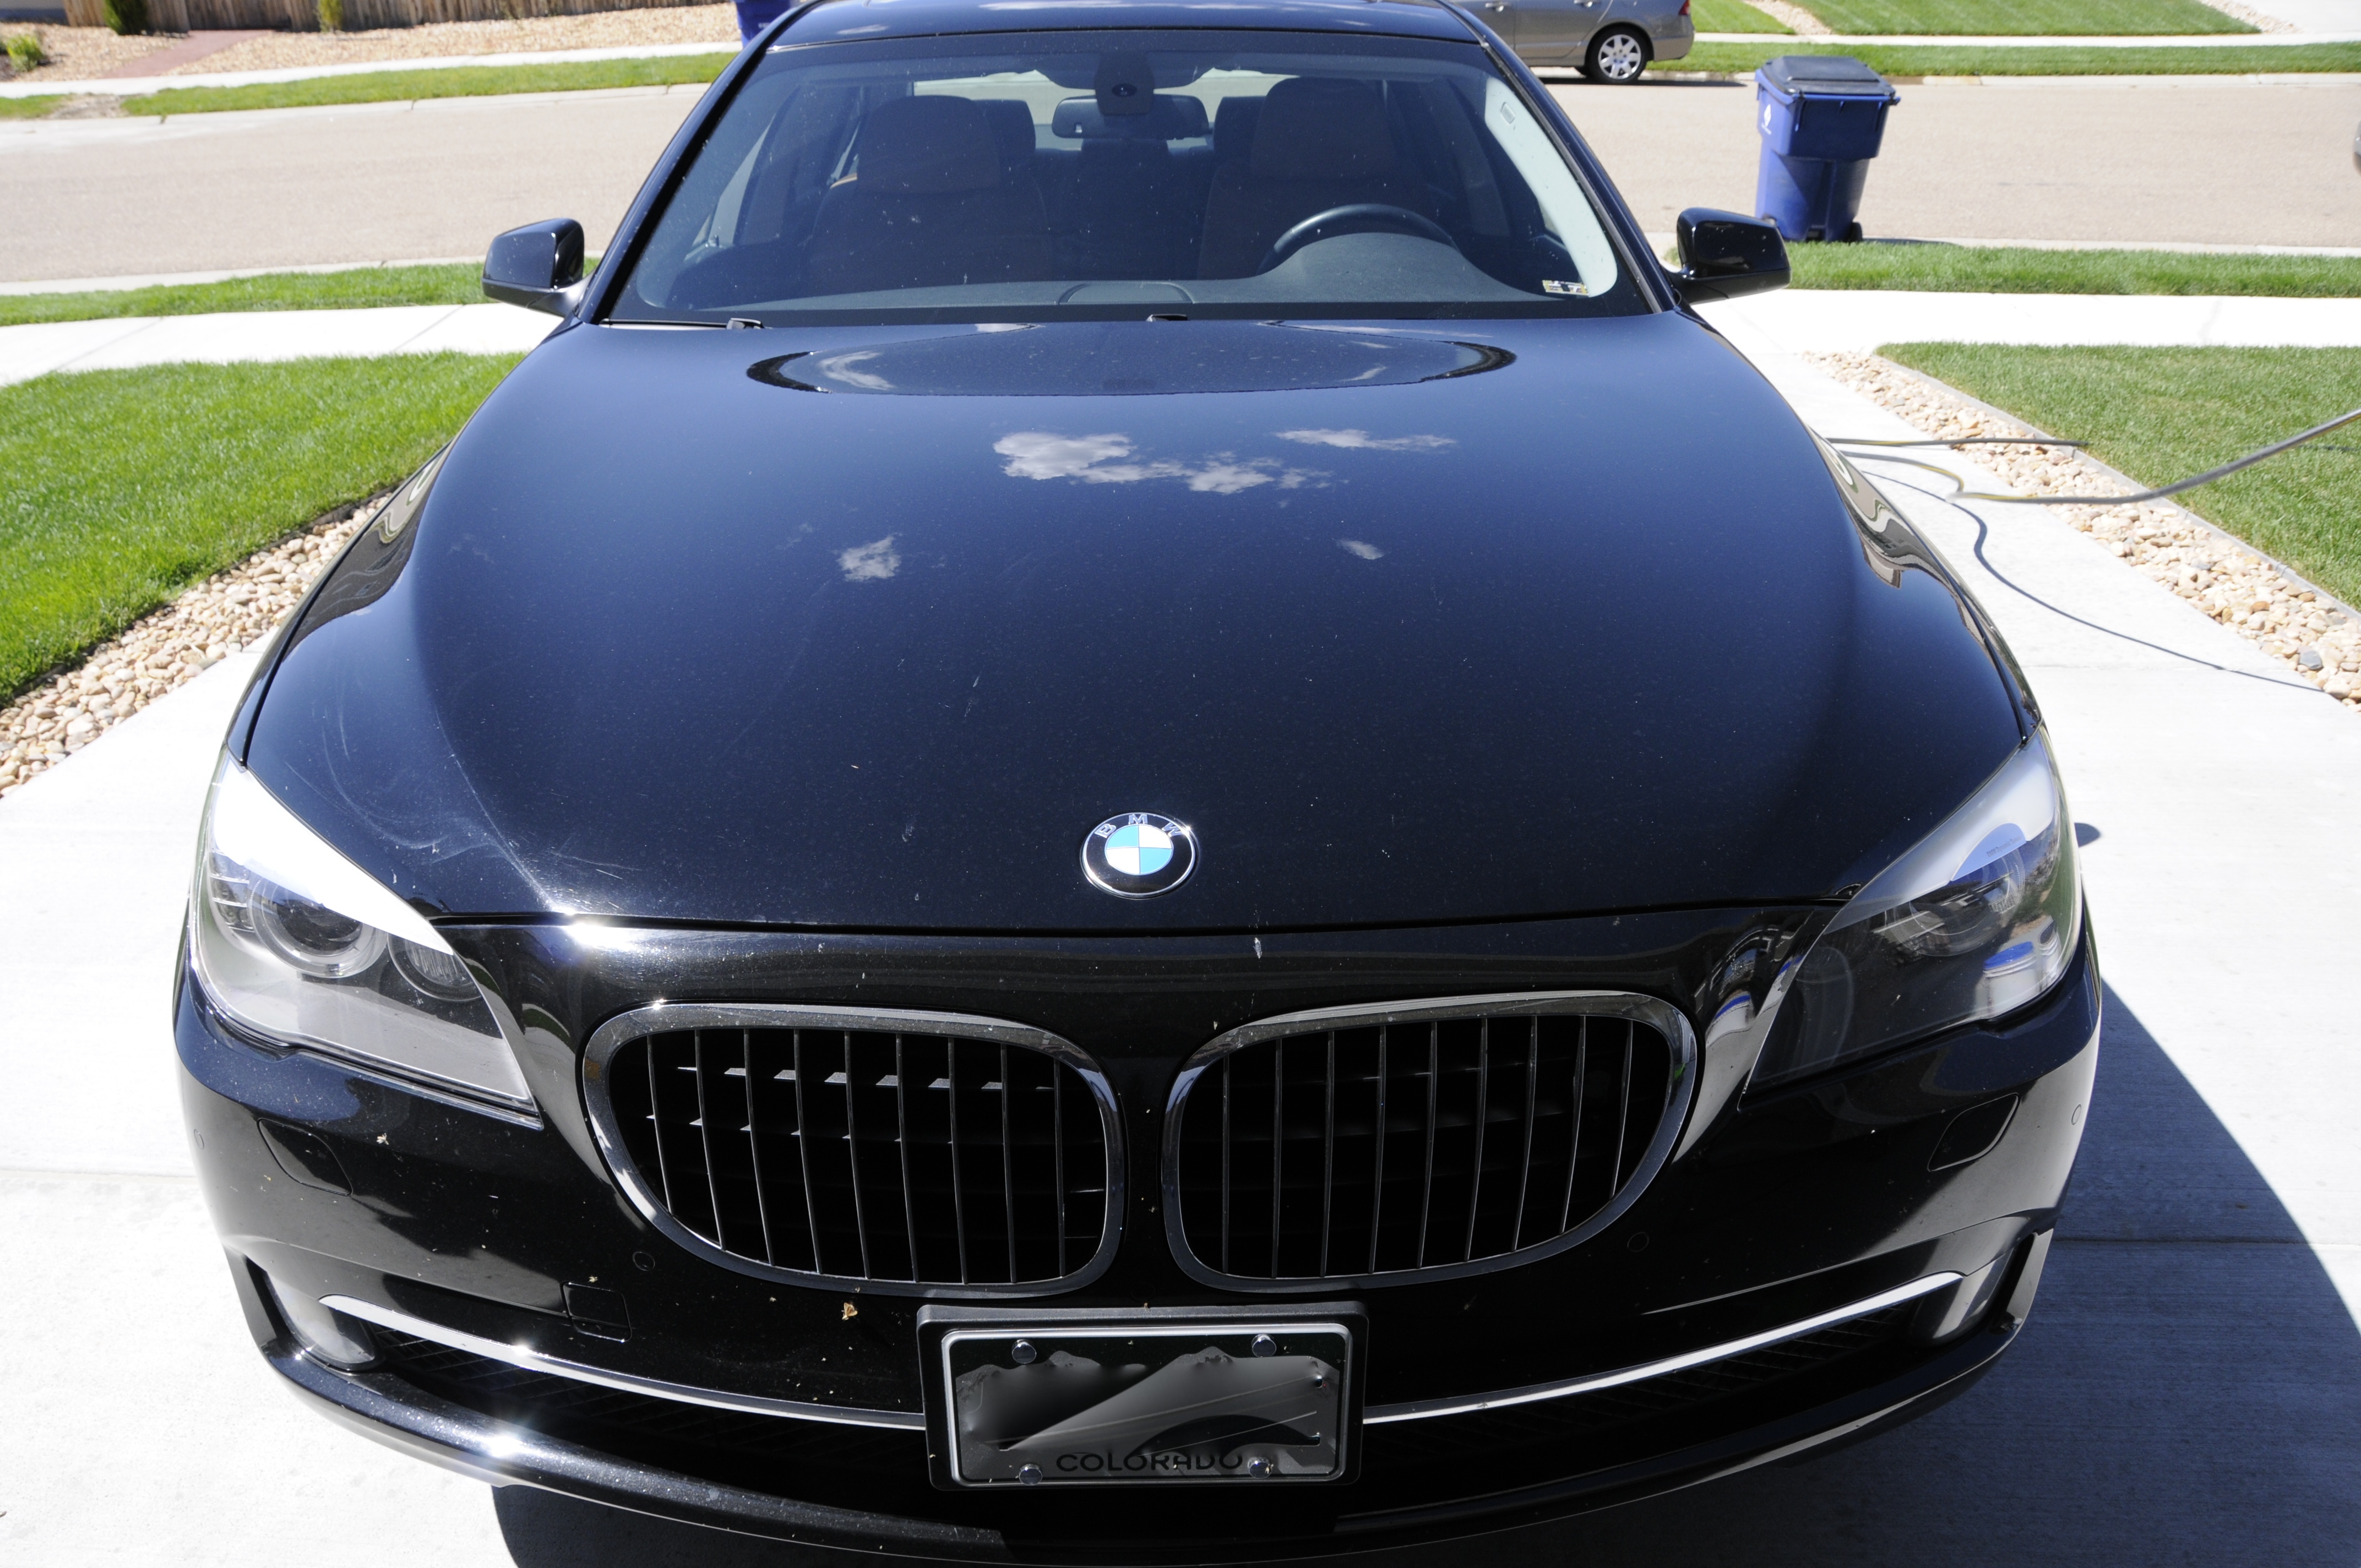
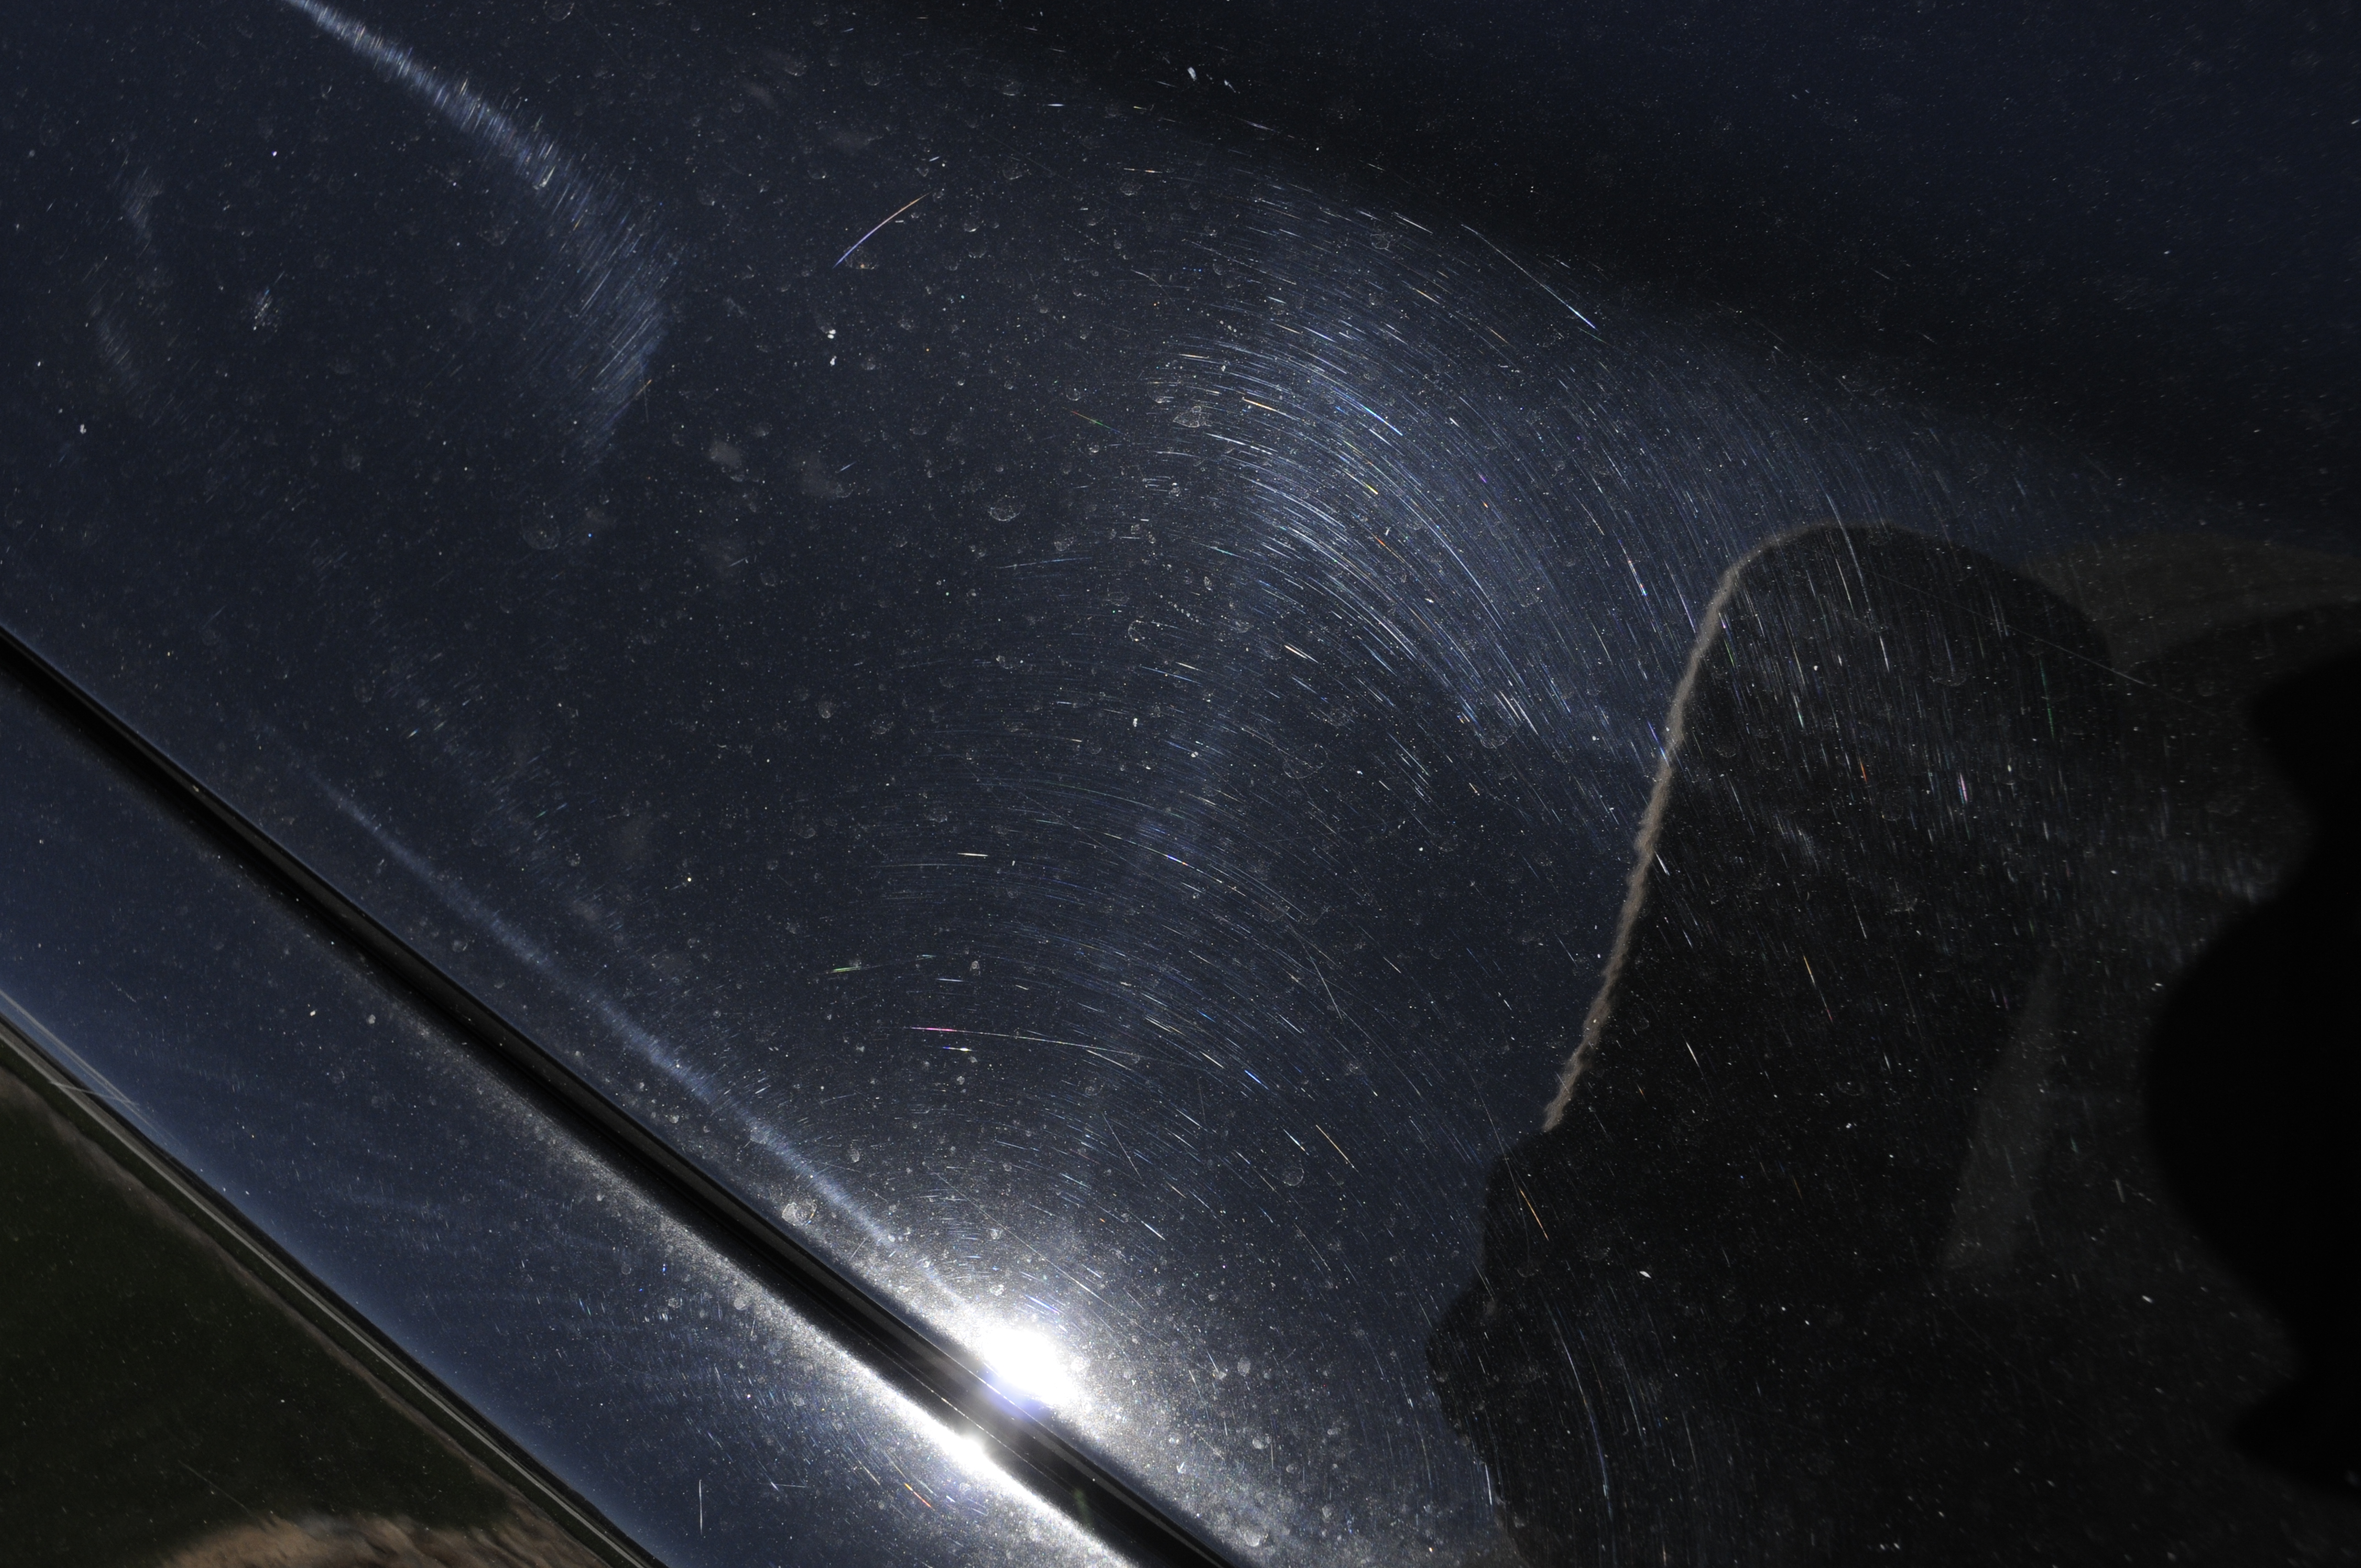
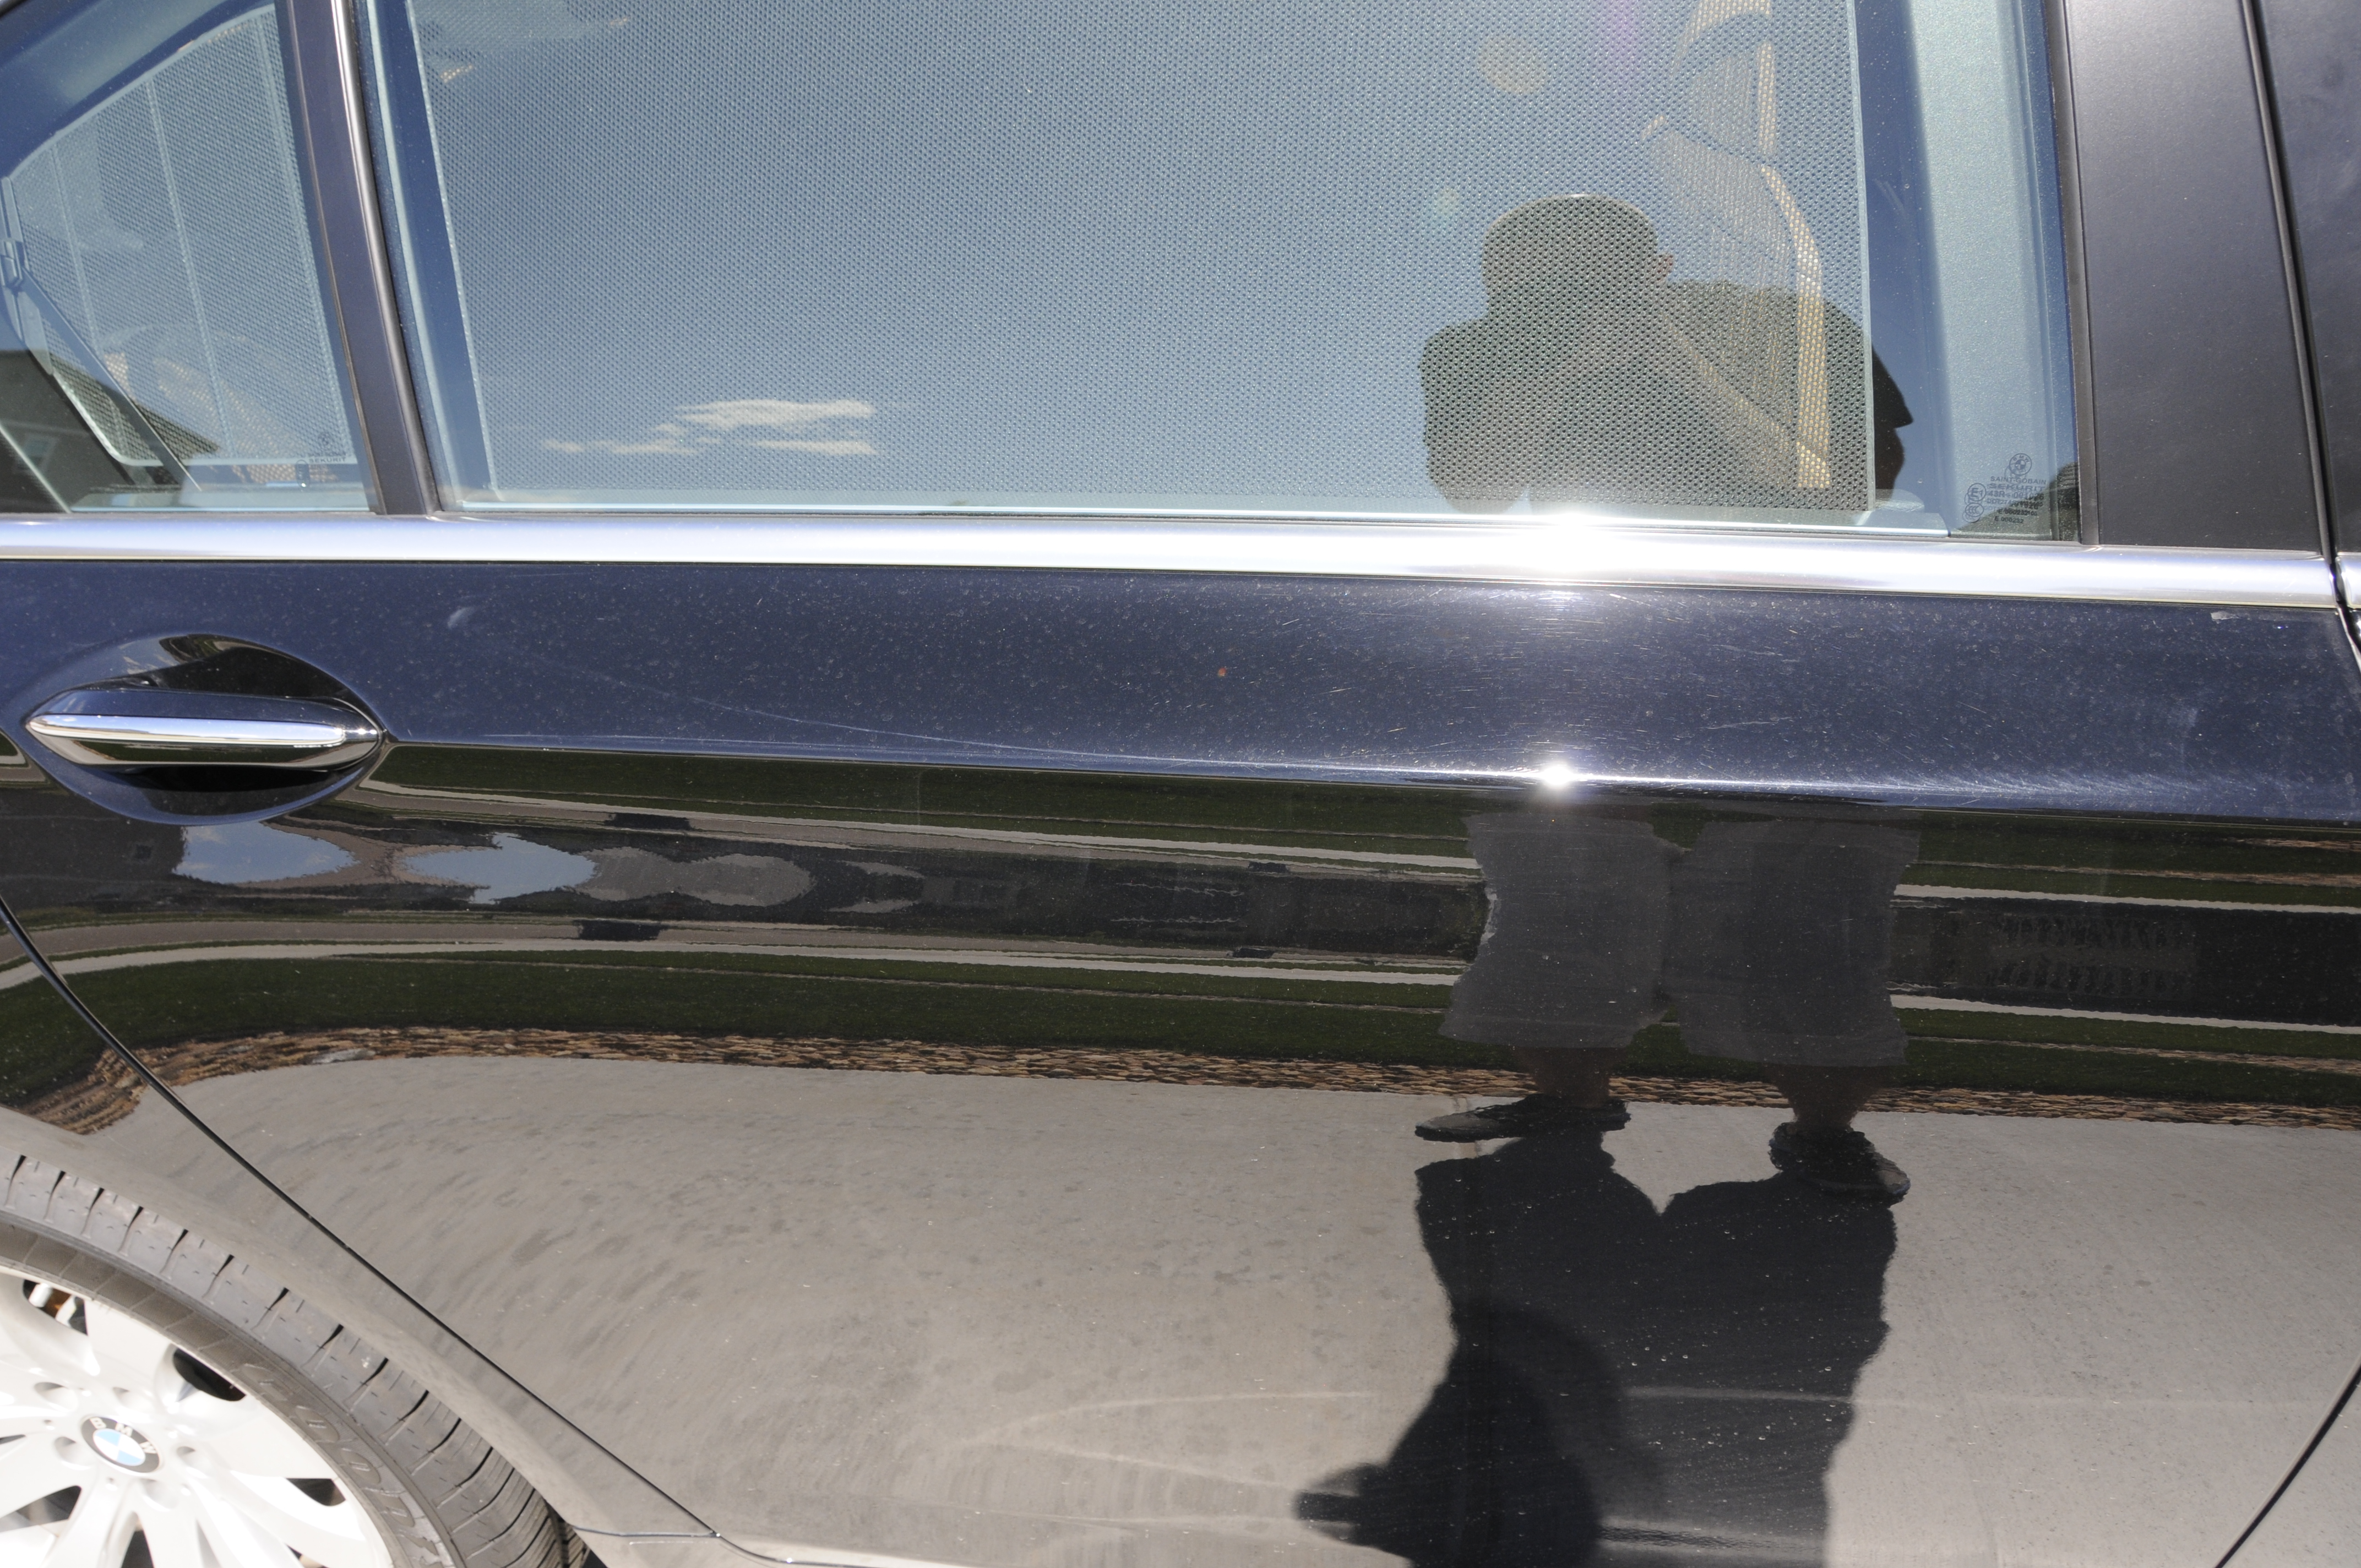
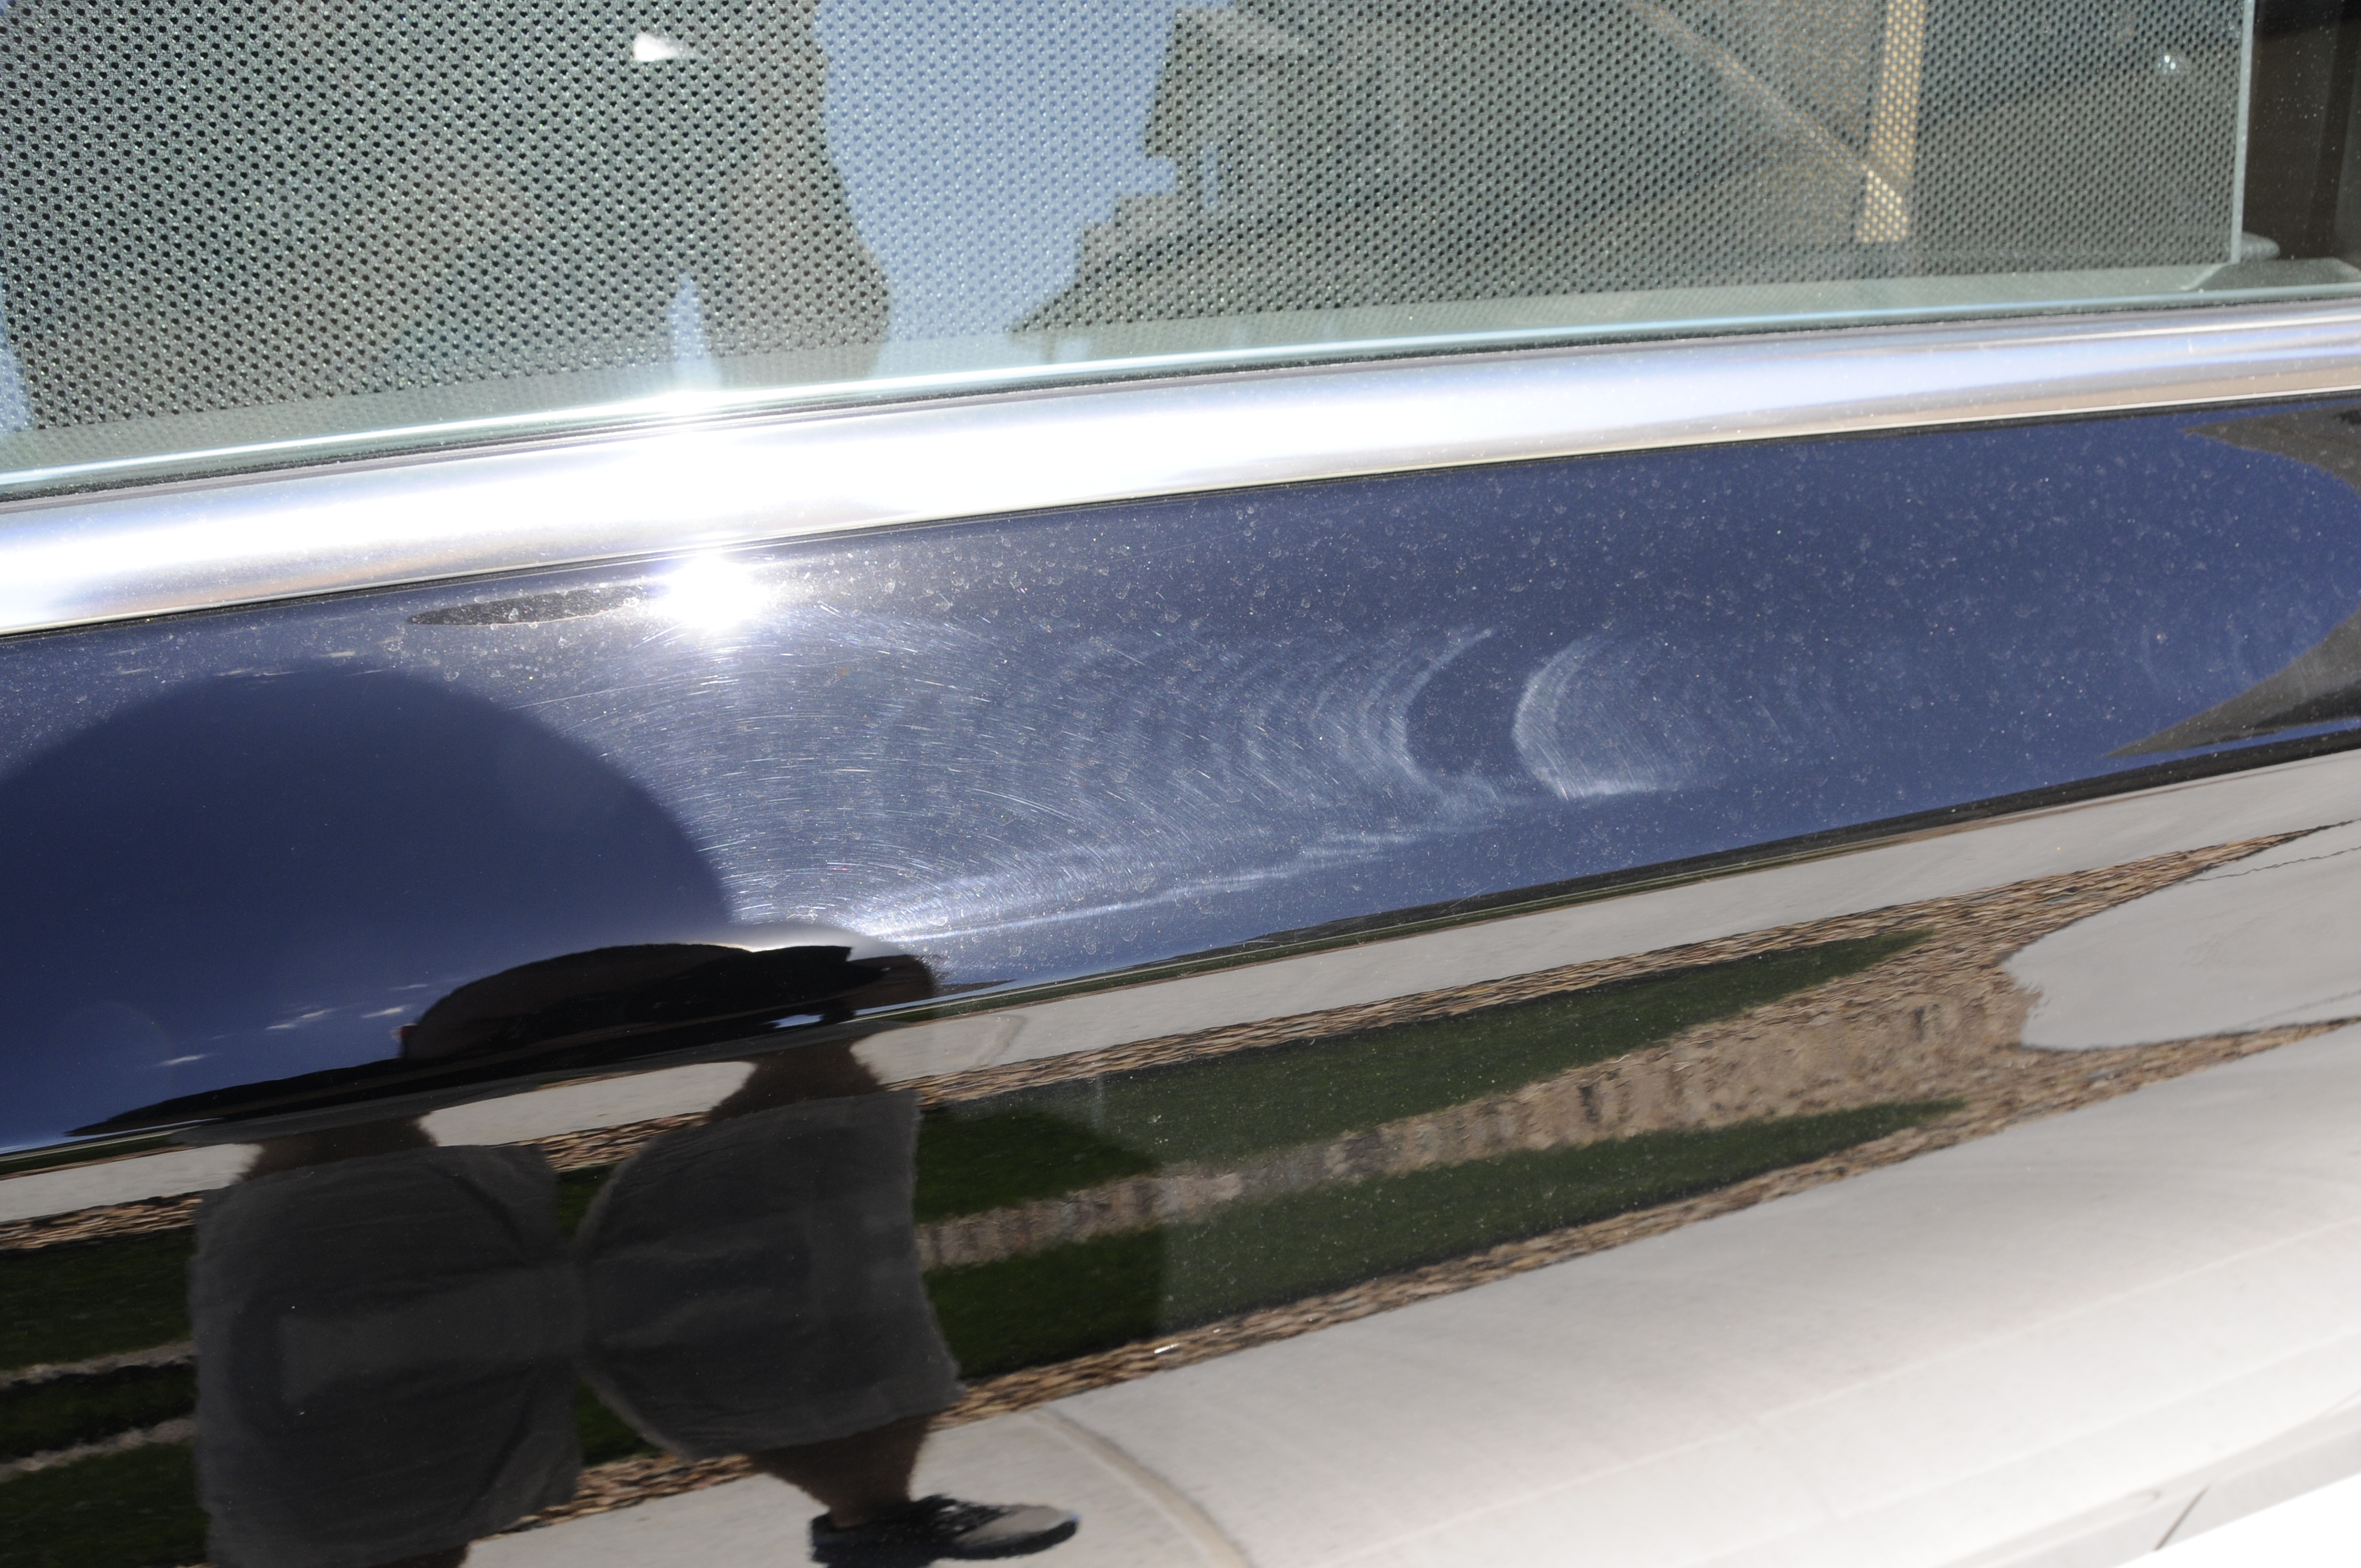
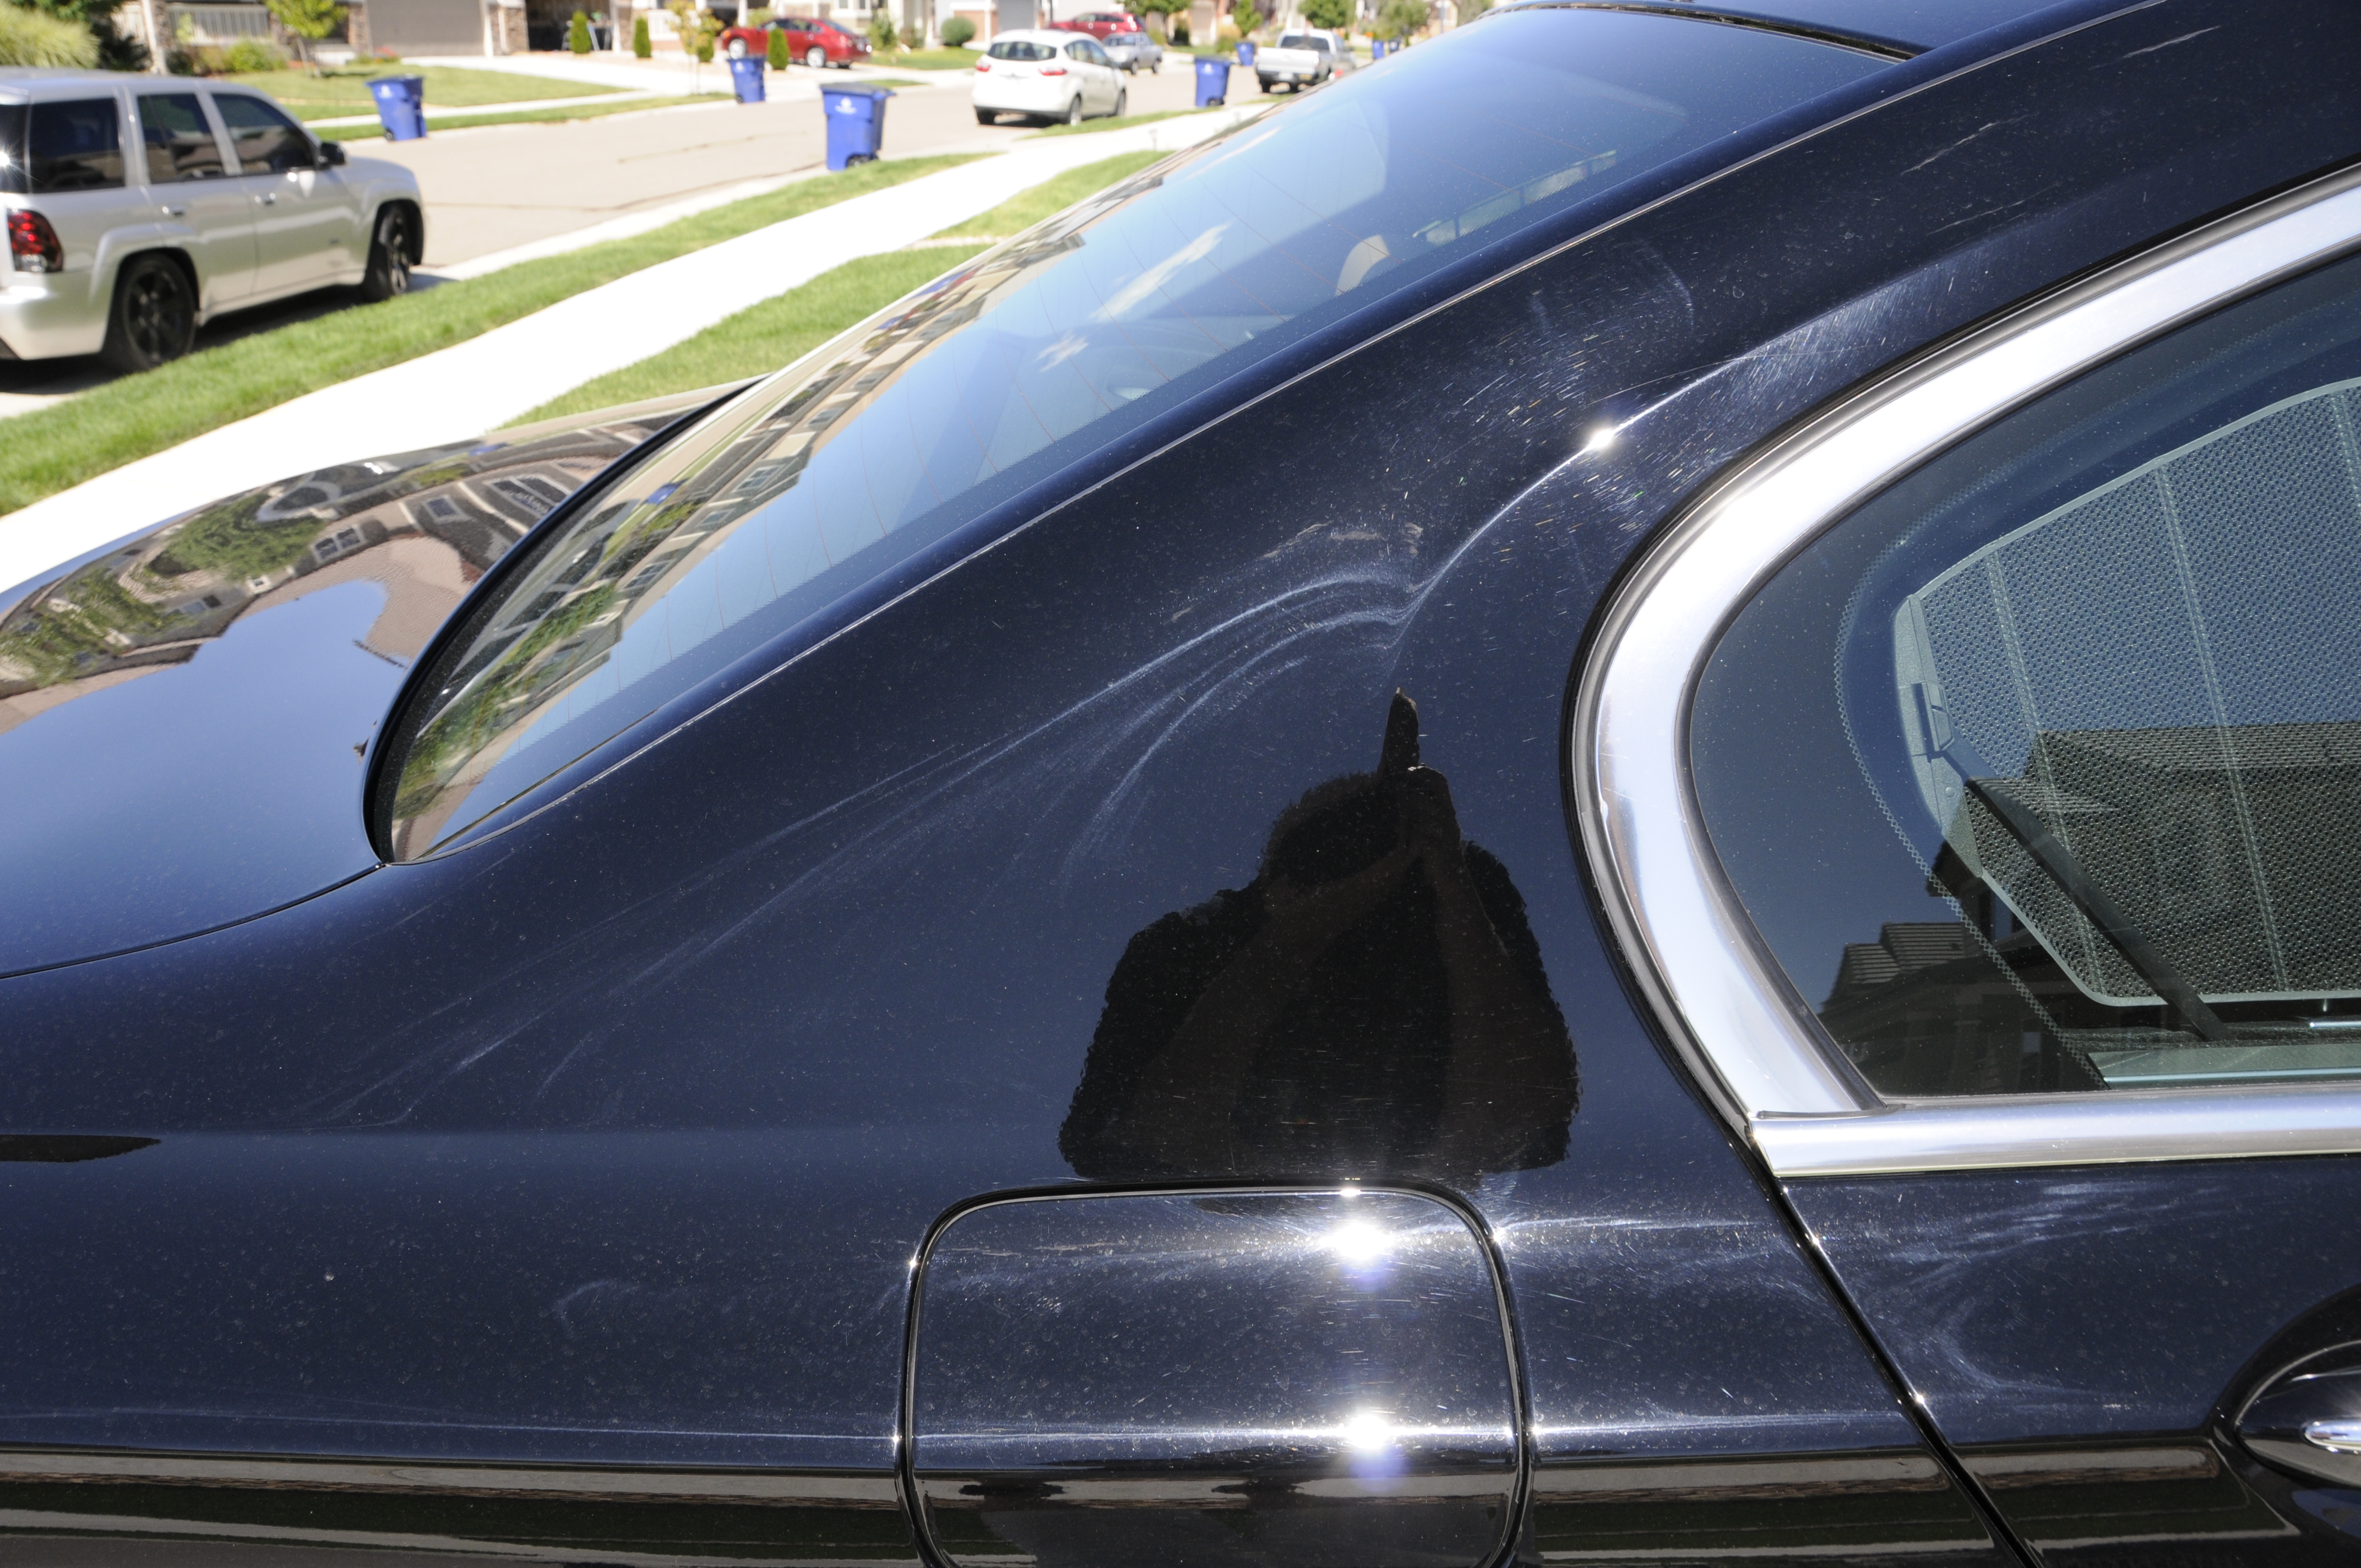
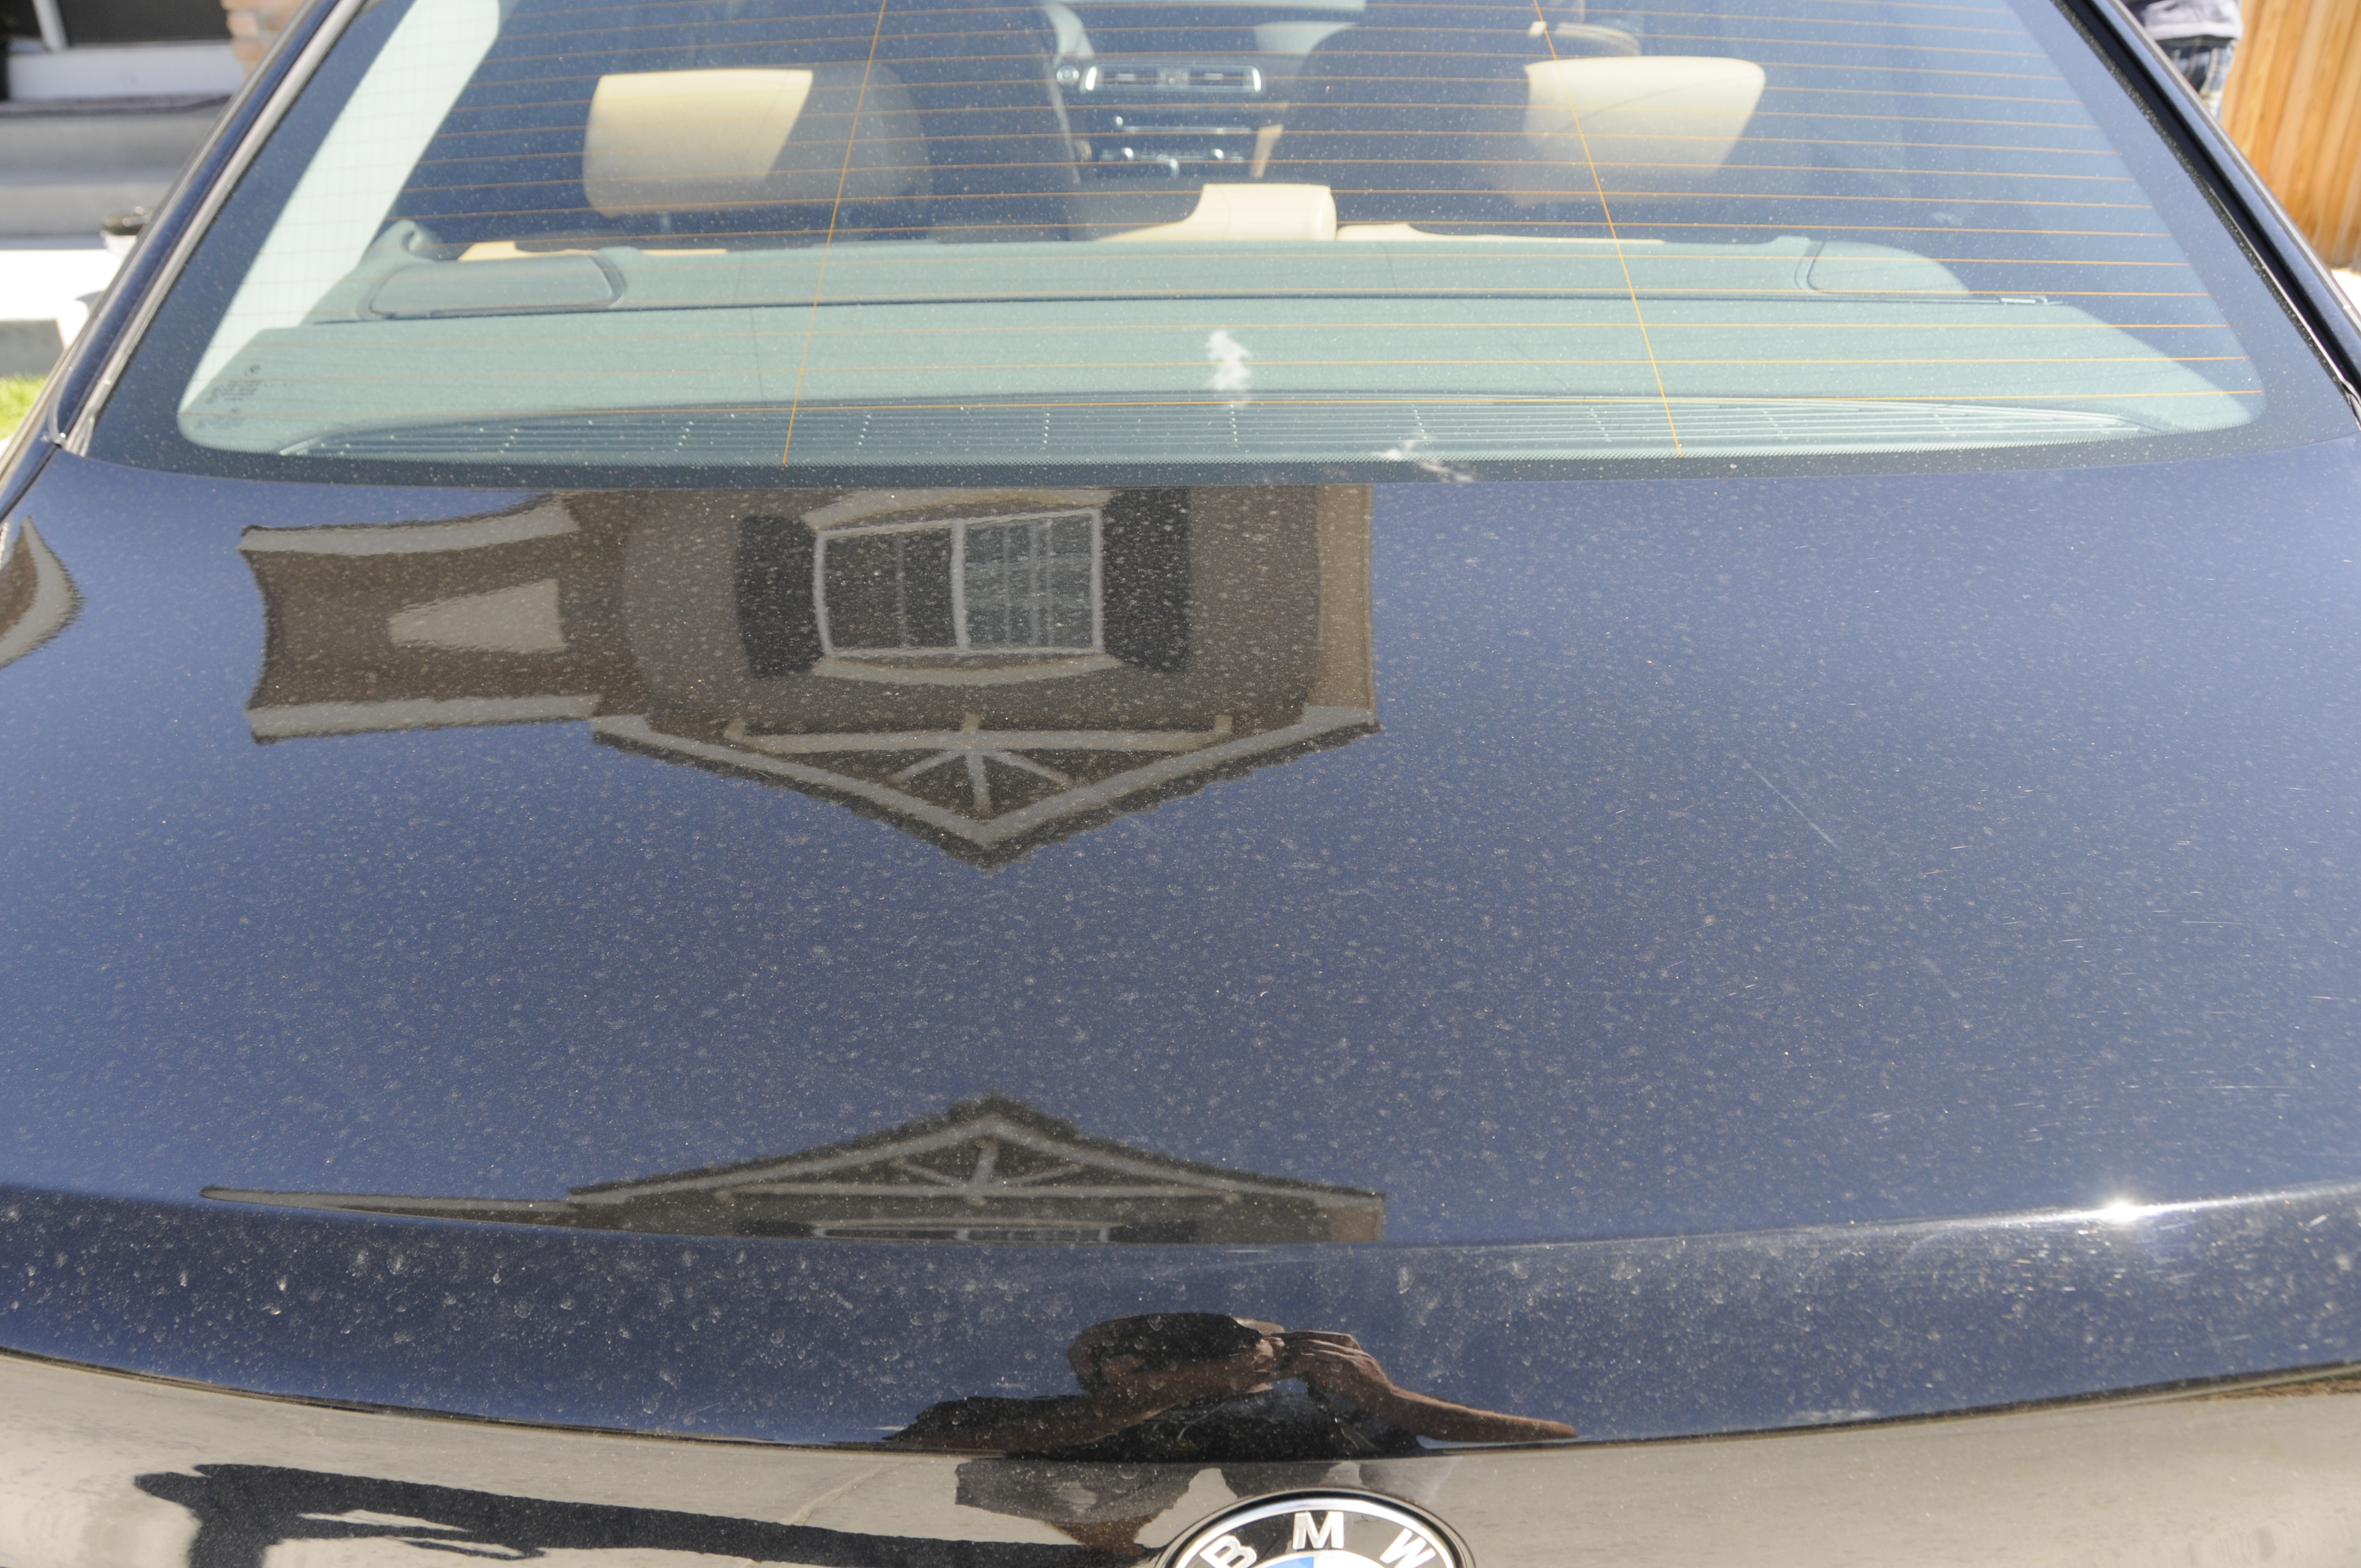
It was purchased used from a dealership with relatively low mileage (currently only has about 36k) but its time with the previous owner and the dealership were not kind. Plenty of swirls and it had clearly seen a rotary hack job sometime in the past as holograms were present on almost every single panel.
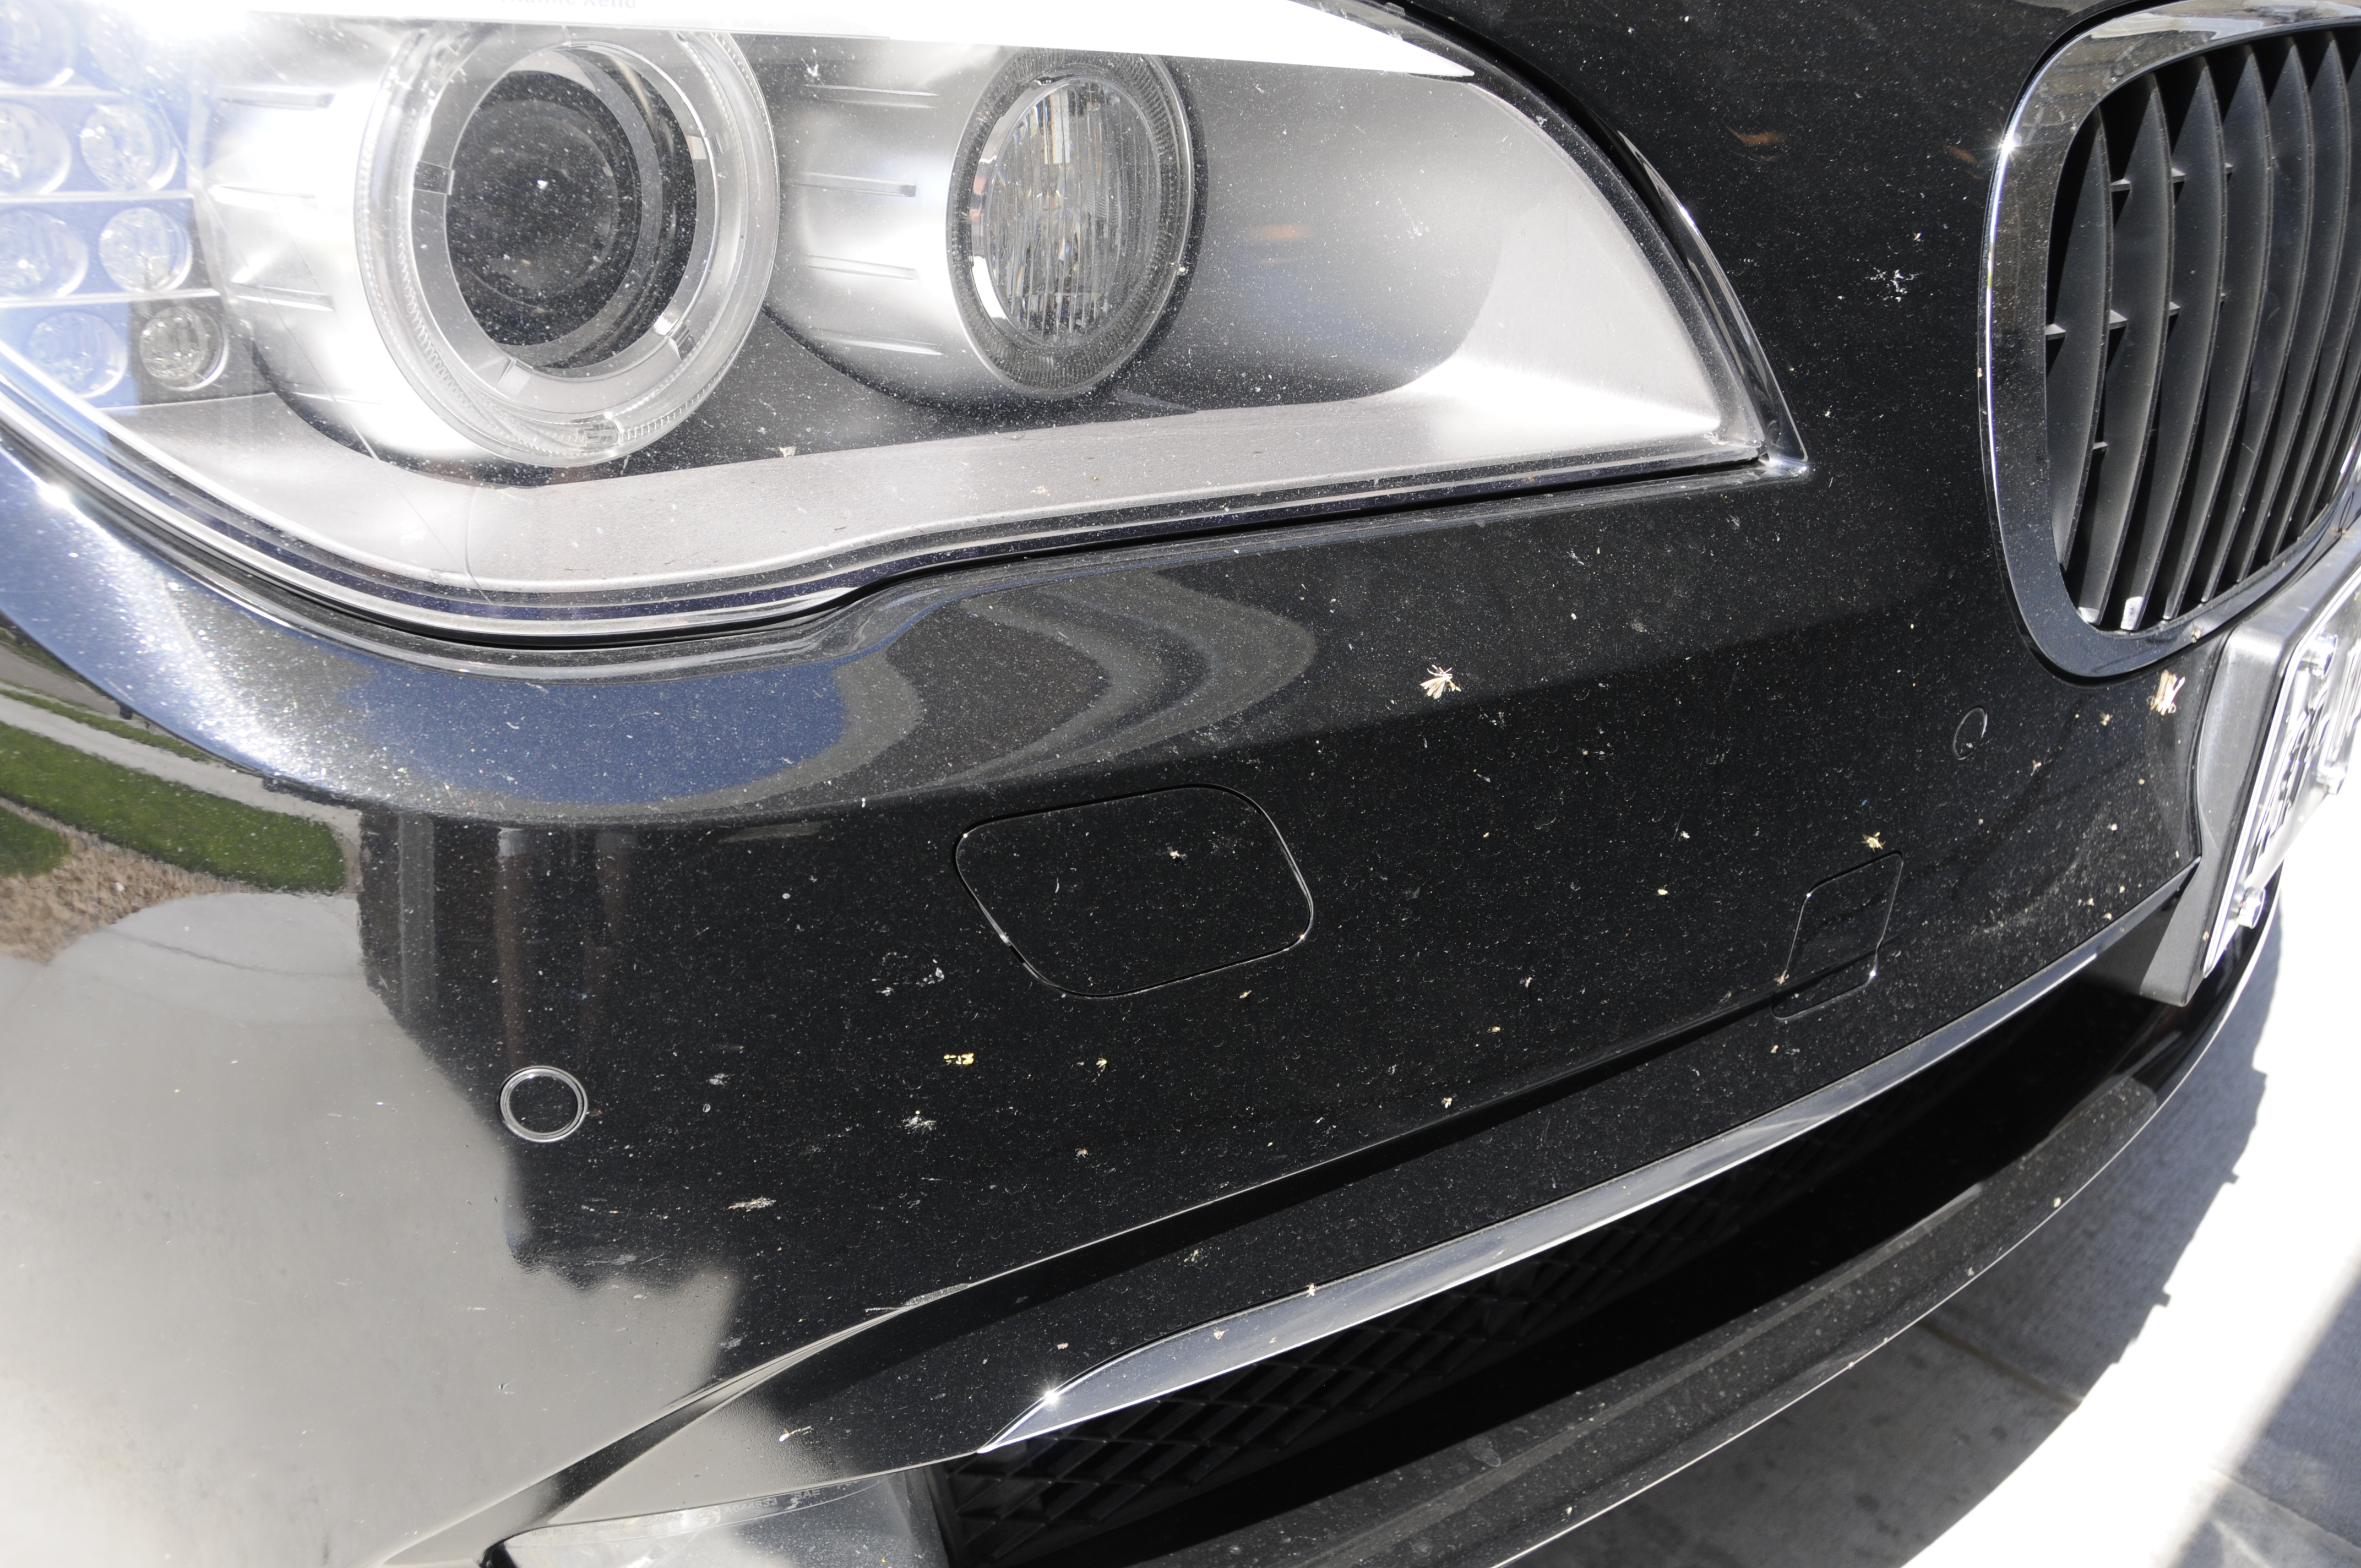
Aside from the swirls and holograms the paint had the (to be expected) small pitting on all the forward surfaces, but otherwise the paint was a prime candidate for correction.
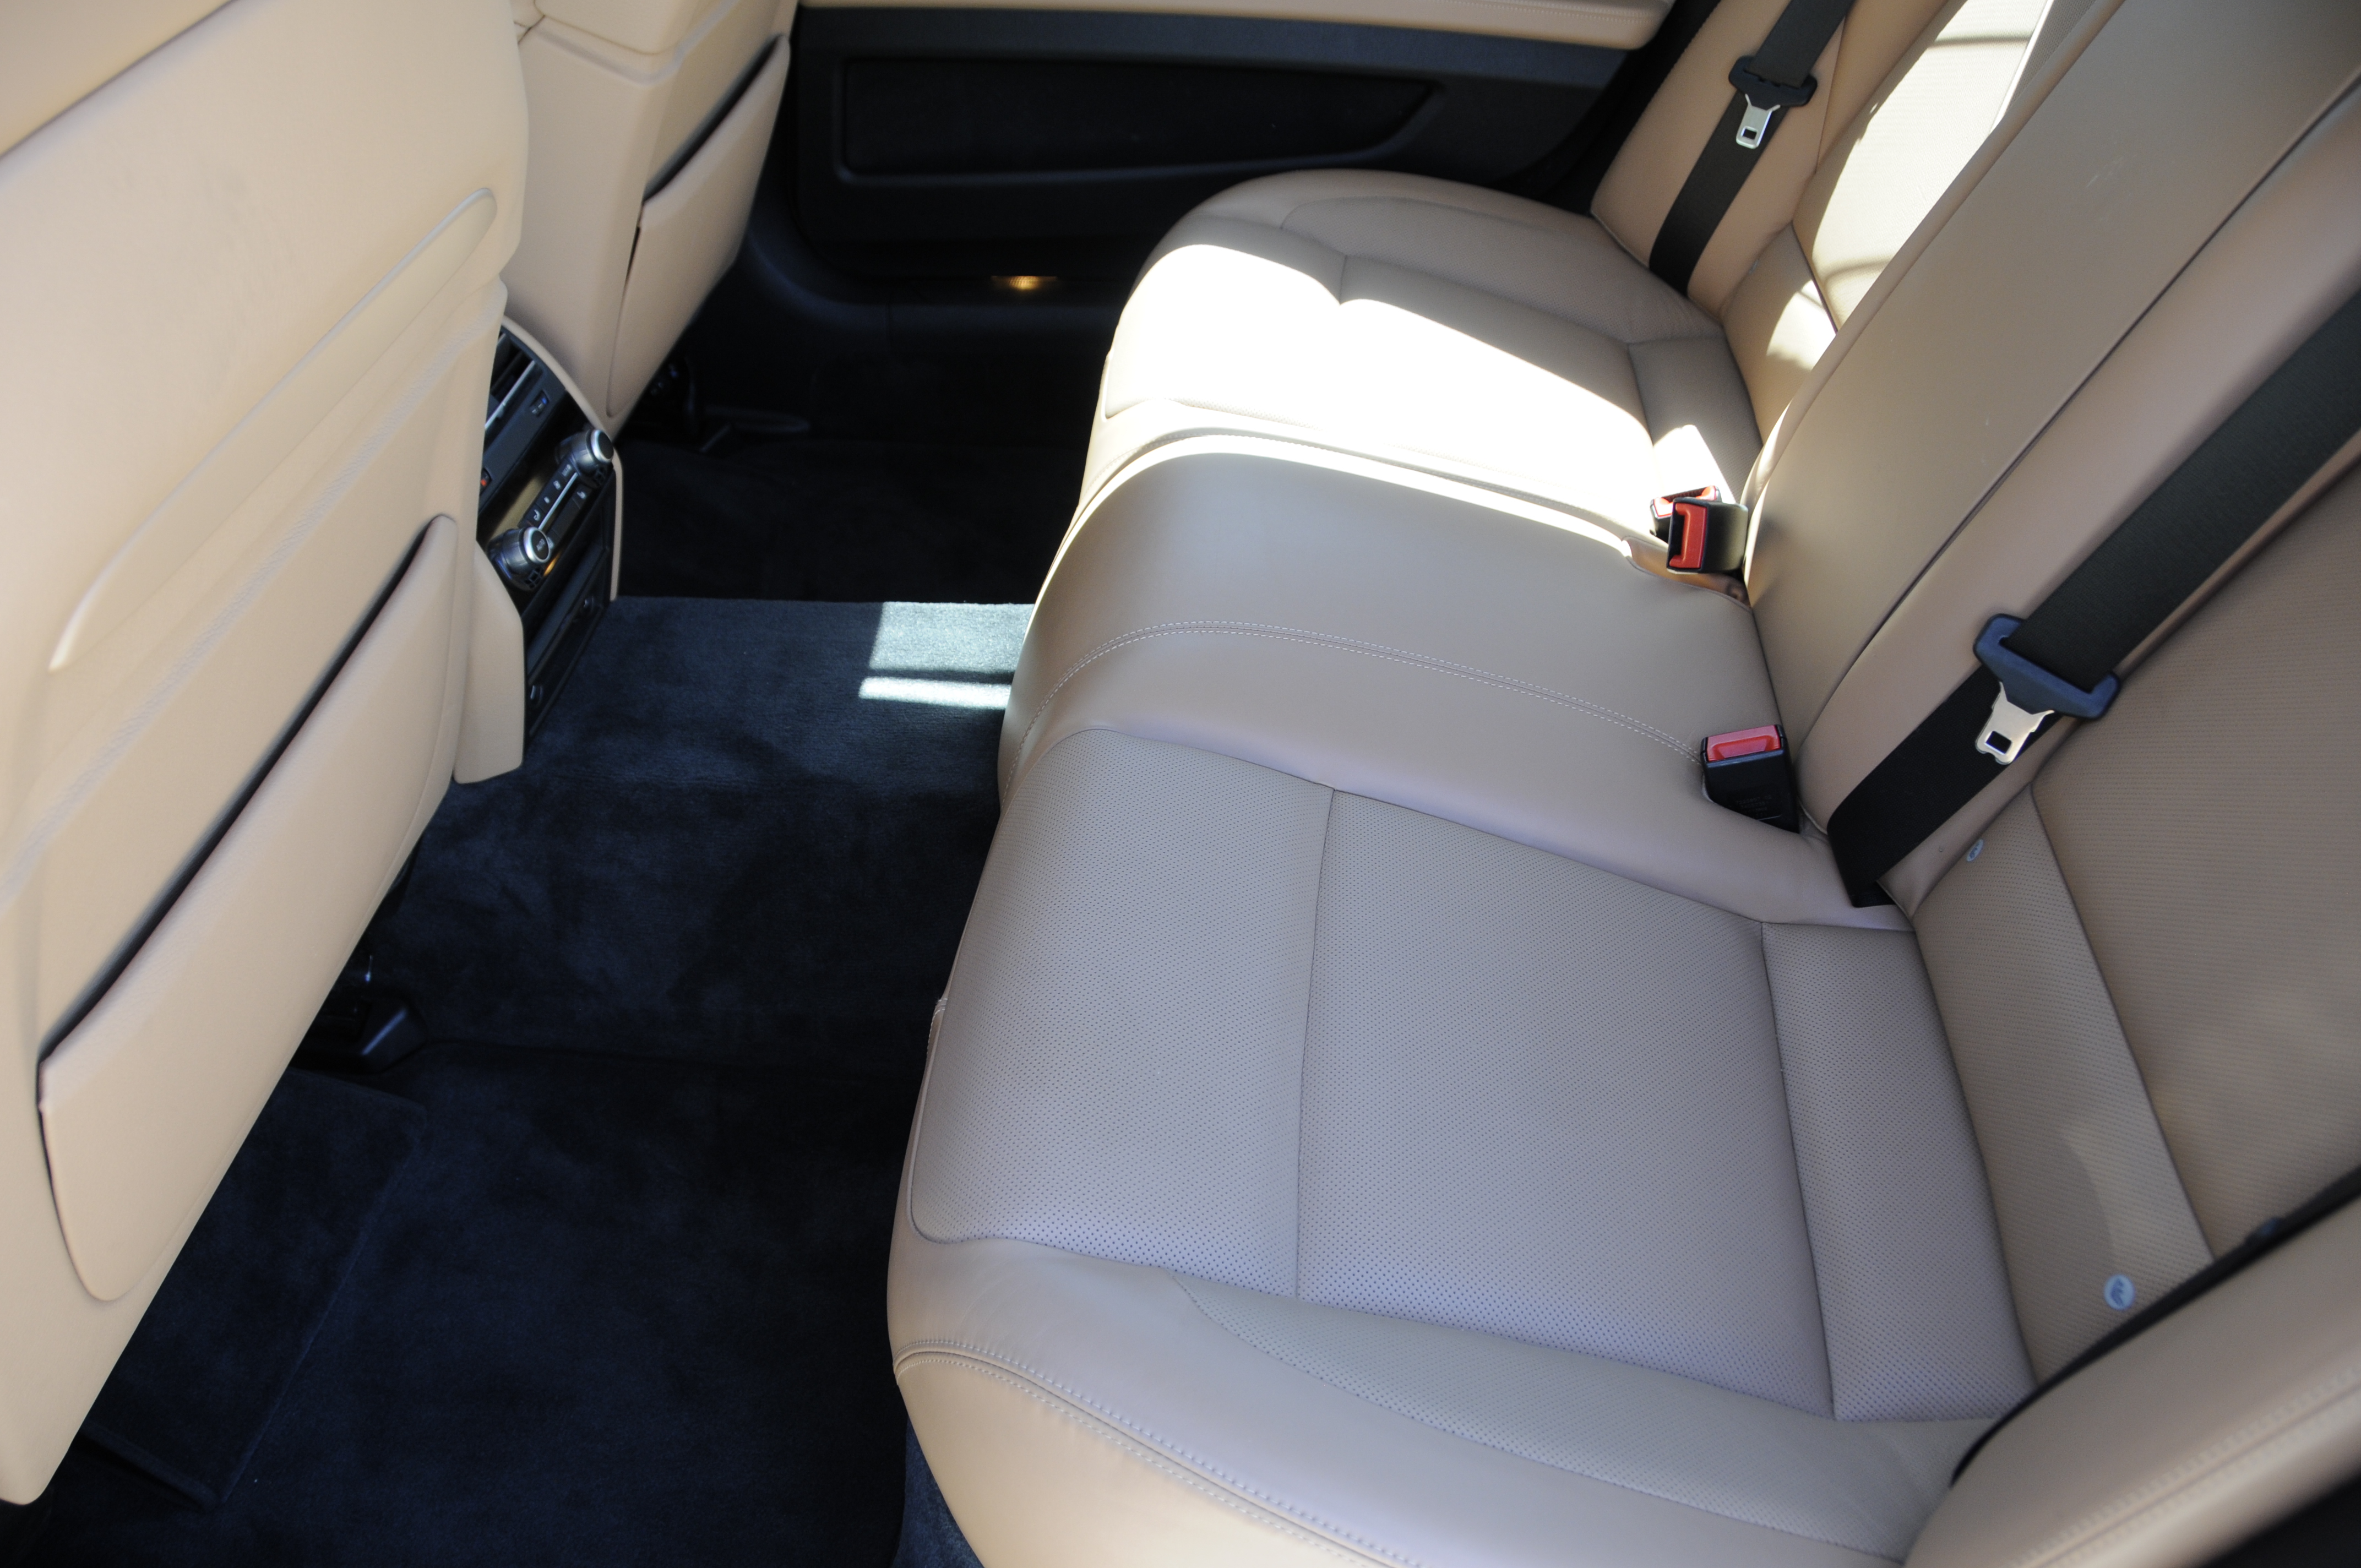
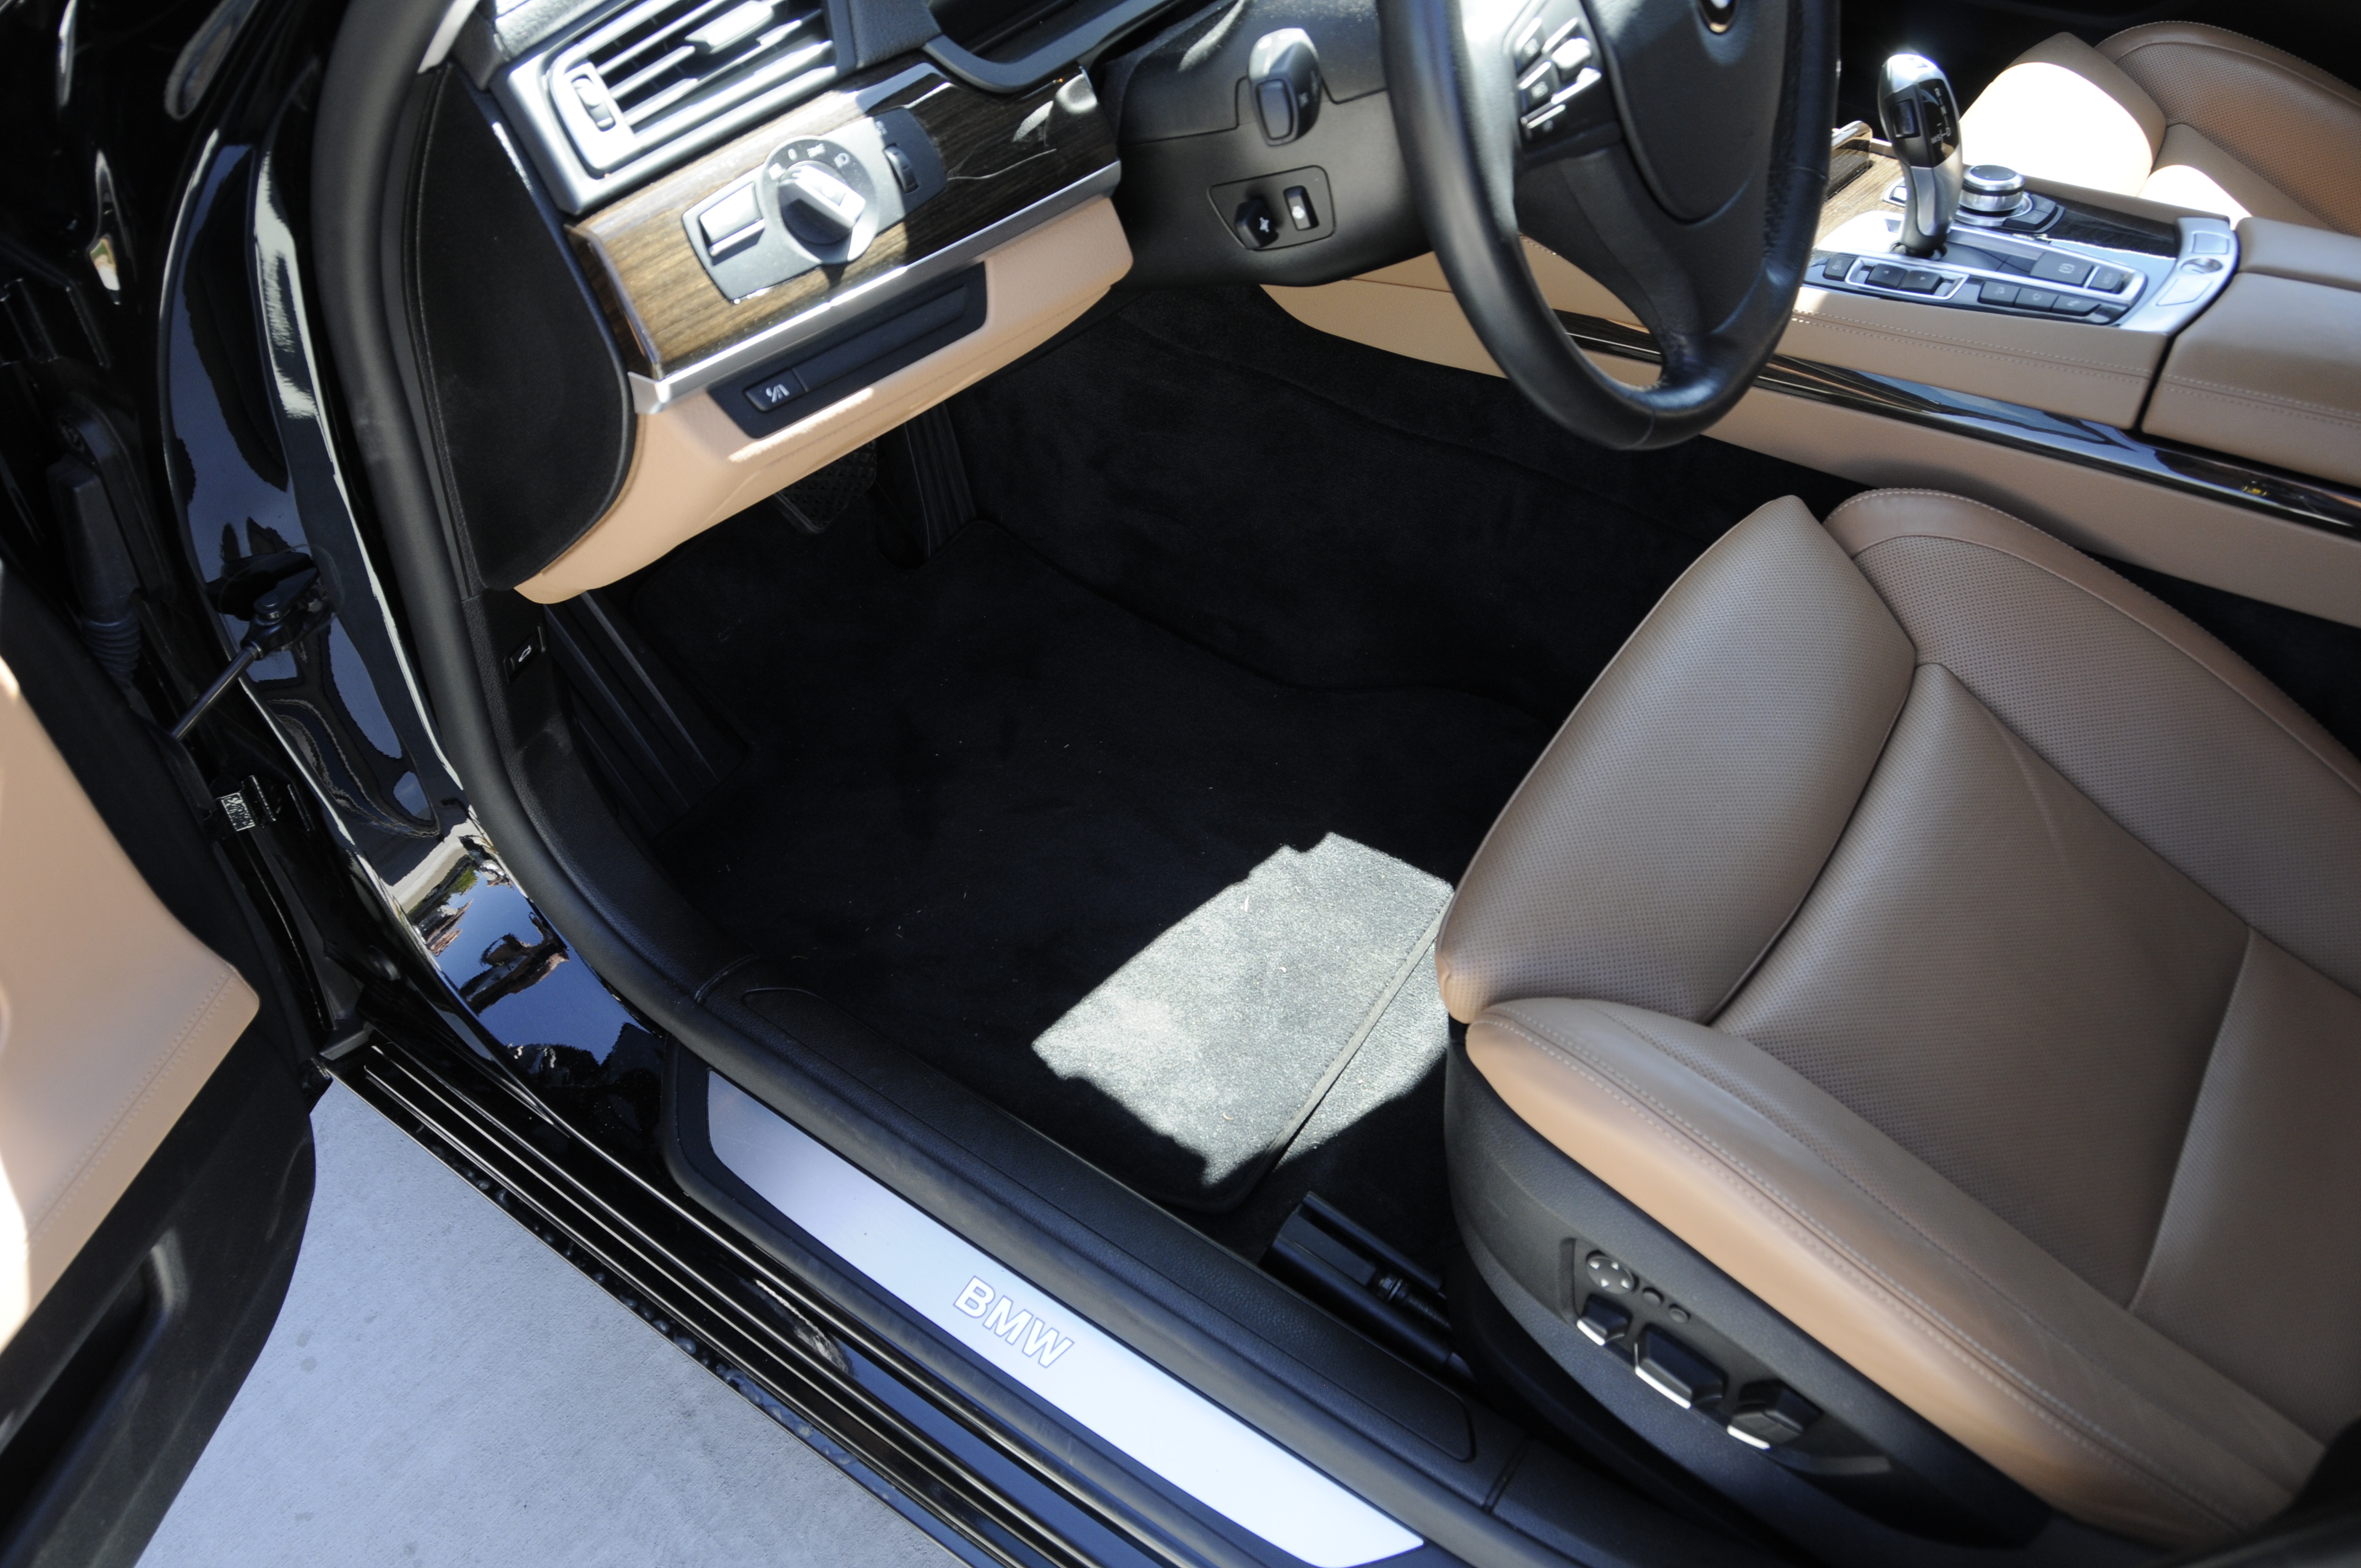
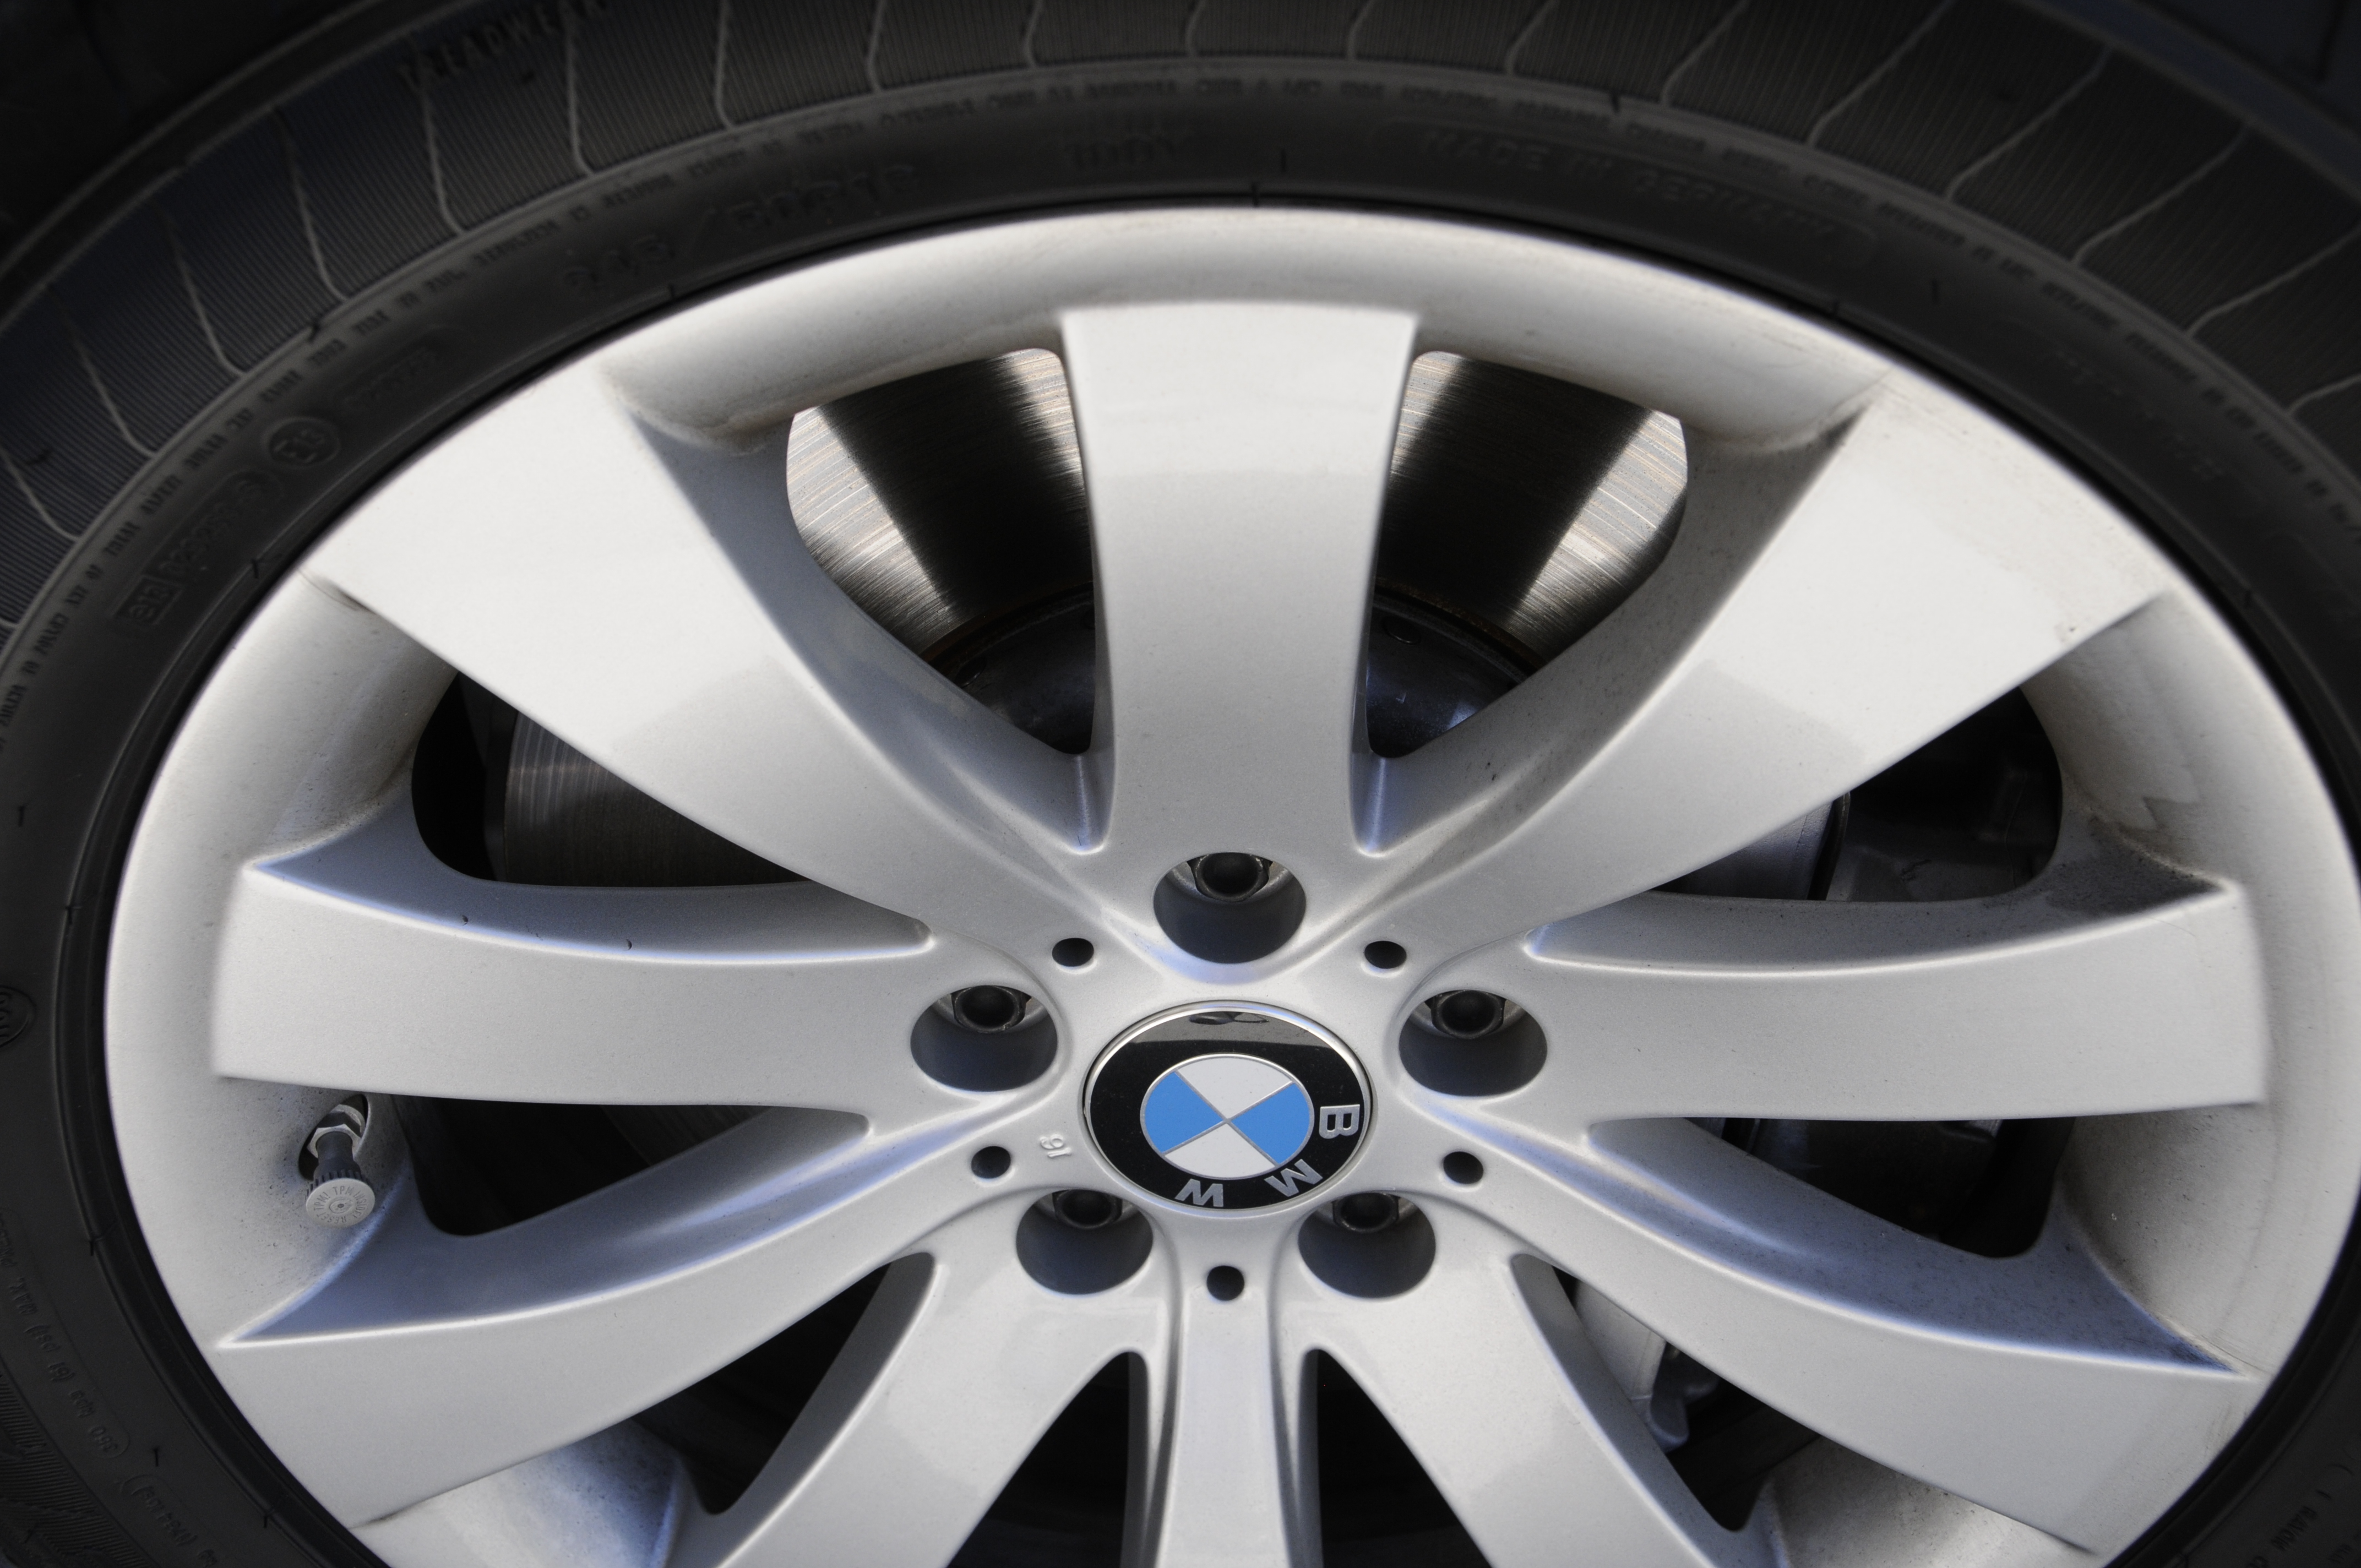
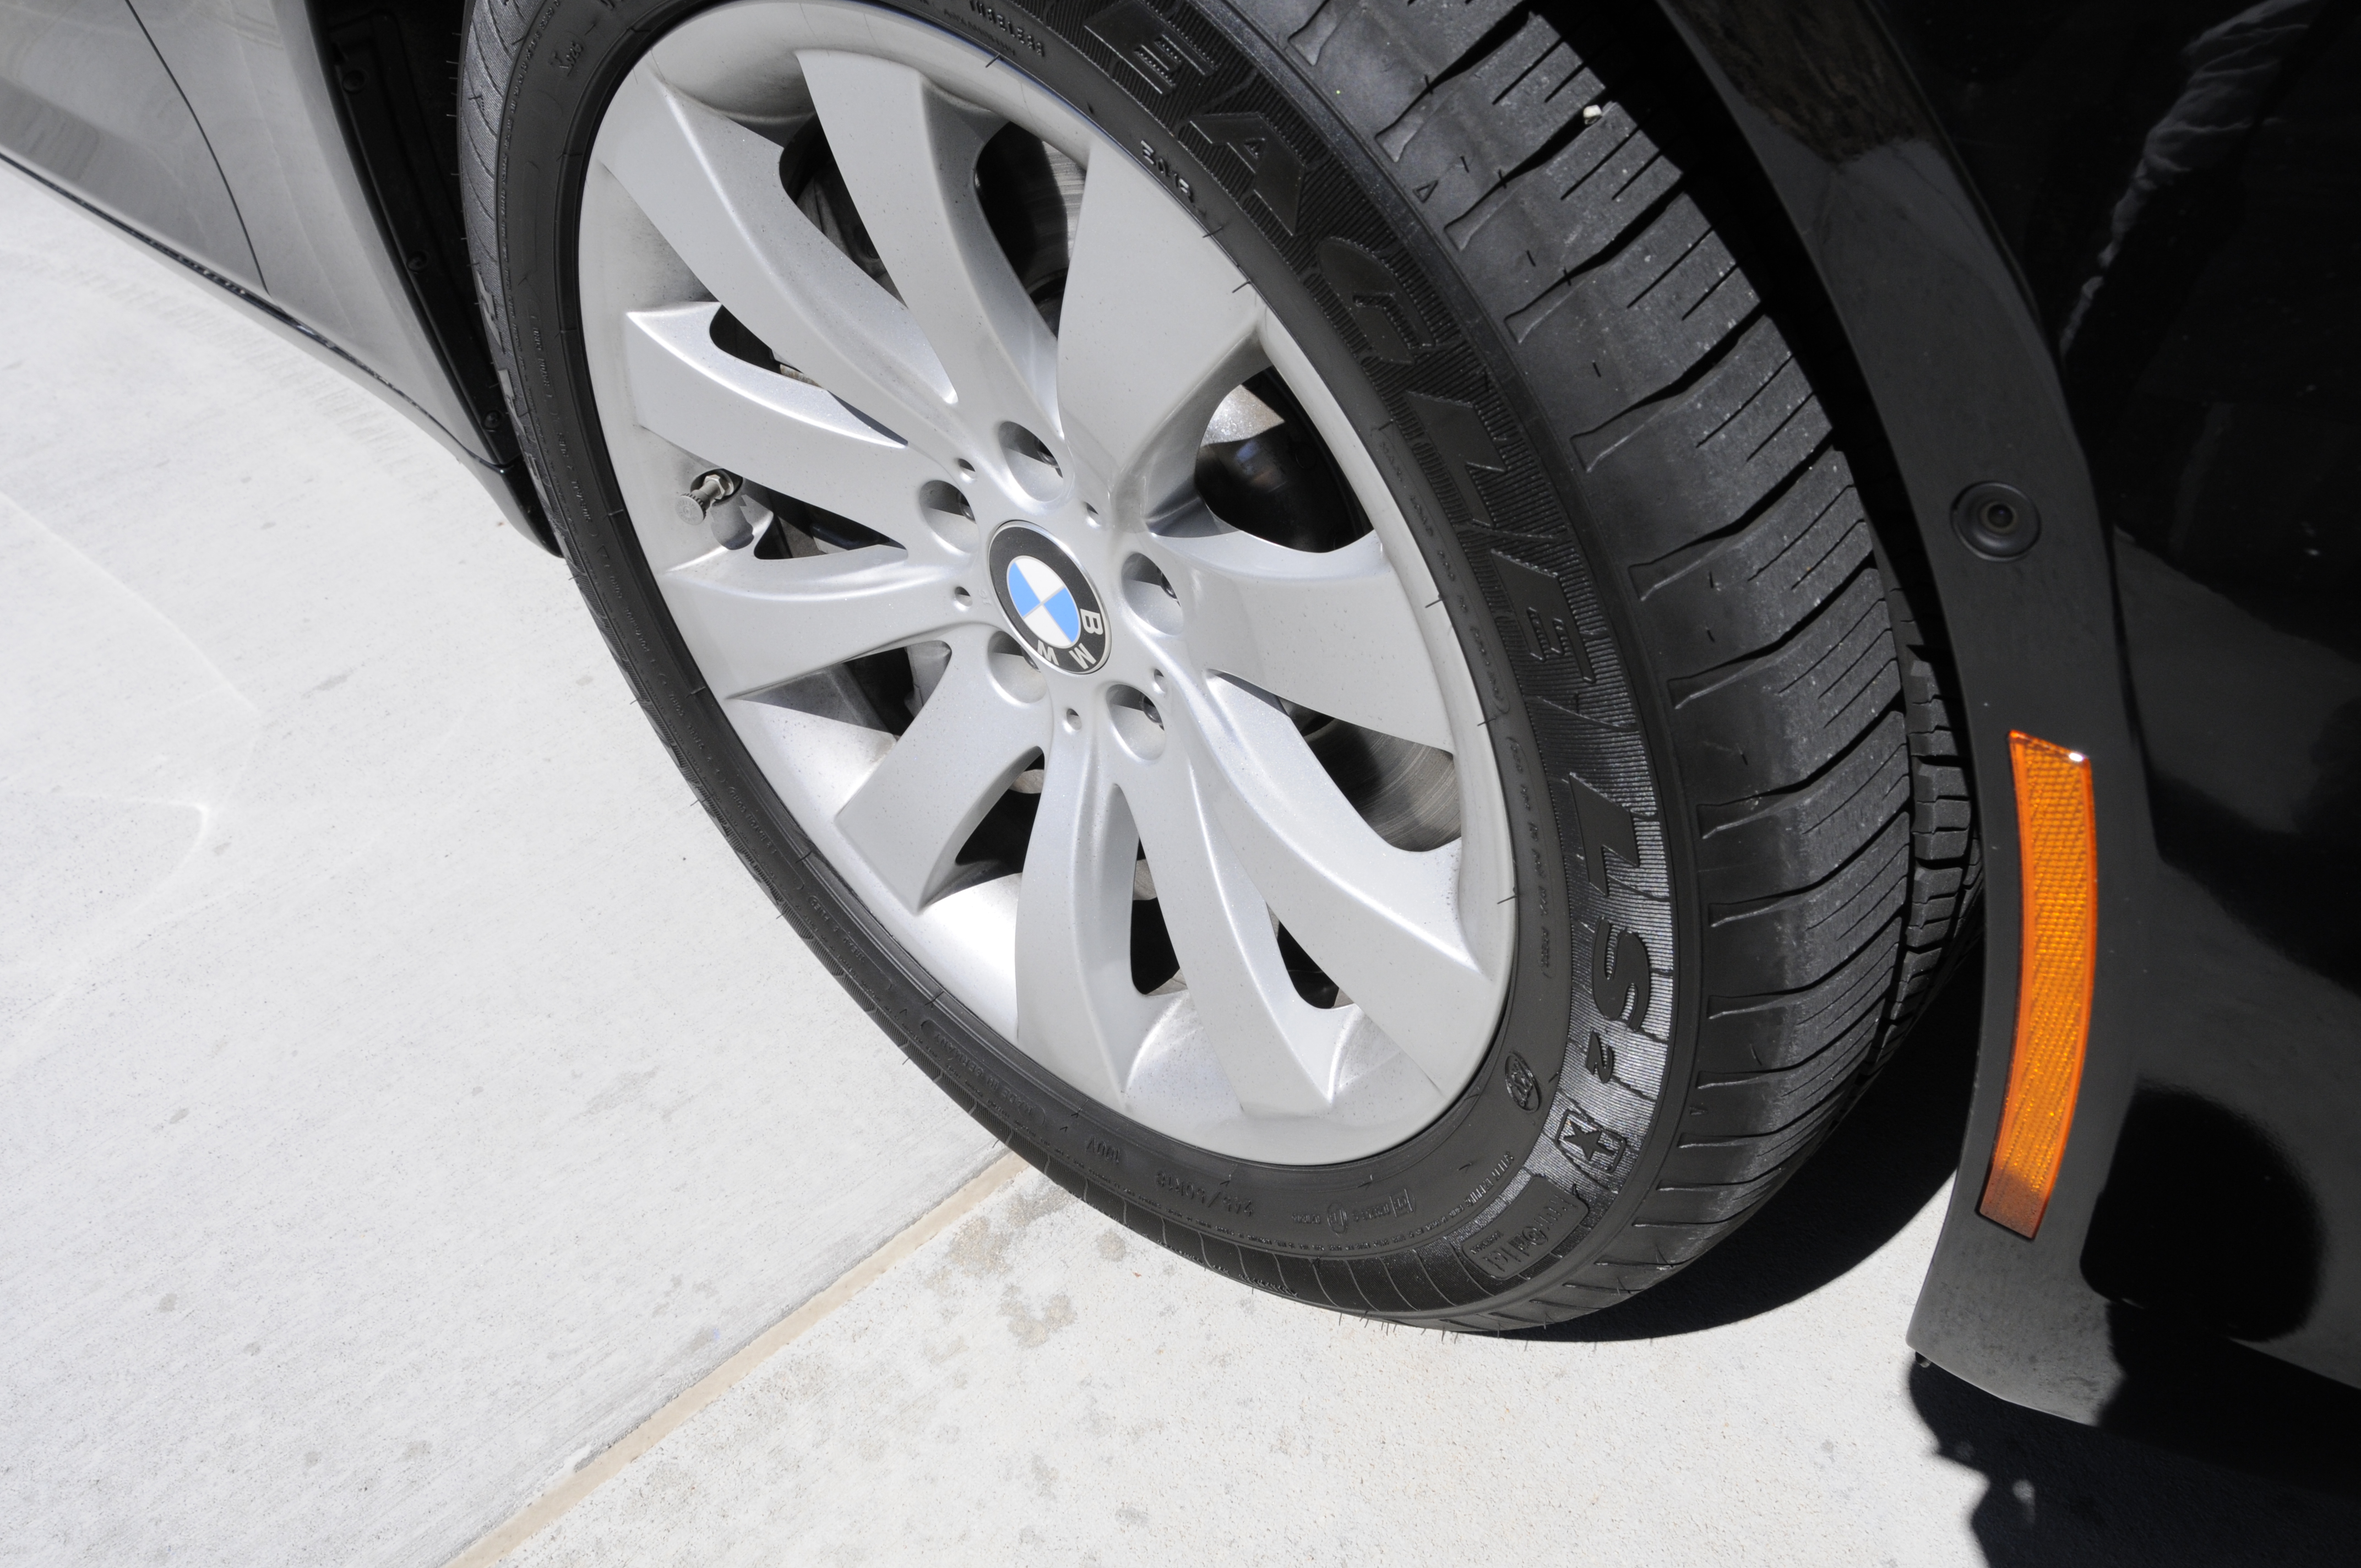
The wheels were only mildly dirty, the interior was spotless save for the usual skin oil transfer on arm rests and the steering wheel, the interior would be saved for last as a light cleanup since not much else was needed.
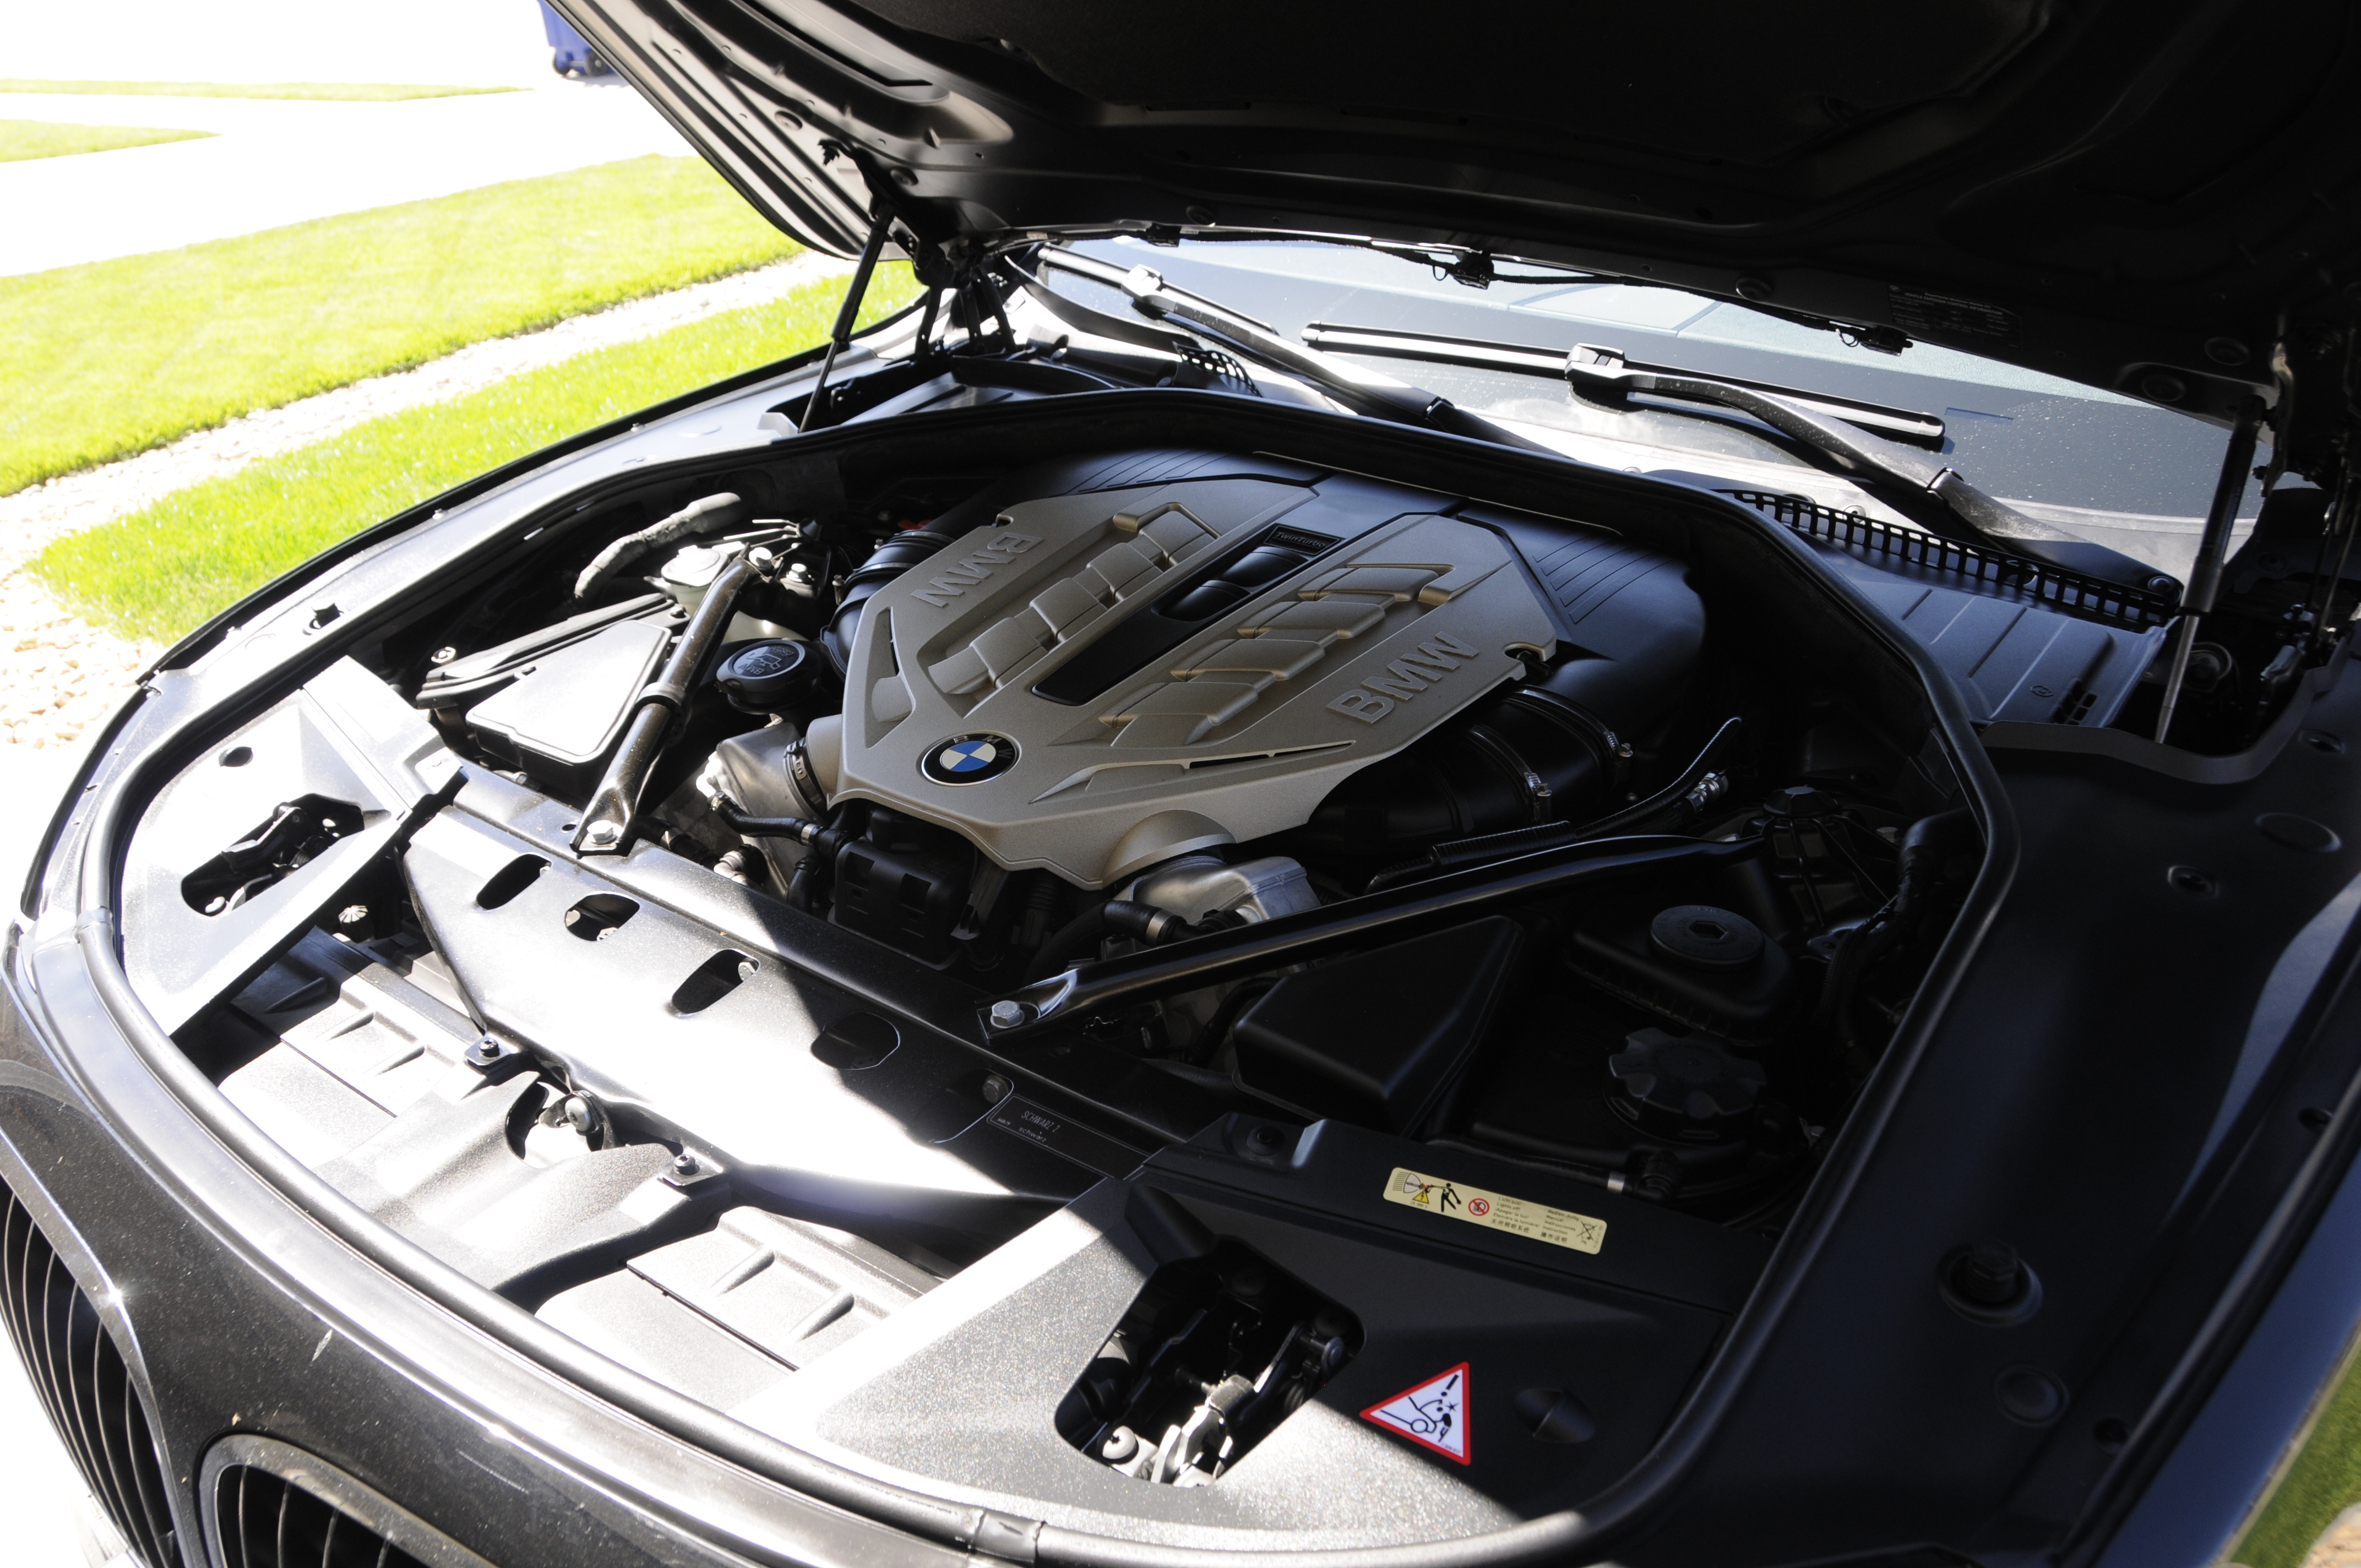
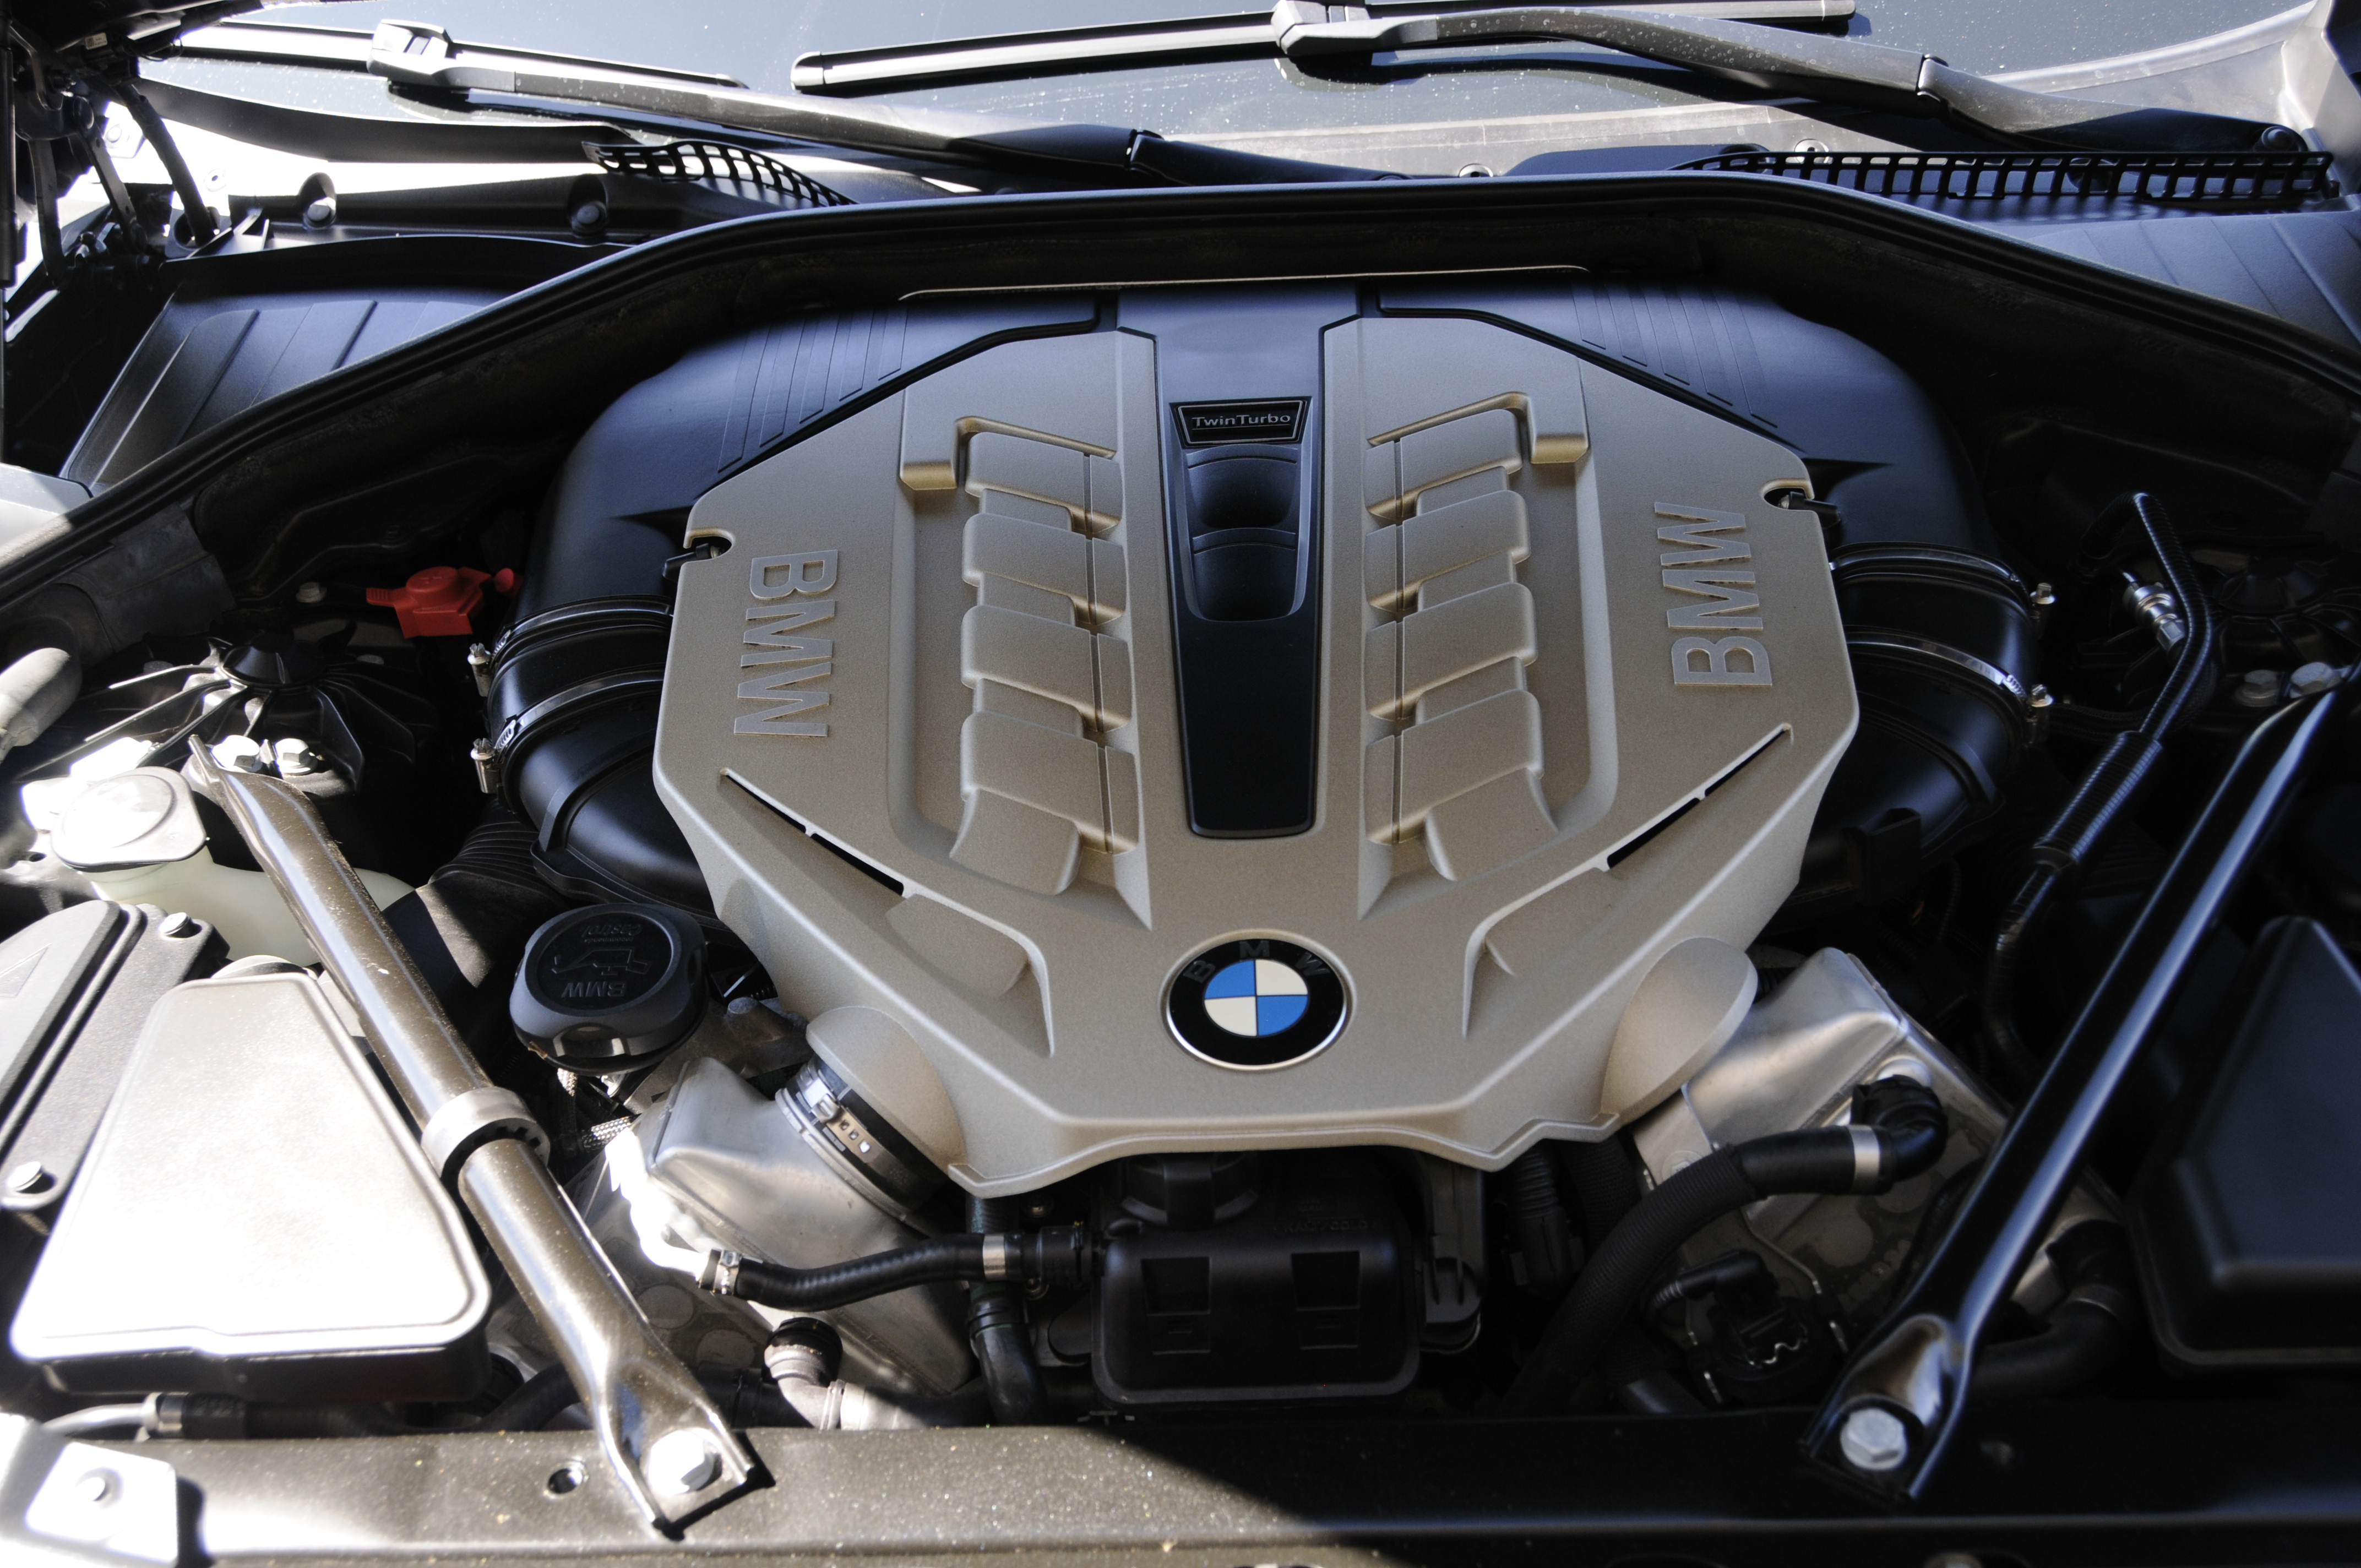
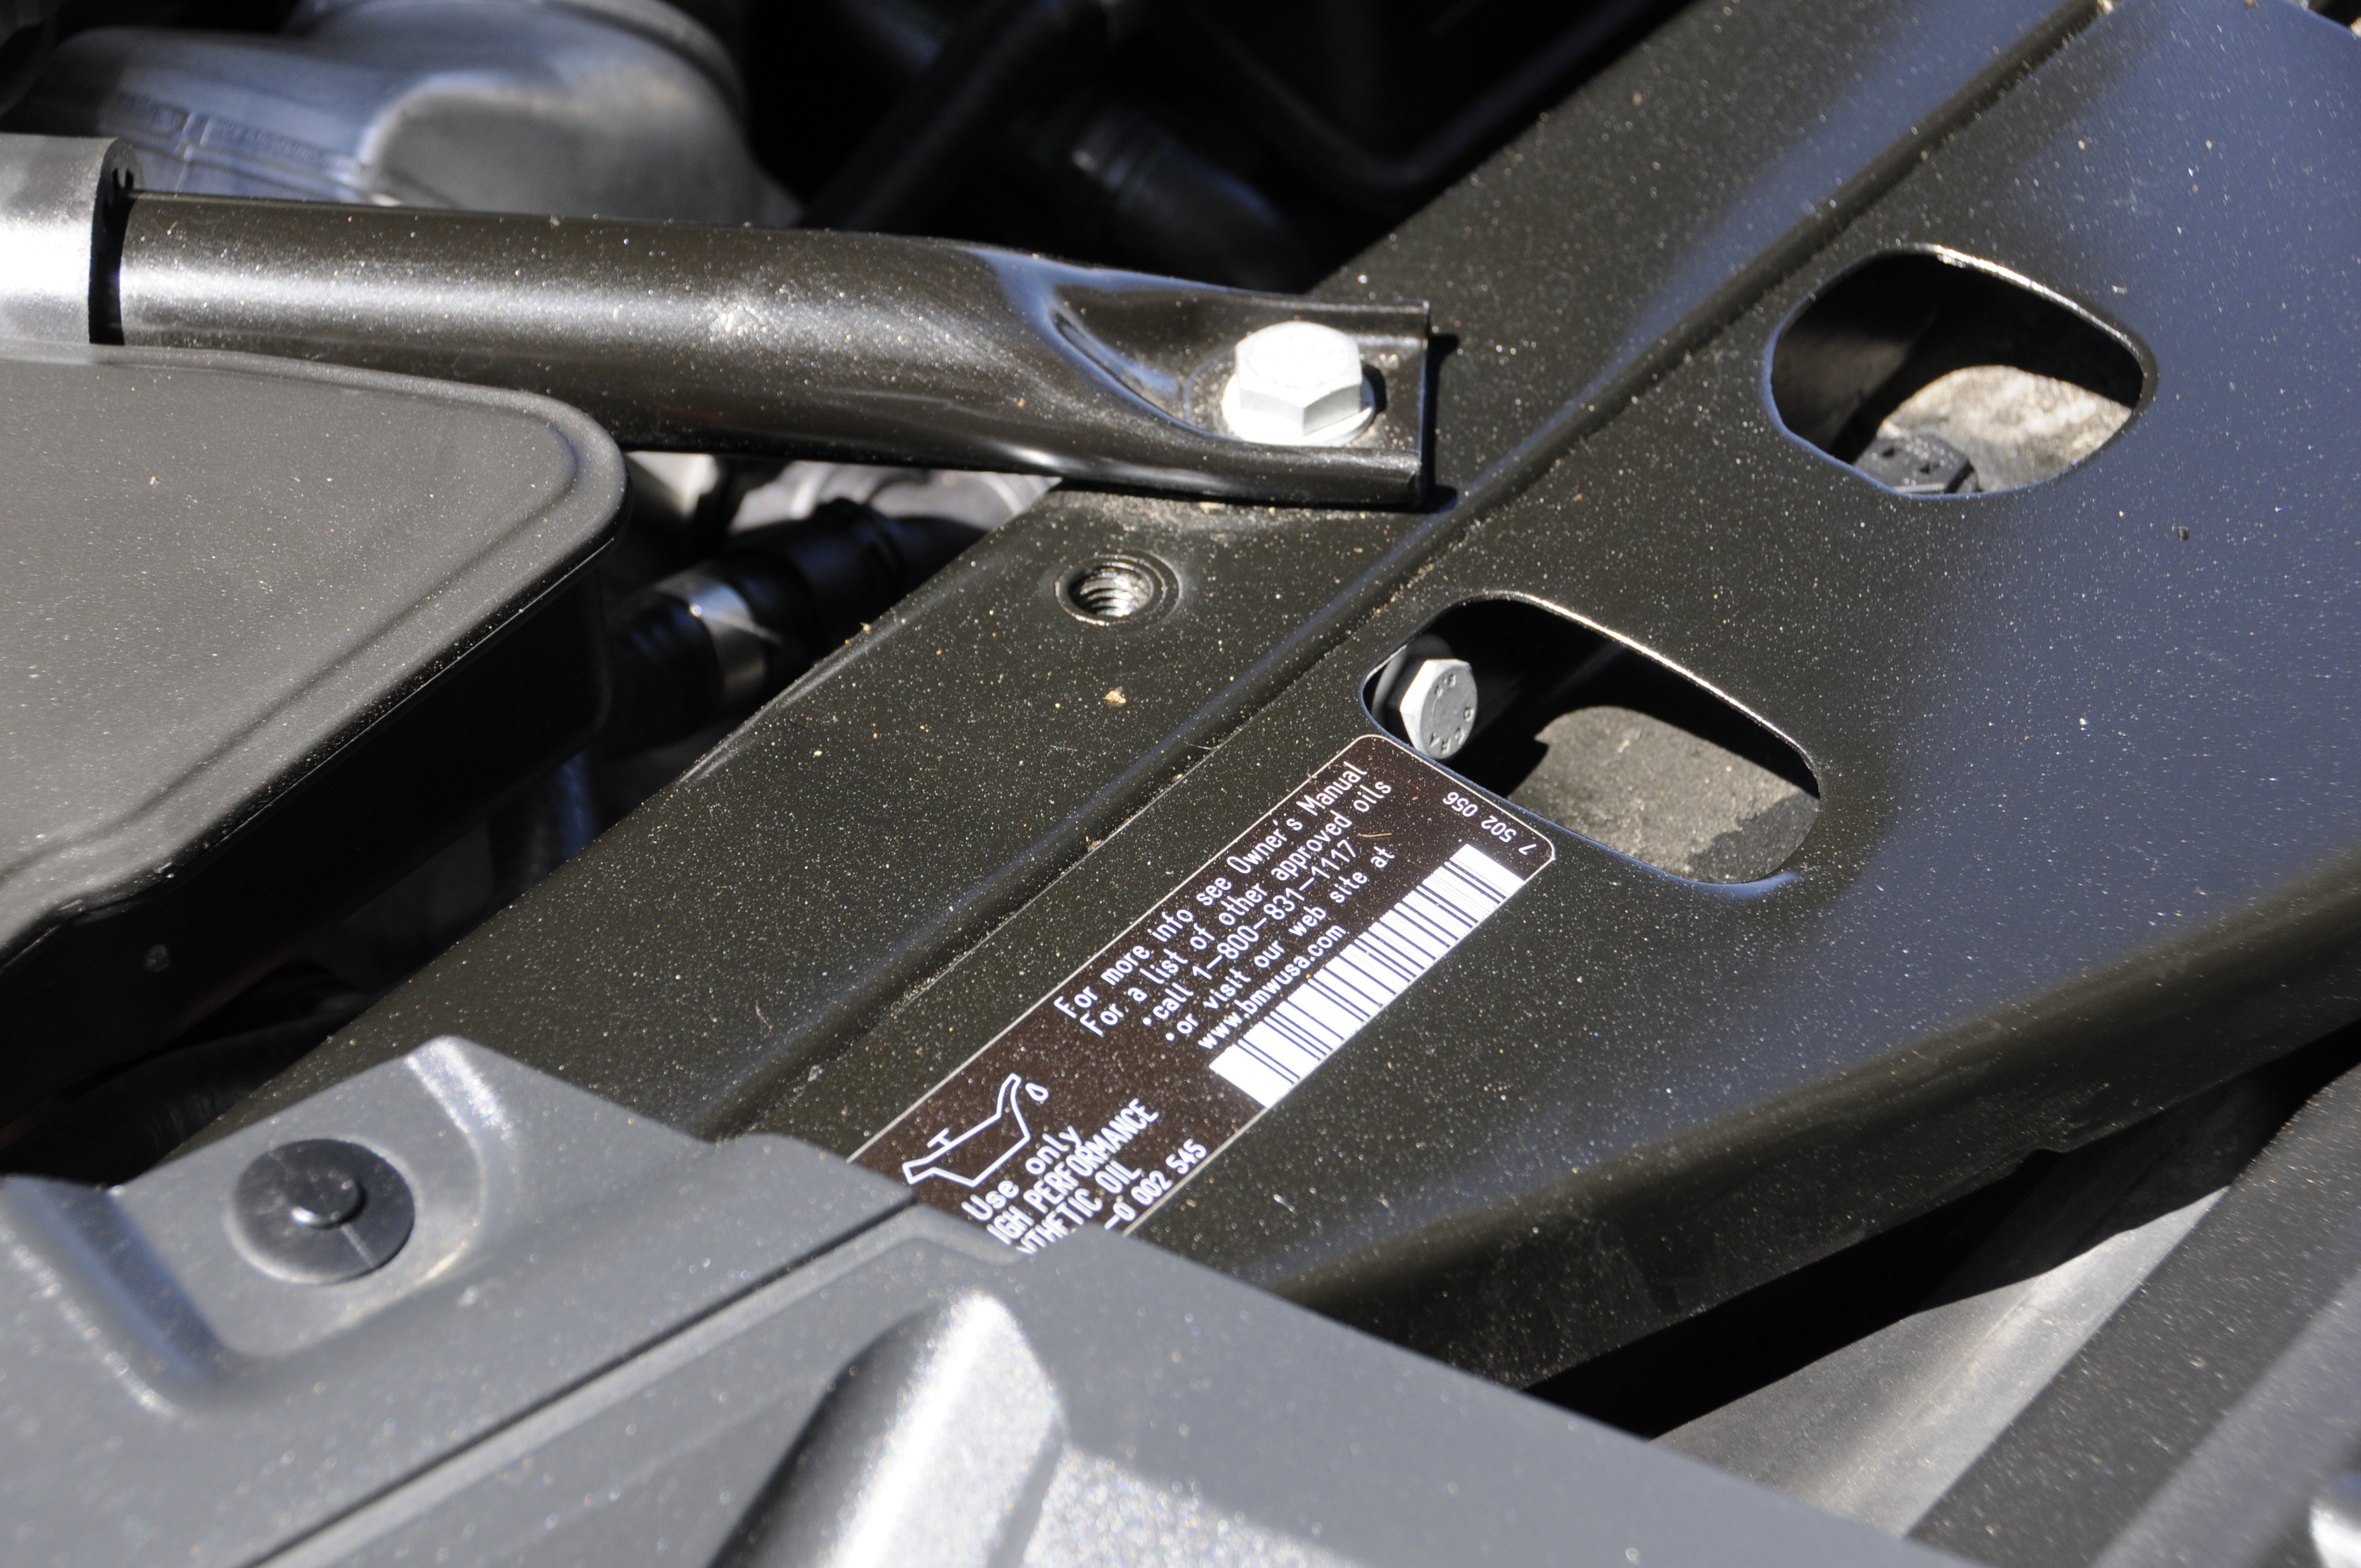
Aside from being dressed with something silicone/sticky the engine bay was almost perfect. Minimal effort would be needed there to remove the dust and knock down the sheen of the existing dressing.
EXTERIOR CLEANING:
Luckily I had Chris aka Mook assisting and we got to work quick - this was going to be a job done over a few day span, a little at a time so an extra set of hands made for faster processes.
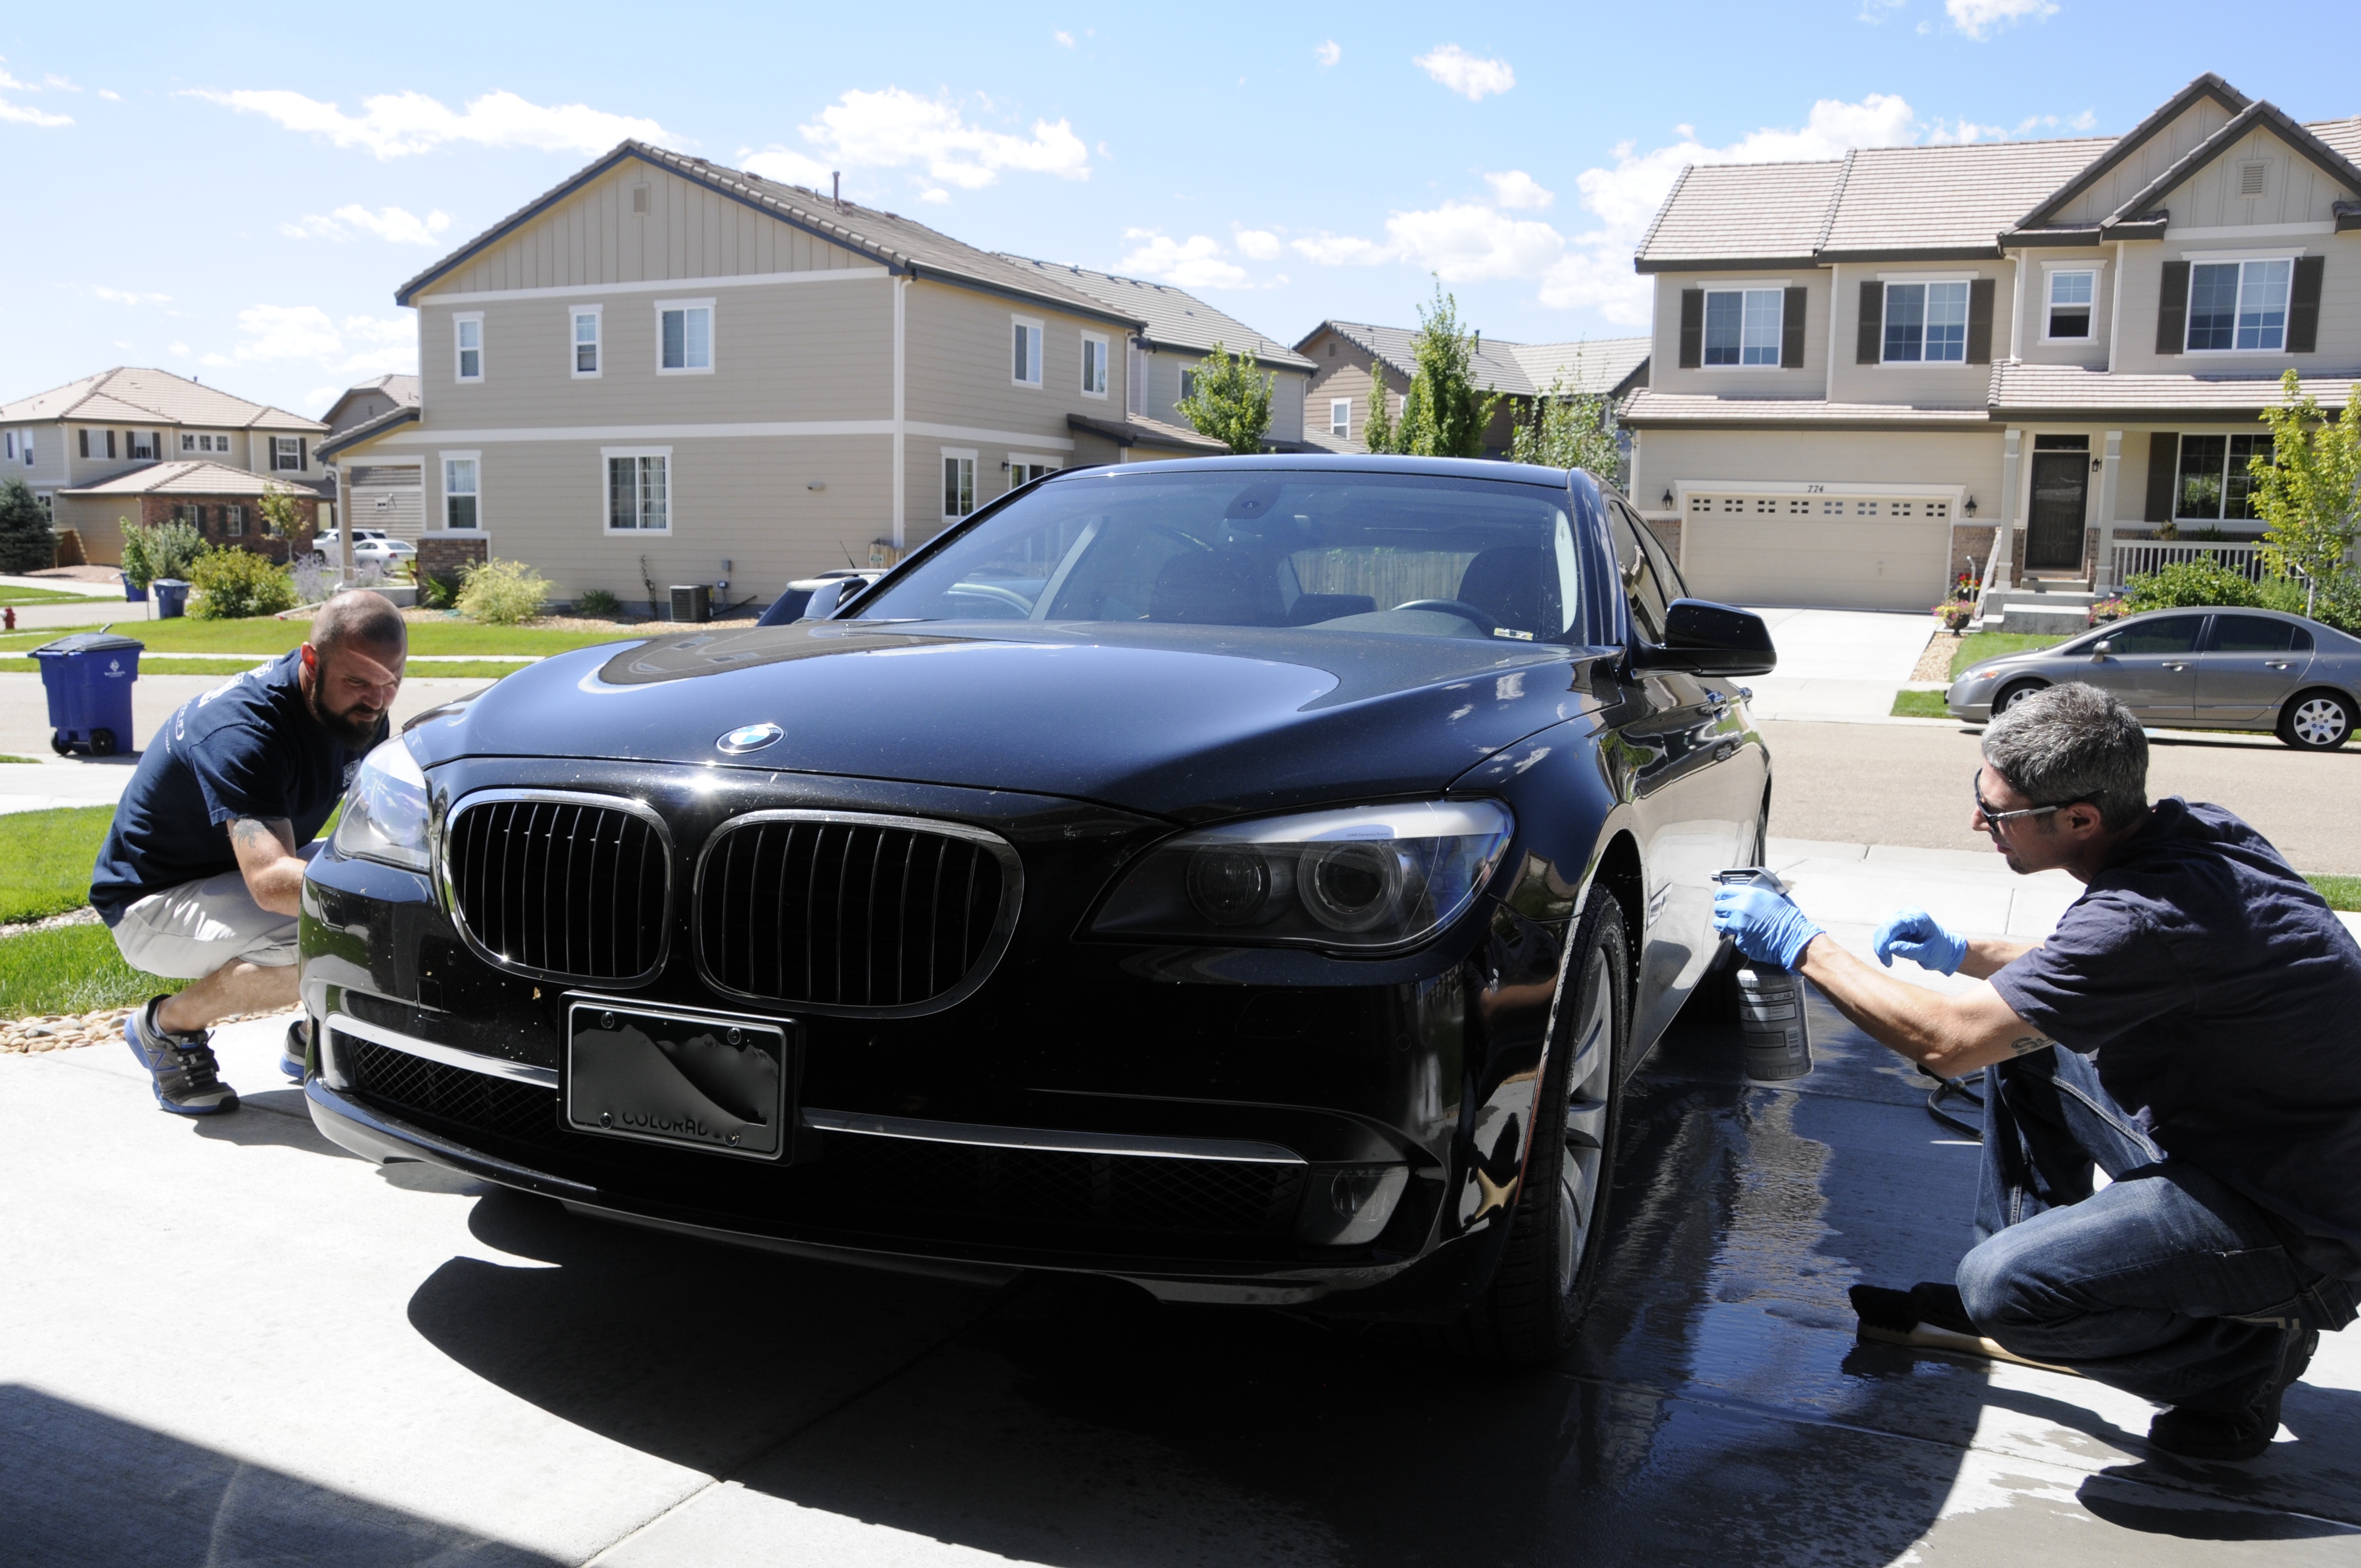
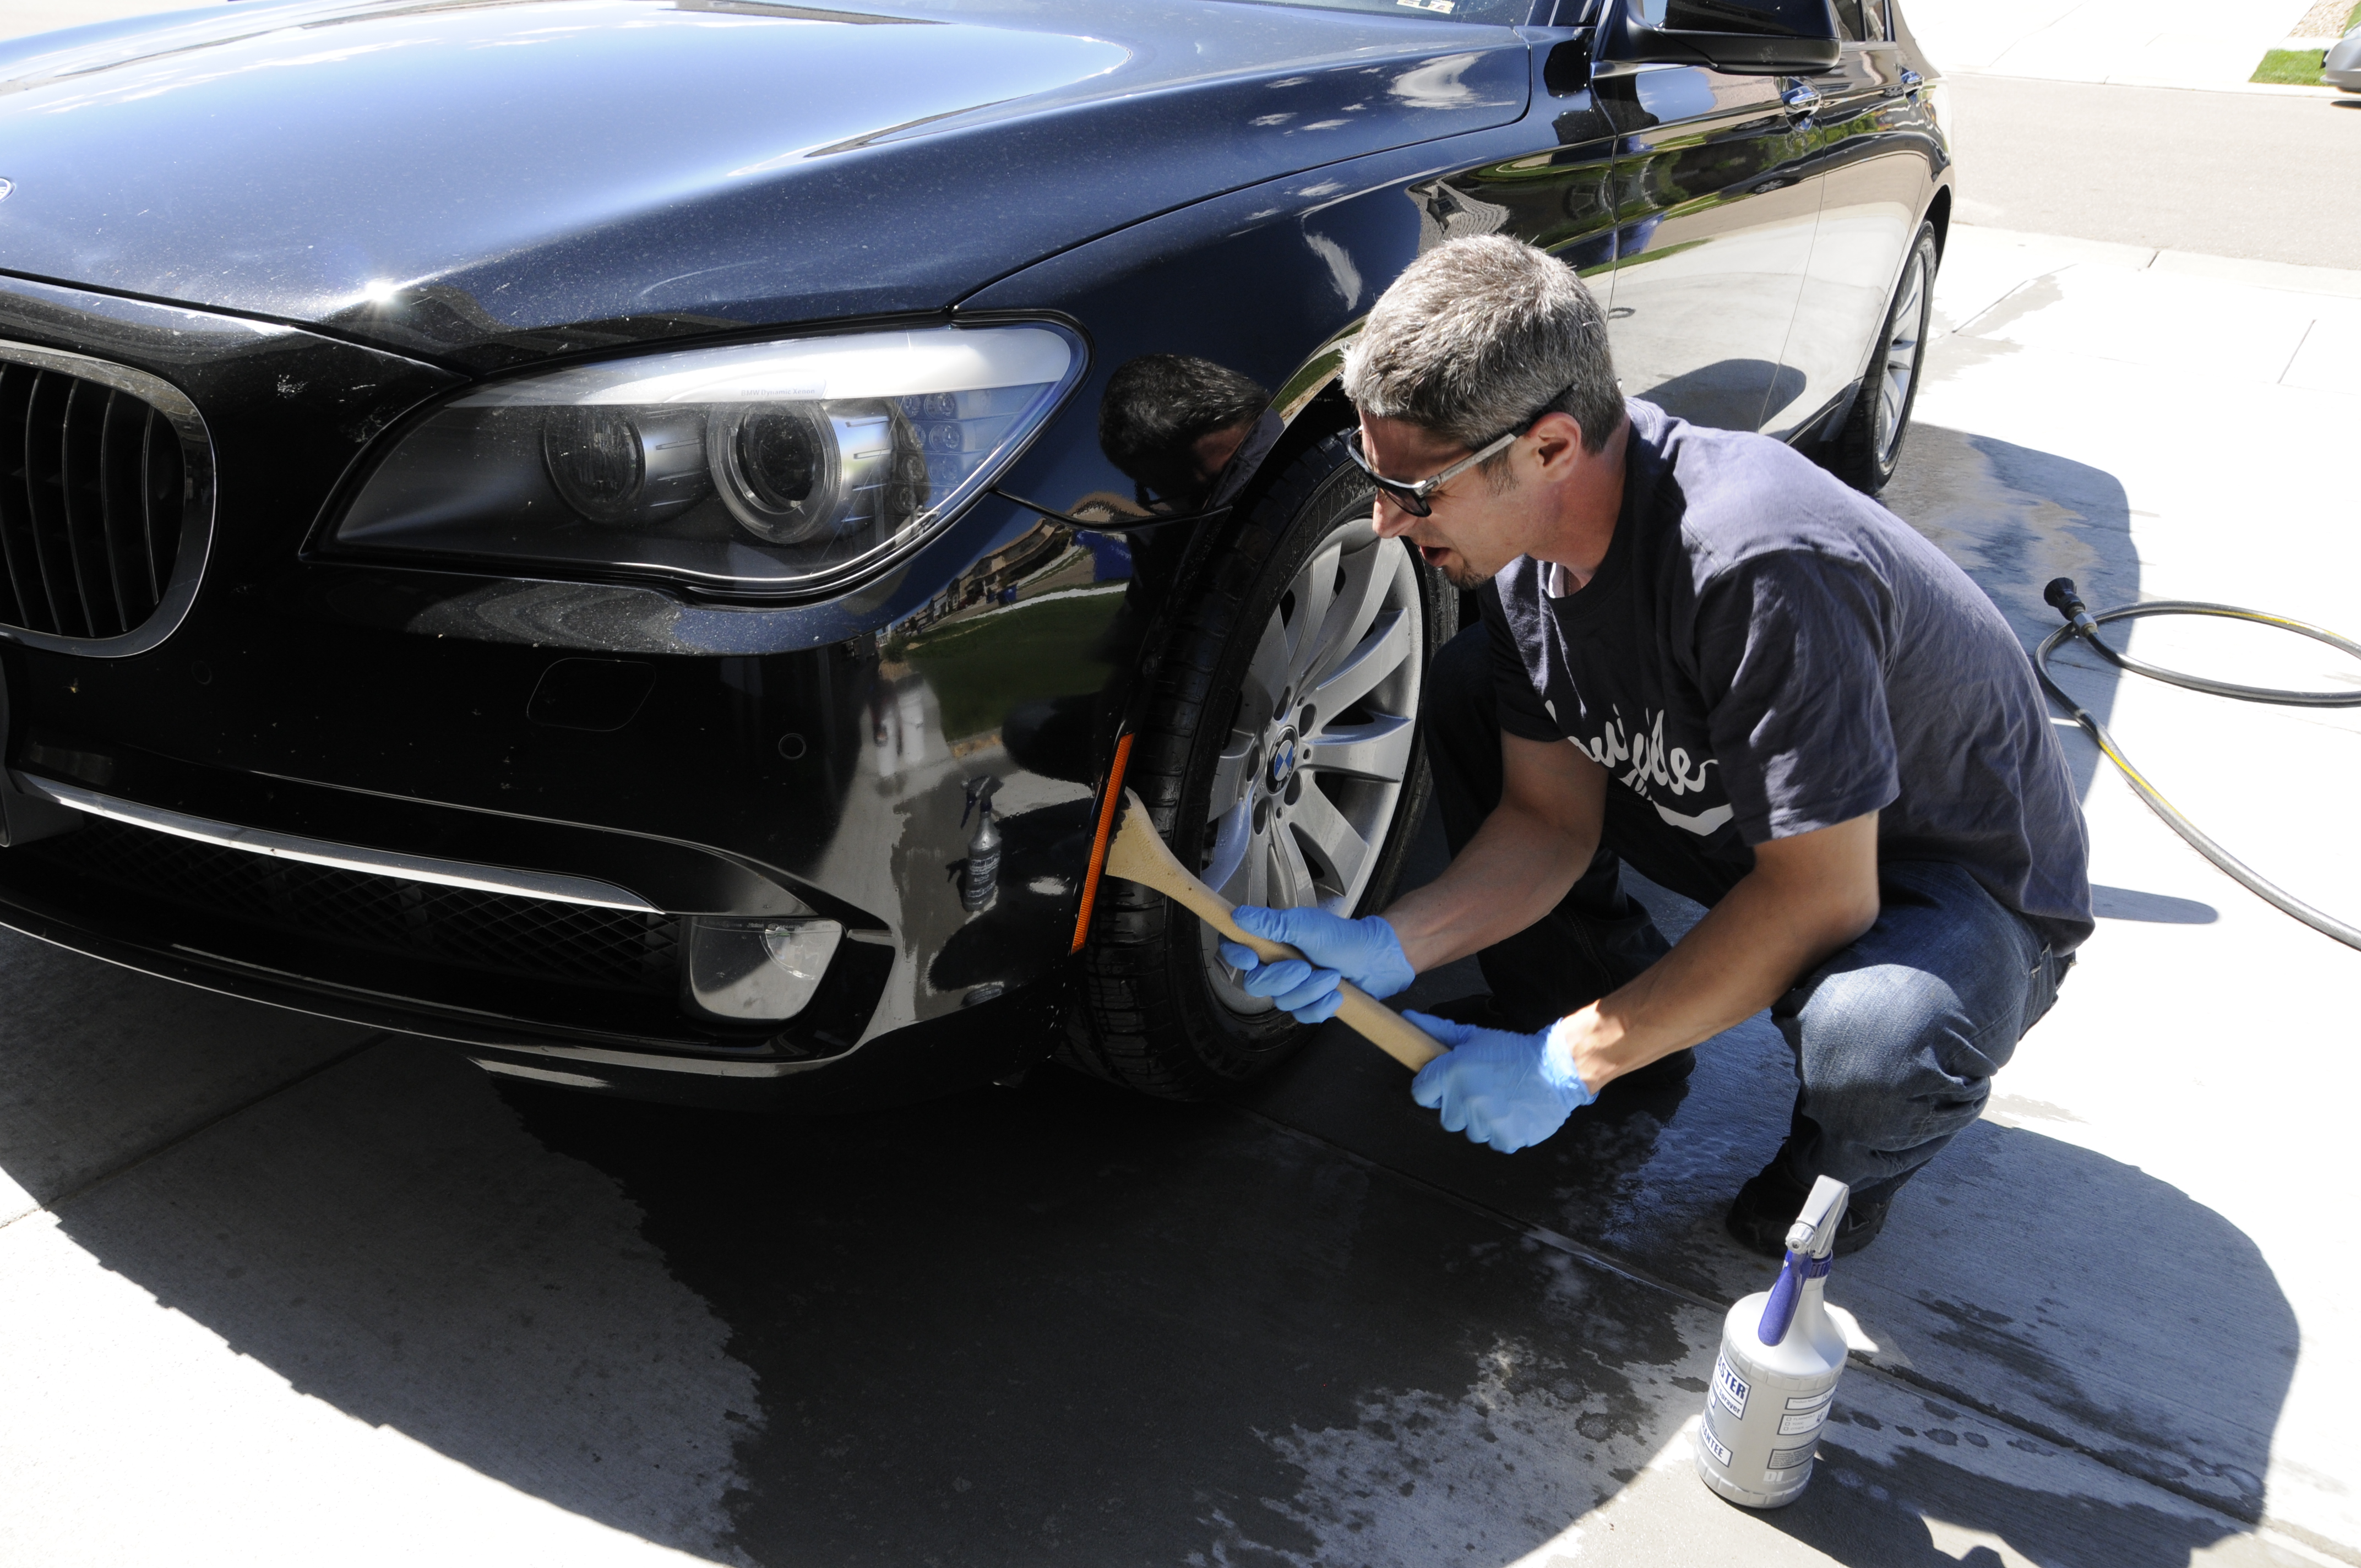
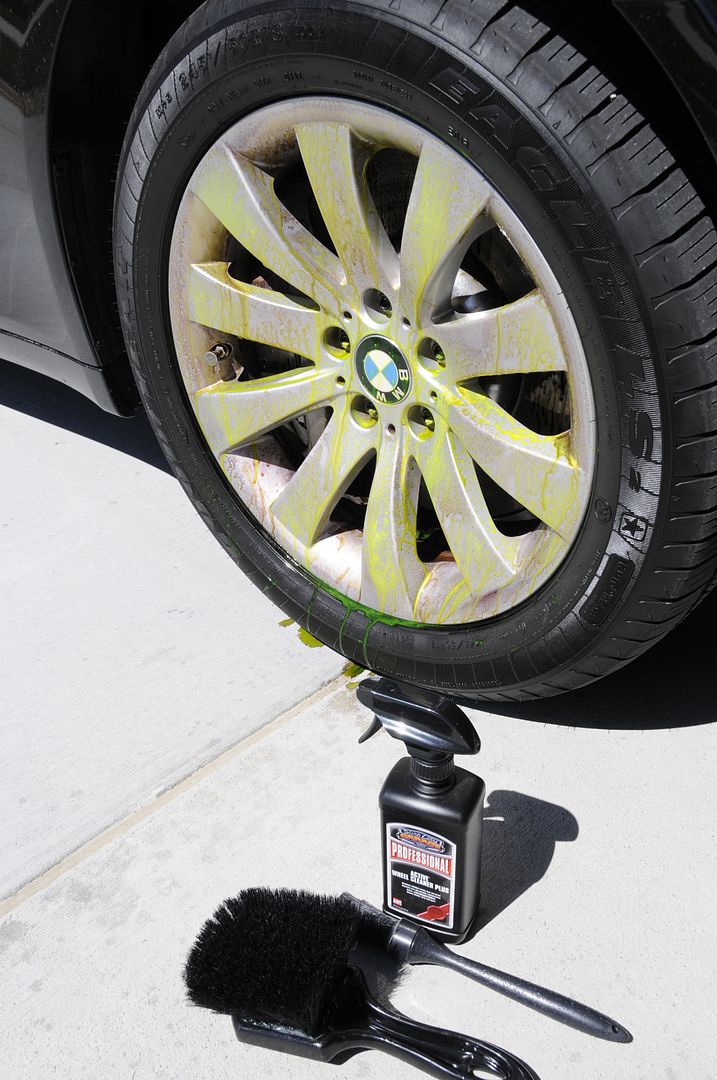
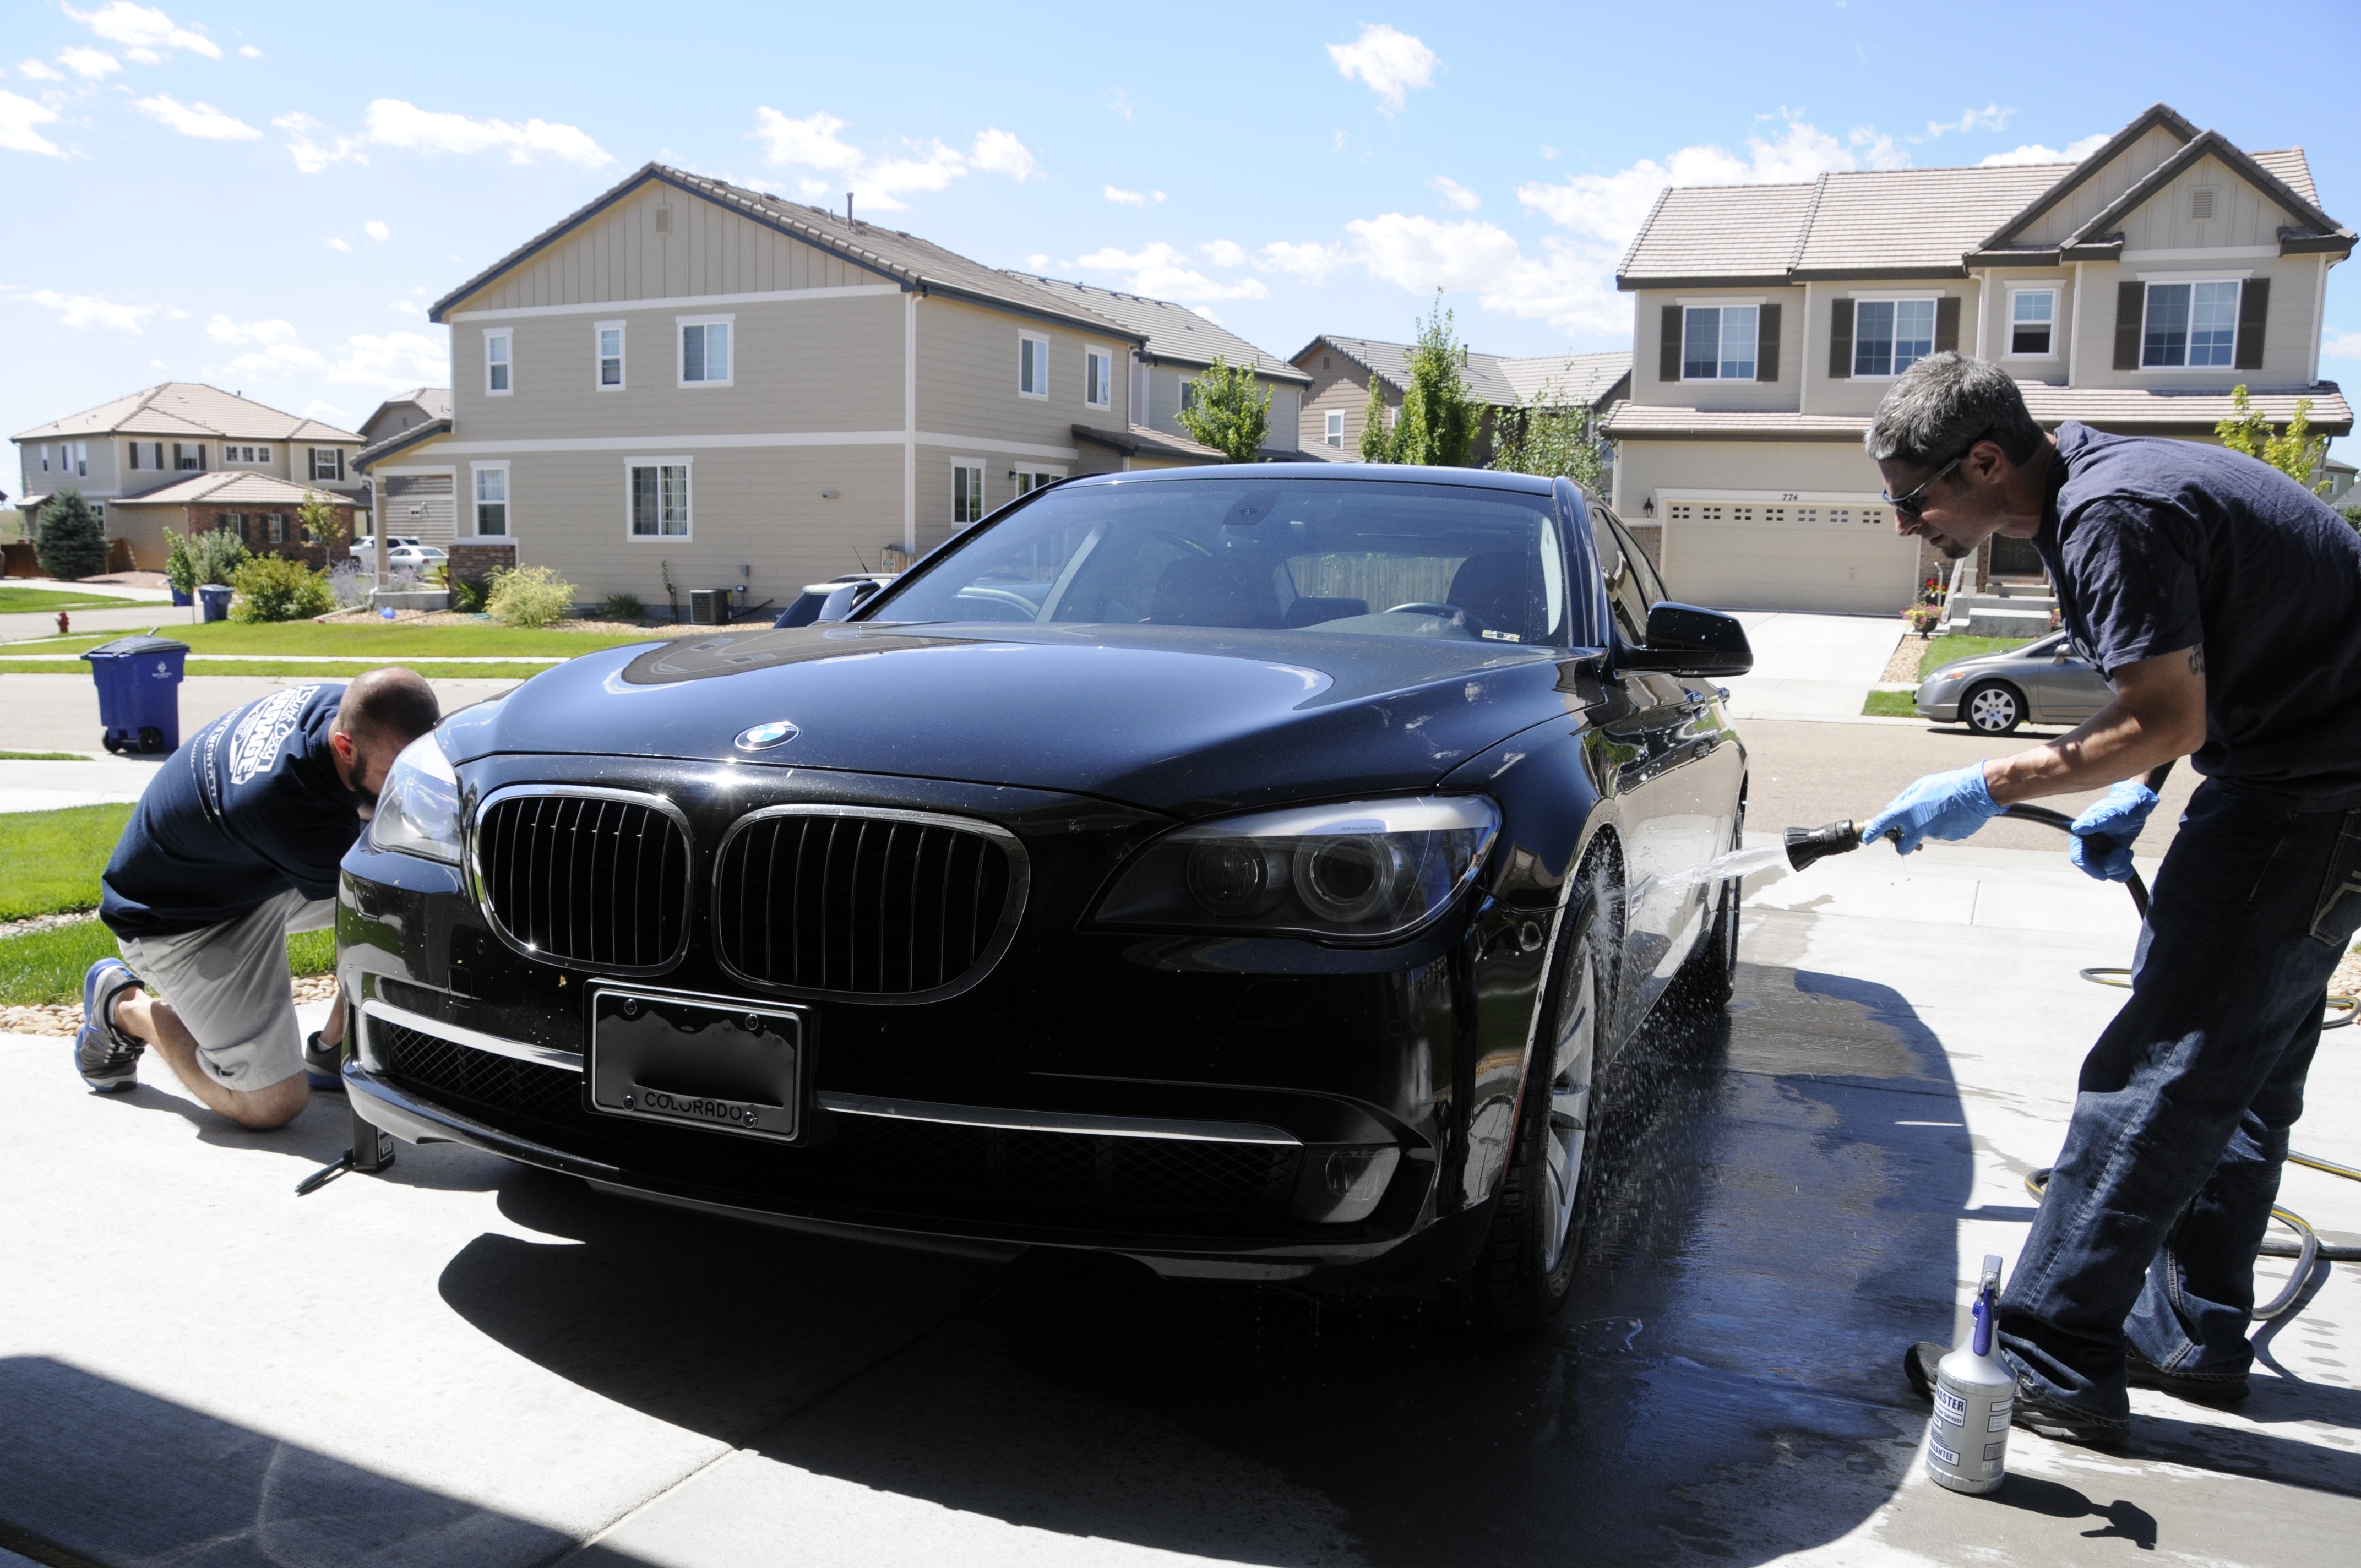
We went to work on the wheels first. Mook with a stiff brush and 4:1 dilution of SCG Pro All Purpose Cleaner Concentrate on the rubber and fender lining, I attacked the wheel faces with SCG Pro Active Wheel Cleaner Plus and a black boars hair wheel brush. Lug holes and smaller areas were addressed with the 1" round boars hair detail brush.
cont'd...
PAINT PREP & DECONTAMINATION:
The paint clearly had some kind of wax or sealant still on the exterior, so SCG Pro Surface Prep Wash was going to be used to remove that before moving into clay.
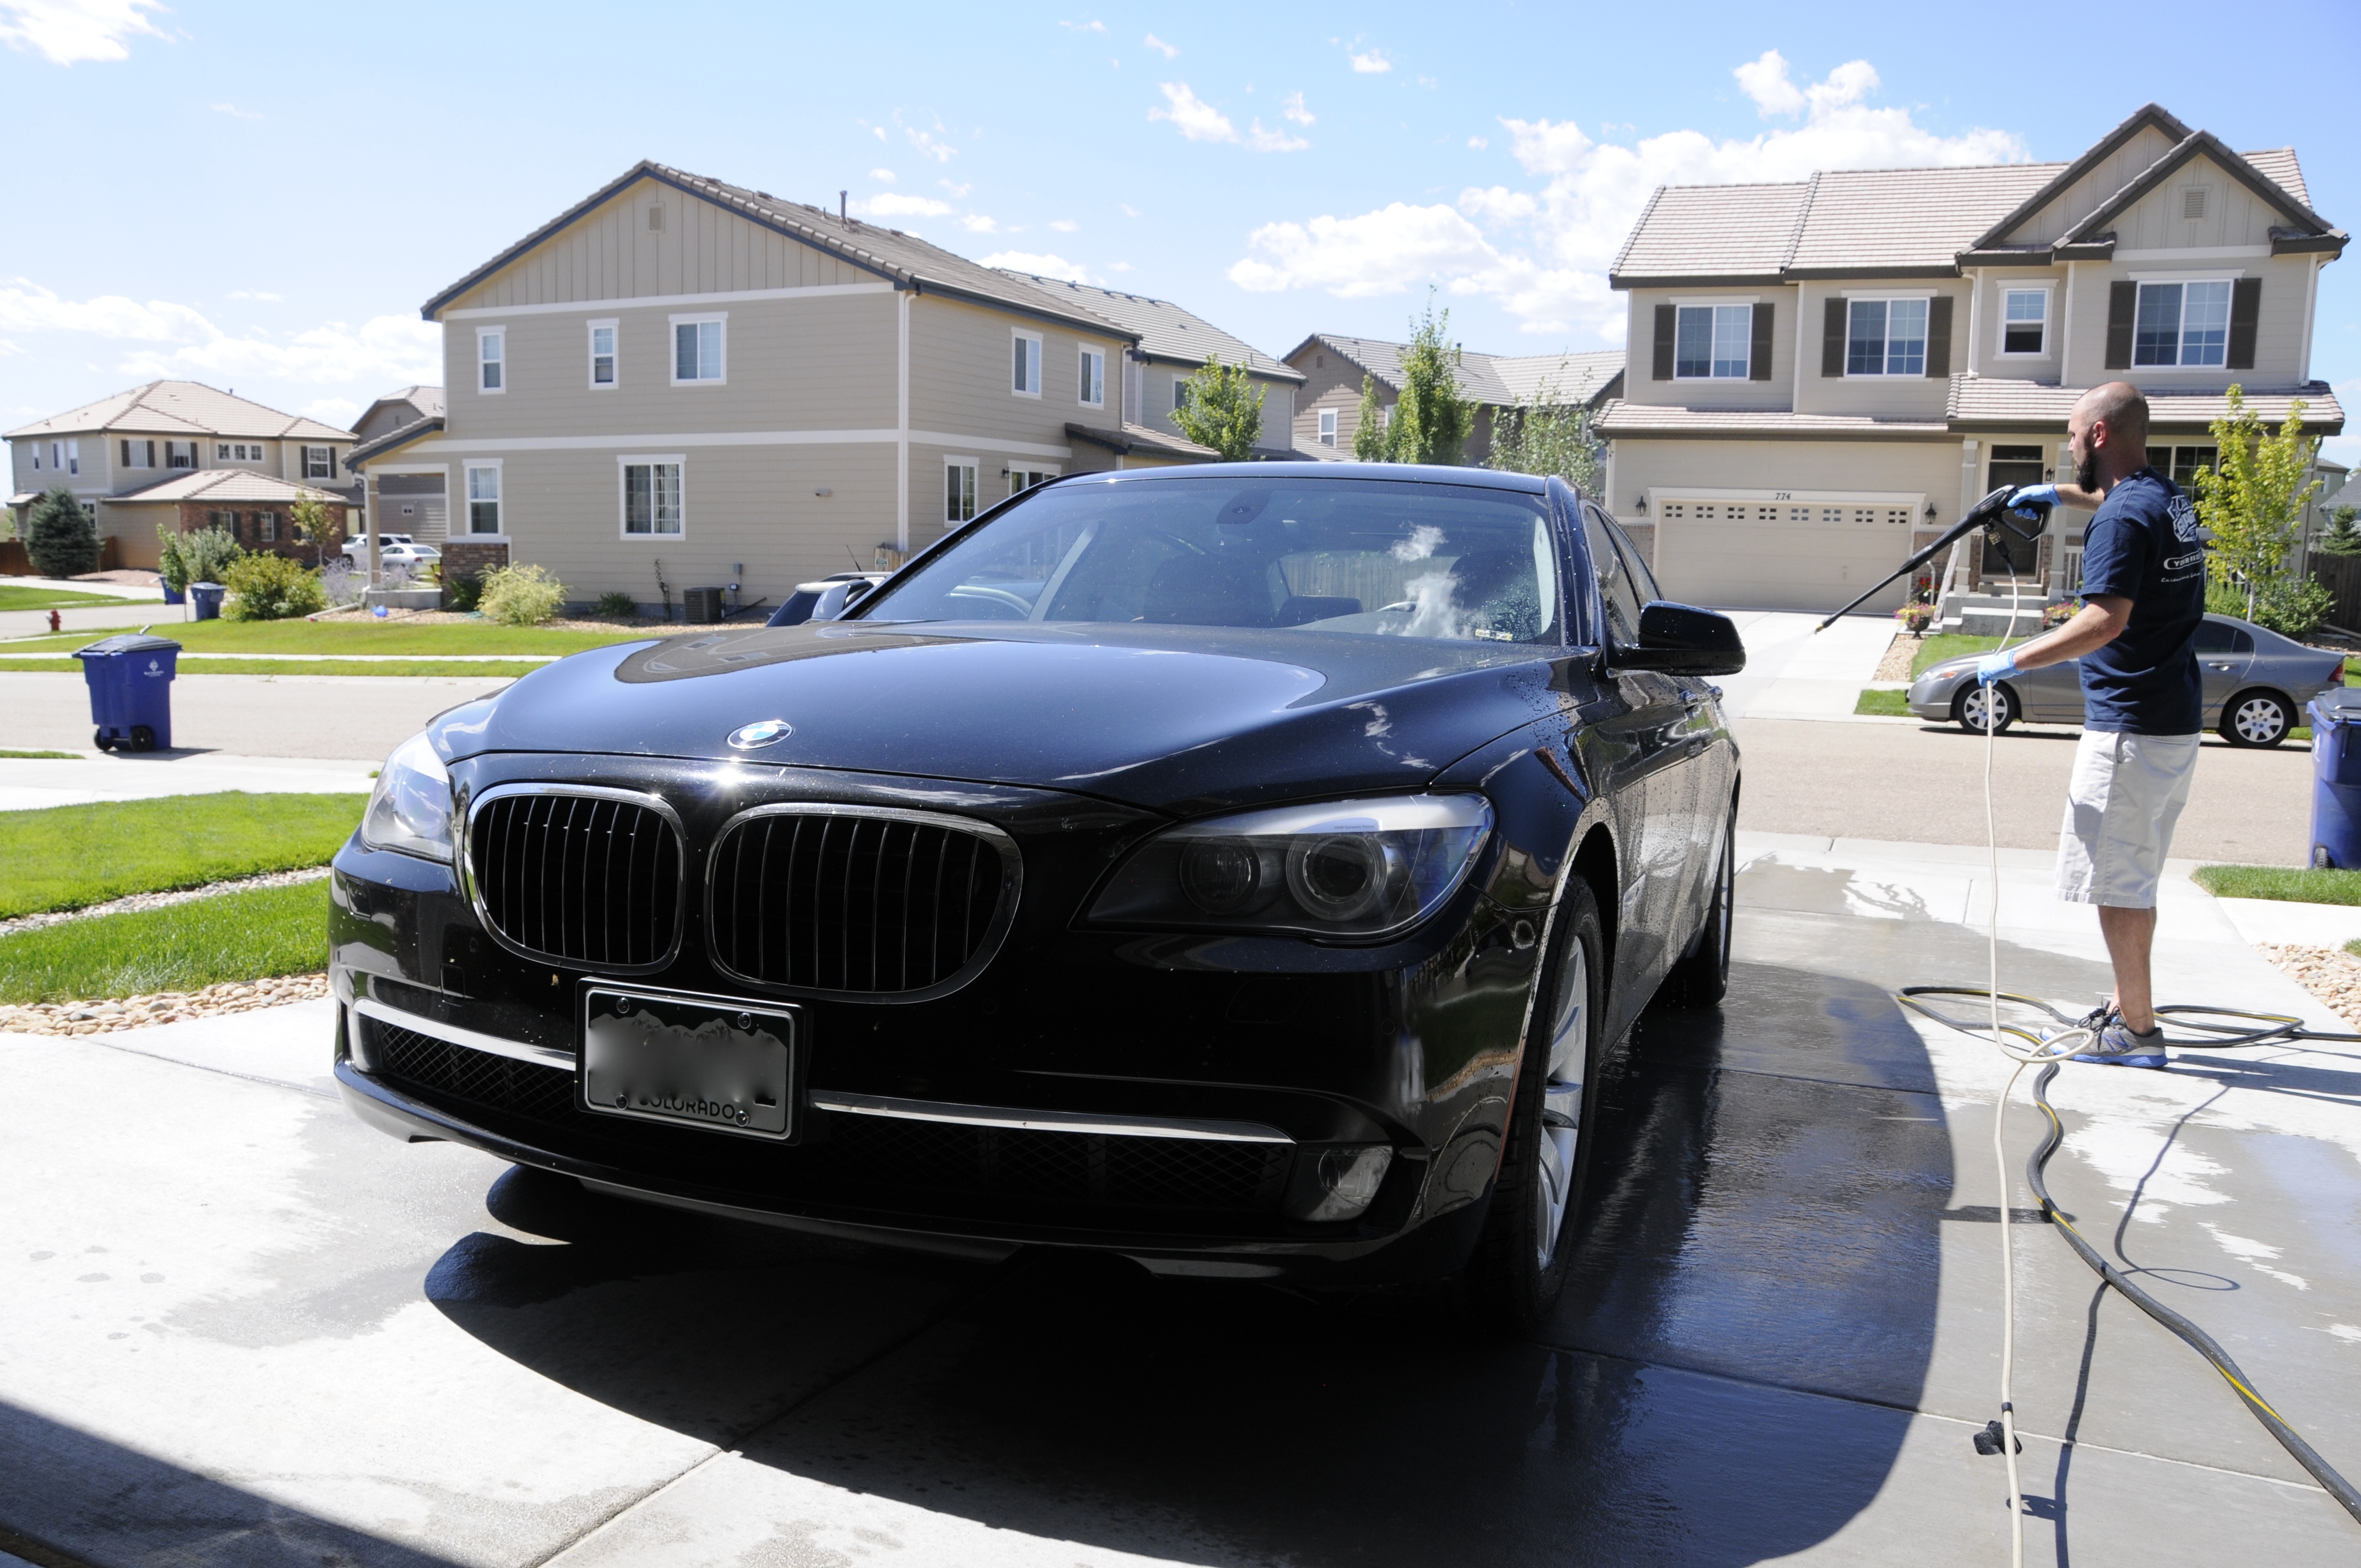
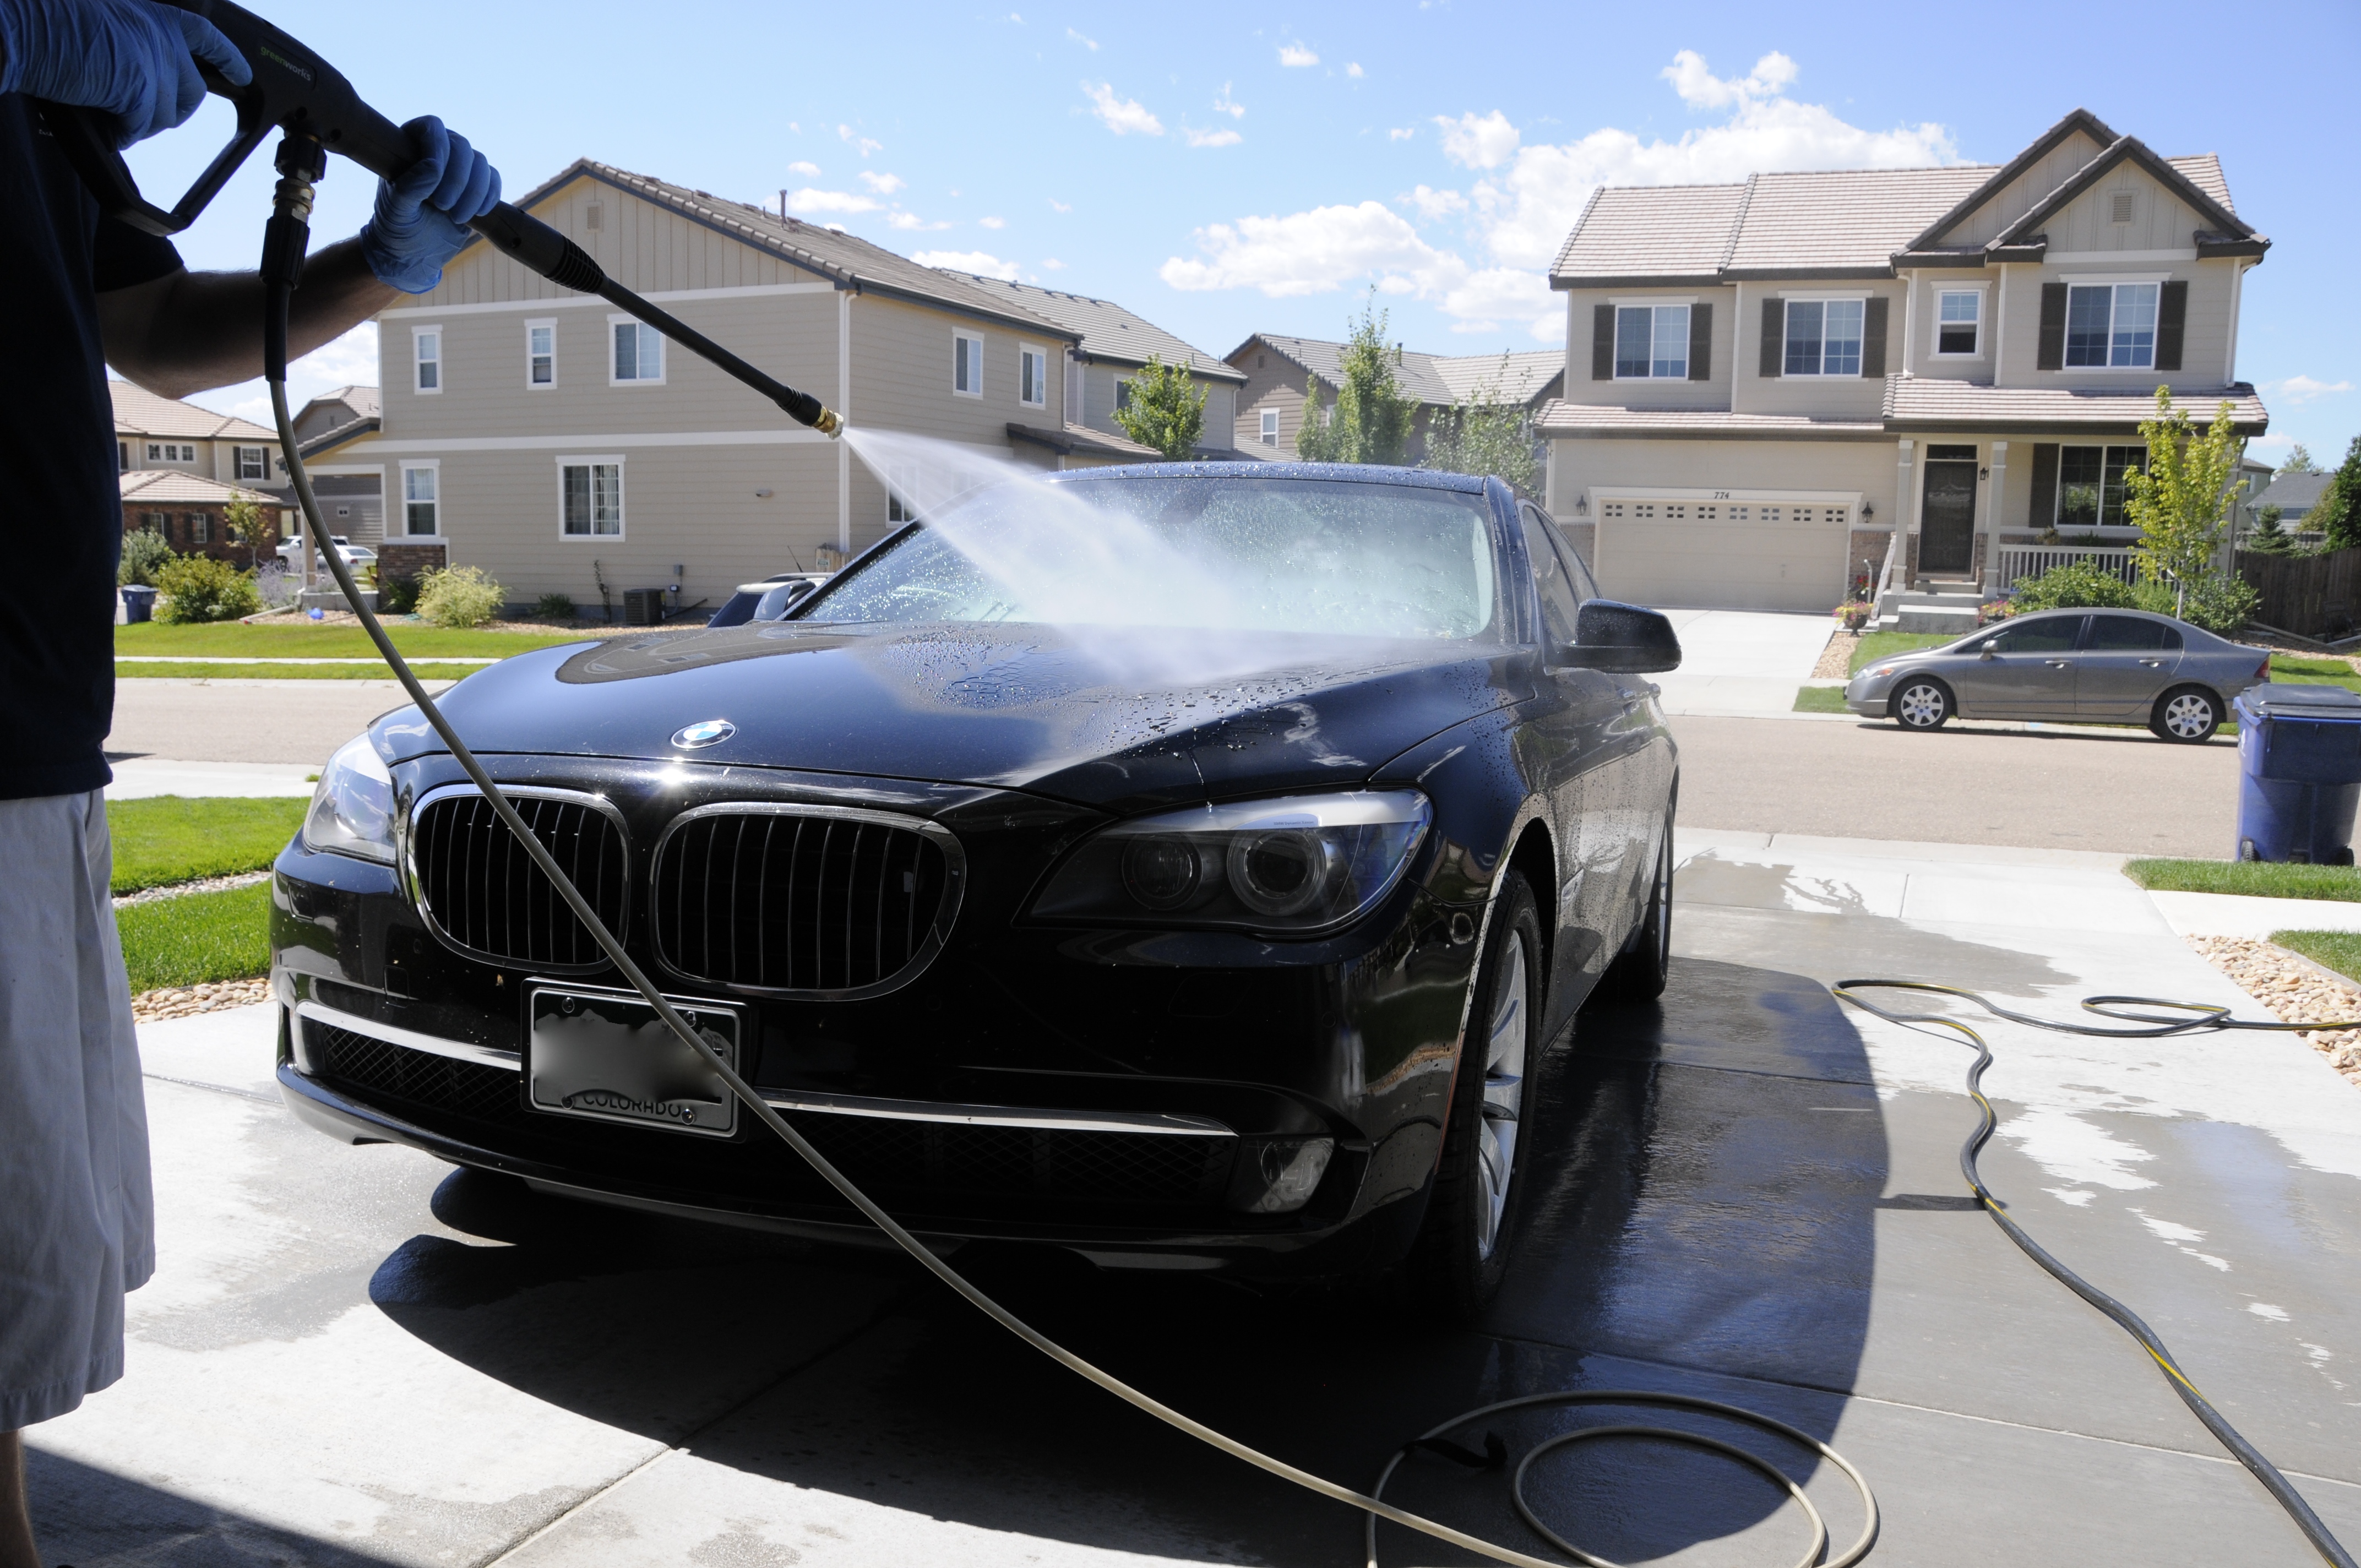
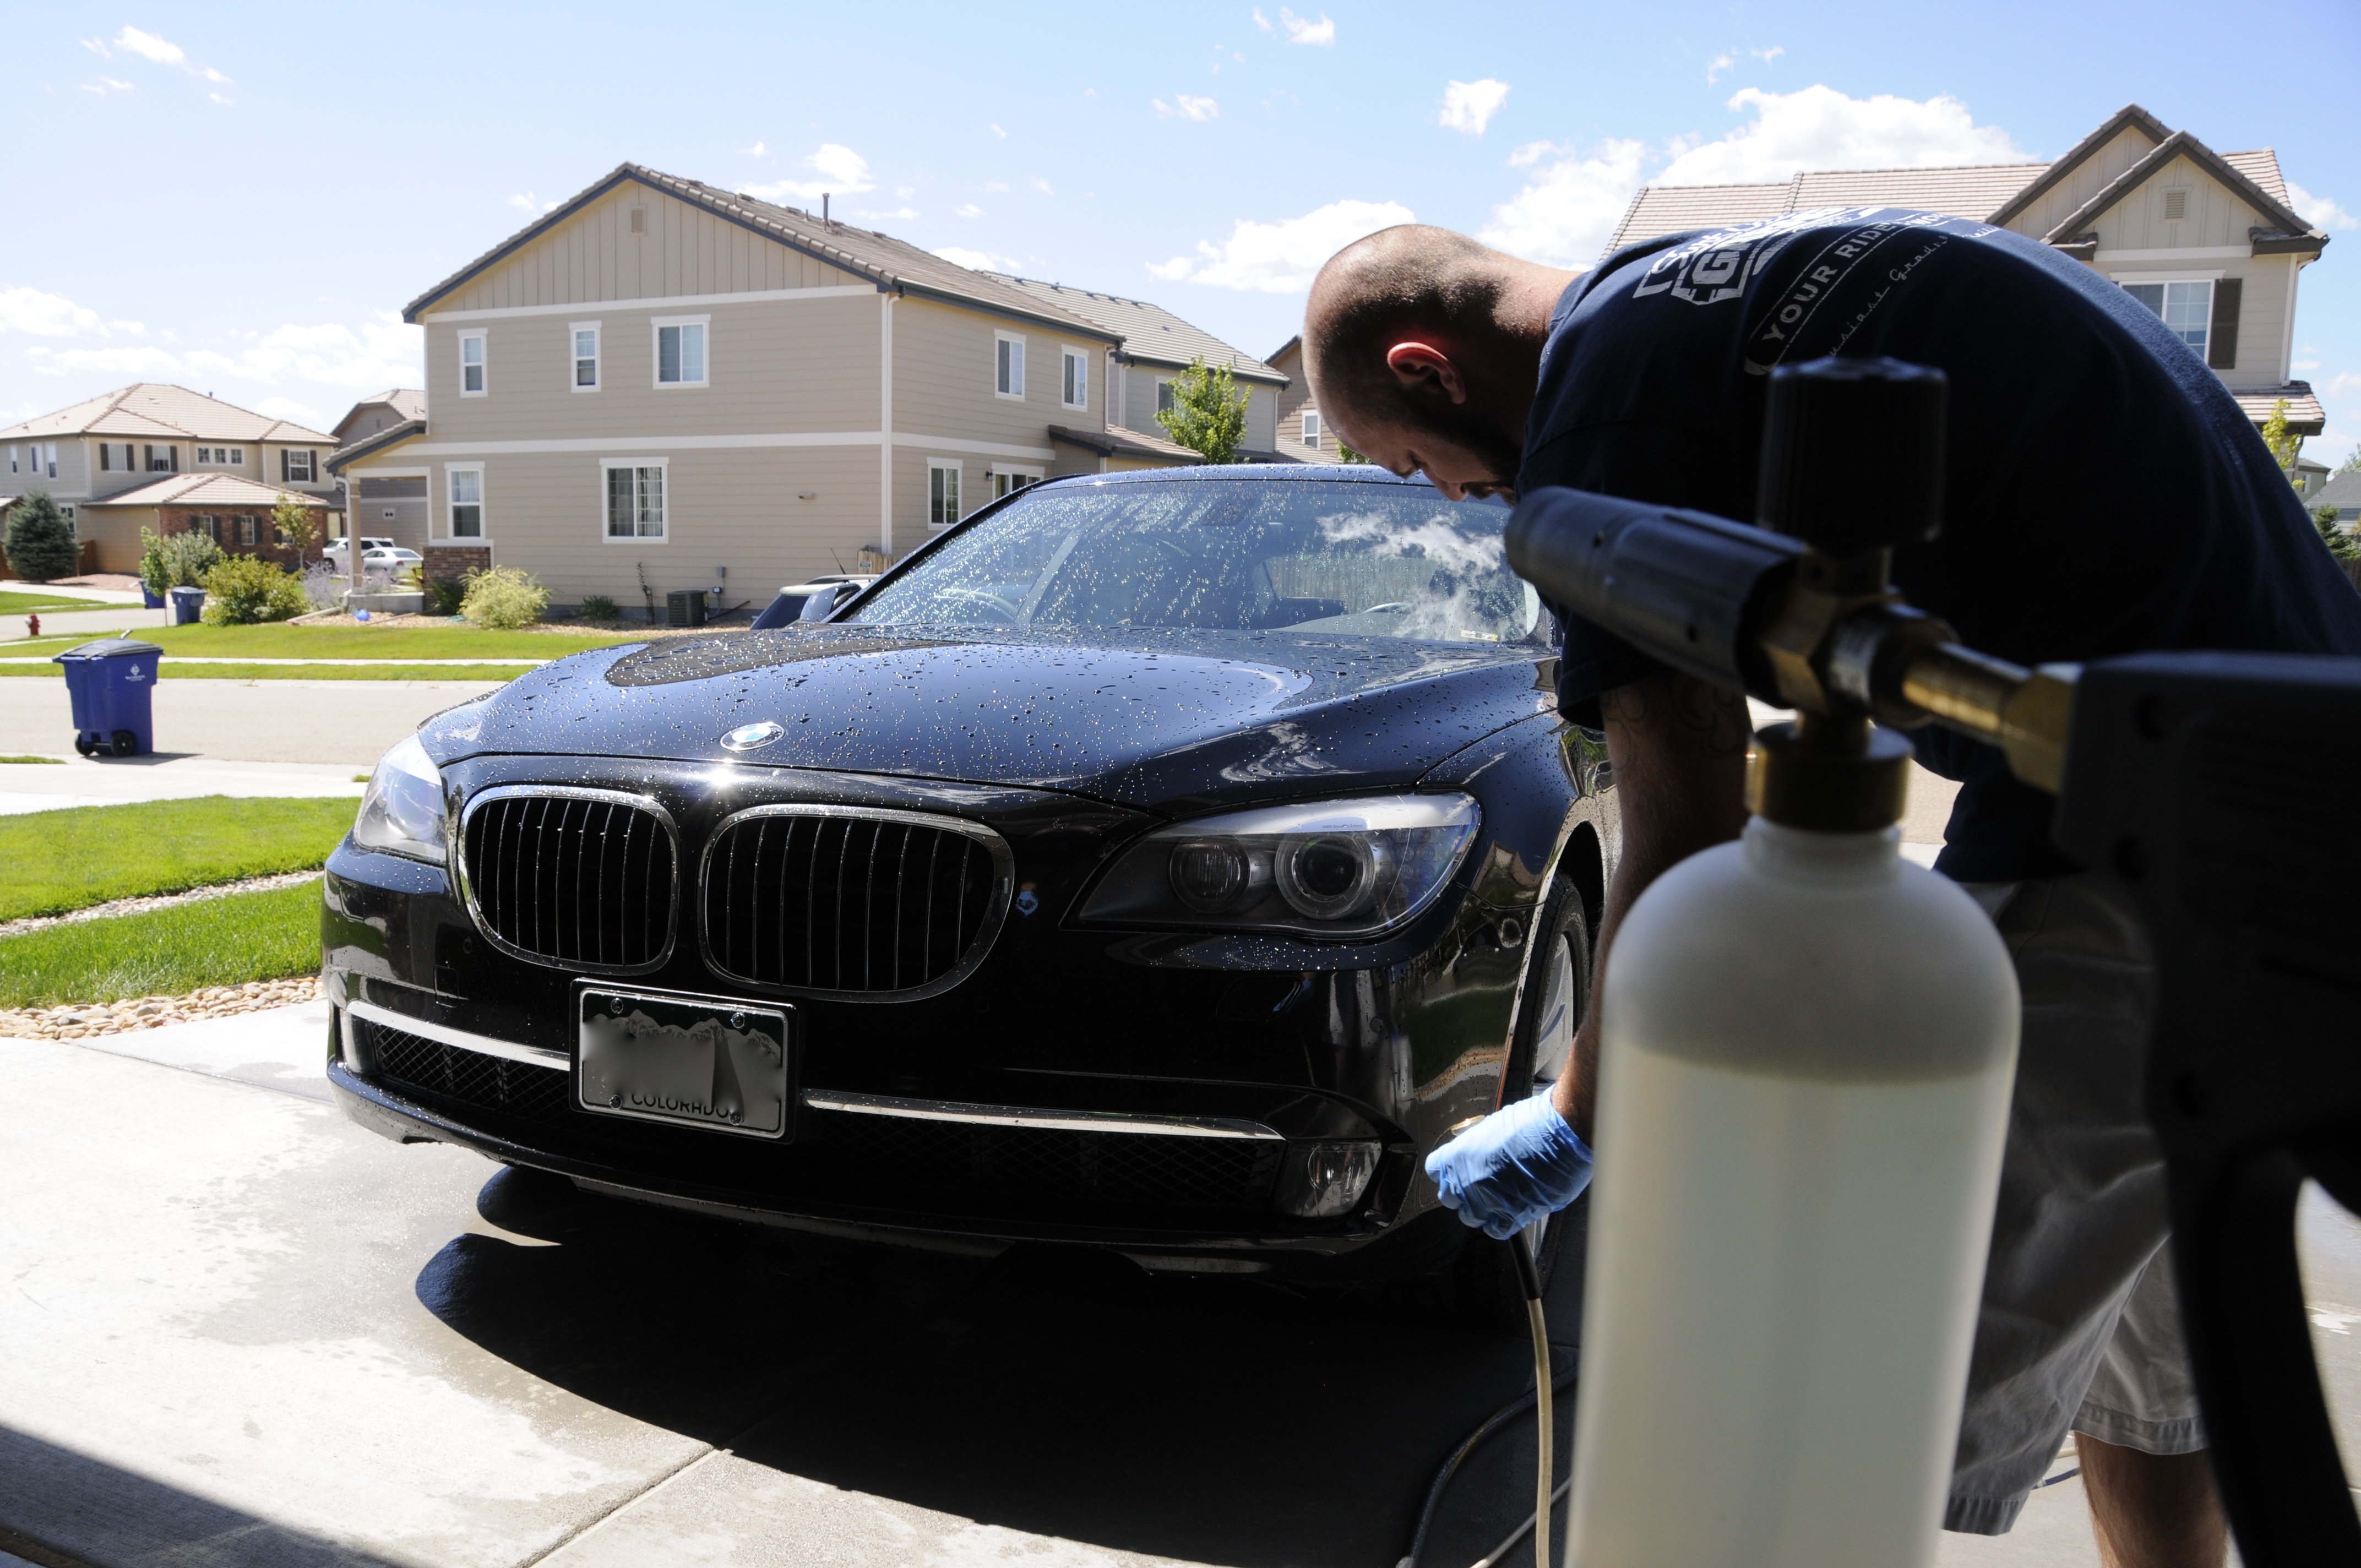
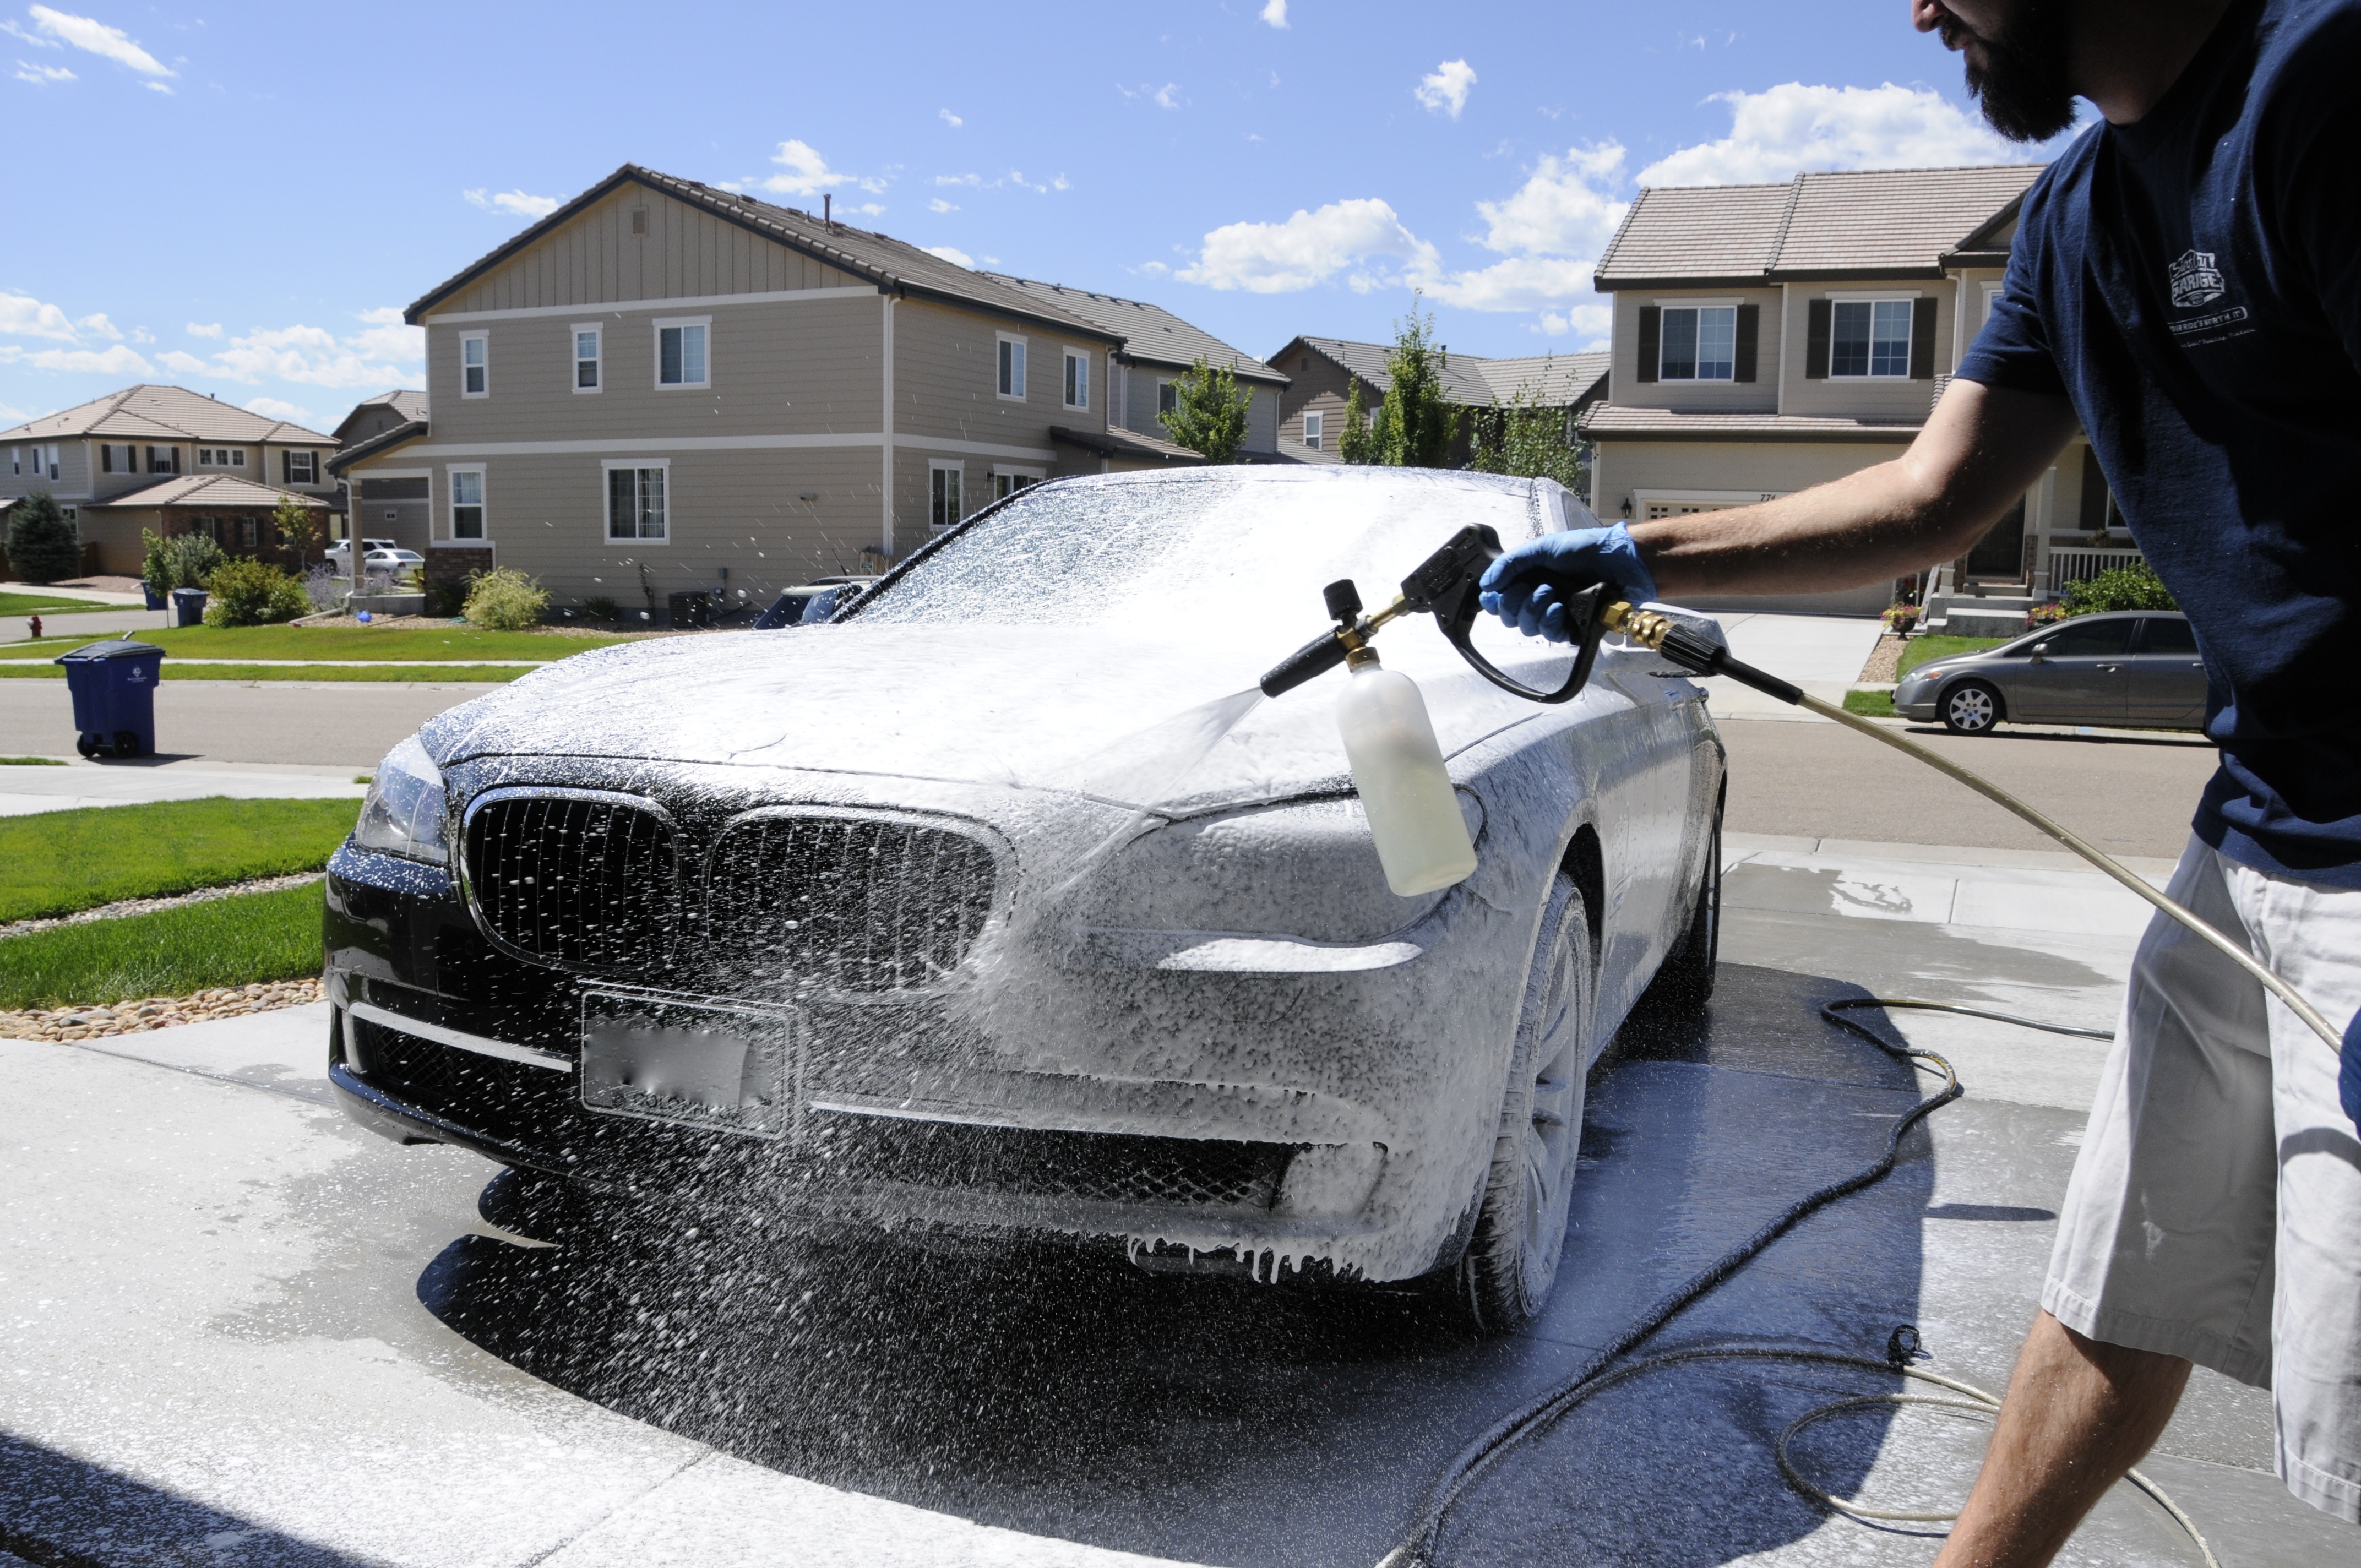
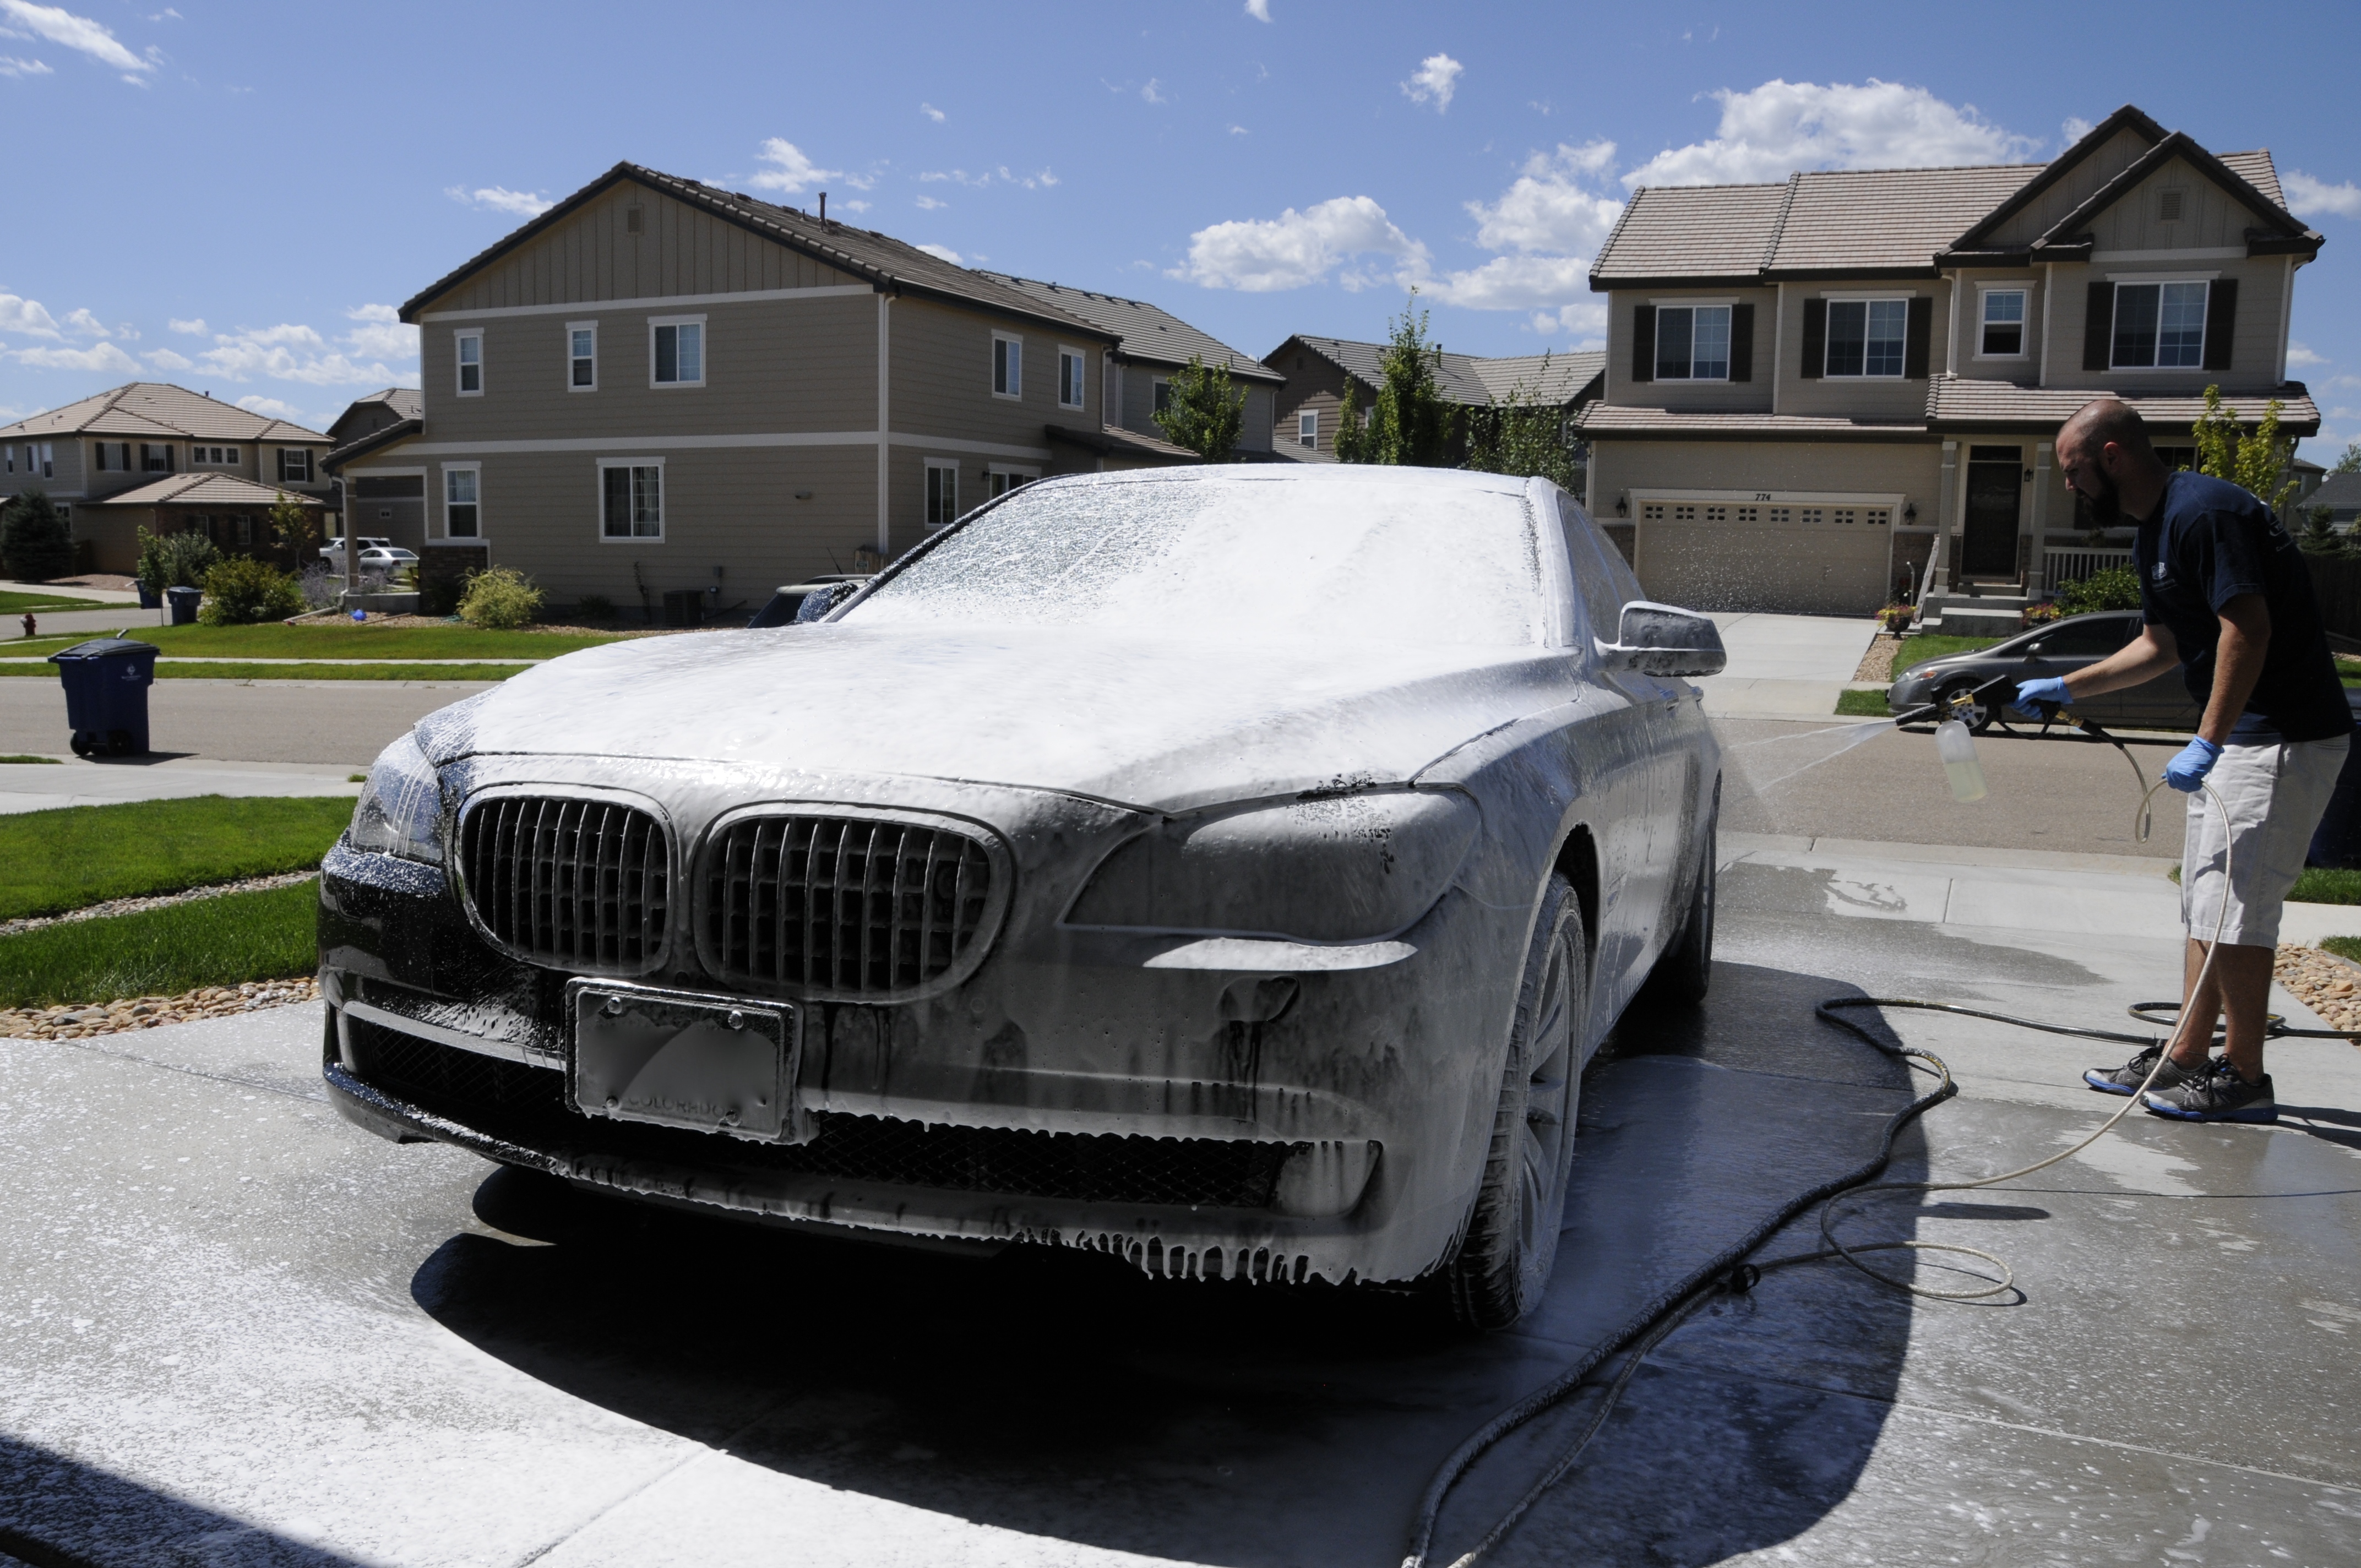
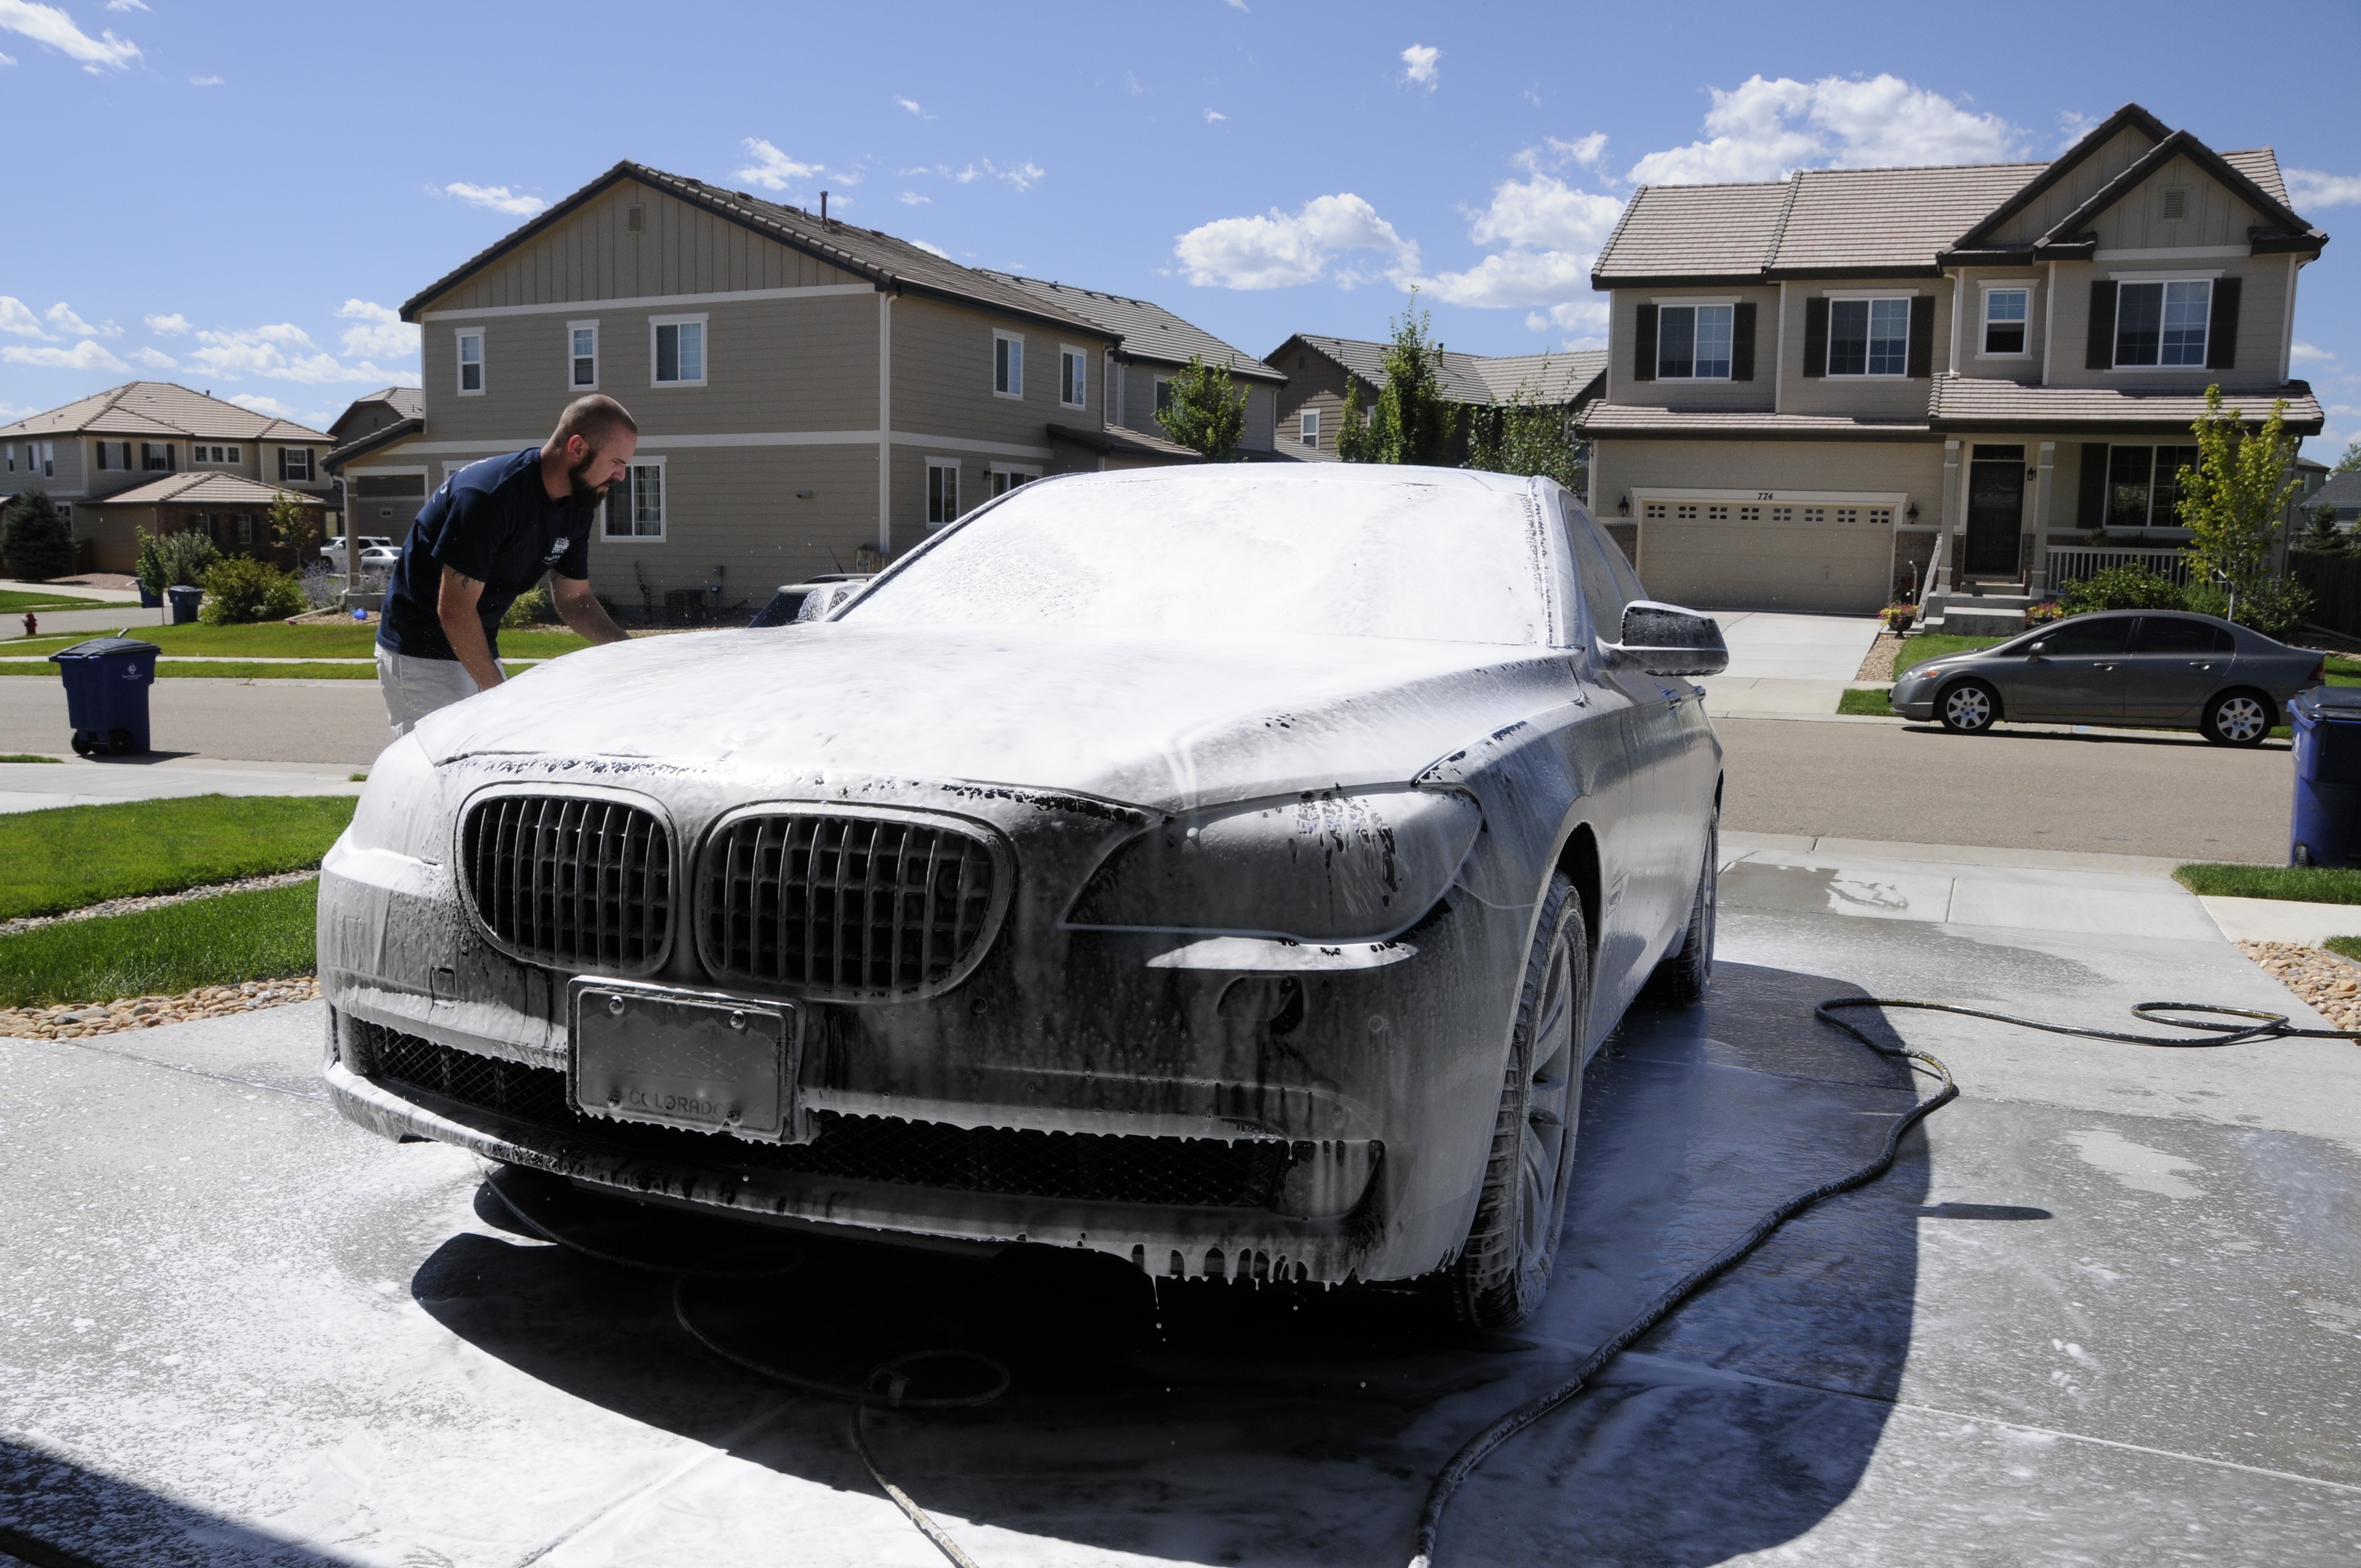
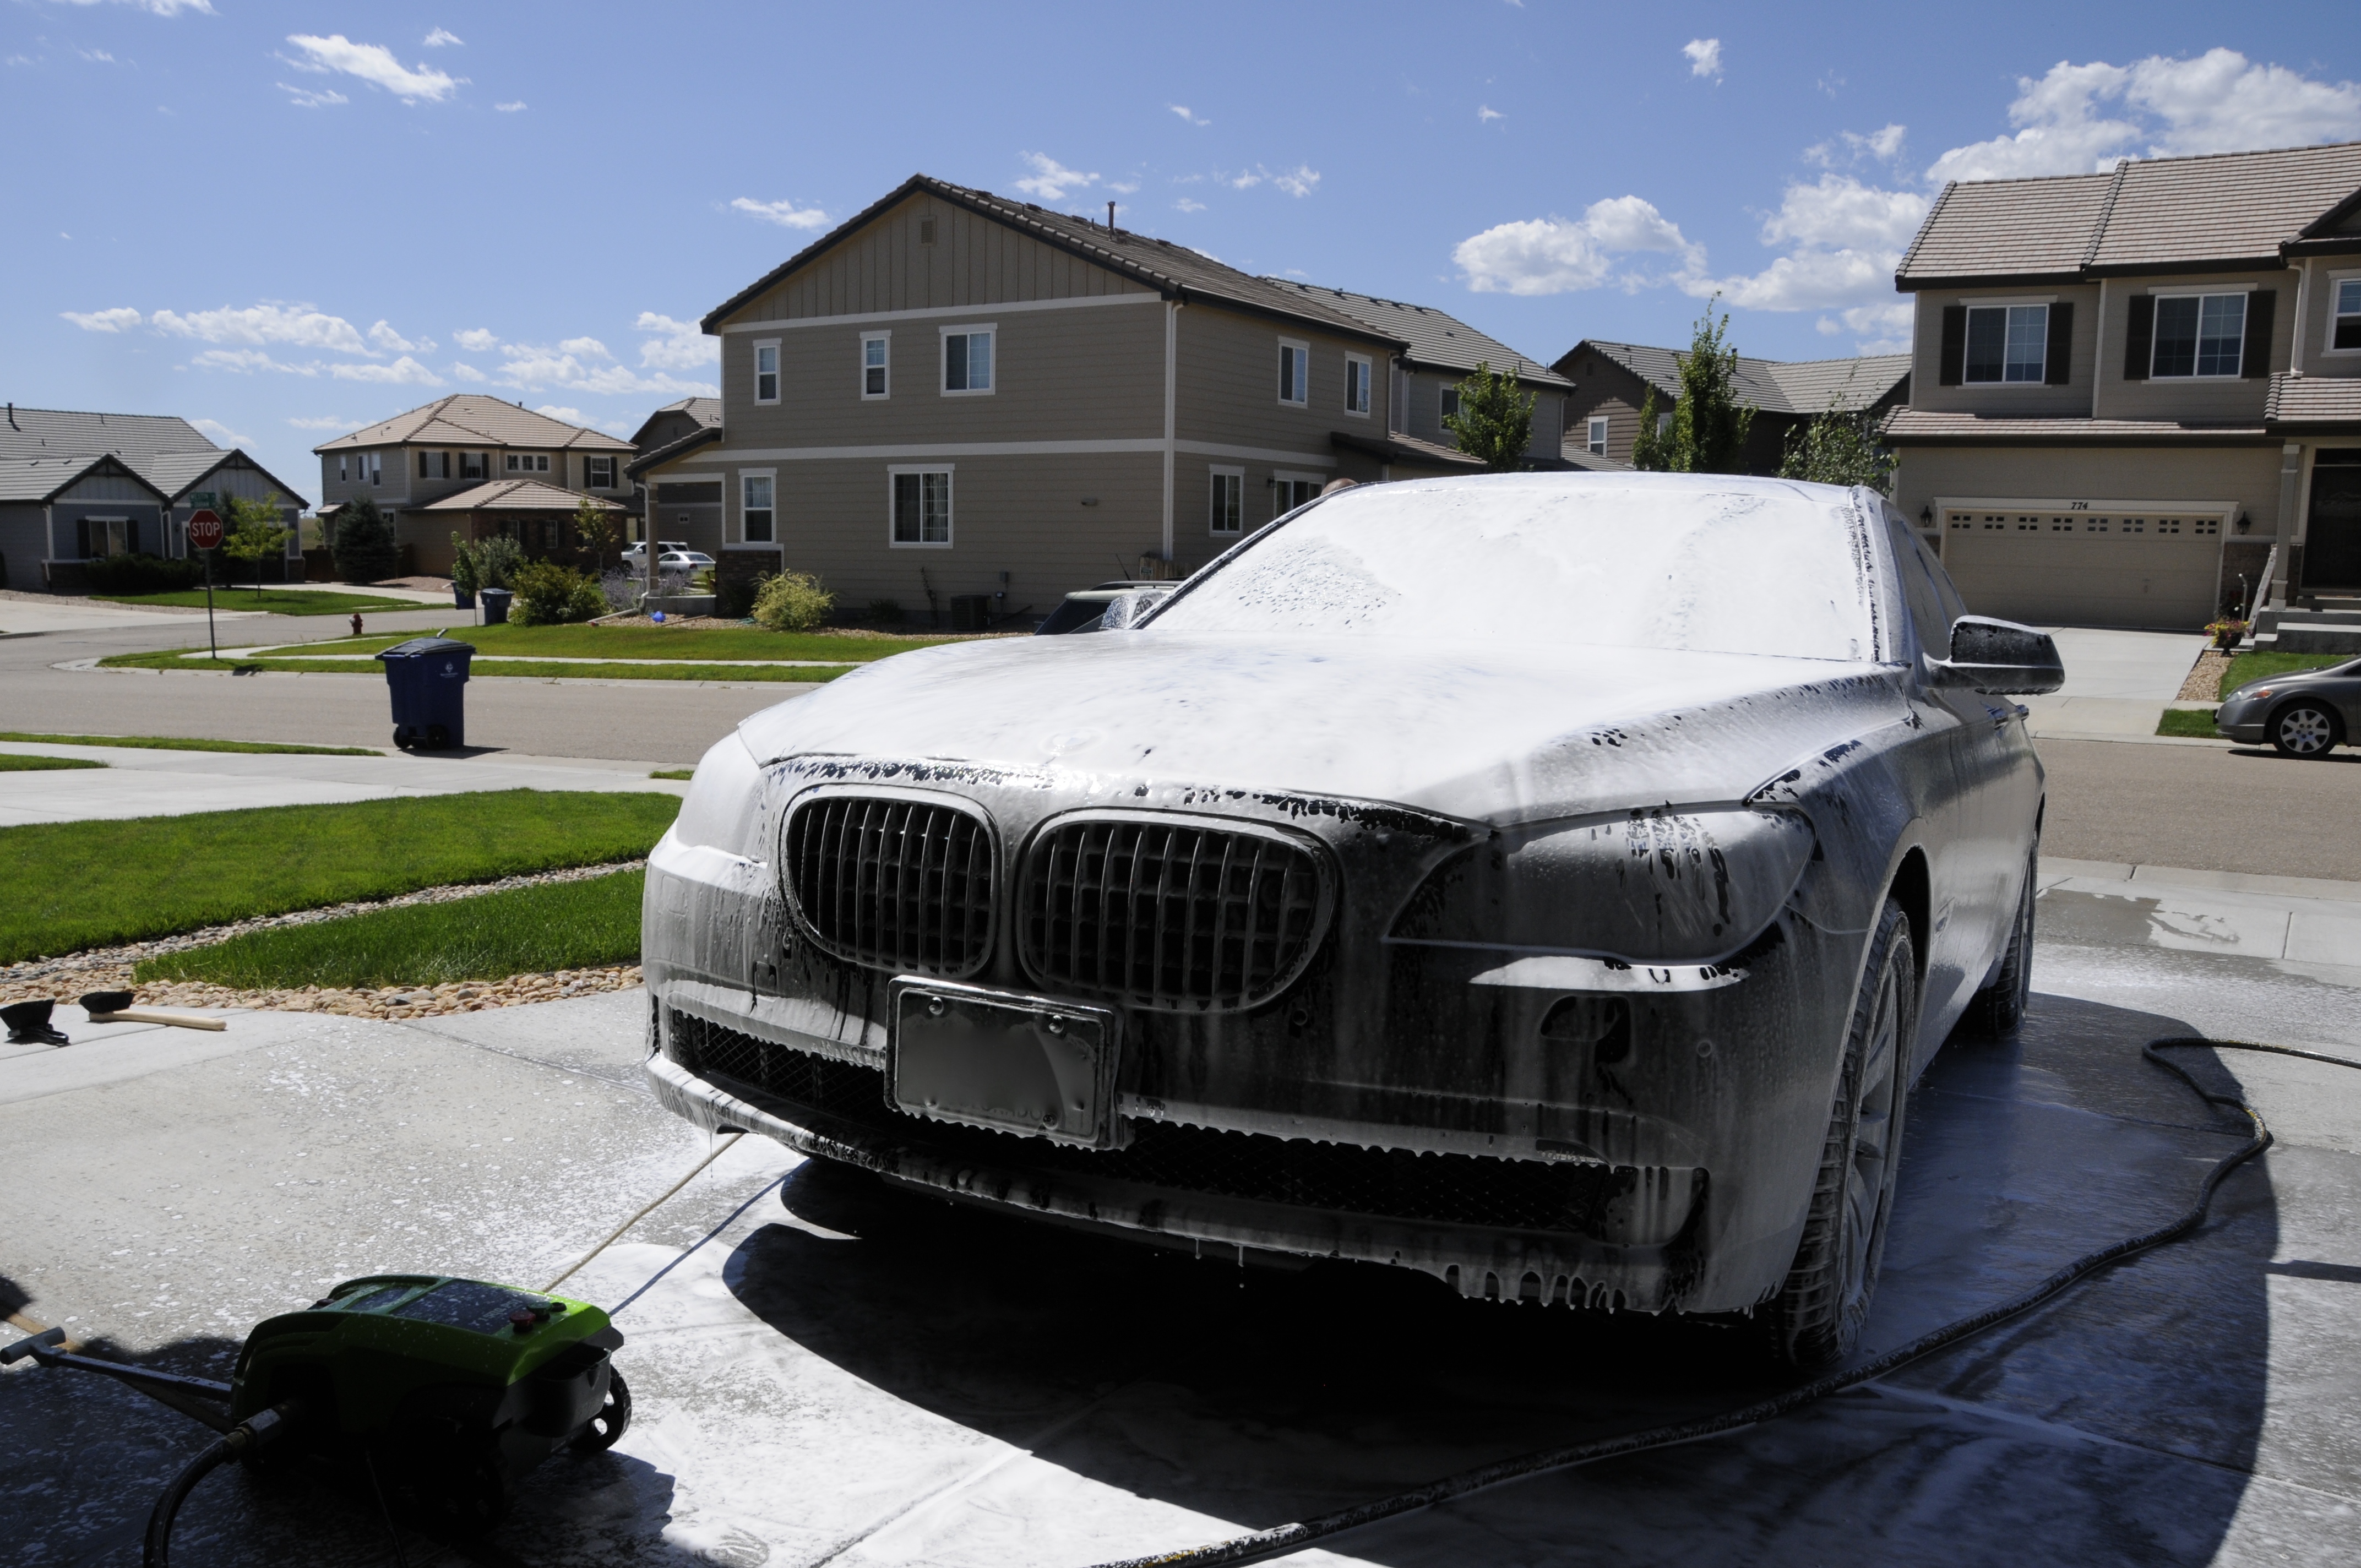
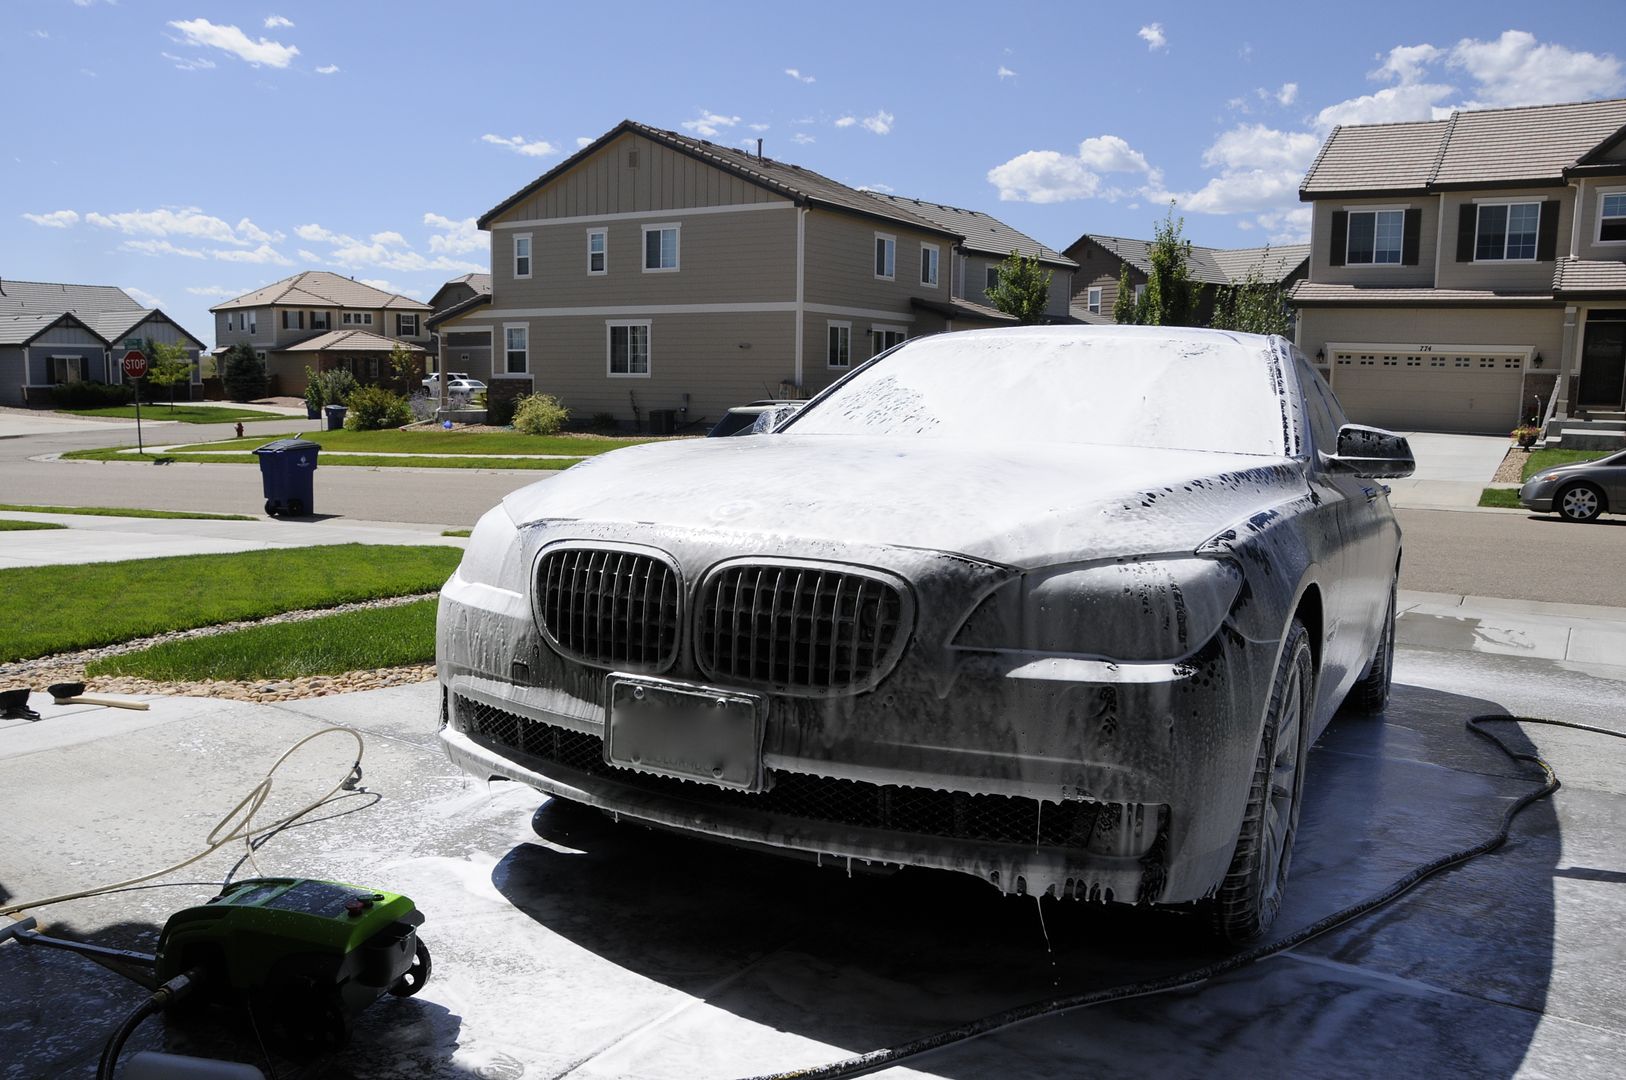
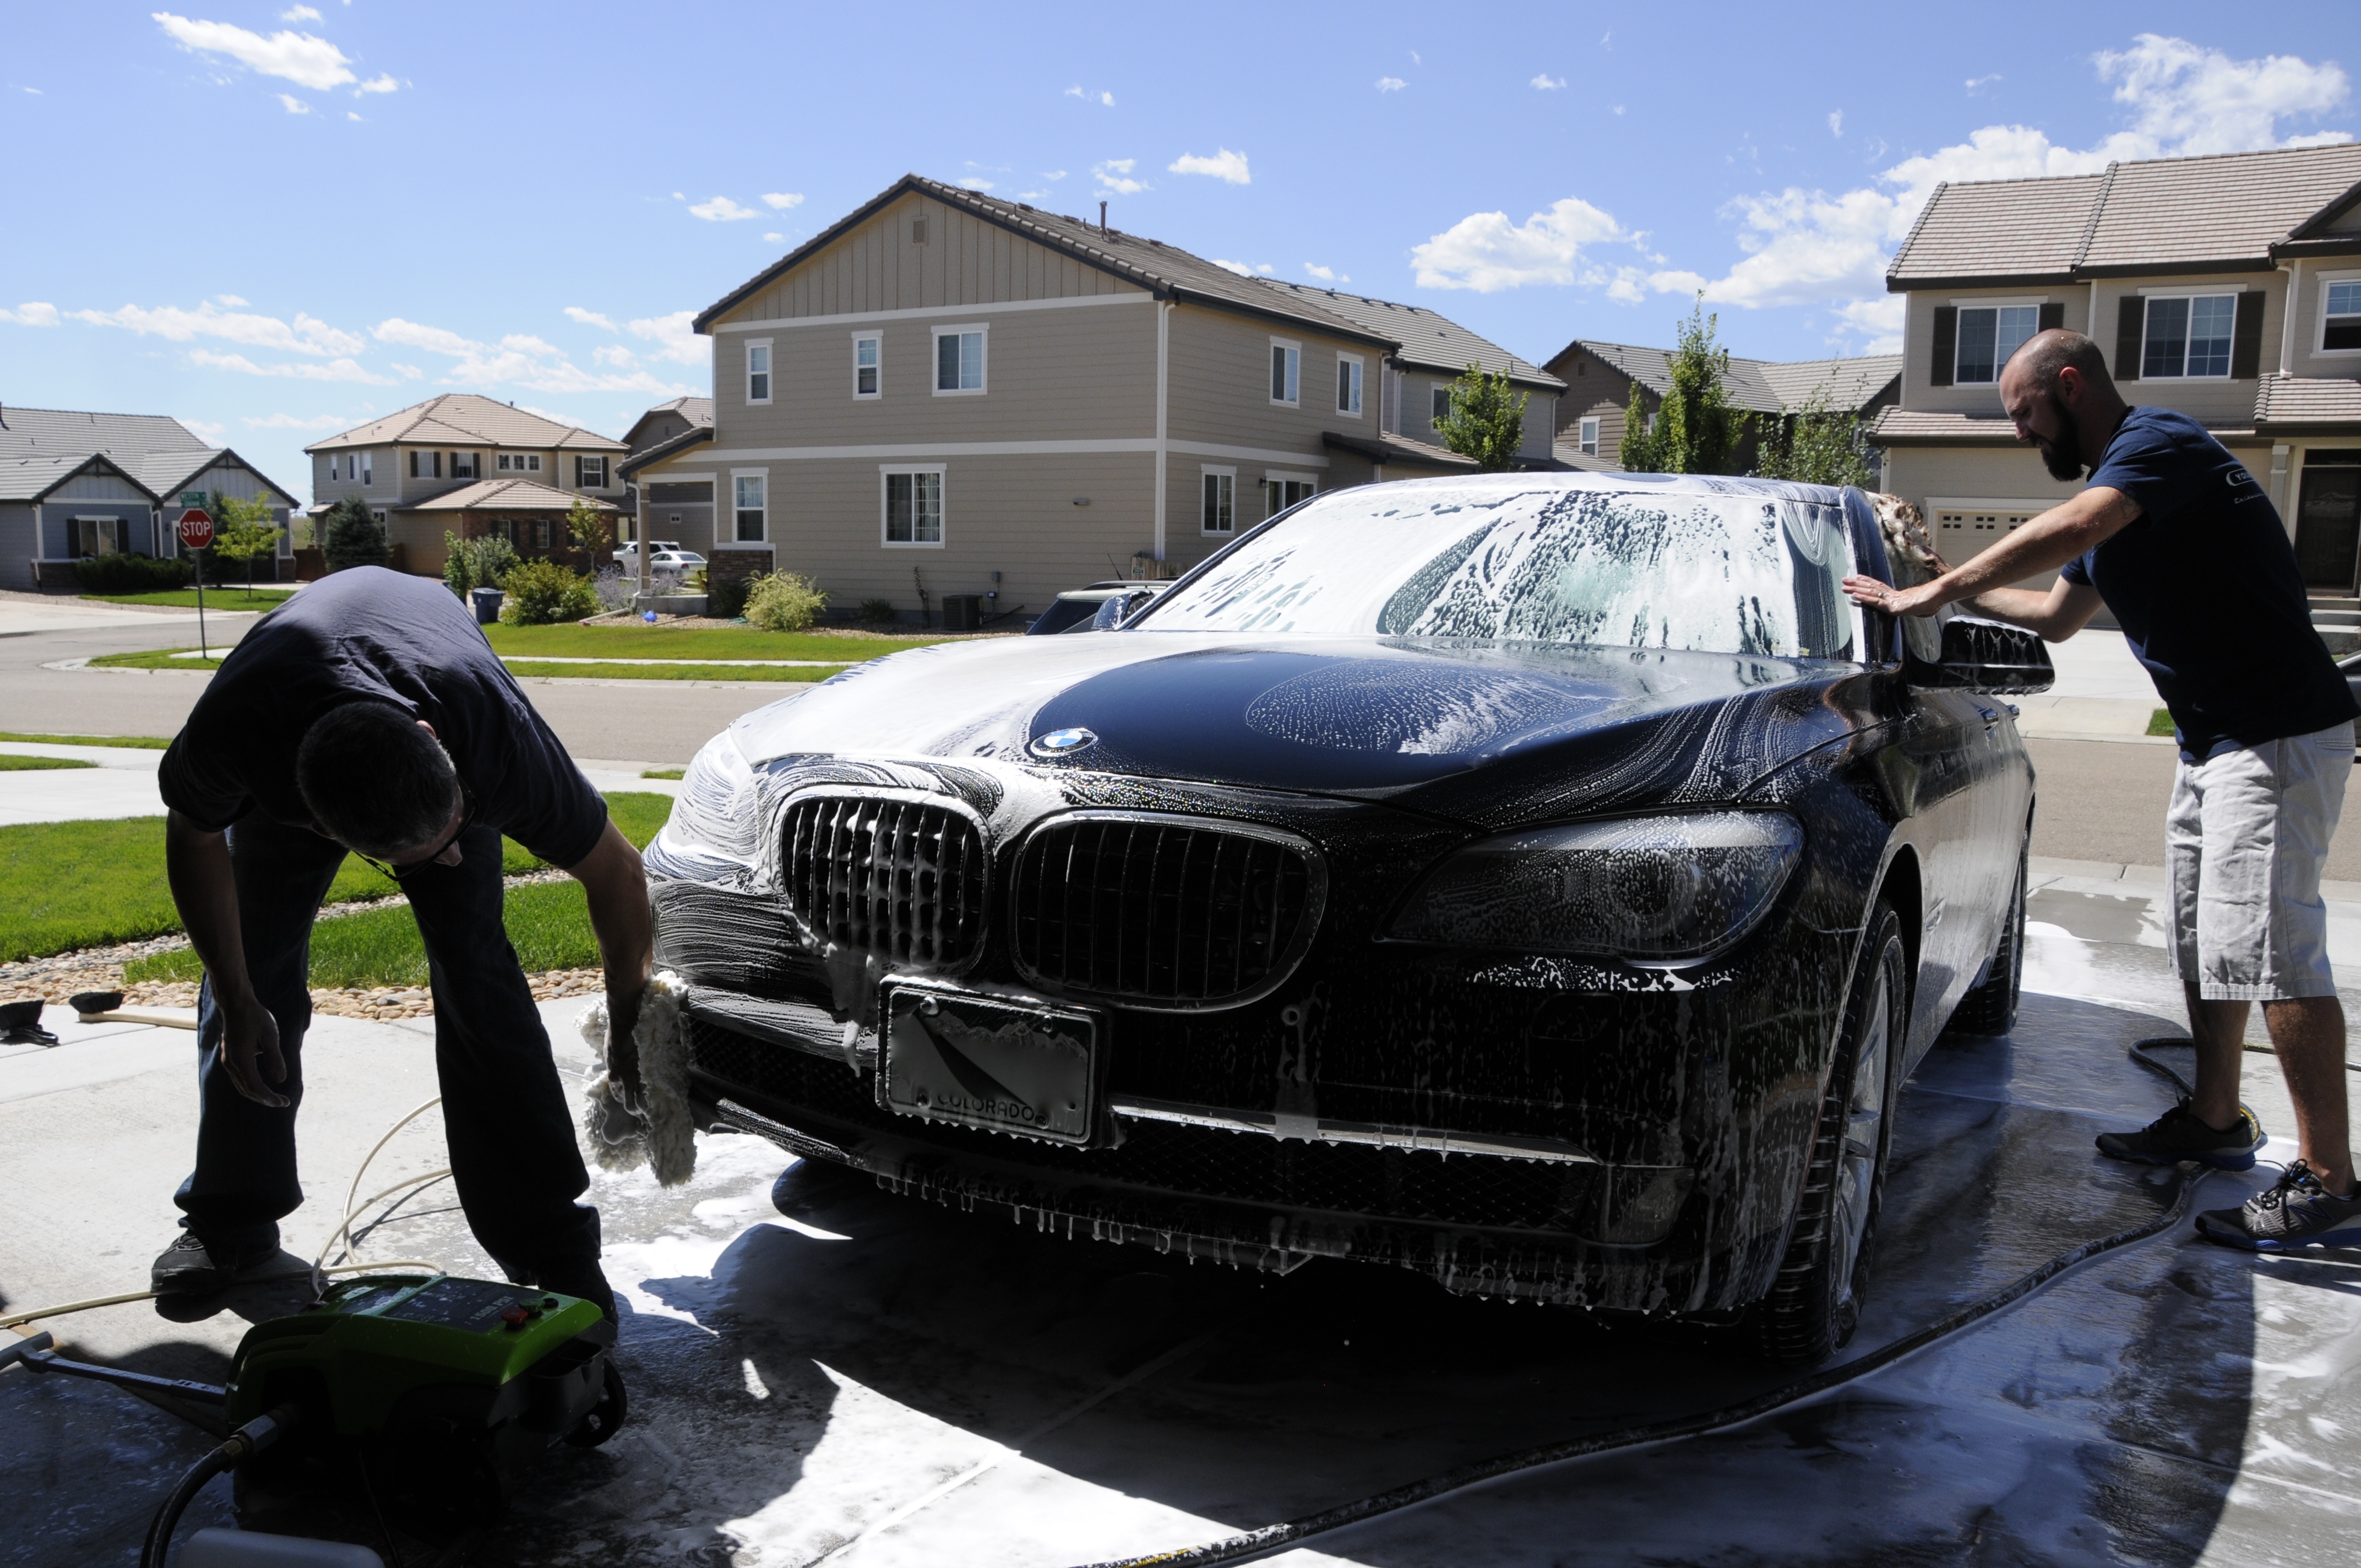
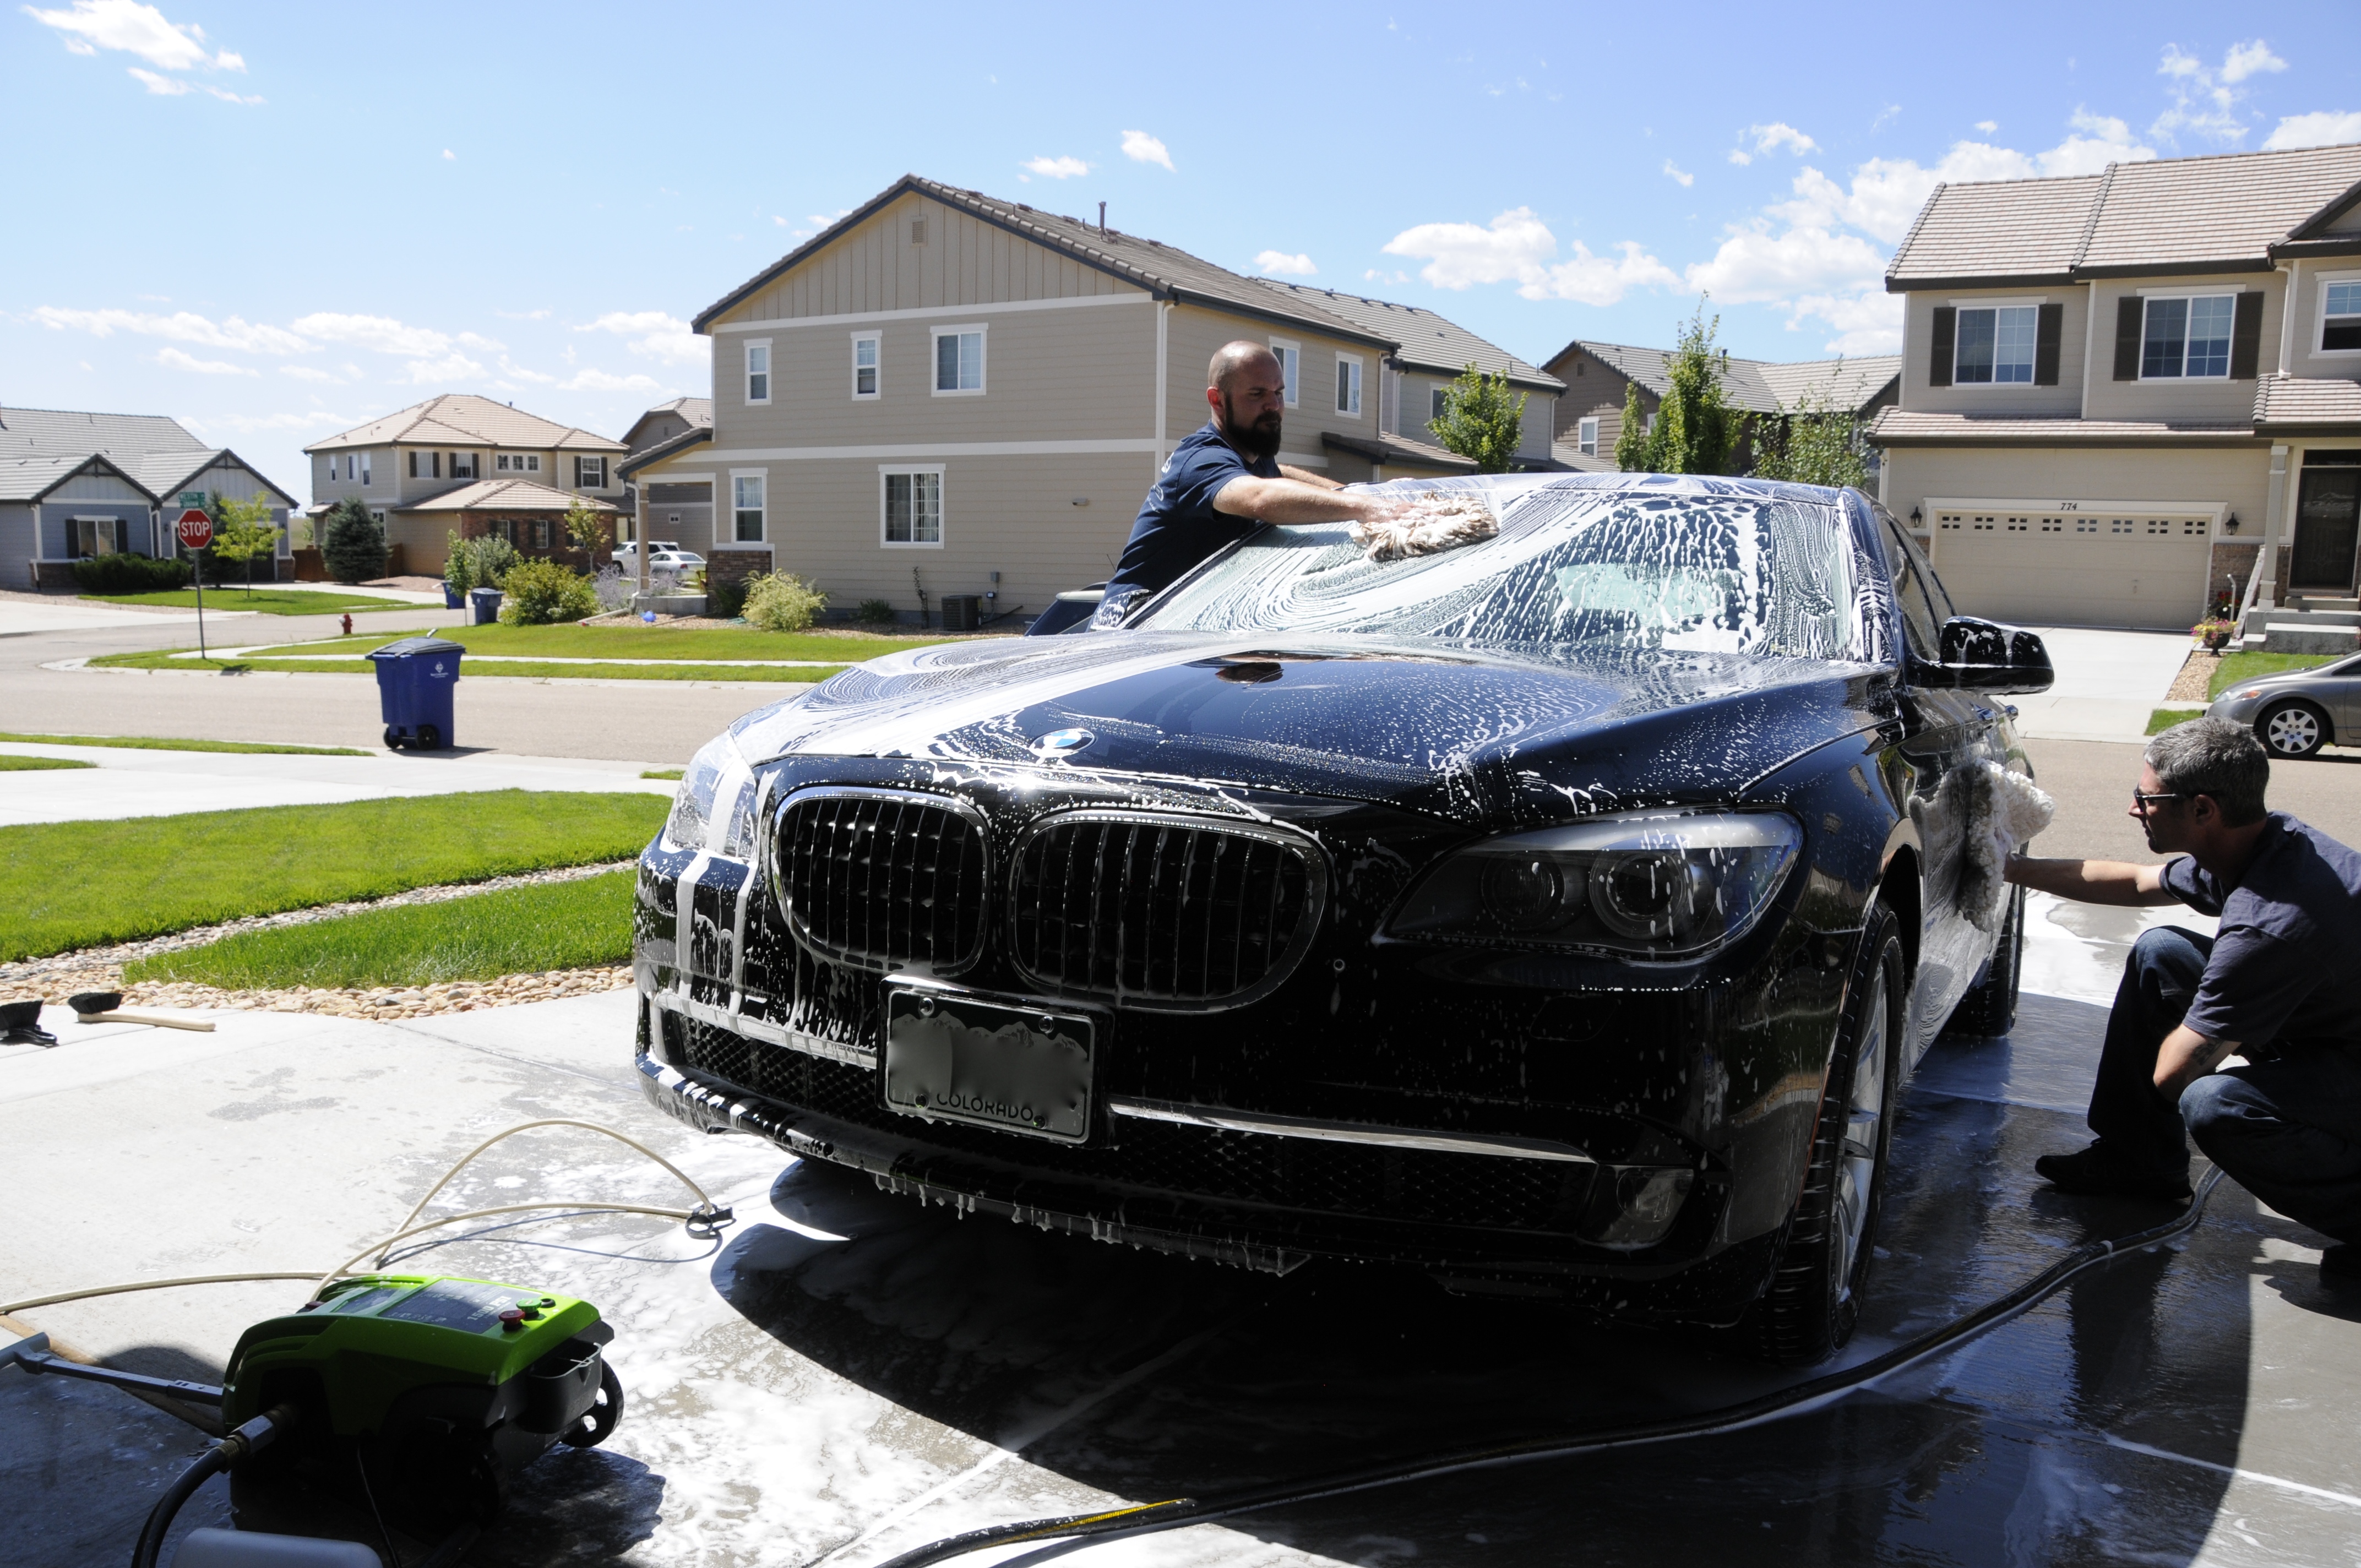
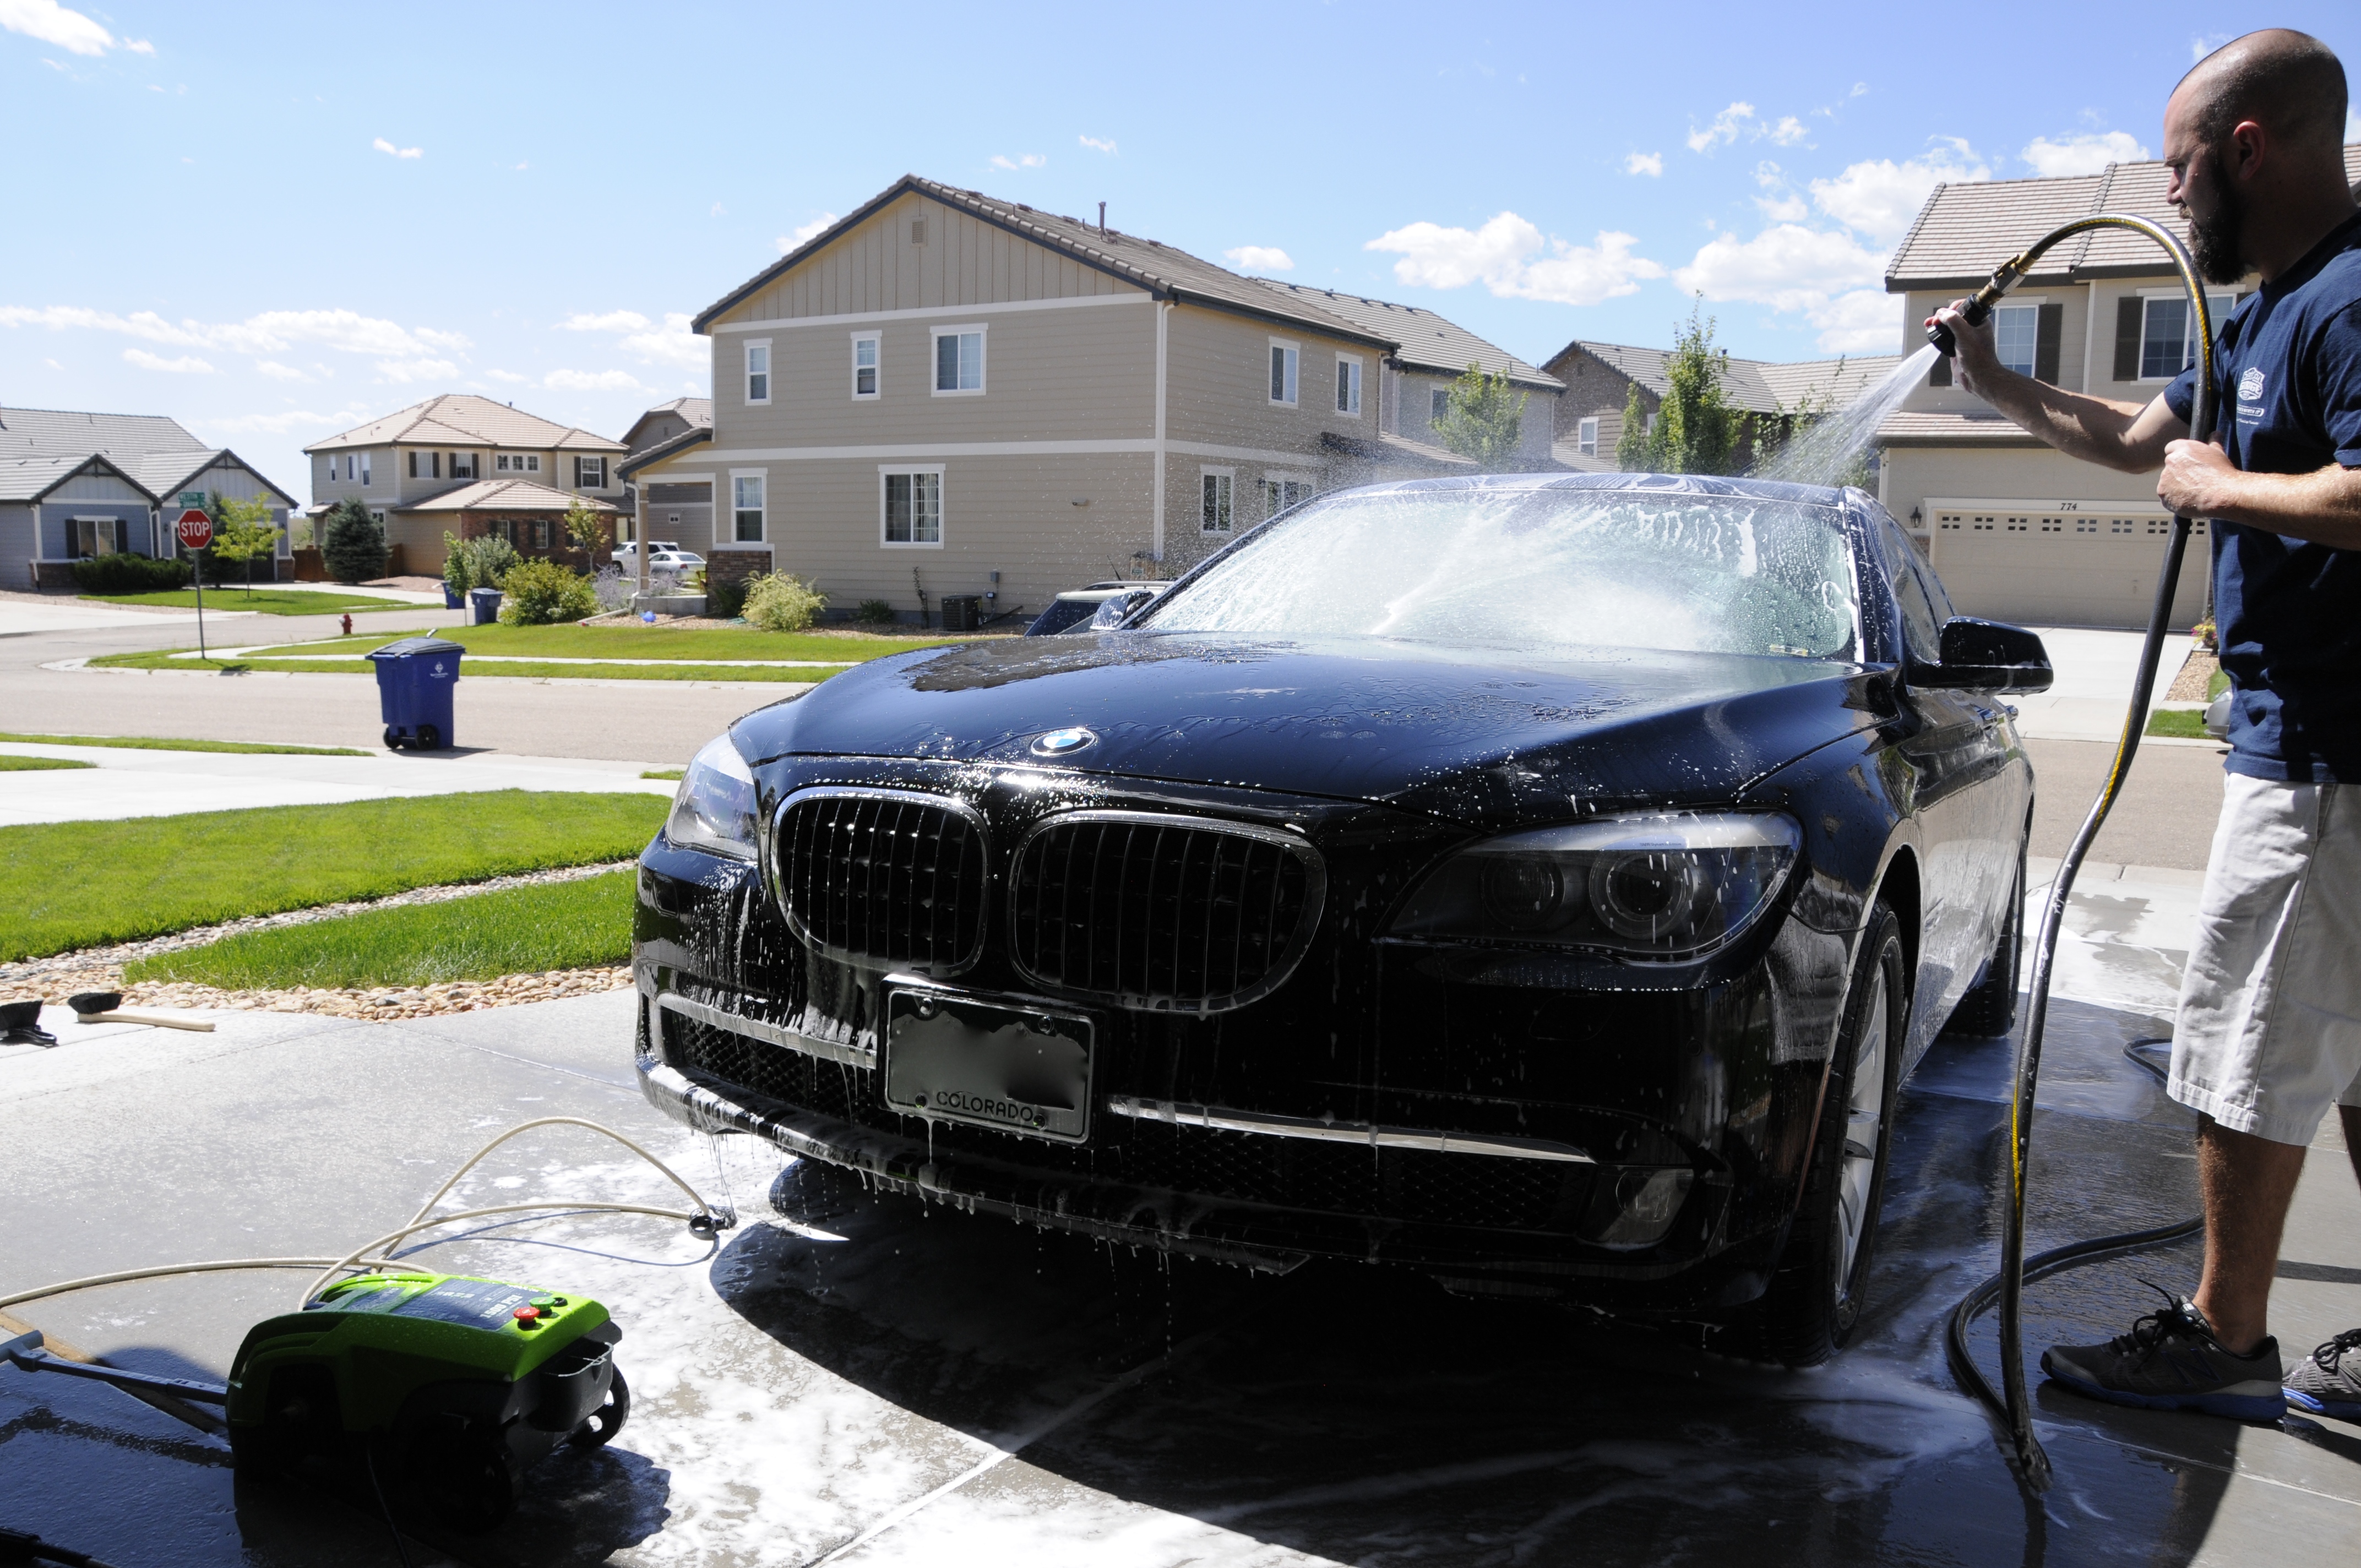
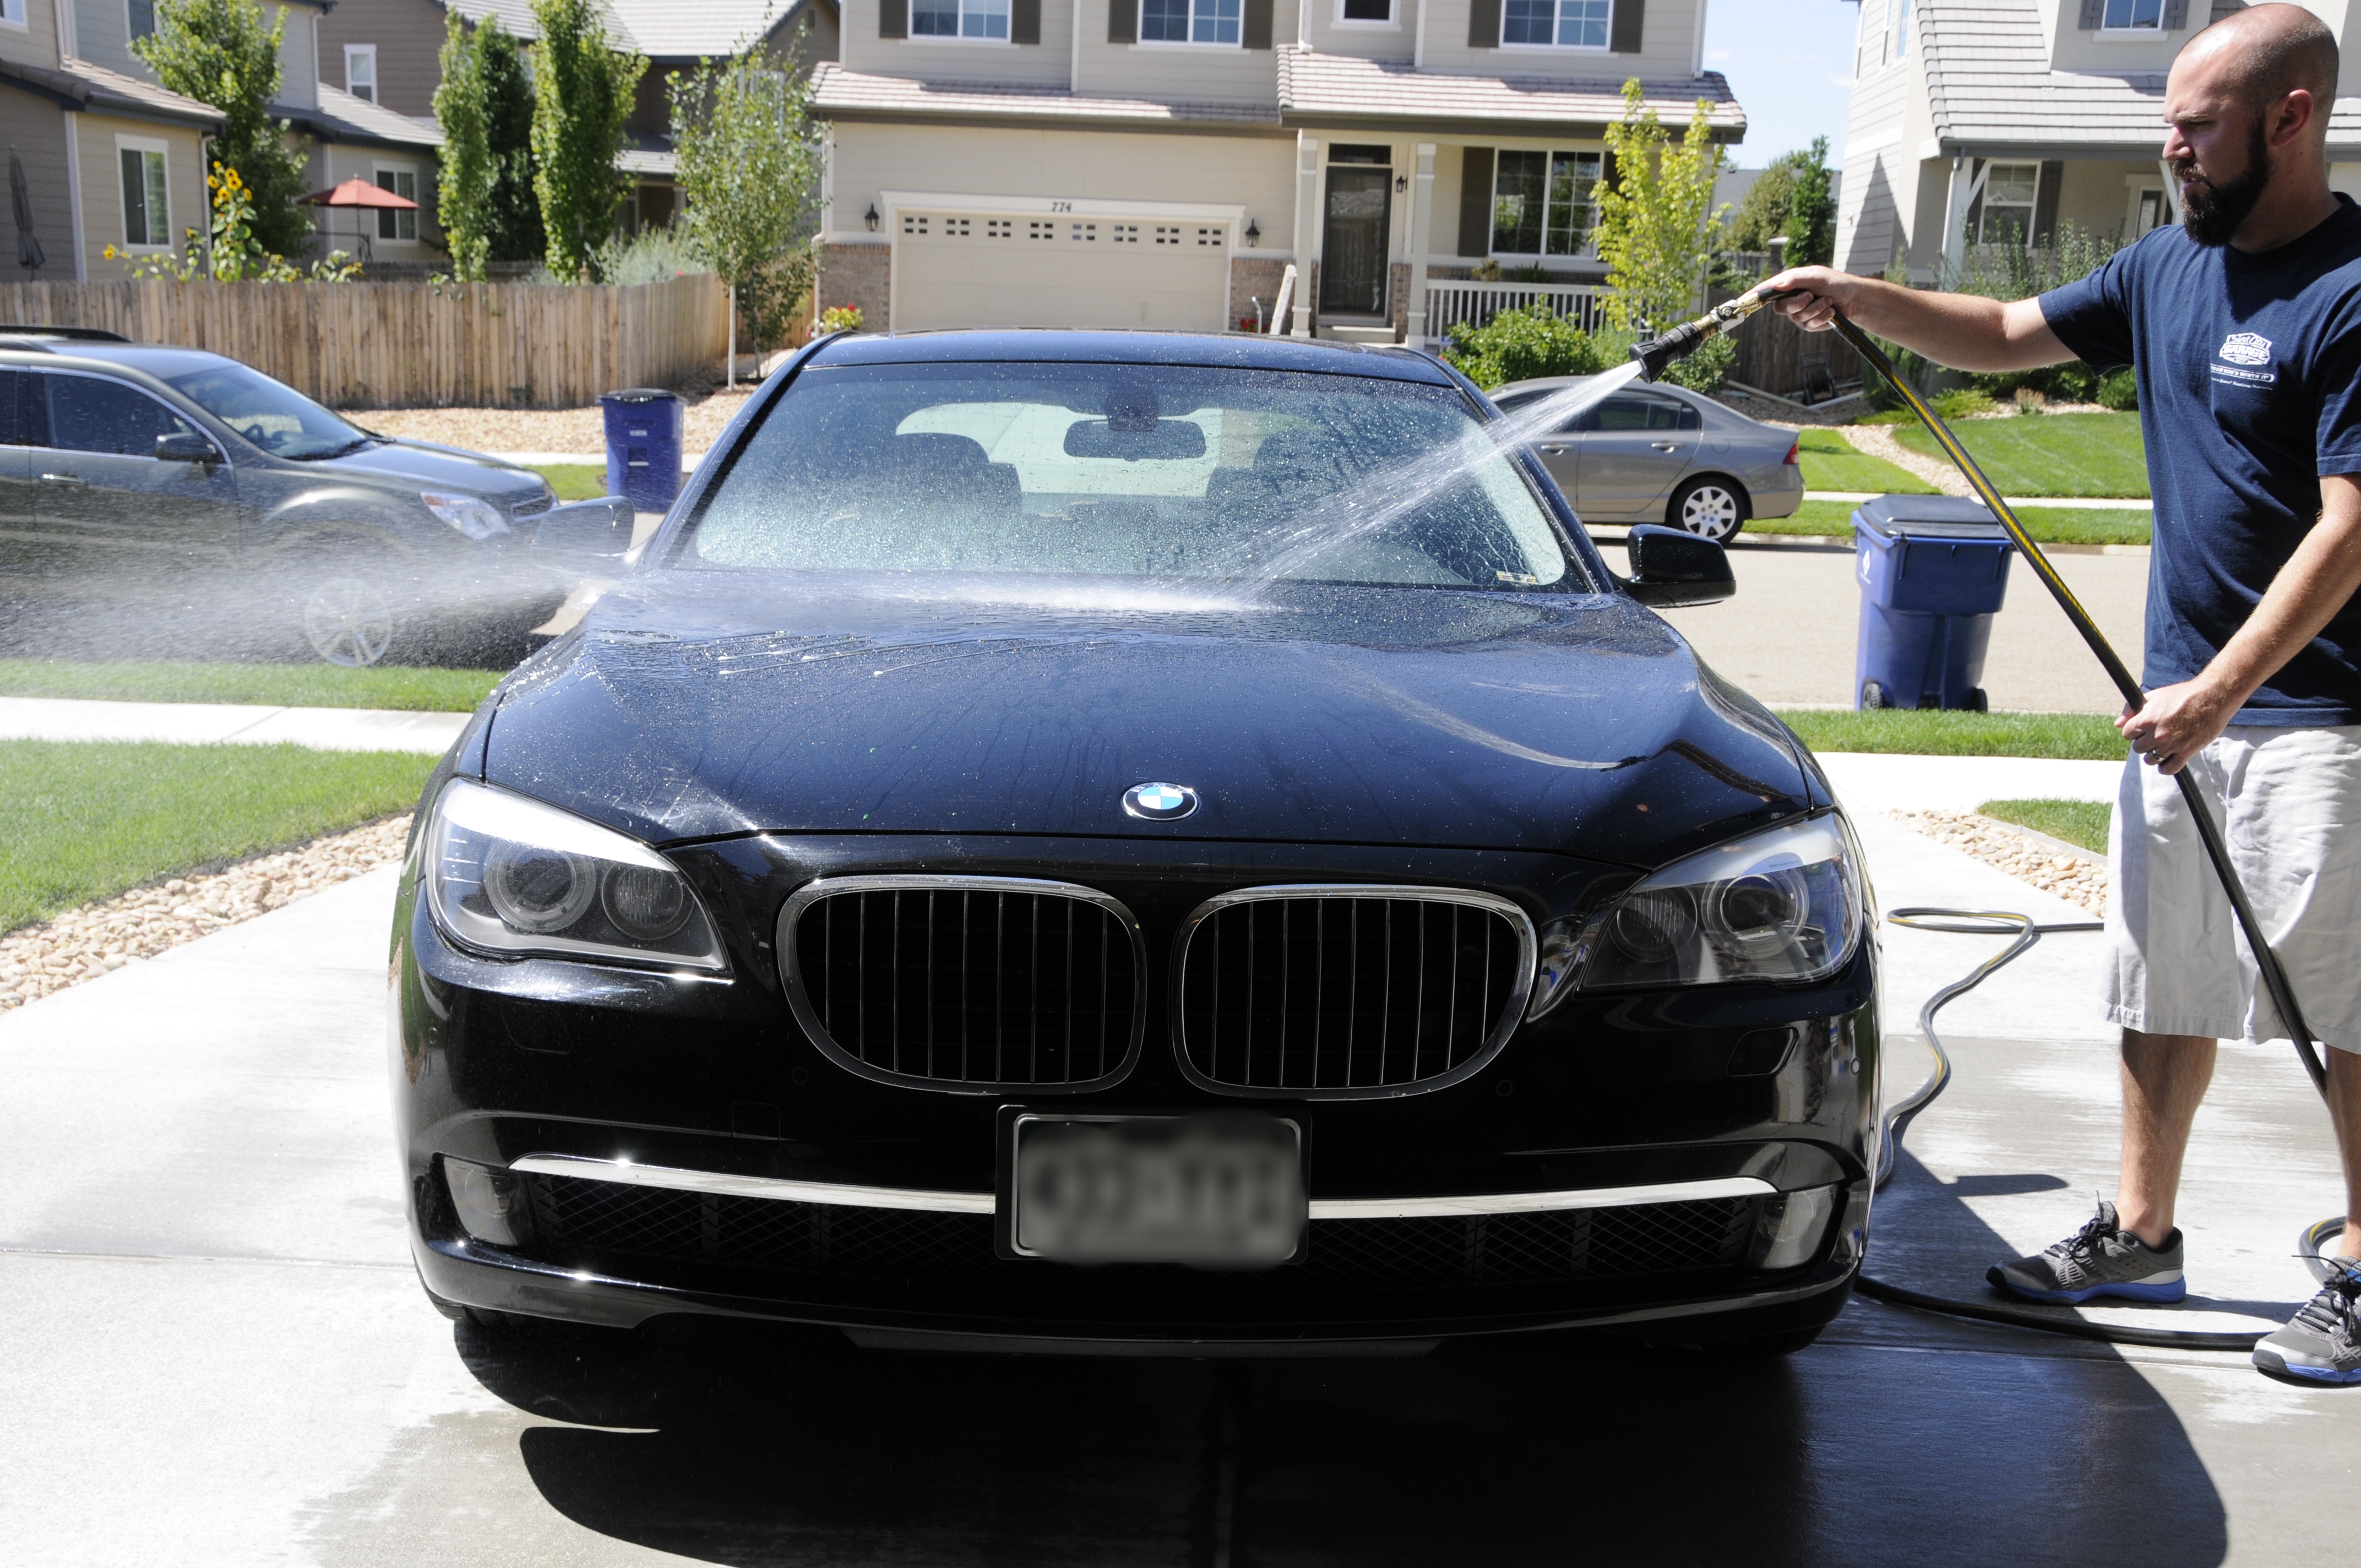
The exterior was rinsed thoroughly with a pressure washer (40* fan tip) to dislodge as much of the dust, dirt, and debris as possible before moving on. Using my MTM Foam Cannon we pre-soaked the exterior with a 3oz mix of Surface Prep Wash. Slightly stronger than normally needed, but since we were unclear about what was on the surfaces and there were some areas with sap contamination it made sense to up the strength a little to cut thru that.
Dividing the car up, Mook took the lower sections using a fresh synthetic wool wash pad, while I took on the upper 2/3rds using our Merino Wool Wash Mitt. Per usual we still incorporated 2 buckets with grit guards to keep more prep wash in the mix, but also to rinse the mitts after each panel to prevent new damage.
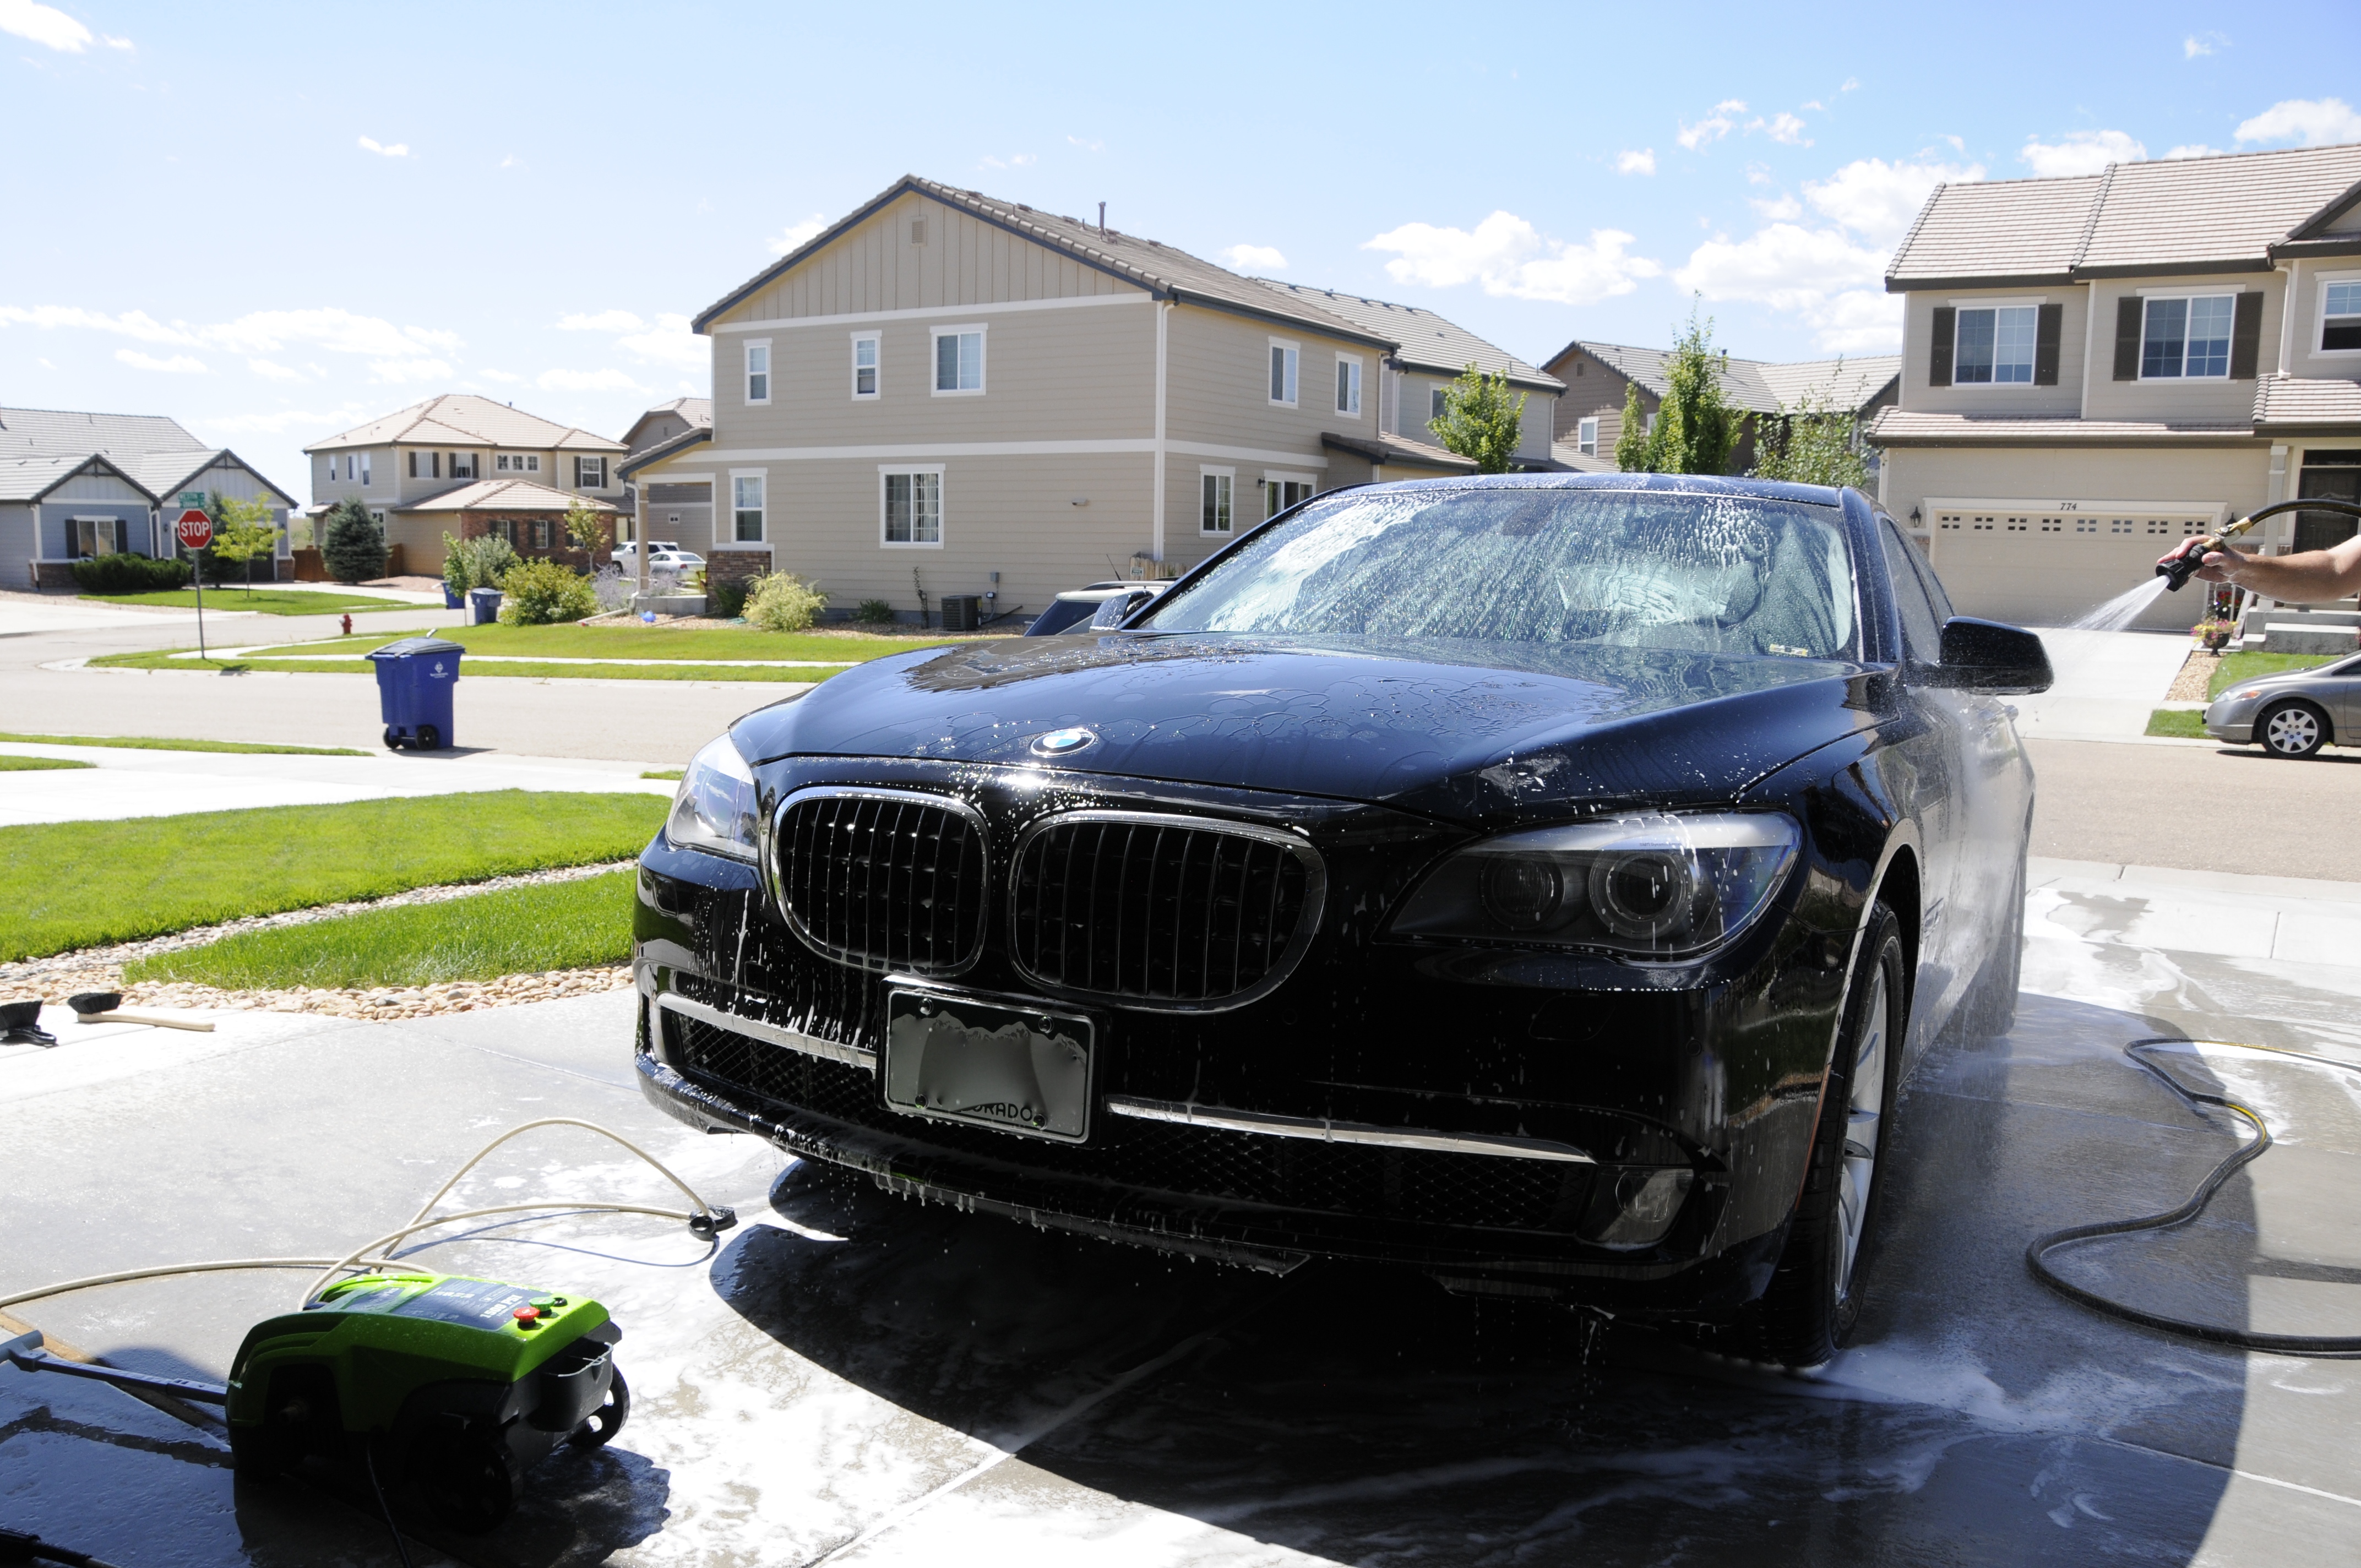
No sheet rinsing was done, mainly b/c after the prep wash the water was no longer beading and wouldn't have benefited, also because we were going to clay 'wet' the additional water standing on the surface would help.
cont'd...
-------------------------------------------------------------------------------------
I had been waiting for a good 'test subject' to perform a full paint correction on using the new SCG Pro polishes and luckily this 750Li belongs to a friends dad. Lots of swirled up paint (forgotten how big these 7 series actually are) to show what the polishes are capable of and since the job was performed free of charge I knew the owner would really appreciate me giving his car a makeover.
DIAGNOSIS:
It was purchased used from a dealership with relatively low mileage (currently only has about 36k) but its time with the previous owner and the dealership were not kind. Plenty of swirls and it had clearly seen a rotary hack job sometime in the past as holograms were present on almost every single panel.
Aside from the swirls and holograms the paint had the (to be expected) small pitting on all the forward surfaces, but otherwise the paint was a prime candidate for correction.
The wheels were only mildly dirty, the interior was spotless save for the usual skin oil transfer on arm rests and the steering wheel, the interior would be saved for last as a light cleanup since not much else was needed.
Aside from being dressed with something silicone/sticky the engine bay was almost perfect. Minimal effort would be needed there to remove the dust and knock down the sheen of the existing dressing.


EXTERIOR CLEANING:
Luckily I had Chris aka Mook assisting and we got to work quick - this was going to be a job done over a few day span, a little at a time so an extra set of hands made for faster processes.
We went to work on the wheels first. Mook with a stiff brush and 4:1 dilution of SCG Pro All Purpose Cleaner Concentrate on the rubber and fender lining, I attacked the wheel faces with SCG Pro Active Wheel Cleaner Plus and a black boars hair wheel brush. Lug holes and smaller areas were addressed with the 1" round boars hair detail brush.


cont'd...
PAINT PREP & DECONTAMINATION:
The paint clearly had some kind of wax or sealant still on the exterior, so SCG Pro Surface Prep Wash was going to be used to remove that before moving into clay.
The exterior was rinsed thoroughly with a pressure washer (40* fan tip) to dislodge as much of the dust, dirt, and debris as possible before moving on. Using my MTM Foam Cannon we pre-soaked the exterior with a 3oz mix of Surface Prep Wash. Slightly stronger than normally needed, but since we were unclear about what was on the surfaces and there were some areas with sap contamination it made sense to up the strength a little to cut thru that.
Dividing the car up, Mook took the lower sections using a fresh synthetic wool wash pad, while I took on the upper 2/3rds using our Merino Wool Wash Mitt. Per usual we still incorporated 2 buckets with grit guards to keep more prep wash in the mix, but also to rinse the mitts after each panel to prevent new damage.
No sheet rinsing was done, mainly b/c after the prep wash the water was no longer beading and wouldn't have benefited, also because we were going to clay 'wet' the additional water standing on the surface would help.
cont'd...
#3
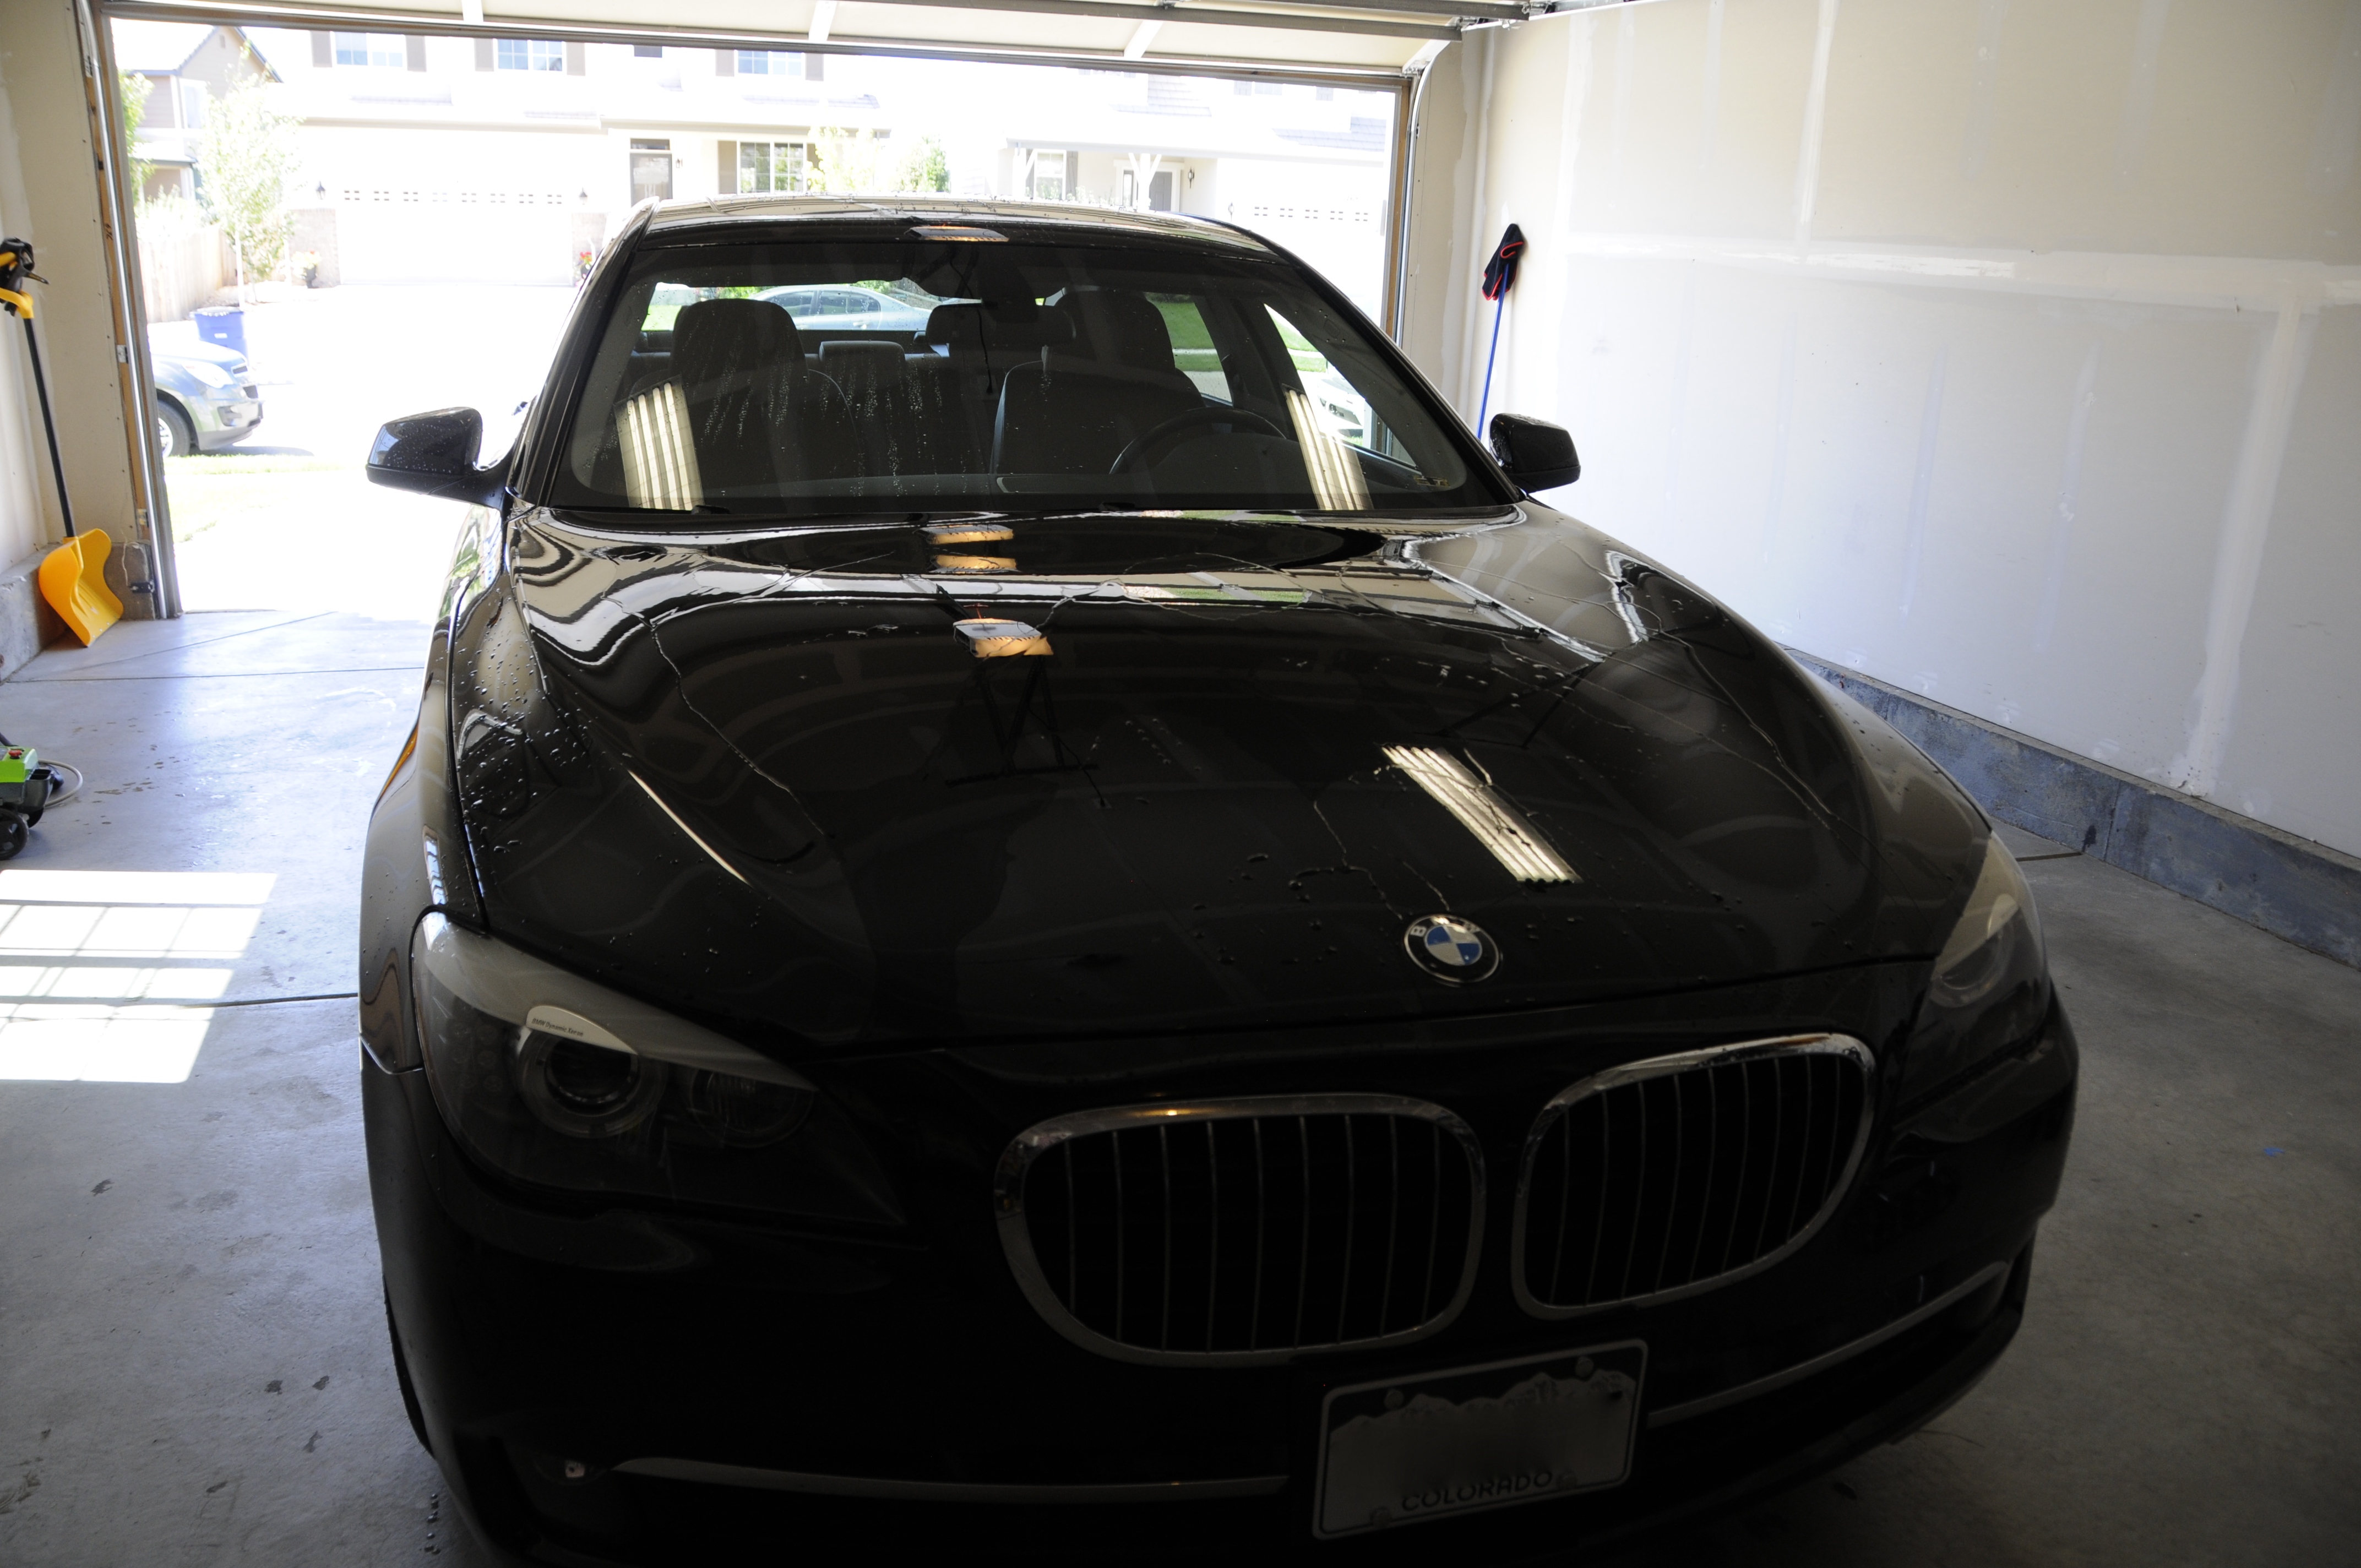
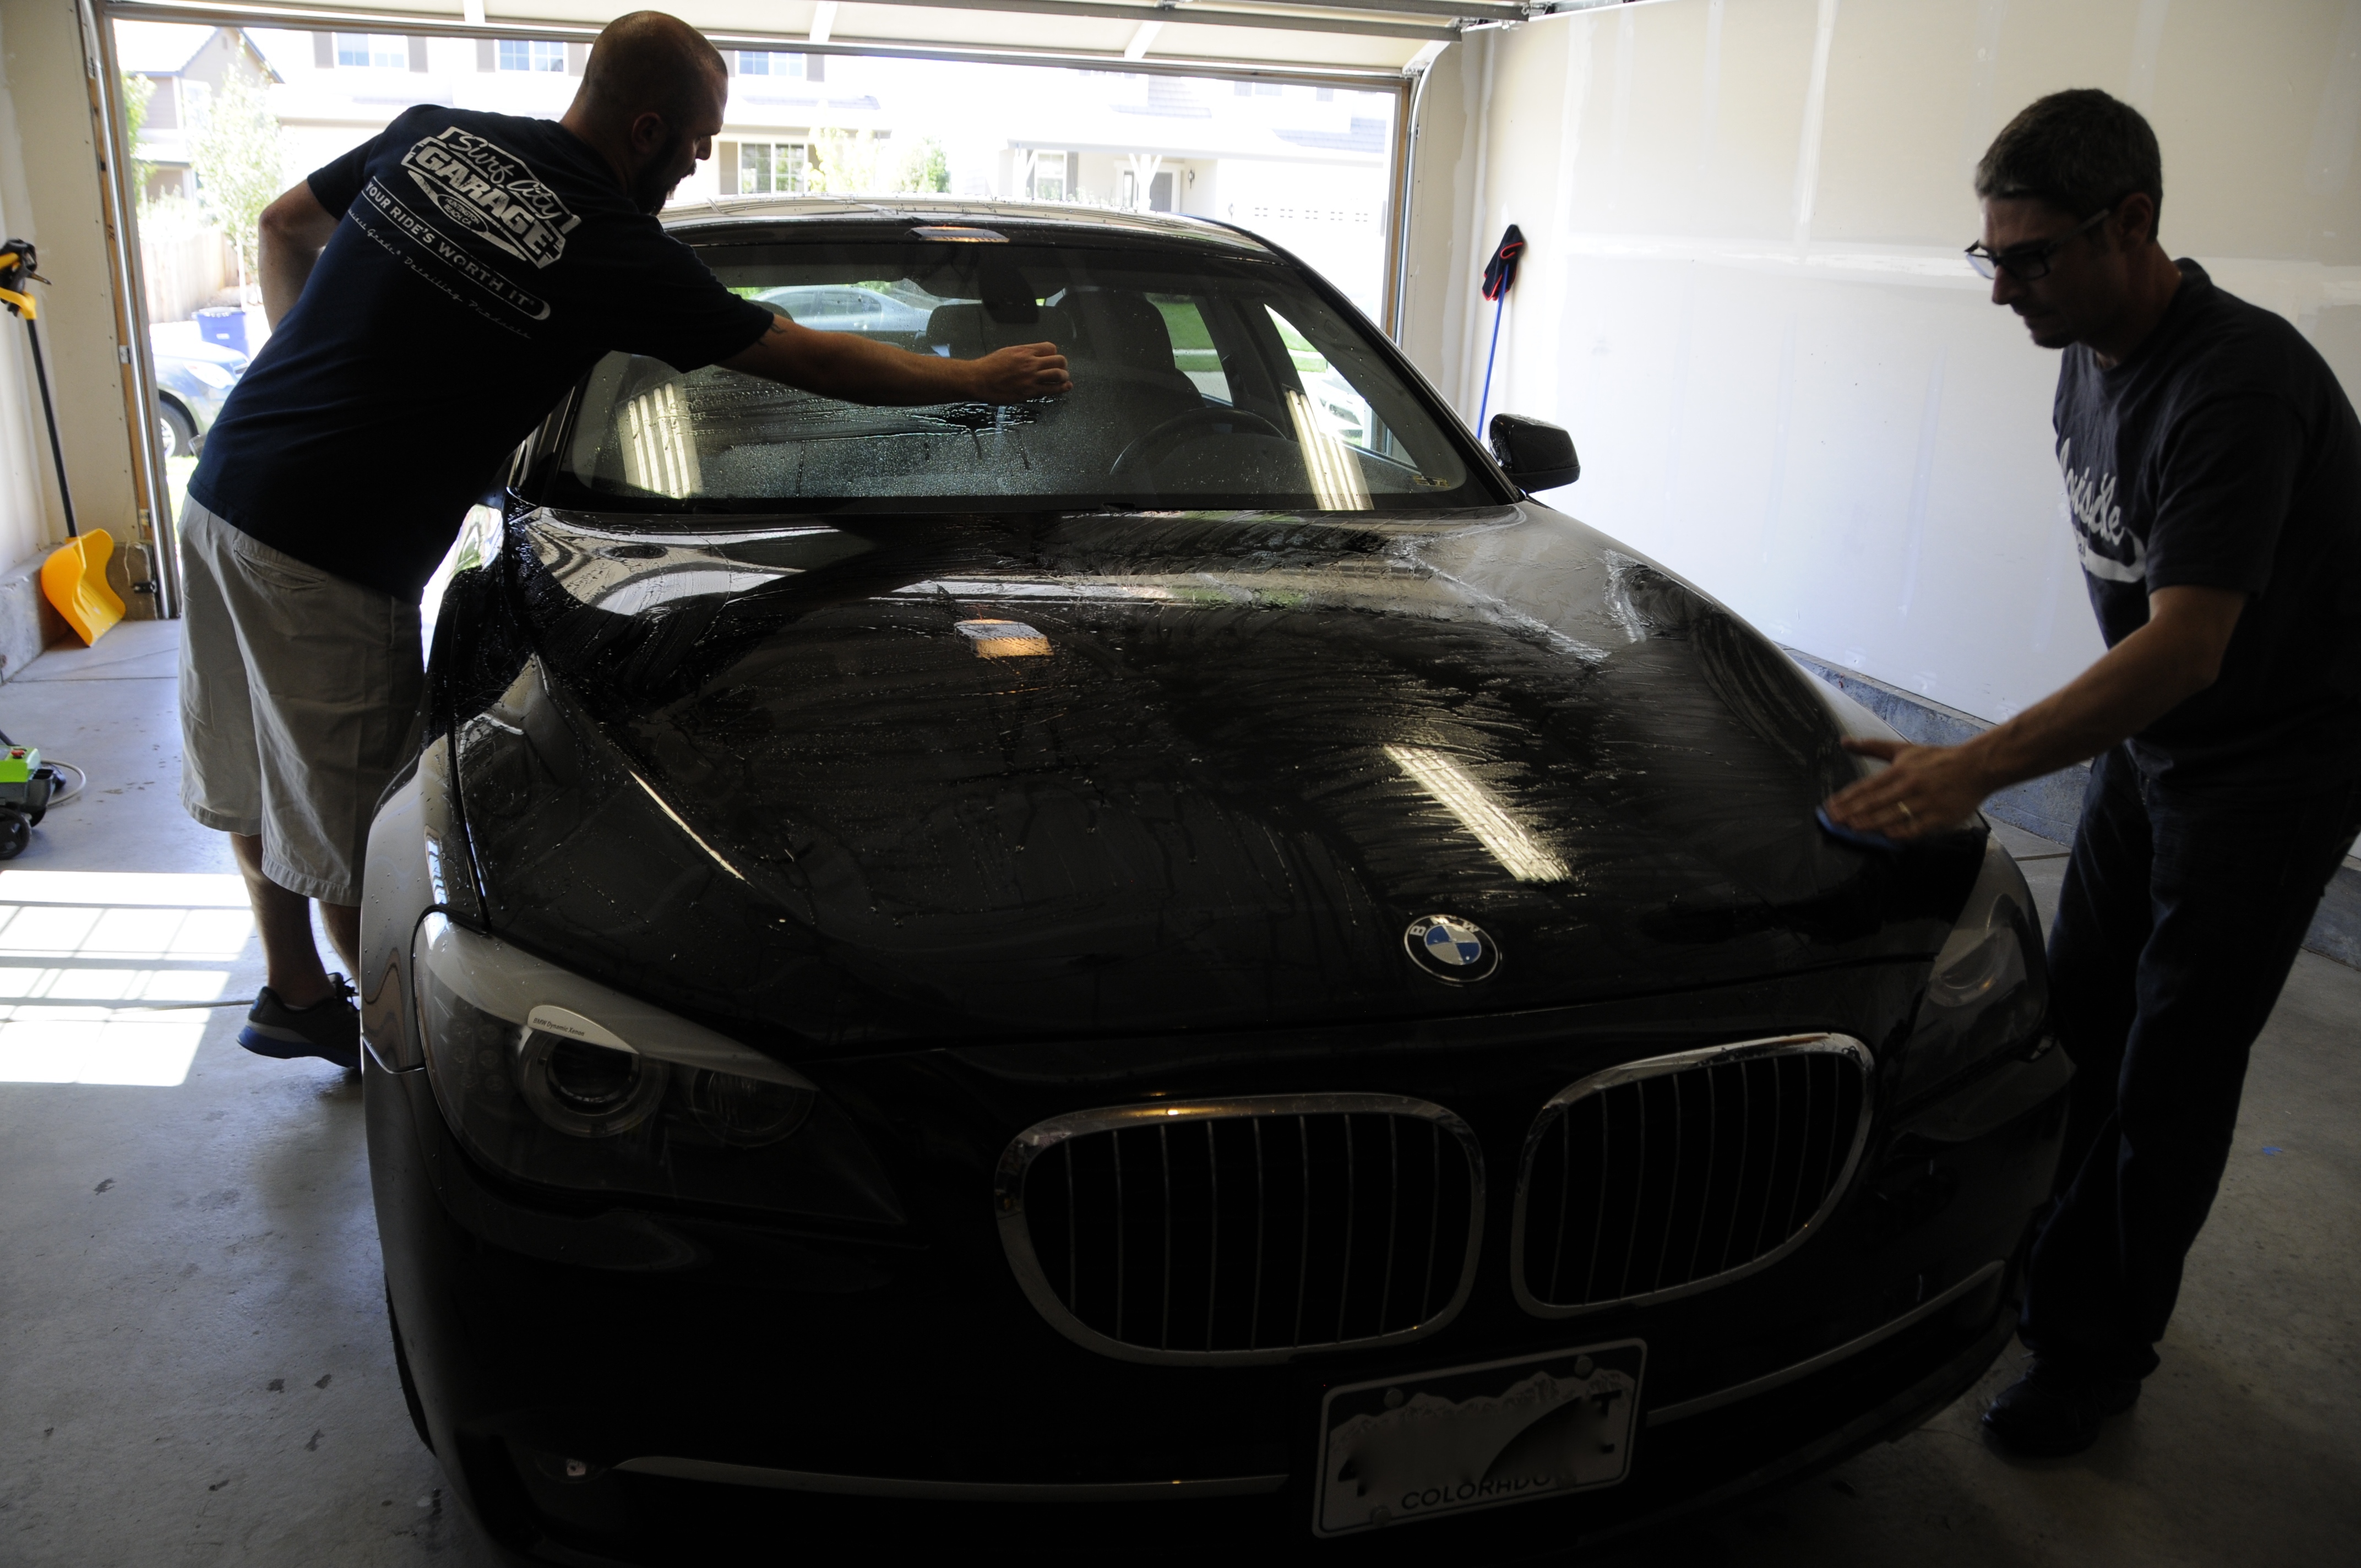
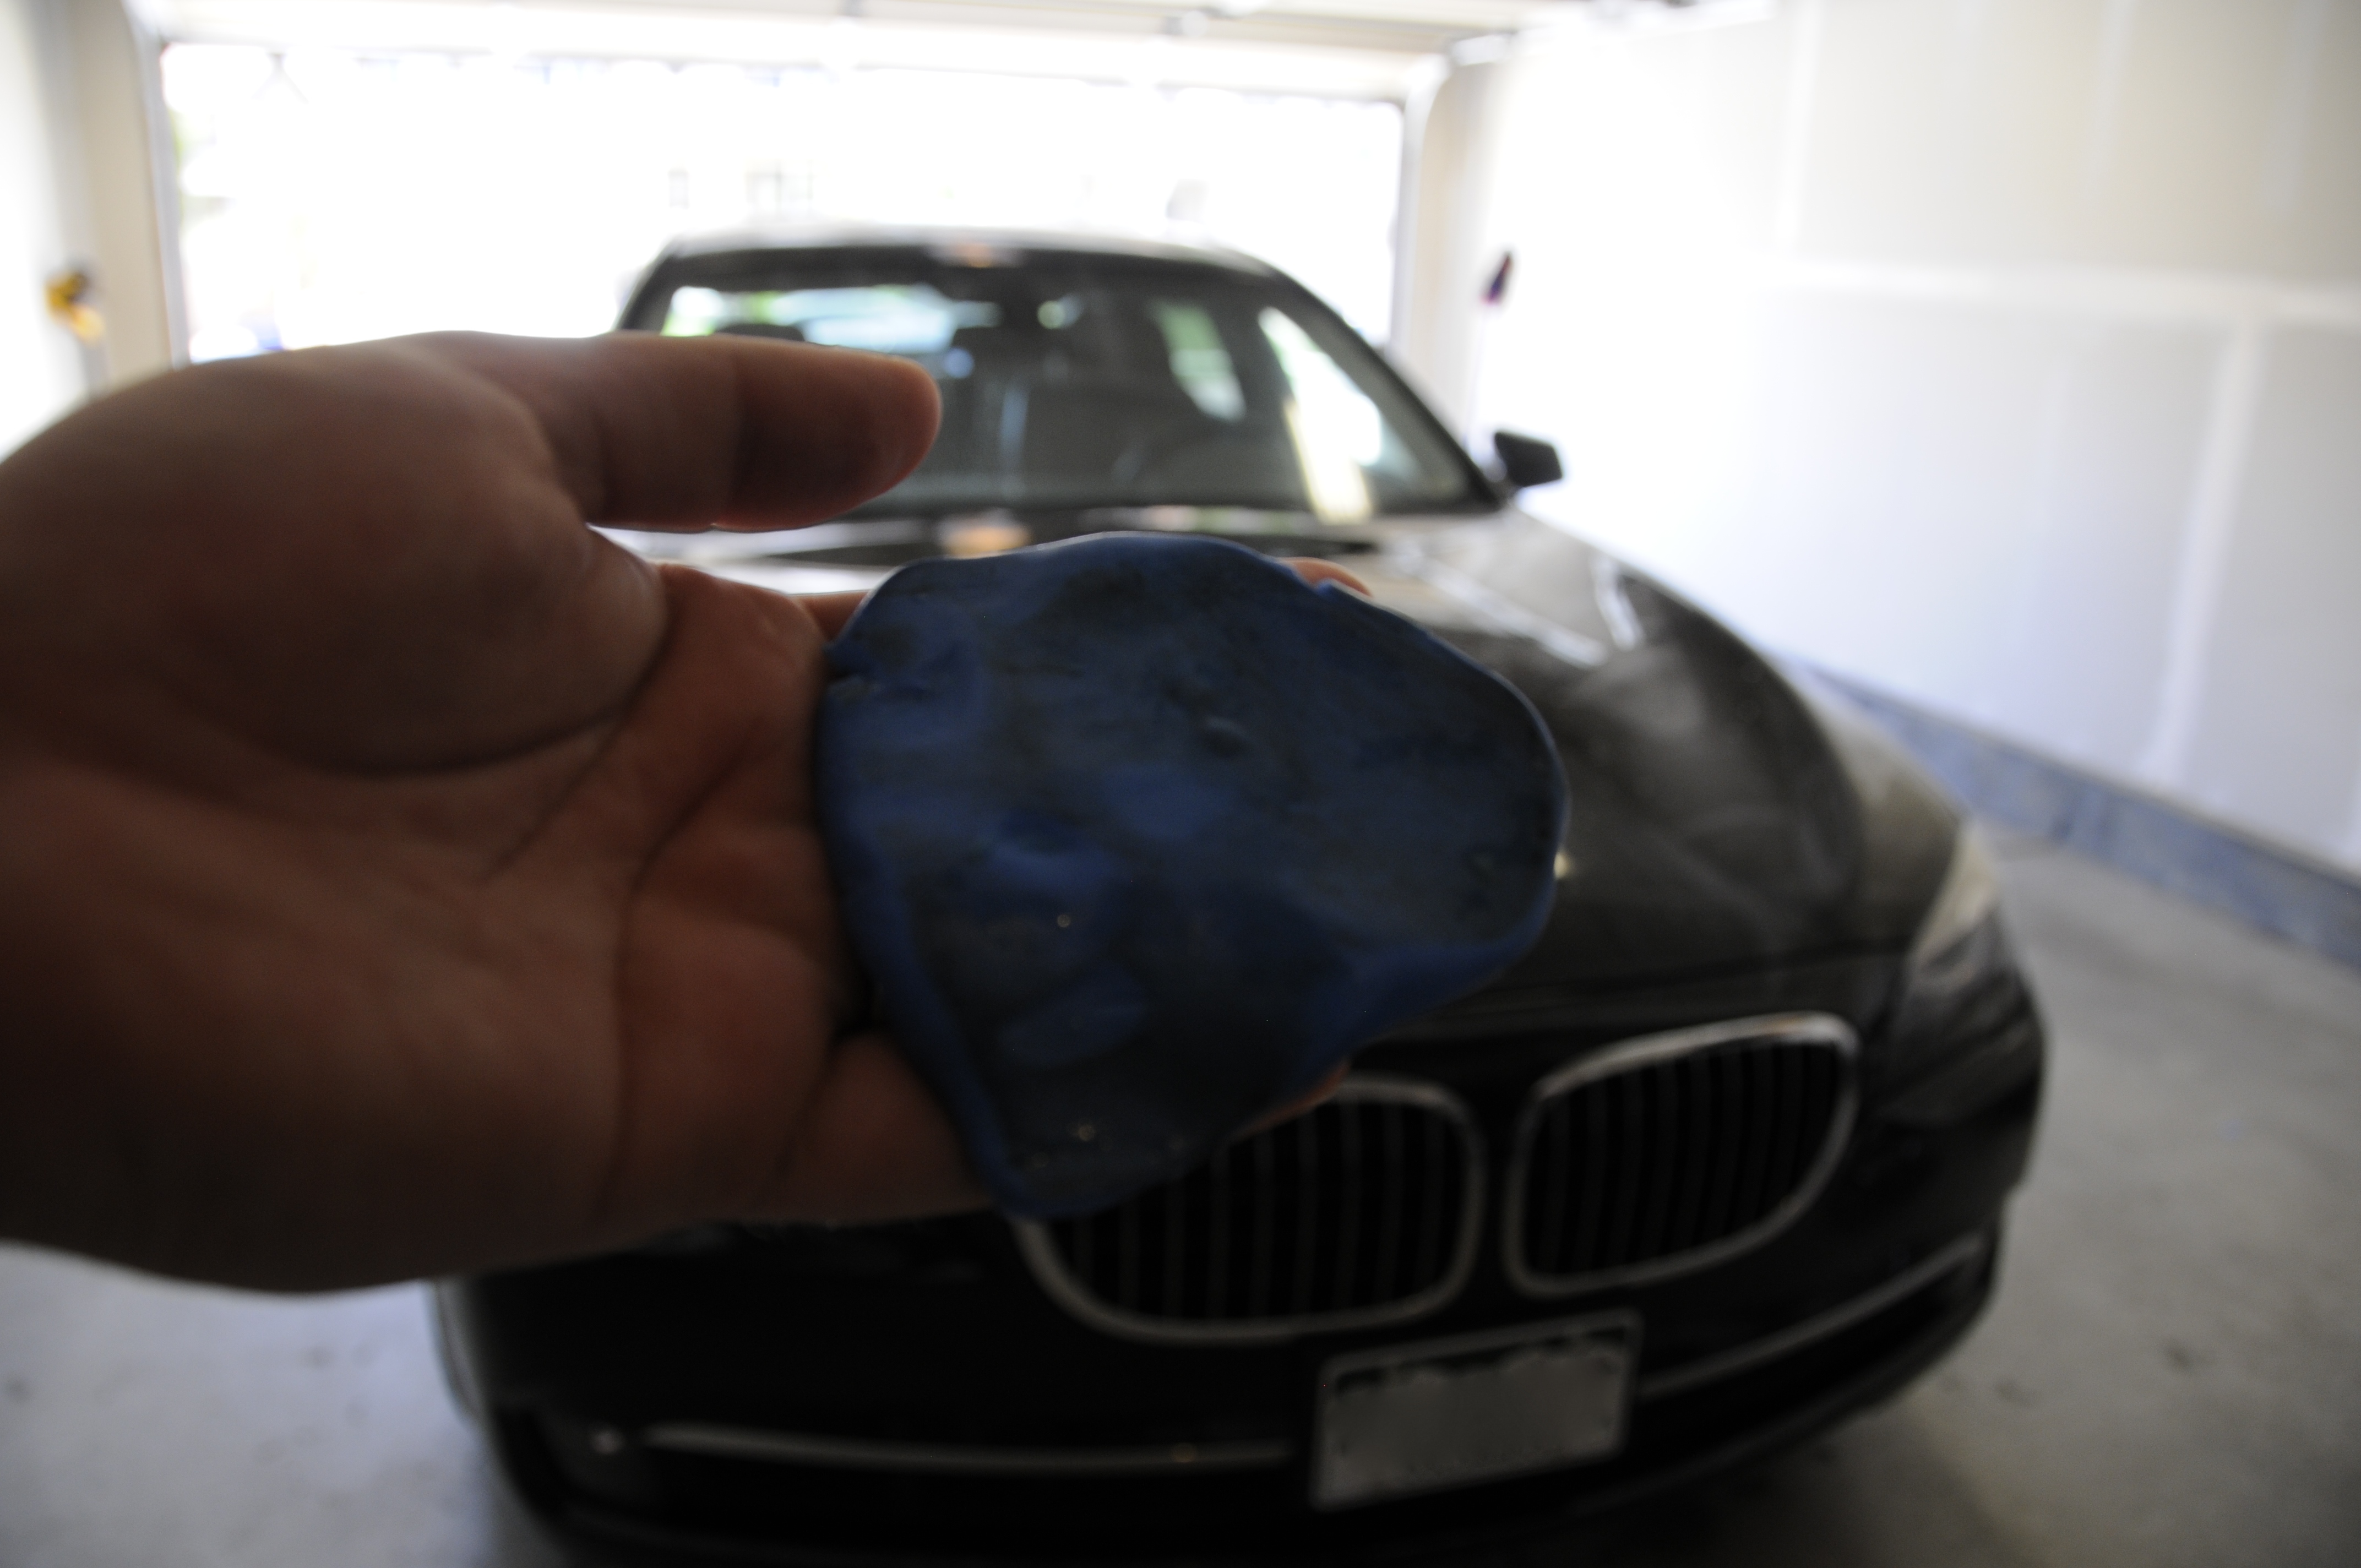
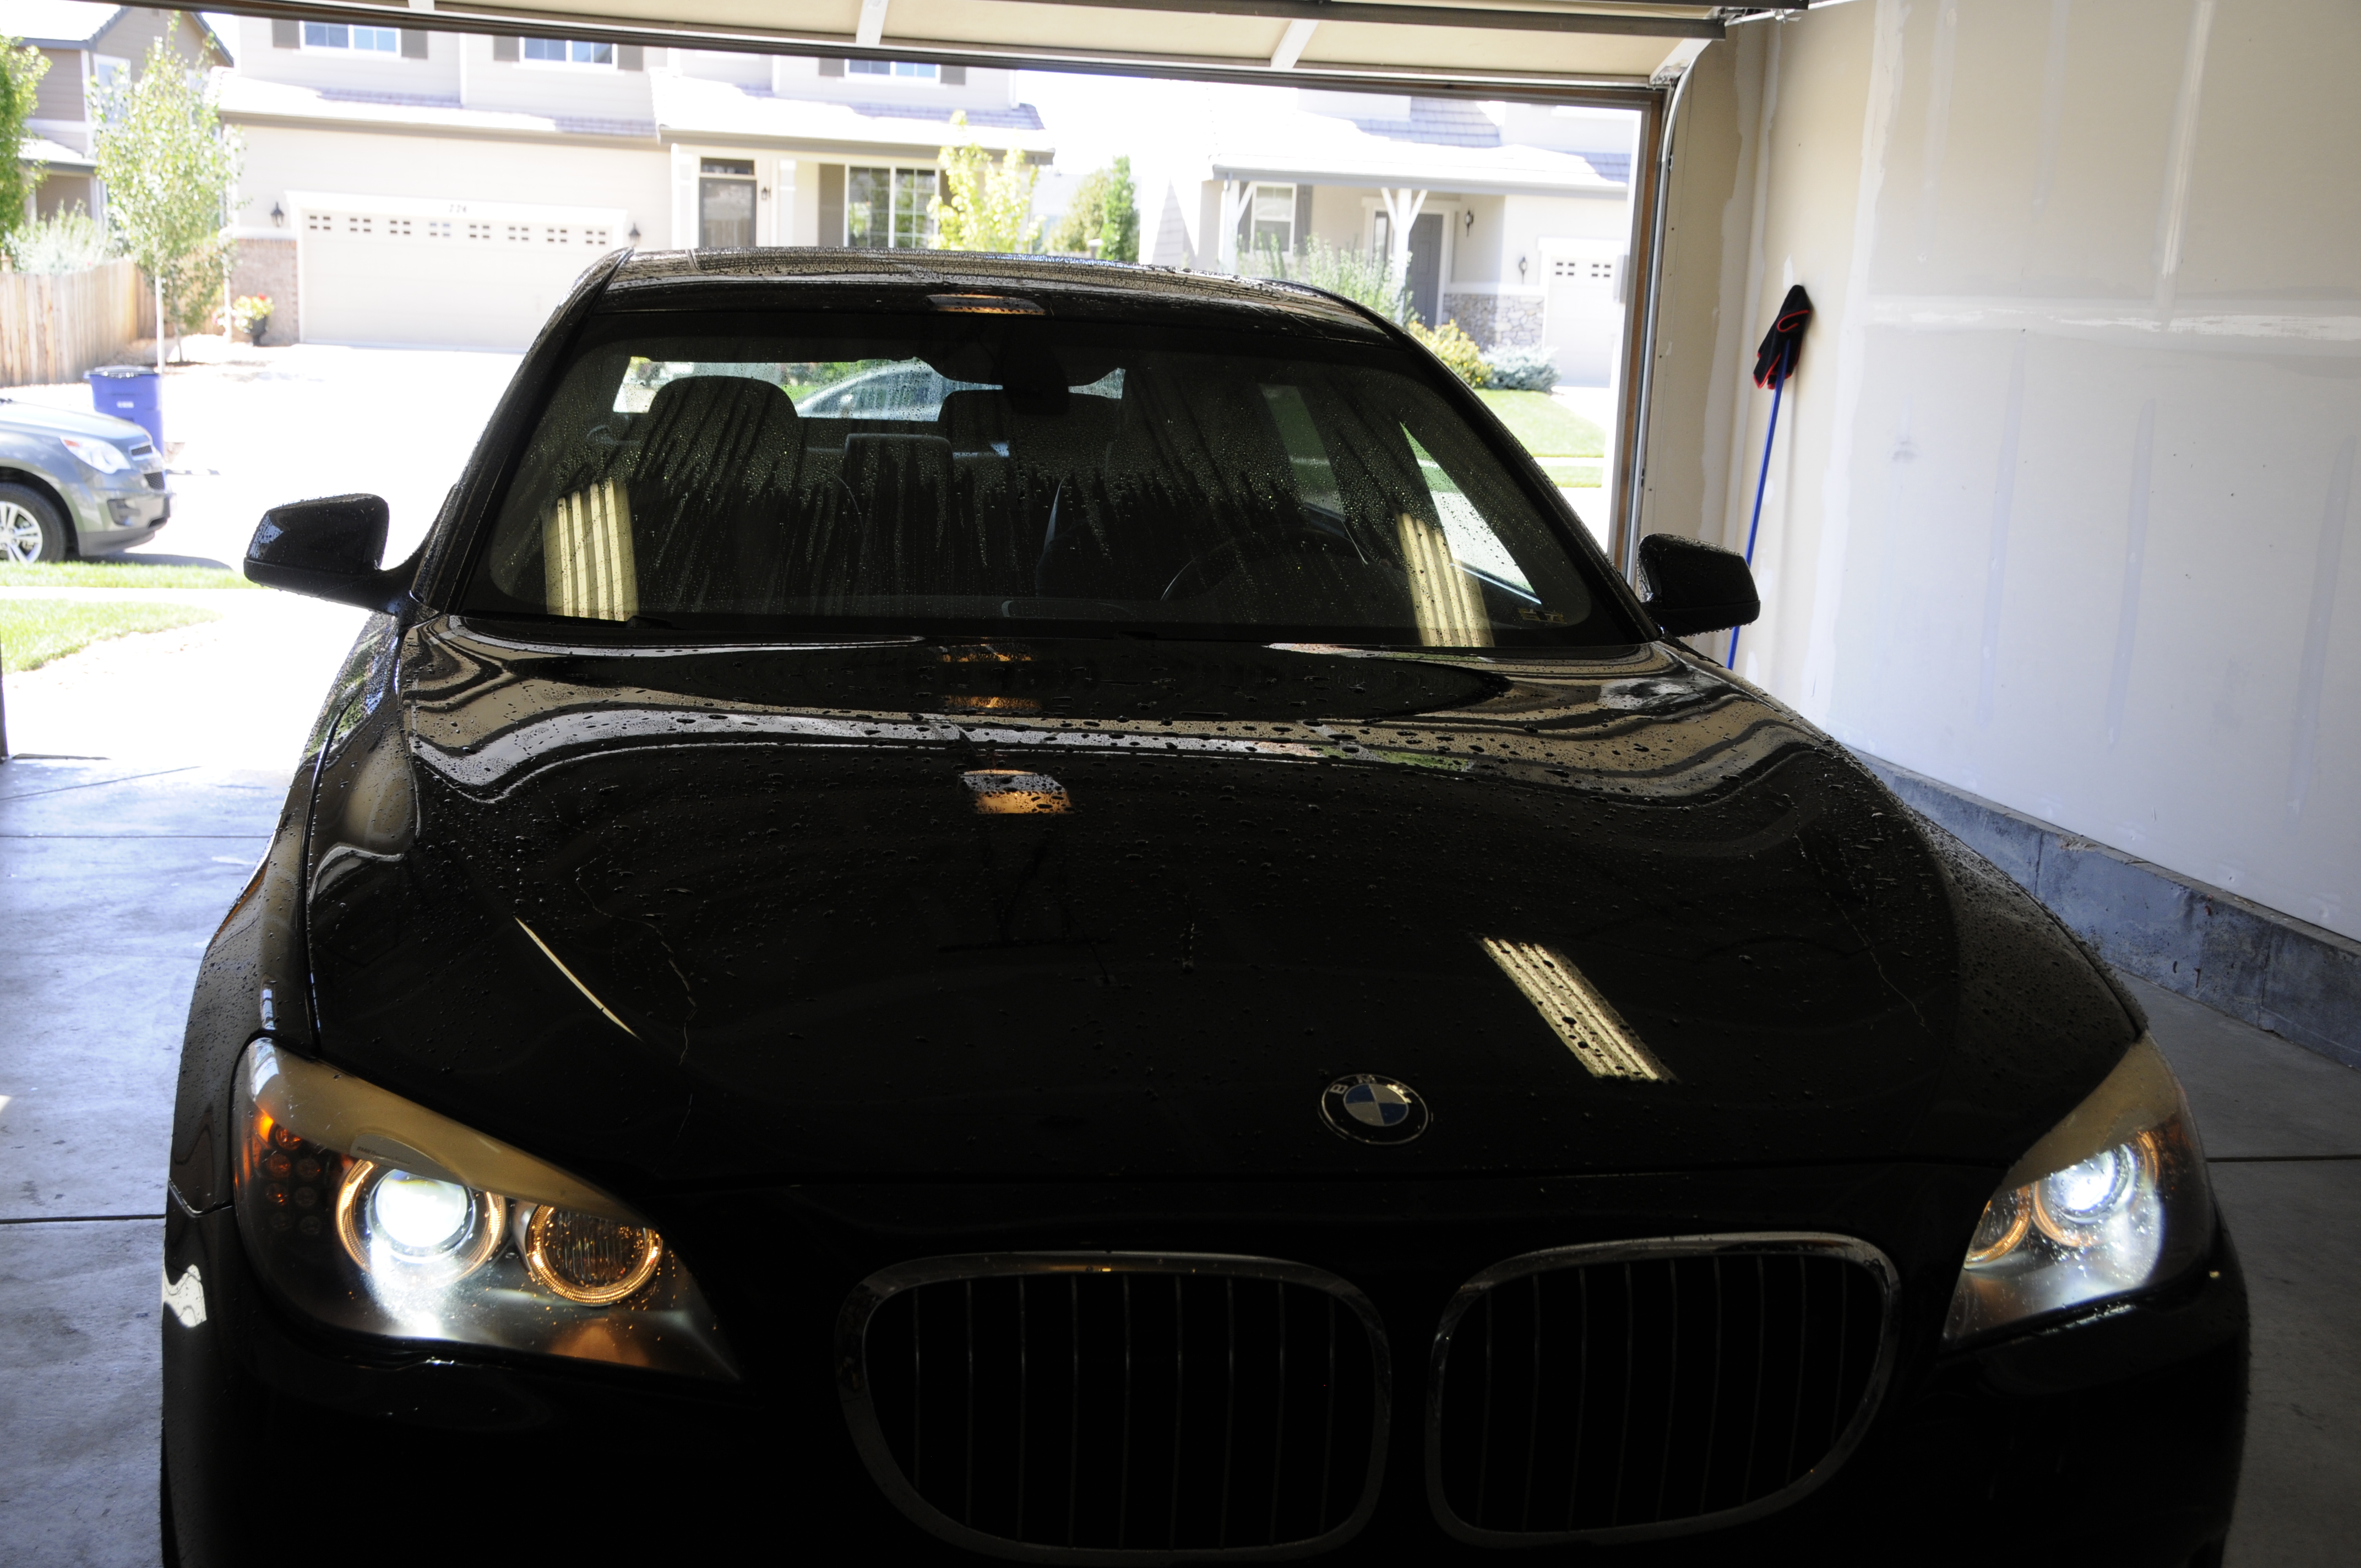
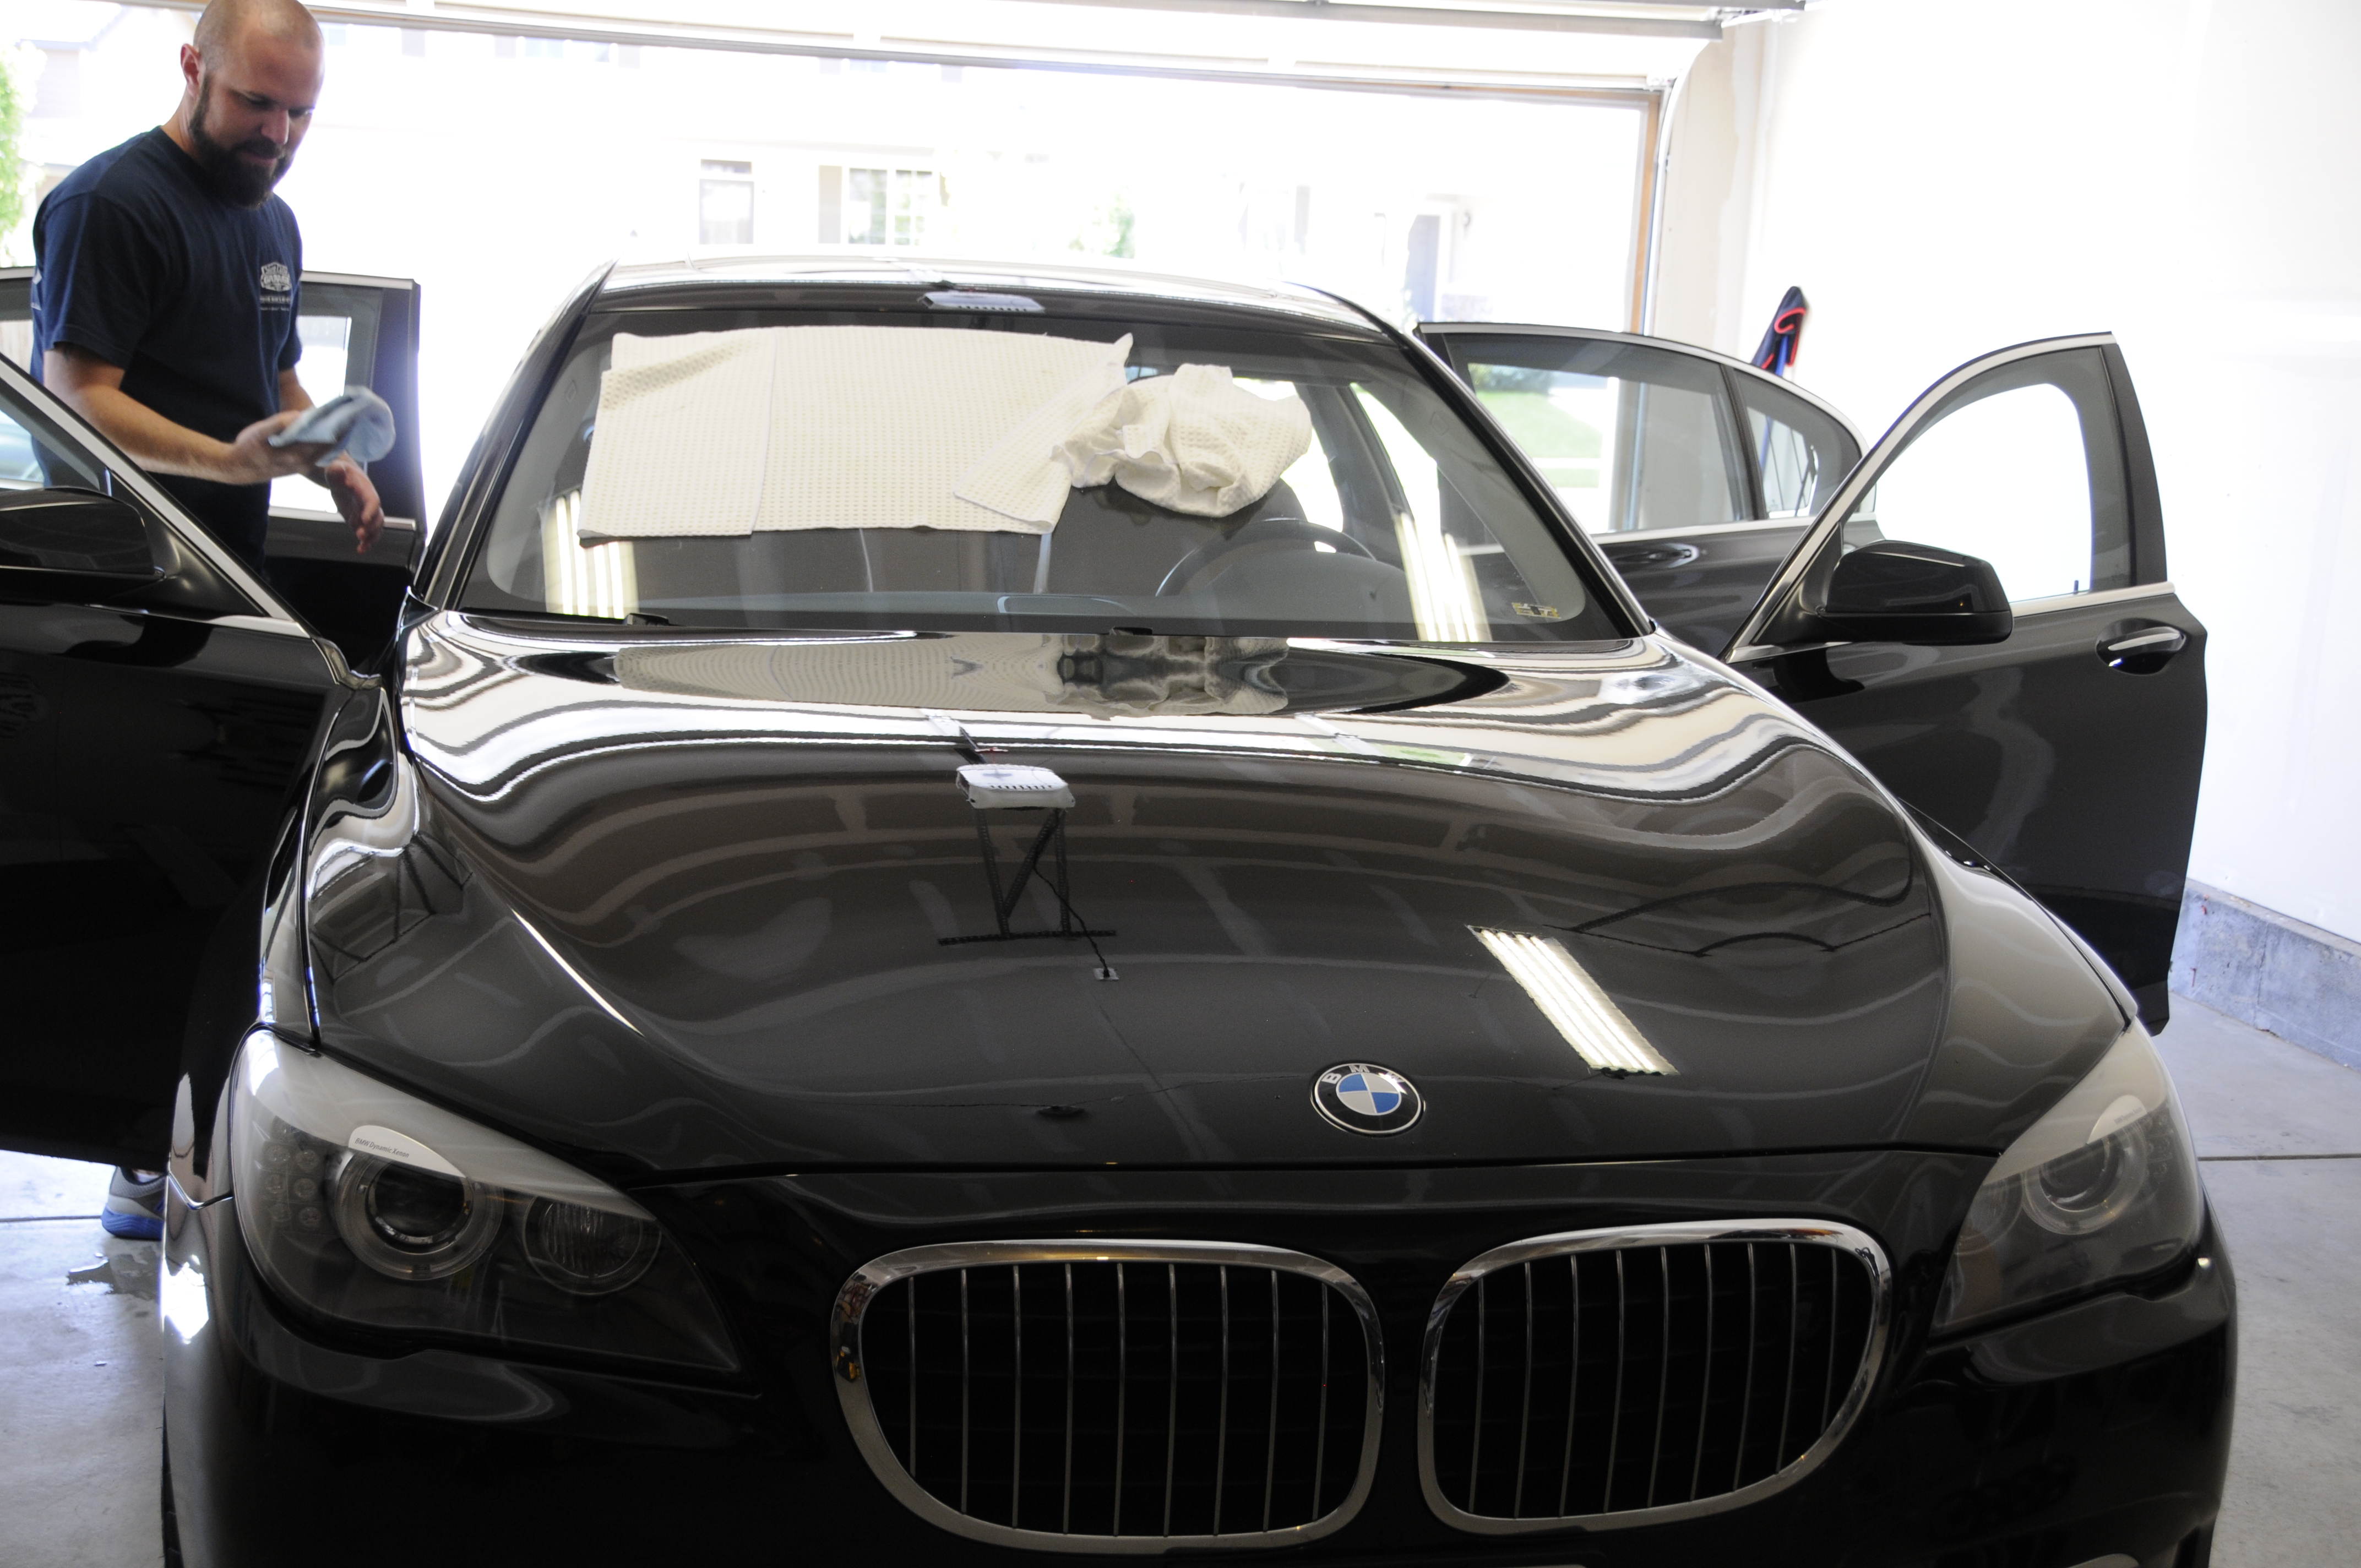
The car was then pulled into the garage so we could clay out of the direct sunlight. A 64:1 dilution of SCG Pro Rinse-Free Wash & Wax was used to provide lubrication for the SCG Pro Fine grade clay bar. Each panel was saturated and clayed until smooth. As you can see below the car had some kind of overspray or fallout on it as the bars were very dirty even after just the first panel.
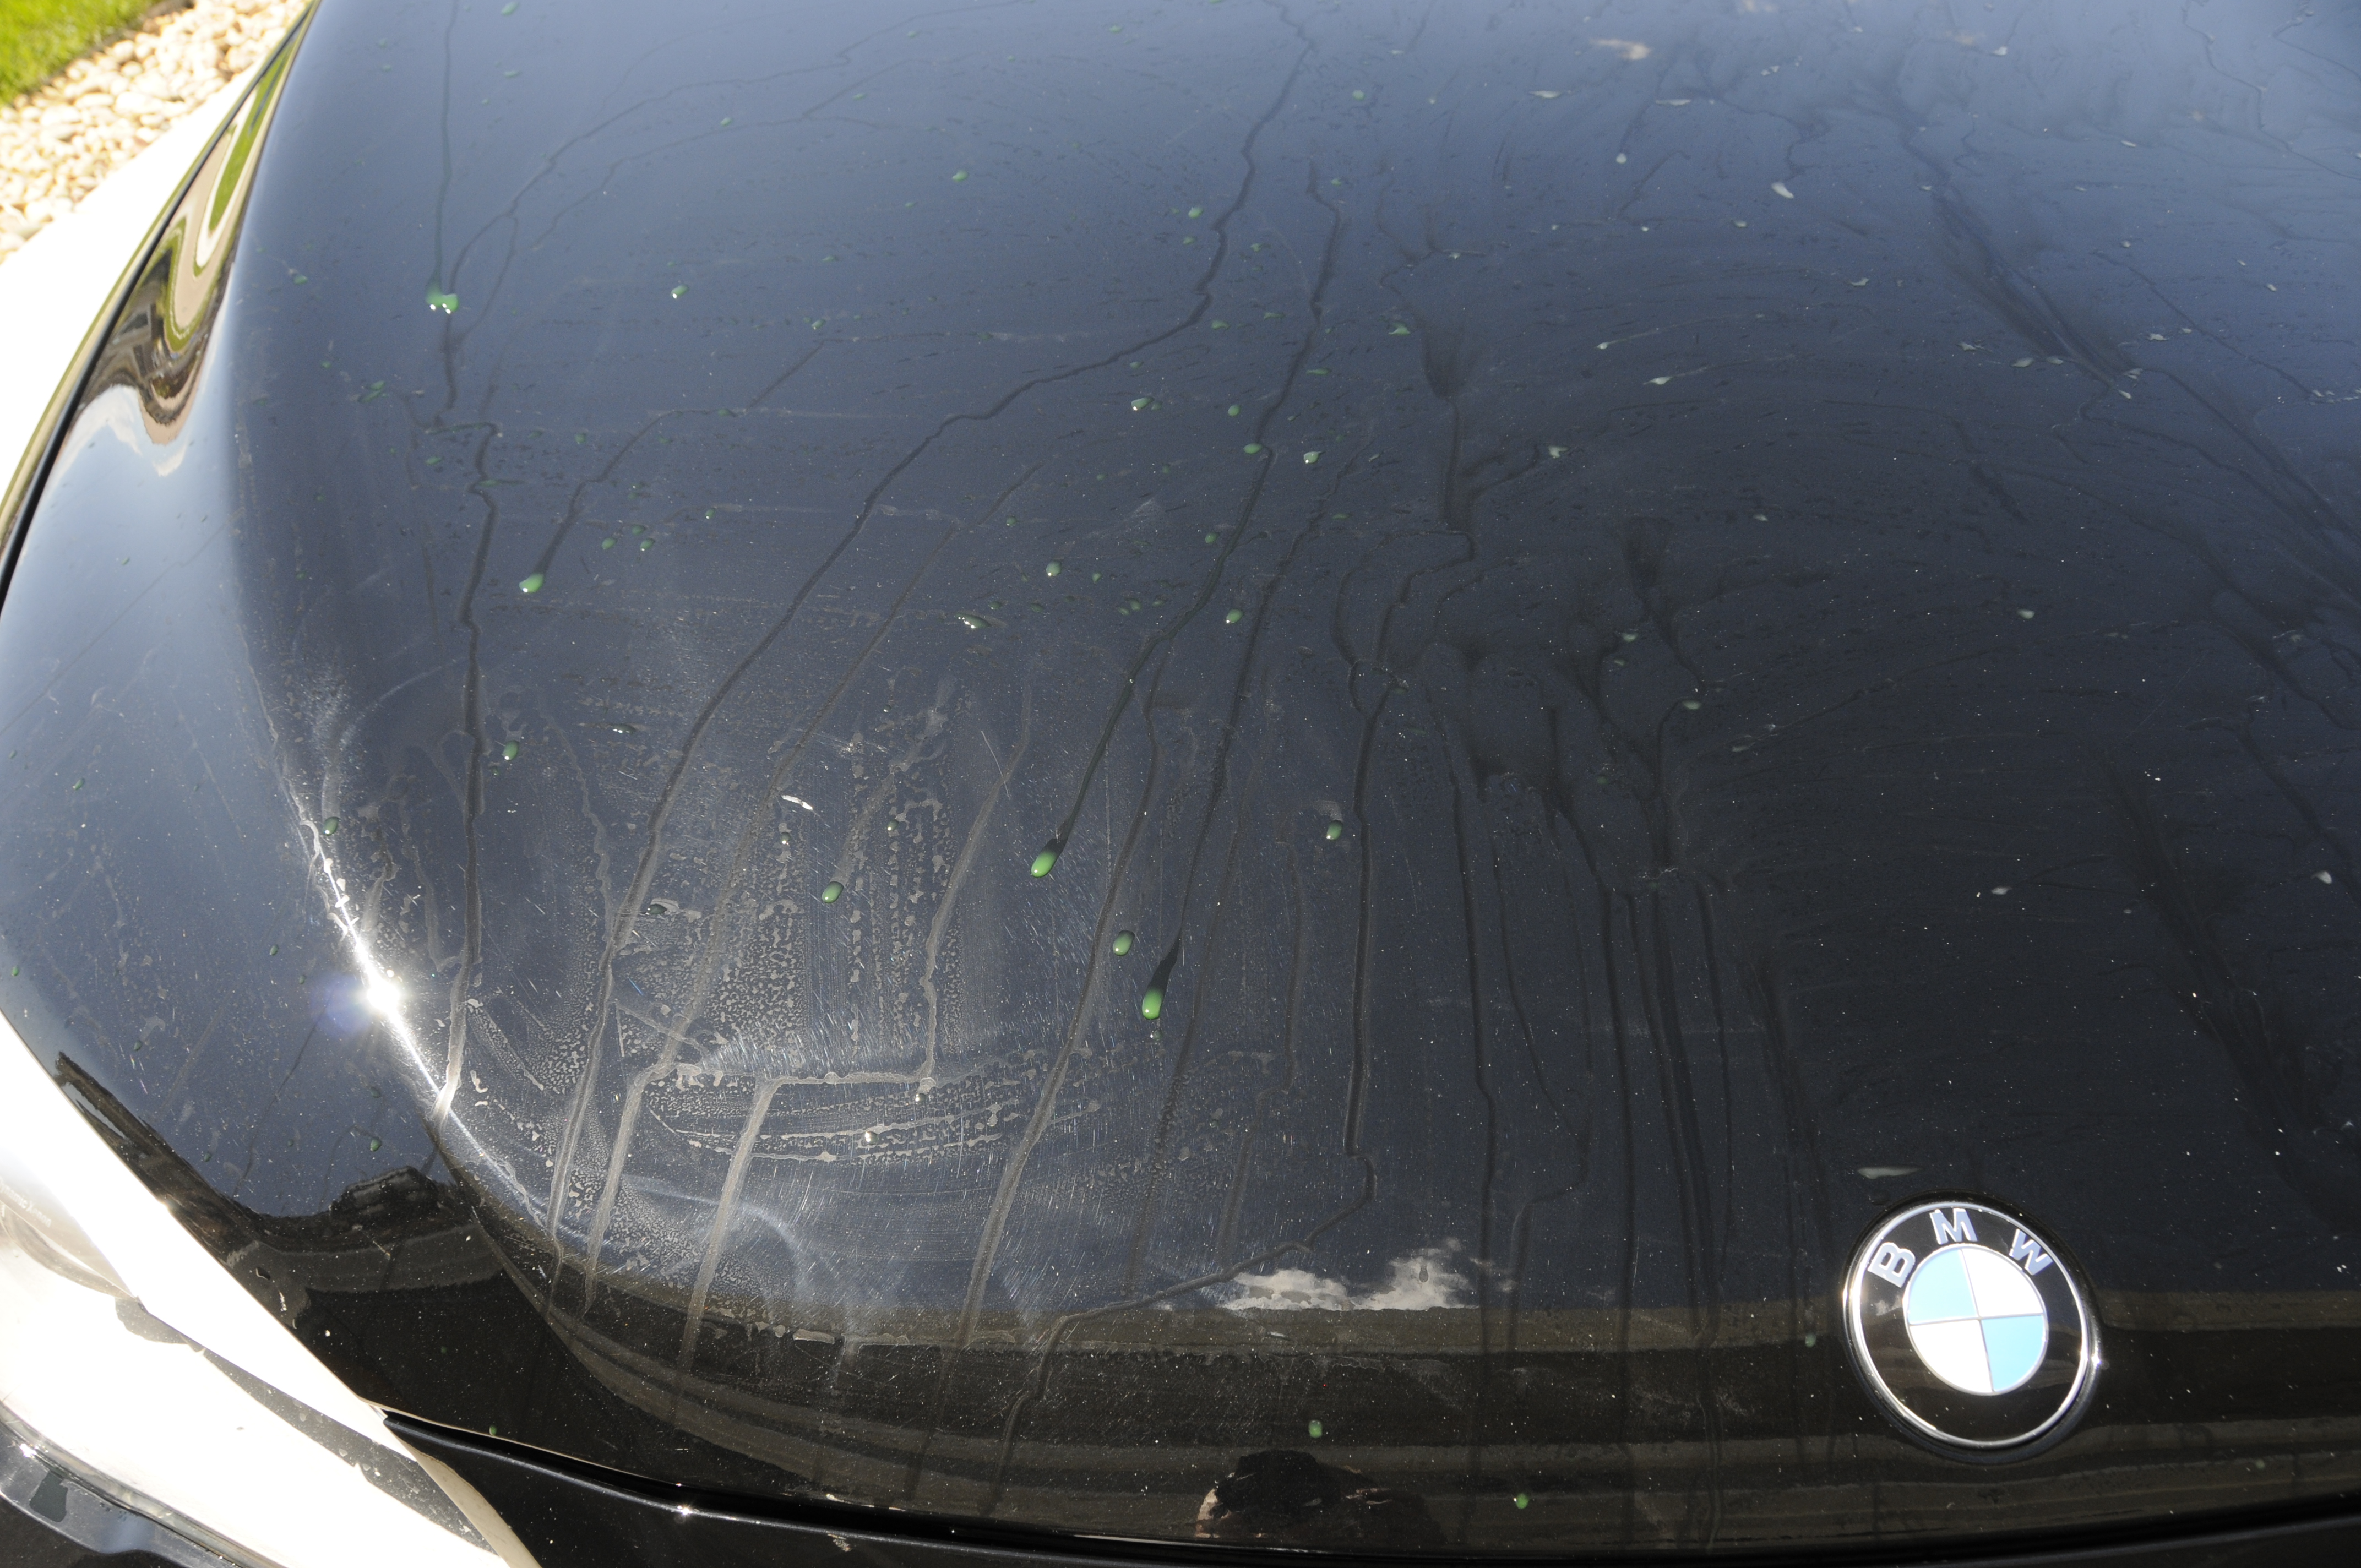
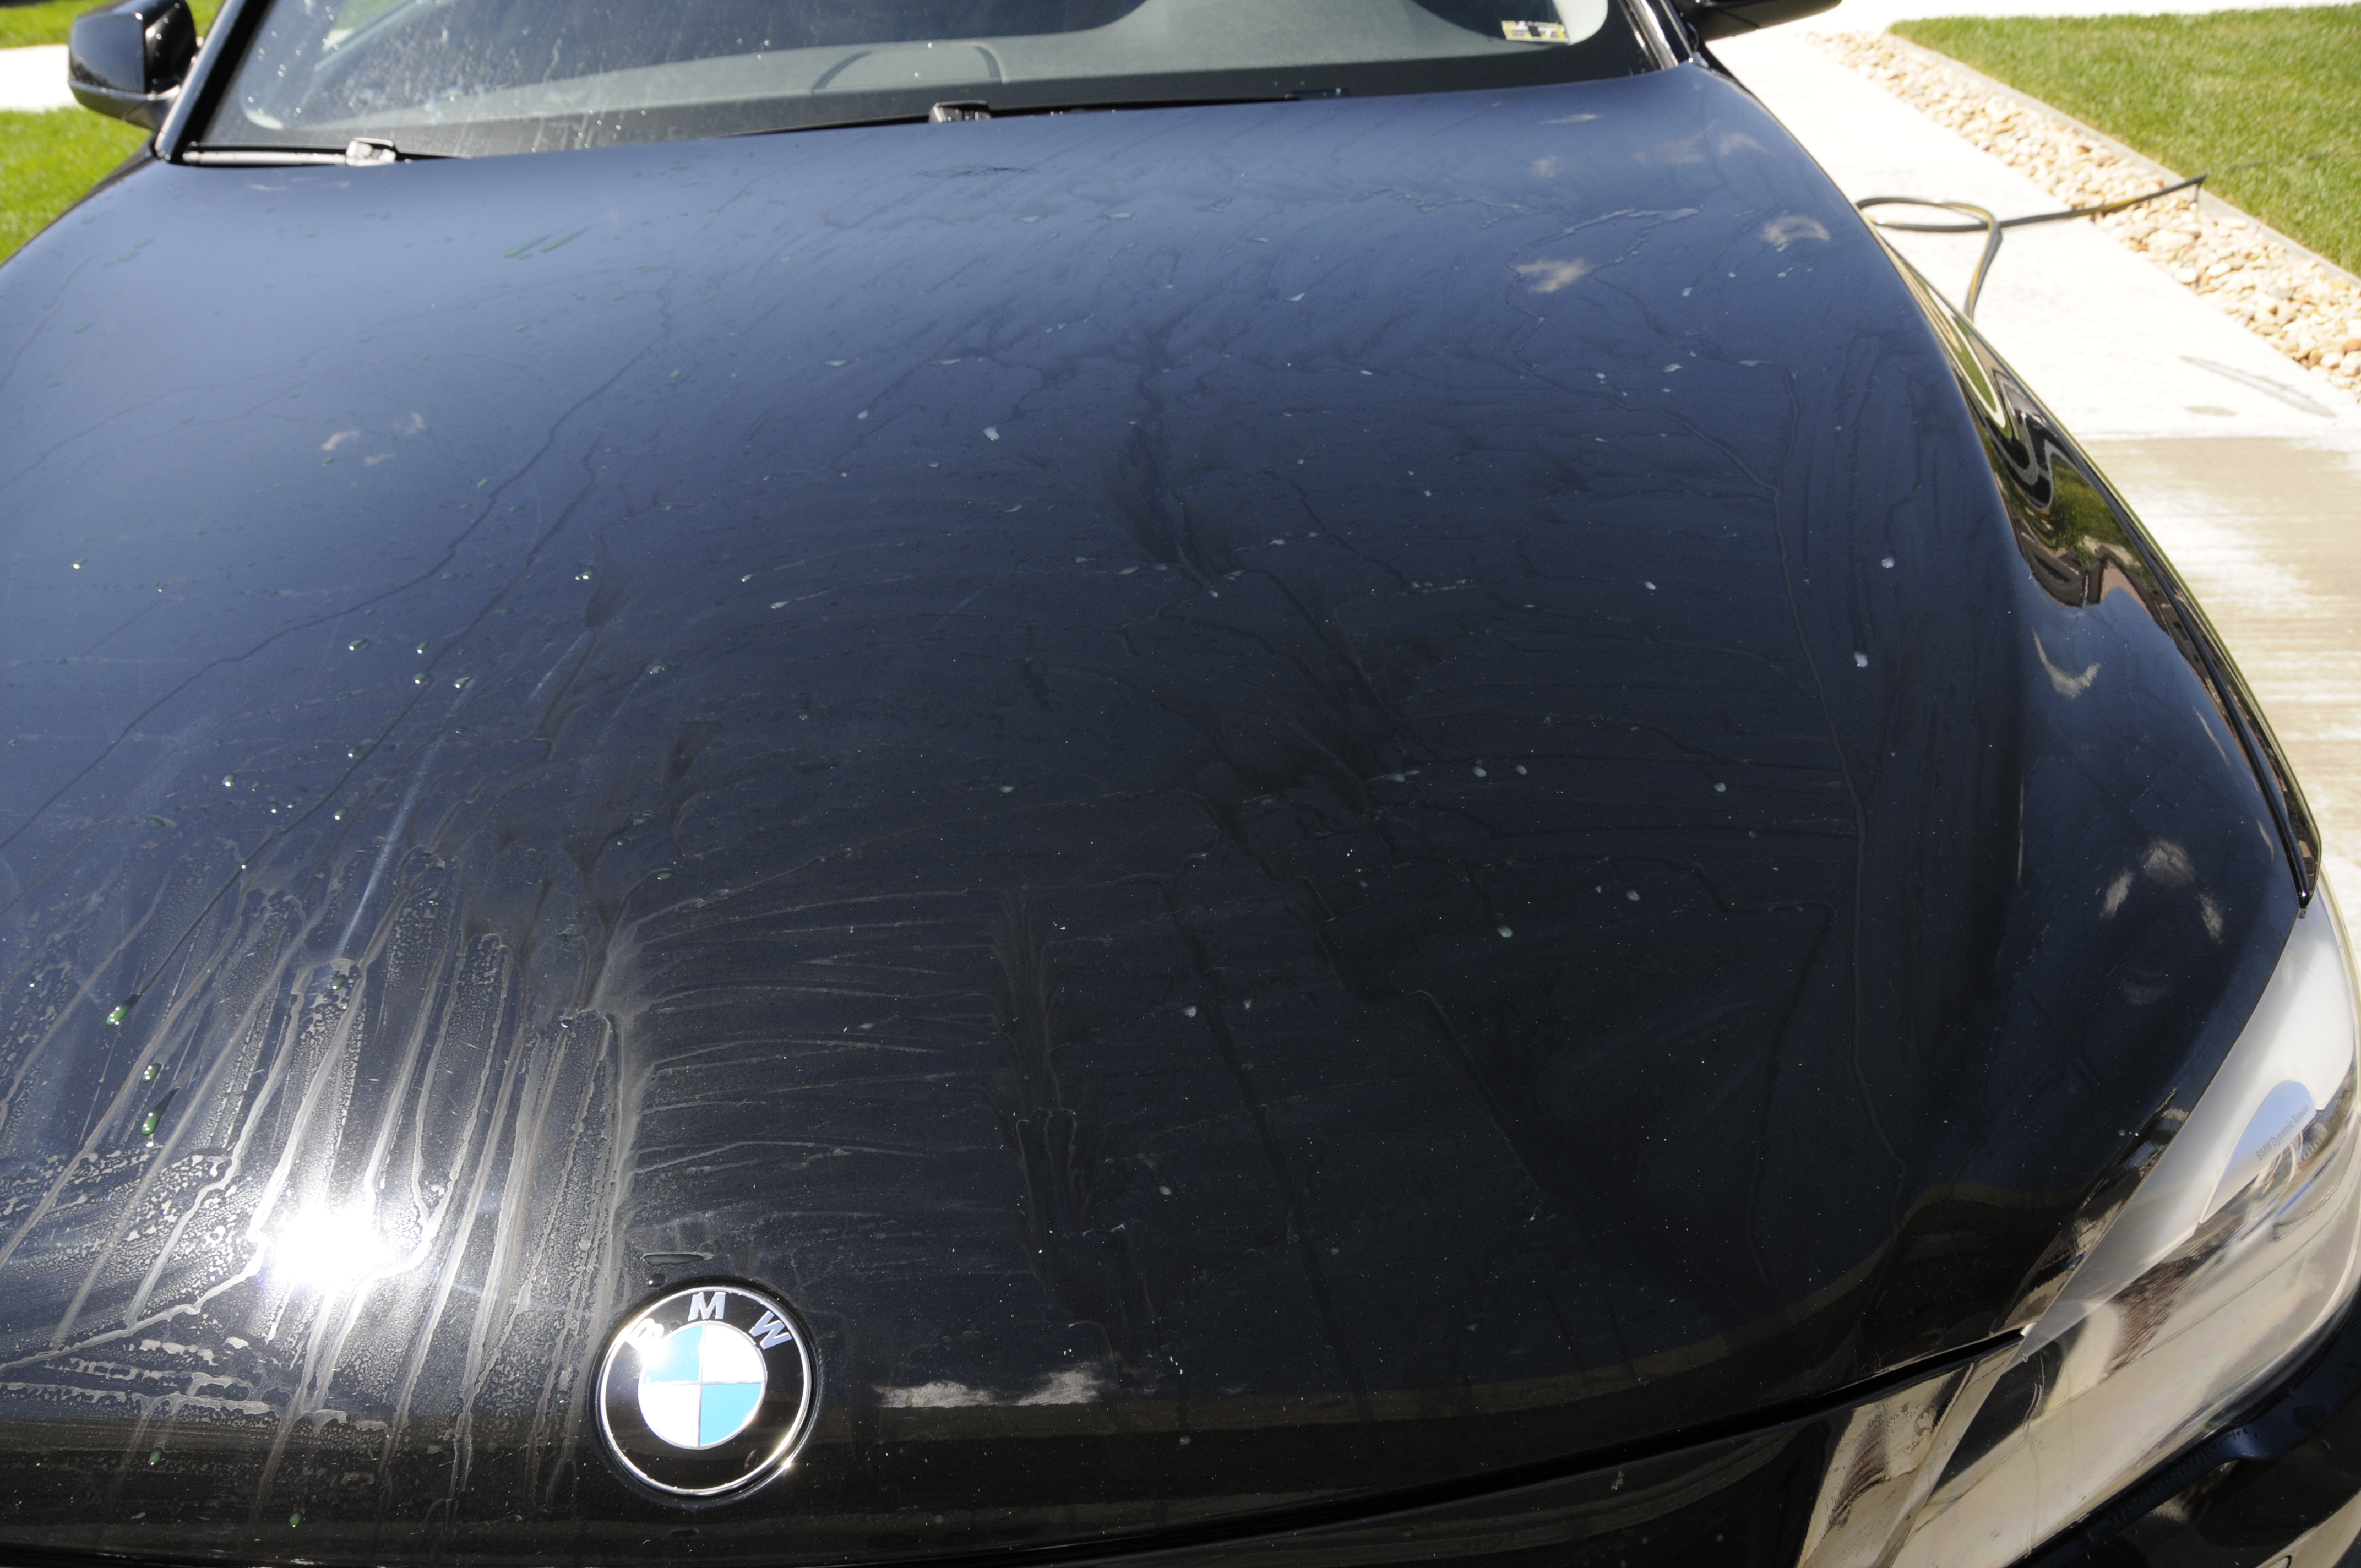
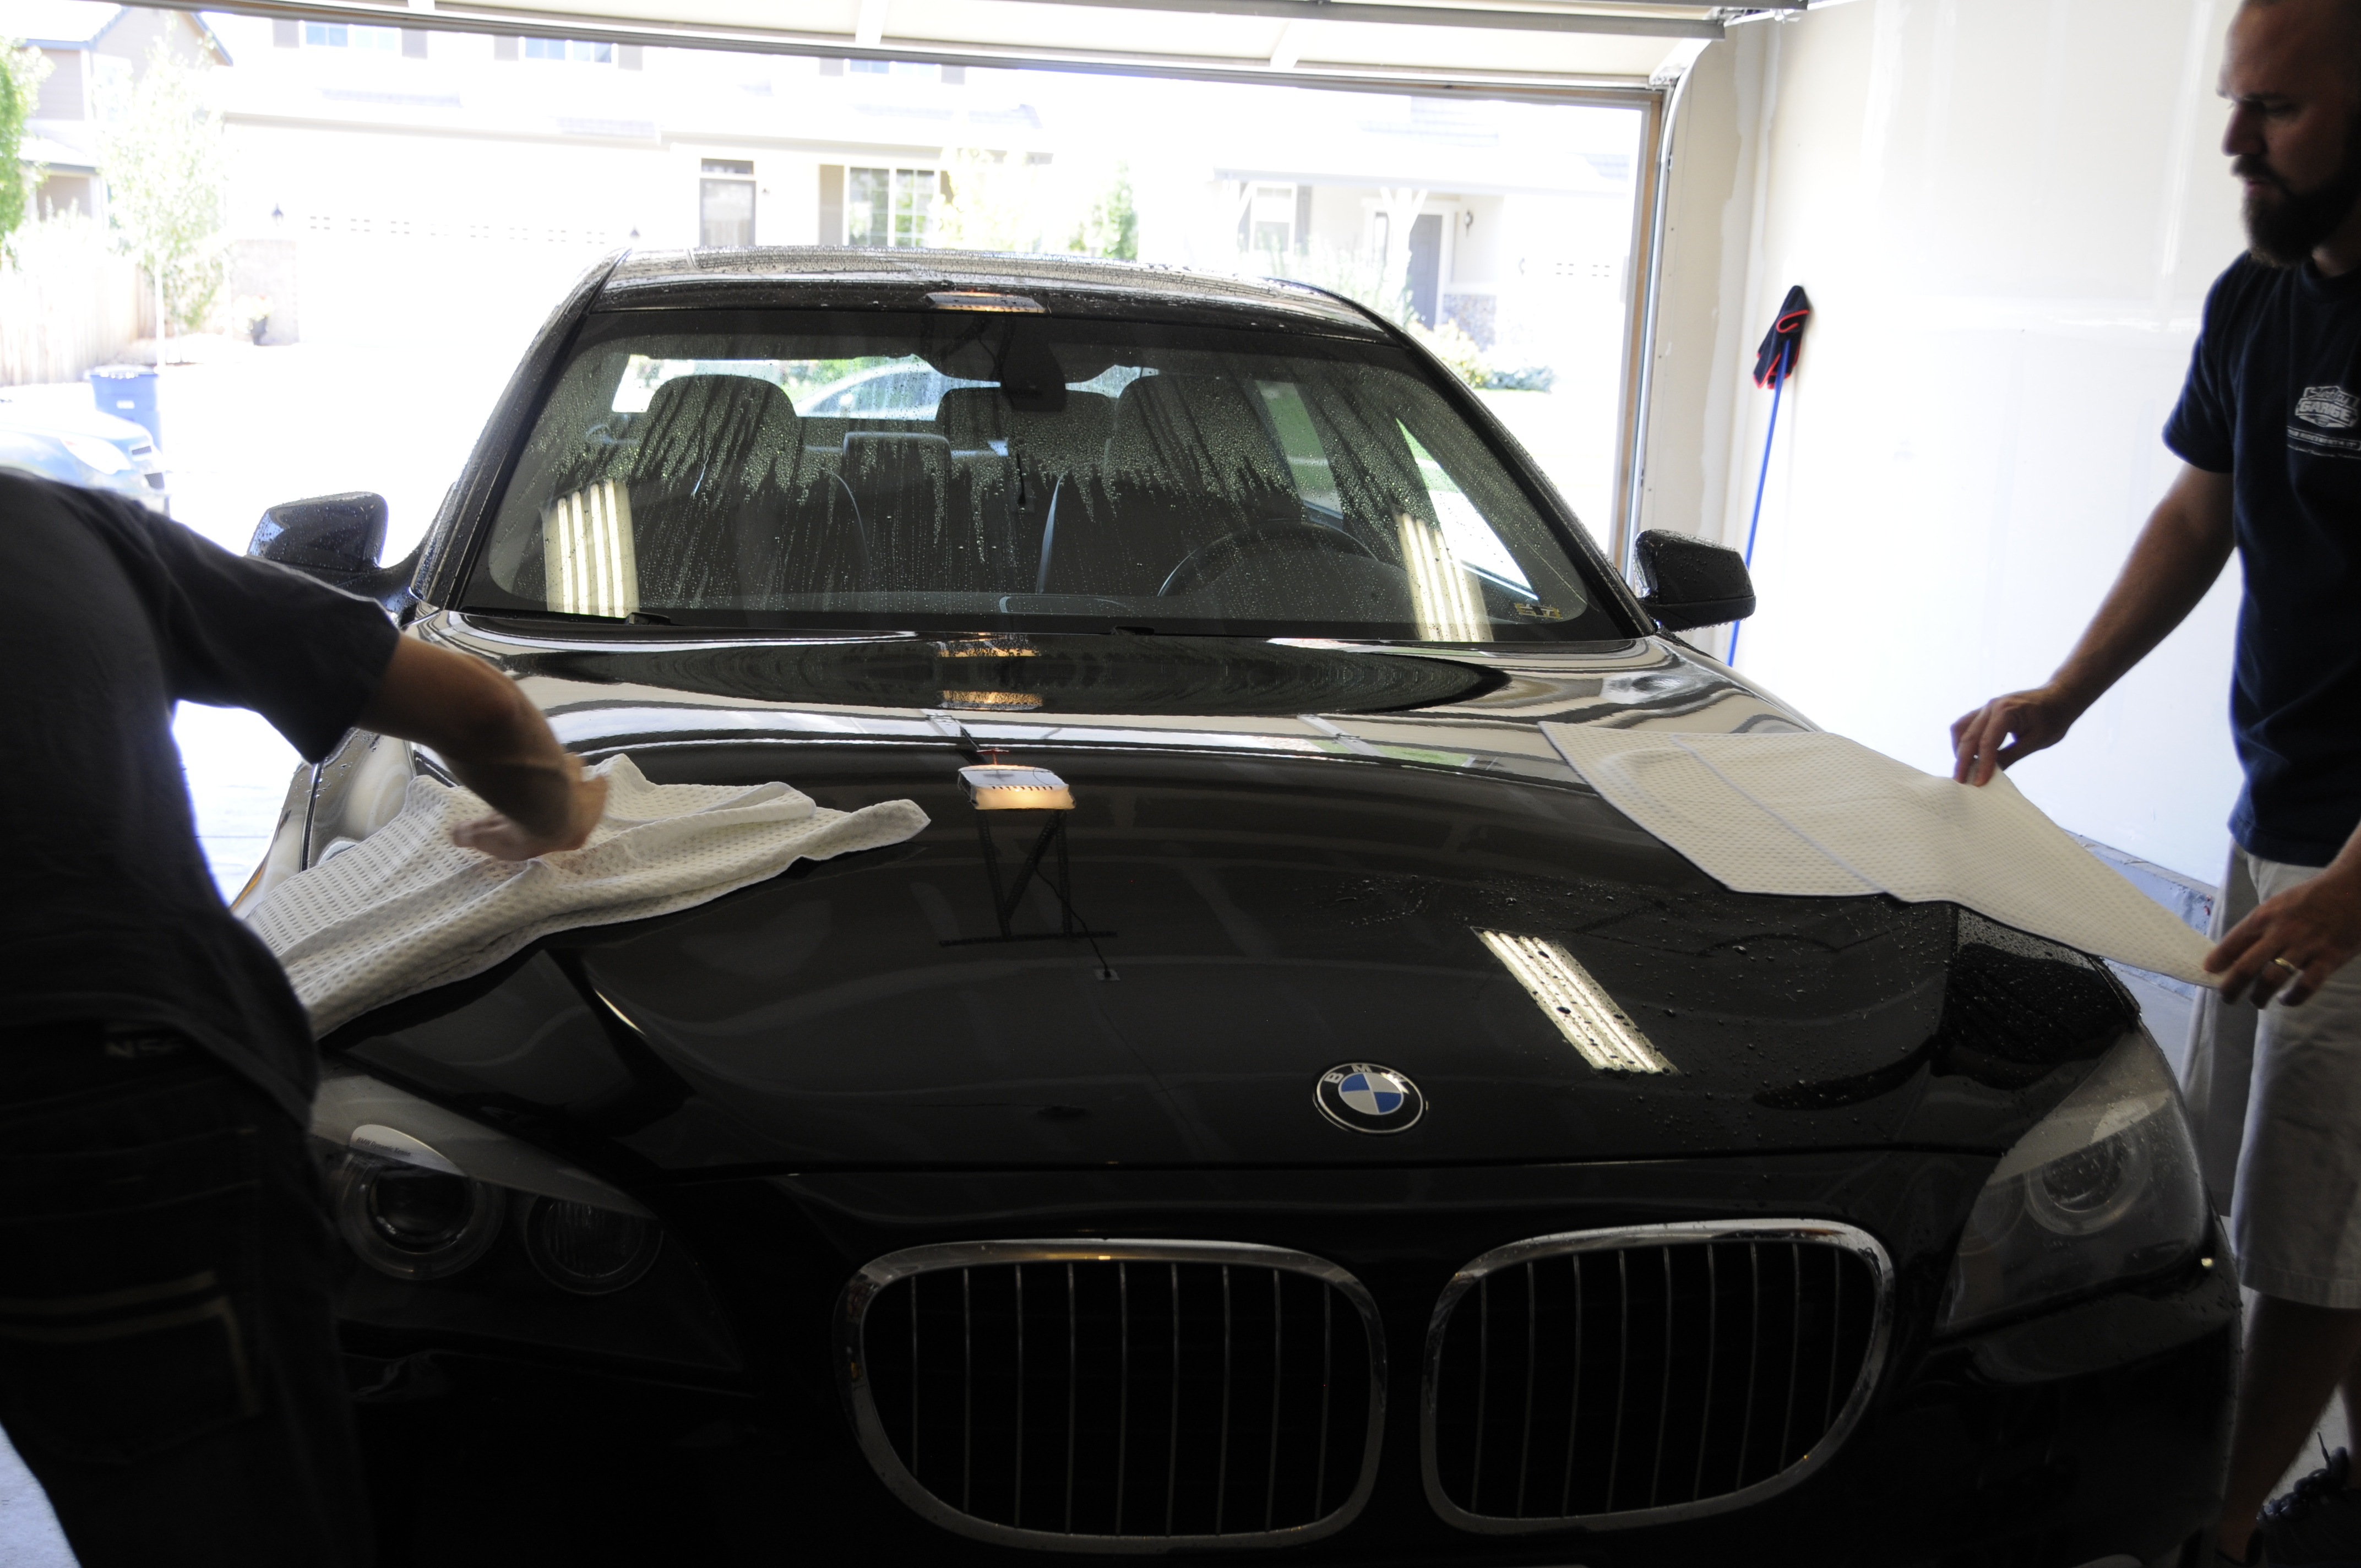
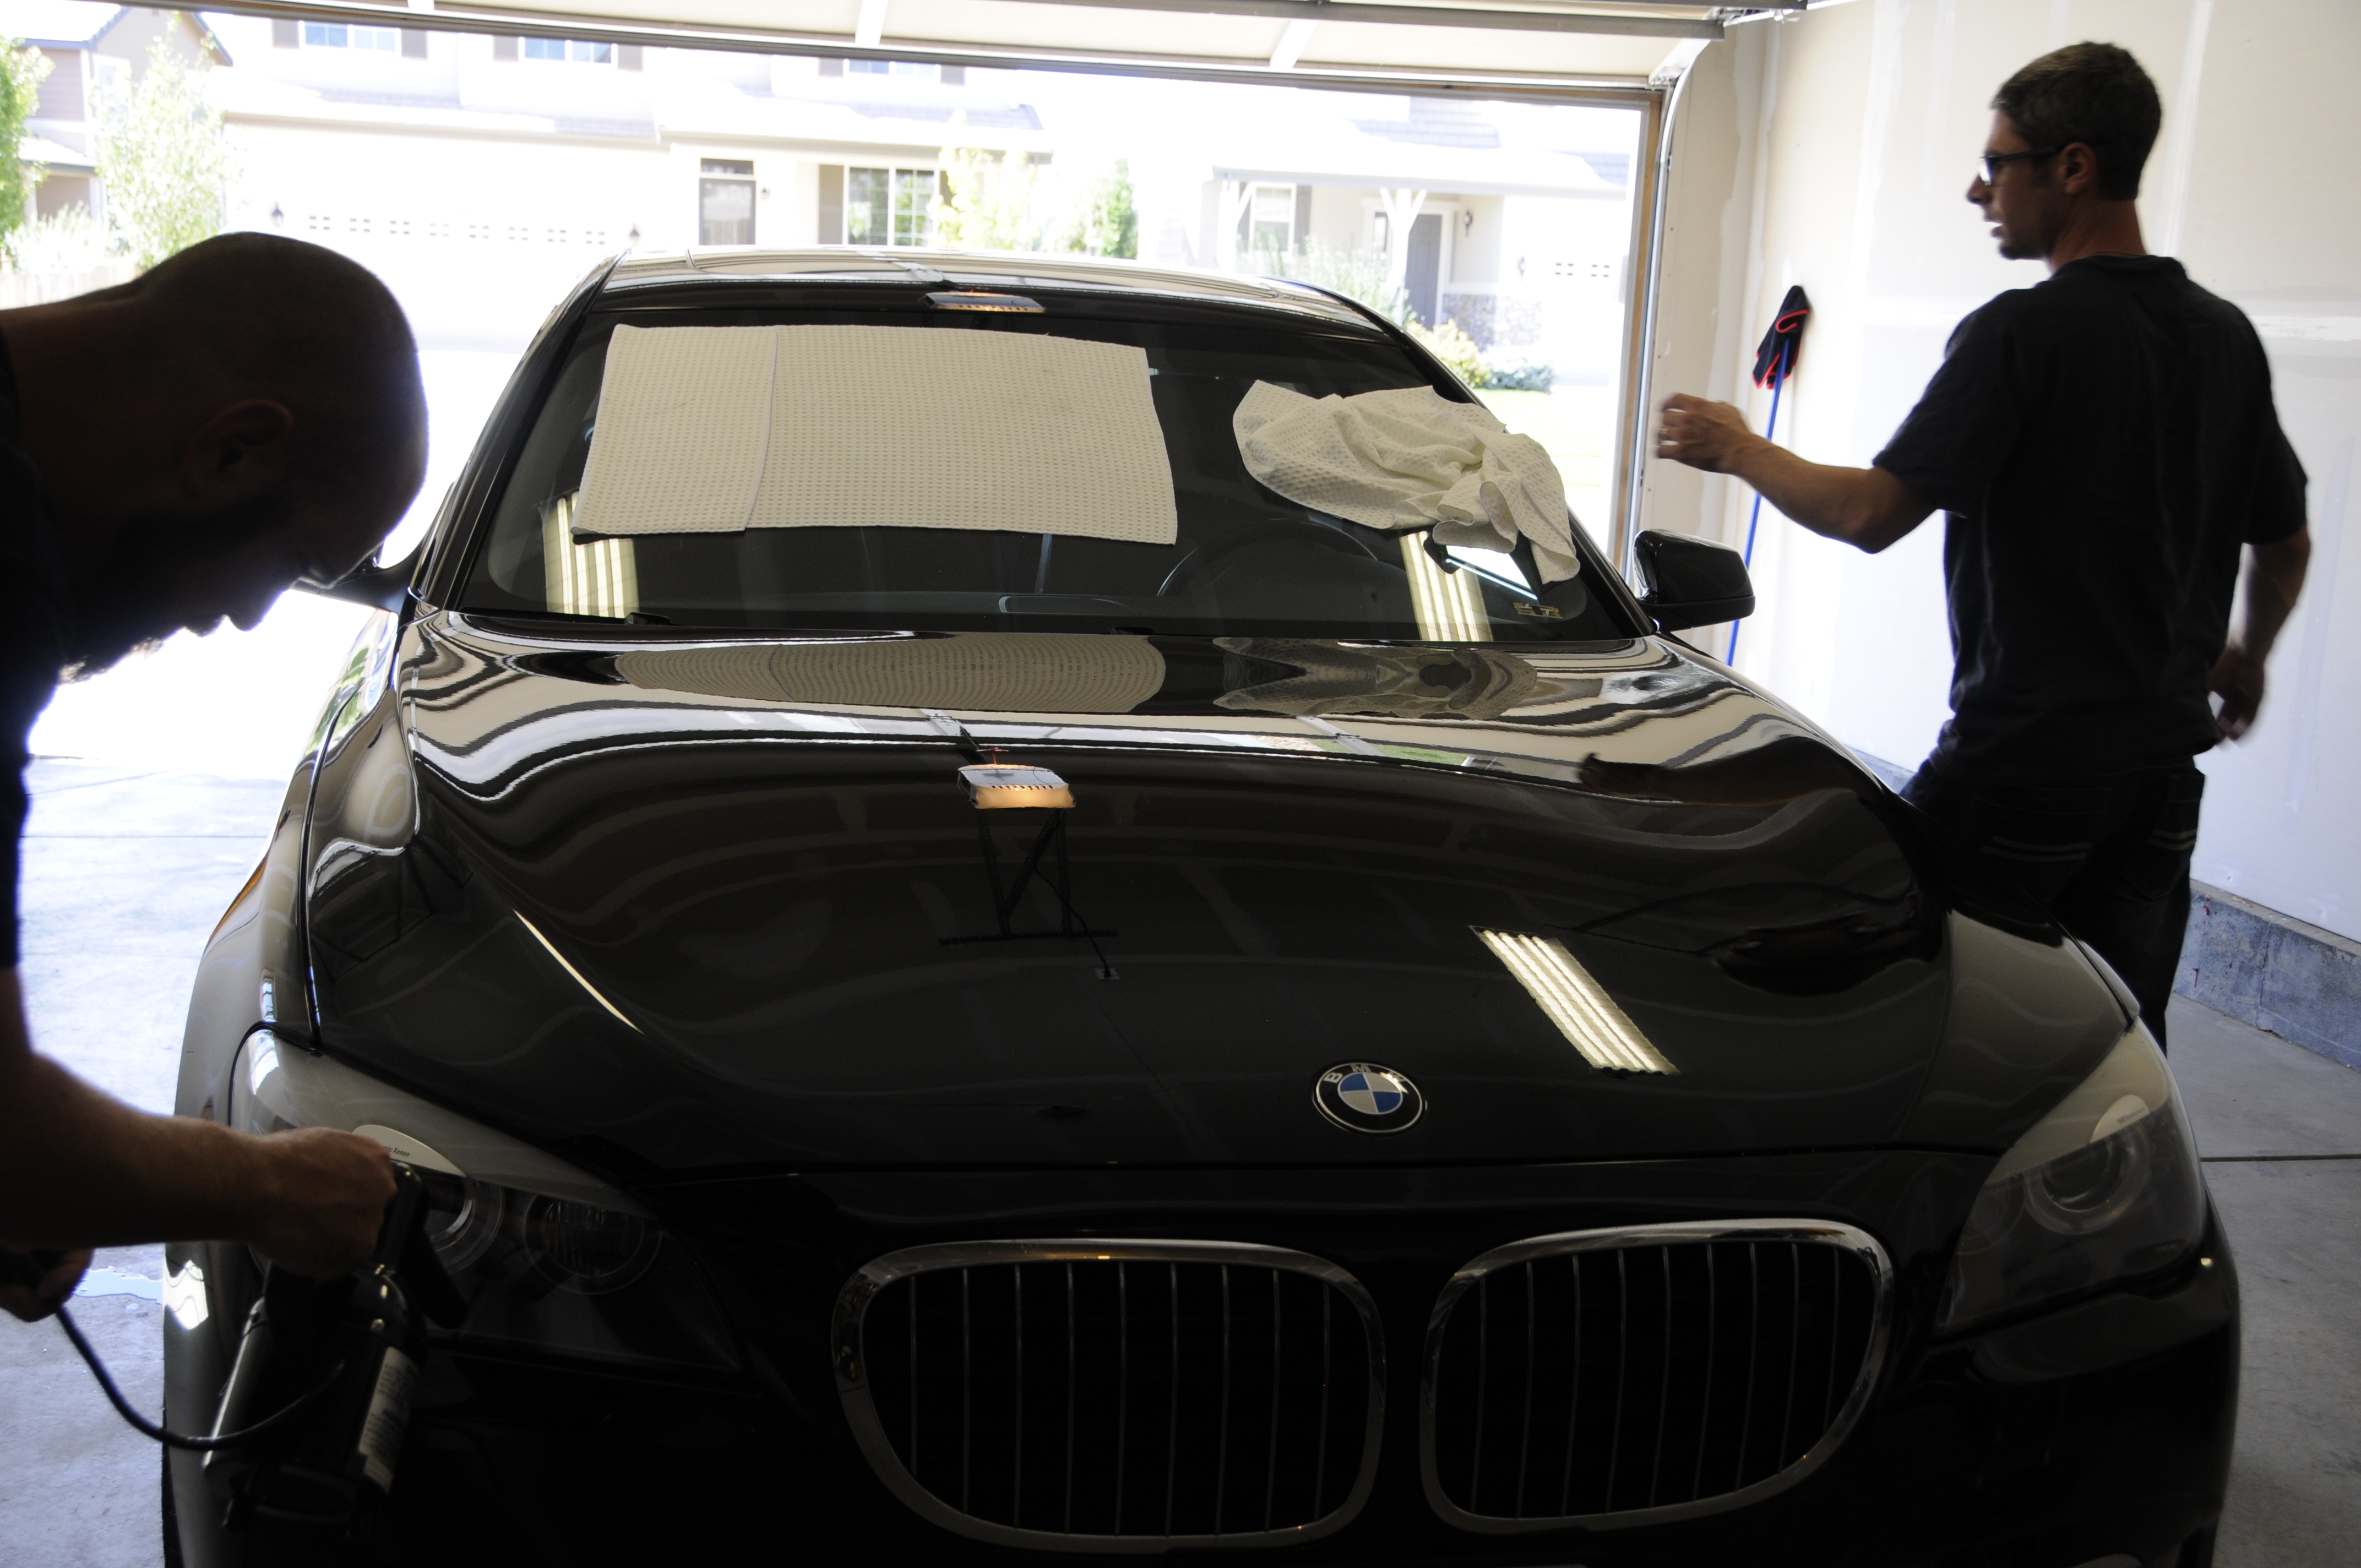
After claying it was pulled back outside and given a quick rinse to remove any excess residue from the lubricant. Back in the garage again it was dried using 2 waffle weave drying towels. No drying aid was used as we wanted to minimize anything on the surface prior to starting correction.
Water was blown from tight spaces using a Metro Blaster Sidekick and door jambs were dried using a few shots of the diluted RFWW and our light blue microfiber utility towels.
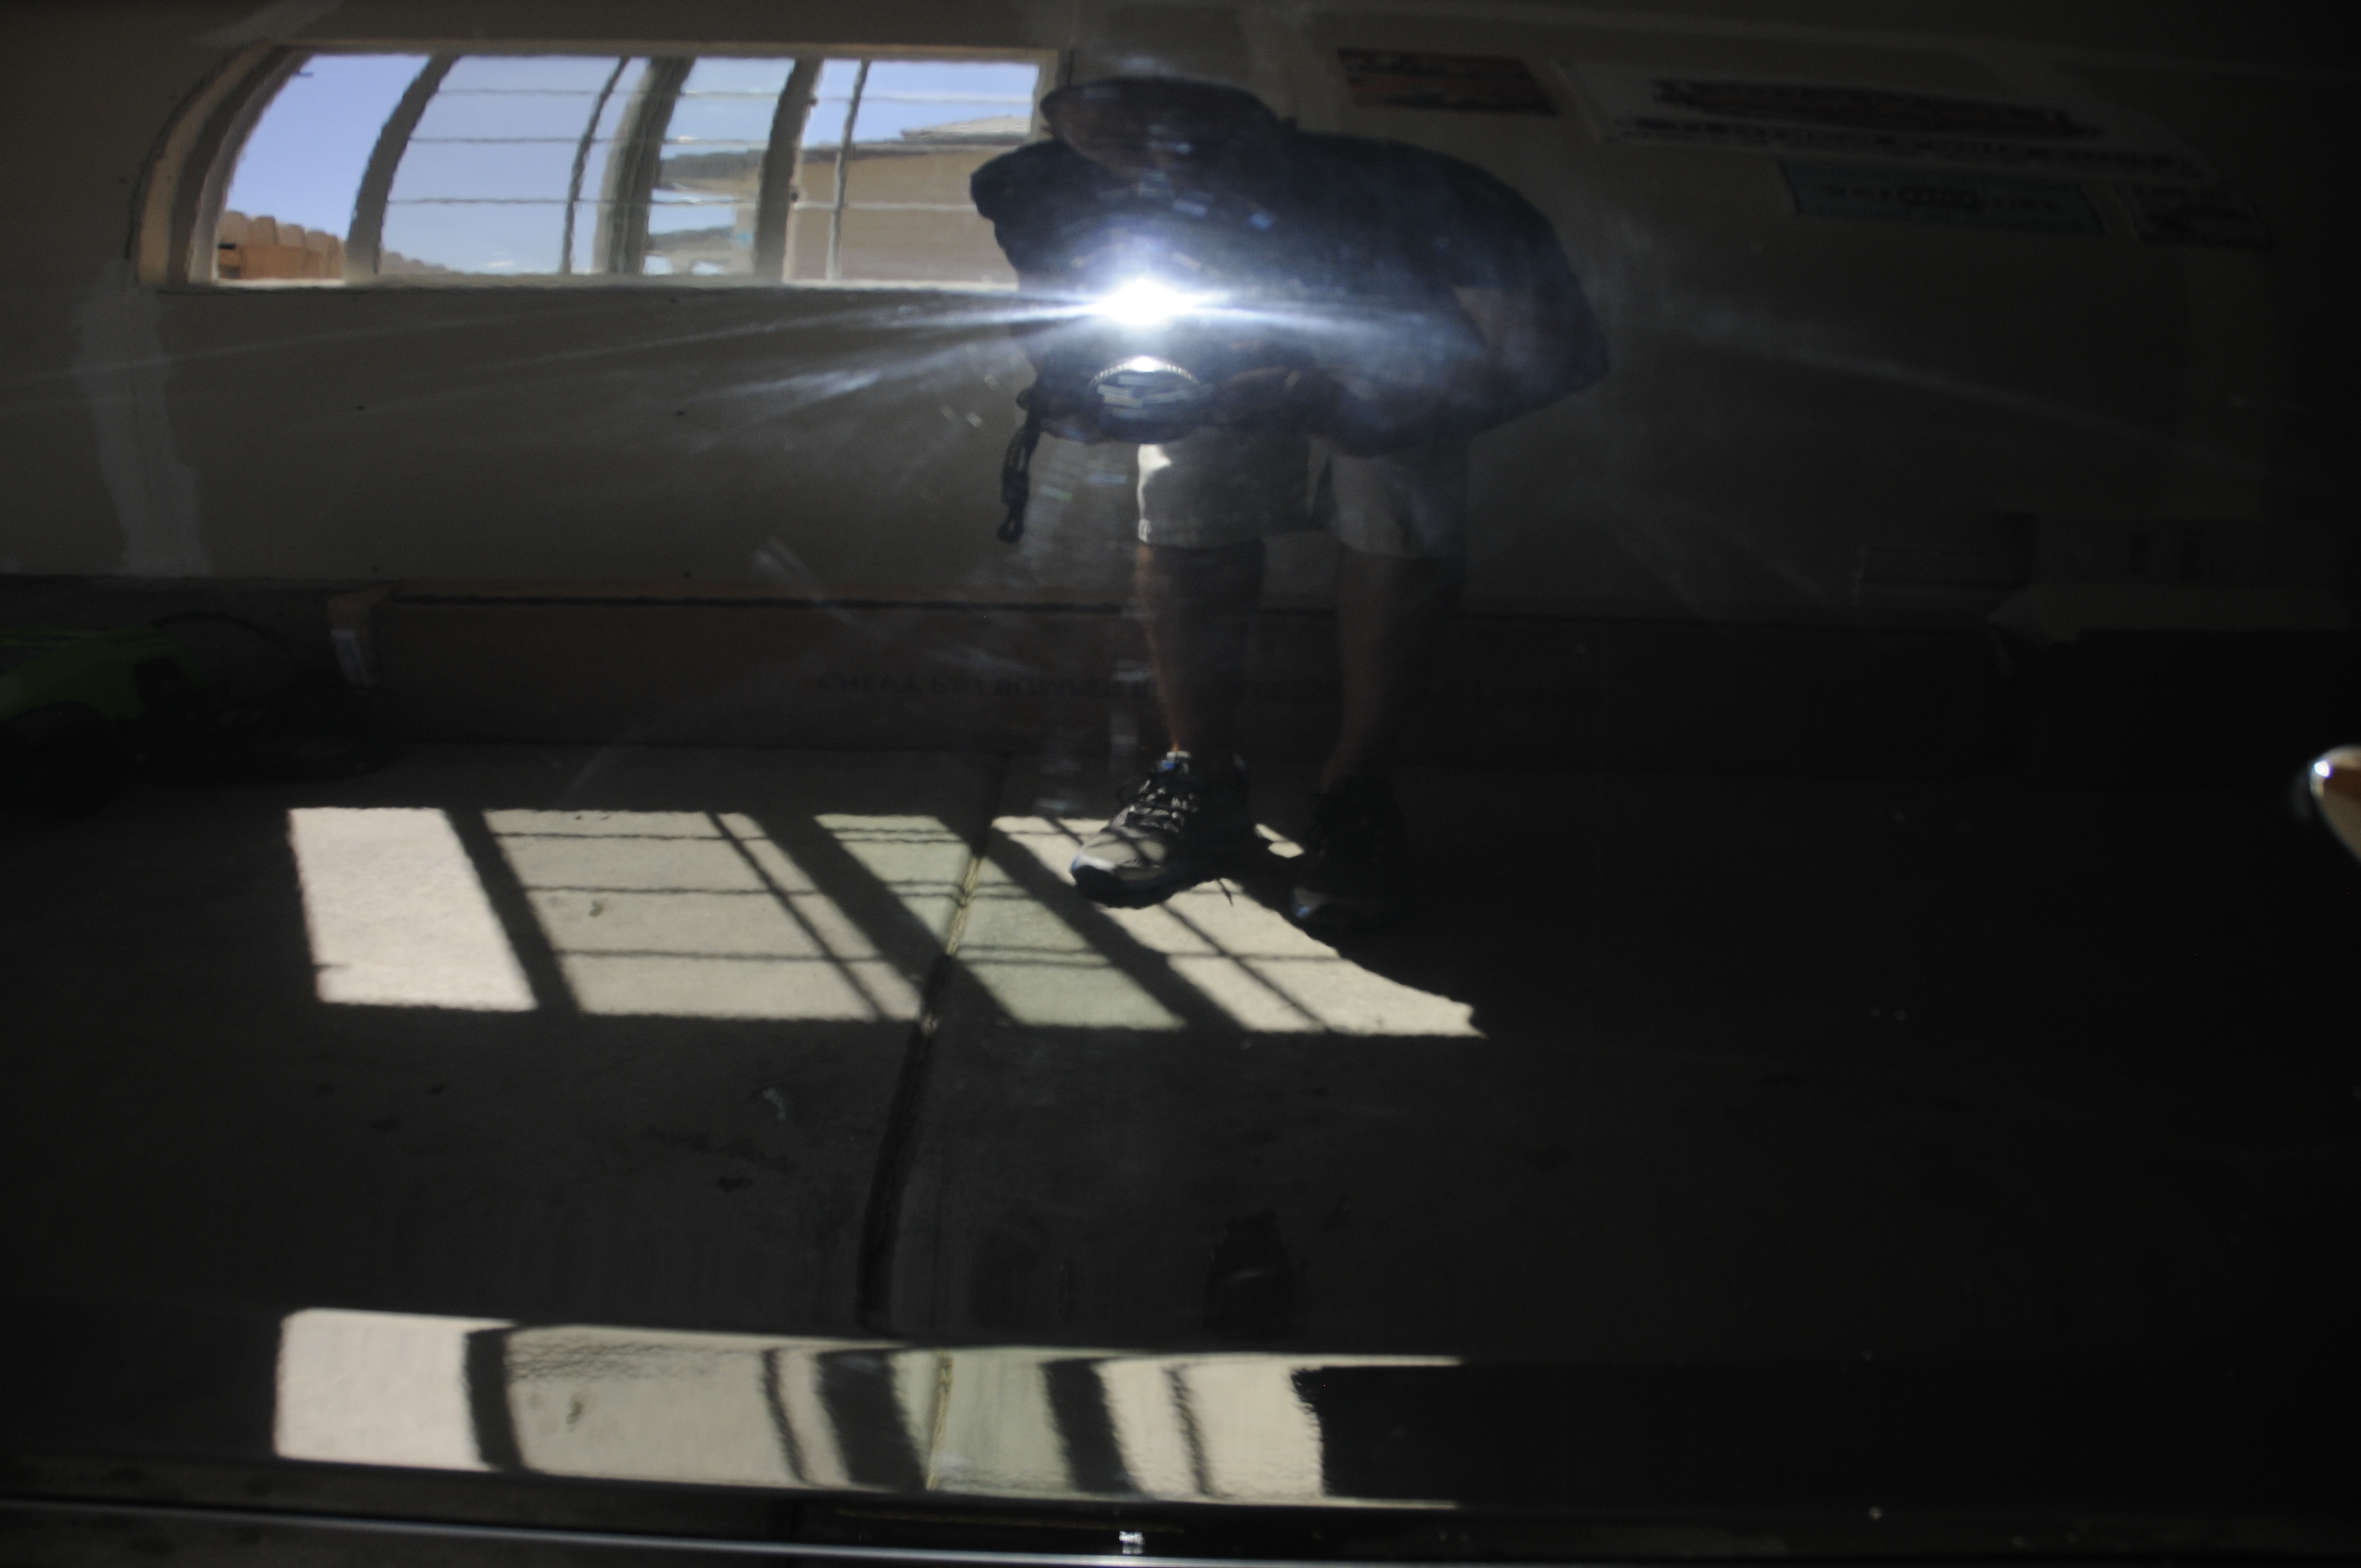
After claying we got an up close look at the paint condition and it was about as bad as expected:
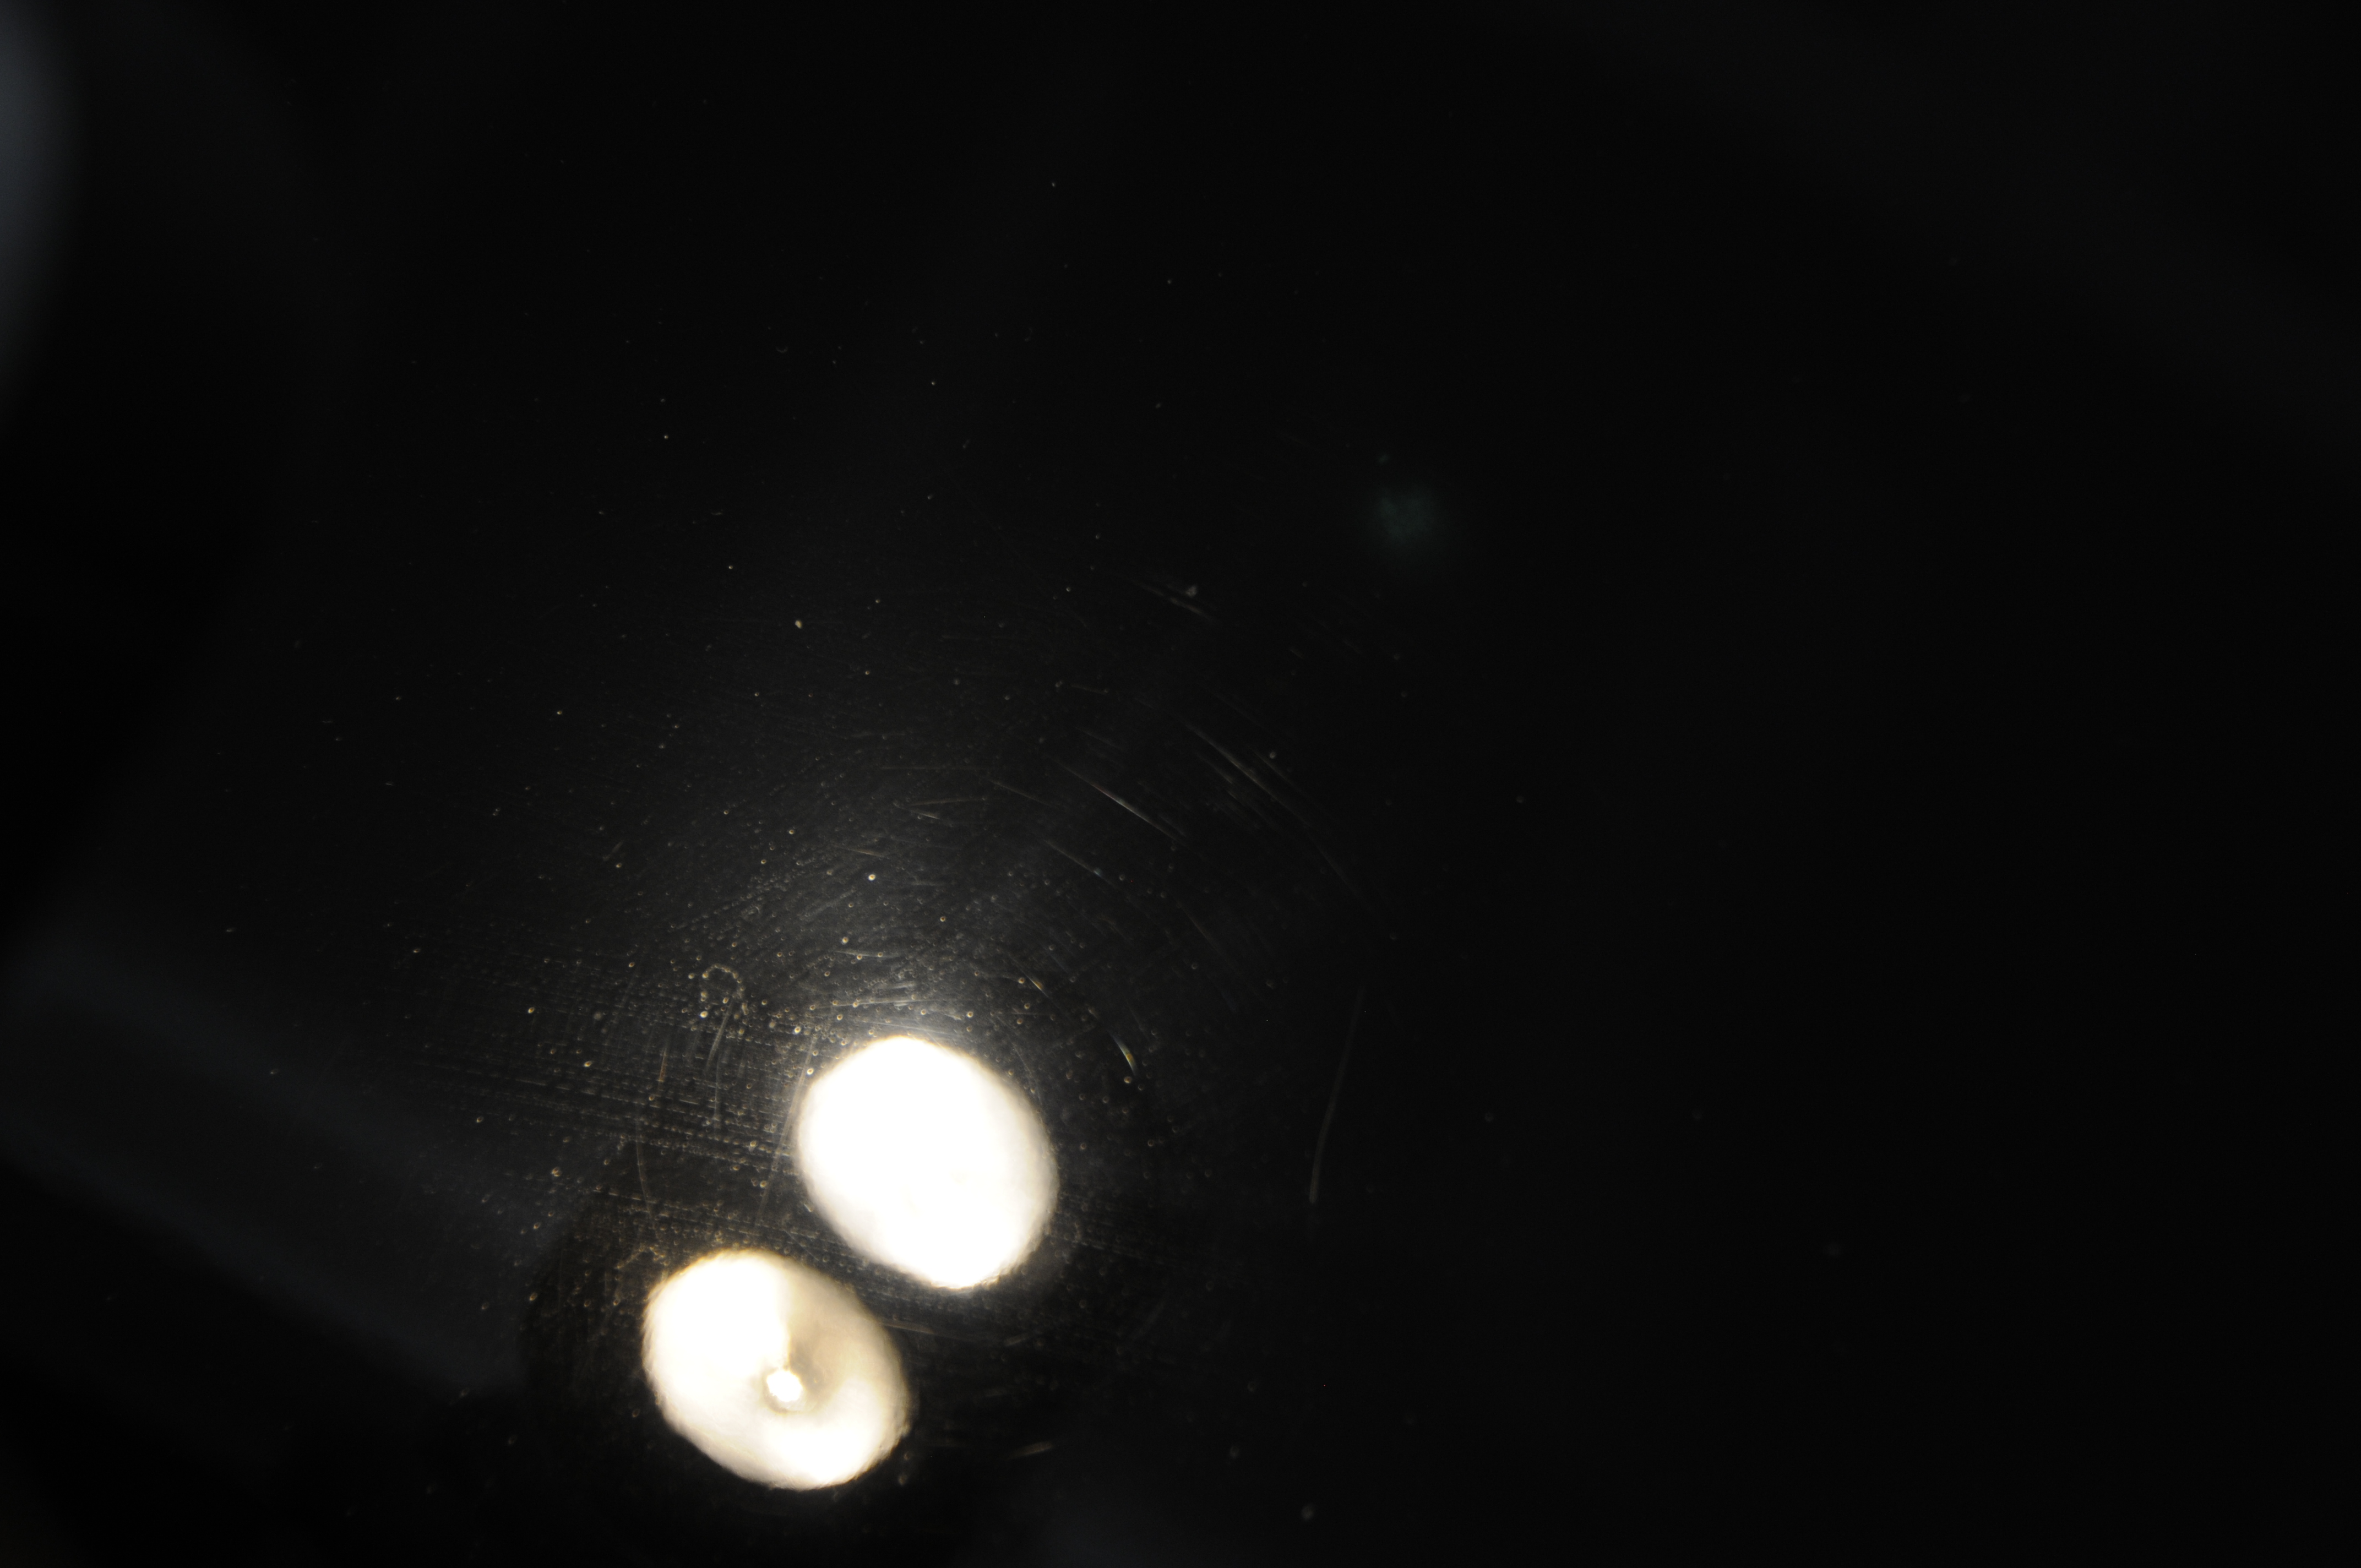
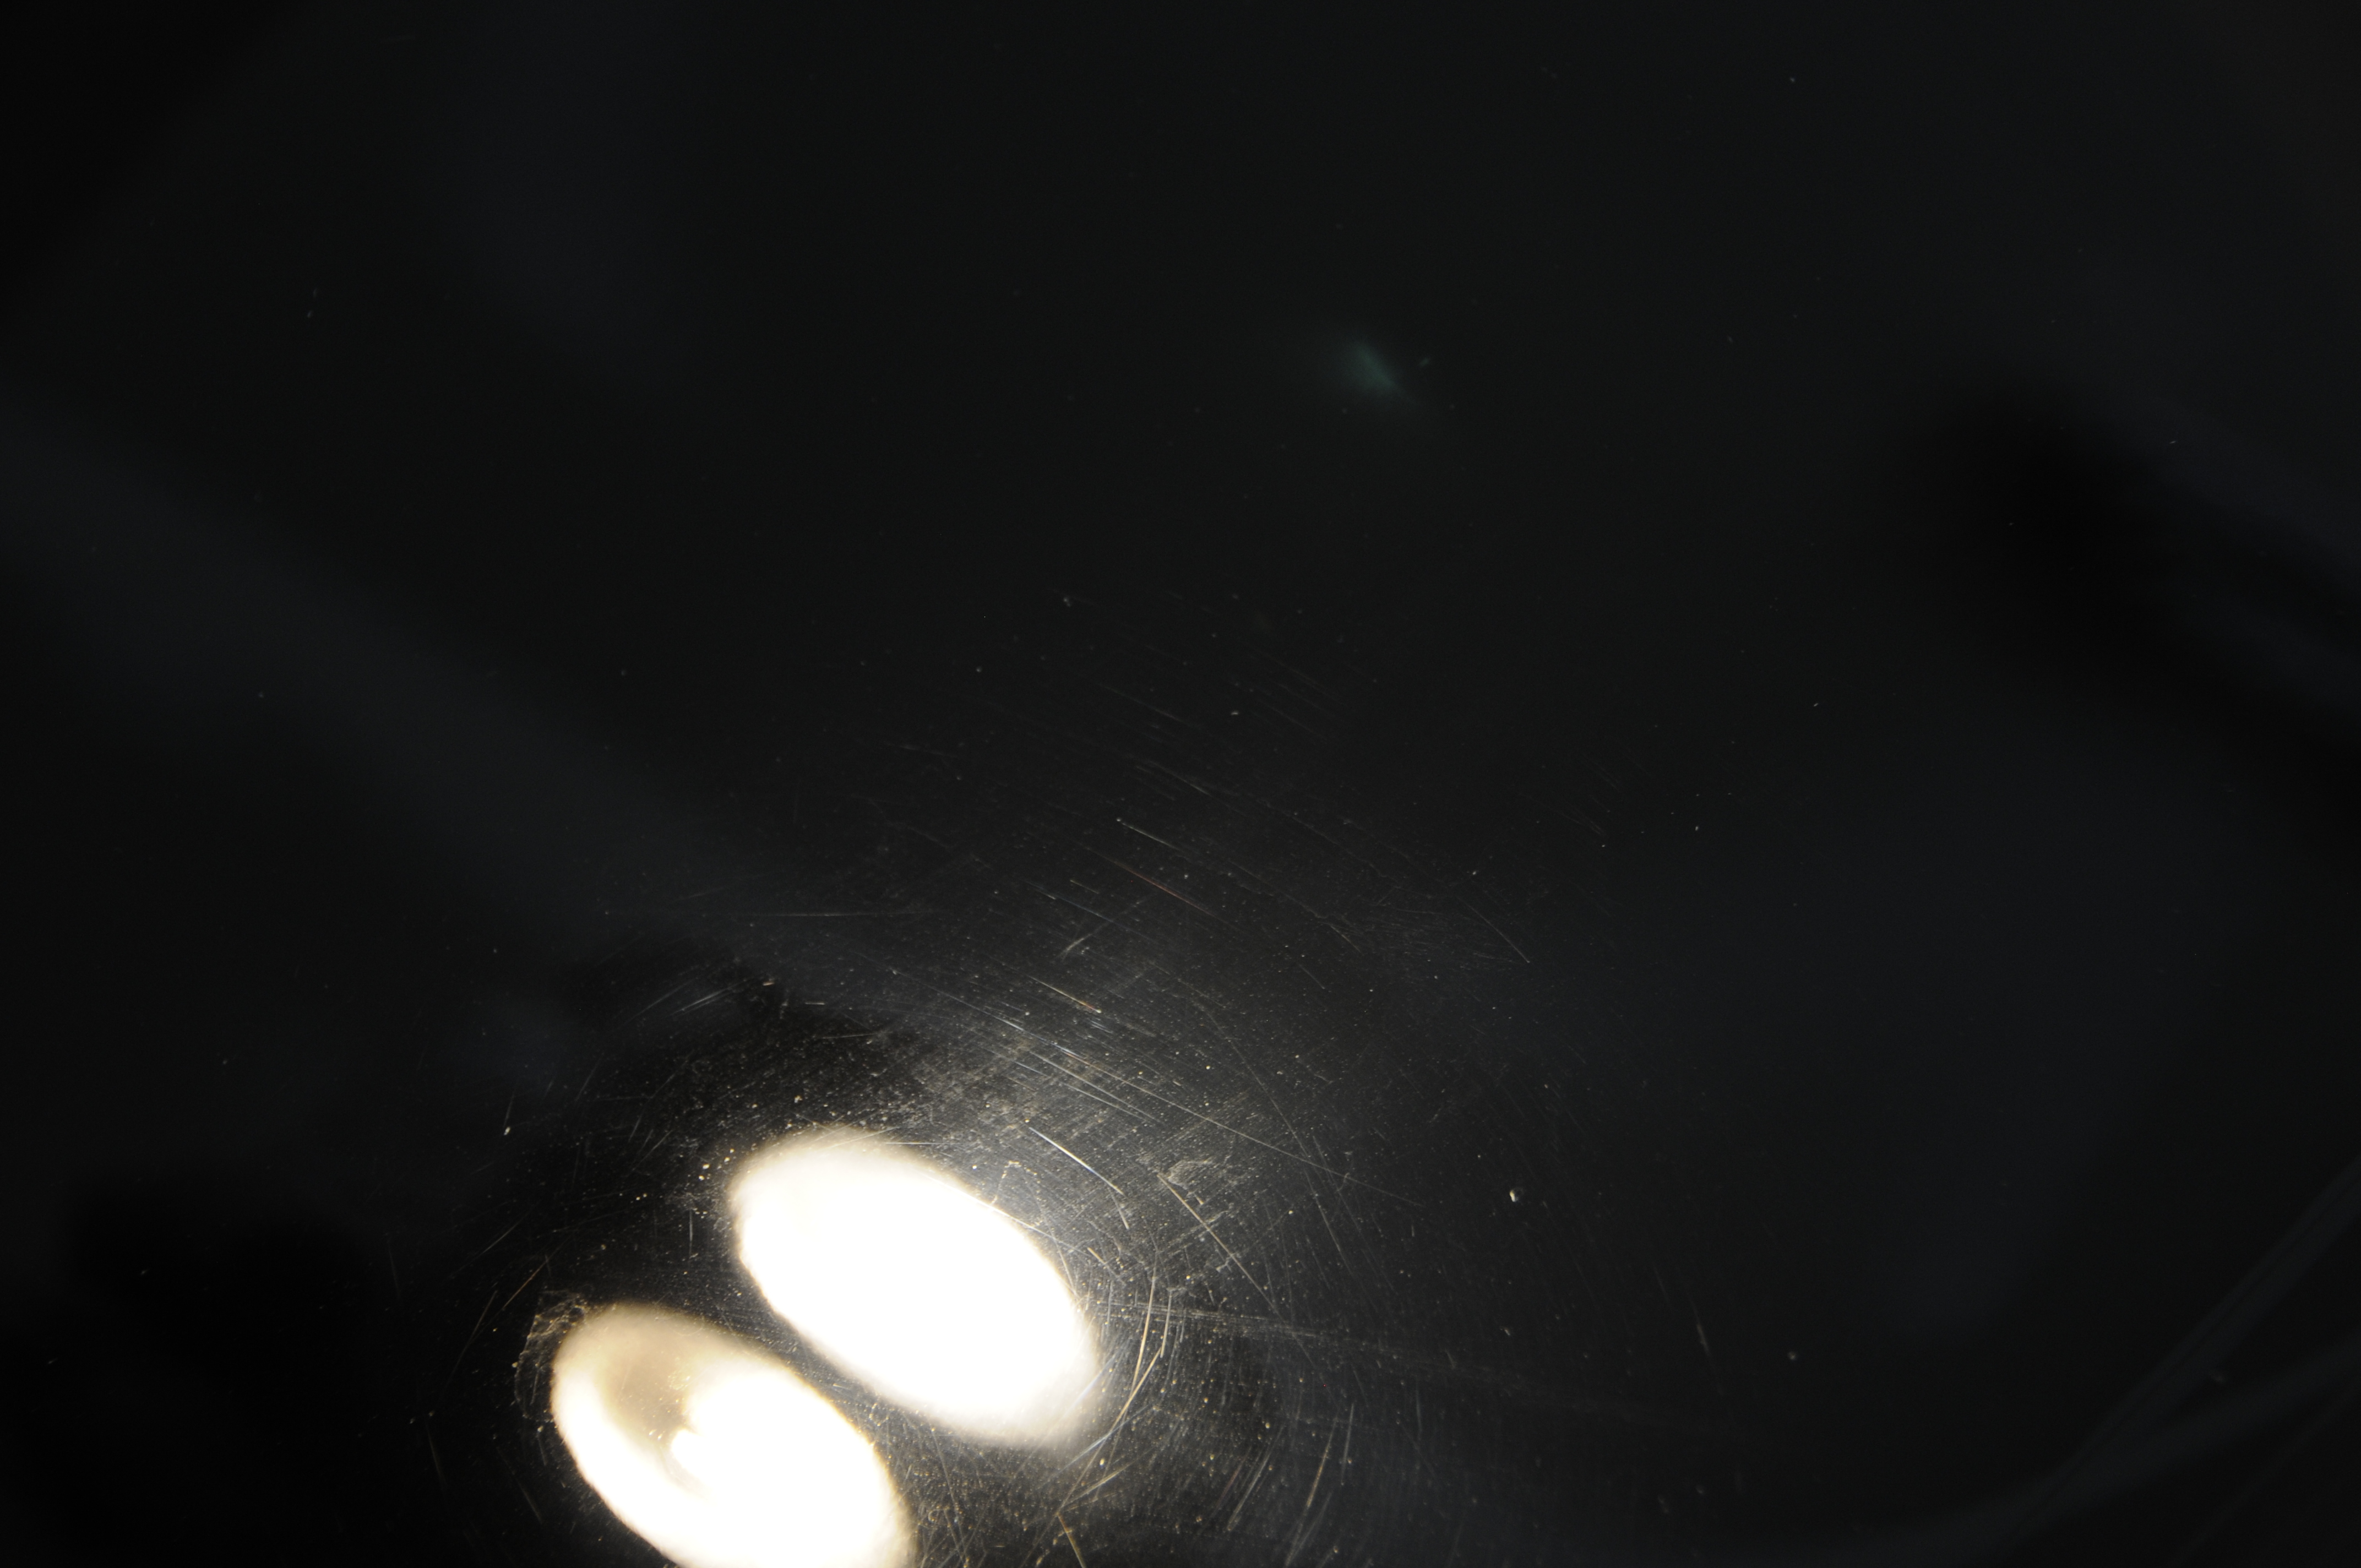
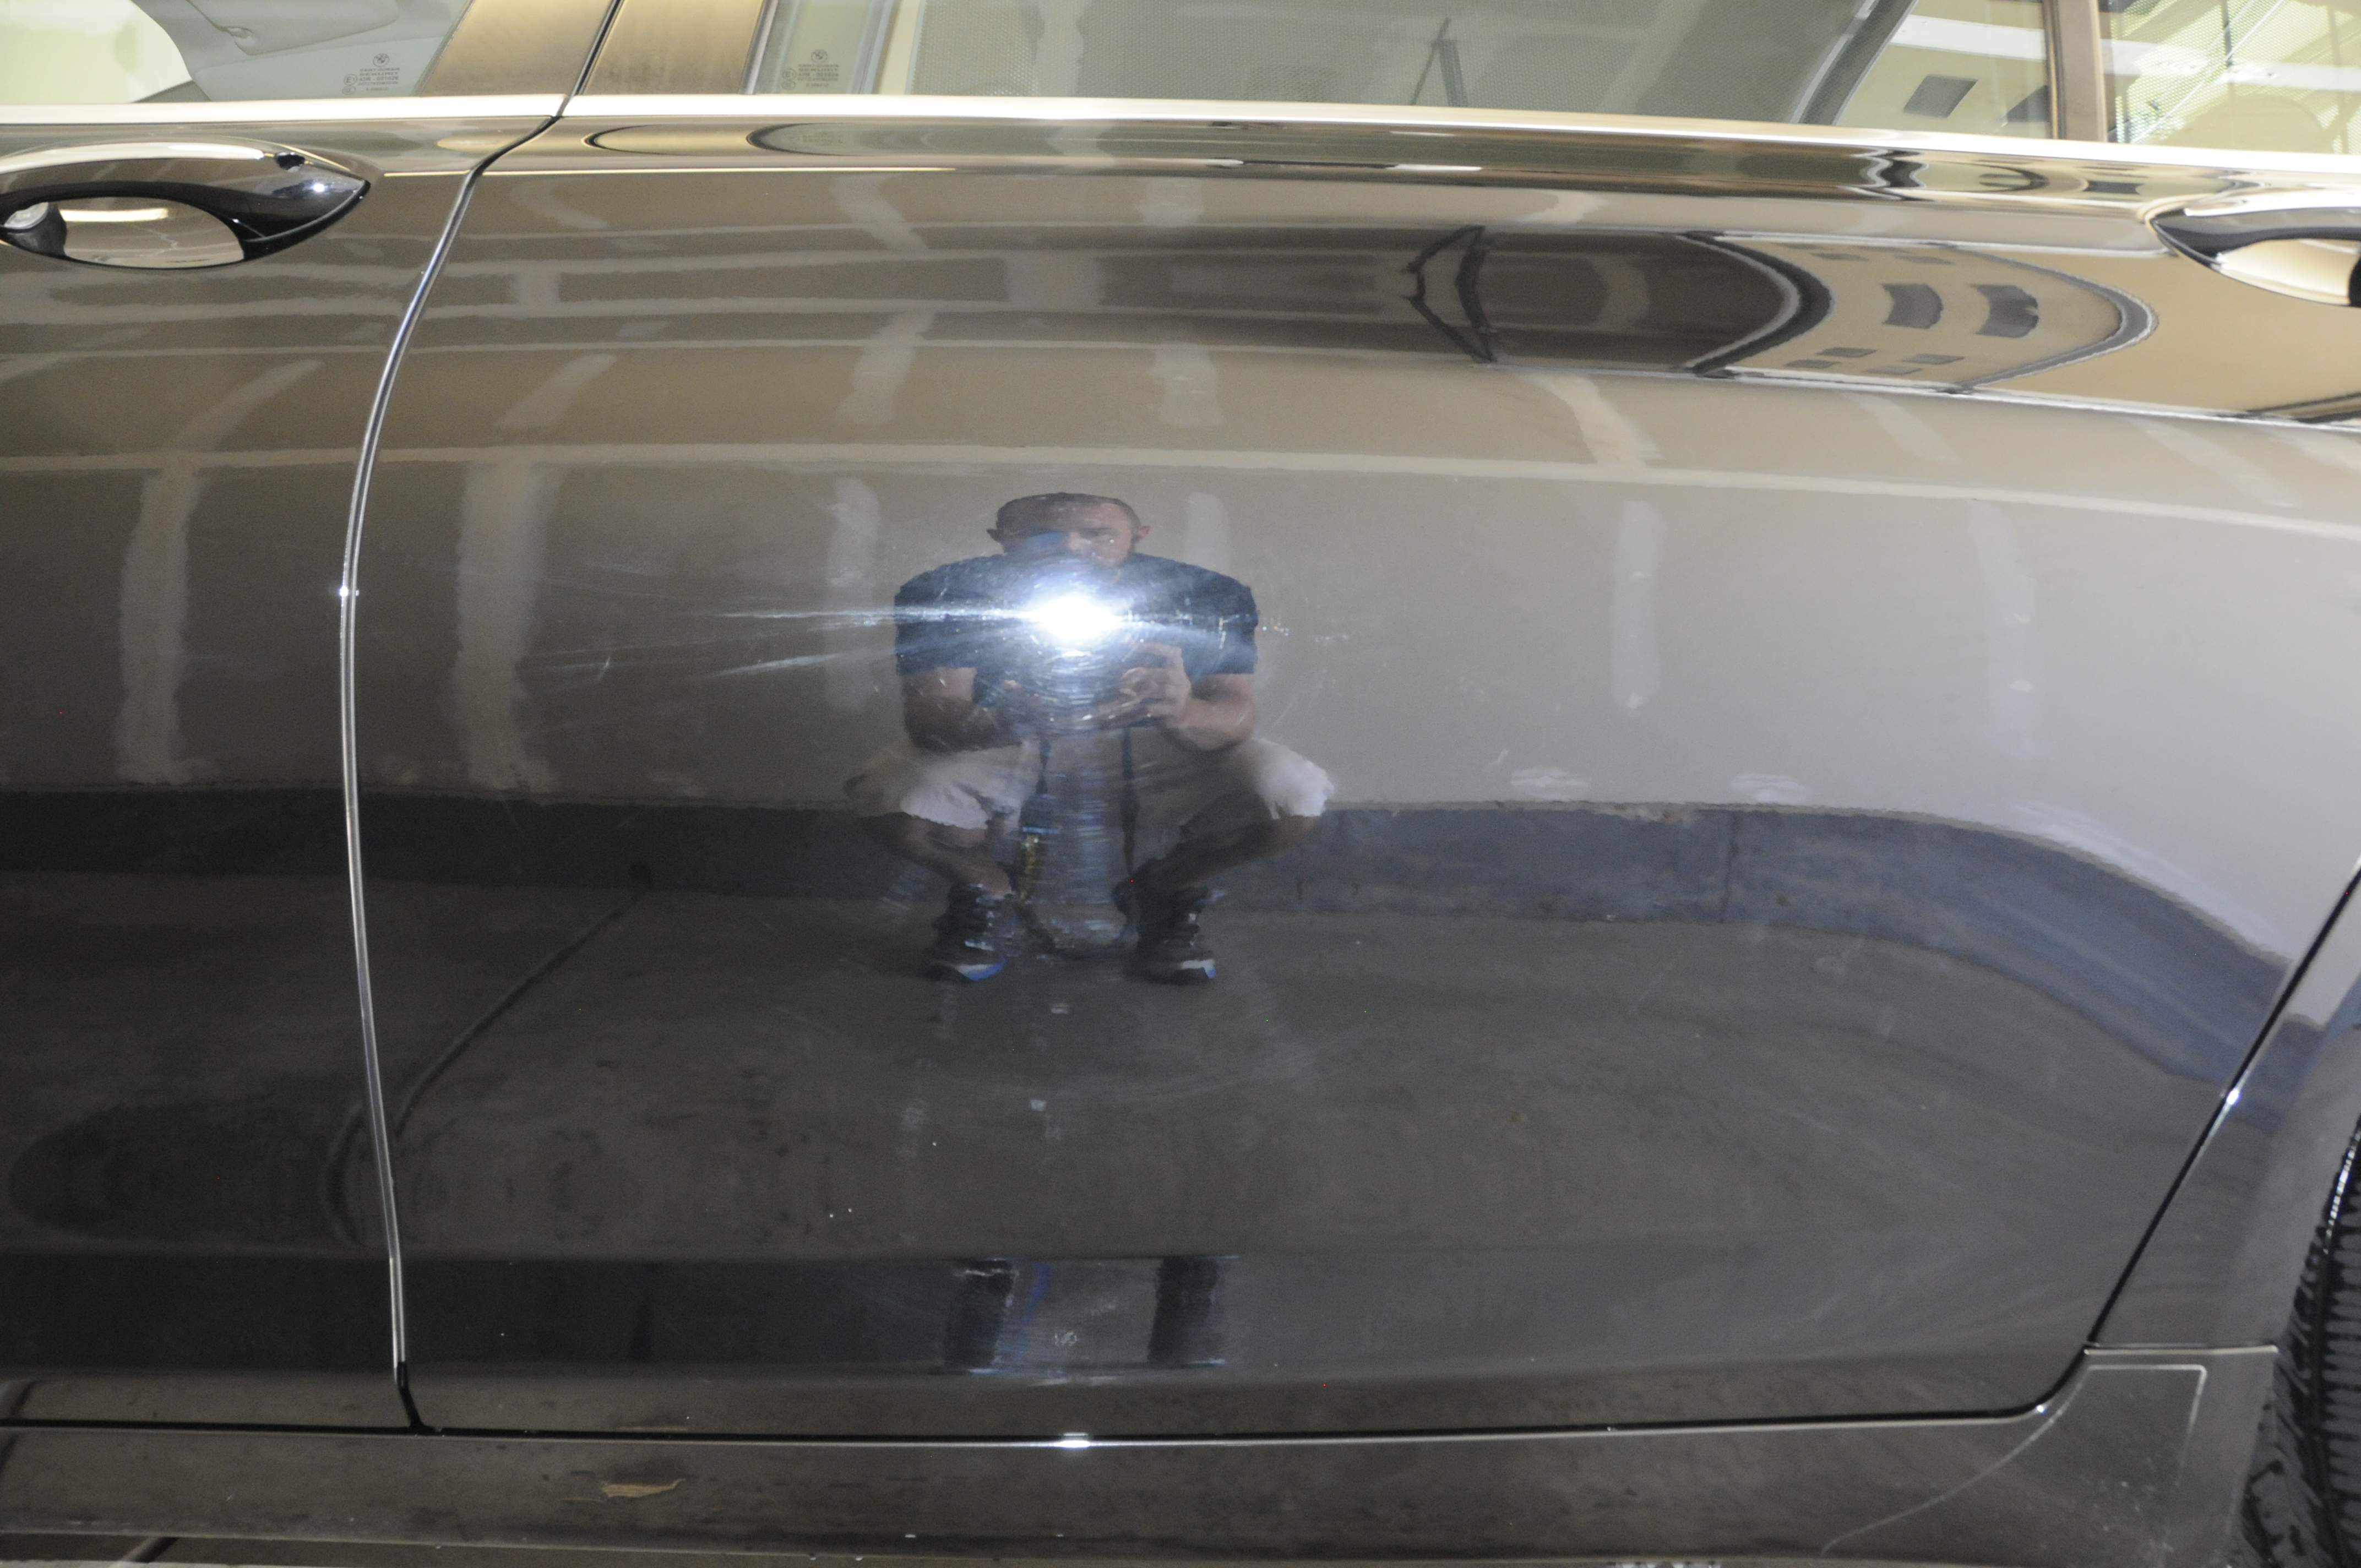
cont'd...
After claying it was pulled back outside and given a quick rinse to remove any excess residue from the lubricant. Back in the garage again it was dried using 2 waffle weave drying towels. No drying aid was used as we wanted to minimize anything on the surface prior to starting correction.
Water was blown from tight spaces using a Metro Blaster Sidekick and door jambs were dried using a few shots of the diluted RFWW and our light blue microfiber utility towels.


After claying we got an up close look at the paint condition and it was about as bad as expected:


cont'd...
#4
PAINT CORRECTION:
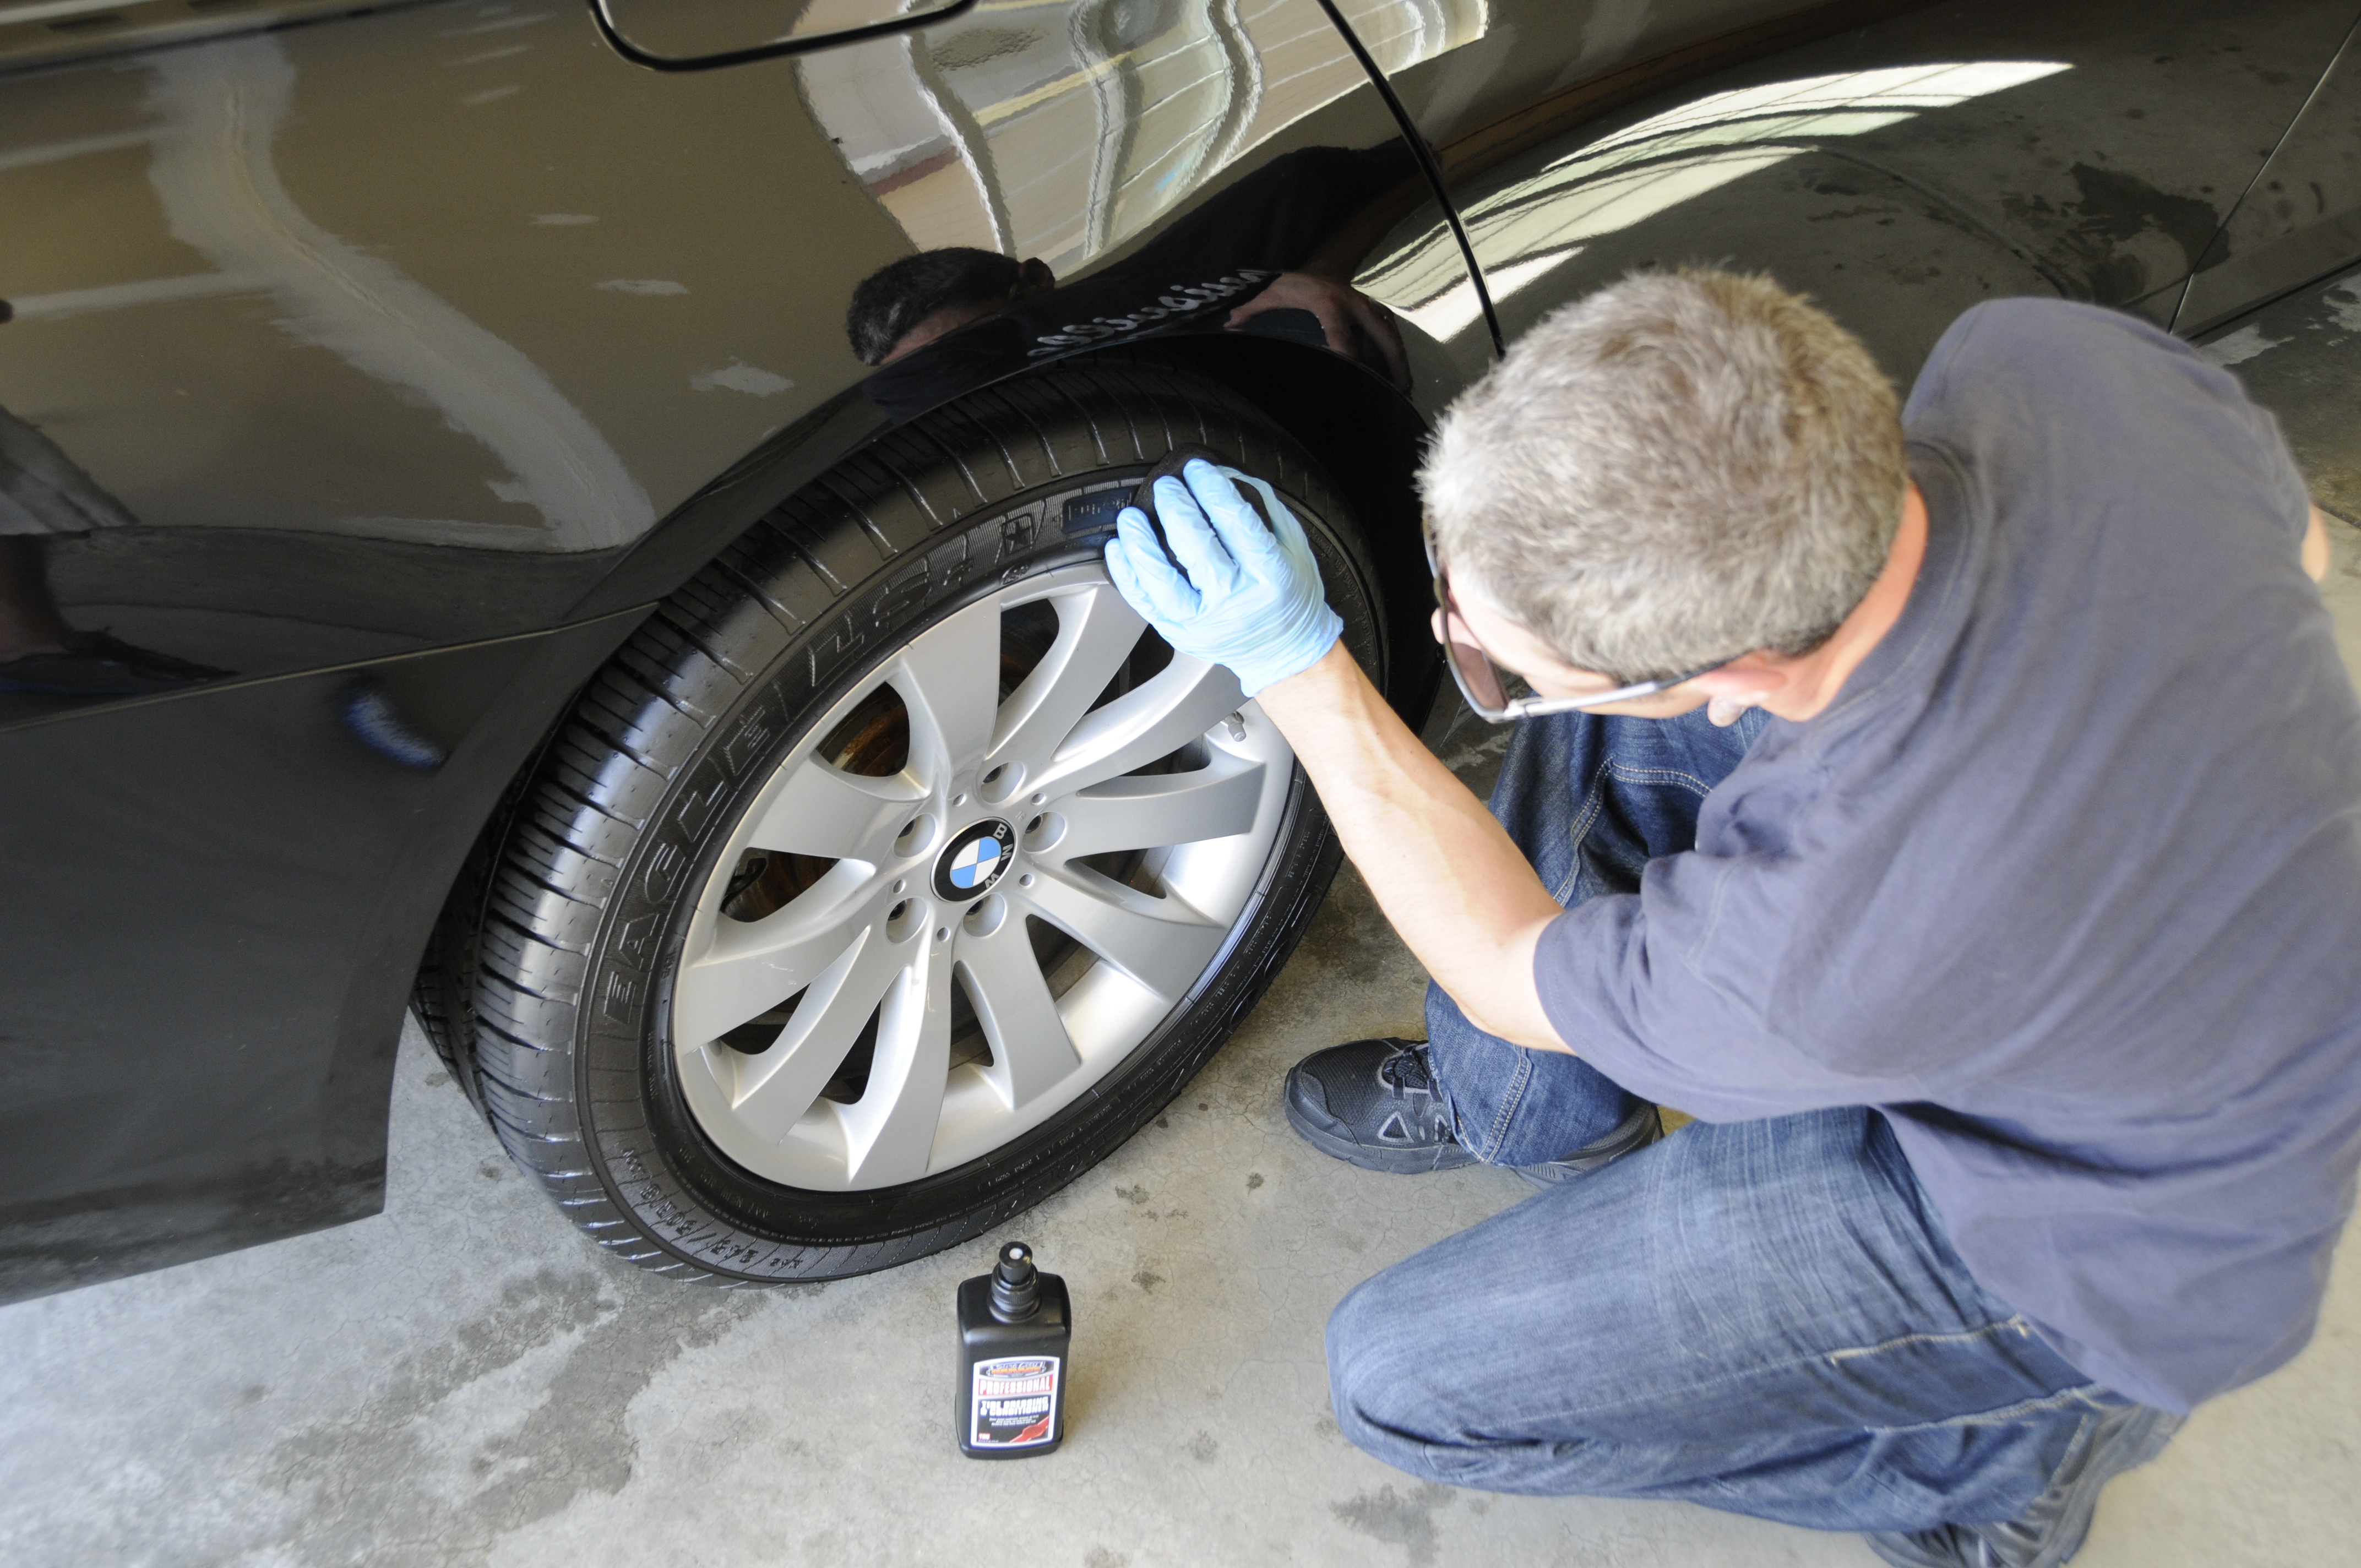
Mook went ahead and addressed the tires with SCG Pro Tire Dressing & Conditioner and treated all the exposed trim with SCG Pro Exterior Trim Conditioner prior to any paint correction. This little time saver helps b/c excess dressing on the paint won't matter and any compound/polish that inadvertently contacts the trim can easily be wiped away. Saves a lot of time in masking for time sensitive jobs like this one.
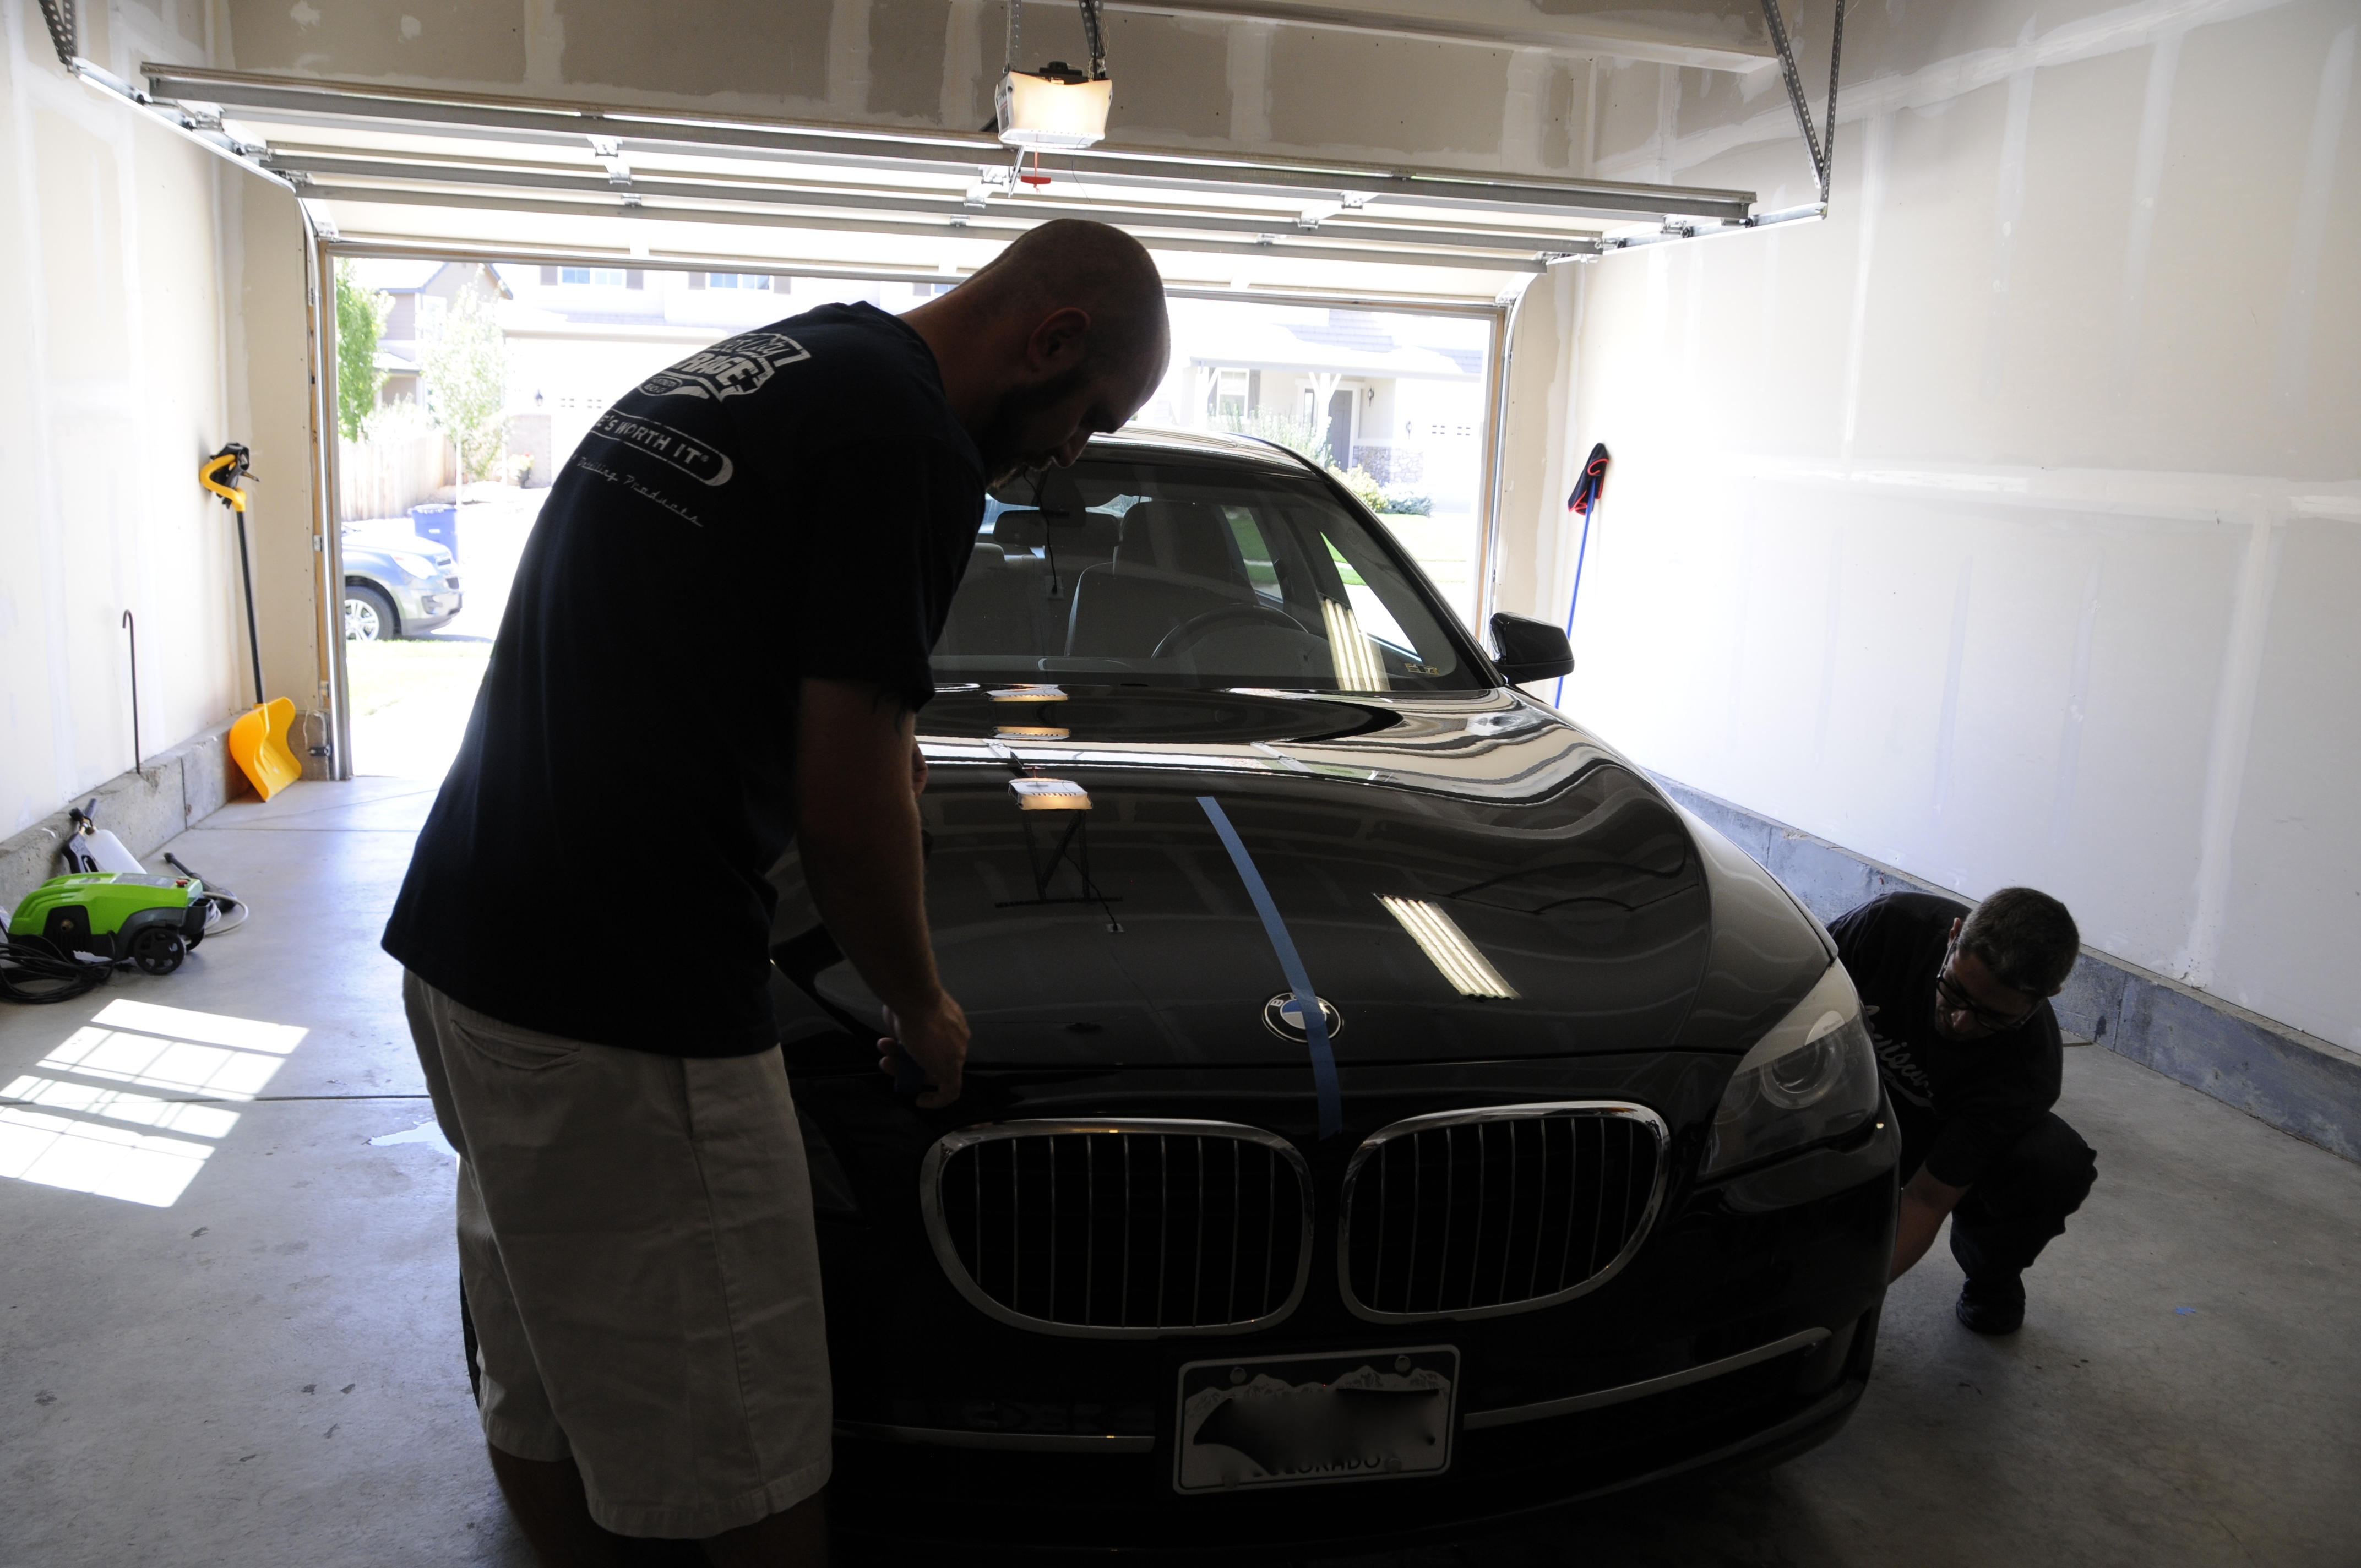
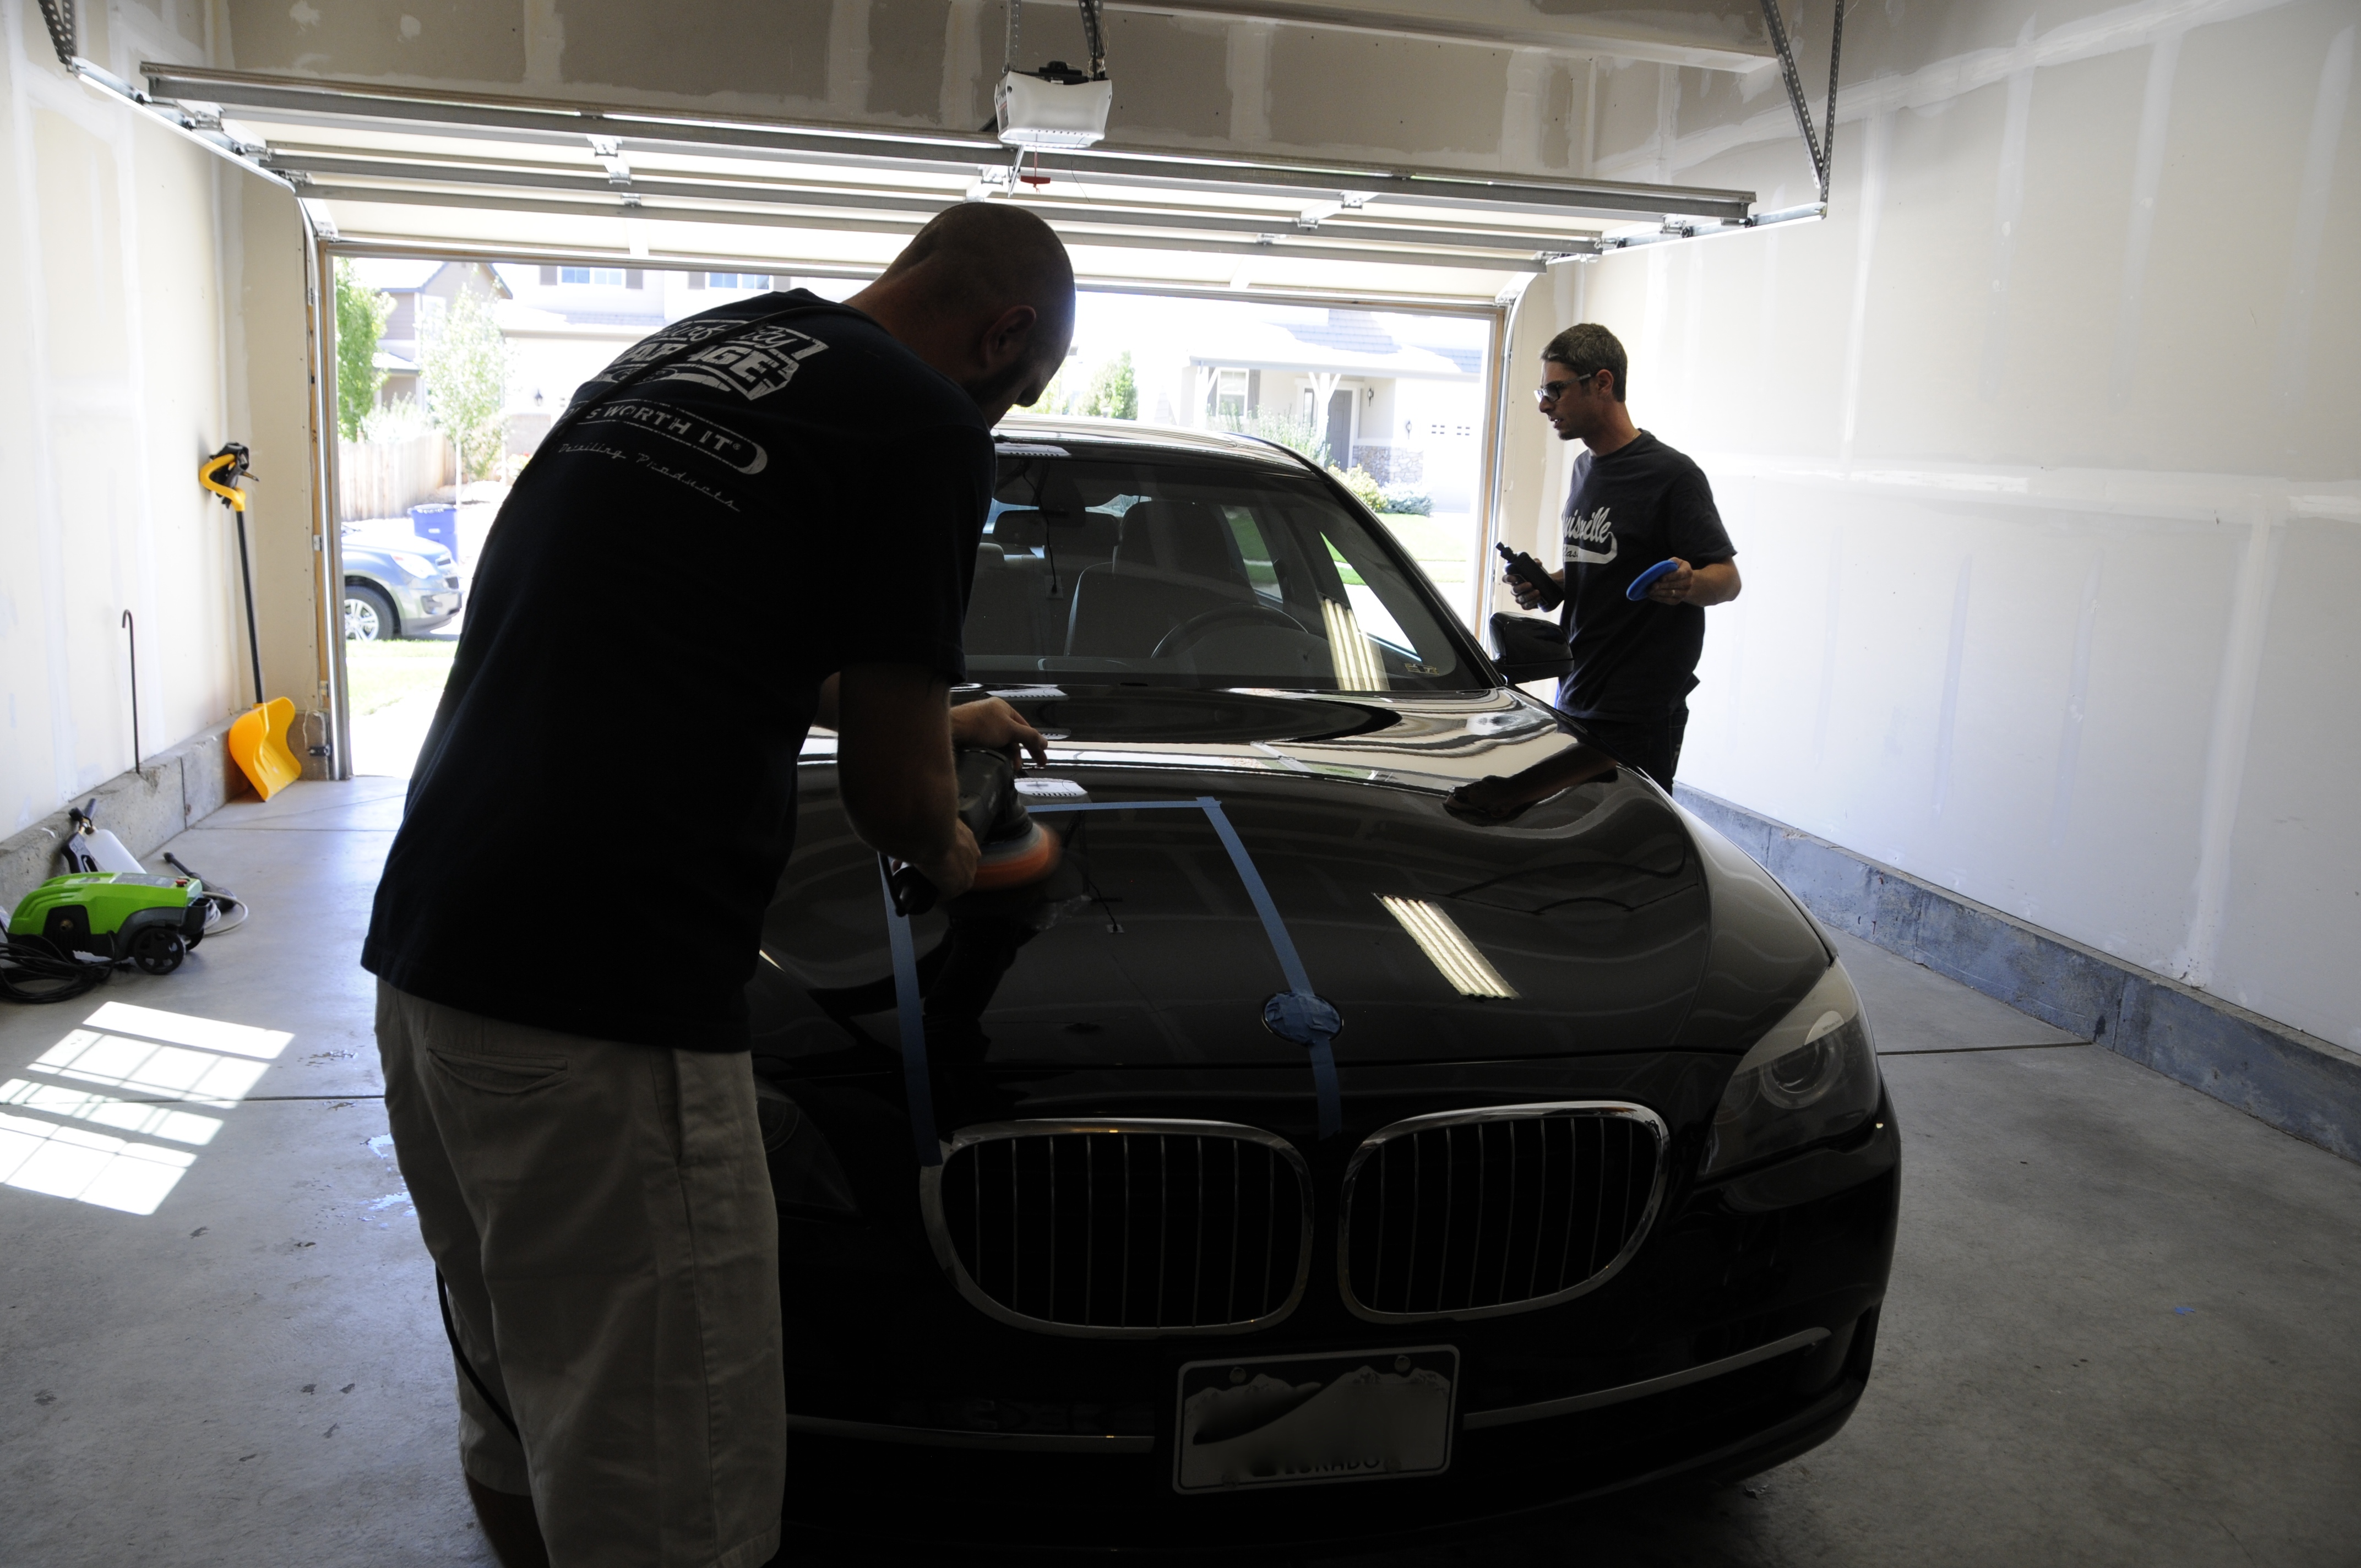
While Mook addressed those areas I went to work testing to figure out what approach we were going to need to achieve the amount of correction we wanted. I was hoping Rapid All-In-One would do the trick, but the paint condition seemed a bit to far gone. My thoughts were confirmed after the test section - big improvement, but still needed a little more. This would be a job for a 2 step.
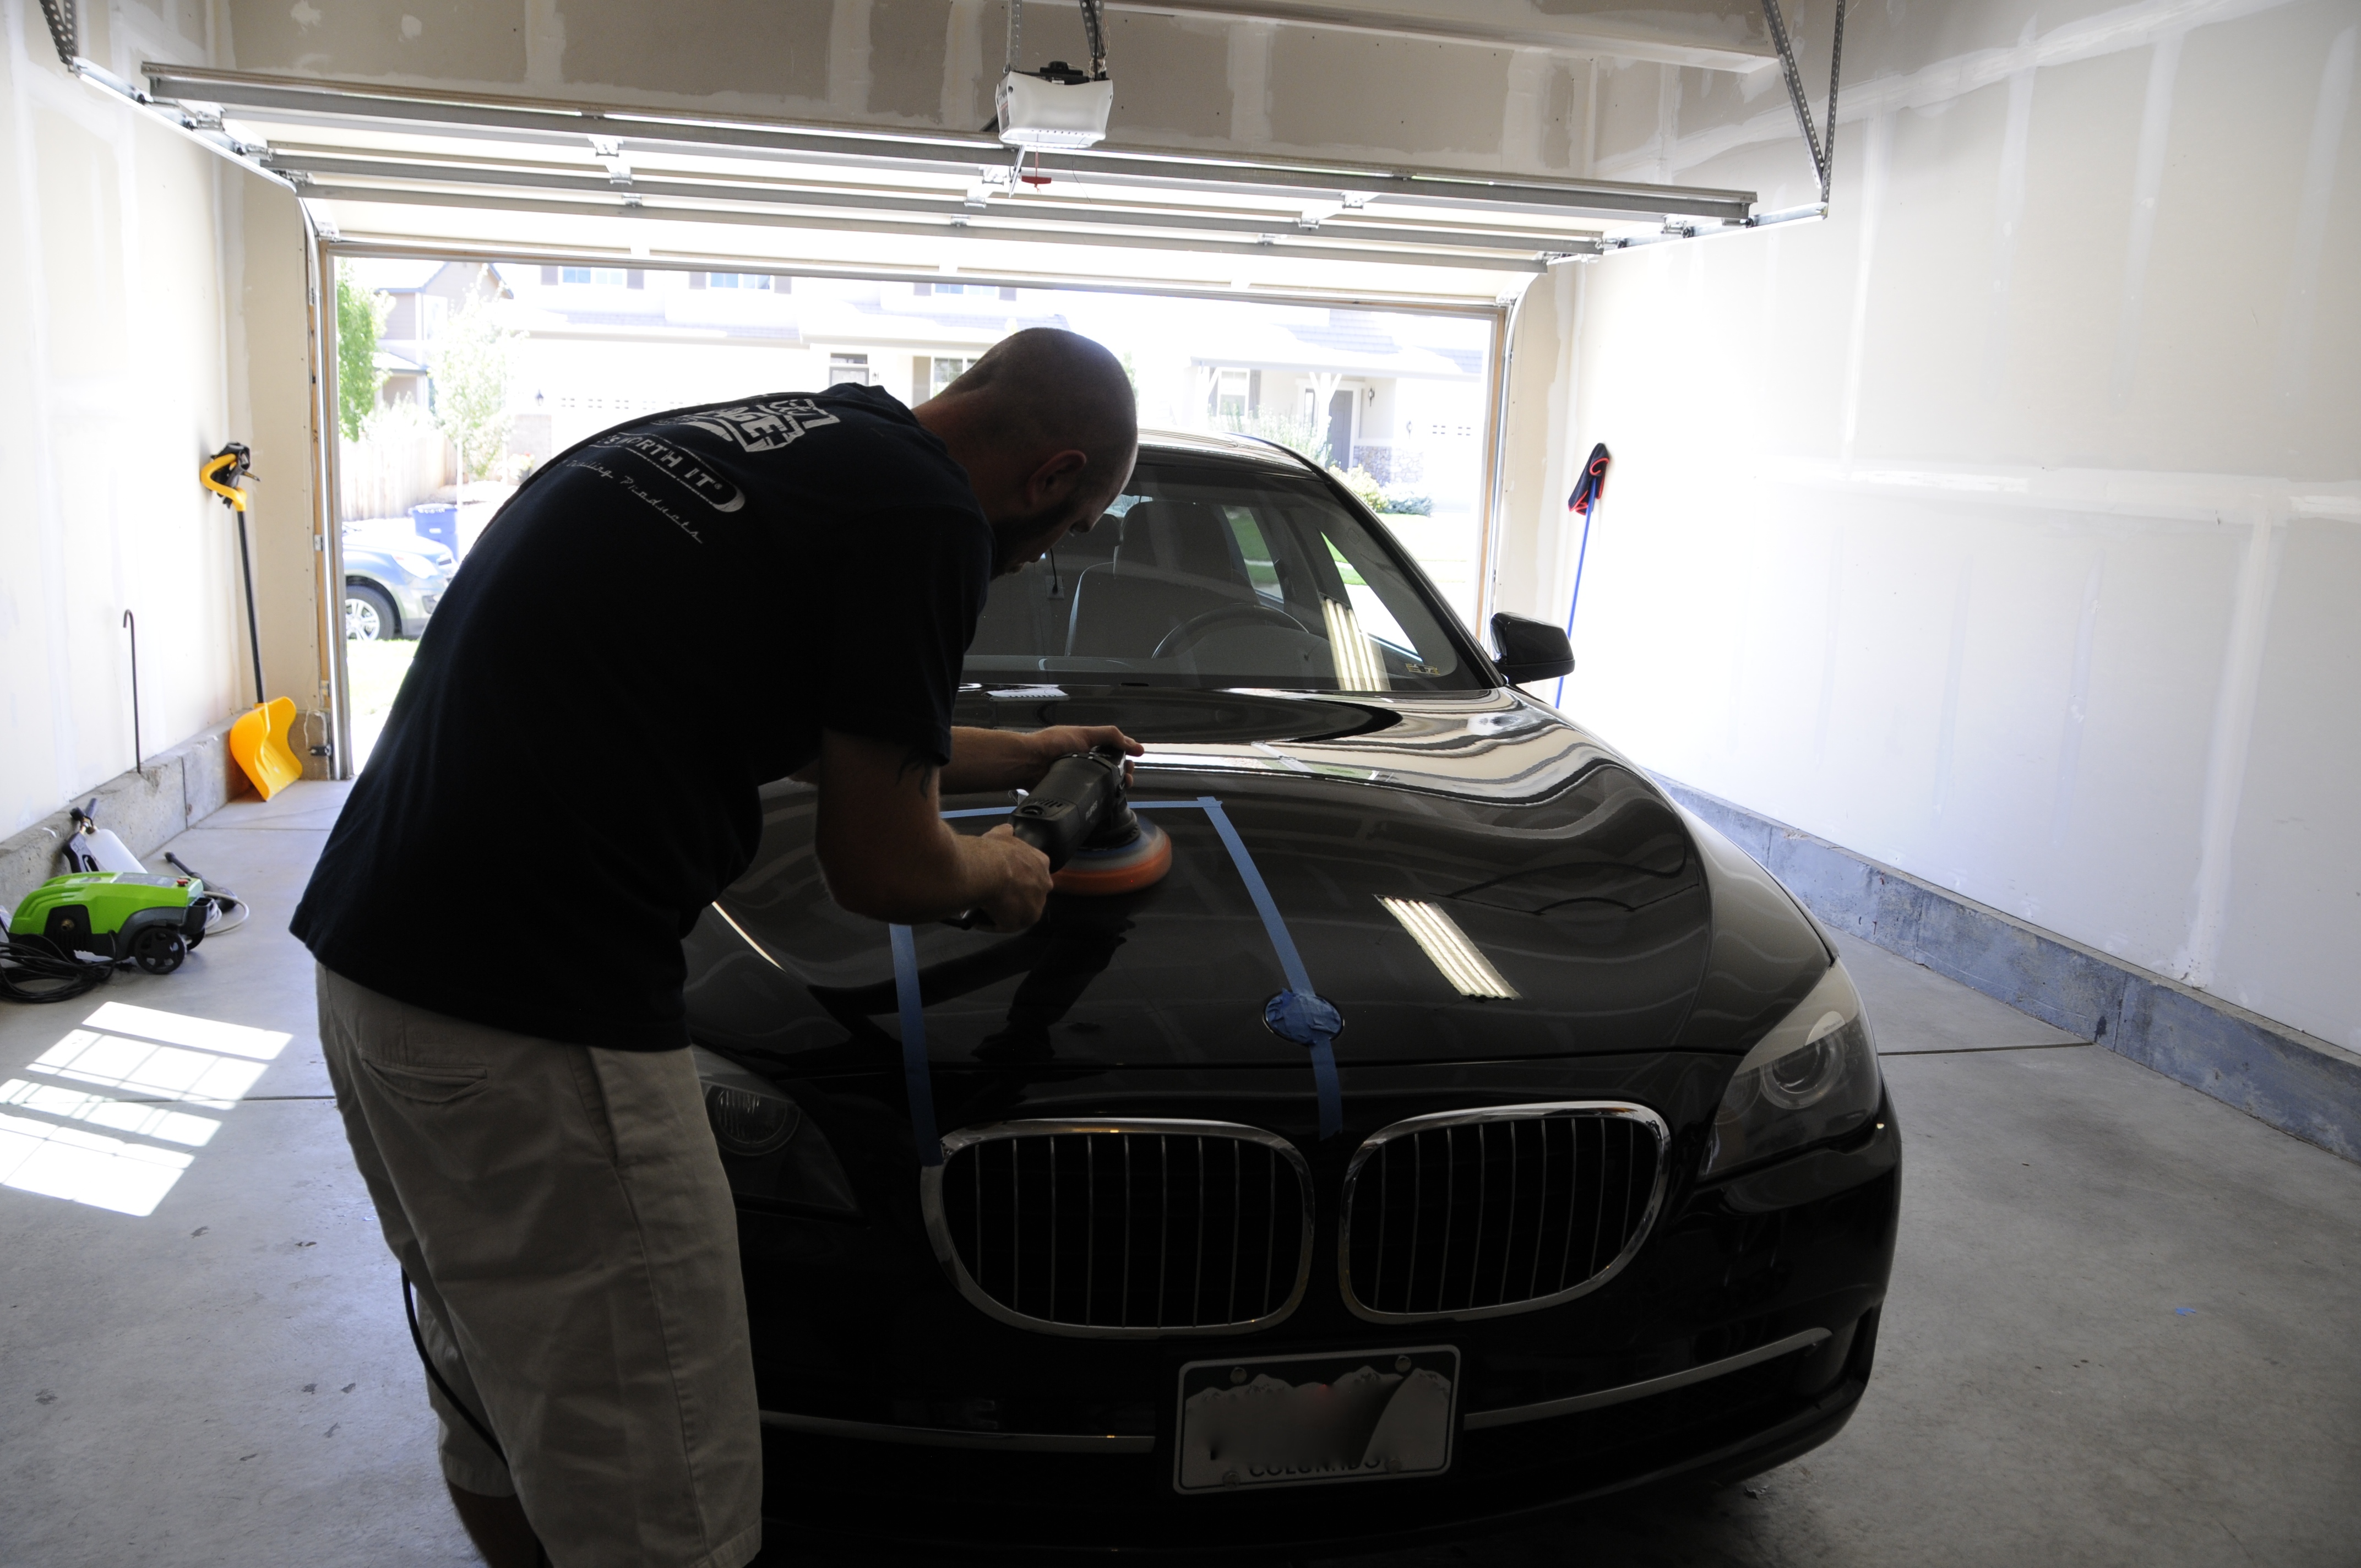
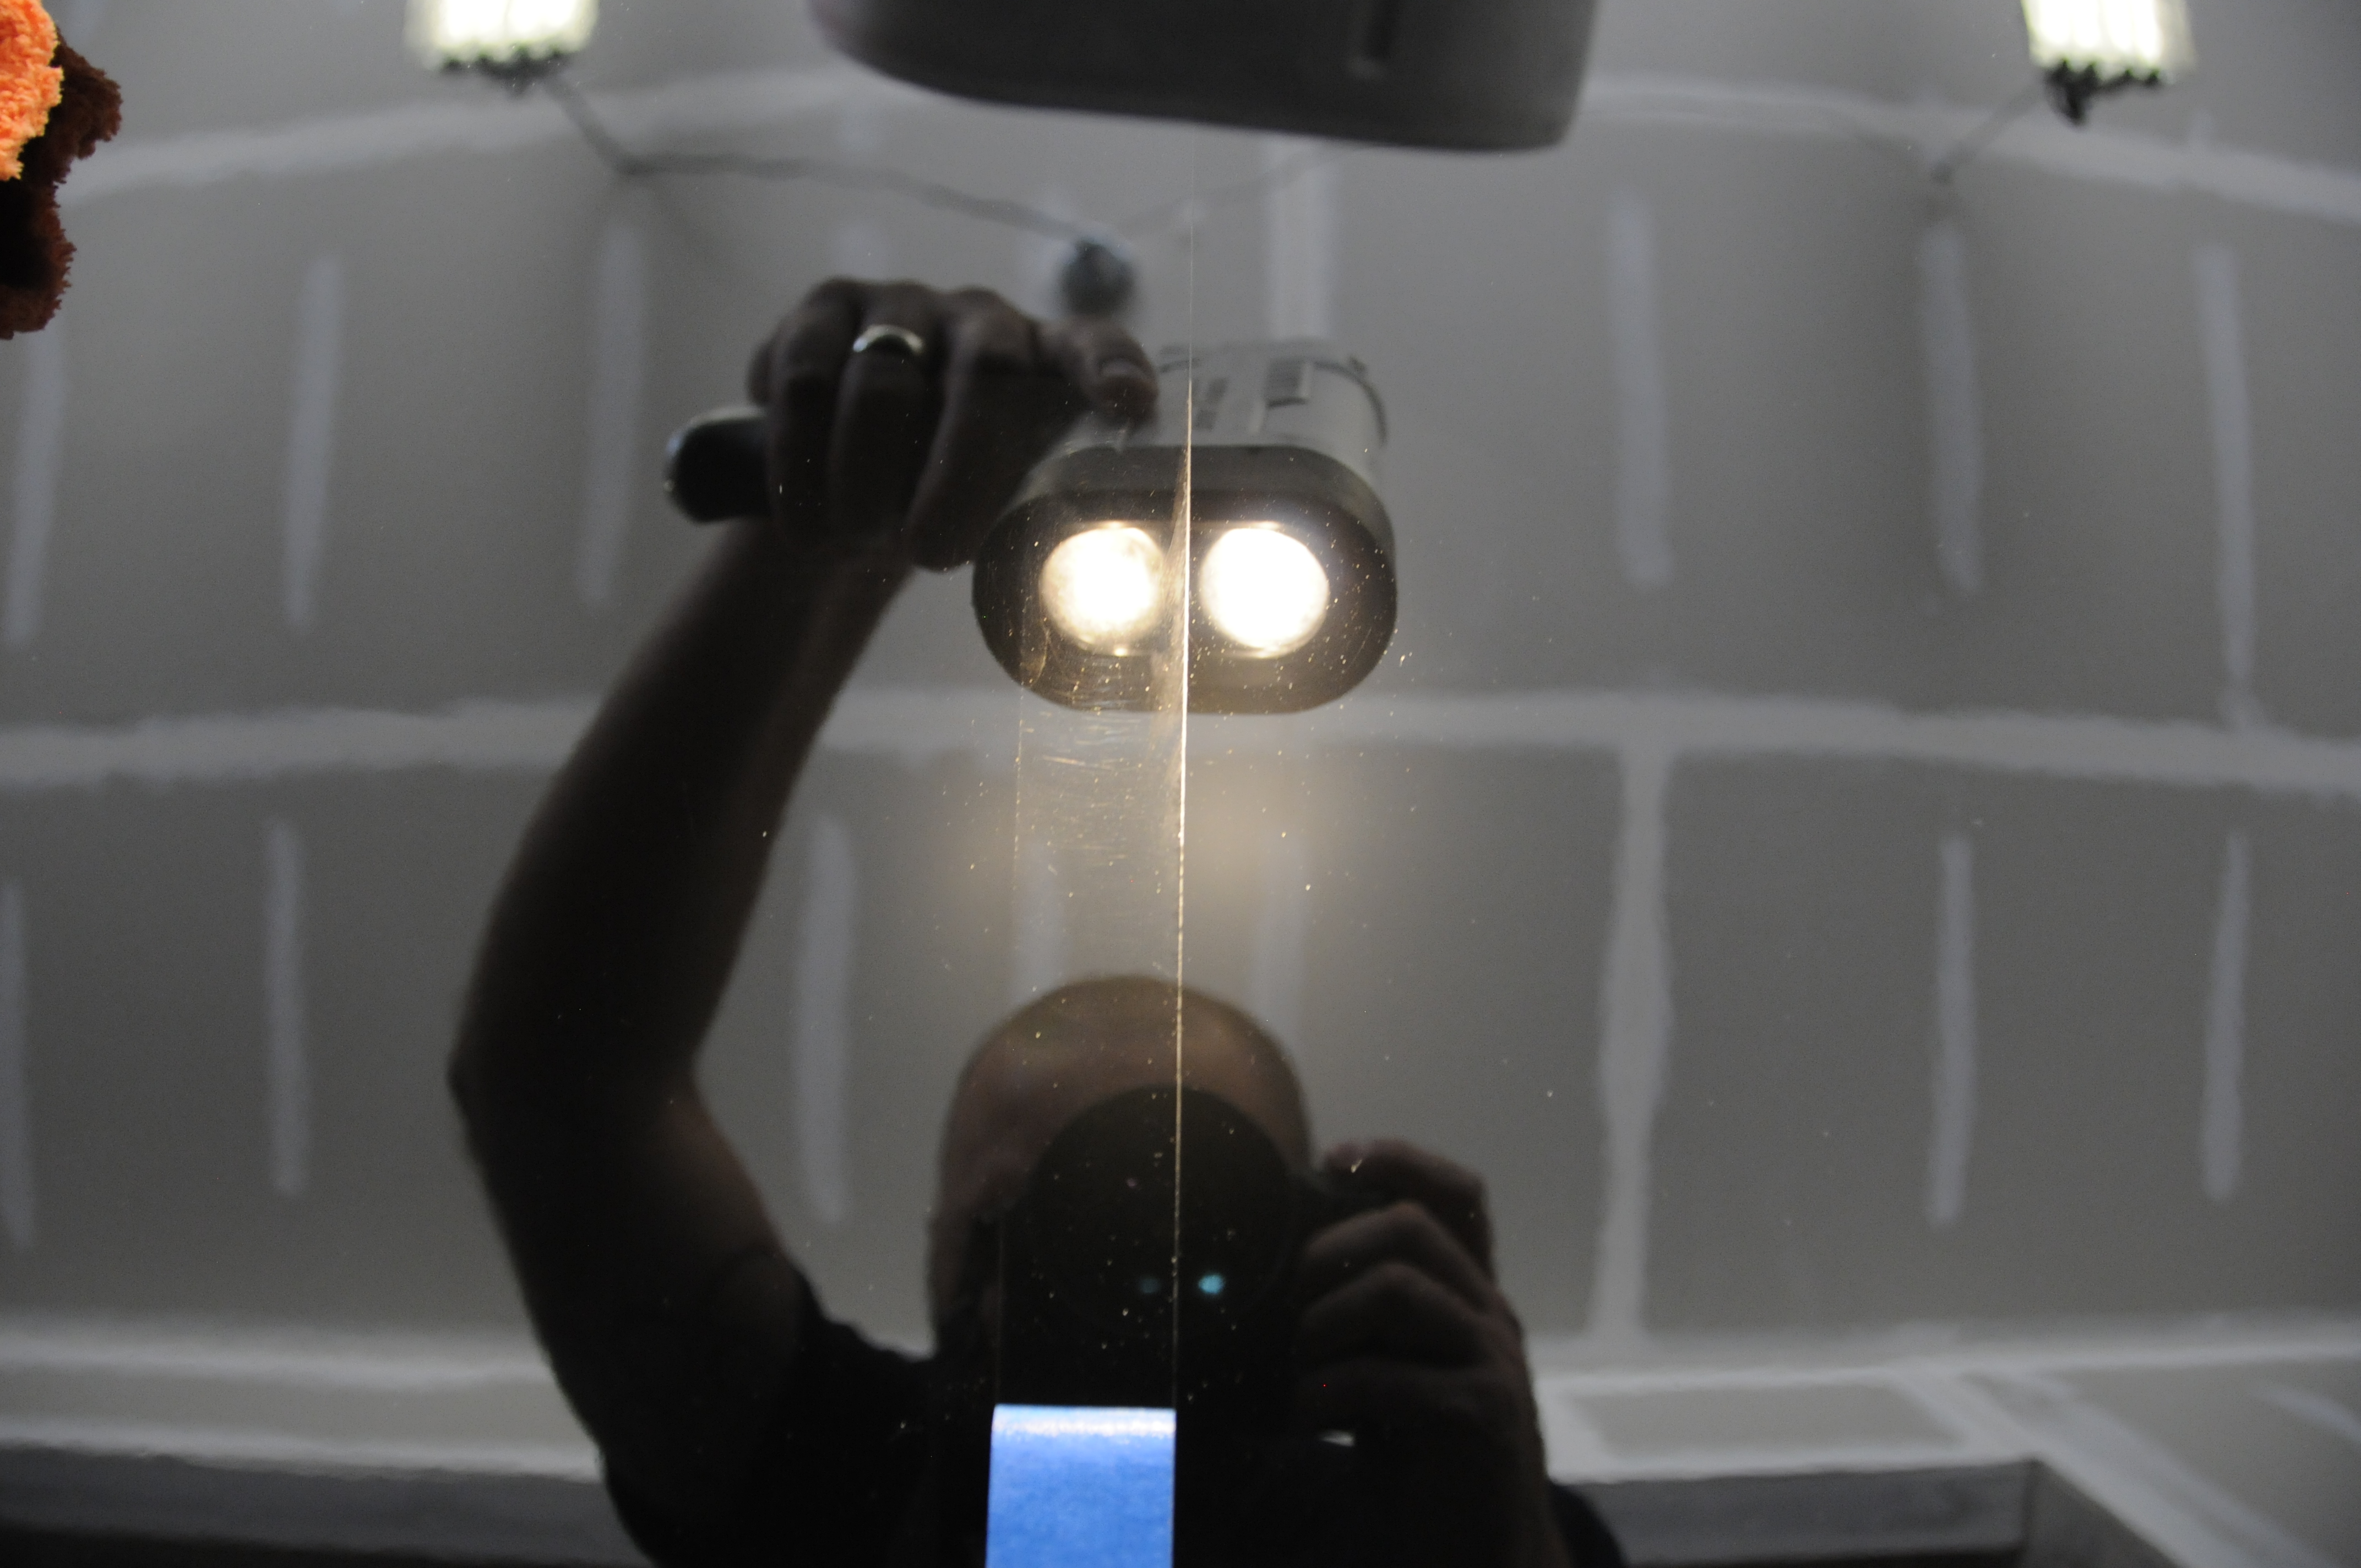
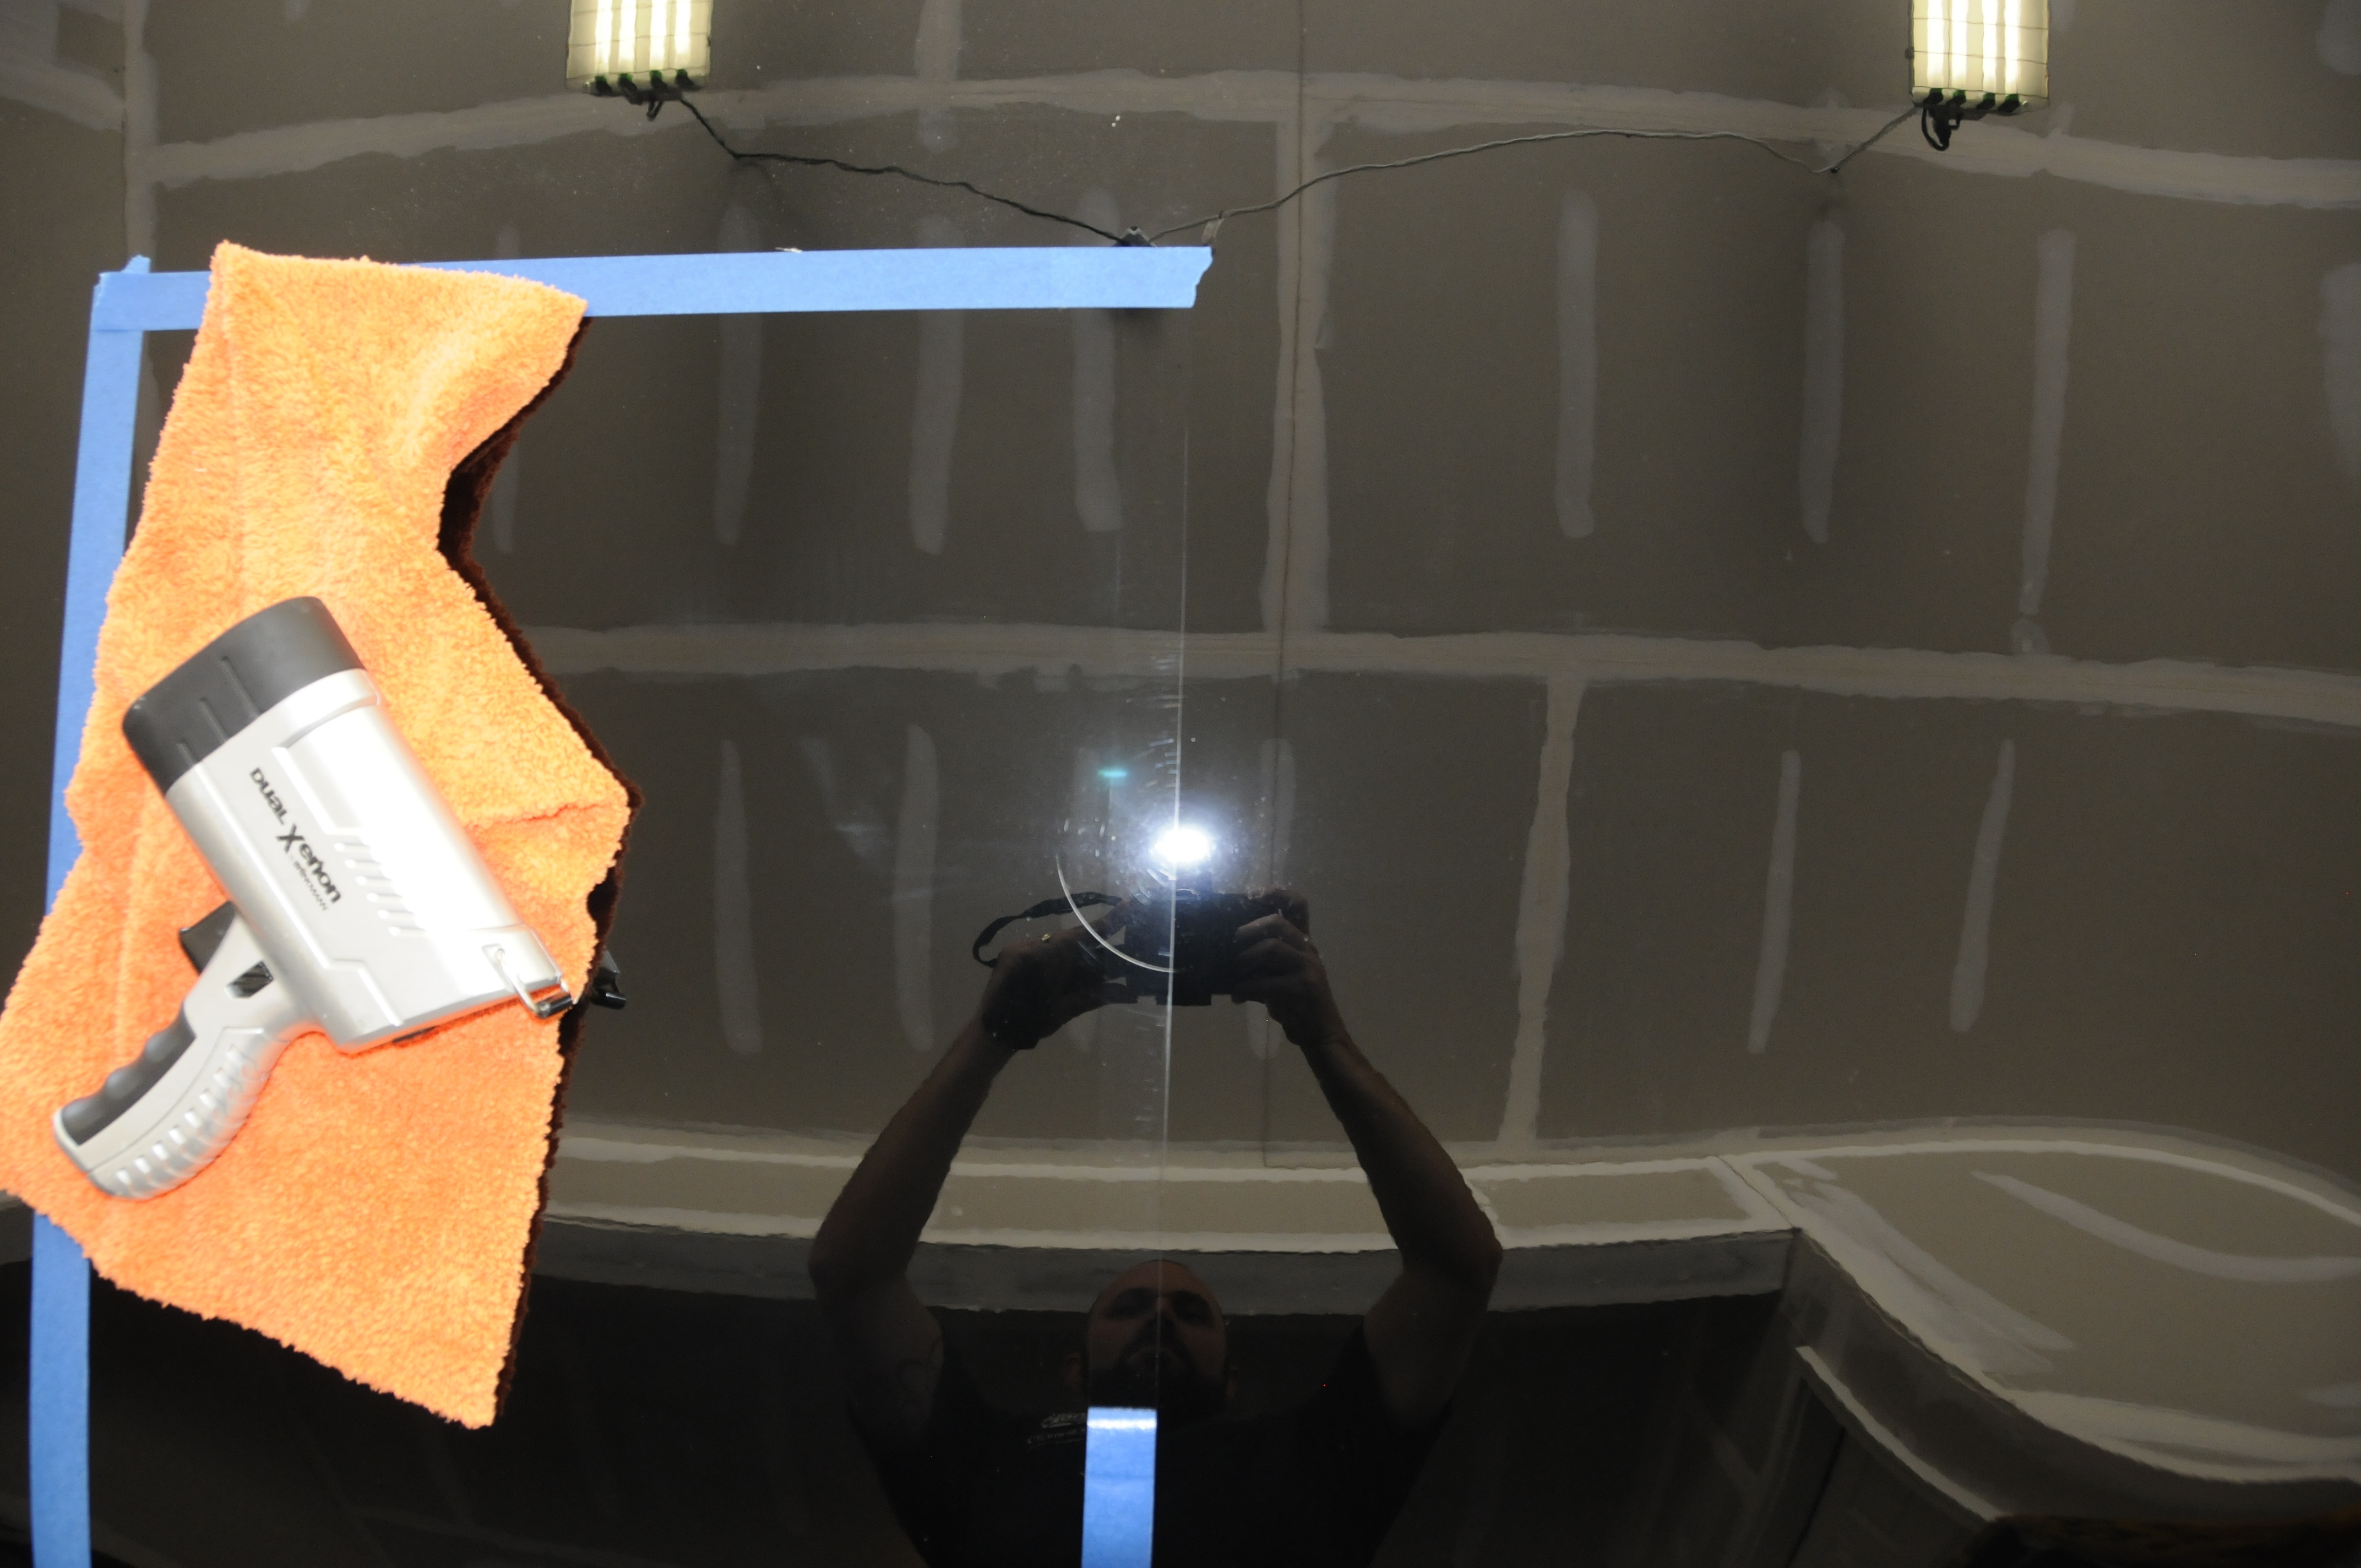
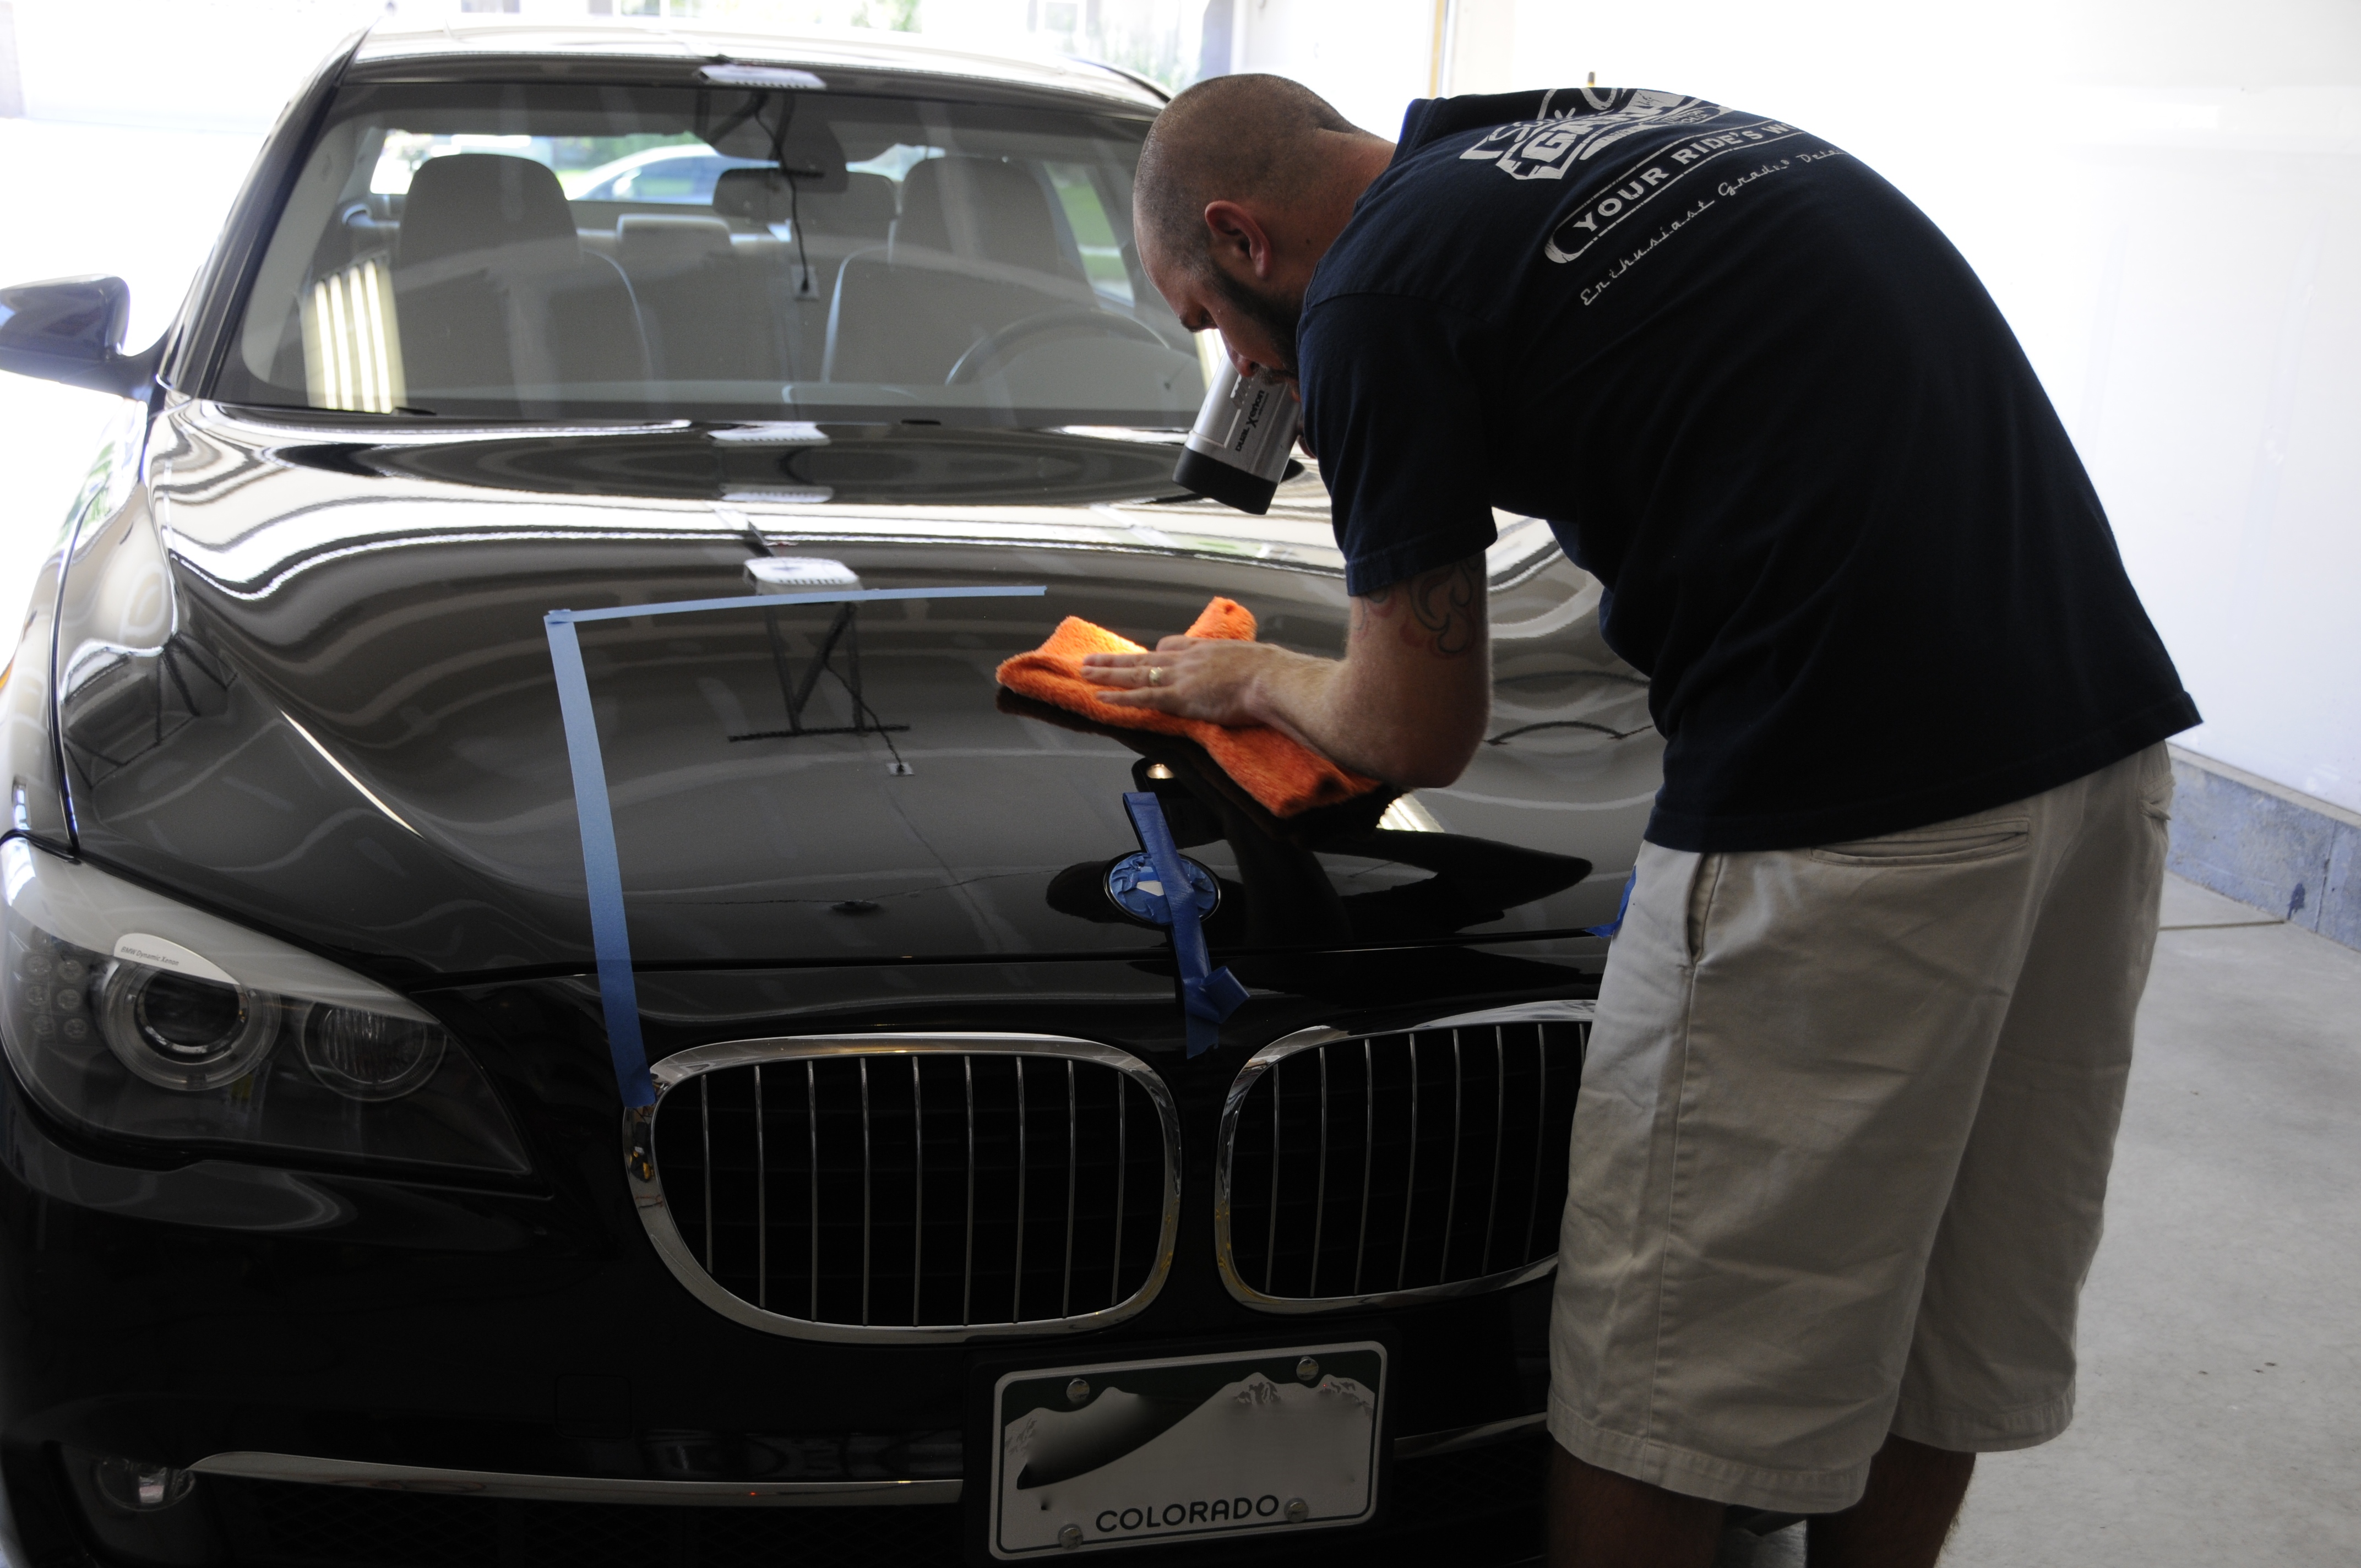
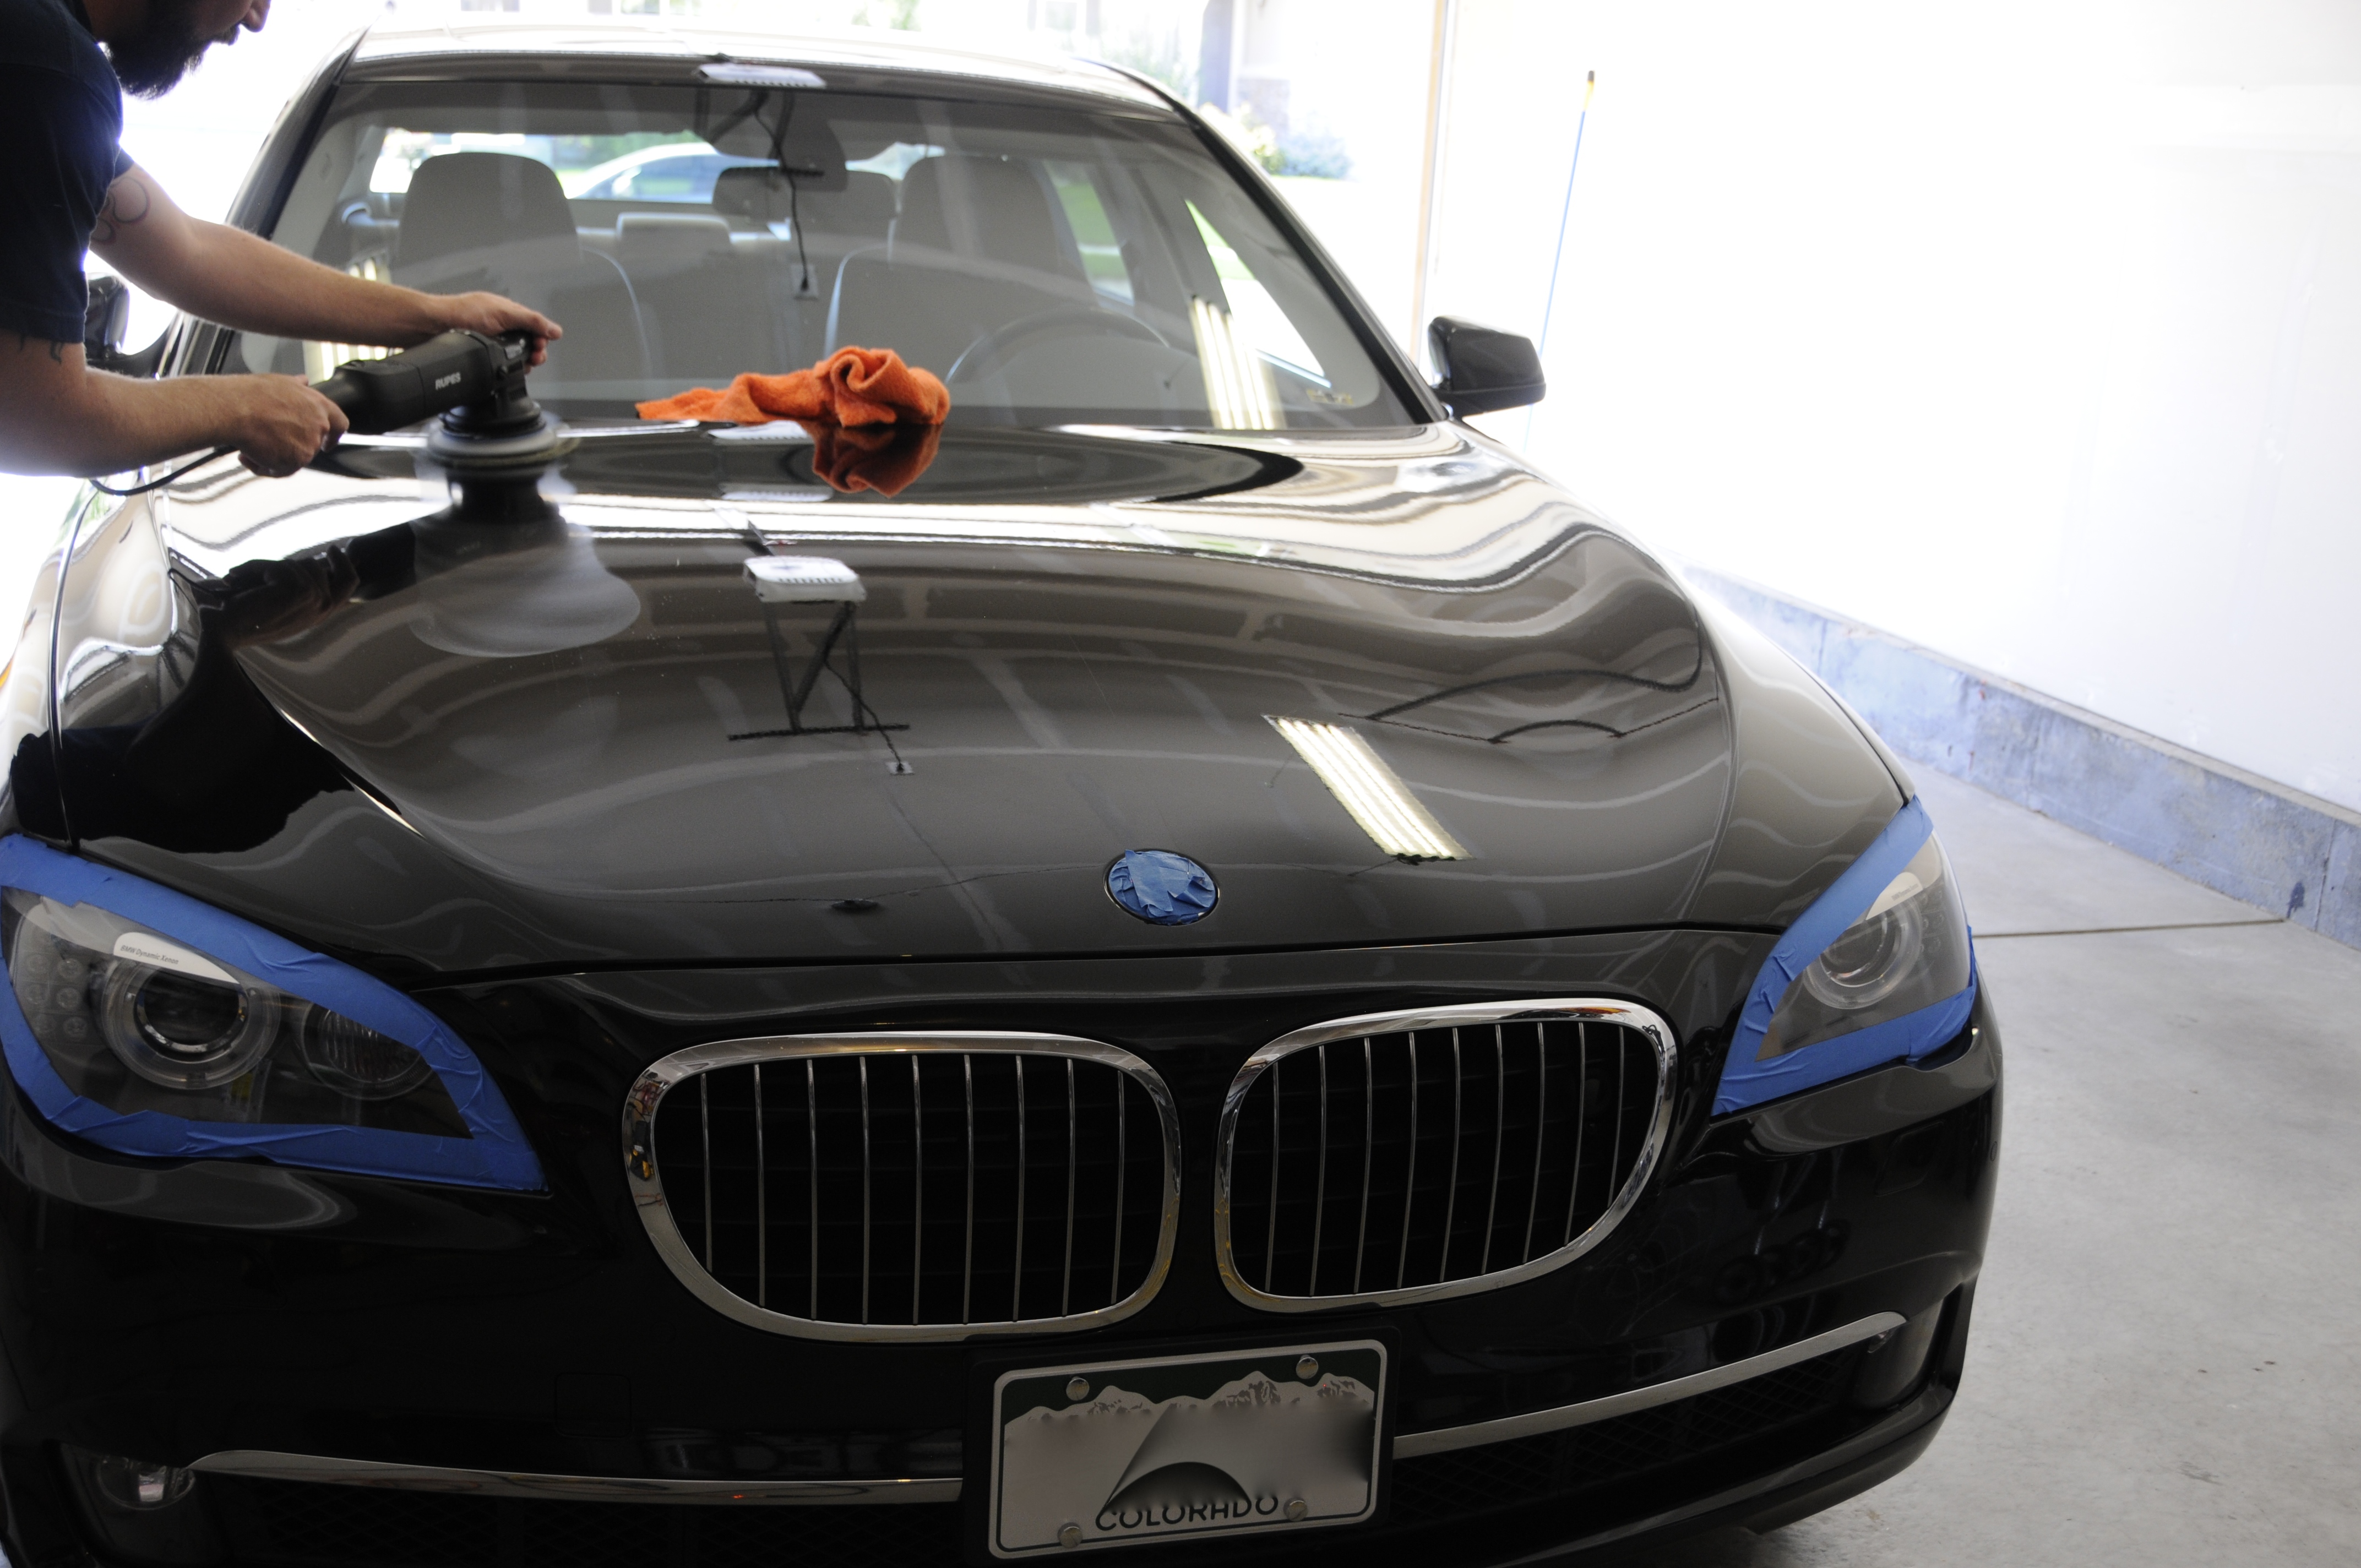
Mook went ahead and addressed the tires with SCG Pro Tire Dressing & Conditioner and treated all the exposed trim with SCG Pro Exterior Trim Conditioner prior to any paint correction. This little time saver helps b/c excess dressing on the paint won't matter and any compound/polish that inadvertently contacts the trim can easily be wiped away. Saves a lot of time in masking for time sensitive jobs like this one.

While Mook addressed those areas I went to work testing to figure out what approach we were going to need to achieve the amount of correction we wanted. I was hoping Rapid All-In-One would do the trick, but the paint condition seemed a bit to far gone. My thoughts were confirmed after the test section - big improvement, but still needed a little more. This would be a job for a 2 step.


#5
I followed up my first test with a test section using the new SCG Pro Machine Cut Polish with the Rupes 21mm Bigfoot and Microfiber Cutting Pad, followed by SCG Pro Machine Finish on a Crimson Red Foam Pad. The second step was done with the Flex 3401 - this gave us the opportunity to polish simultaneously, one cutting, one finishing to make the most of our time.
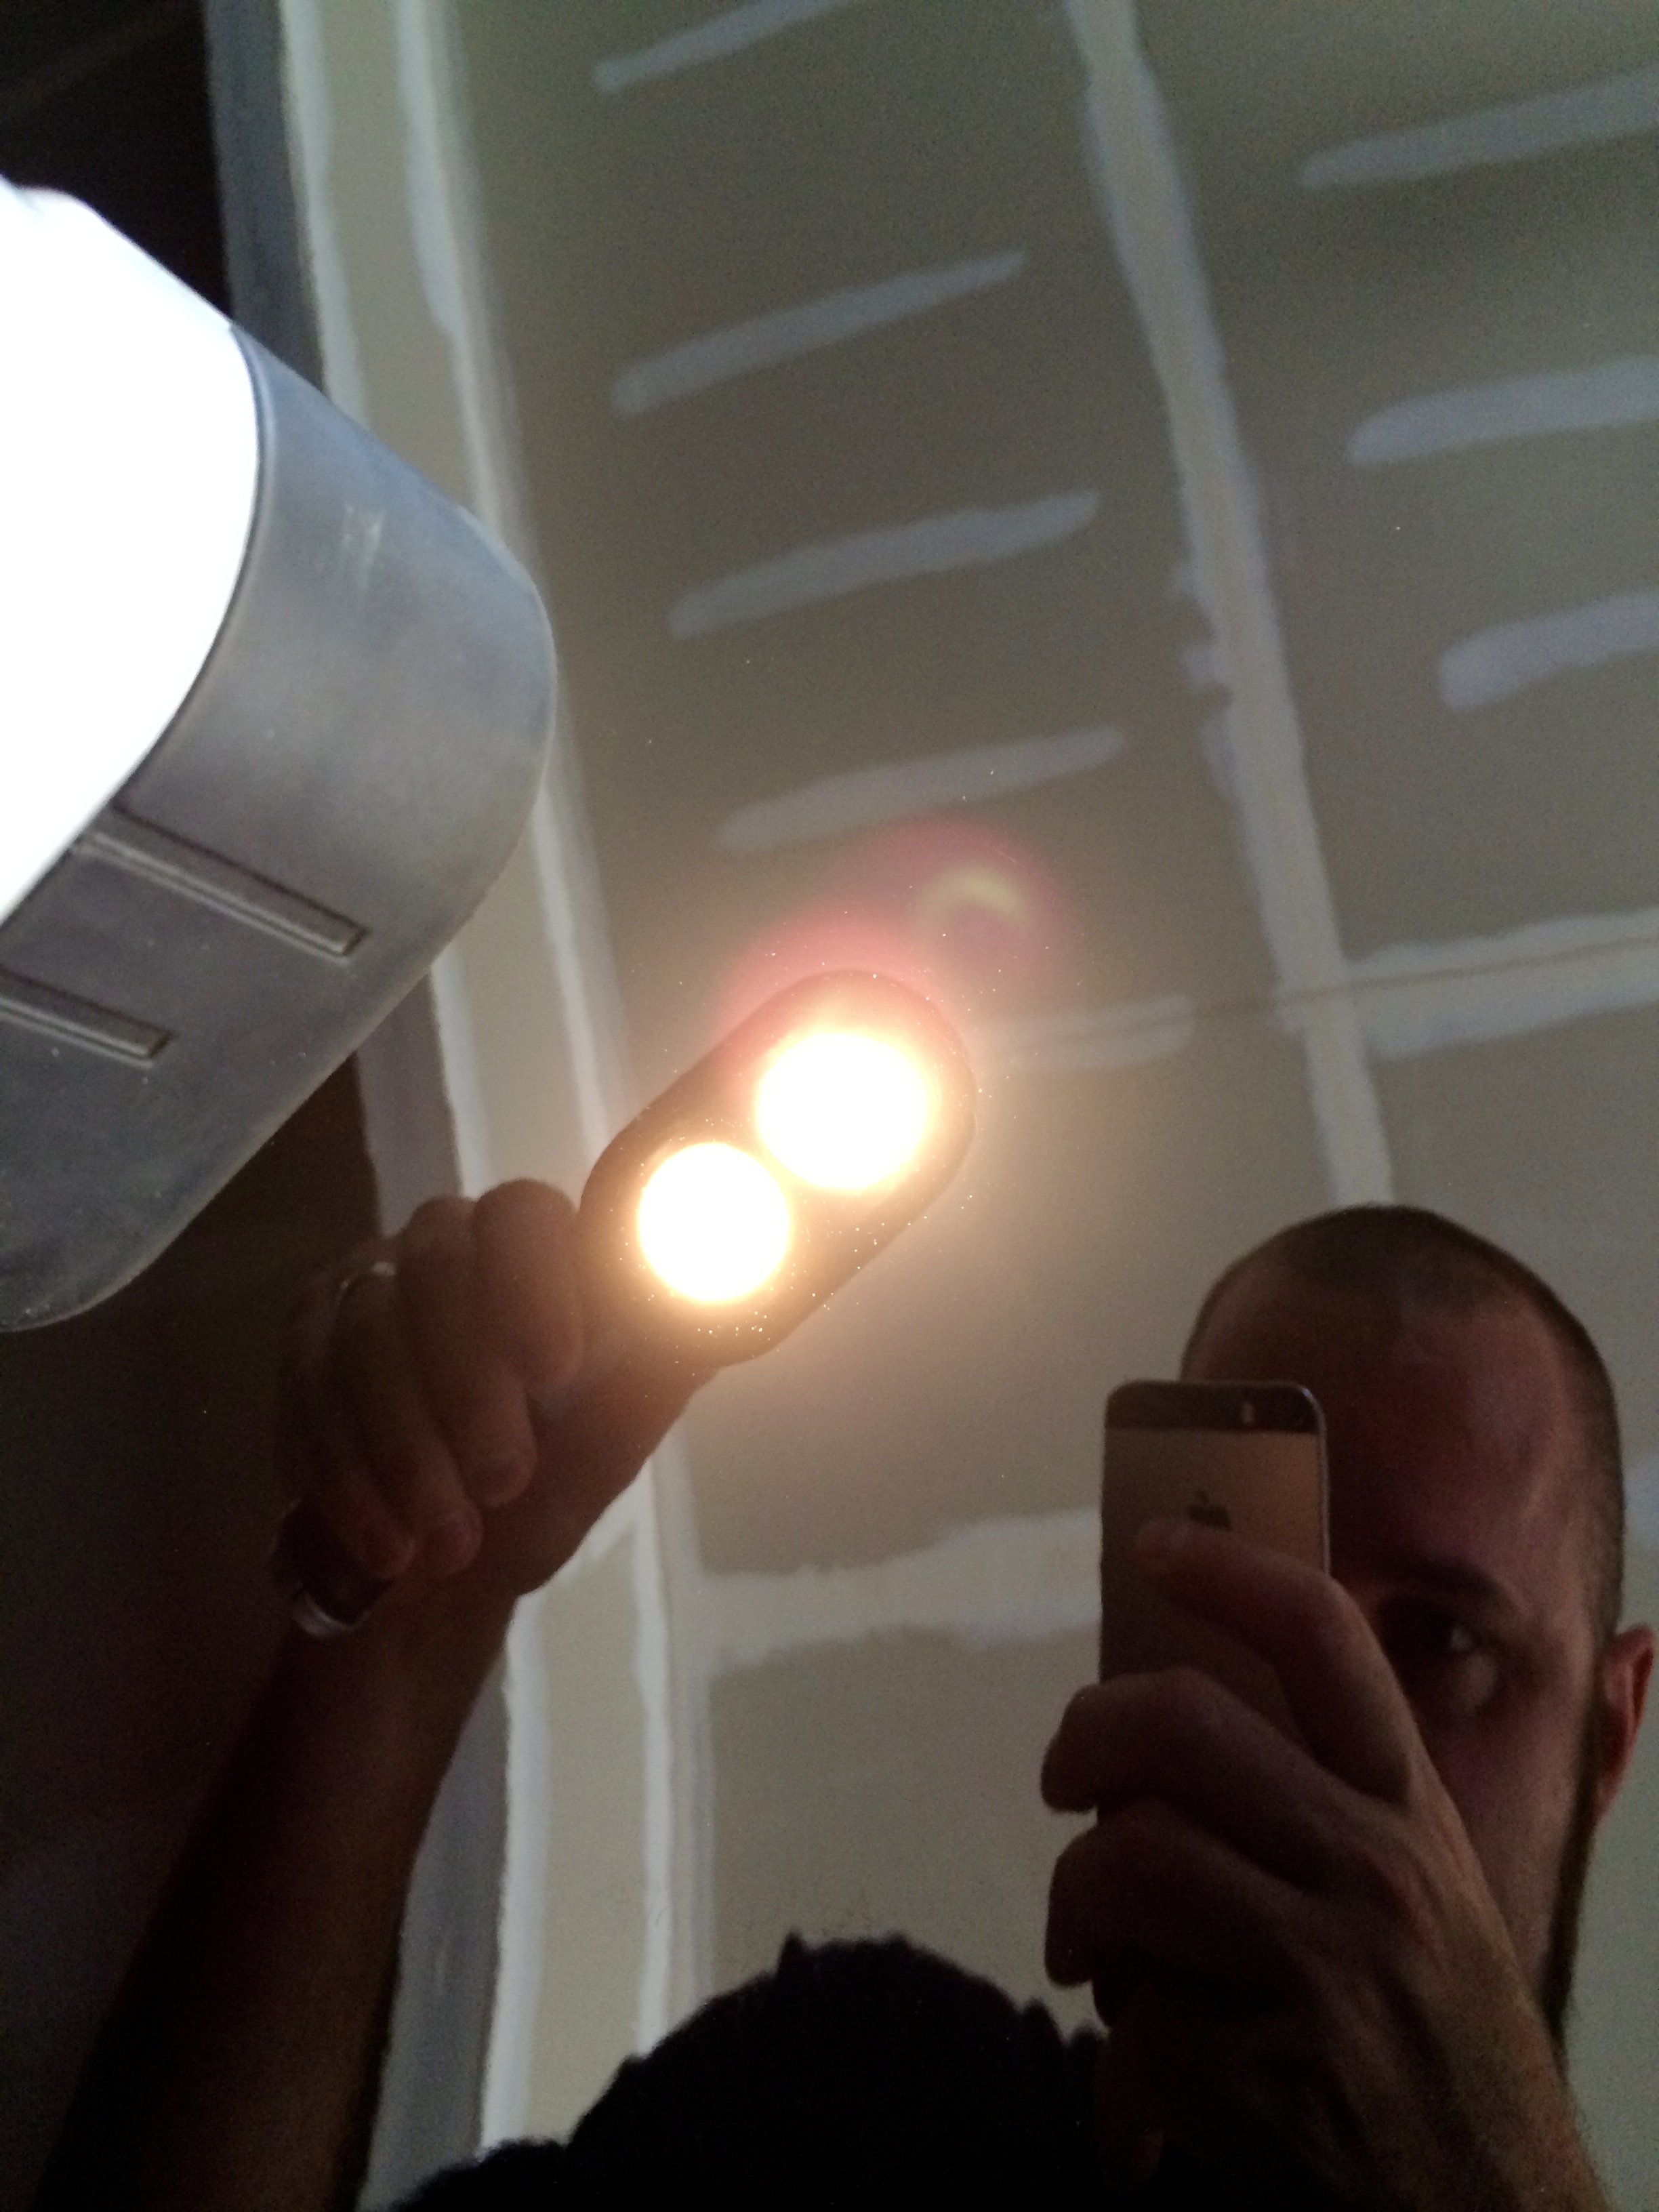
With our process defined we were confident we could get 95%+ correction on every panel of the car using that process. With other responsibilities for SCG we stopped there and decided to resume the following afternoon. Below you'll see my final test spot inspection - results I think we should be pretty stoked about for just 2 steps.
a little video evidence as well
750Li paint correction - YouTube
With our process defined we were confident we could get 95%+ correction on every panel of the car using that process. With other responsibilities for SCG we stopped there and decided to resume the following afternoon. Below you'll see my final test spot inspection - results I think we should be pretty stoked about for just 2 steps.

a little video evidence as well
750Li paint correction - YouTube
#6
cont'd...
DAY 2 - PAINT CORRECTION CONTINUES:
Picking up where we left off each panel was corrected using Machine Cut Polish and finished with Machine Finish Polish. Assorted machines, including the Rupes 75e mini polisher were used to get into some of the tighter spaces. Where it made sense we also made use of the cyan blue heavy cutting pads in place of the microfiber.
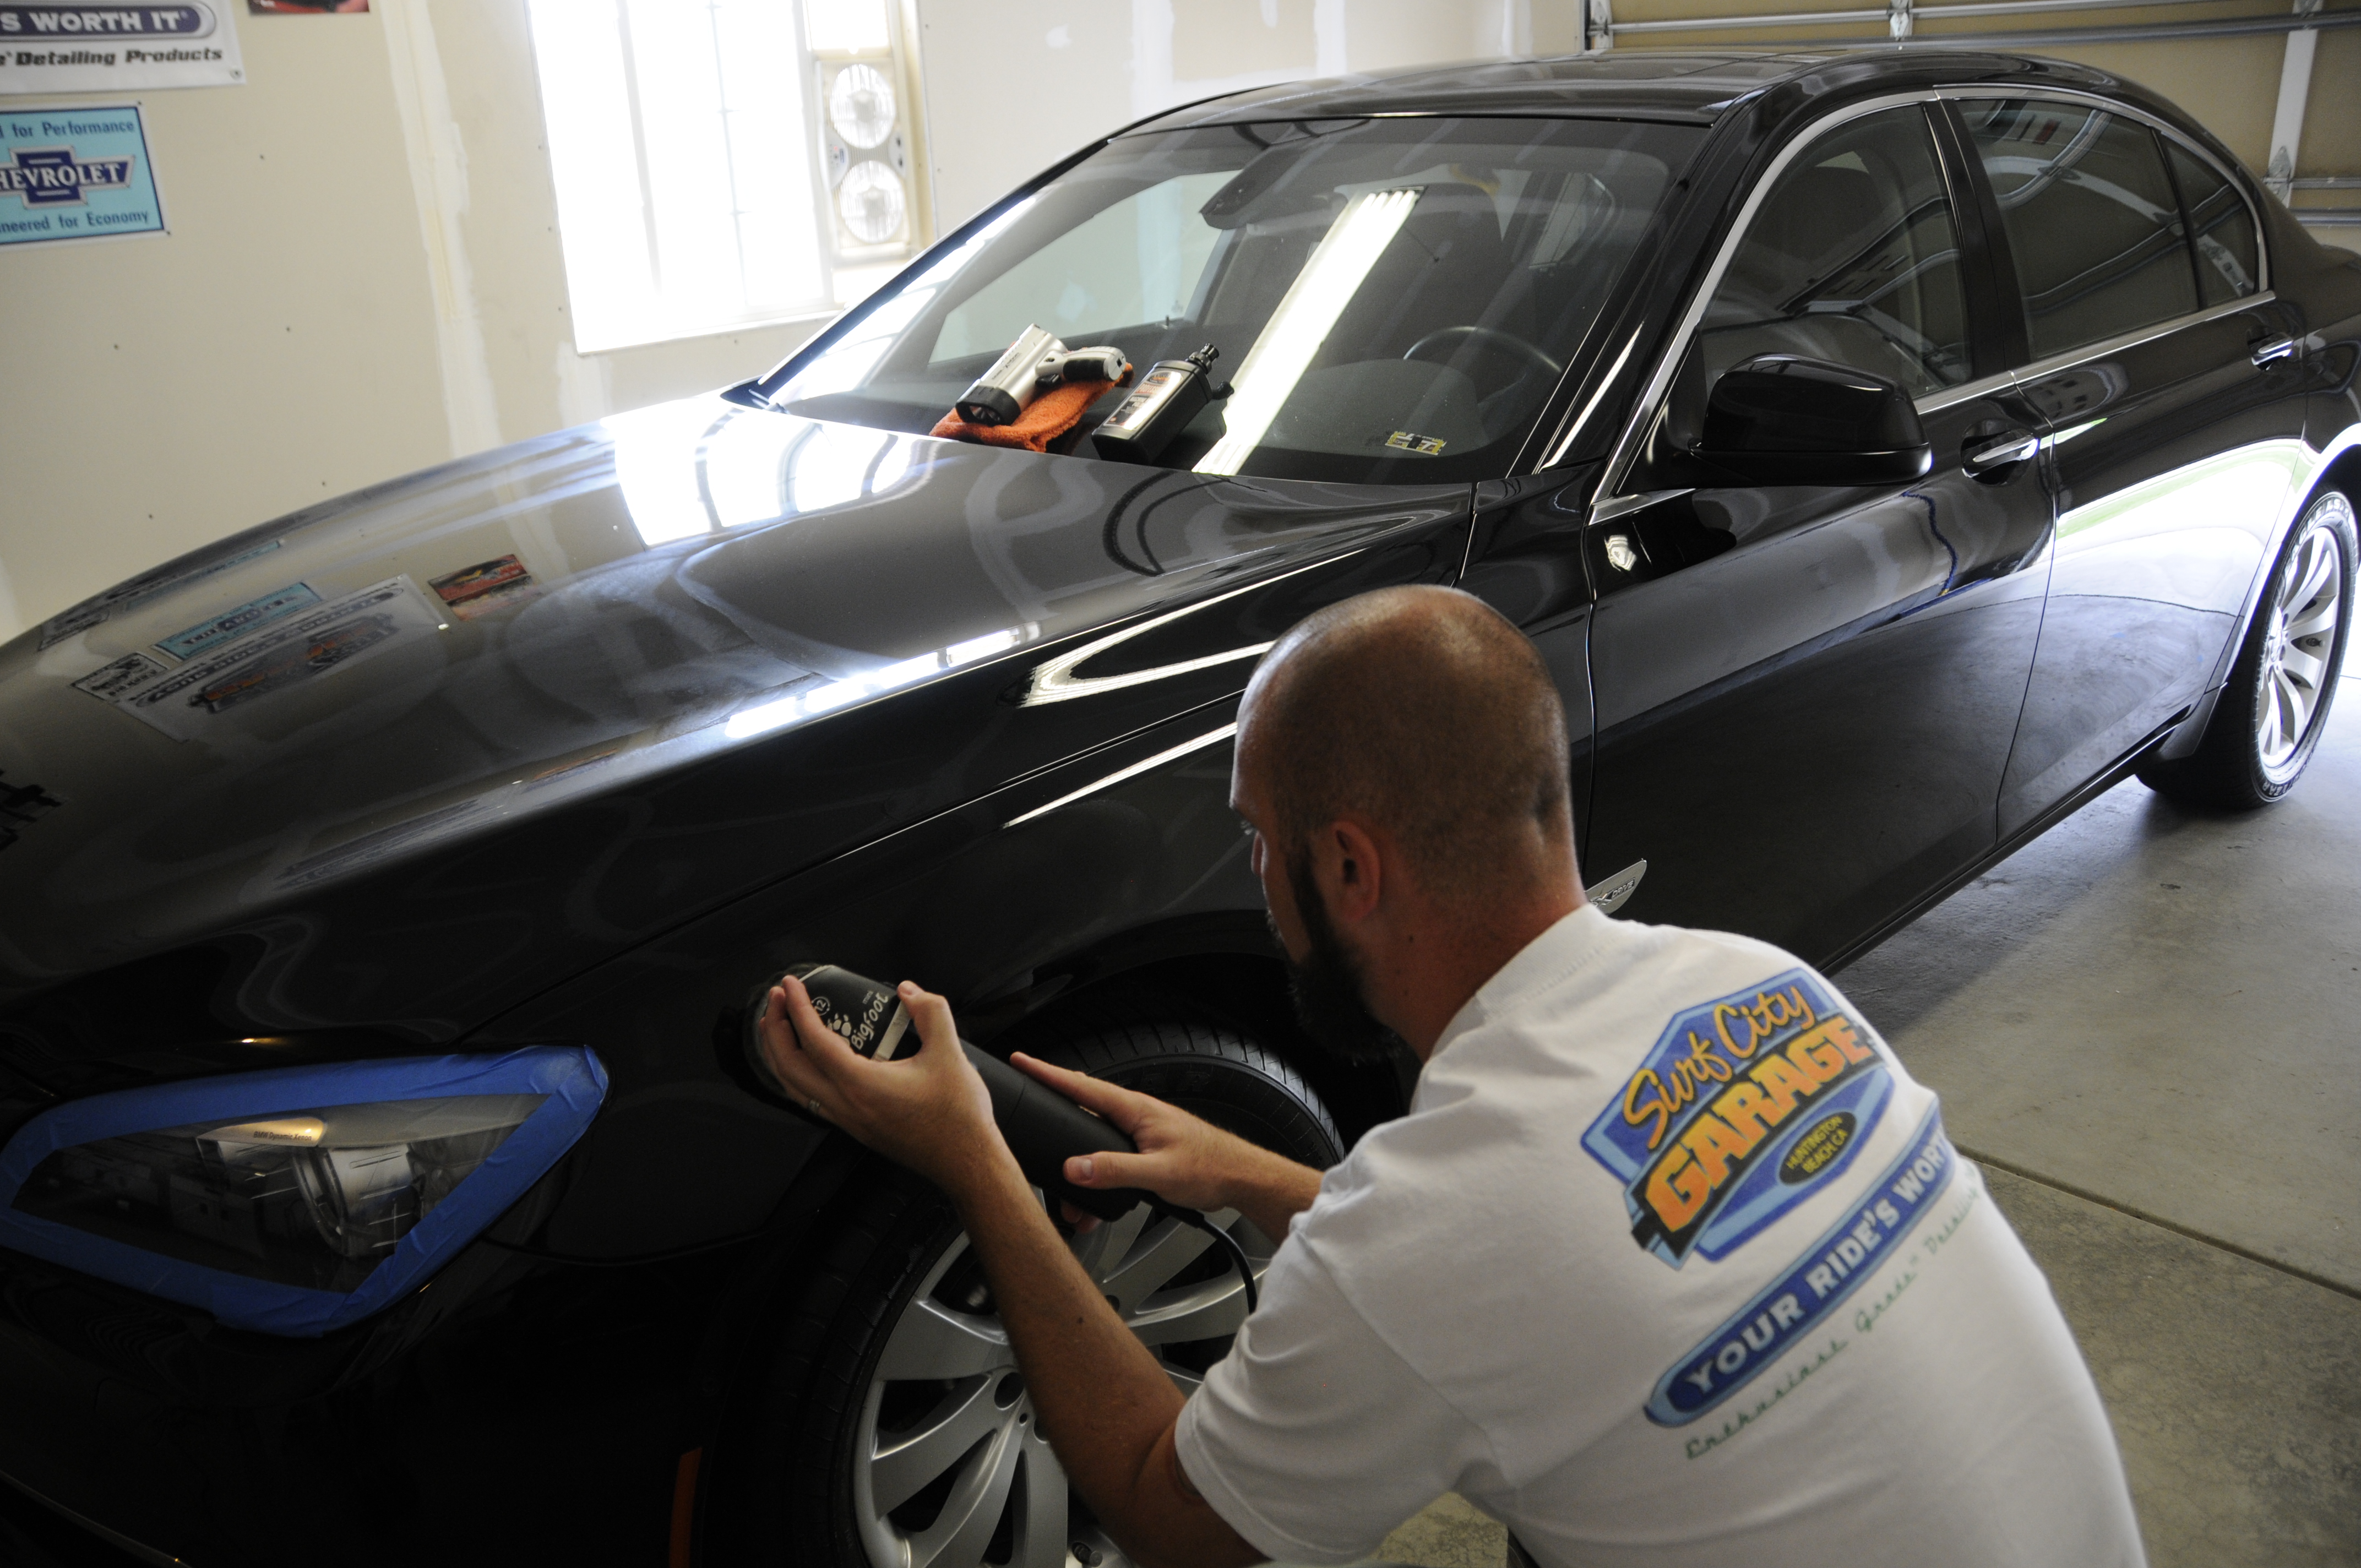
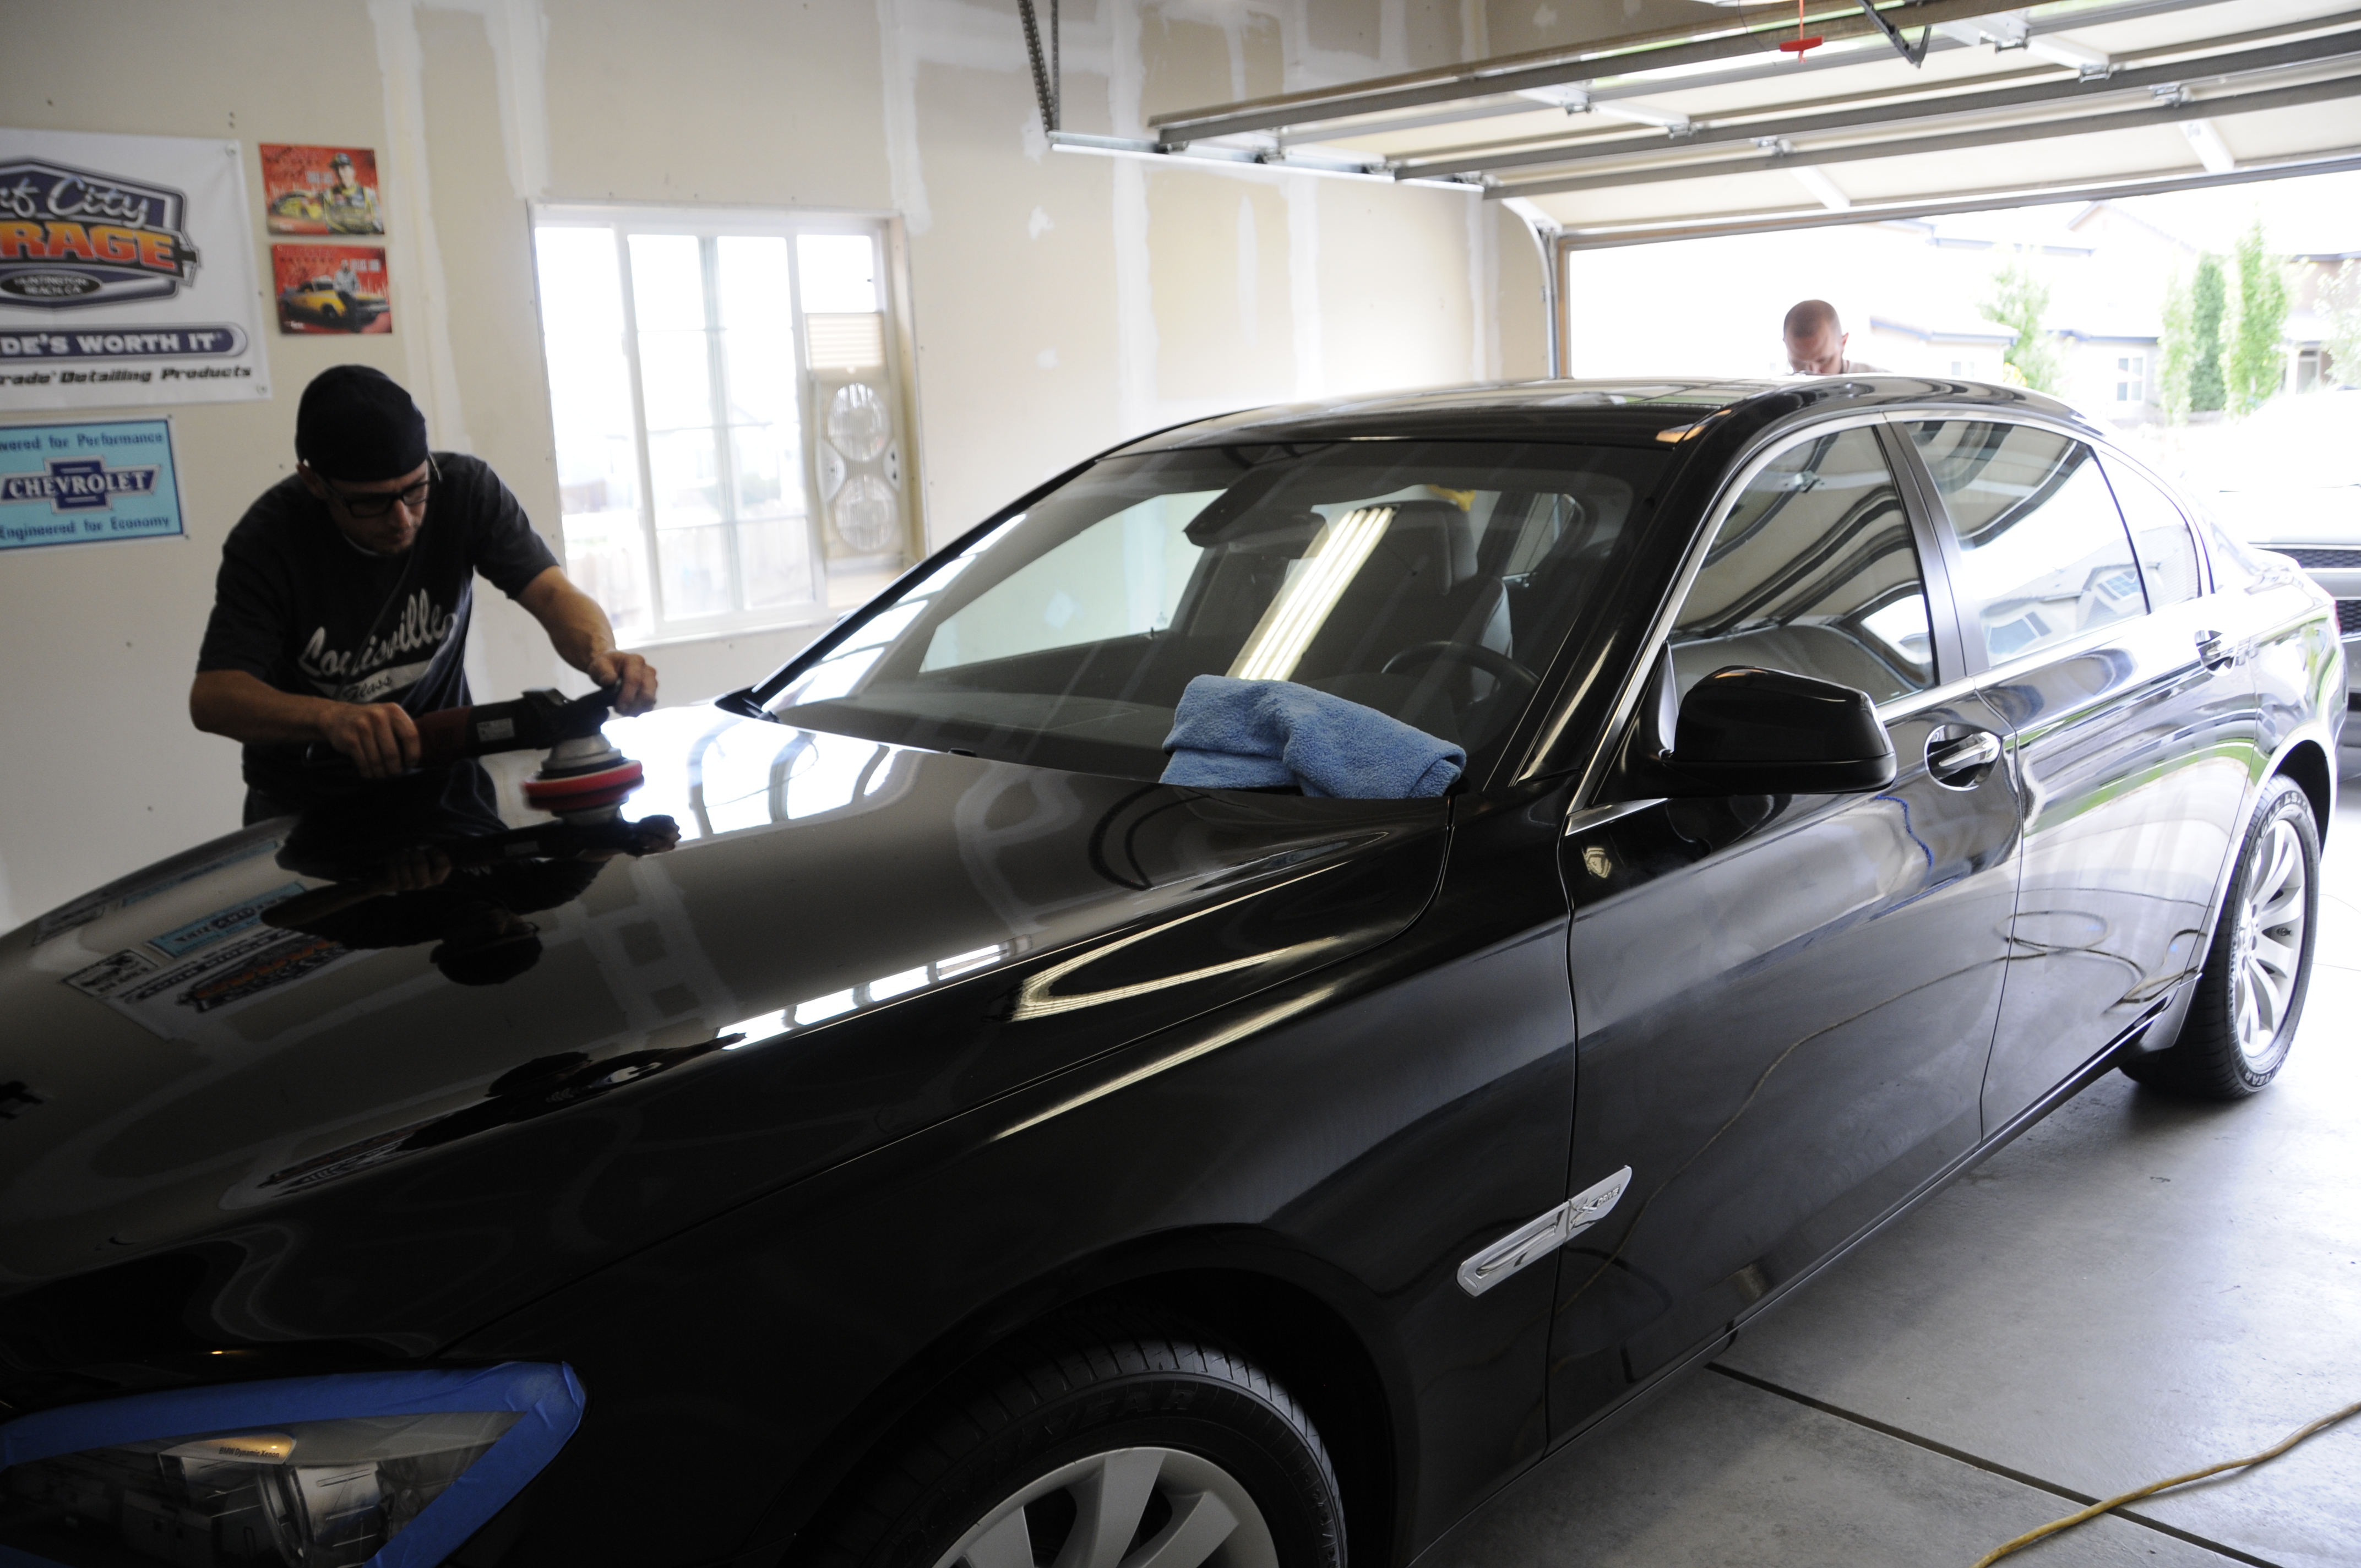
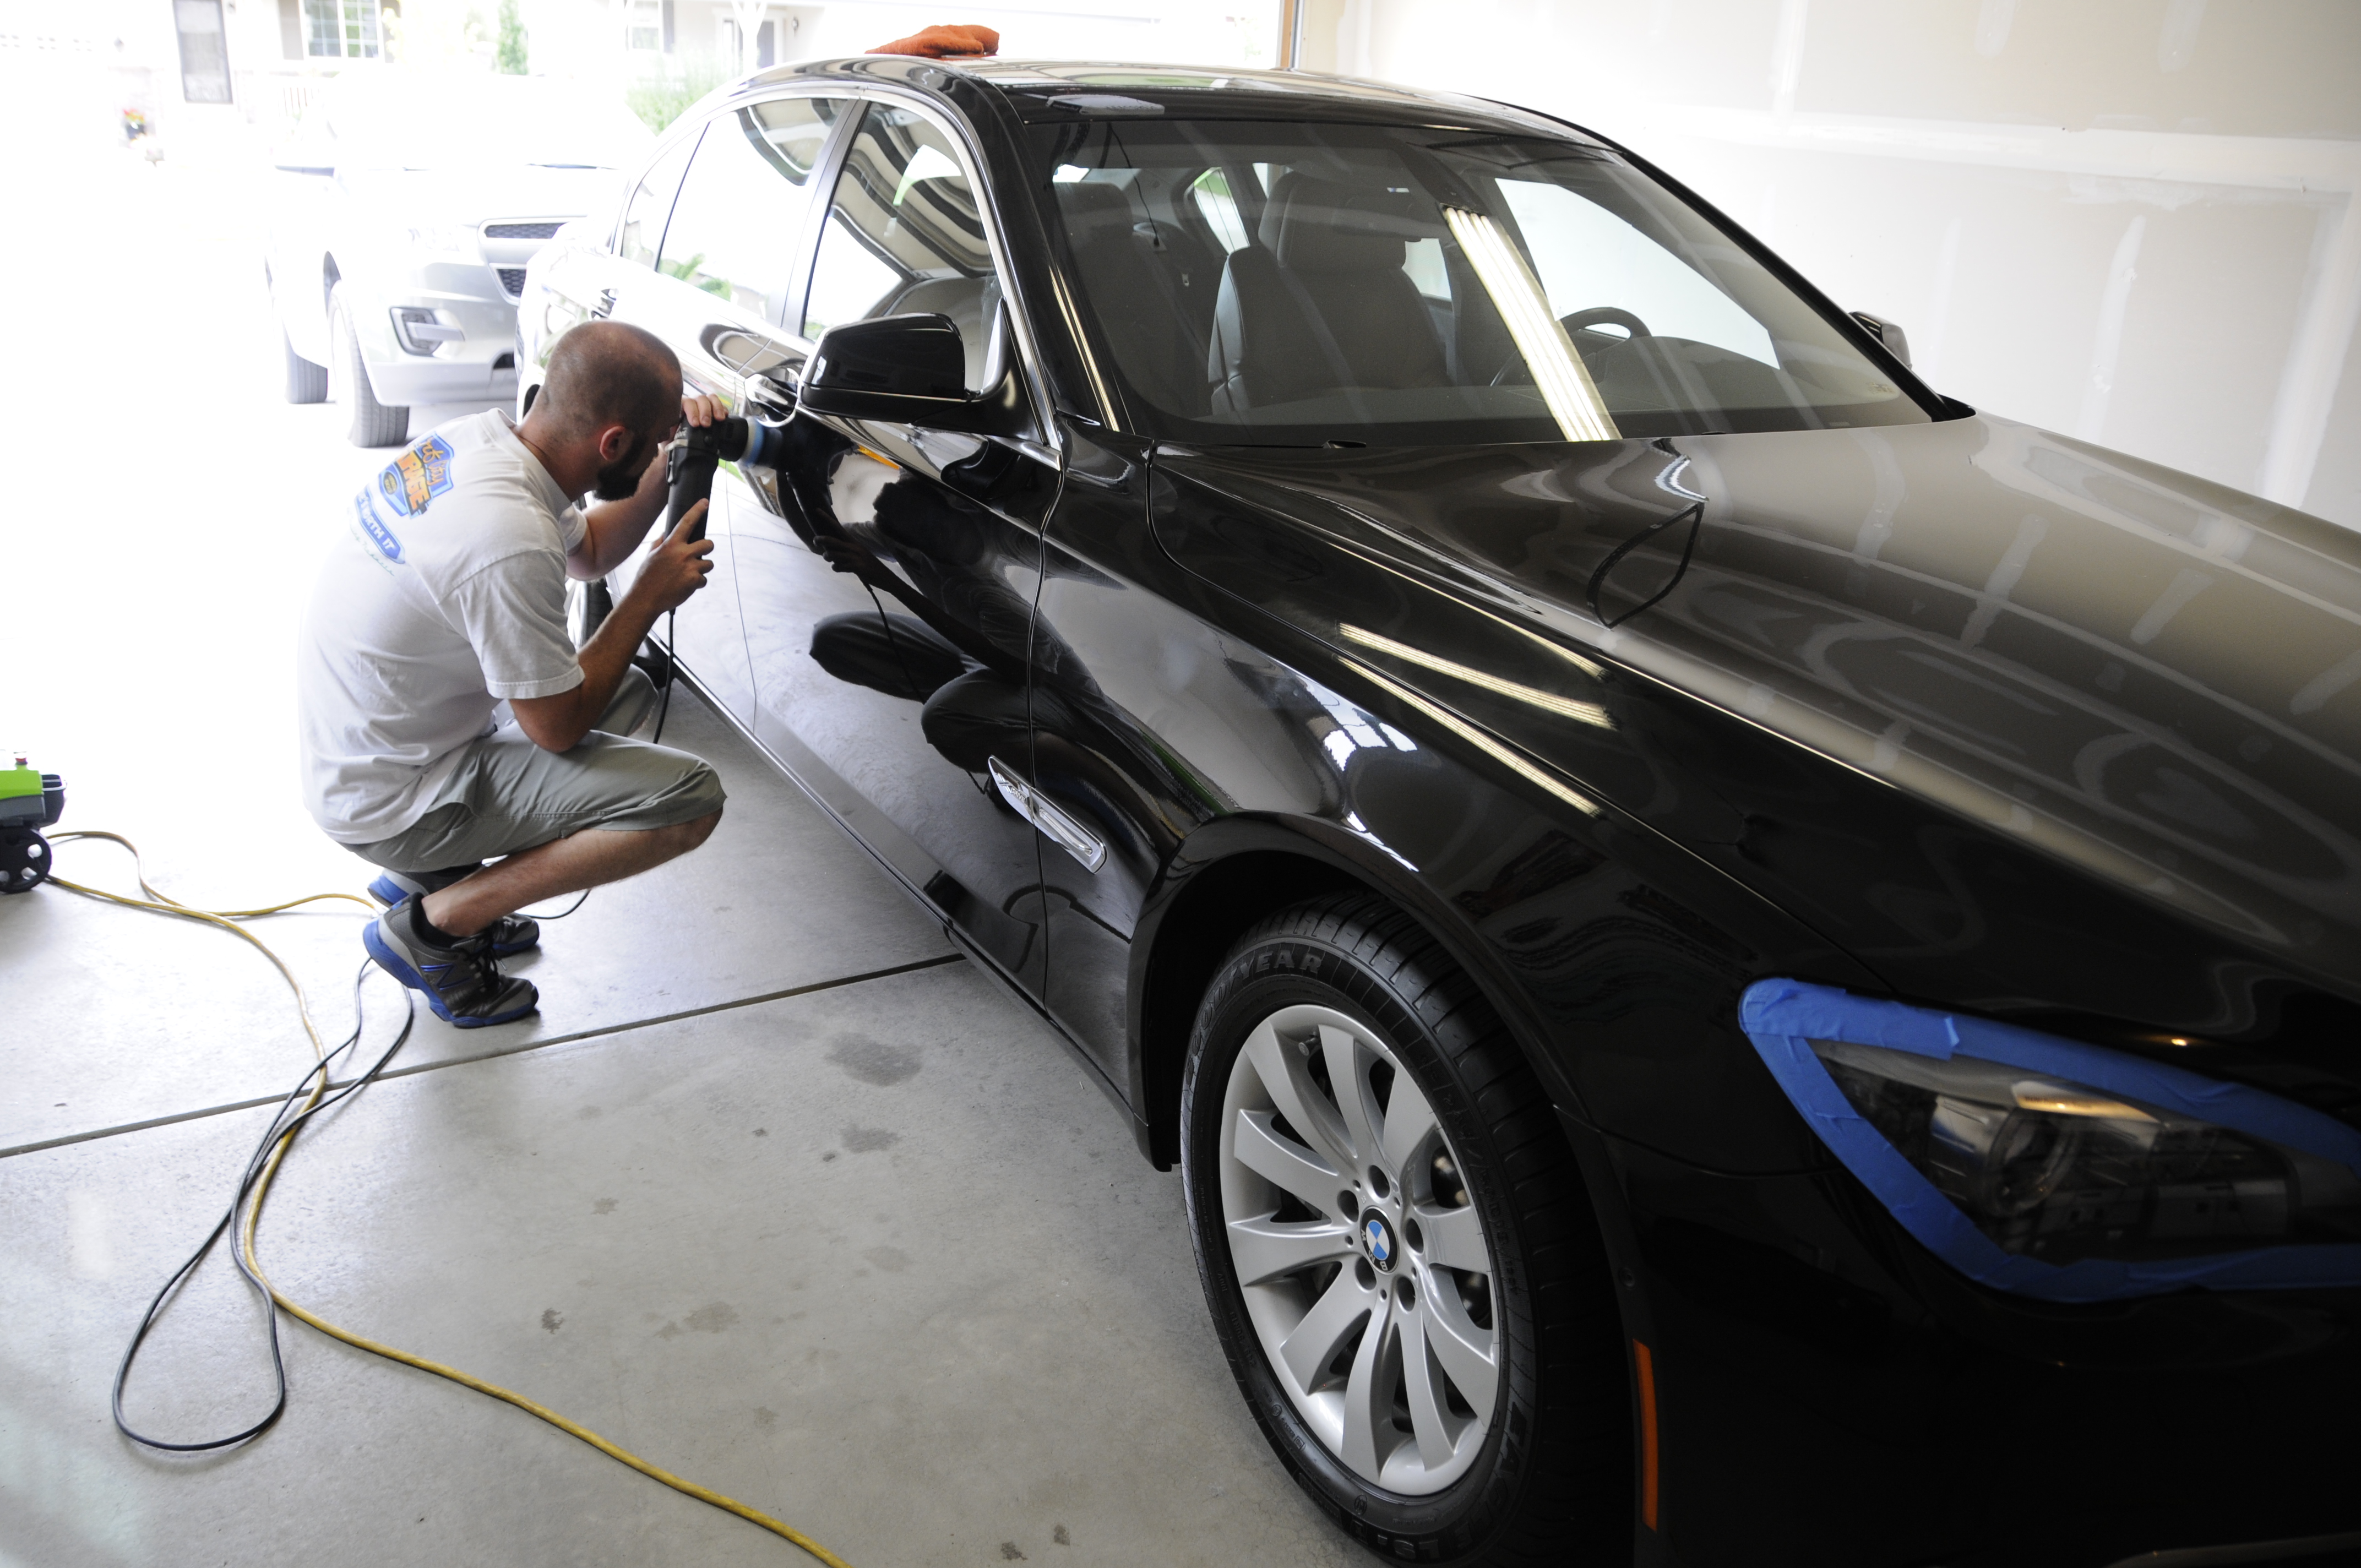
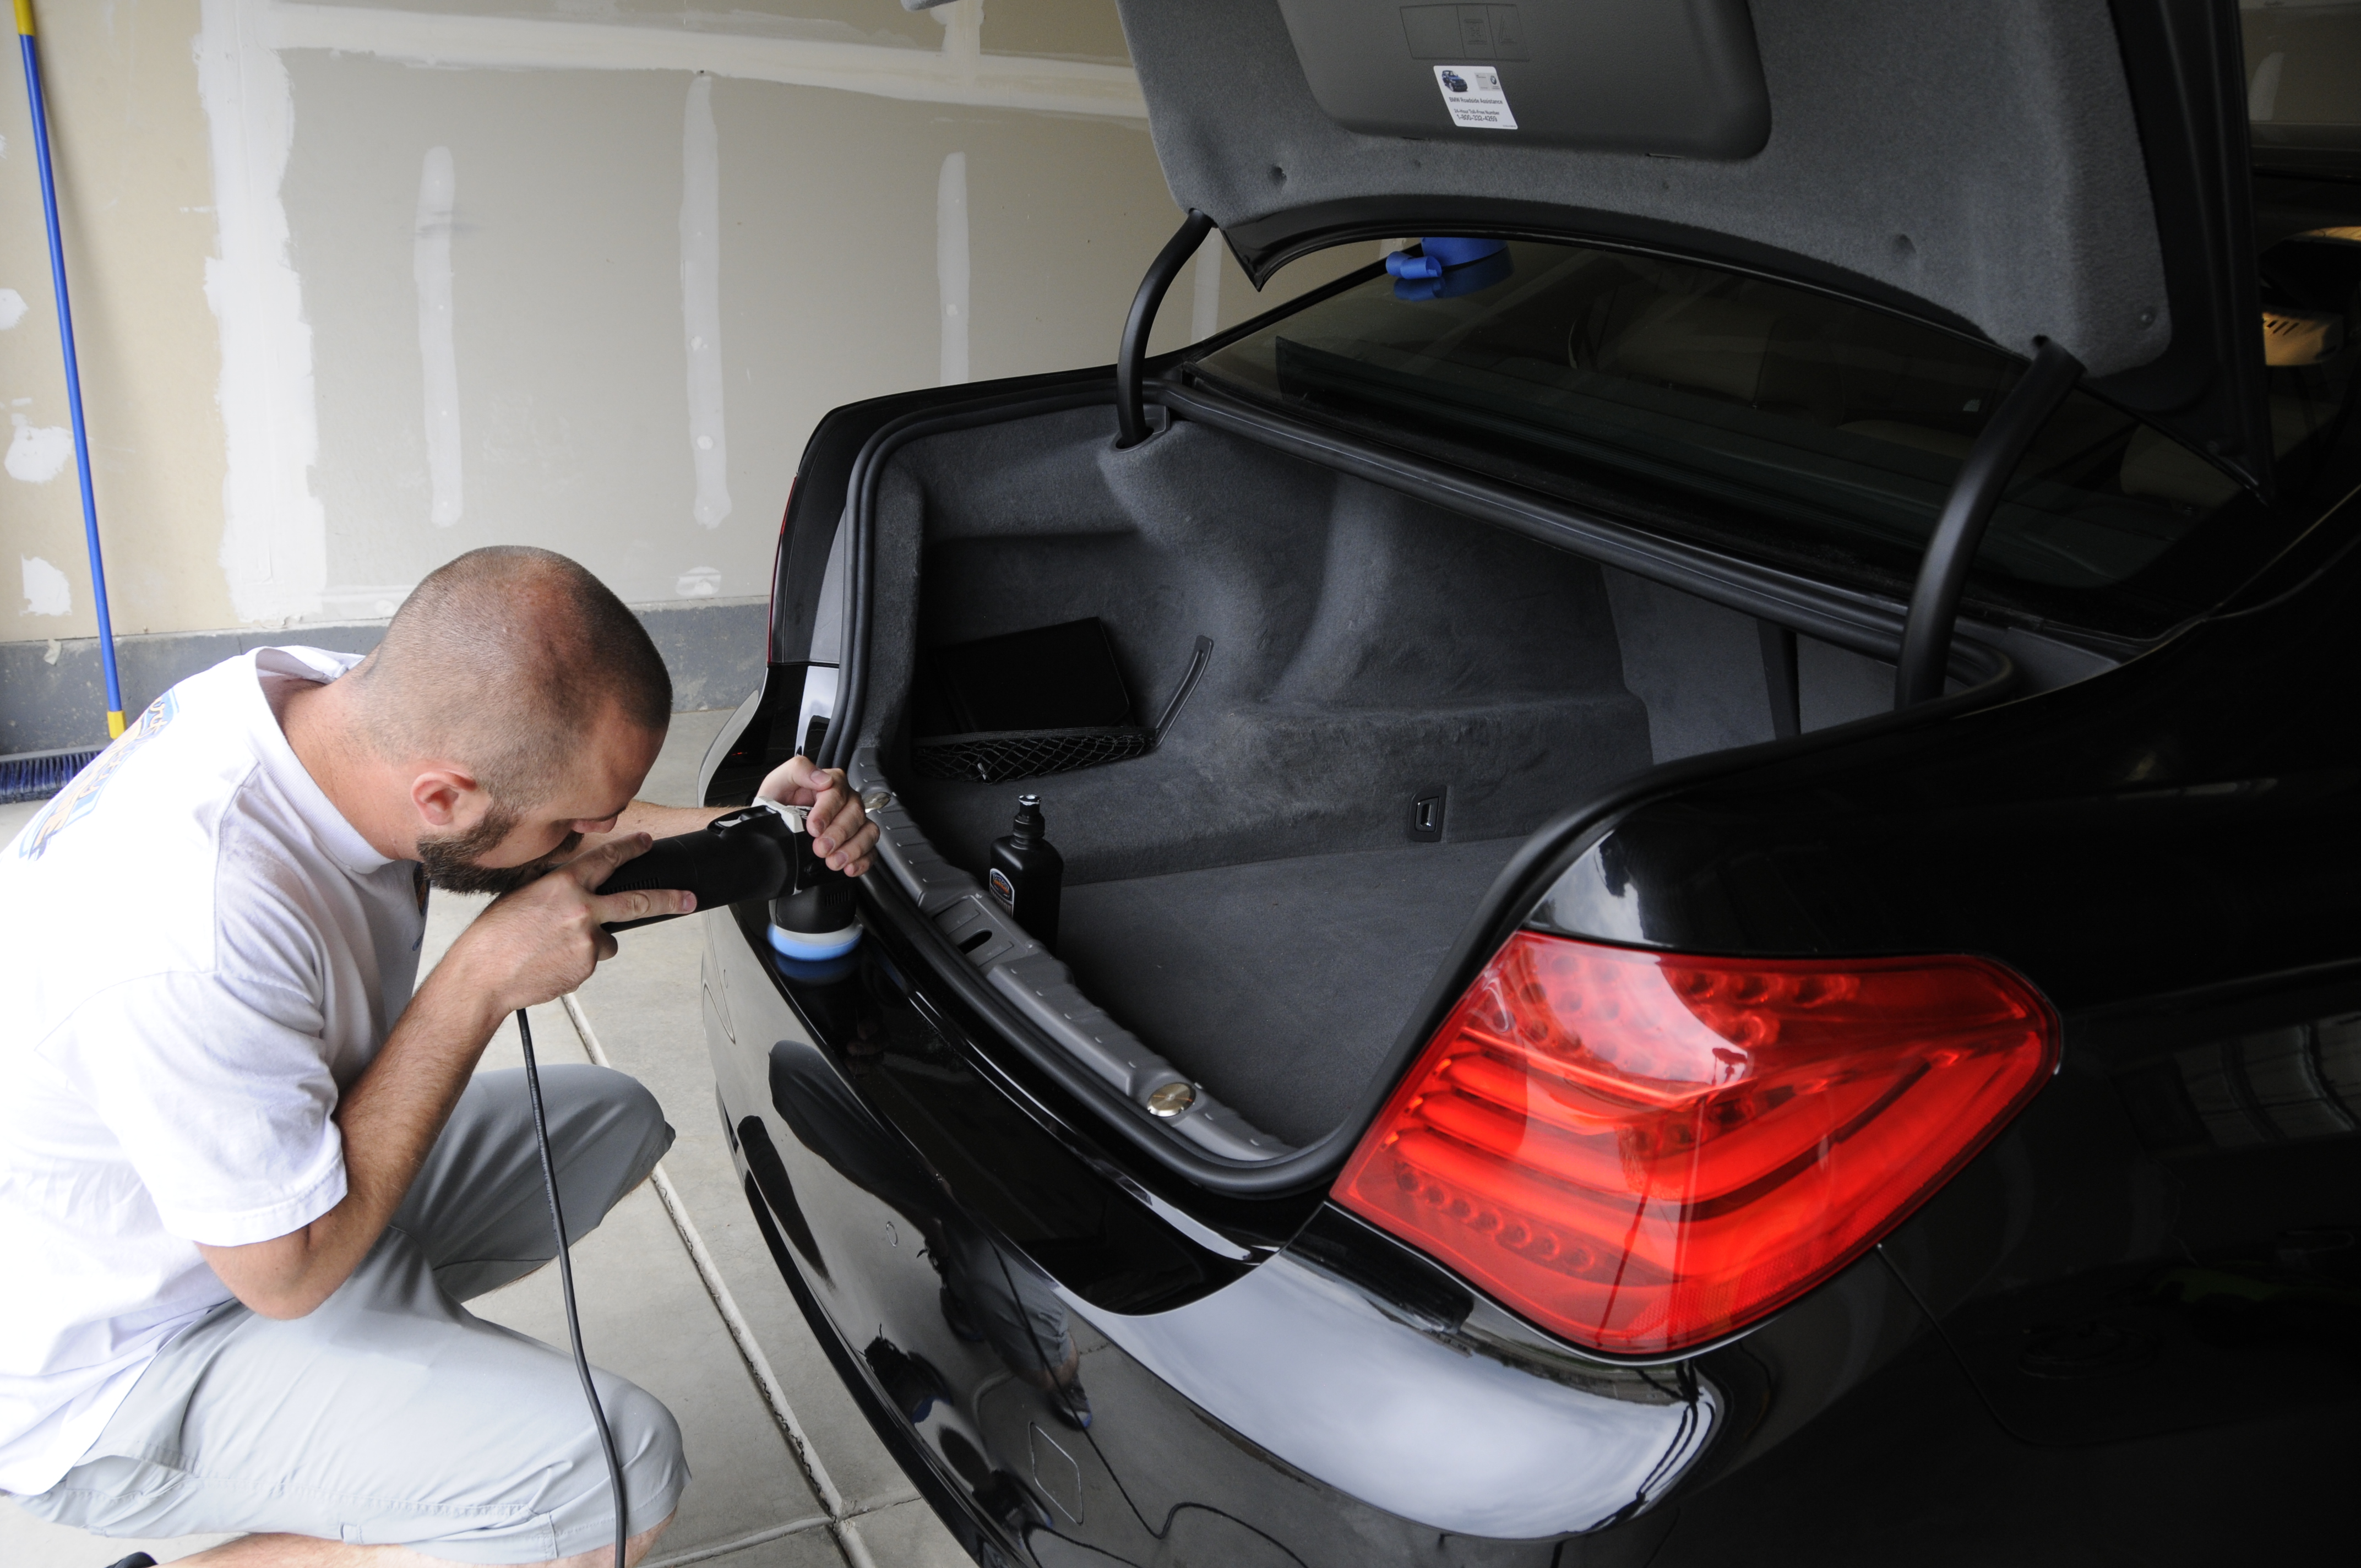
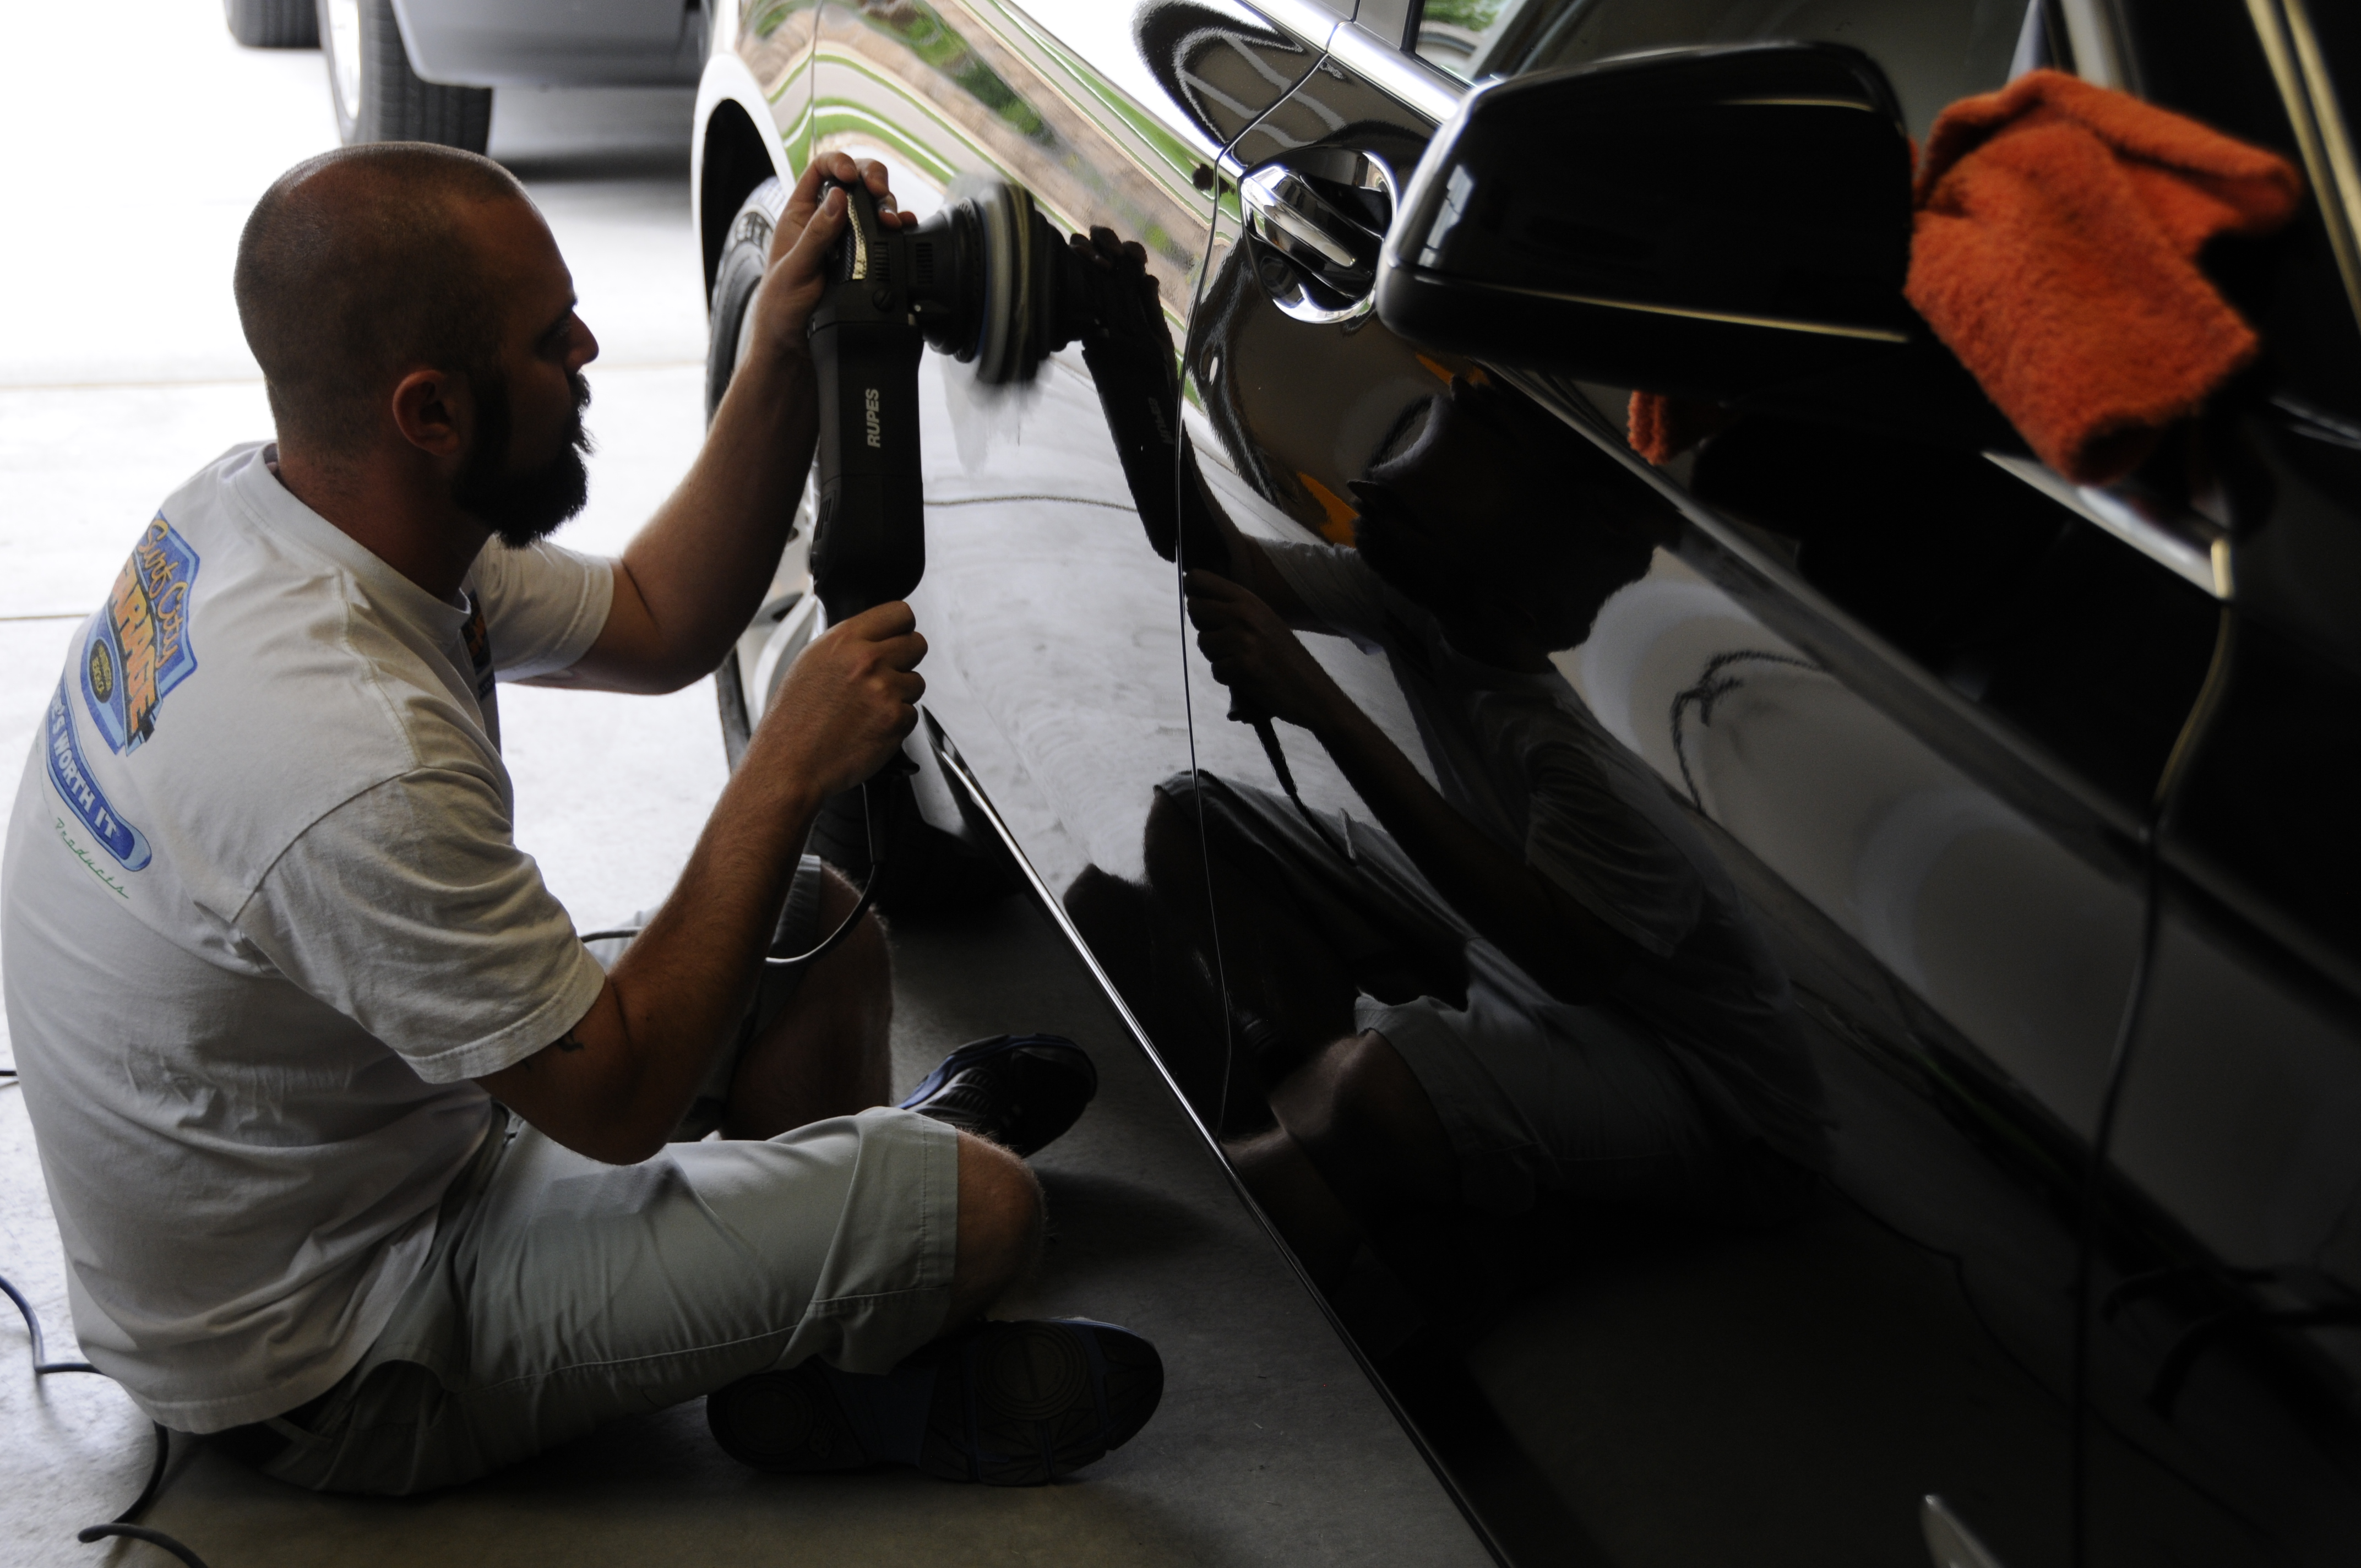
Correction continued the next day and then all residues were removed using Edgeless Microfiber Towels and each panel was inspected and re-polished if needed. Once all correction was complete an air compressor was used to blow the small amount of polish dust out of the areas it had accumulated over the 2 day polishing session.
DAY 2 - PAINT CORRECTION CONTINUES:
Picking up where we left off each panel was corrected using Machine Cut Polish and finished with Machine Finish Polish. Assorted machines, including the Rupes 75e mini polisher were used to get into some of the tighter spaces. Where it made sense we also made use of the cyan blue heavy cutting pads in place of the microfiber.


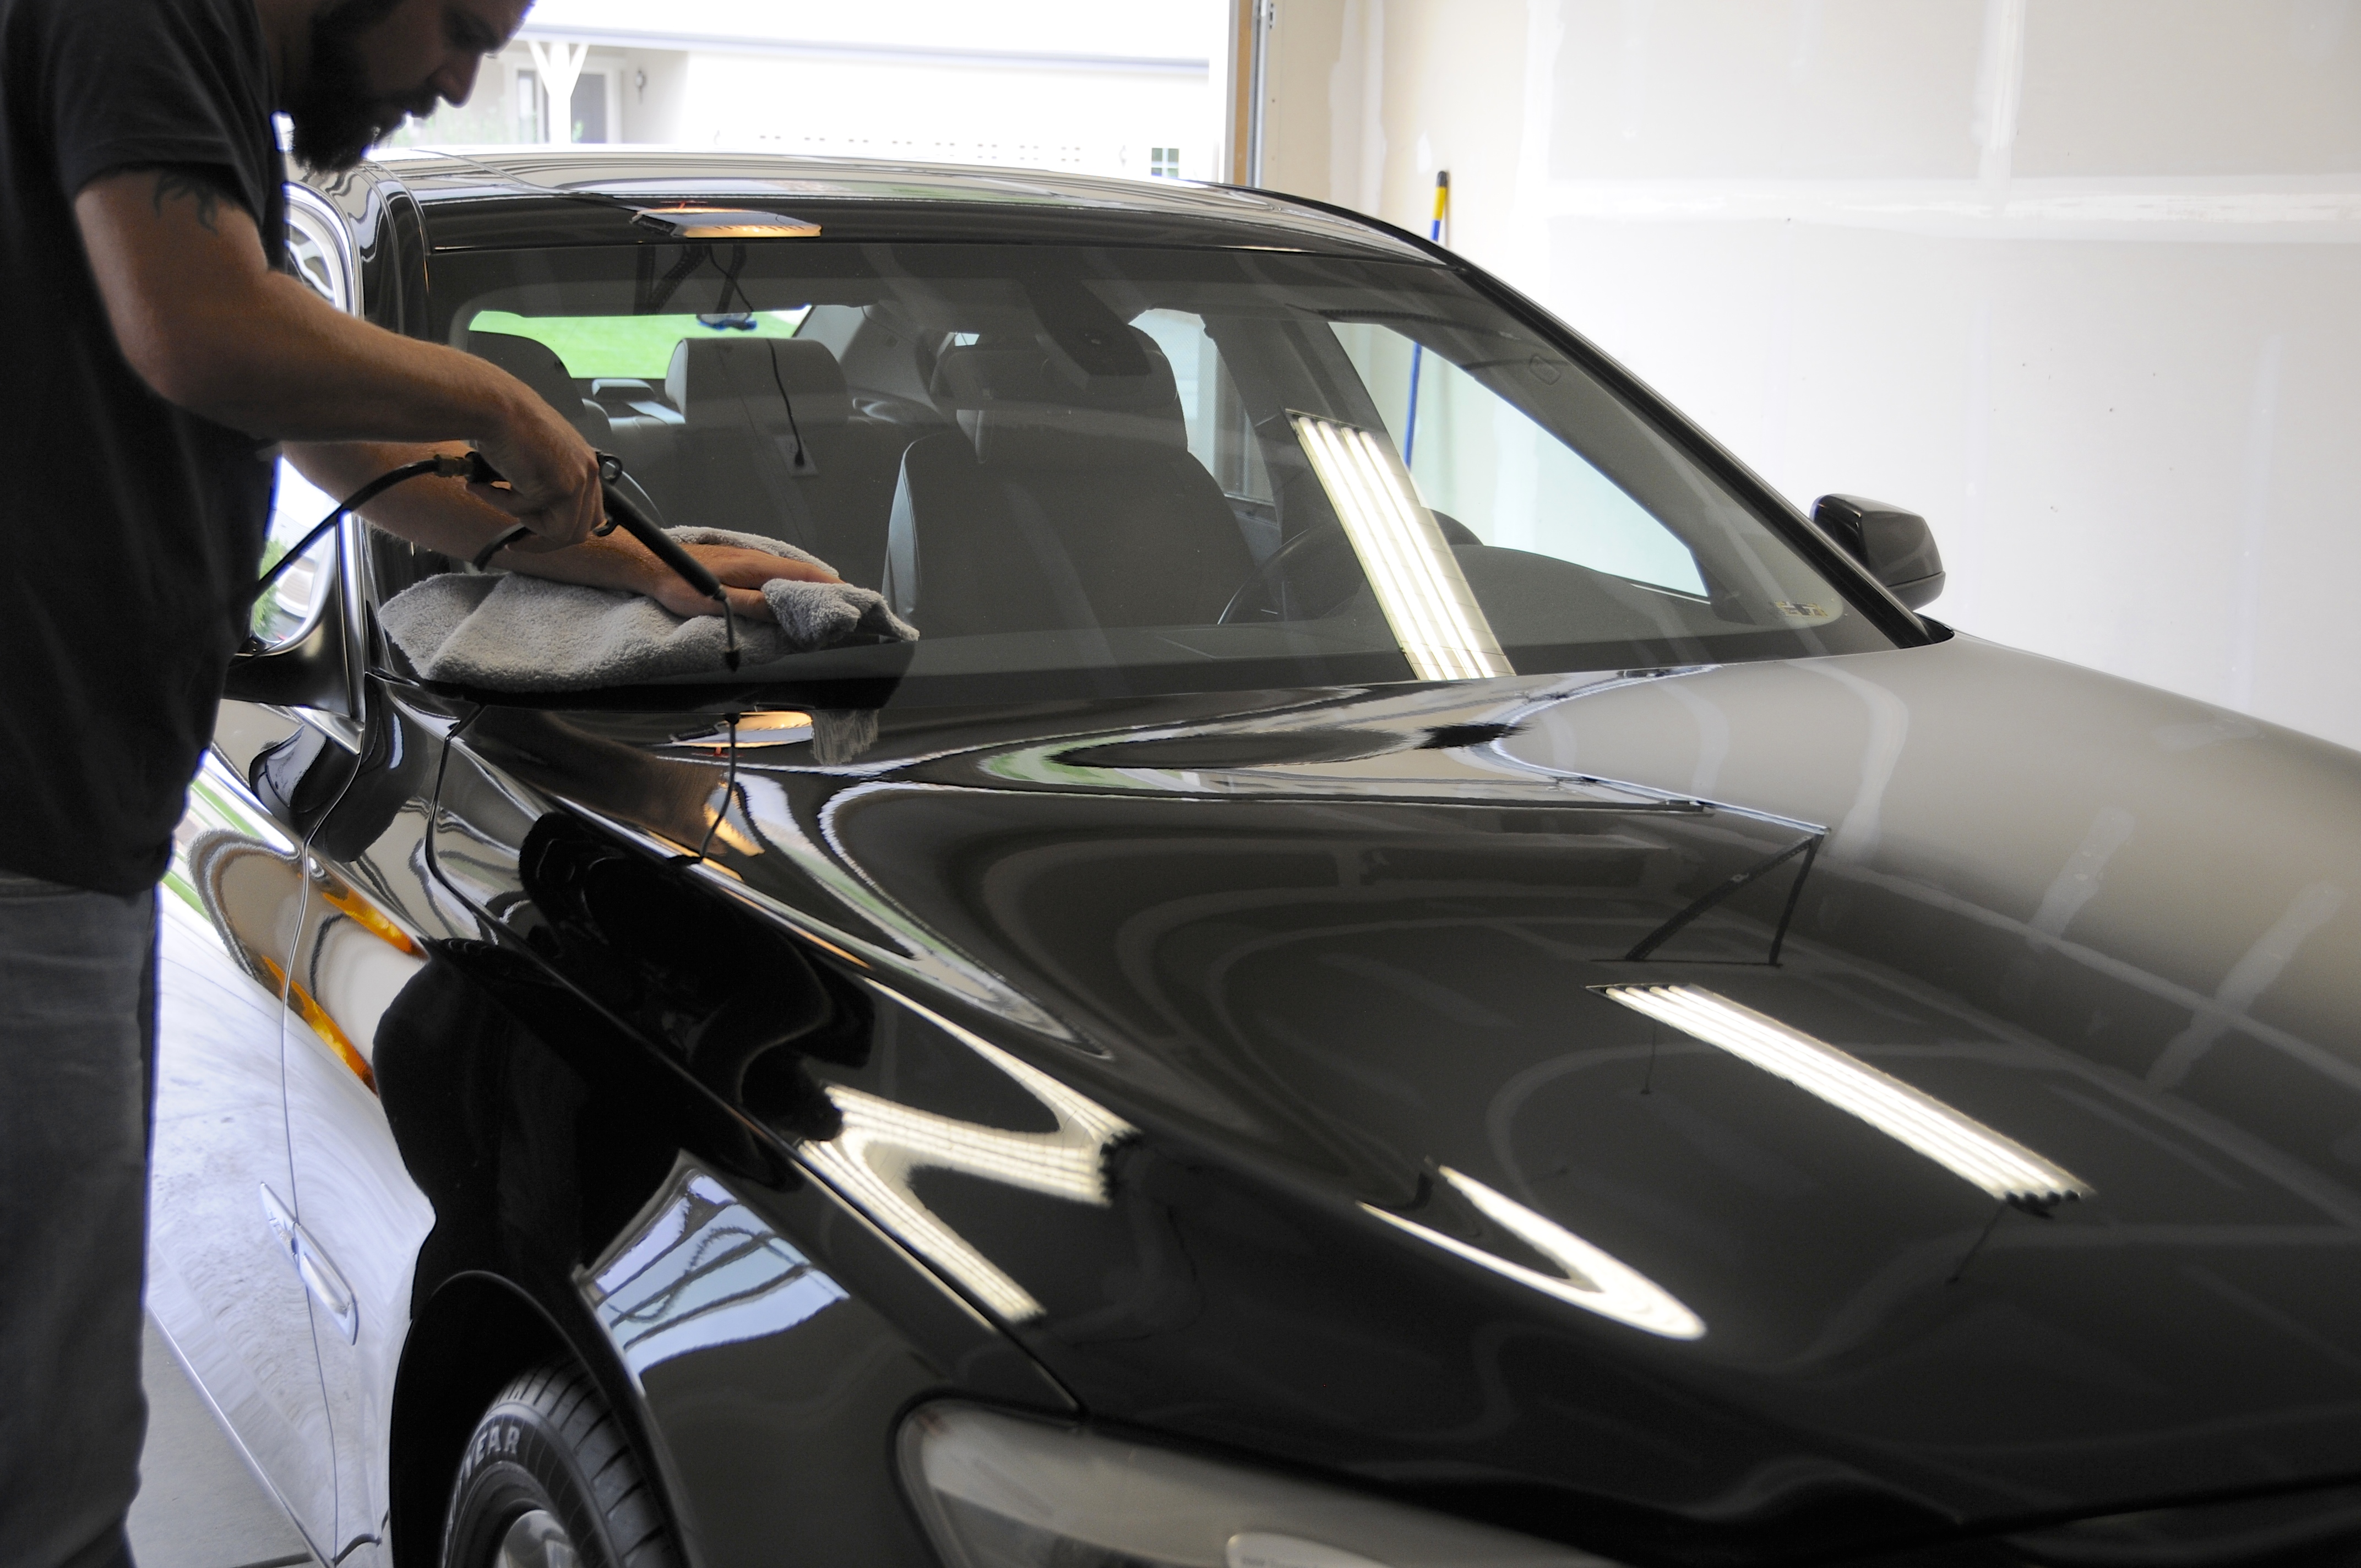
Correction continued the next day and then all residues were removed using Edgeless Microfiber Towels and each panel was inspected and re-polished if needed. Once all correction was complete an air compressor was used to blow the small amount of polish dust out of the areas it had accumulated over the 2 day polishing session.

#7
ENGINE BAY:
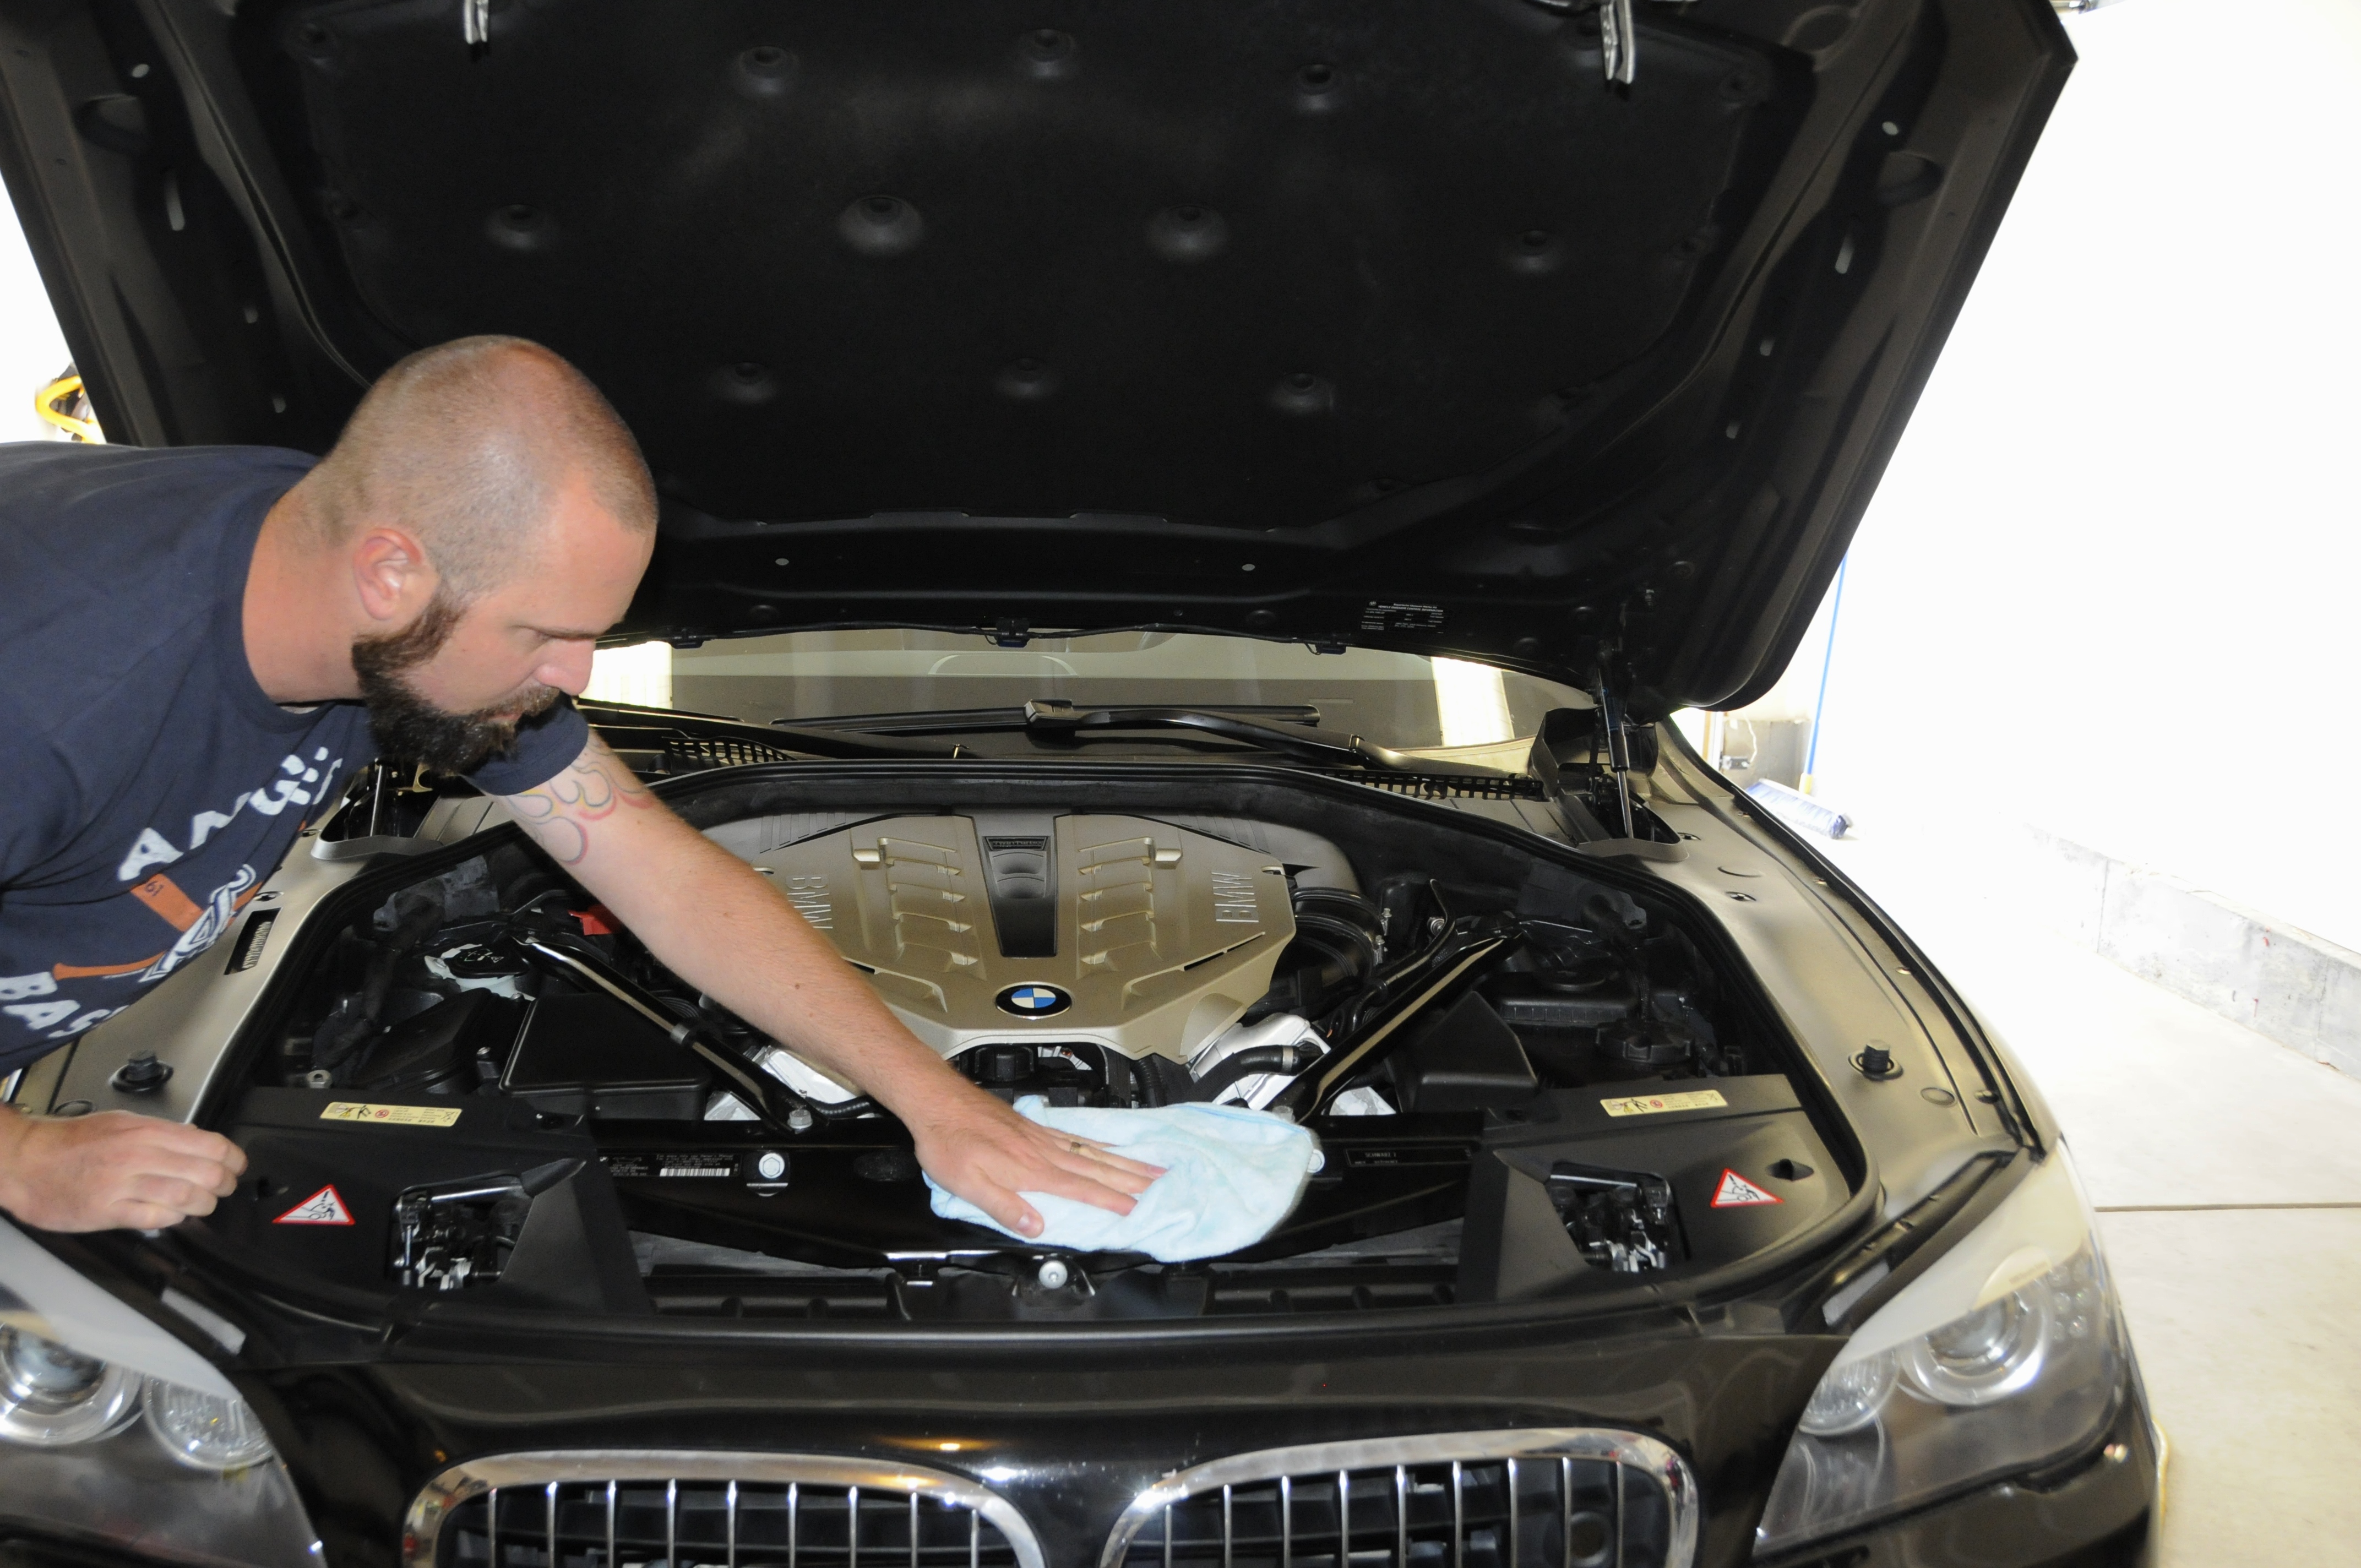
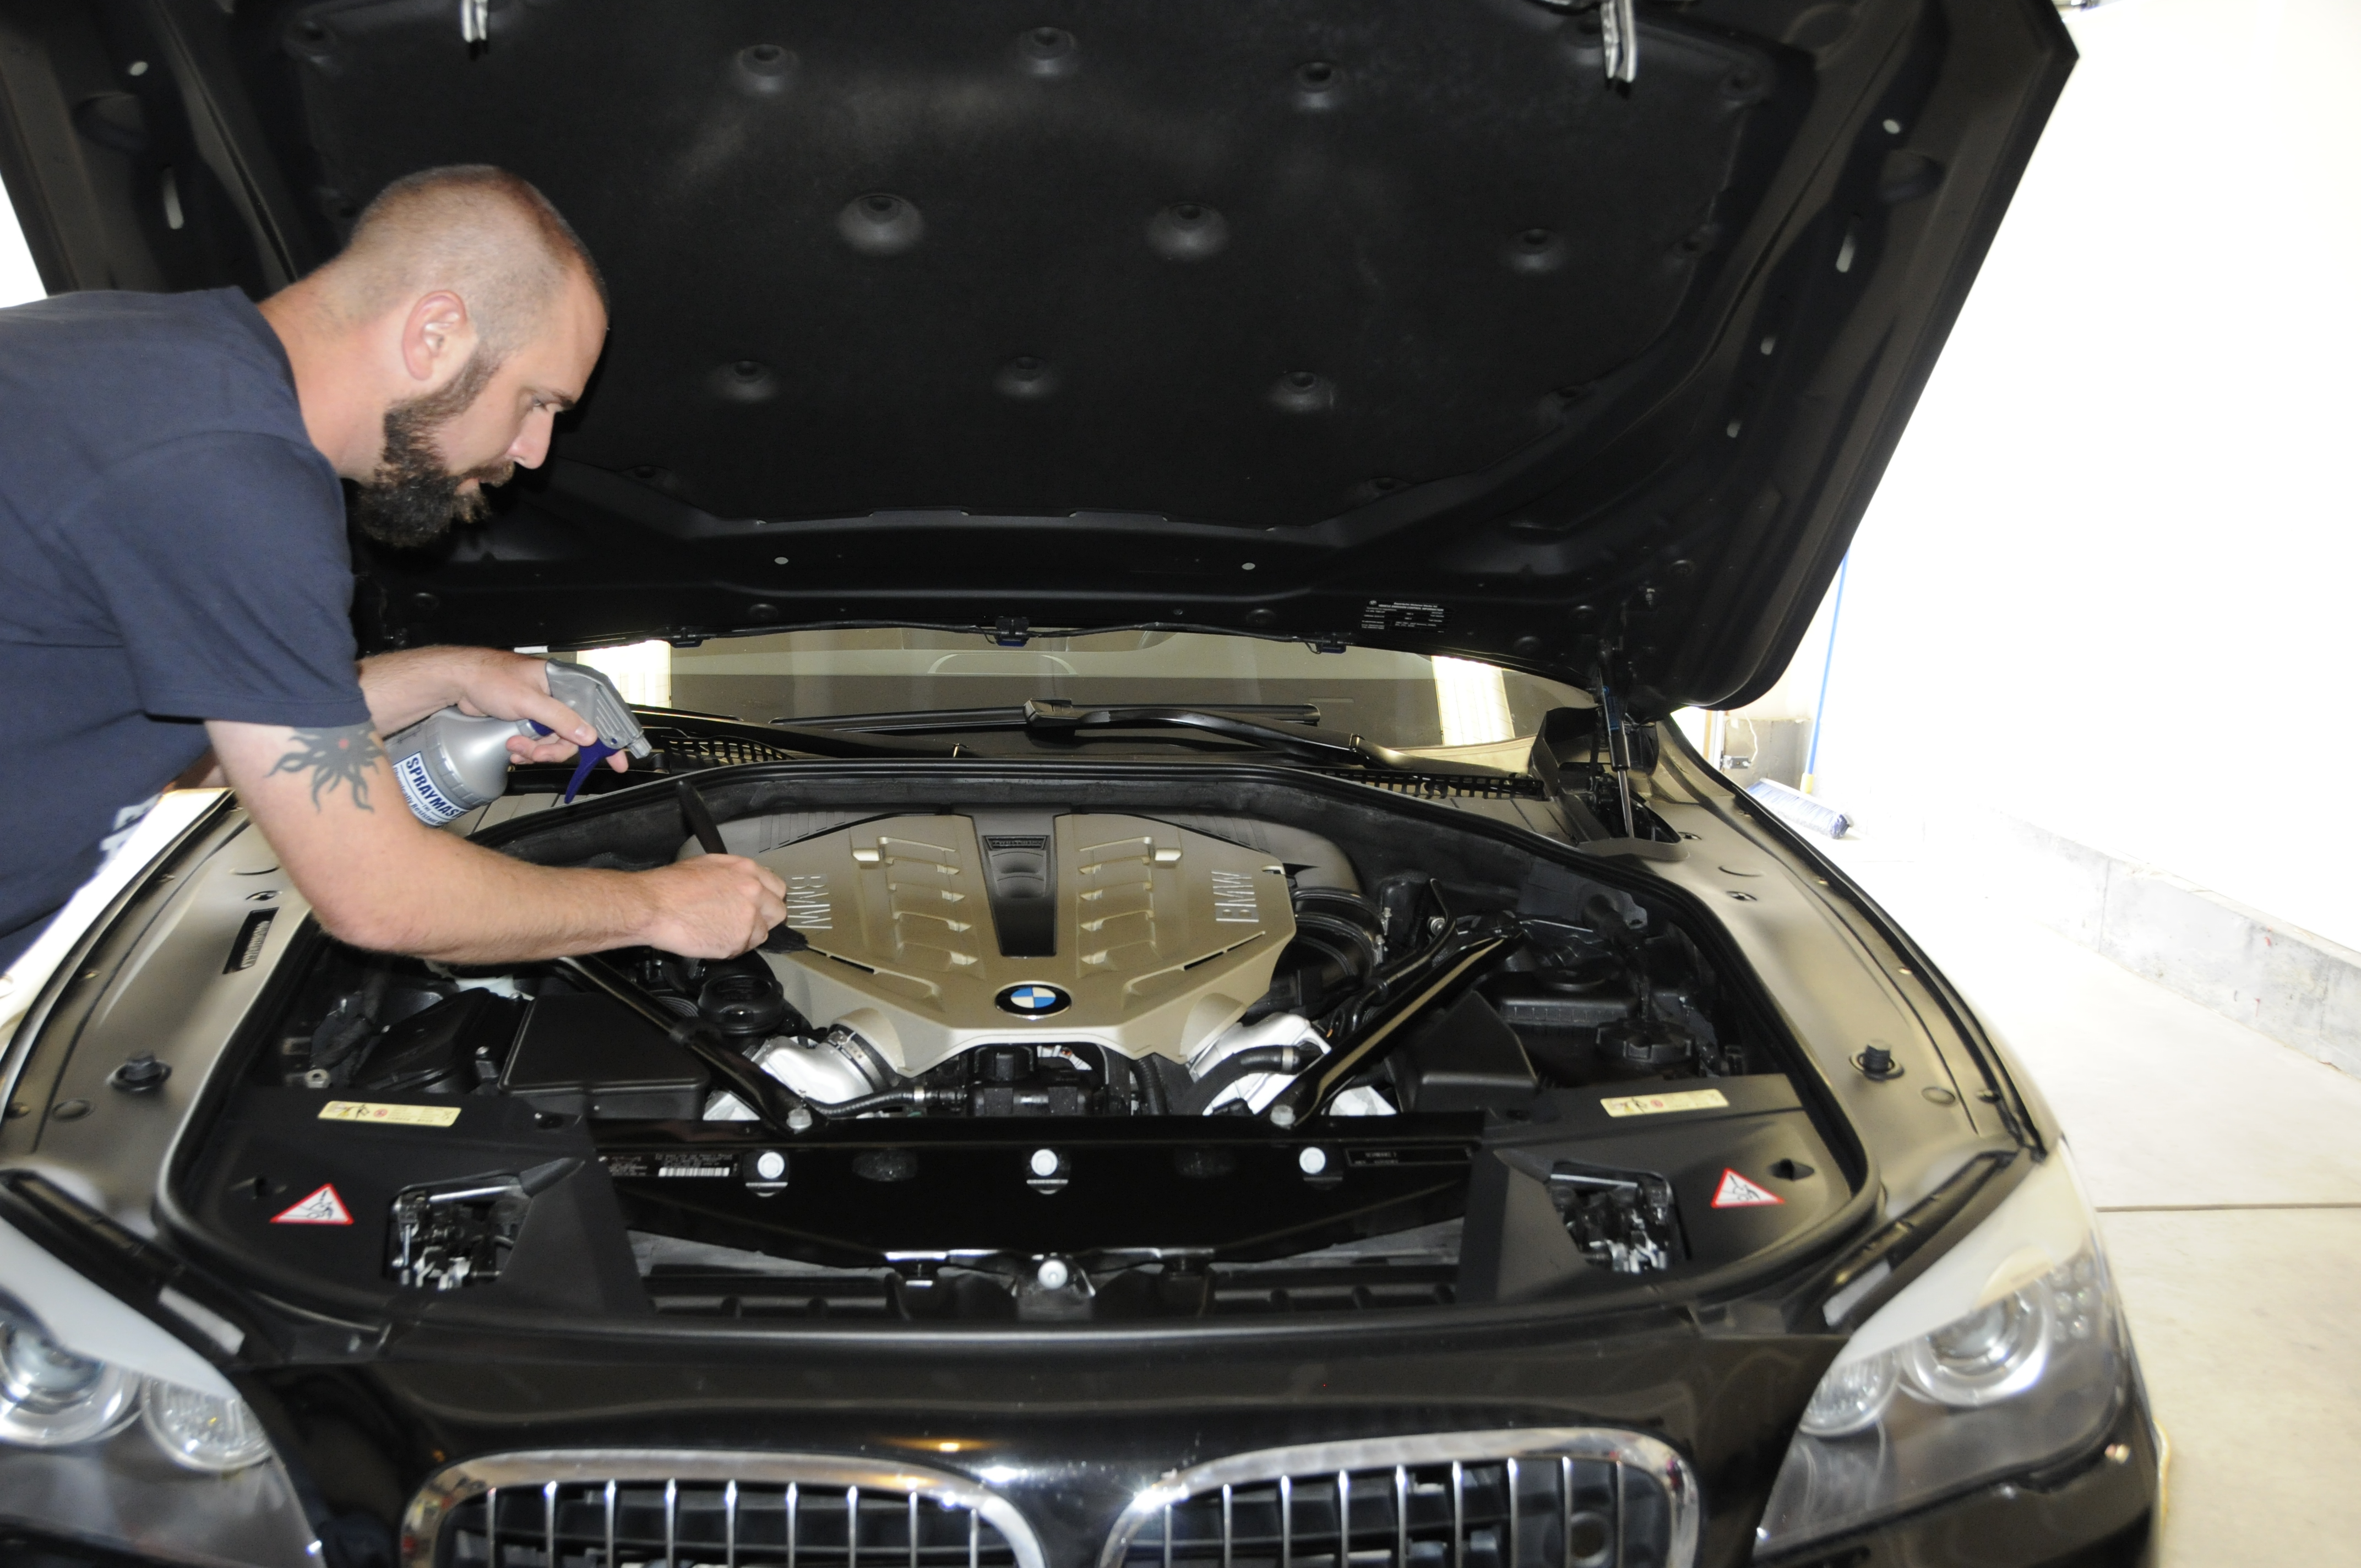
With the paint done I took a moment to attack the engine, which as shown earlier was in great shape already, just dusty. A 1.25" round boars hair detail brush, light blue utility towels, and a little Exterior Trim Conditioner diluted 4:1 were used to refresh the engine bay by removing the excess silicone dressing and even it out with ETC.
cont'd...
APPLYING PROTECTION:
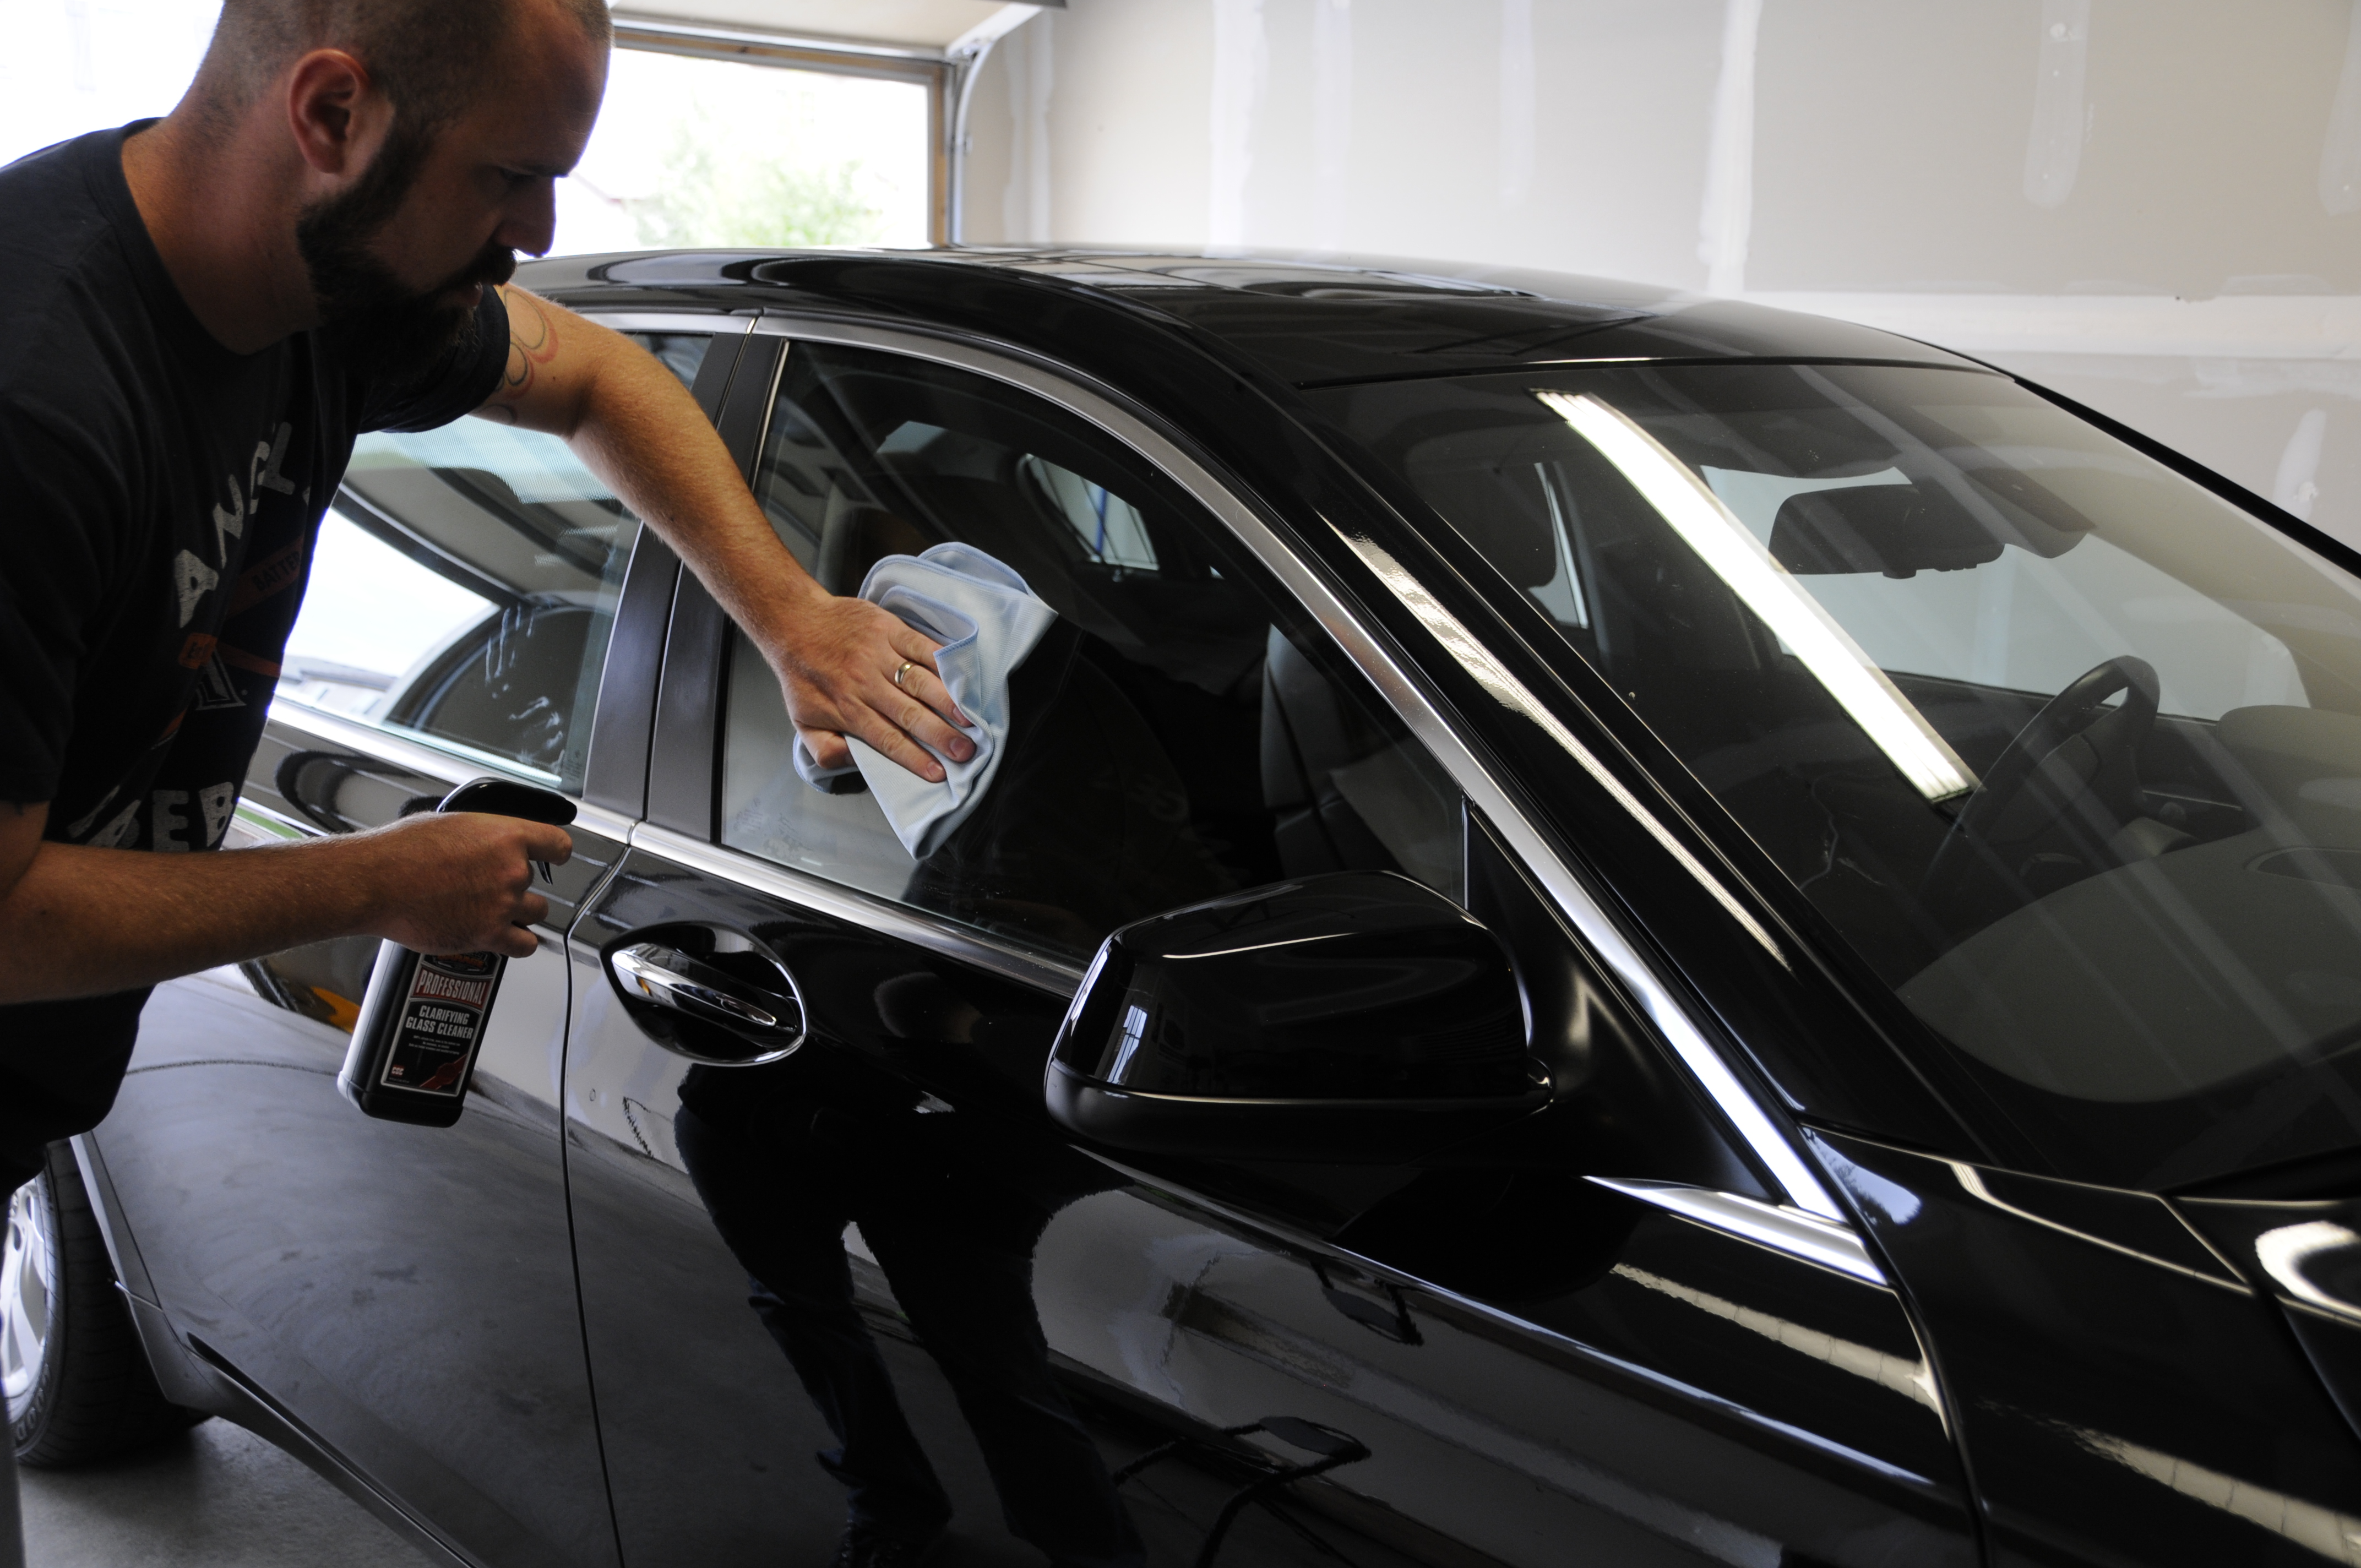
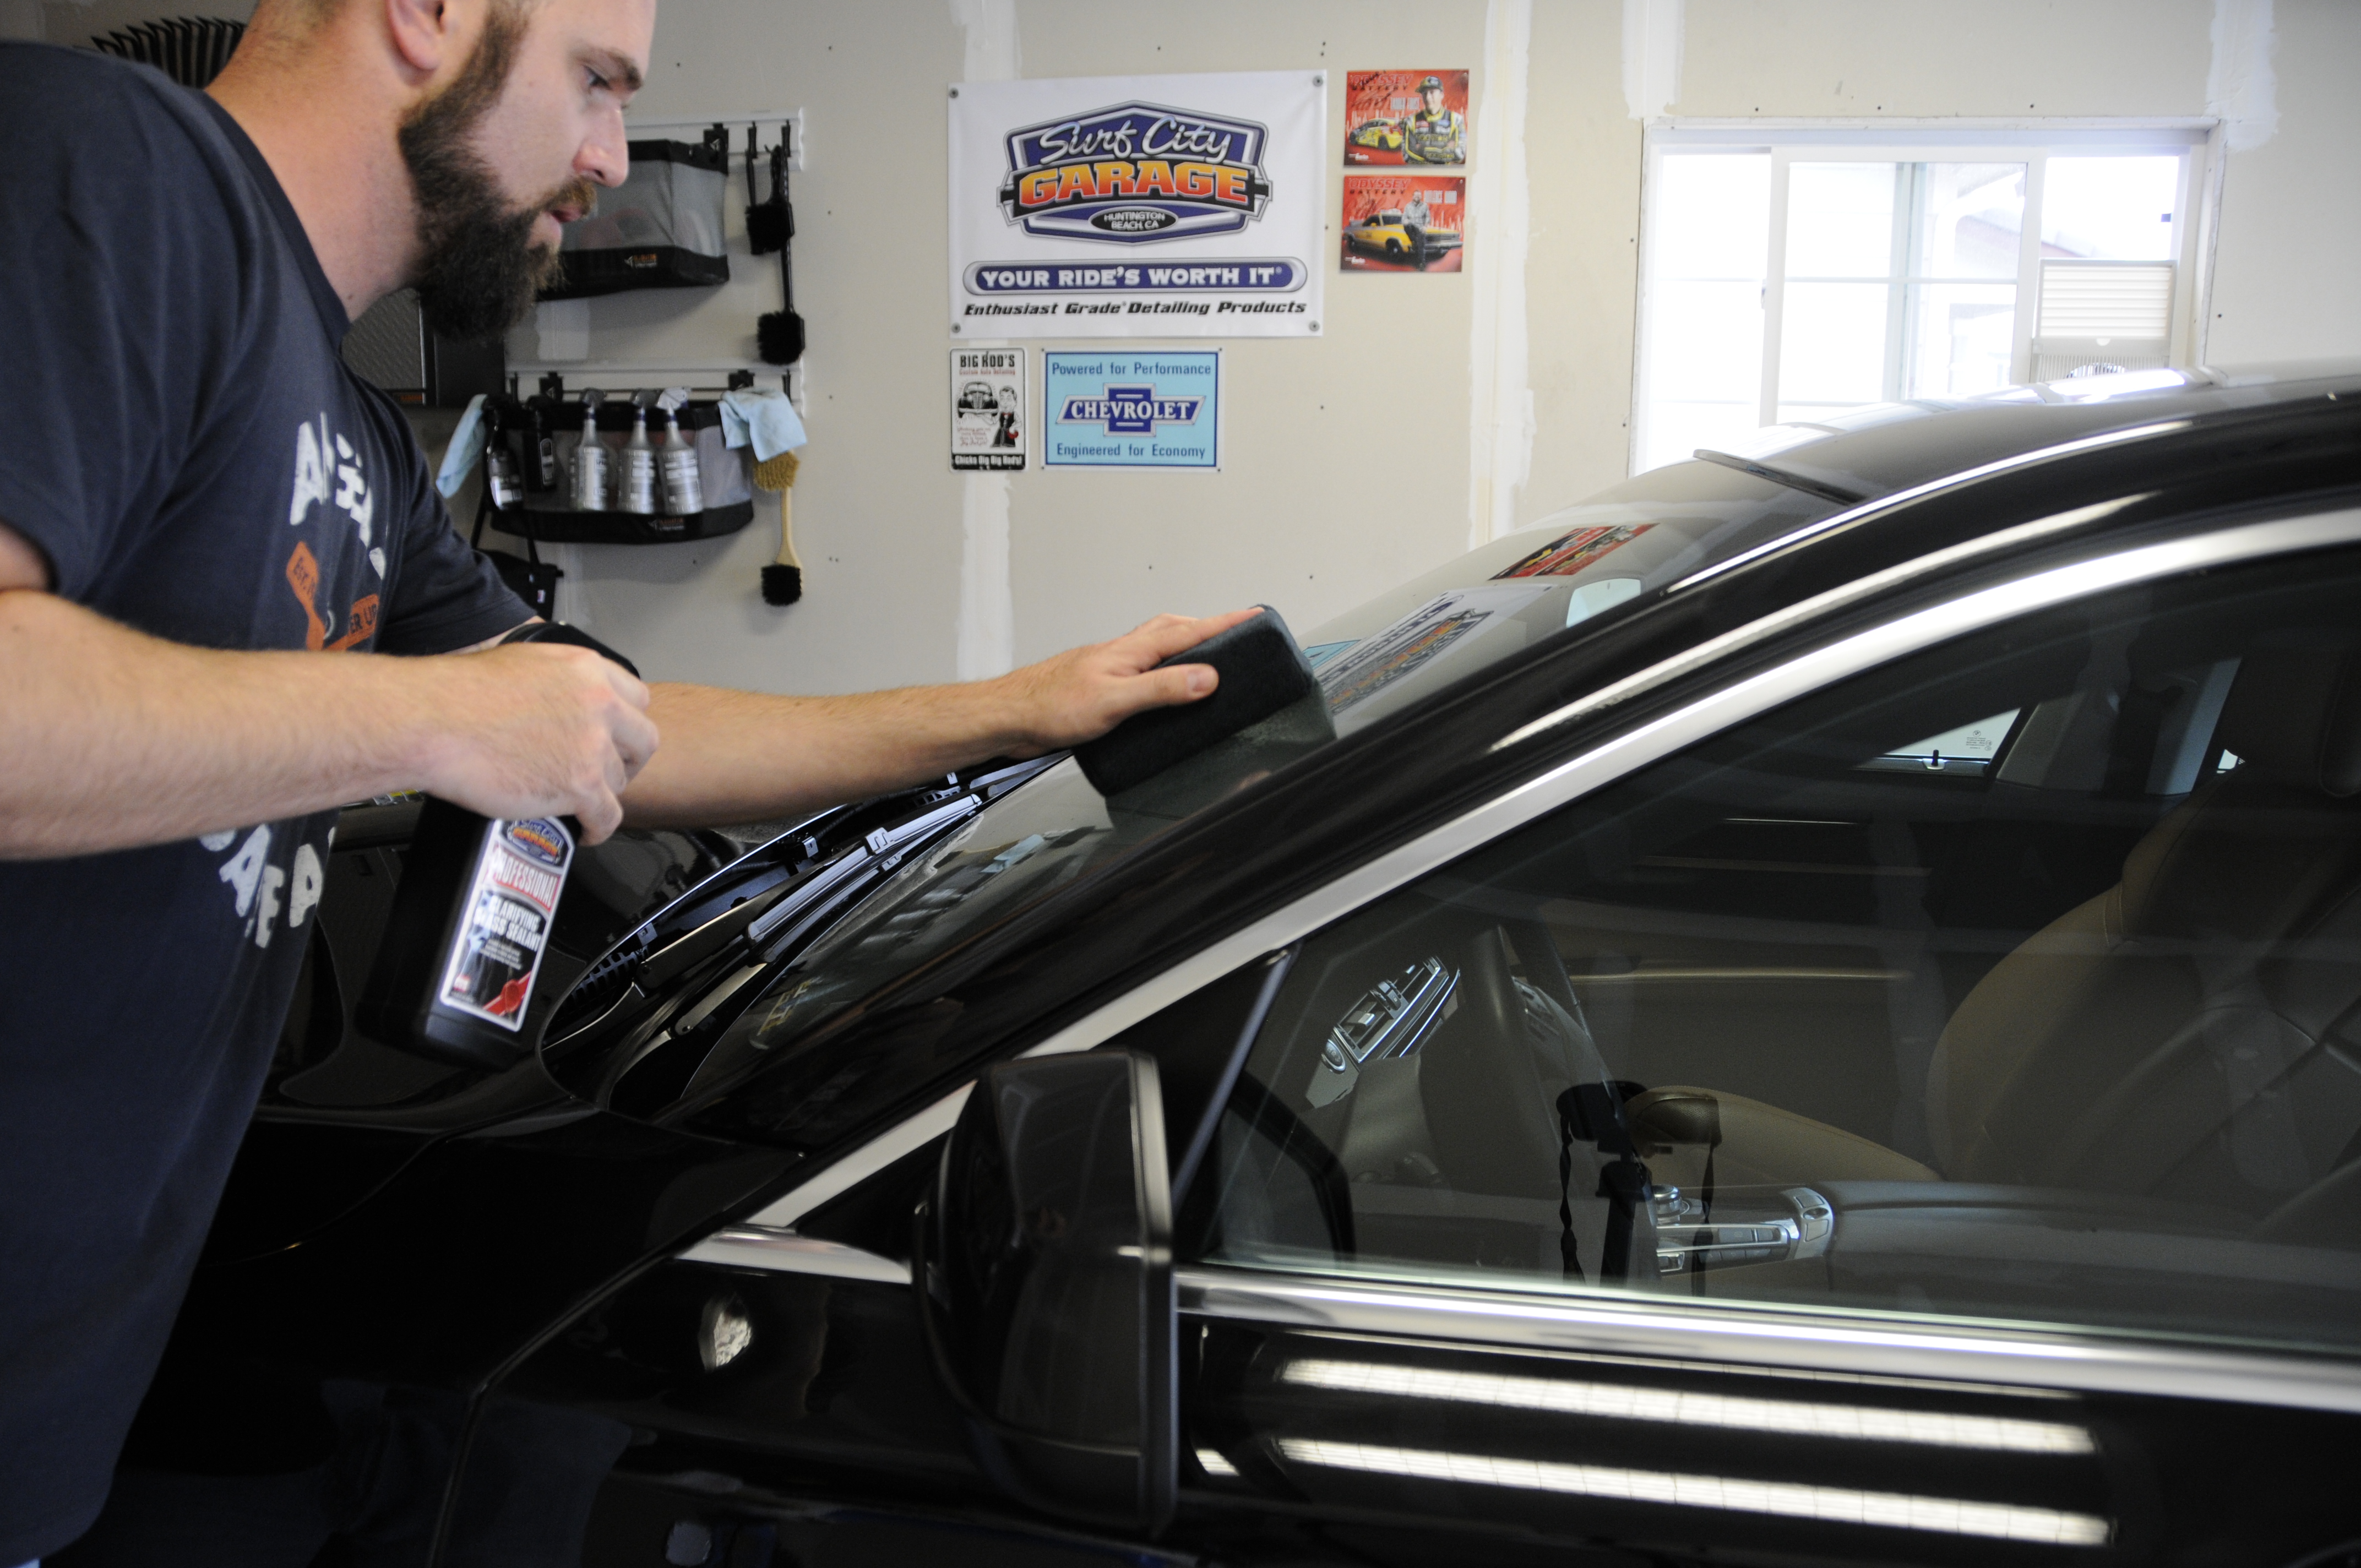
Not wanting to neglect the glass all the exterior glass was cleaned with Clarifying Glass Cleaner then treated to a coat of SCG Pro Clarifying Glass Sealant
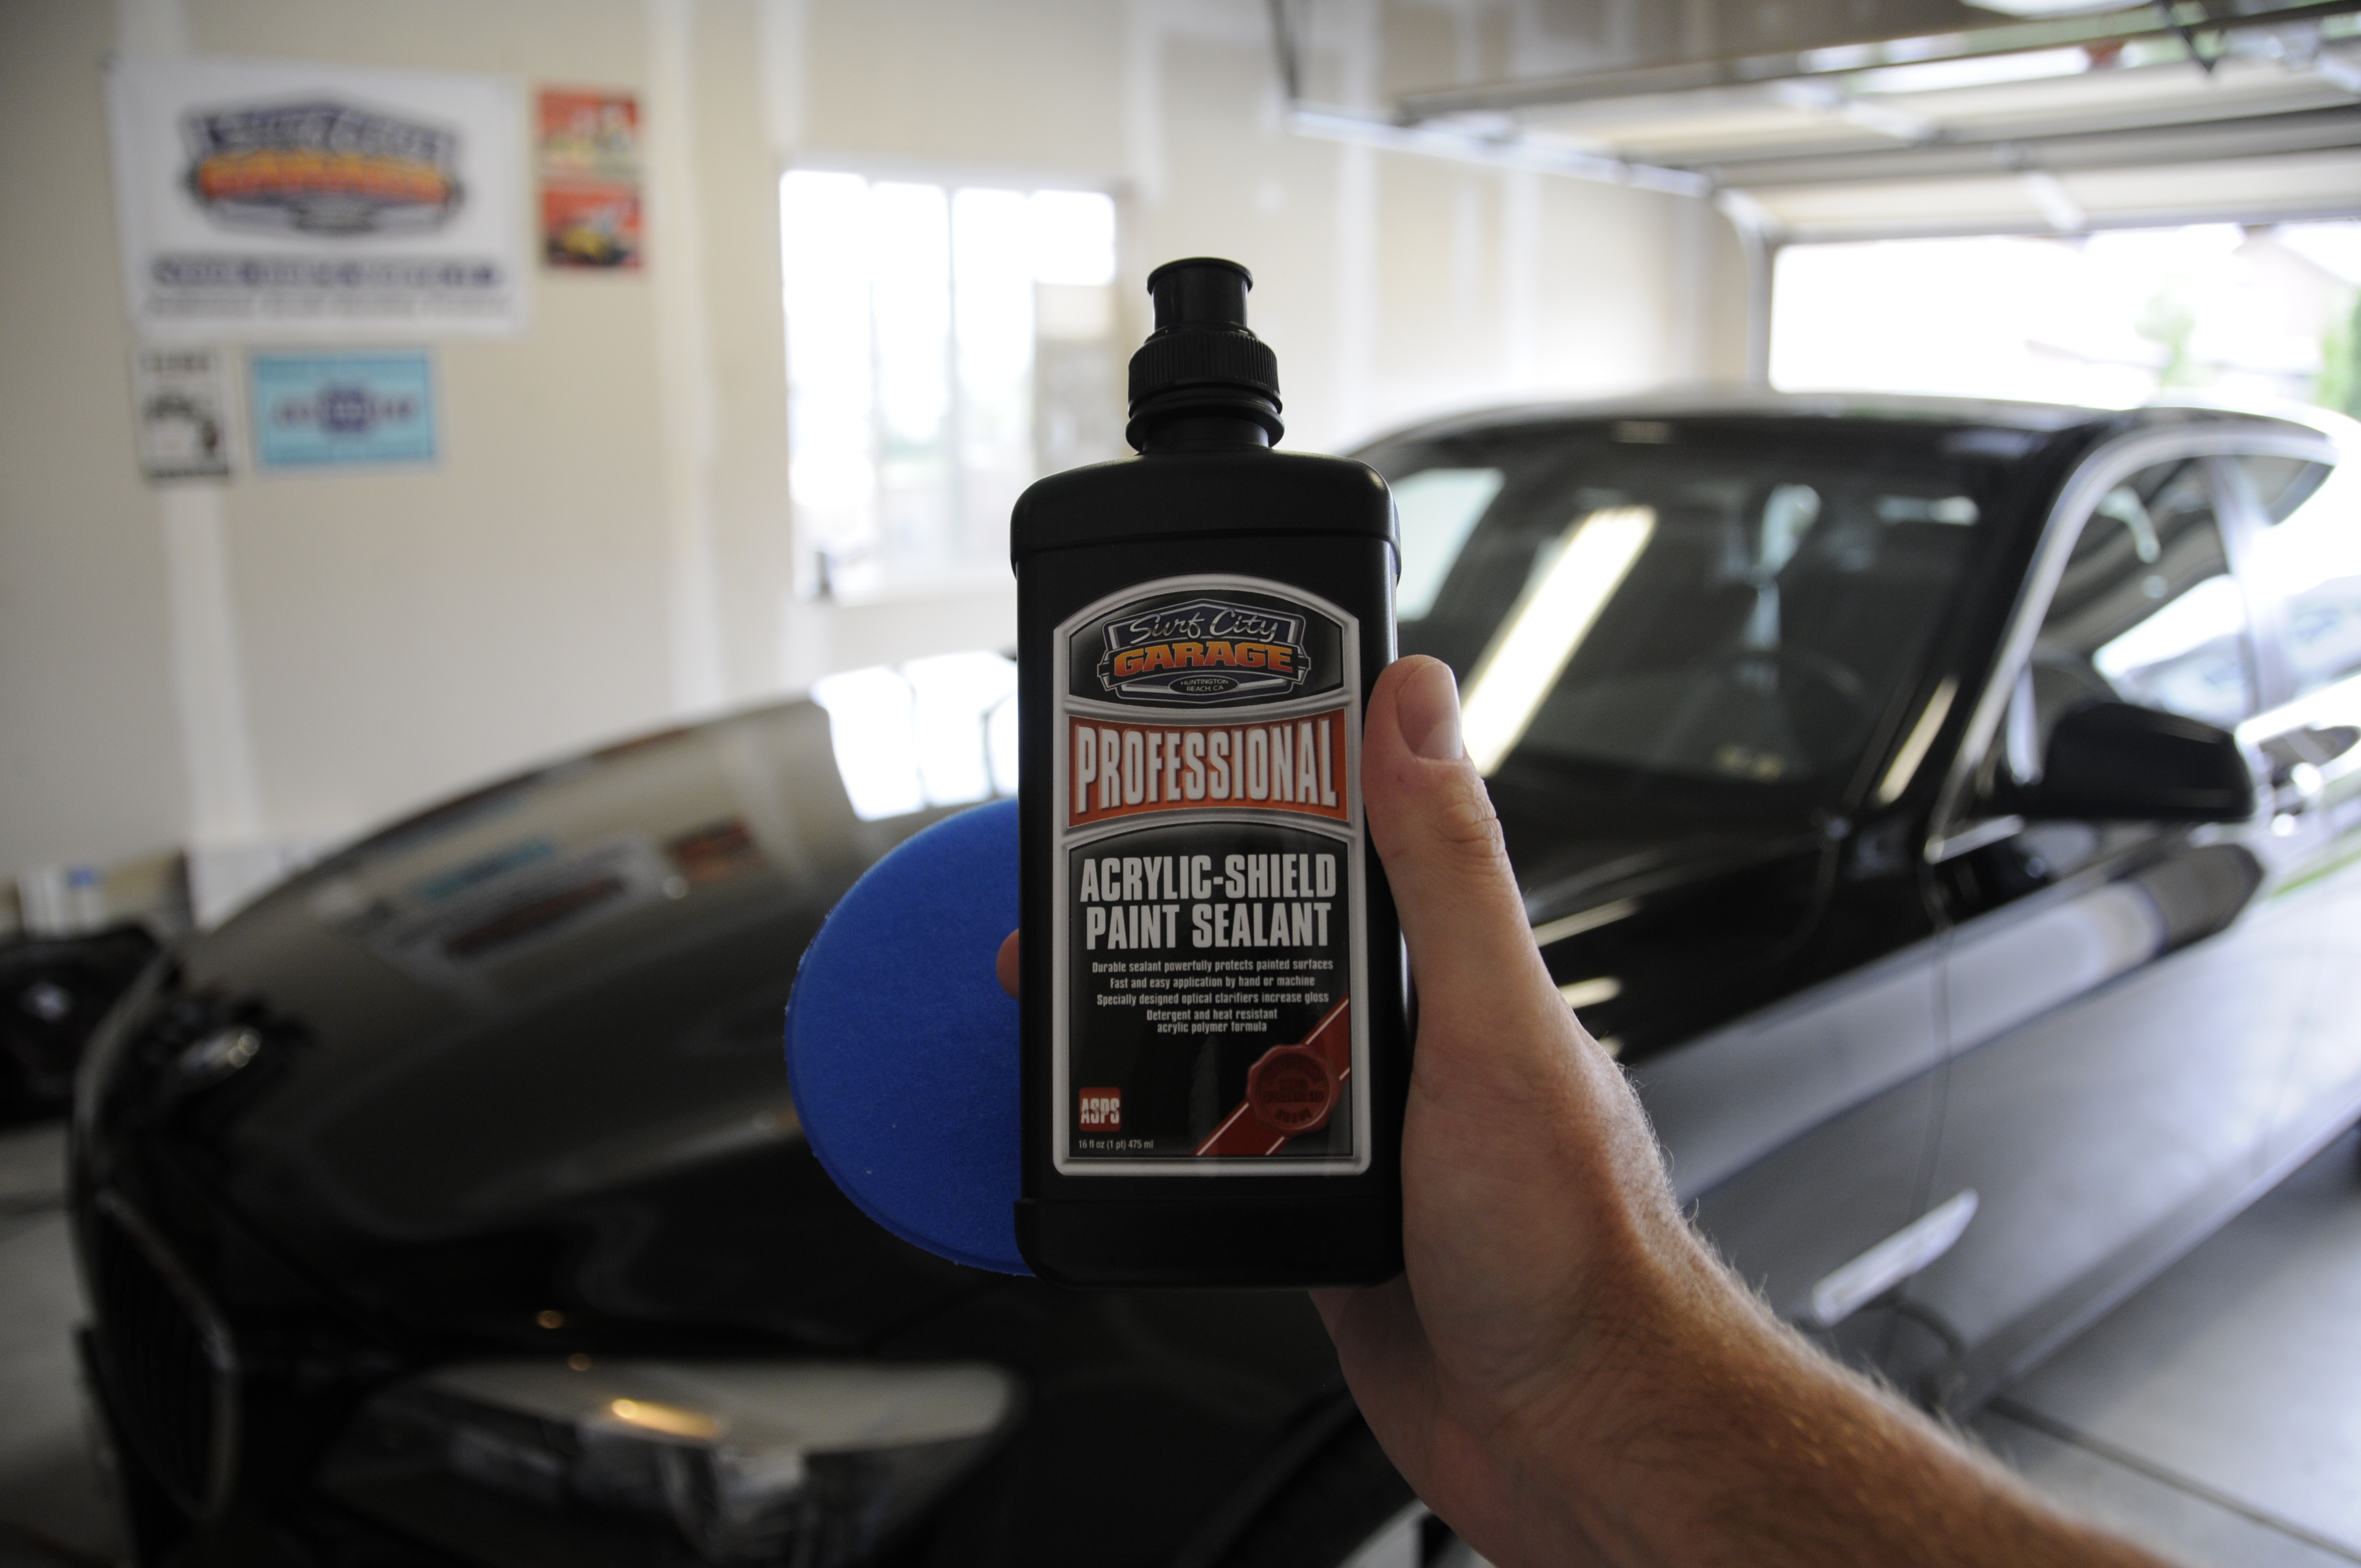
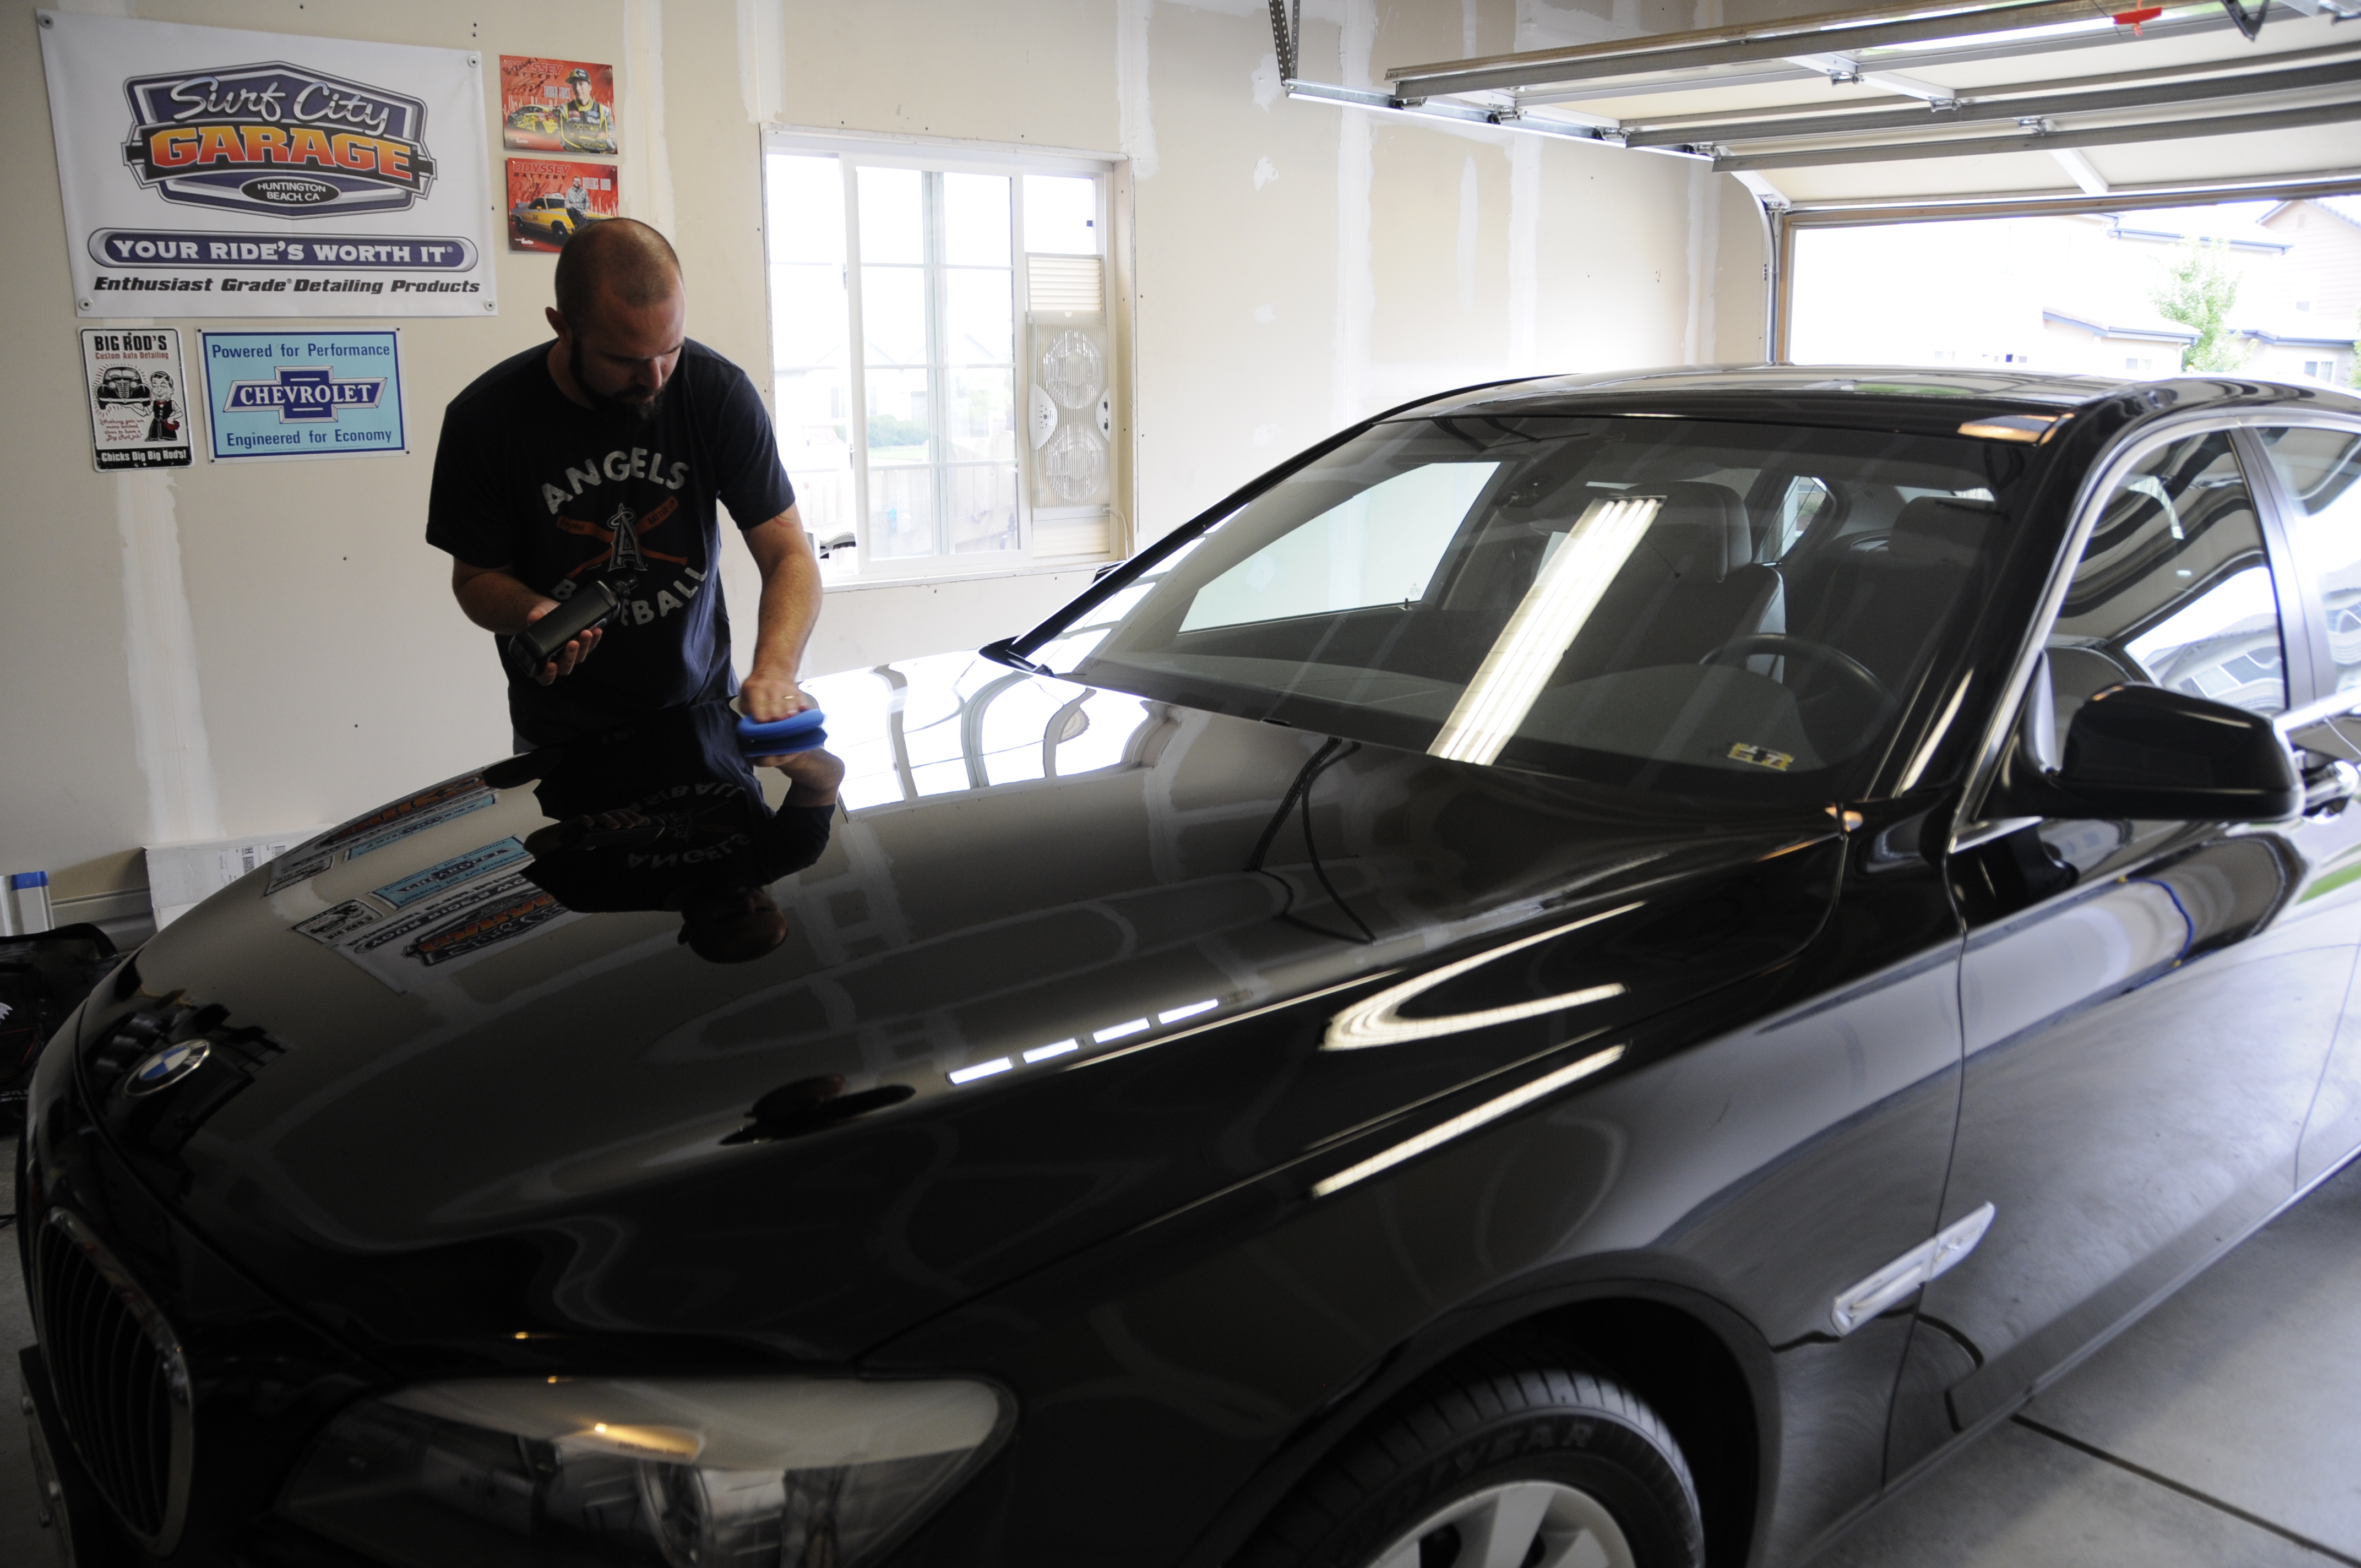
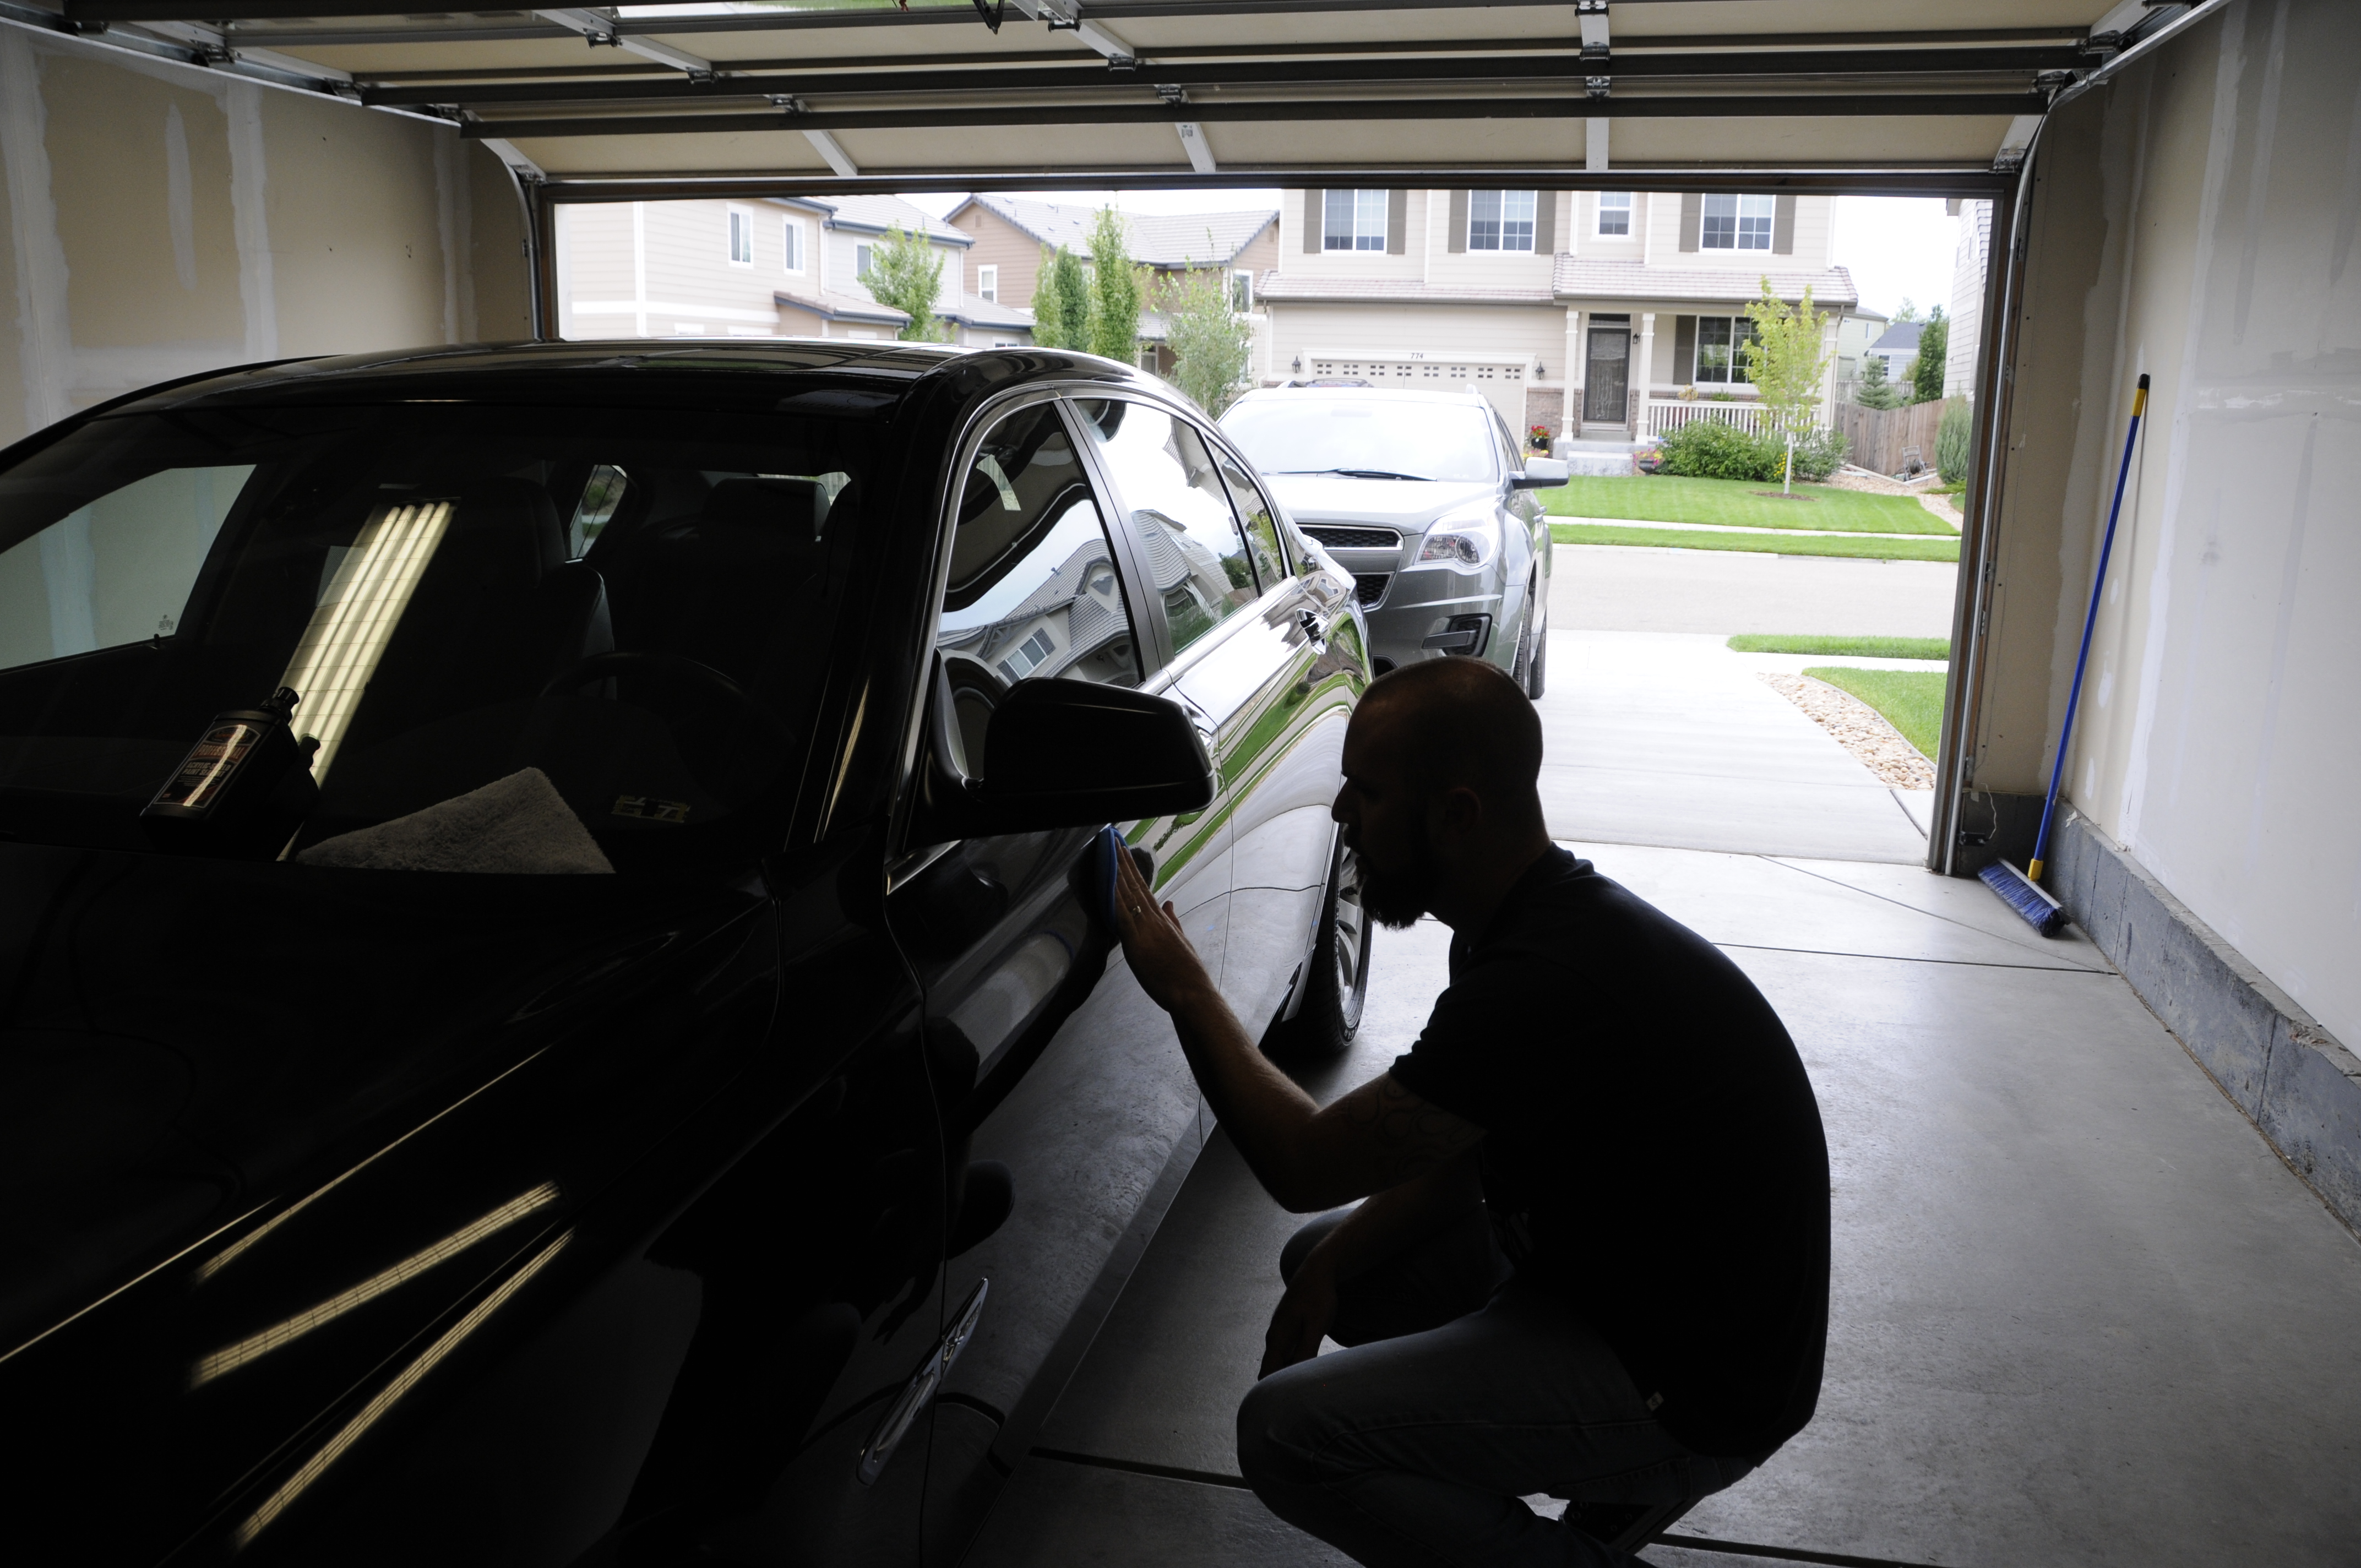
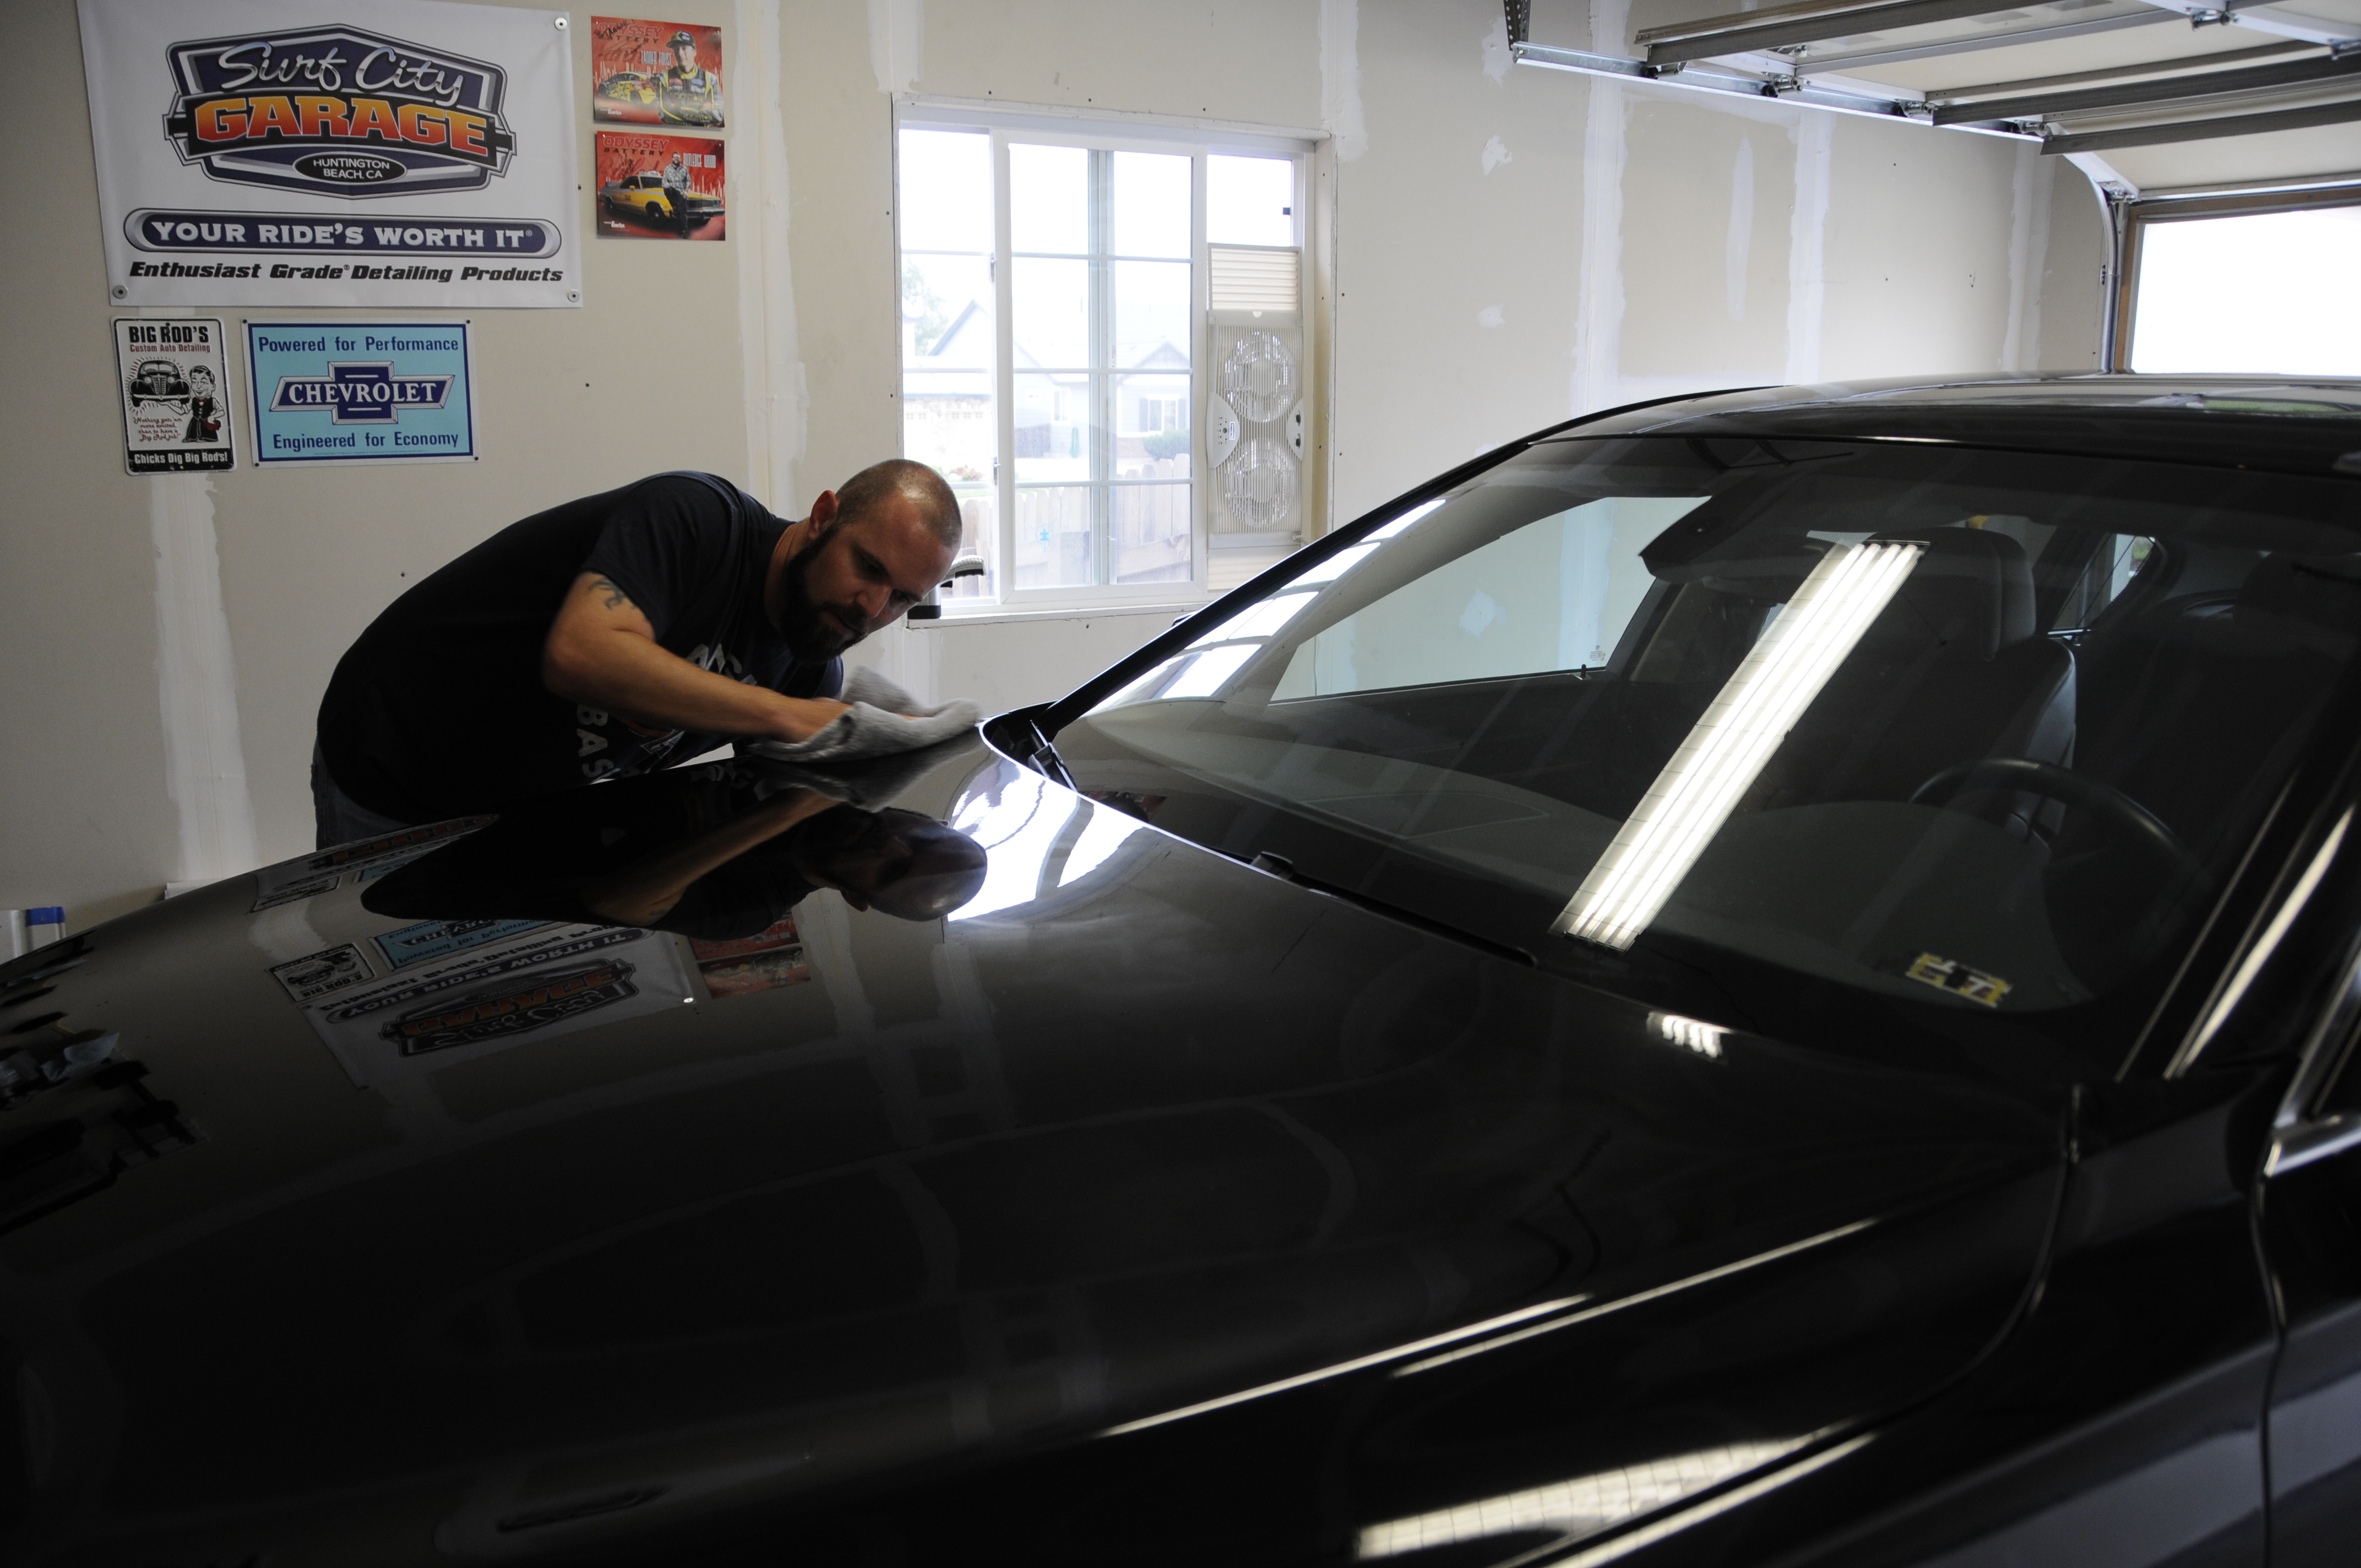
With the glass sealed up it was time to address the paint. Like a dummy I used all my crimson foam pads during the correction process and didn't remember to clean any of them for application of sealant. Not to worry though - hand application with SCG Pro Acrylic-Shield is more work by hand, but not difficult.
I used a blue foam disc to spread a thin coating of Acrylic-Shield over the the paint, removed with an edgless towel and repeated for a total of 2 coats to maximize protection and gloss.
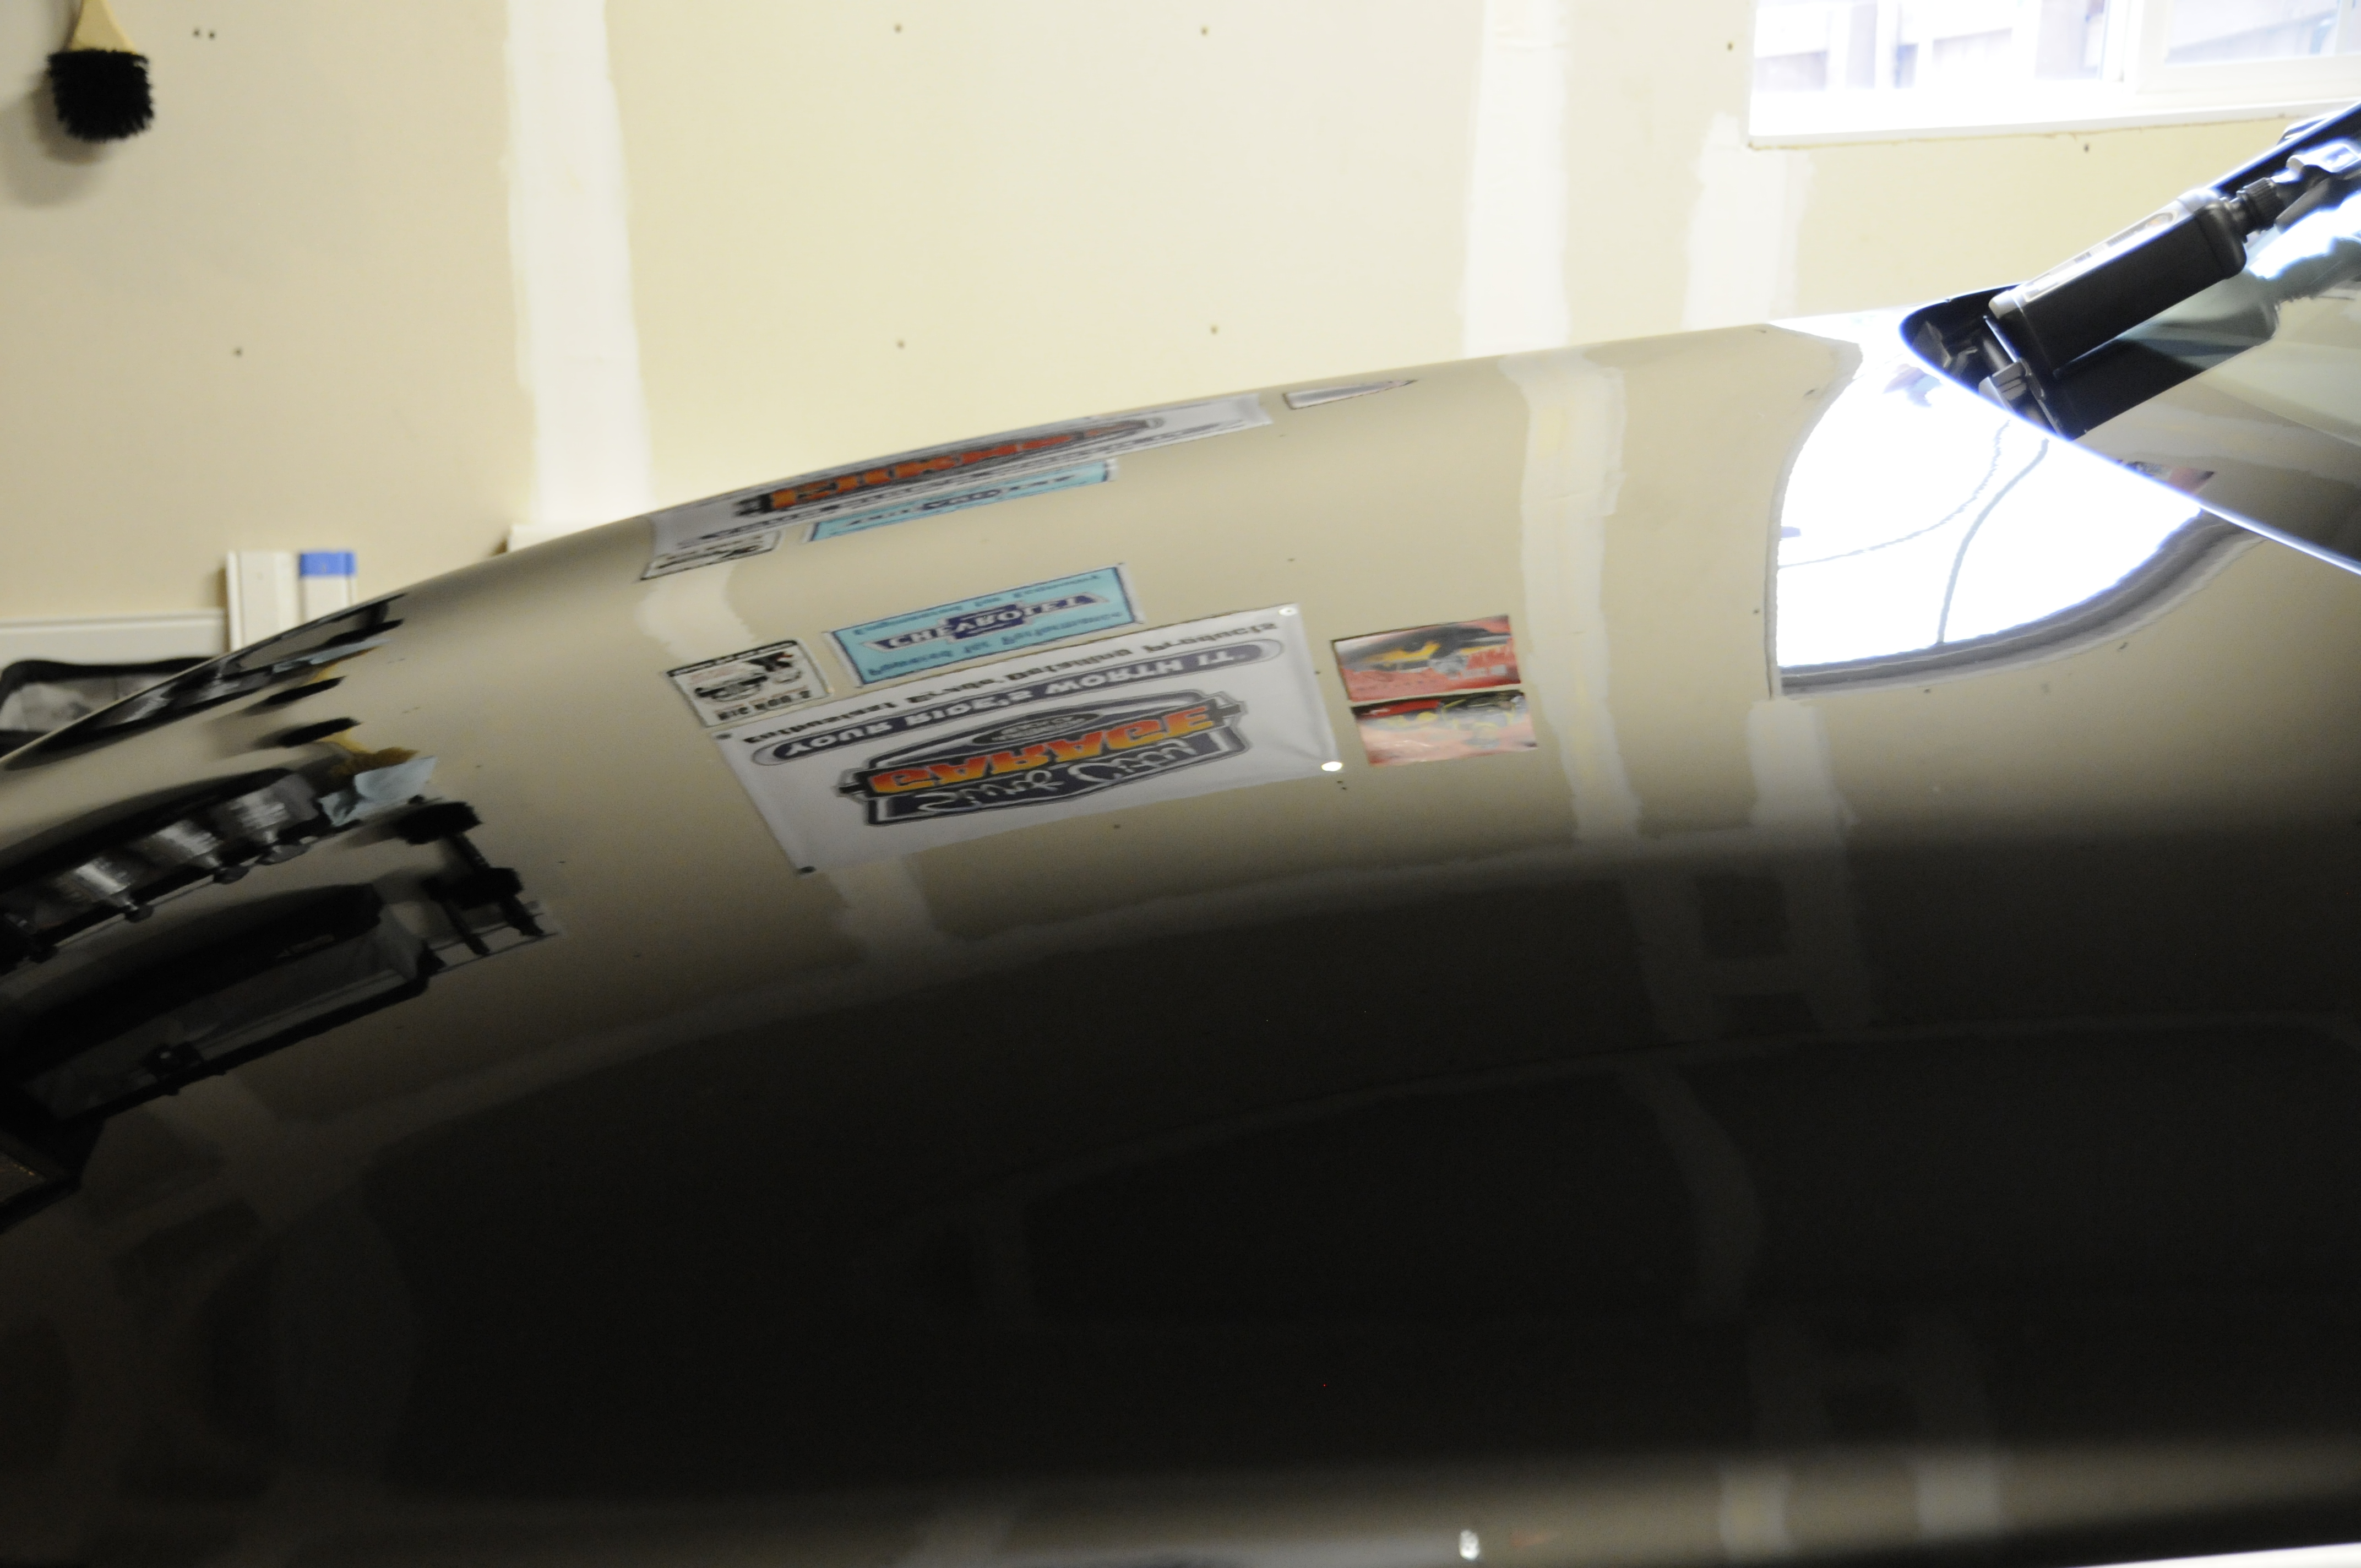
With the paint done I took a moment to attack the engine, which as shown earlier was in great shape already, just dusty. A 1.25" round boars hair detail brush, light blue utility towels, and a little Exterior Trim Conditioner diluted 4:1 were used to refresh the engine bay by removing the excess silicone dressing and even it out with ETC.


cont'd...
APPLYING PROTECTION:
Not wanting to neglect the glass all the exterior glass was cleaned with Clarifying Glass Cleaner then treated to a coat of SCG Pro Clarifying Glass Sealant


With the glass sealed up it was time to address the paint. Like a dummy I used all my crimson foam pads during the correction process and didn't remember to clean any of them for application of sealant. Not to worry though - hand application with SCG Pro Acrylic-Shield is more work by hand, but not difficult.
I used a blue foam disc to spread a thin coating of Acrylic-Shield over the the paint, removed with an edgless towel and repeated for a total of 2 coats to maximize protection and gloss.


Trending Topics
#8
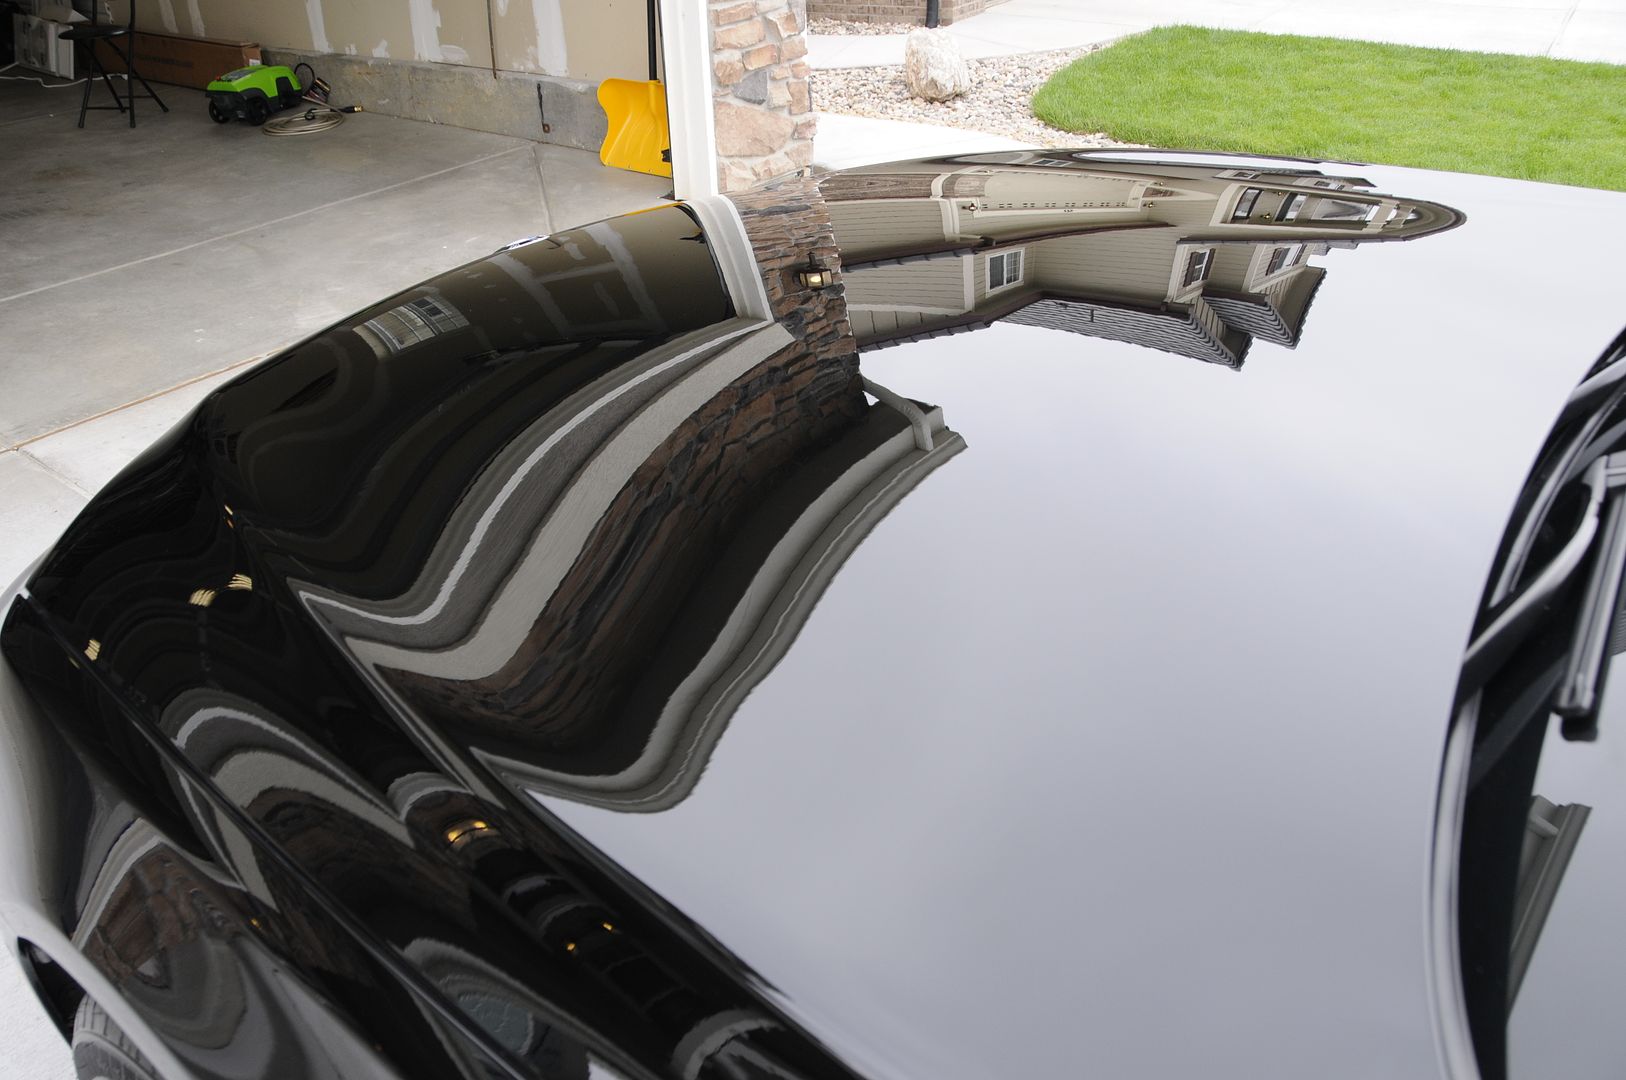
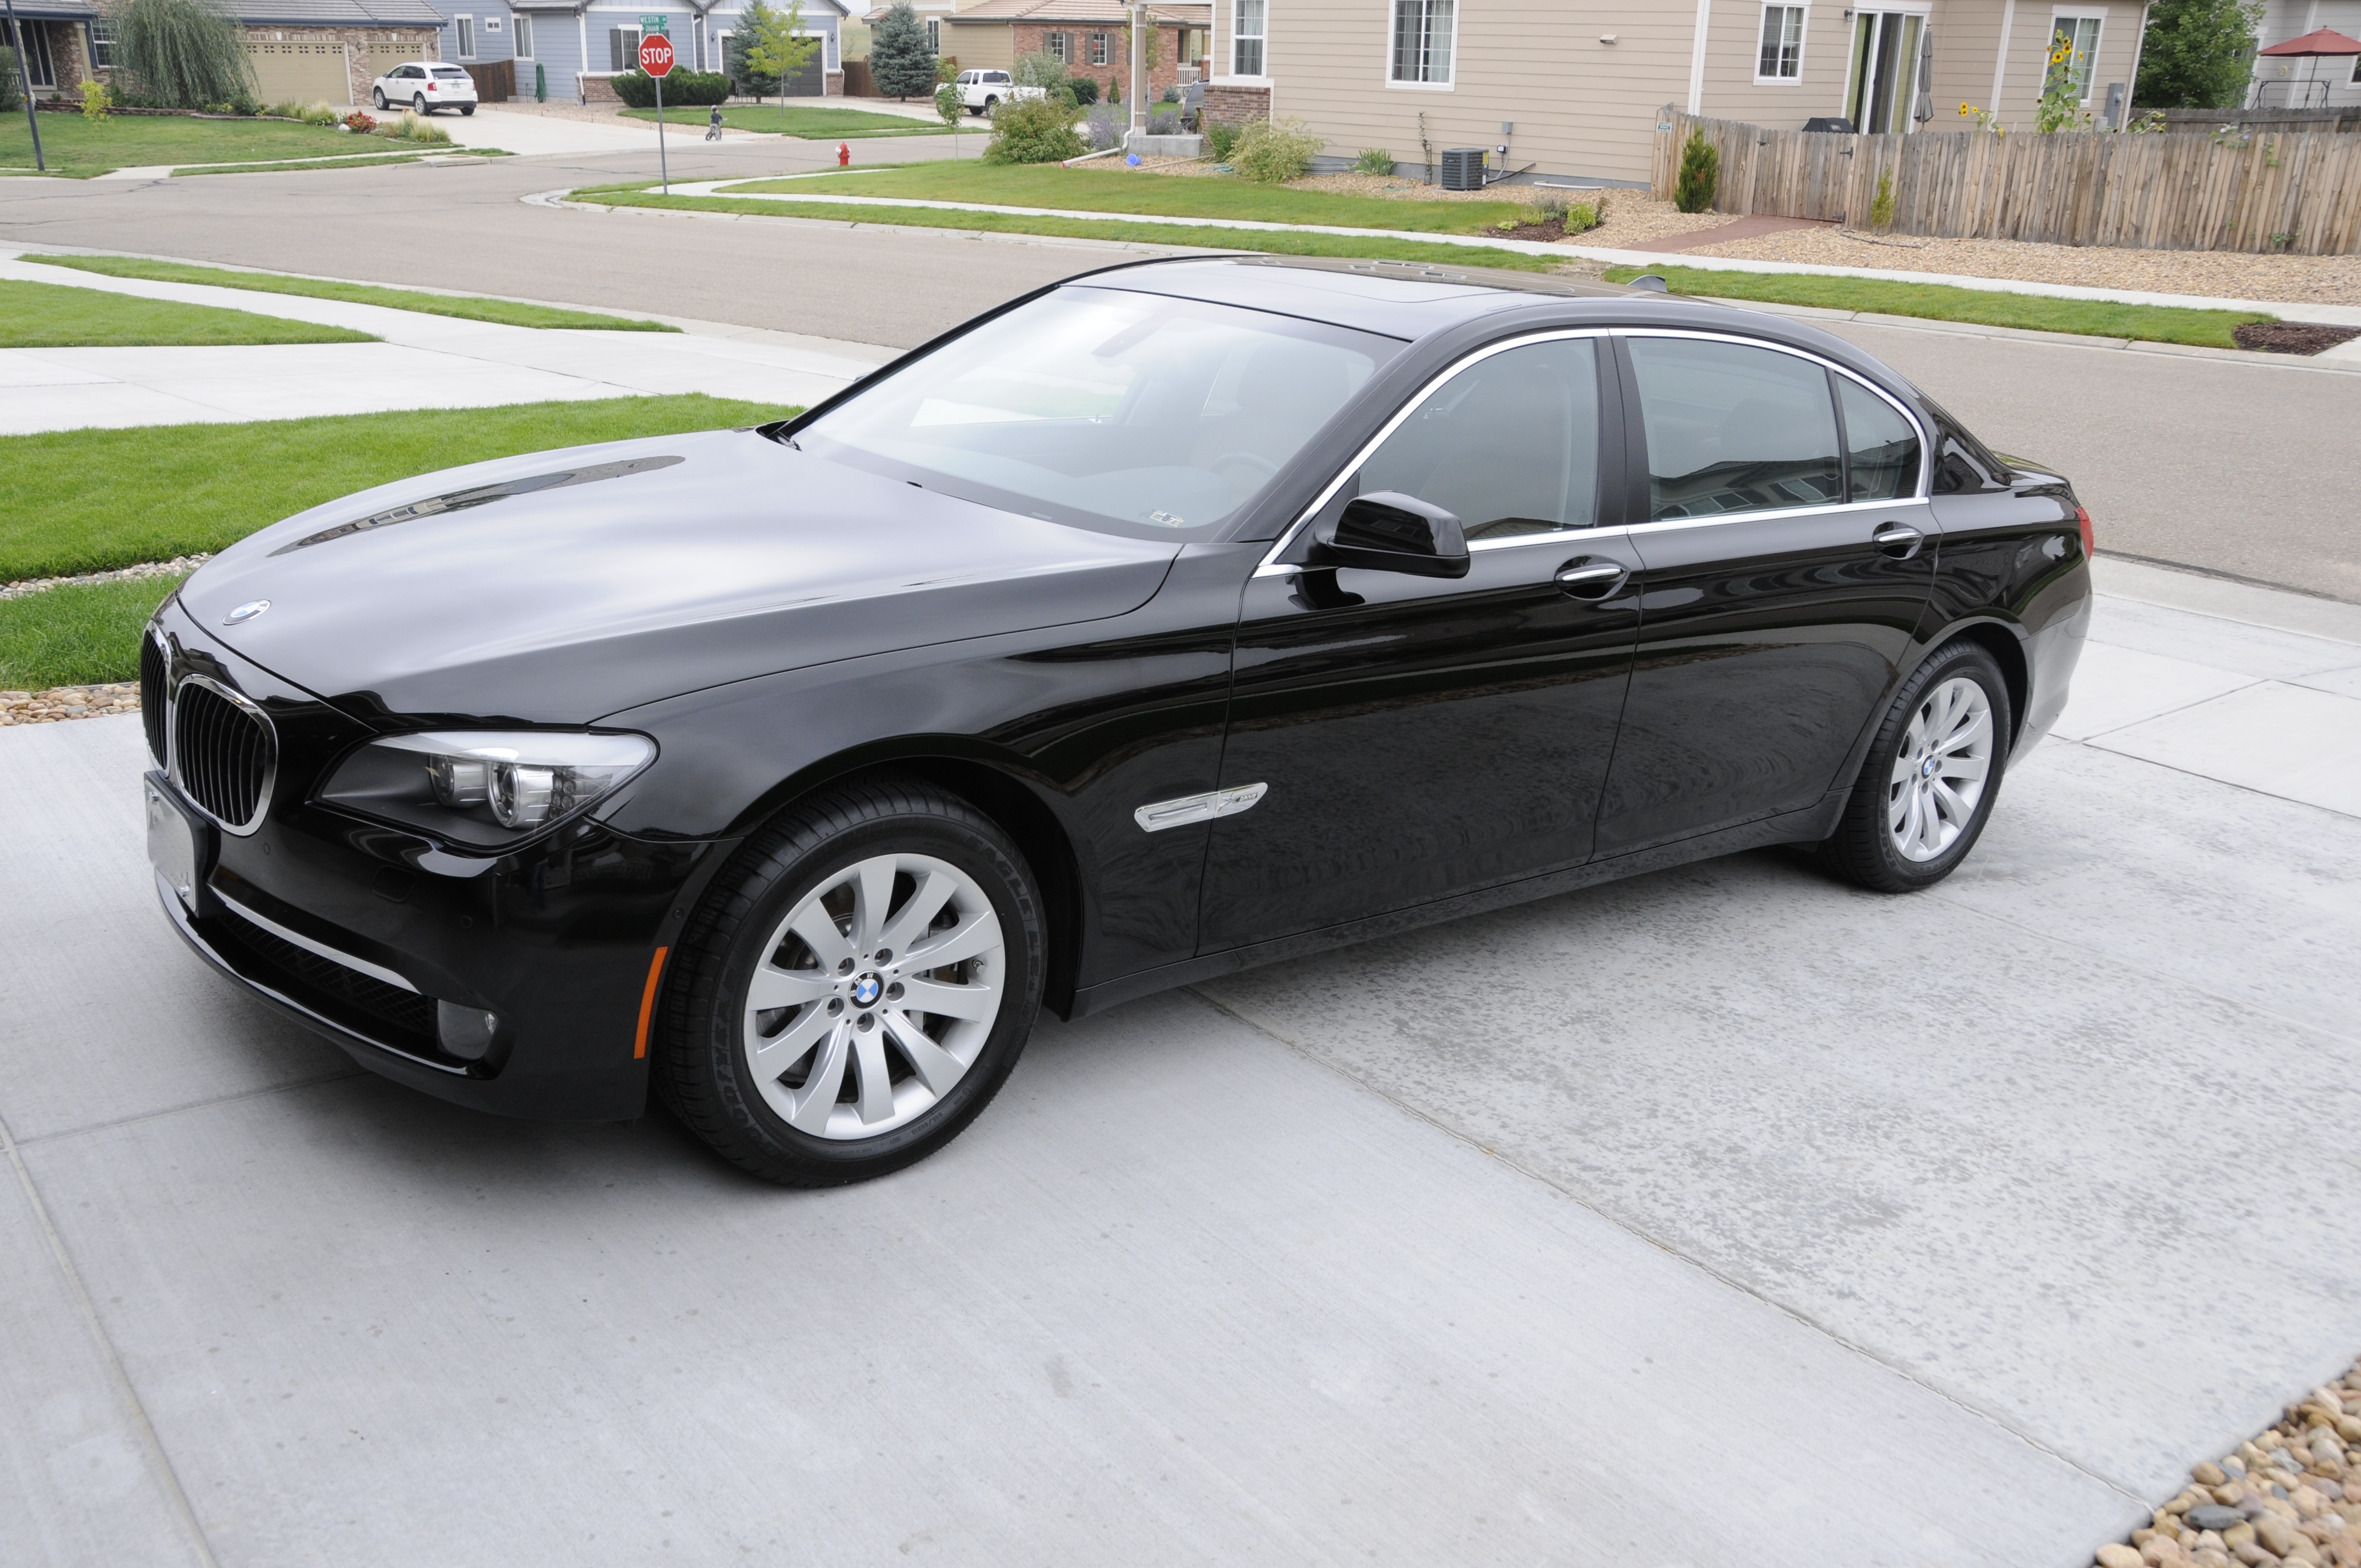
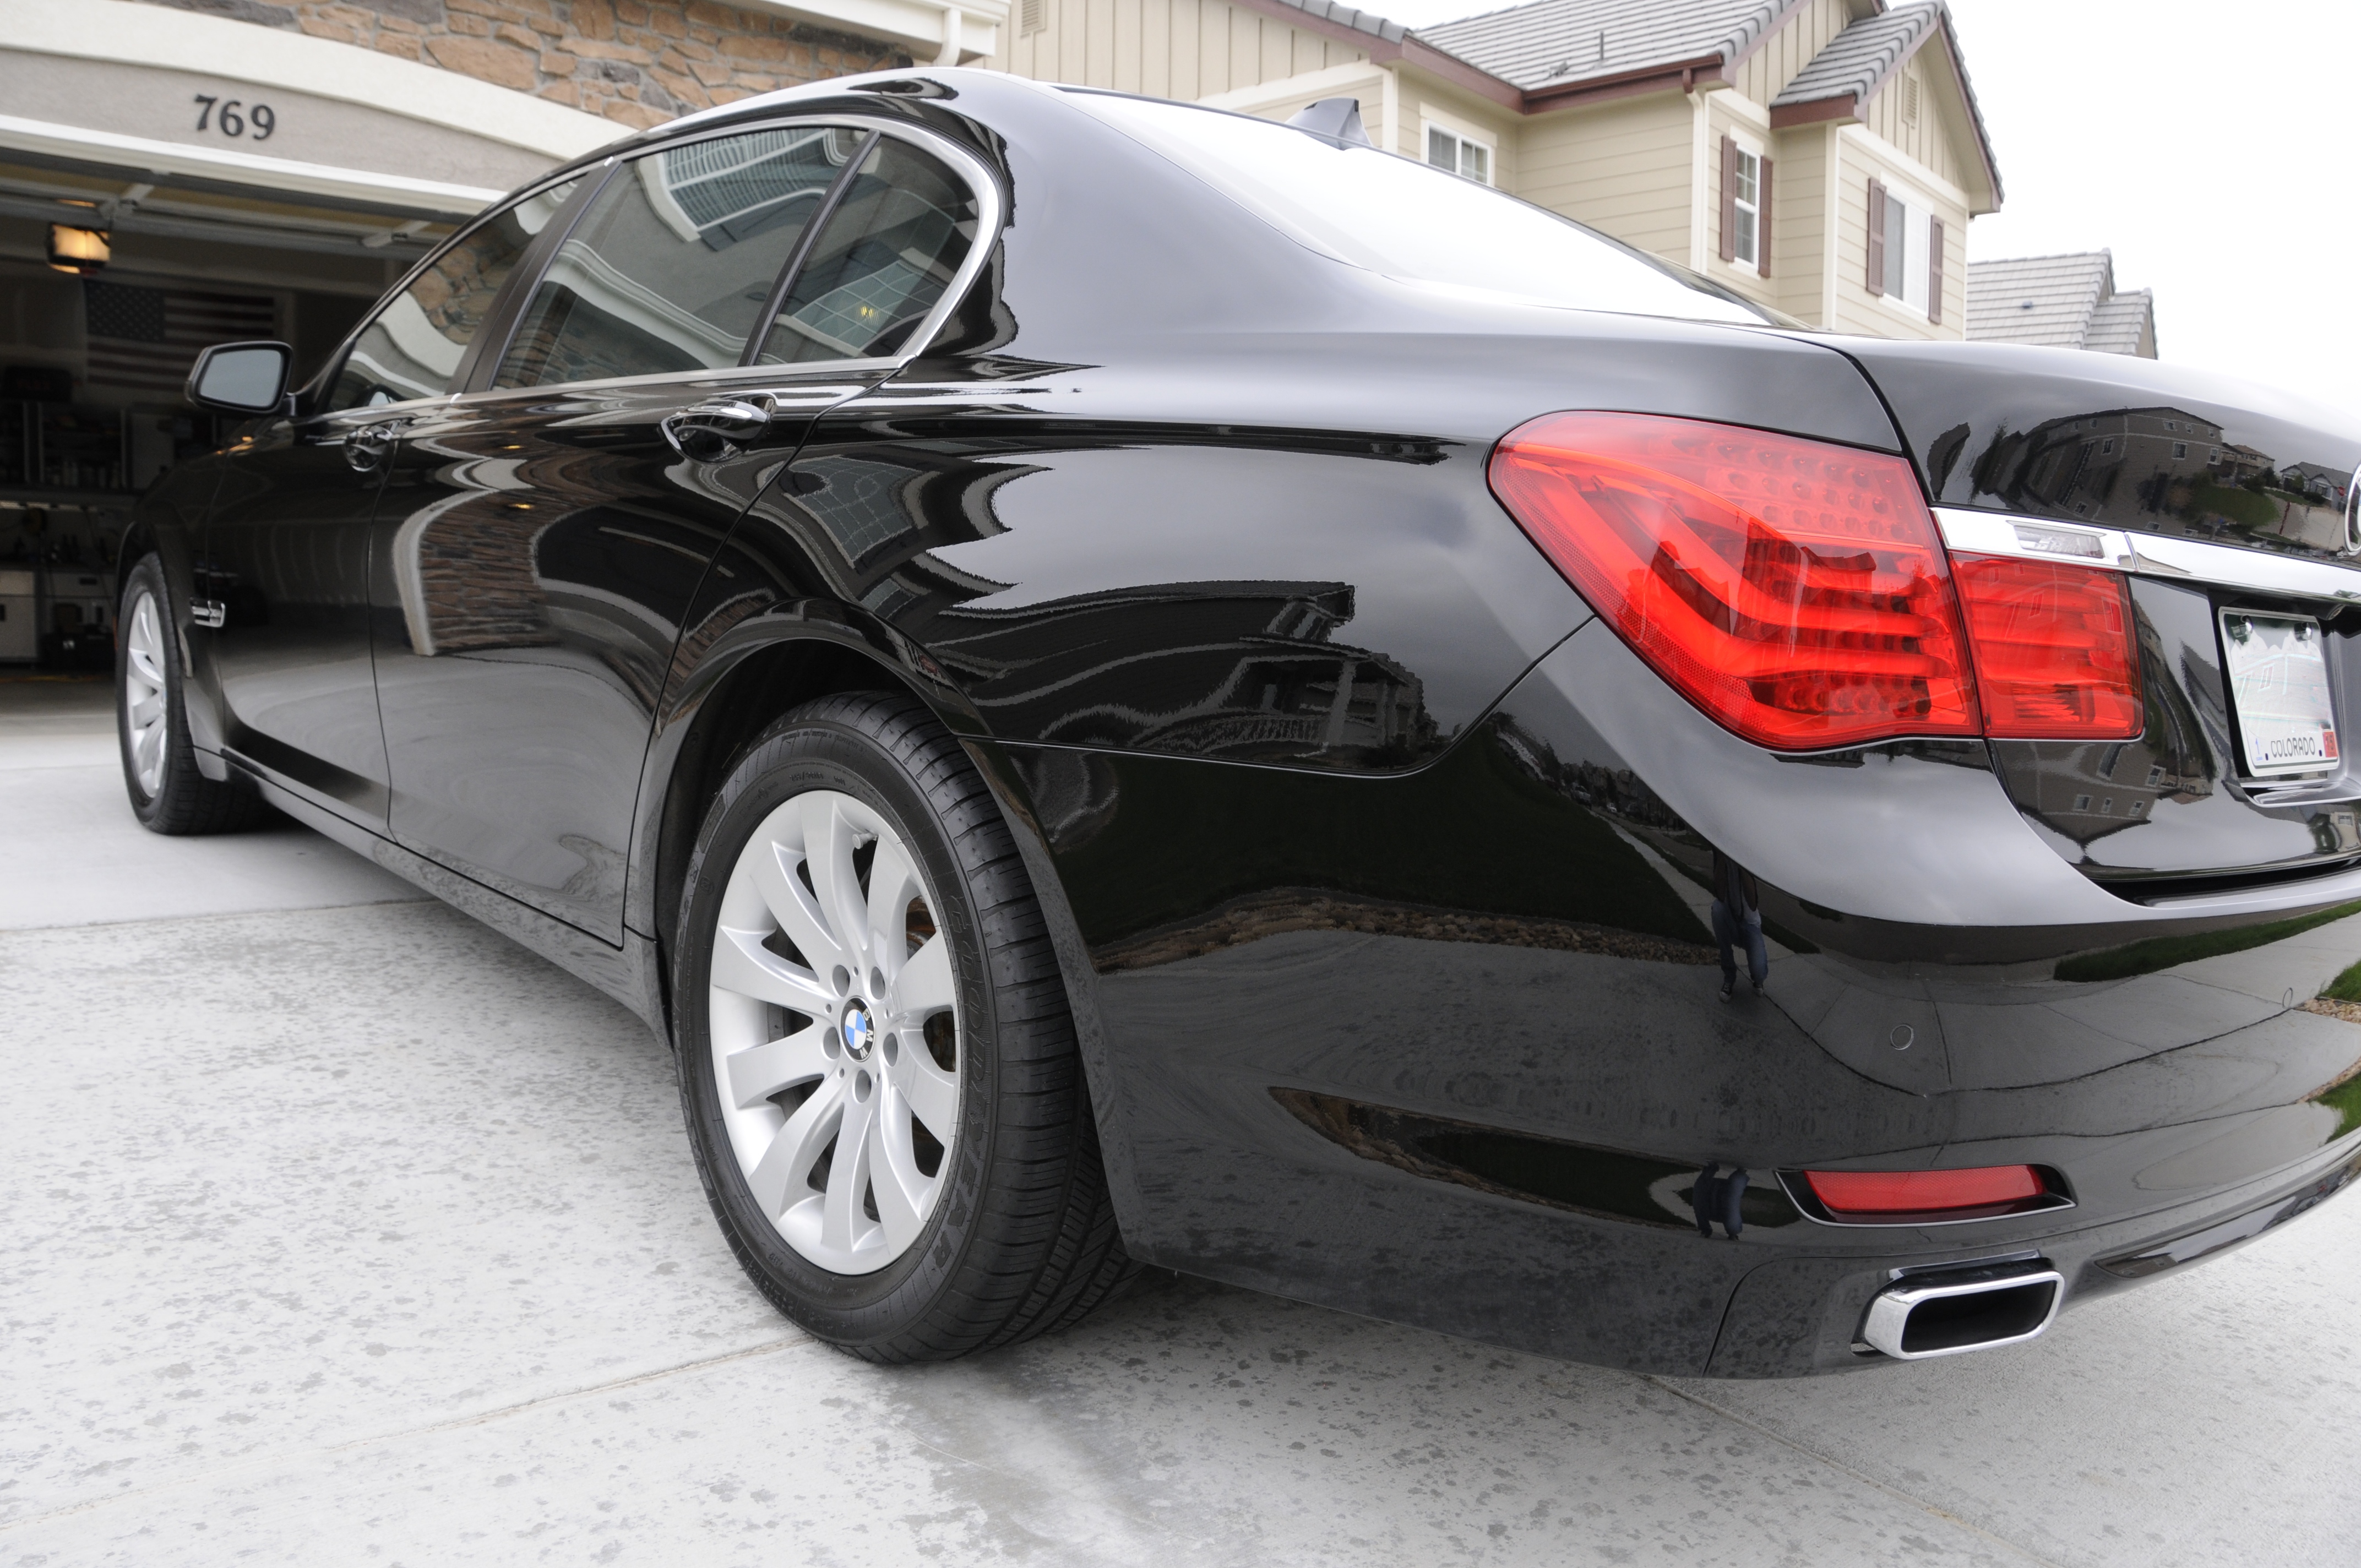
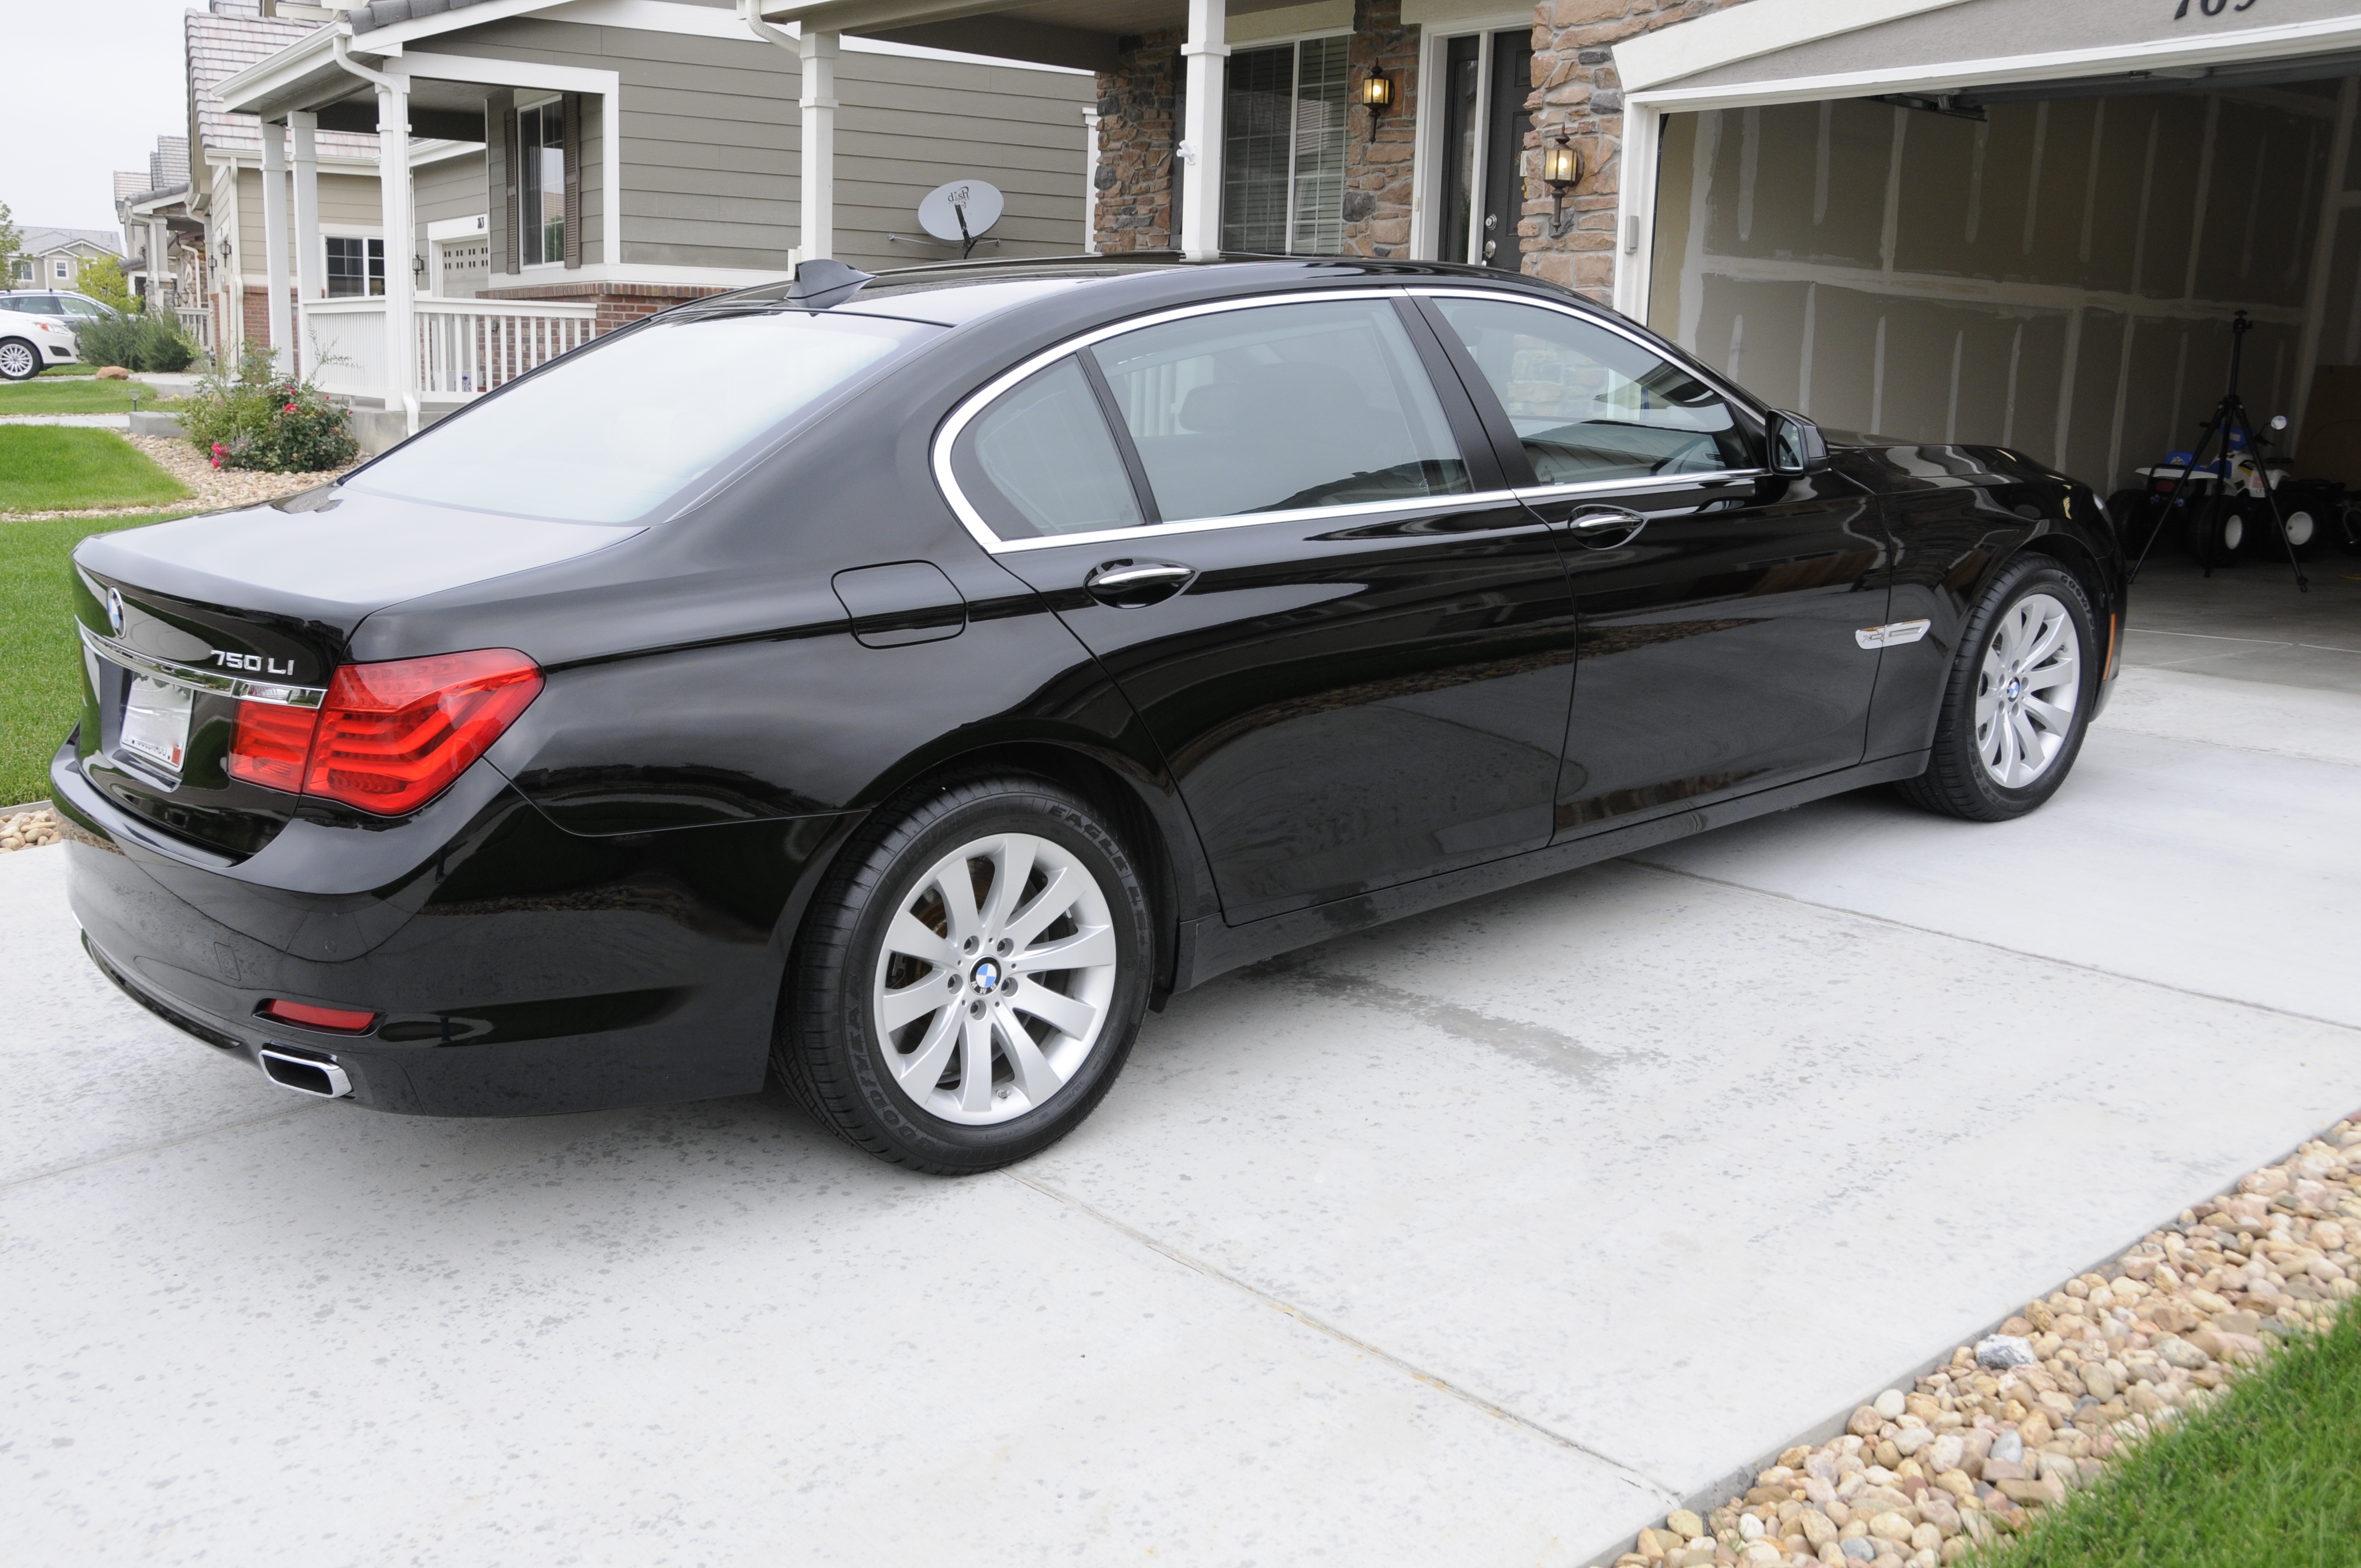
Resuming the next day (Saturday) the car was moved outside for a quick inspection to make sure I had removed all the residues from the sealant application. I was feeling ambitious so I topped the sealant with a quick coat of SCG Pro Spray Glaze... if some gloss is good, more is better right?
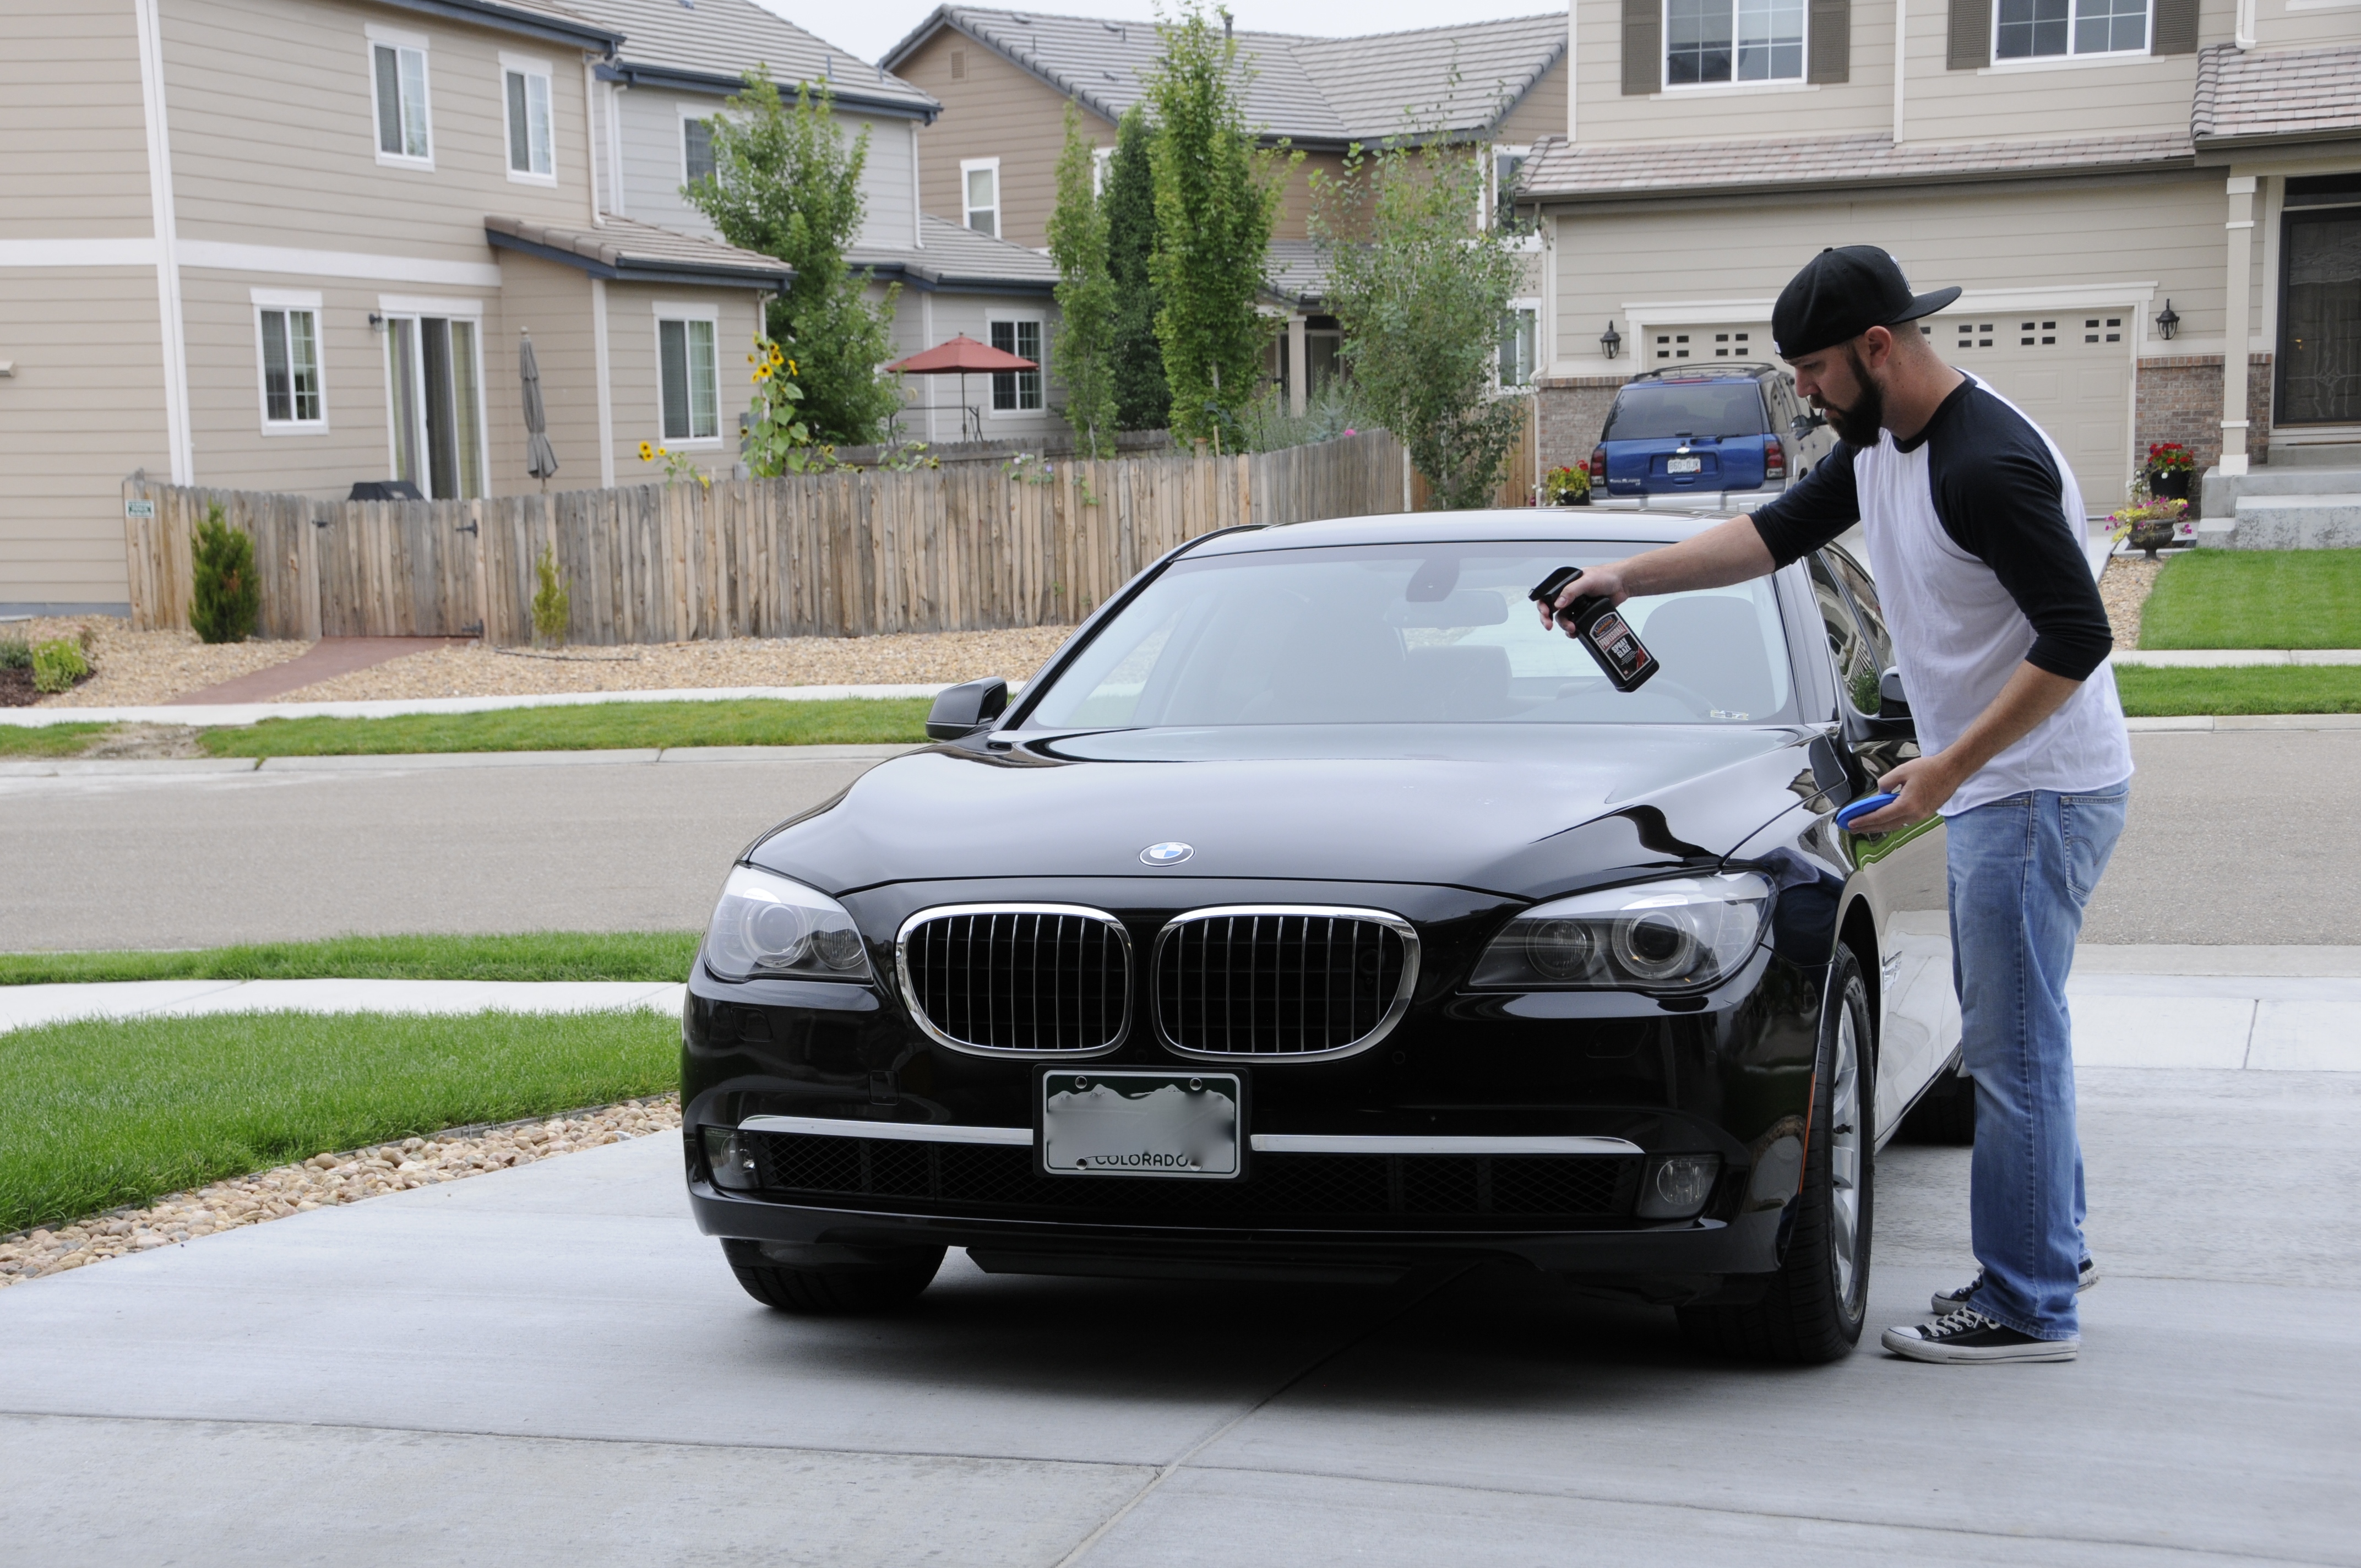
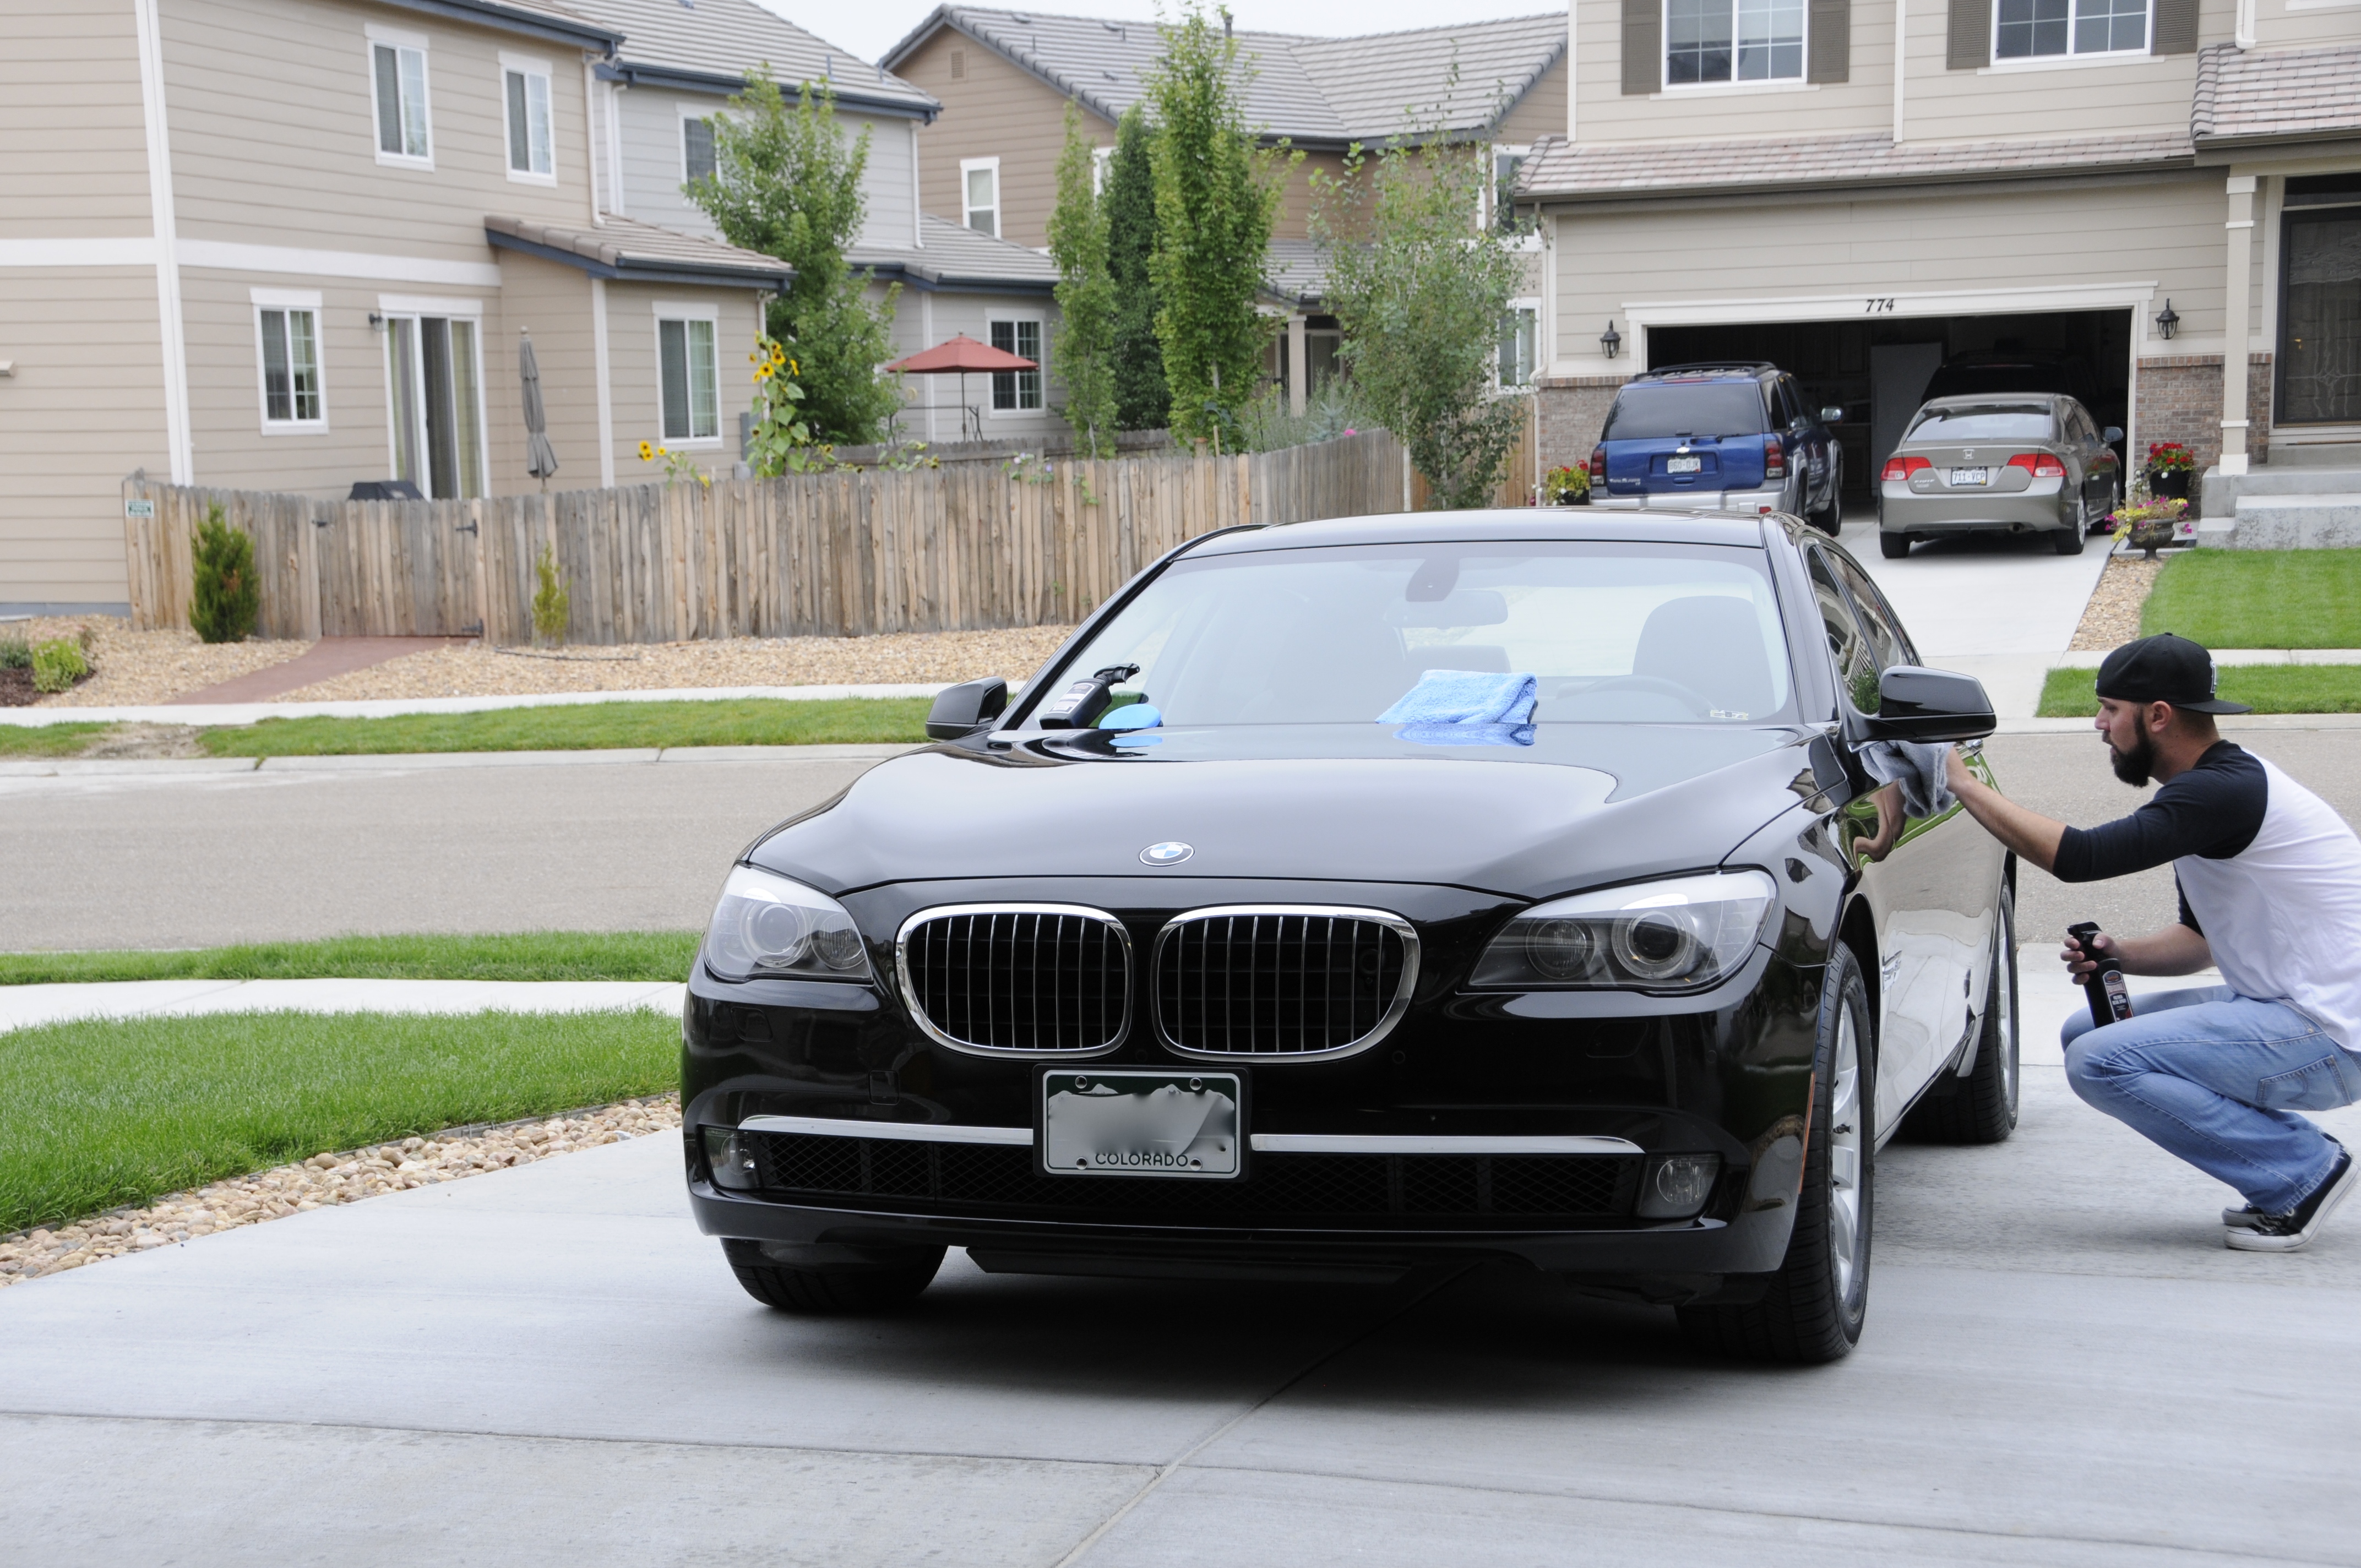
cont'd...[COLOR="Silver"]


cont'd...[COLOR="Silver"]
#9
[/COLOR]INTERIOR TOUCH UP:
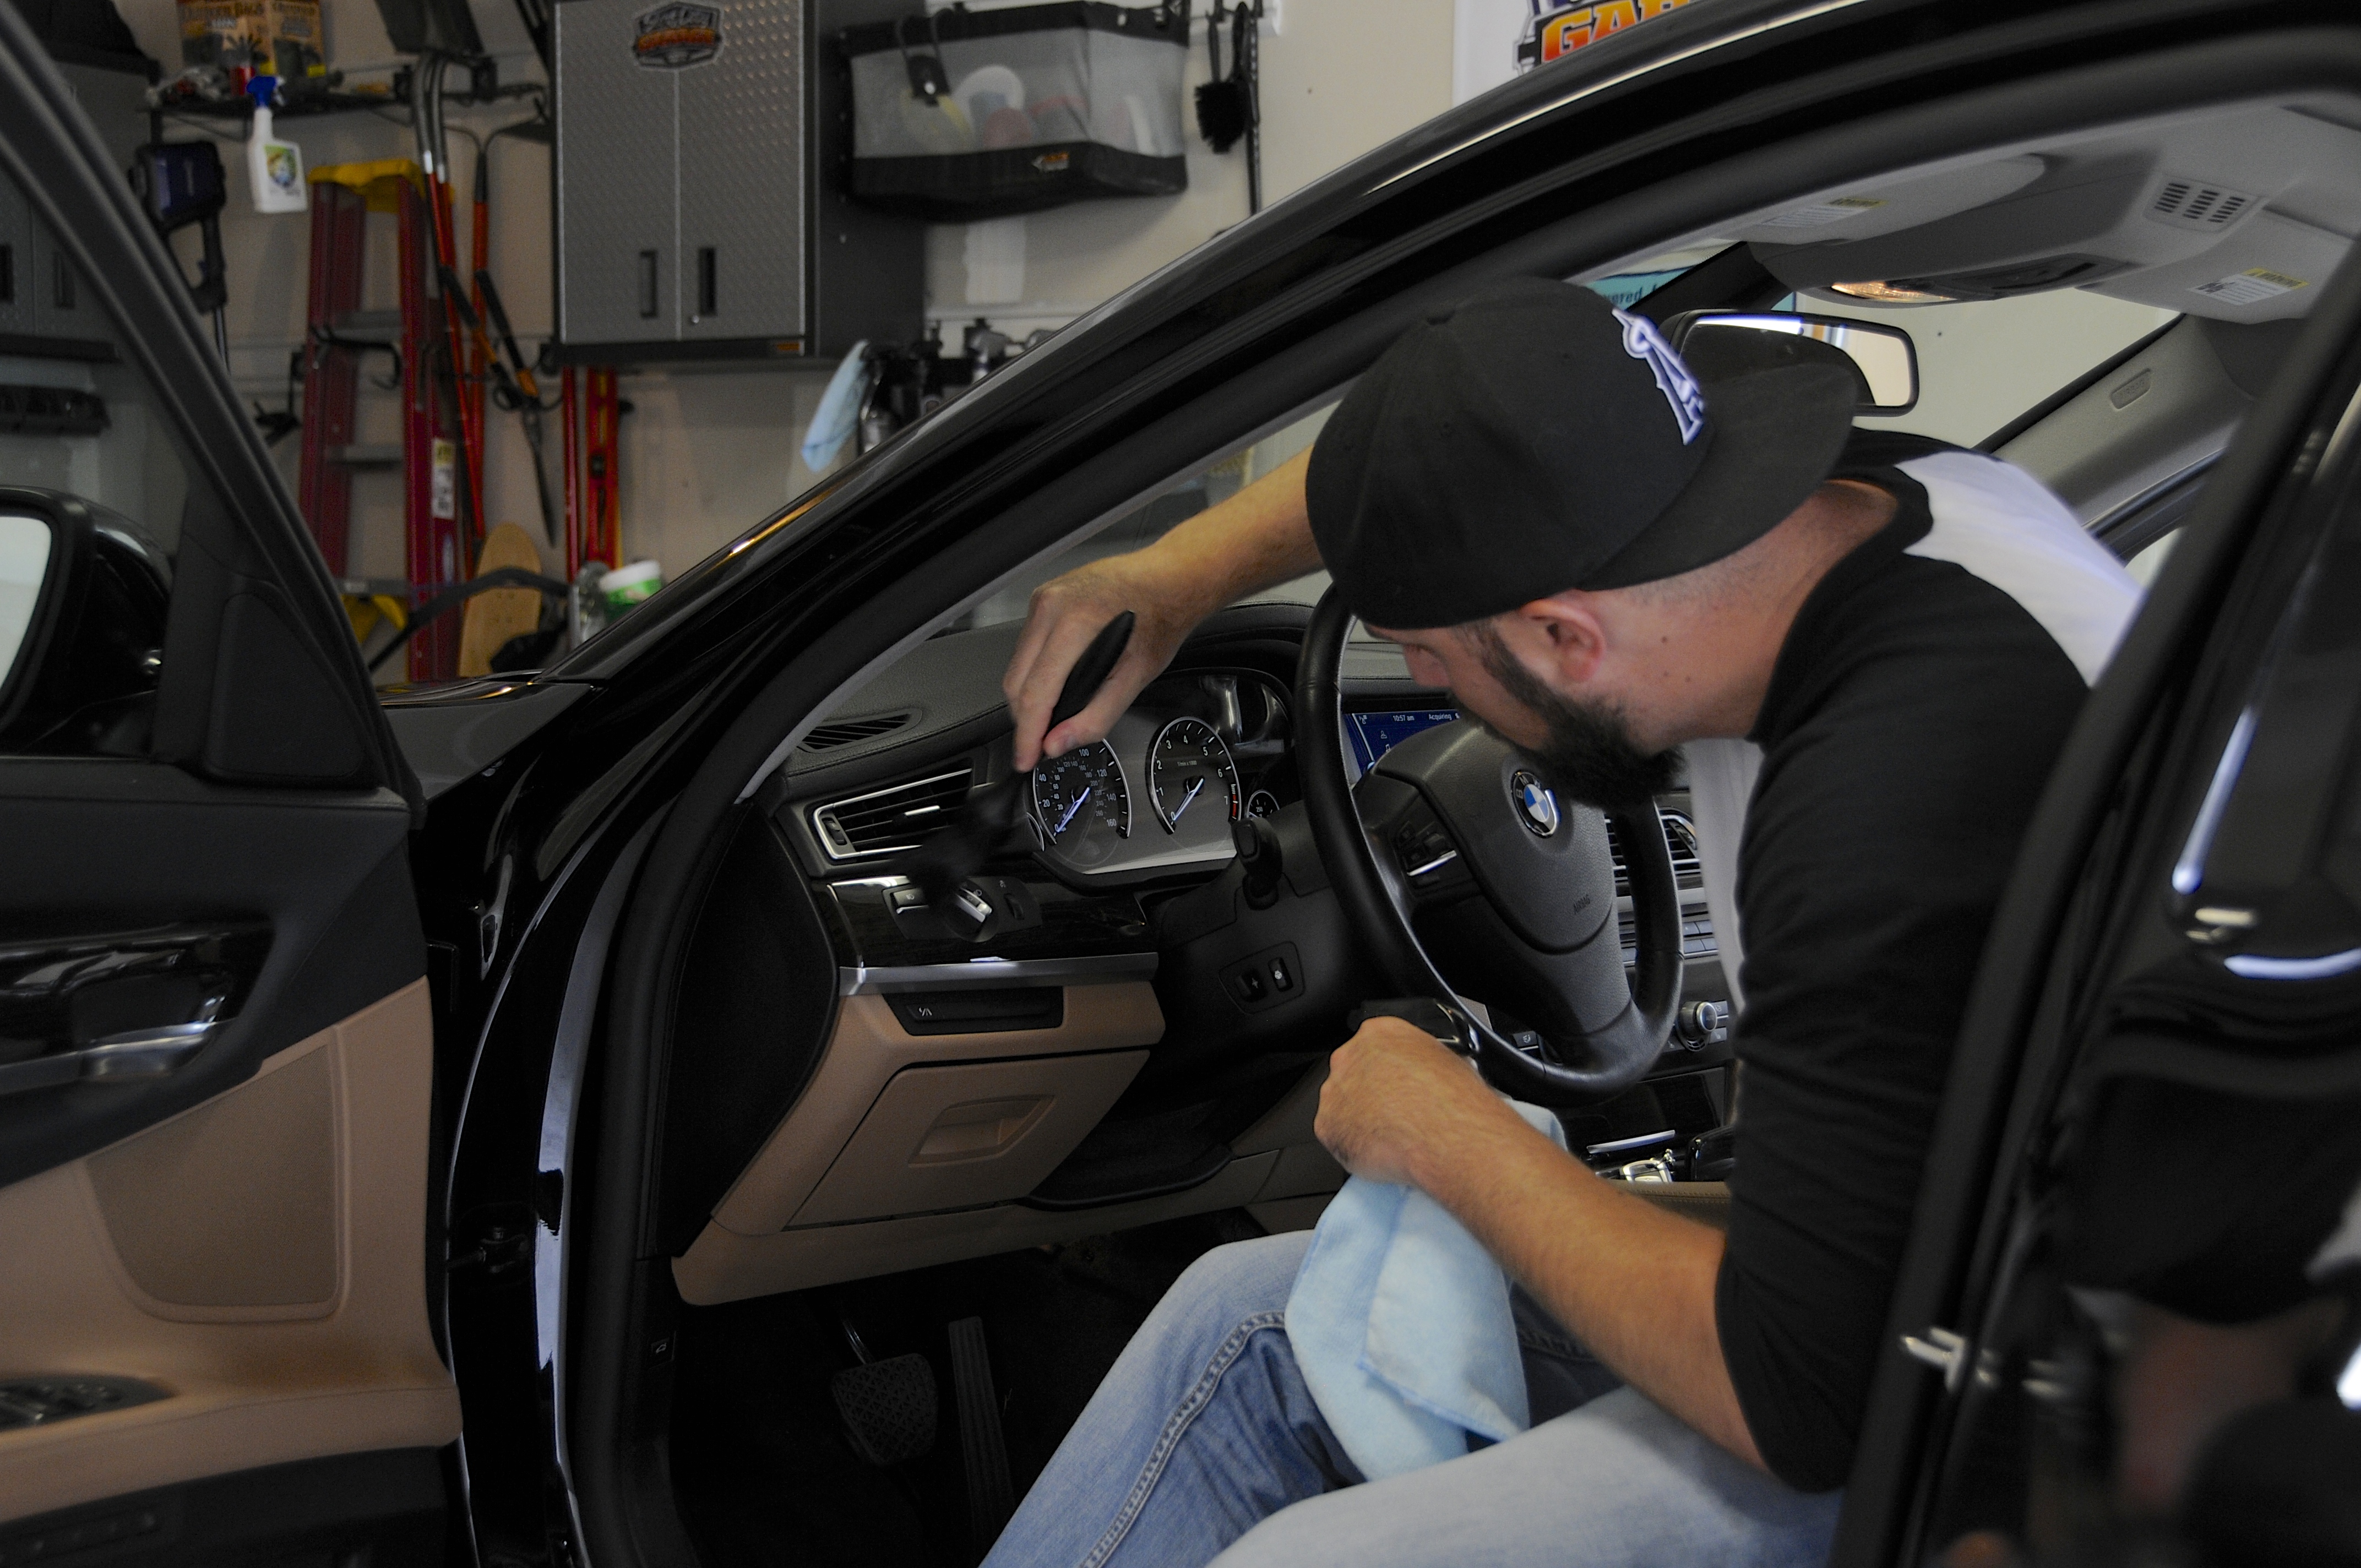
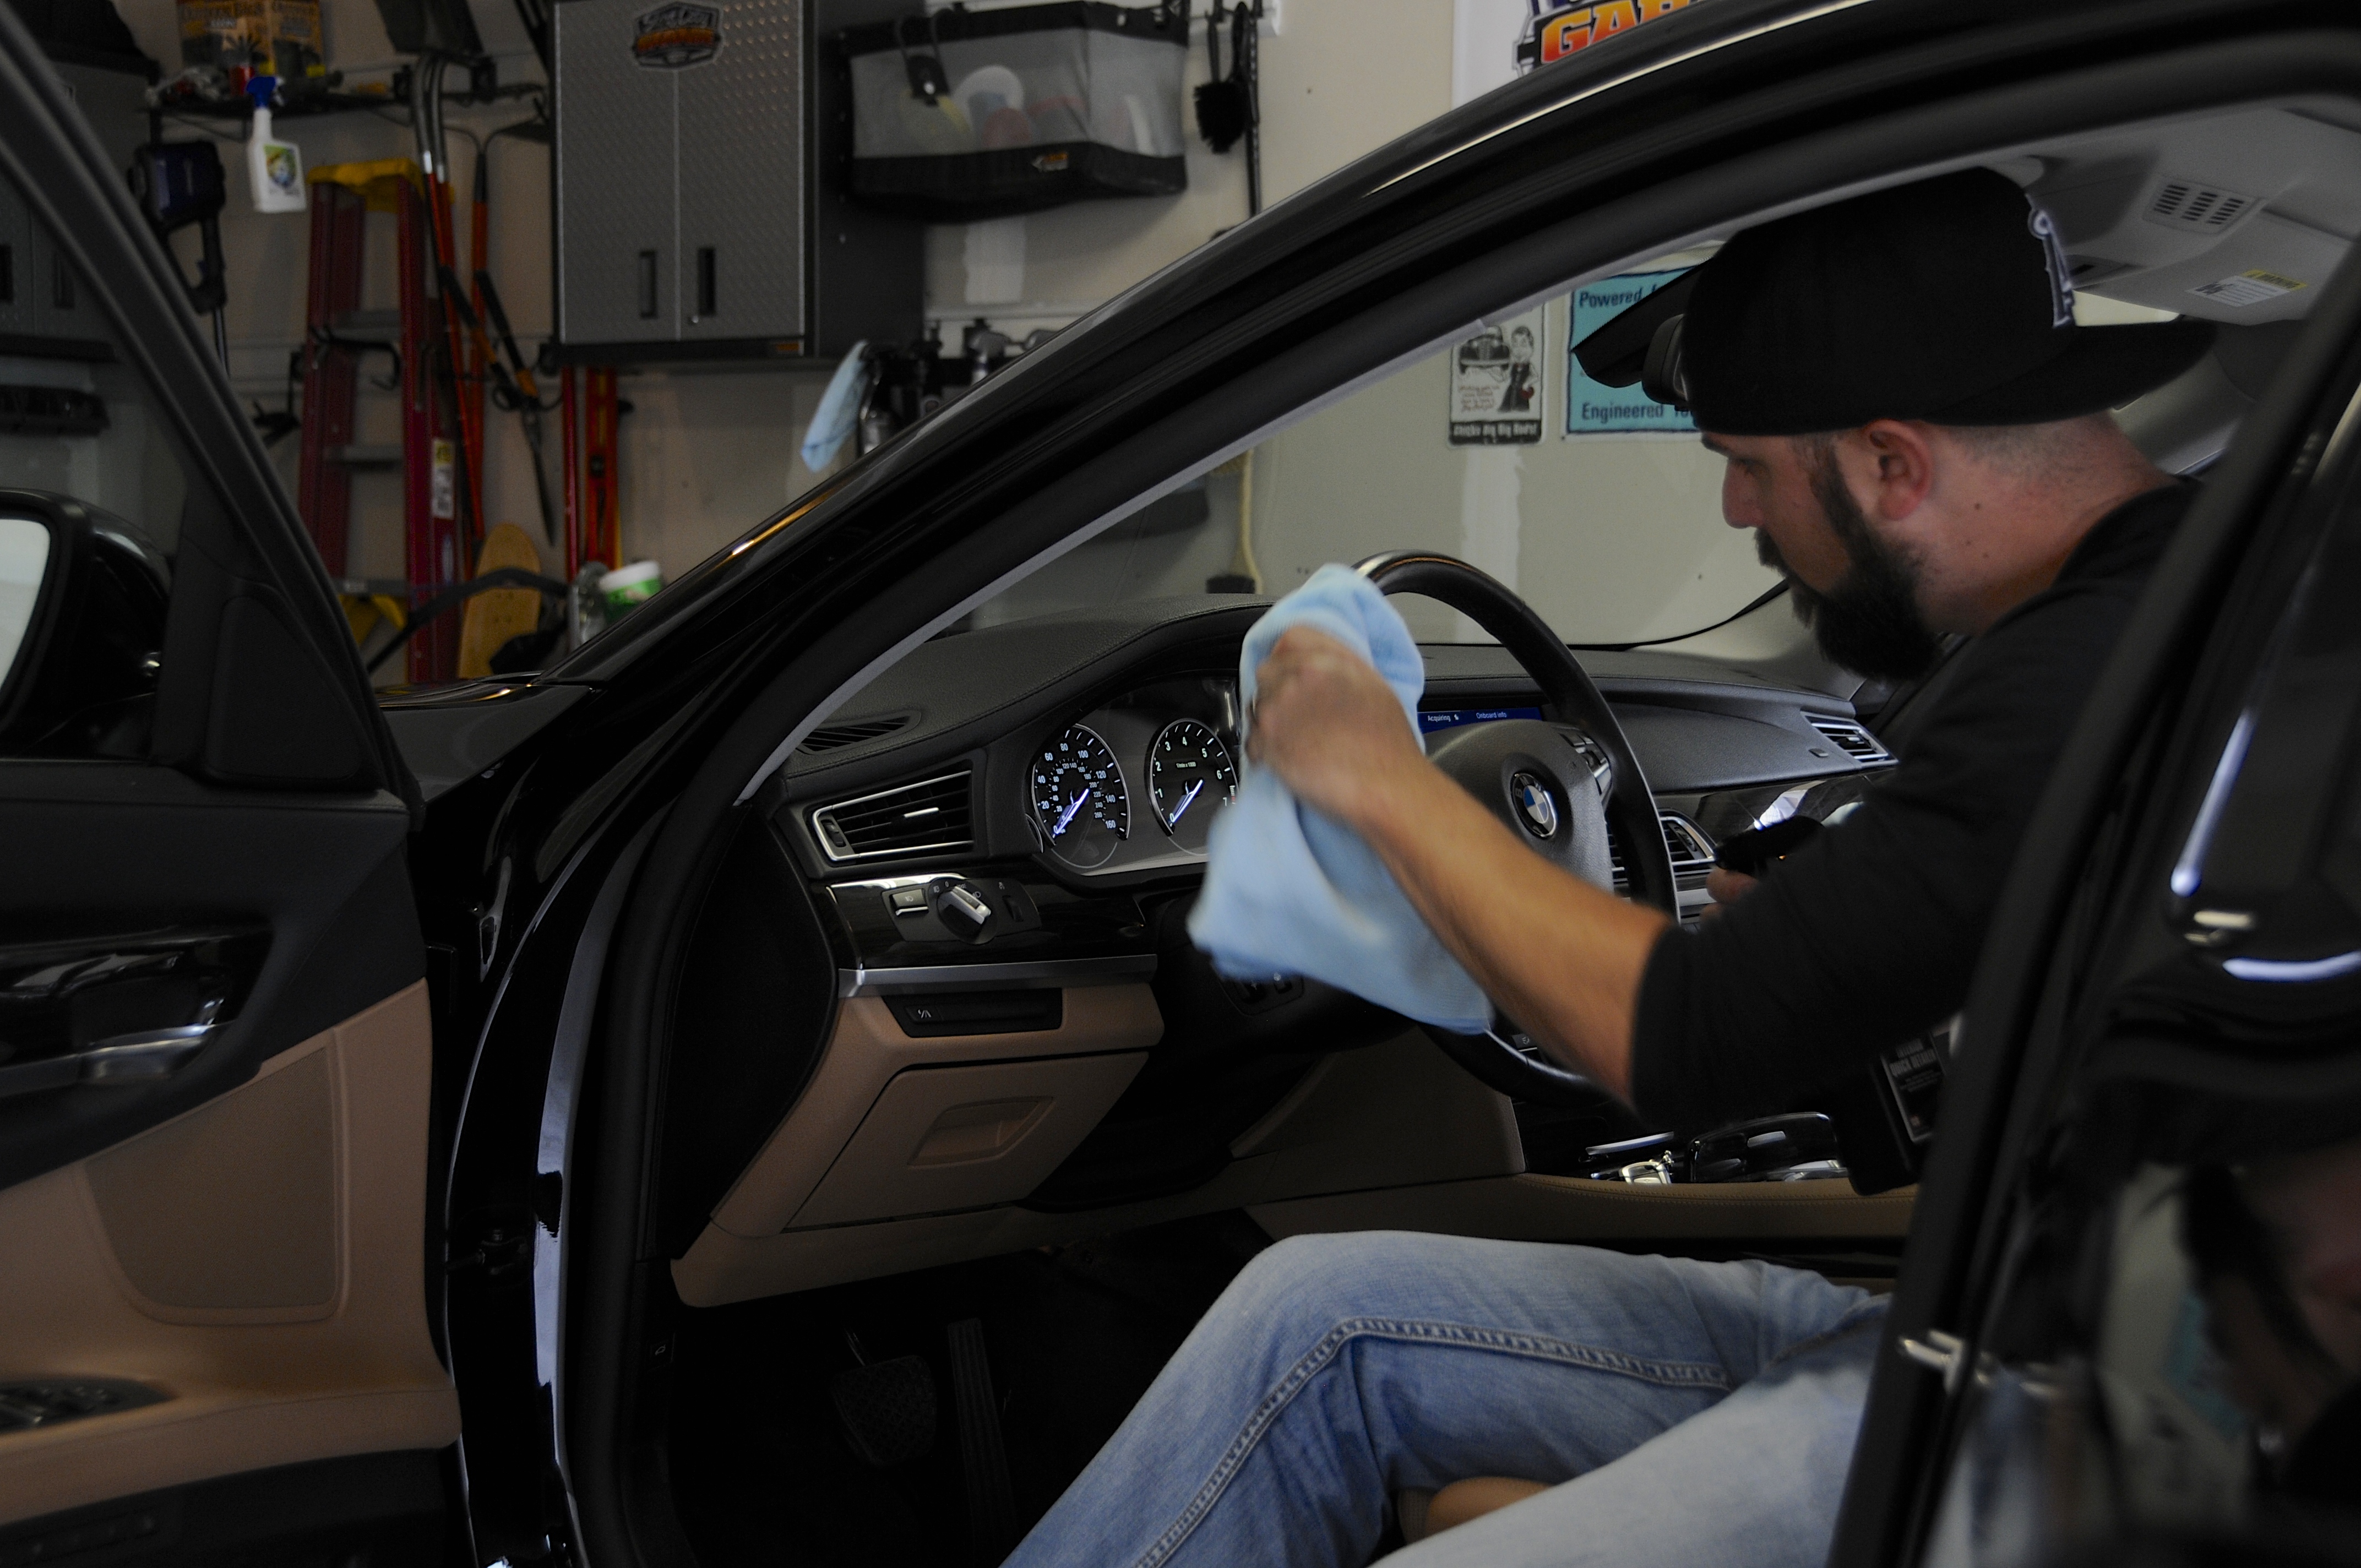
The interior really needed very little work to be finished. The dash, door panels, and most of the interior was treated to a quick wipe down with SCG Pro Interior Quick Detailer. A 1" round detail brush was used to dust HVAC vents and around switches, controls, *****.
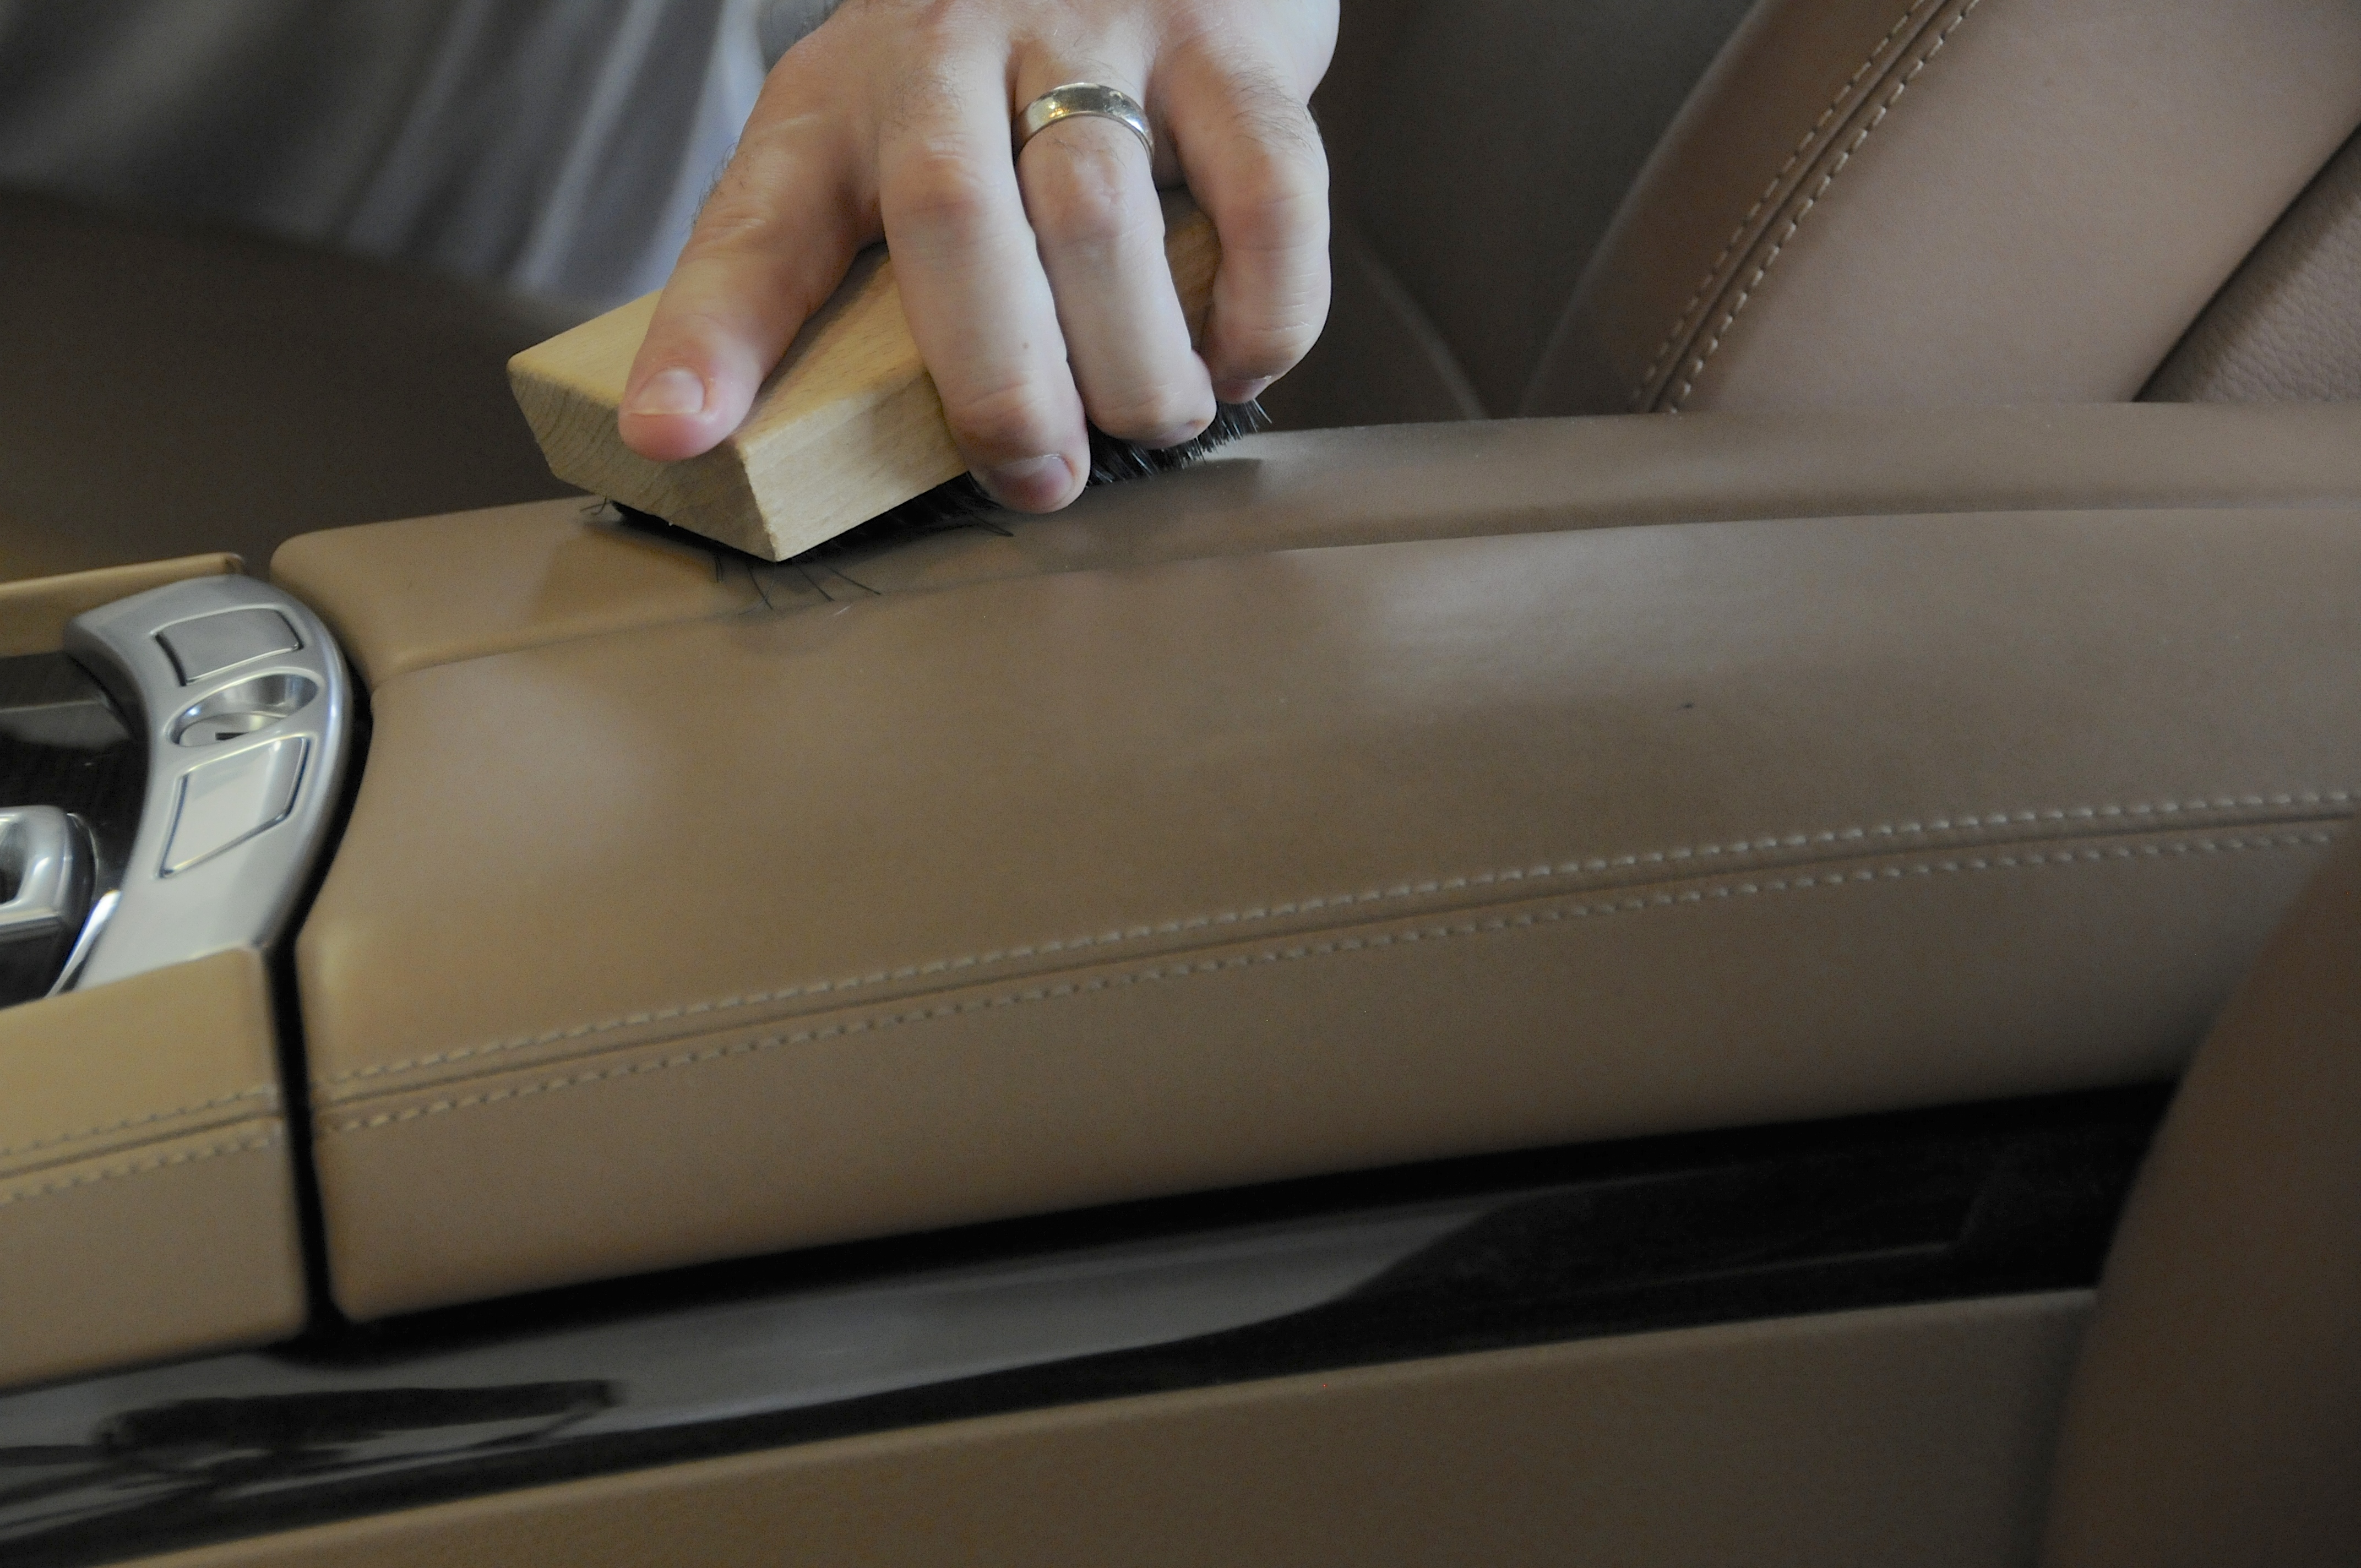
The dirty spots on arm rests and the drivers seat were cleaned using APC Concentrate at 16:1 dilution and a prototype short fiber horse hair interior brush I'm working on. All the seating surfaces where then given a light treatment of SCG Pro Leather Cockpit Cream.
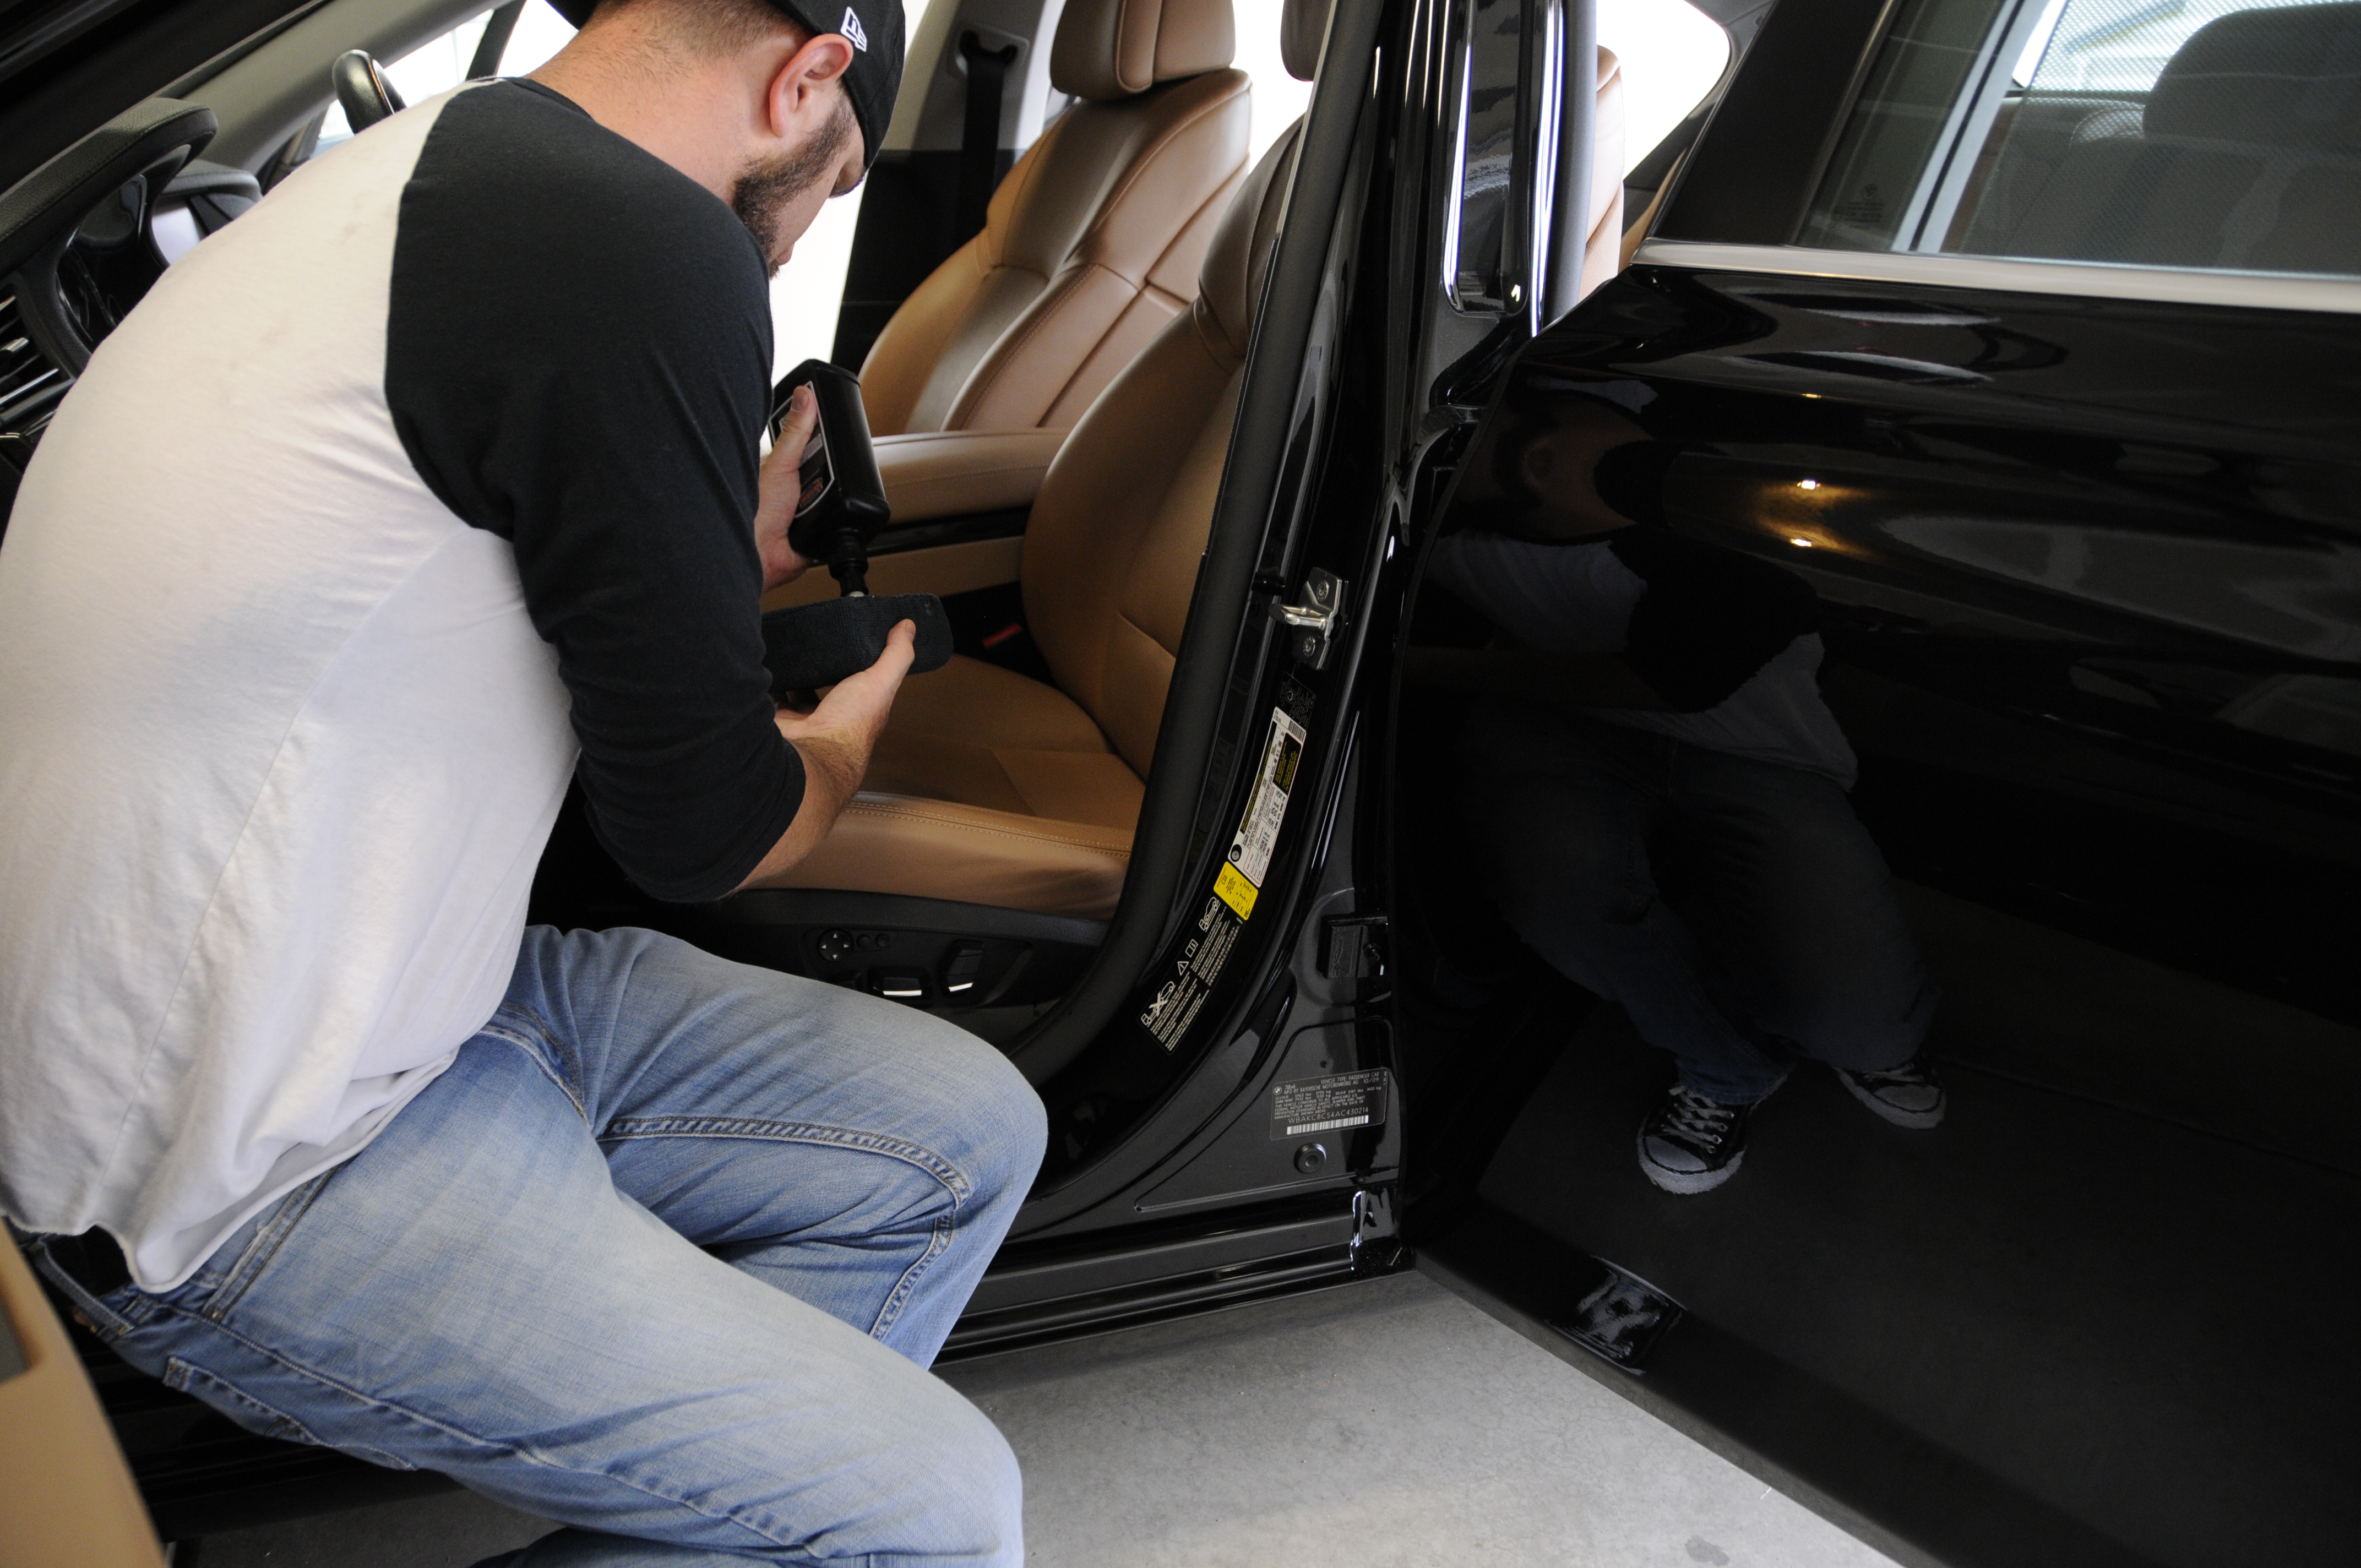
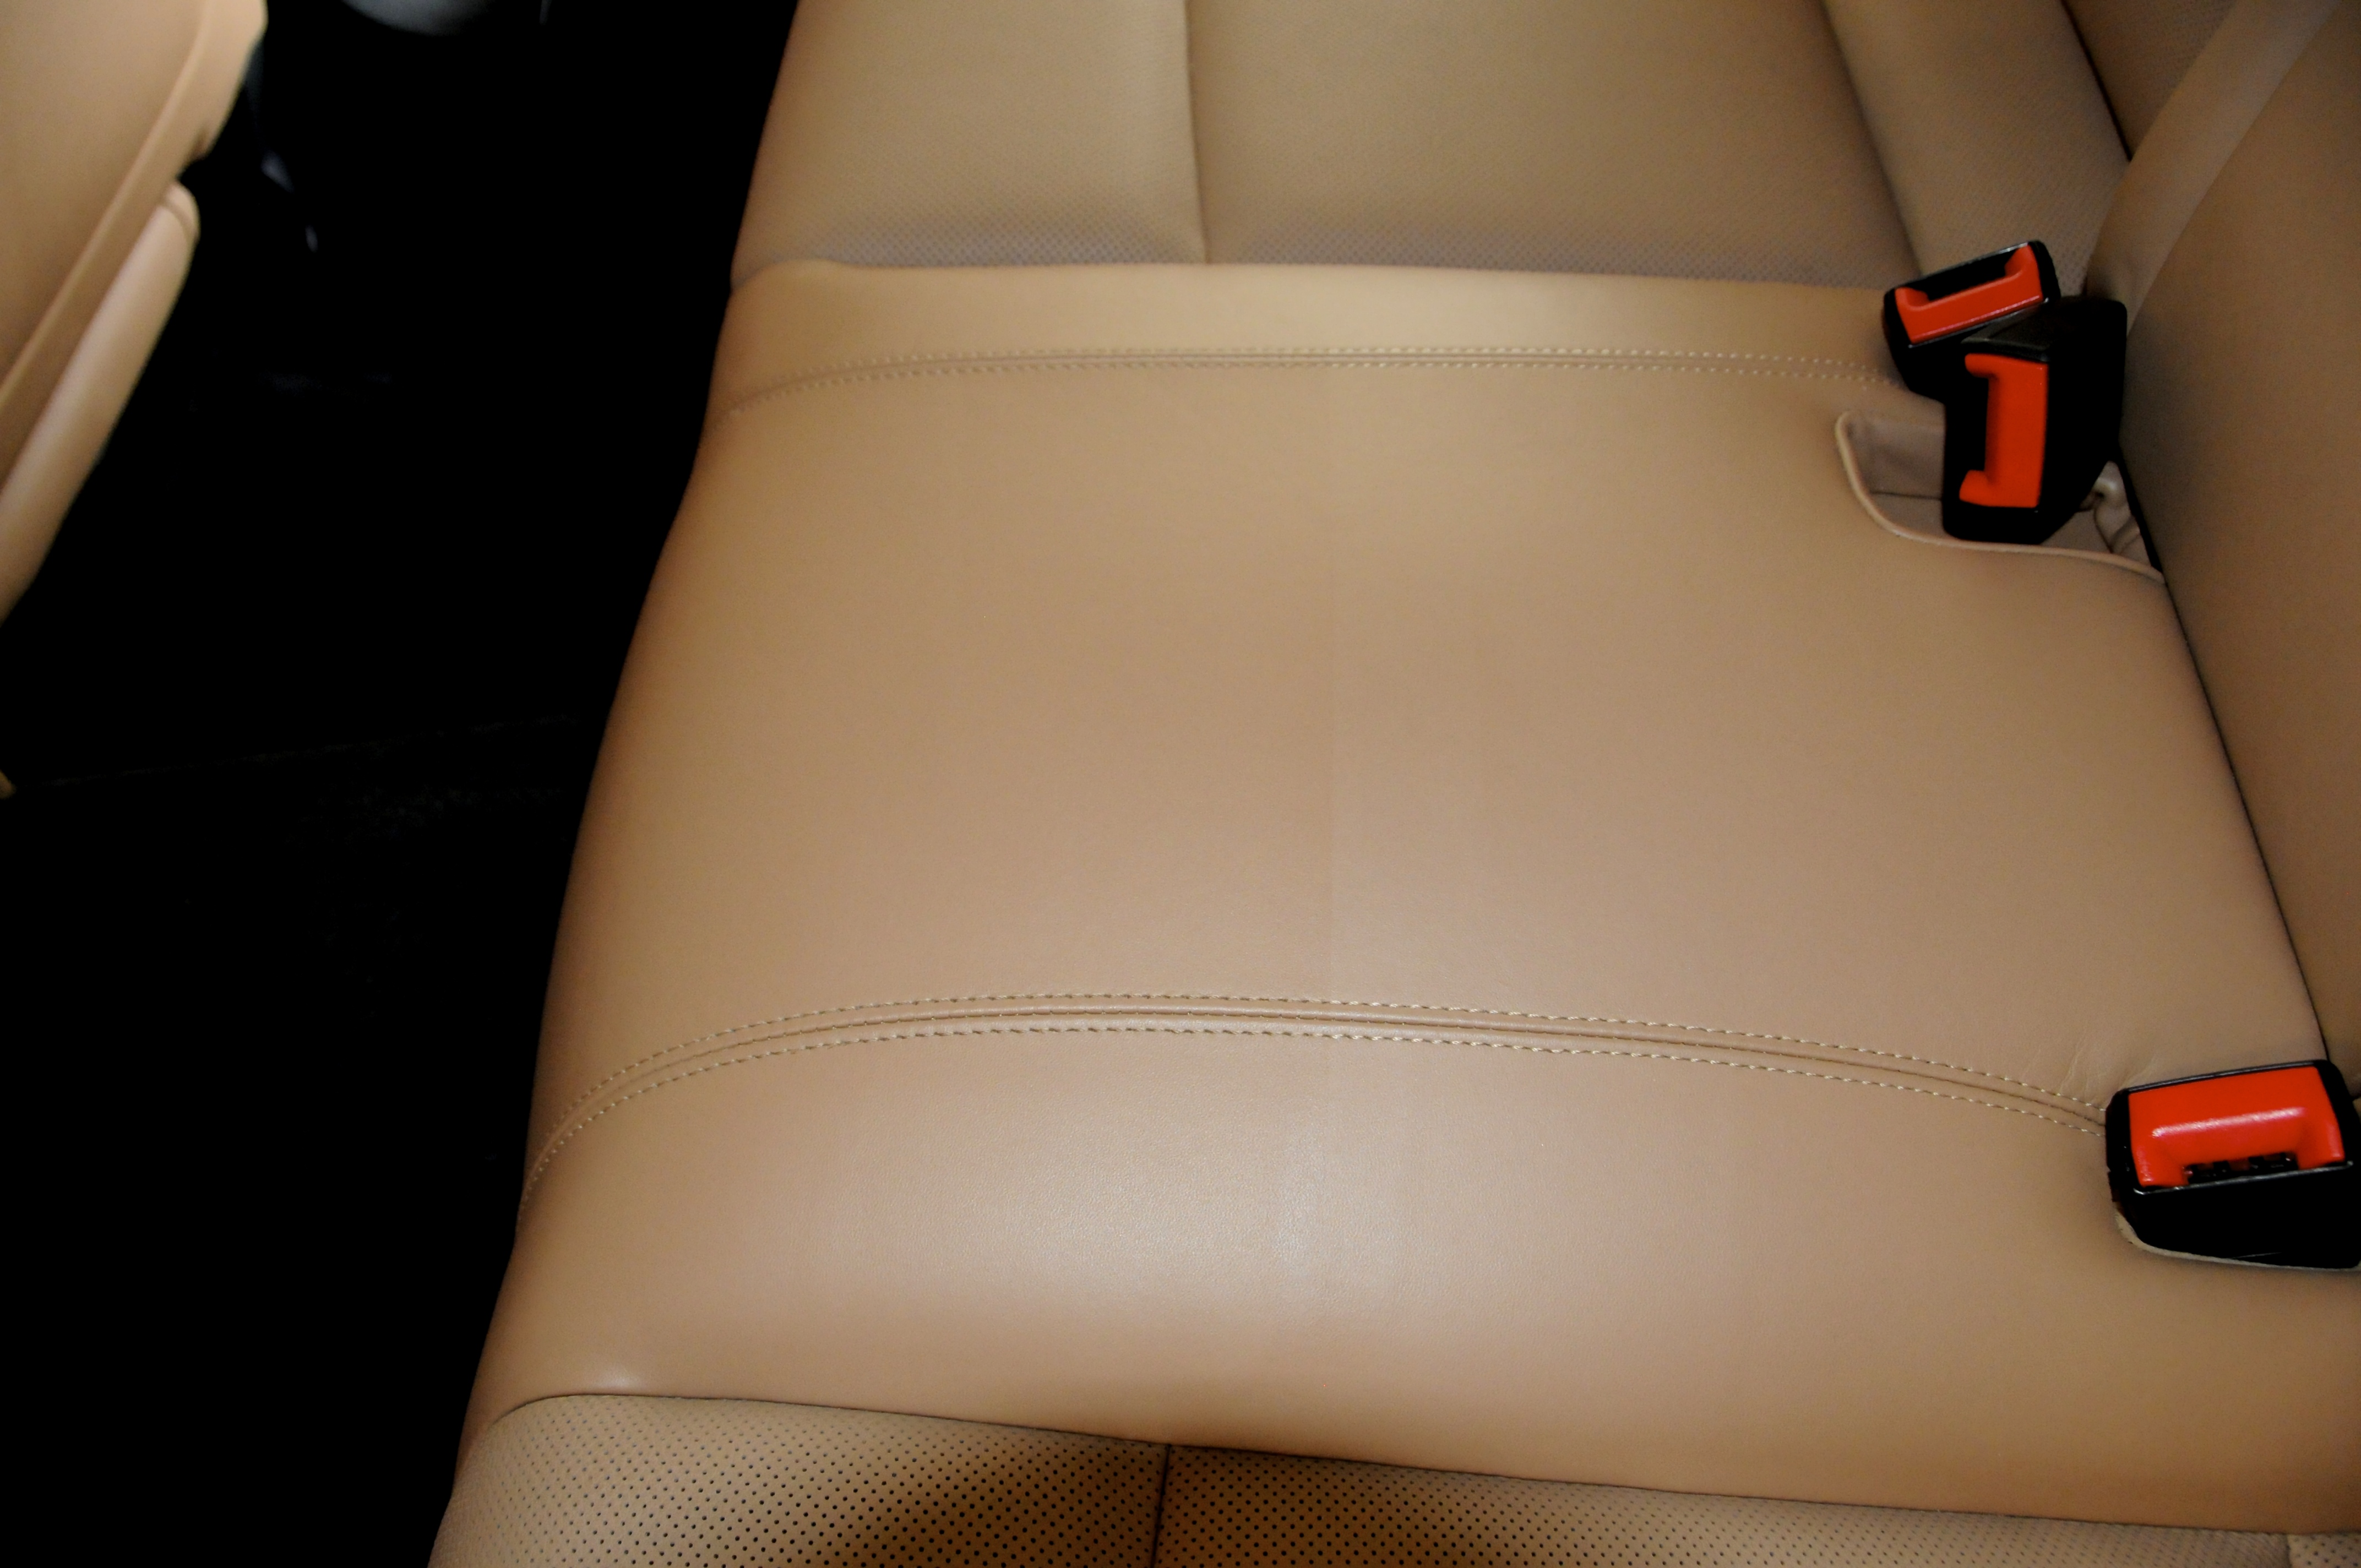
This shot shows a nice 50:50 for those who have asked about the finish on LCC - its very subtle, slightly satin, and feels dry to the touch immediately after application. Treated on the left, untreated on the right.
cont'd...
The interior really needed very little work to be finished. The dash, door panels, and most of the interior was treated to a quick wipe down with SCG Pro Interior Quick Detailer. A 1" round detail brush was used to dust HVAC vents and around switches, controls, *****.


The dirty spots on arm rests and the drivers seat were cleaned using APC Concentrate at 16:1 dilution and a prototype short fiber horse hair interior brush I'm working on. All the seating surfaces where then given a light treatment of SCG Pro Leather Cockpit Cream.


This shot shows a nice 50:50 for those who have asked about the finish on LCC - its very subtle, slightly satin, and feels dry to the touch immediately after application. Treated on the left, untreated on the right.

cont'd...
#10
WRAP UP:
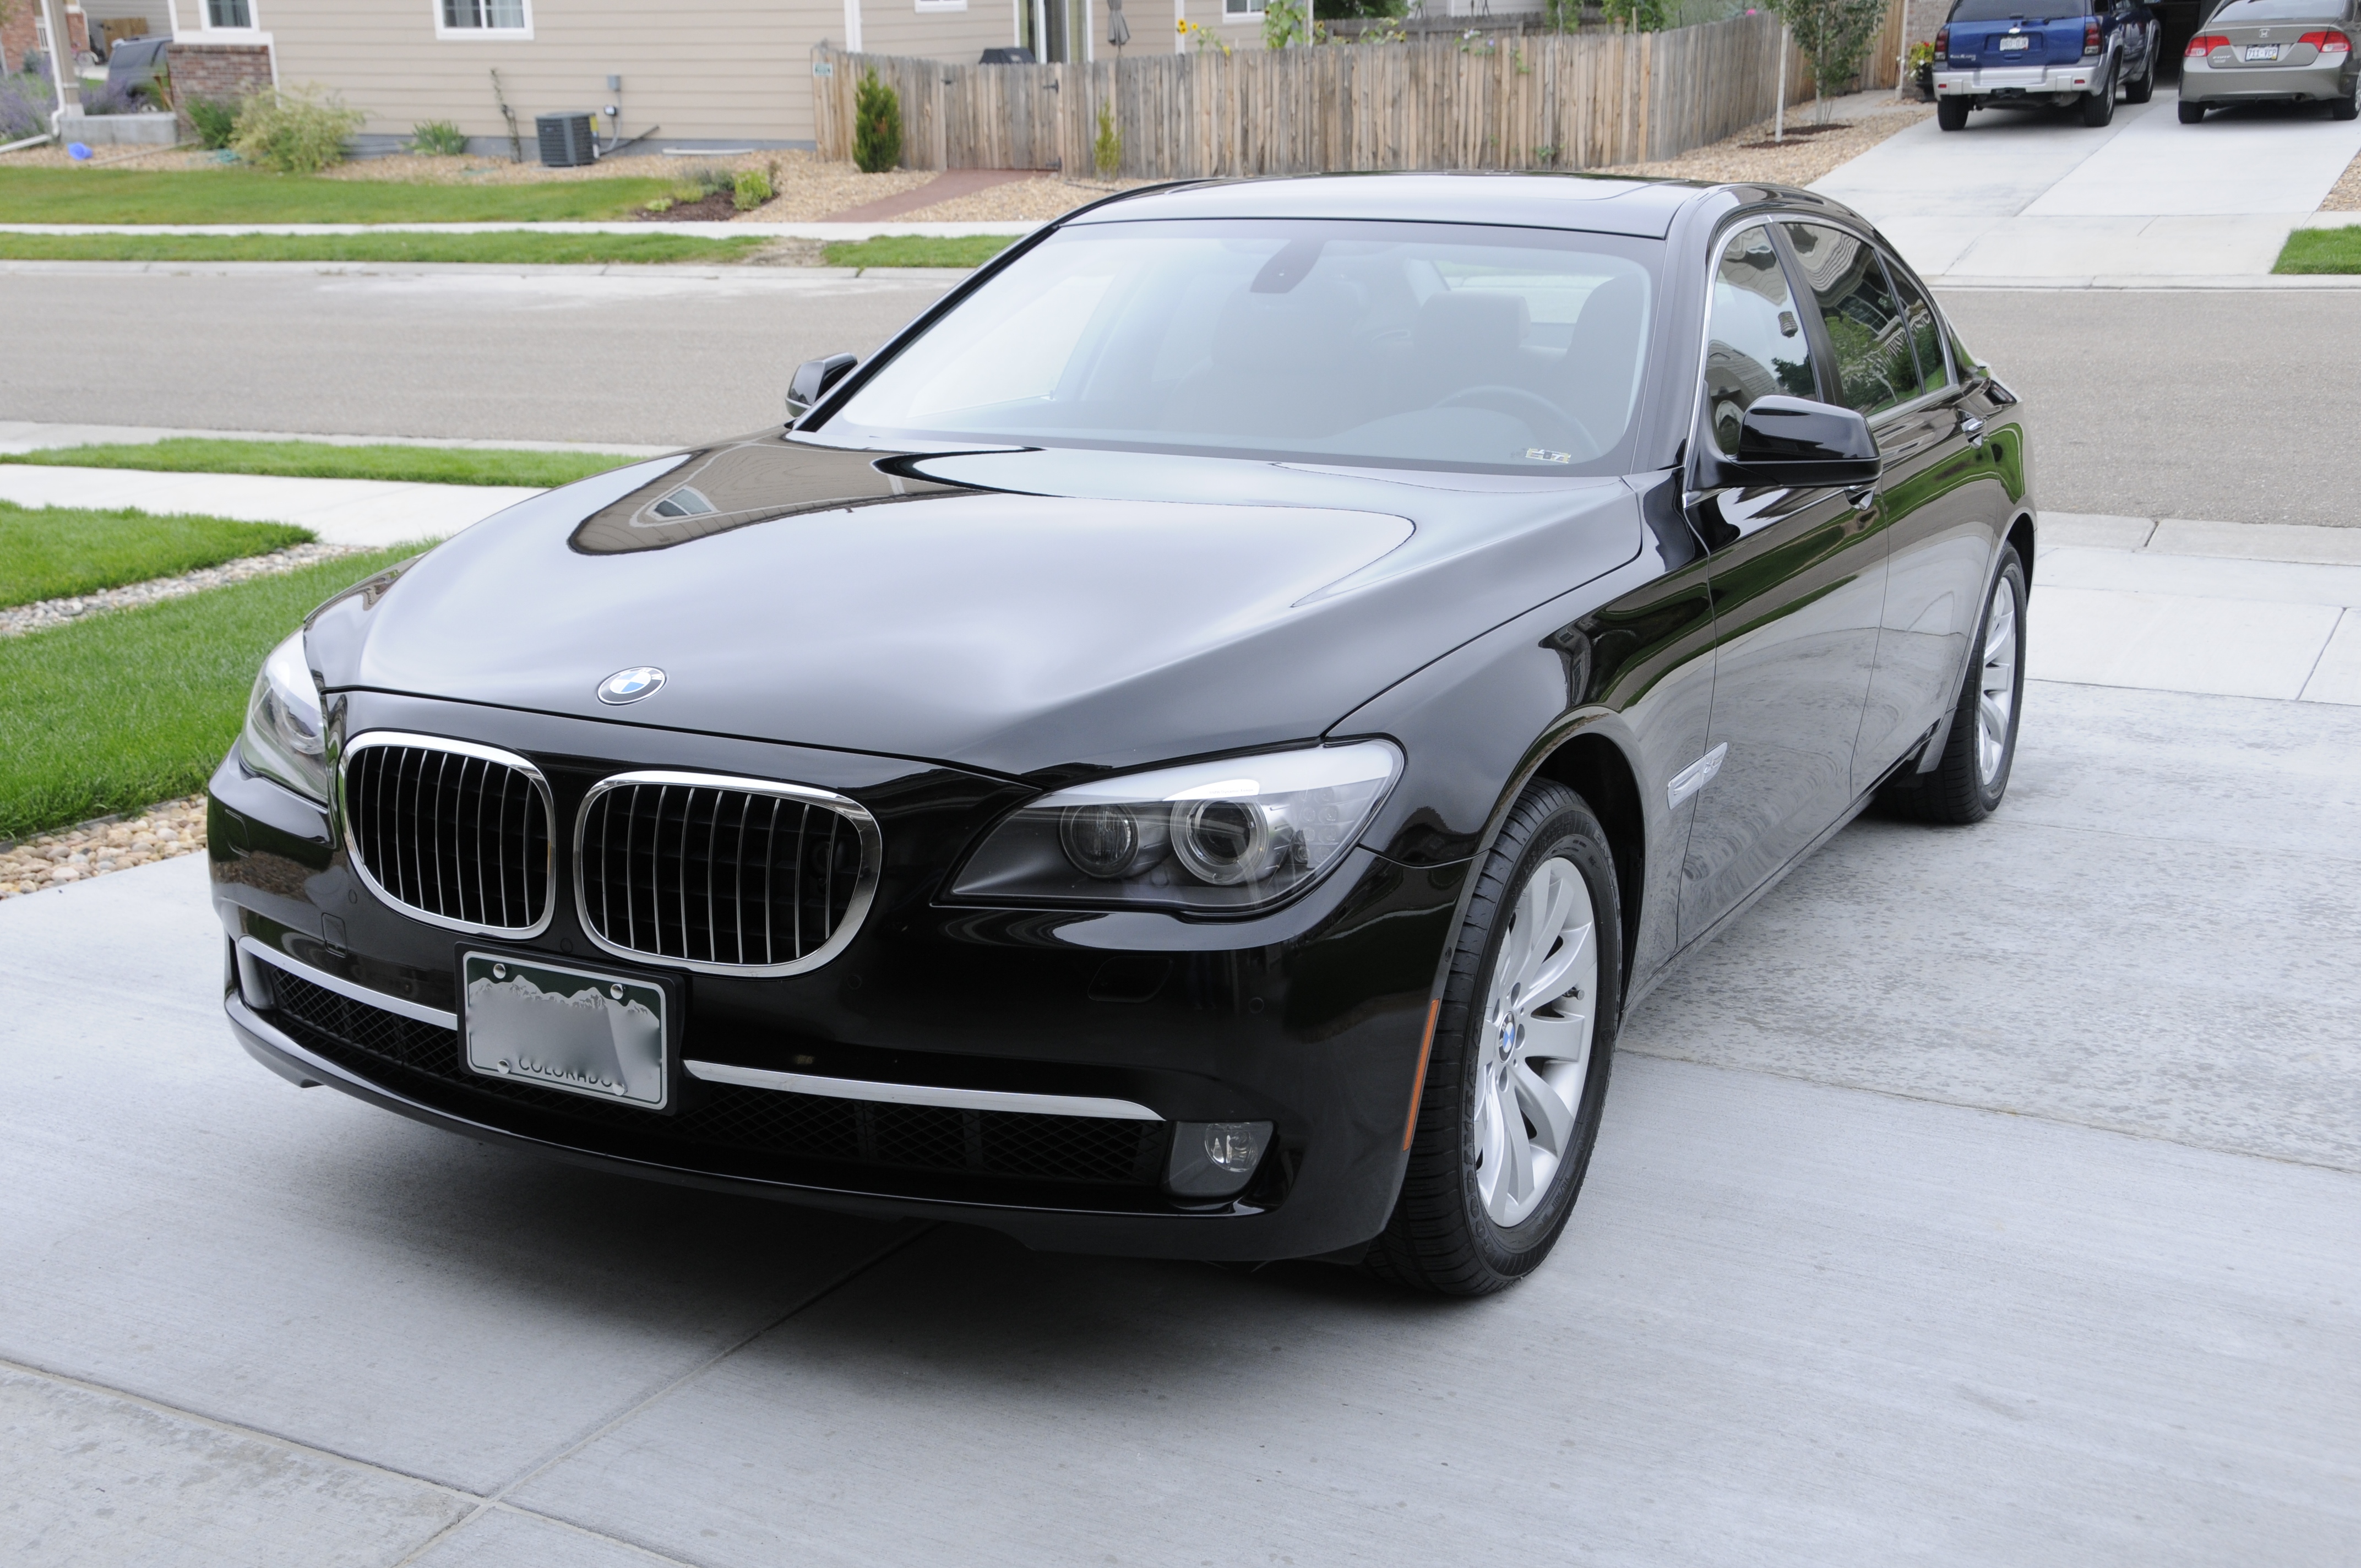
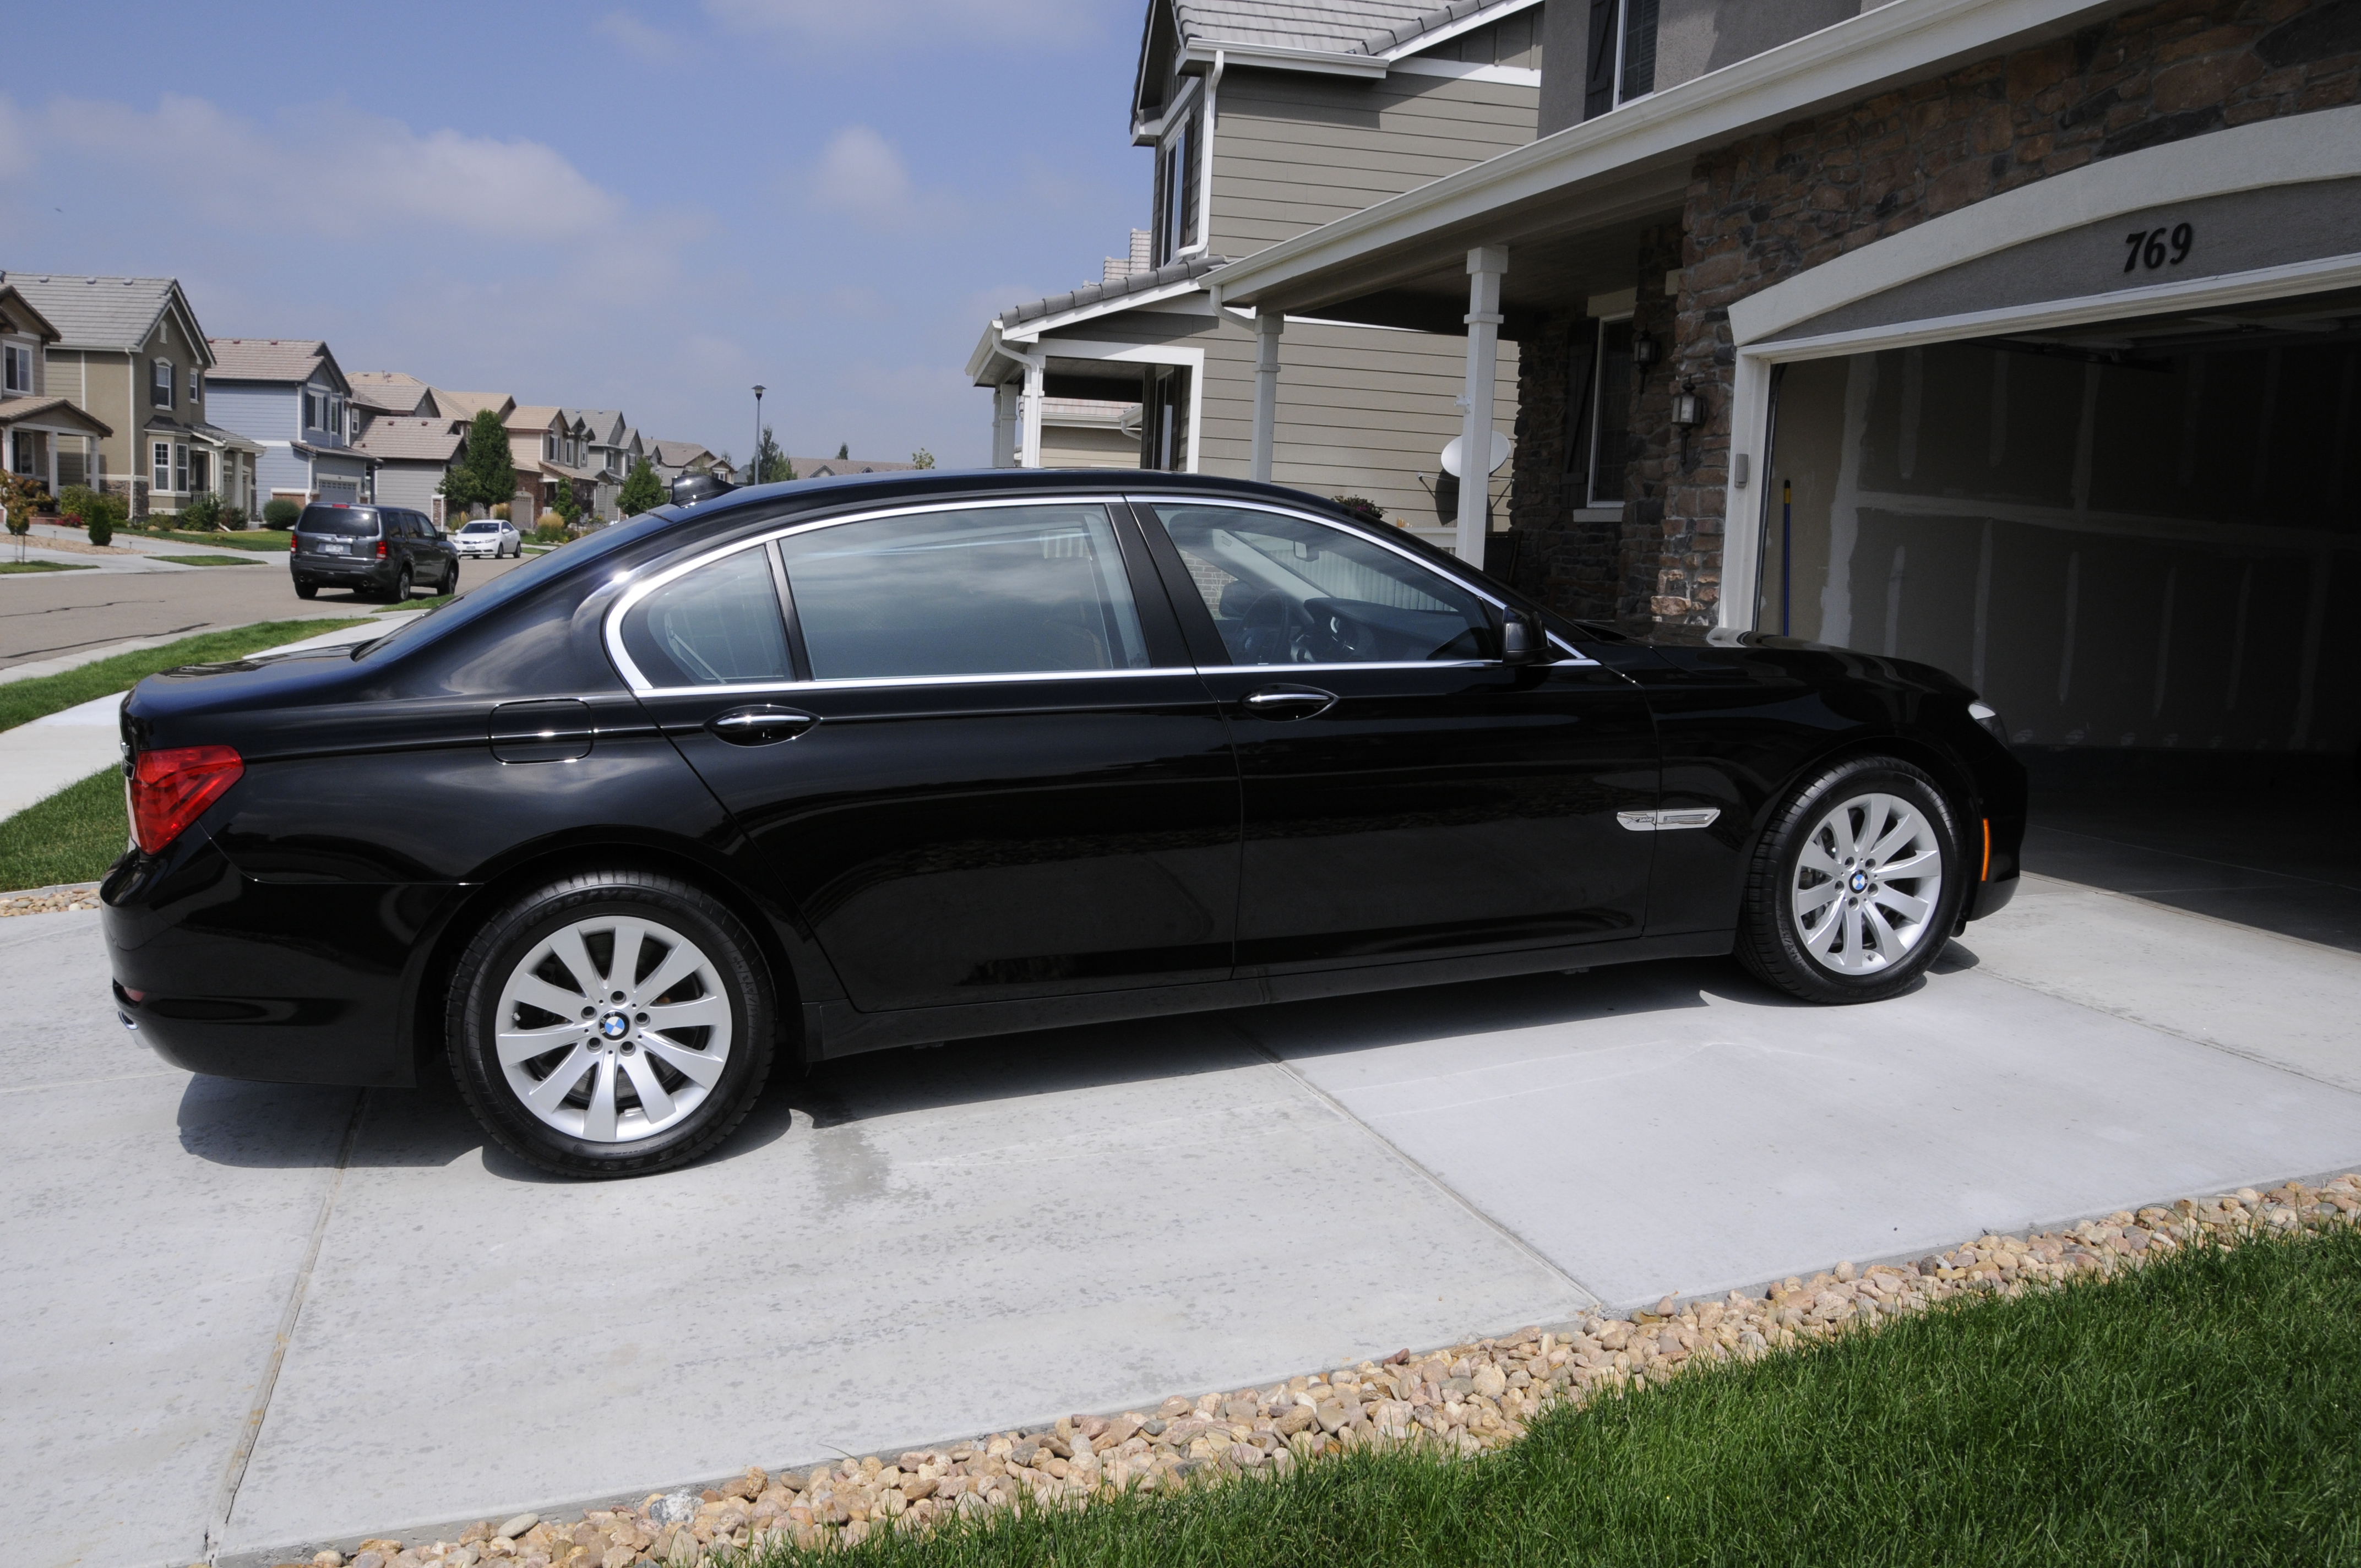
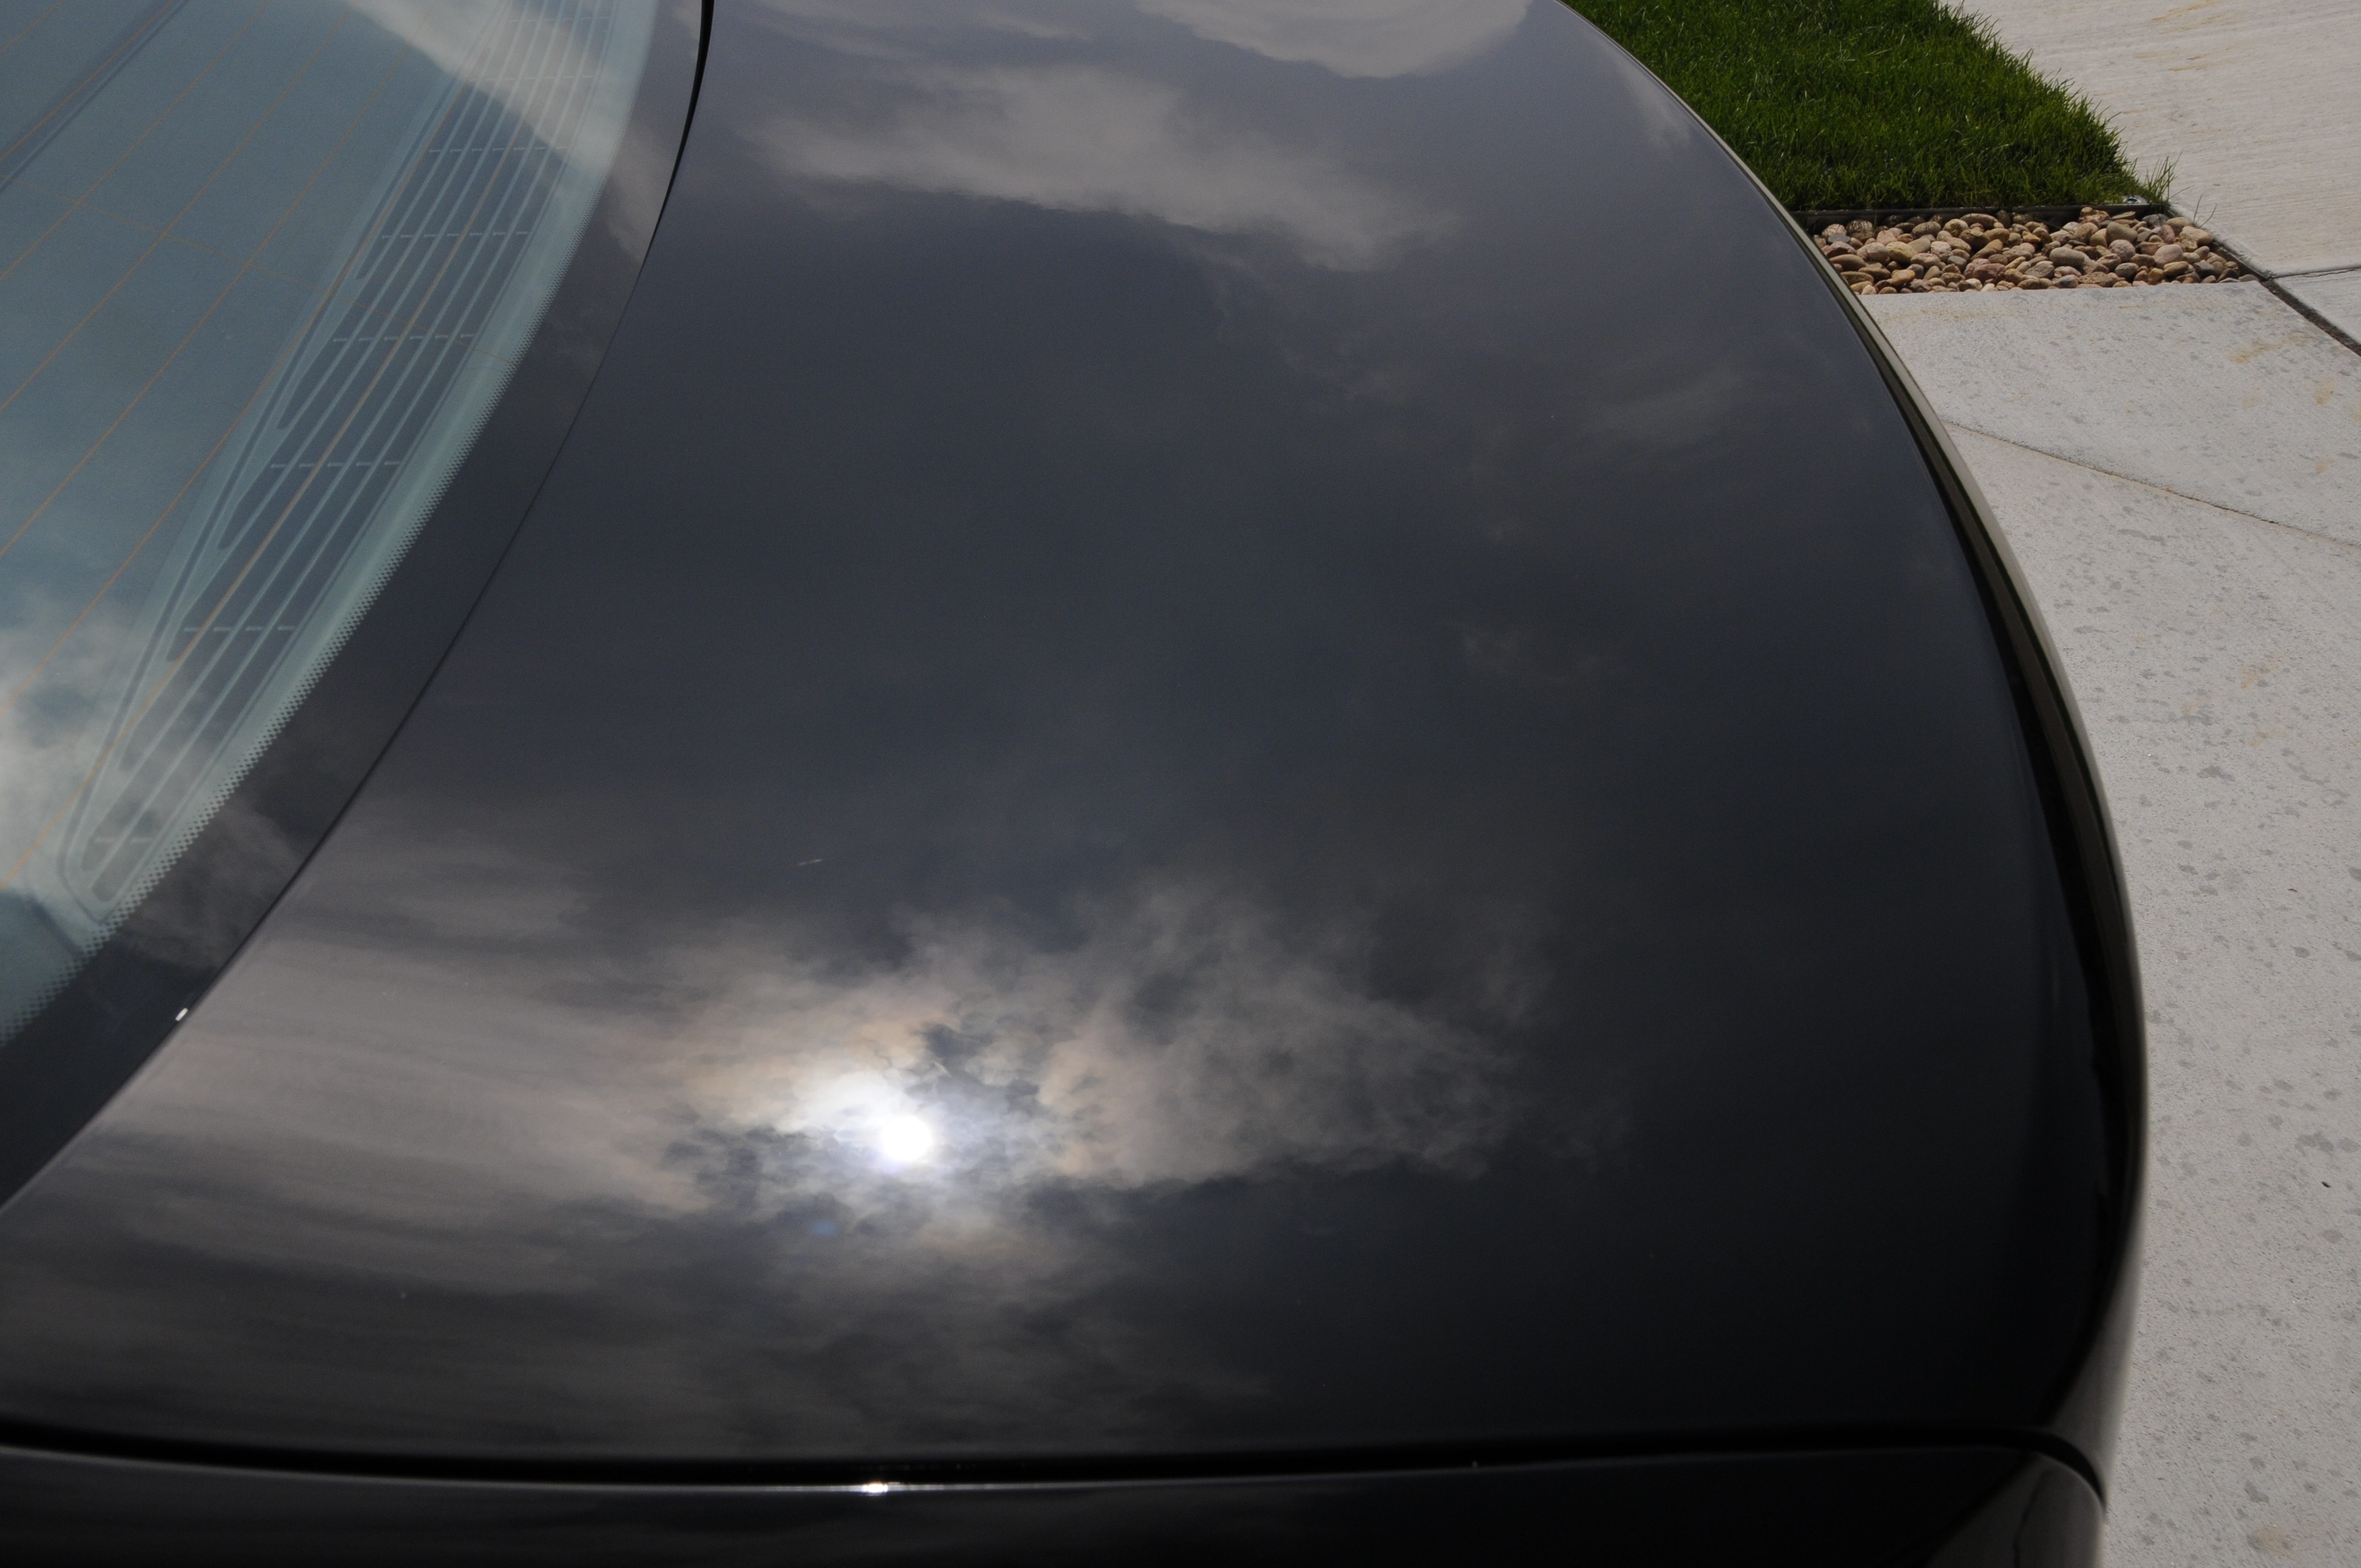
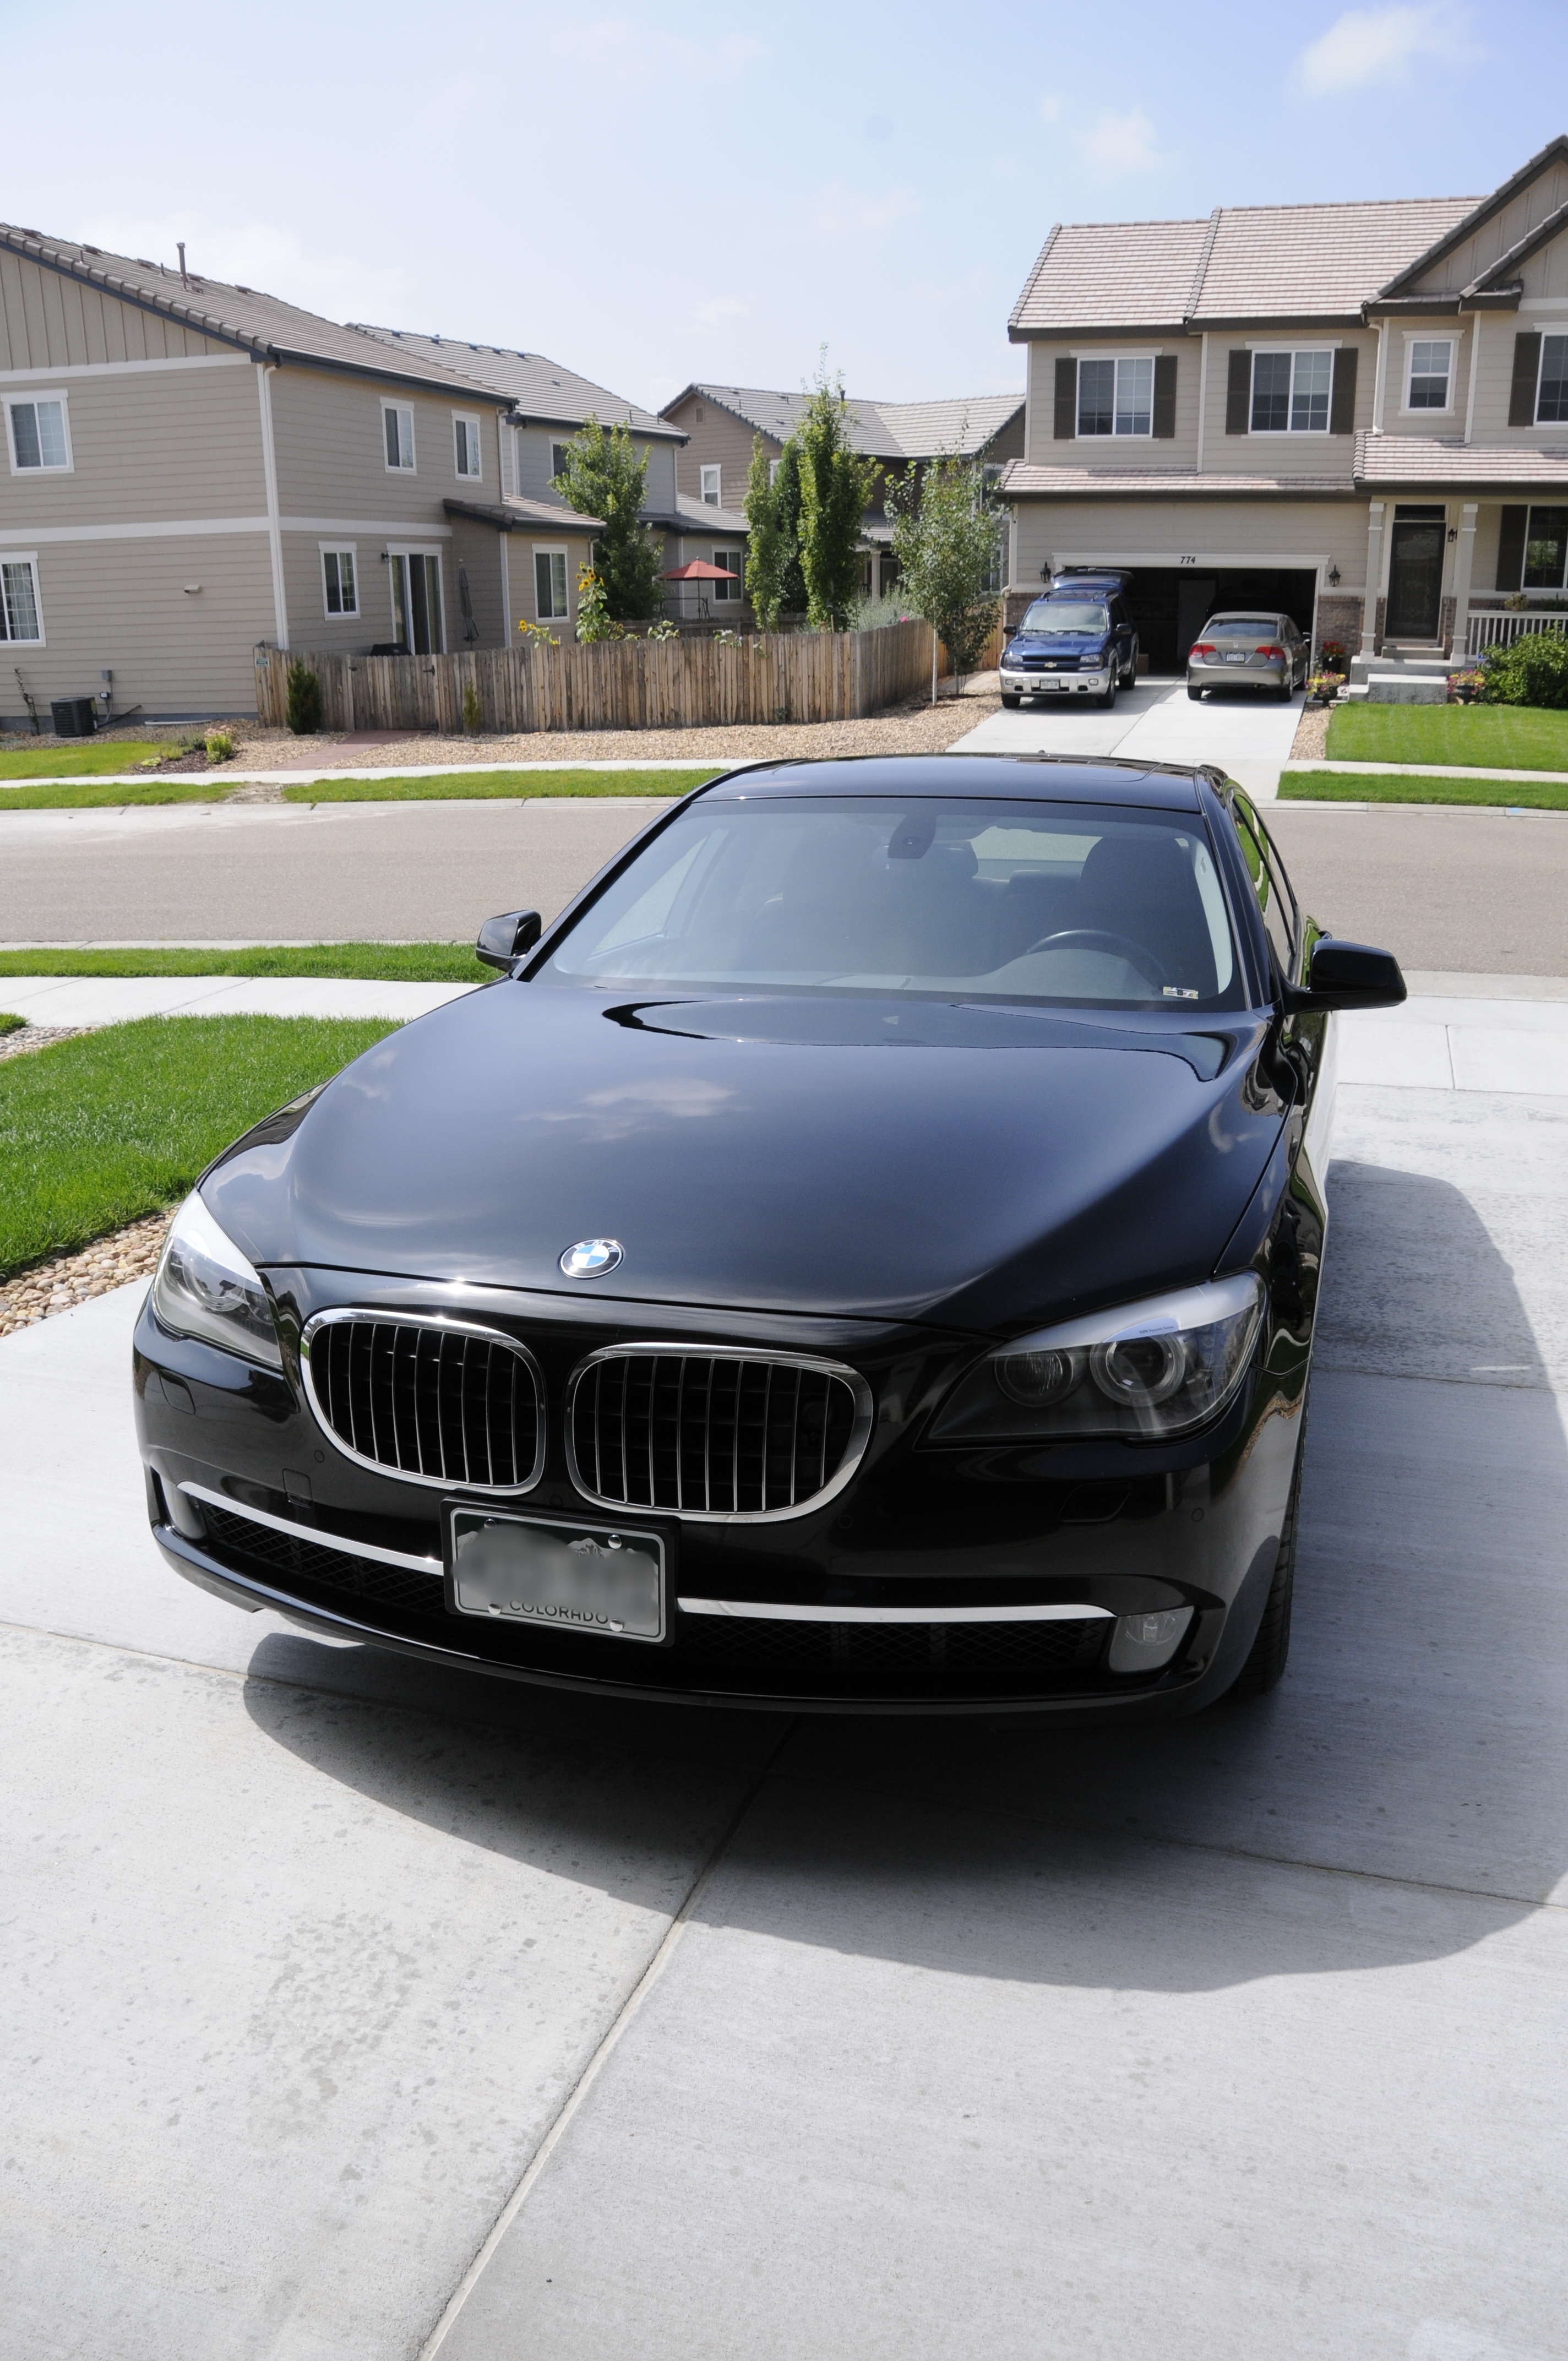
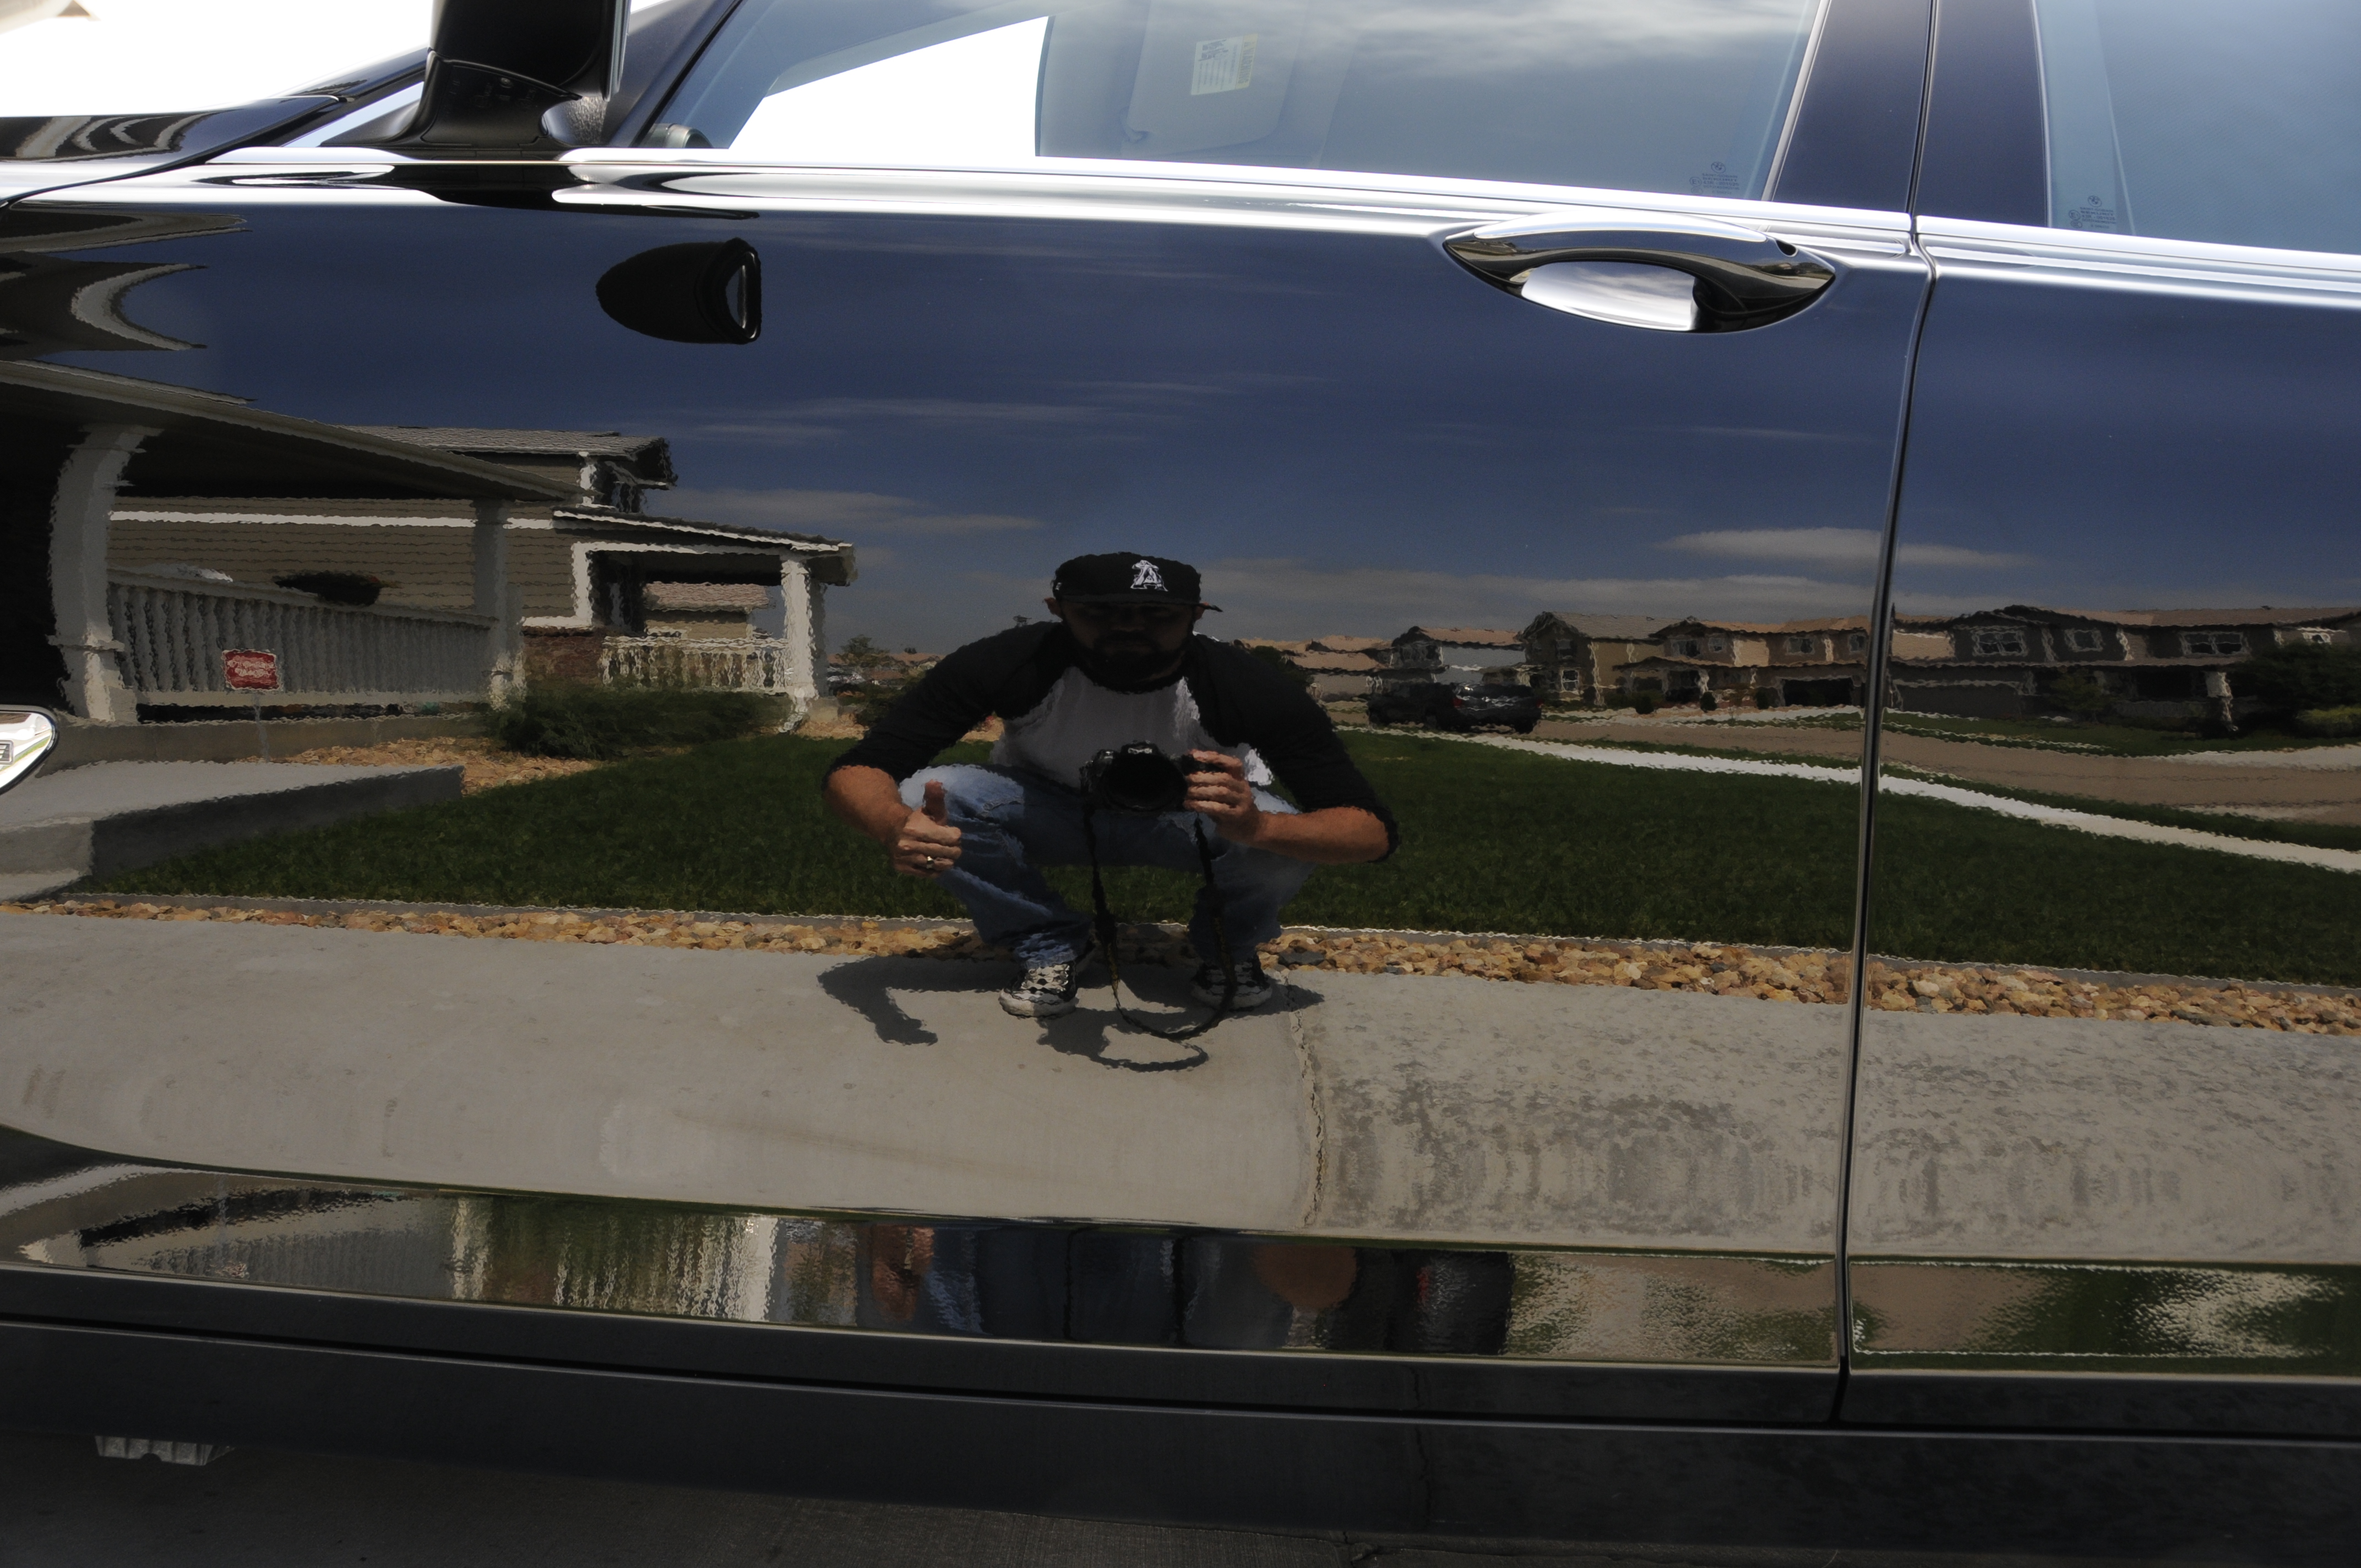
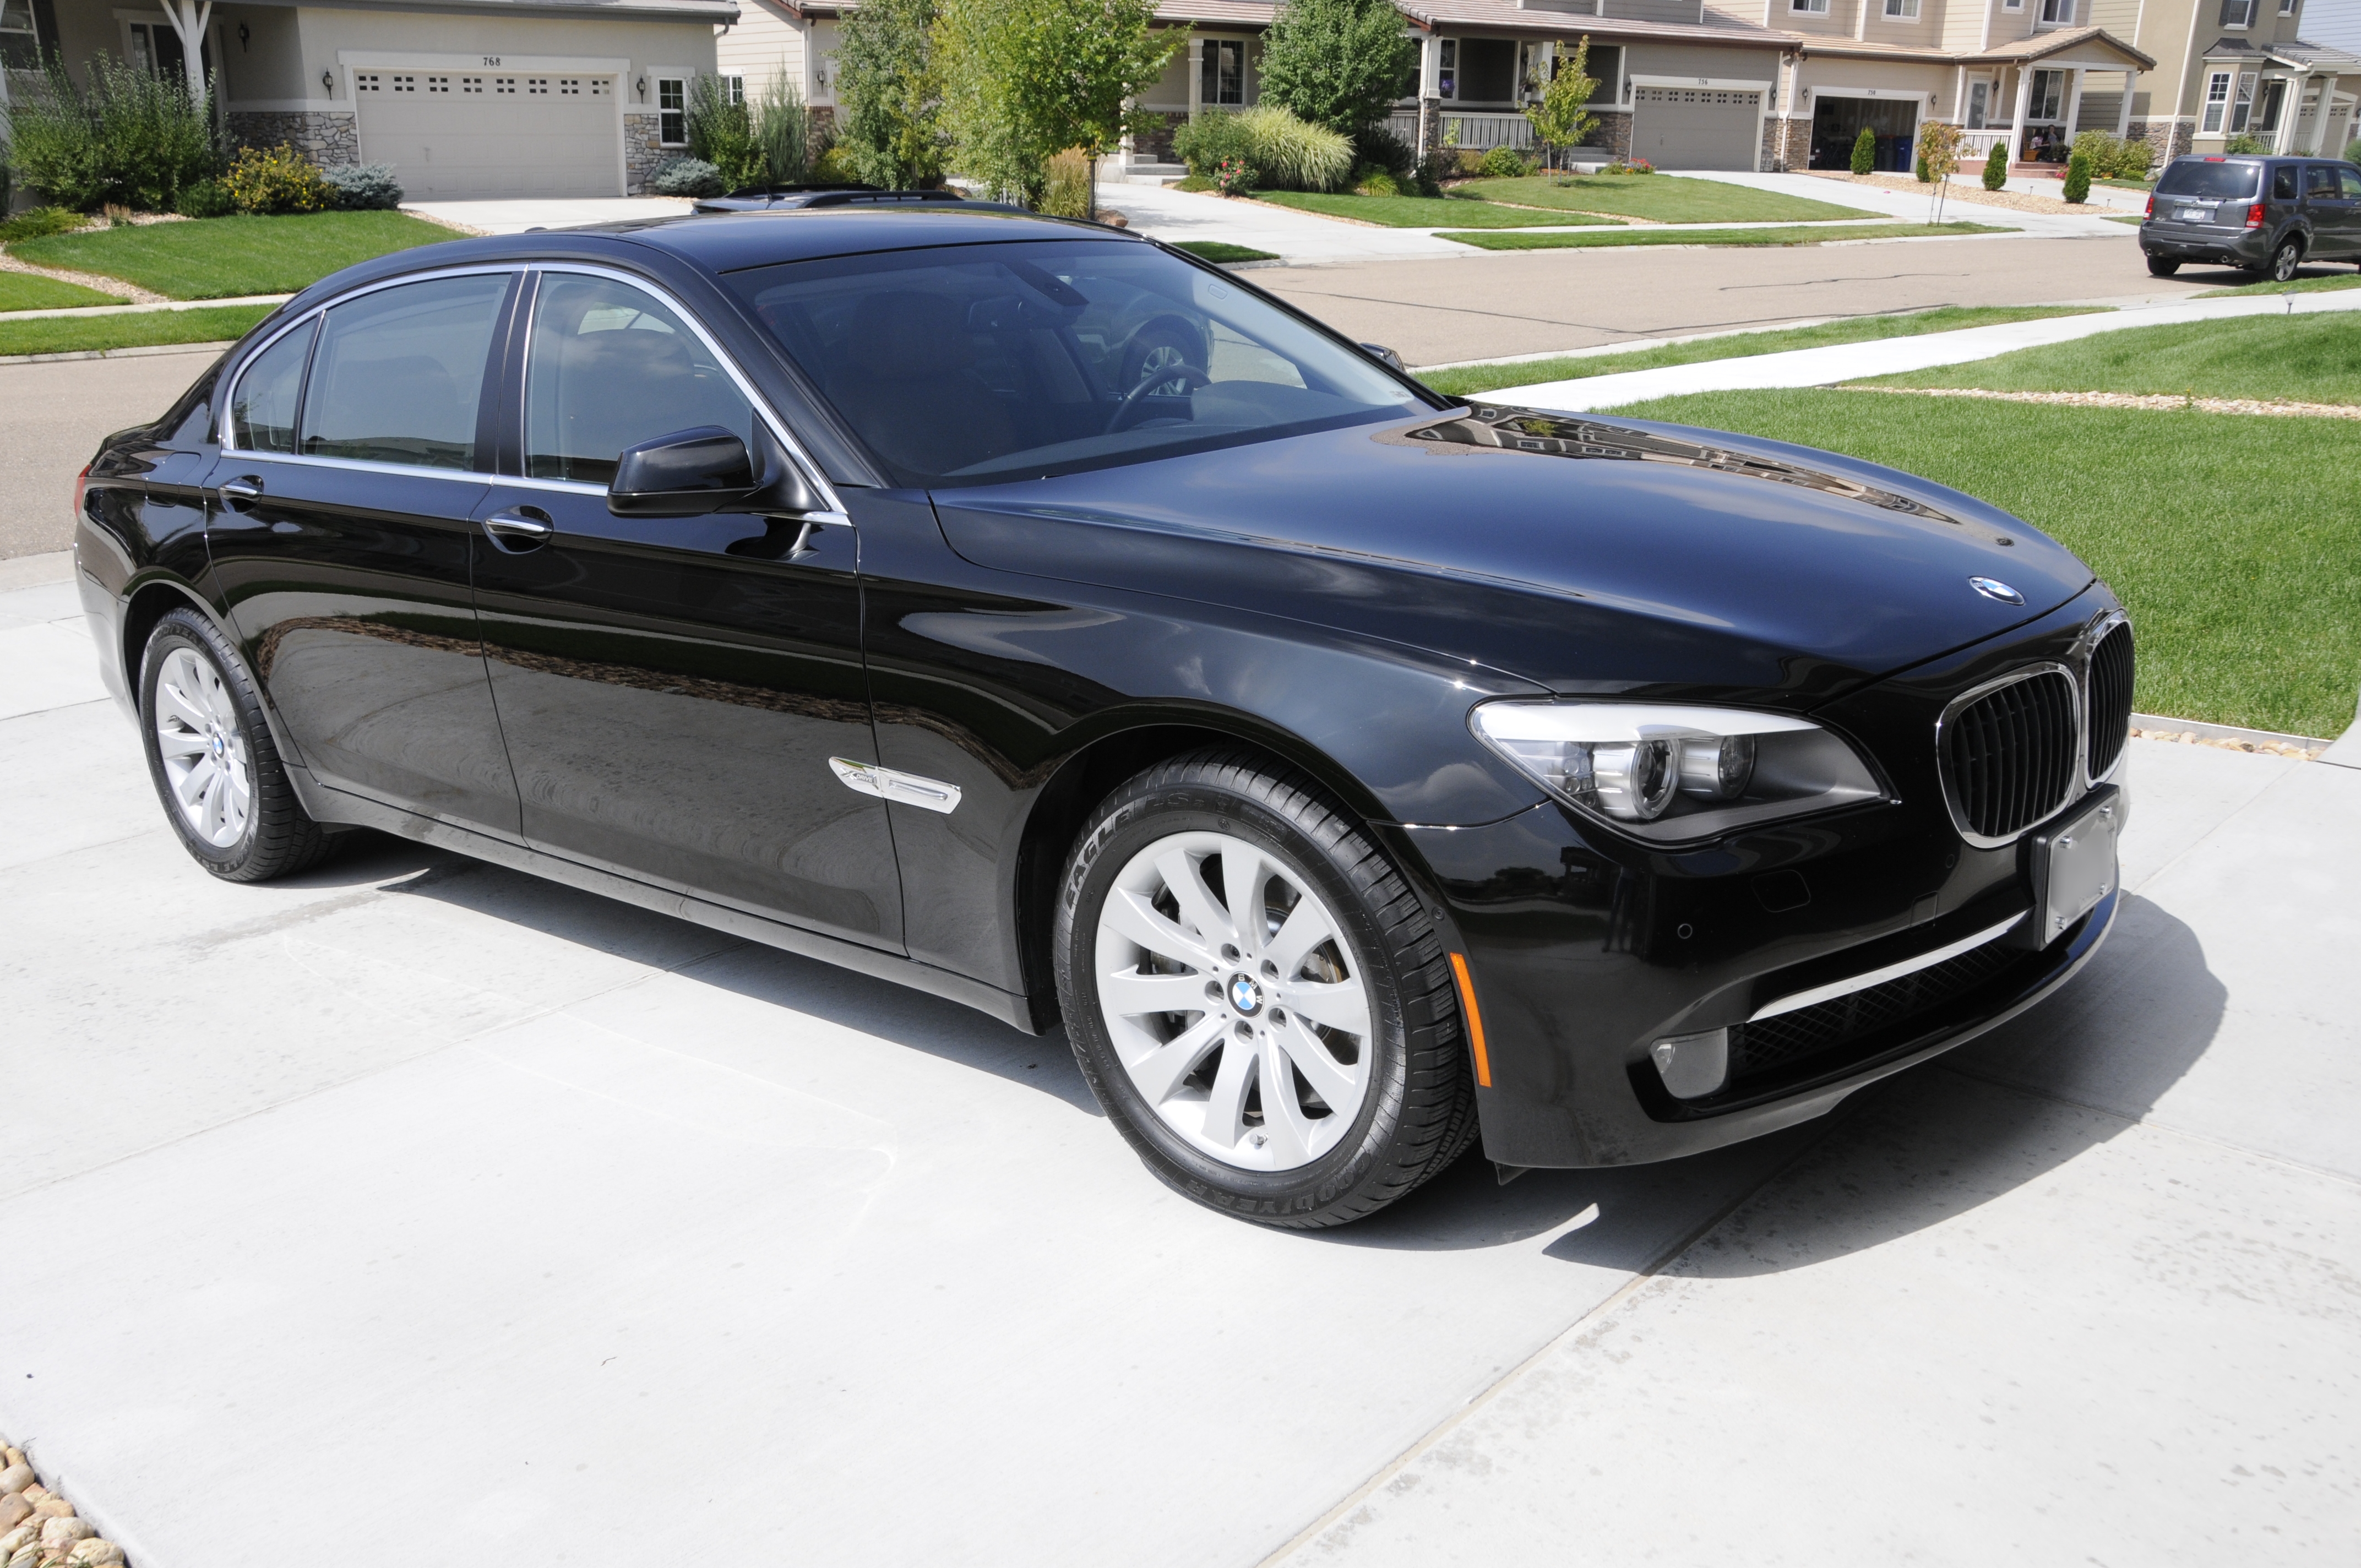
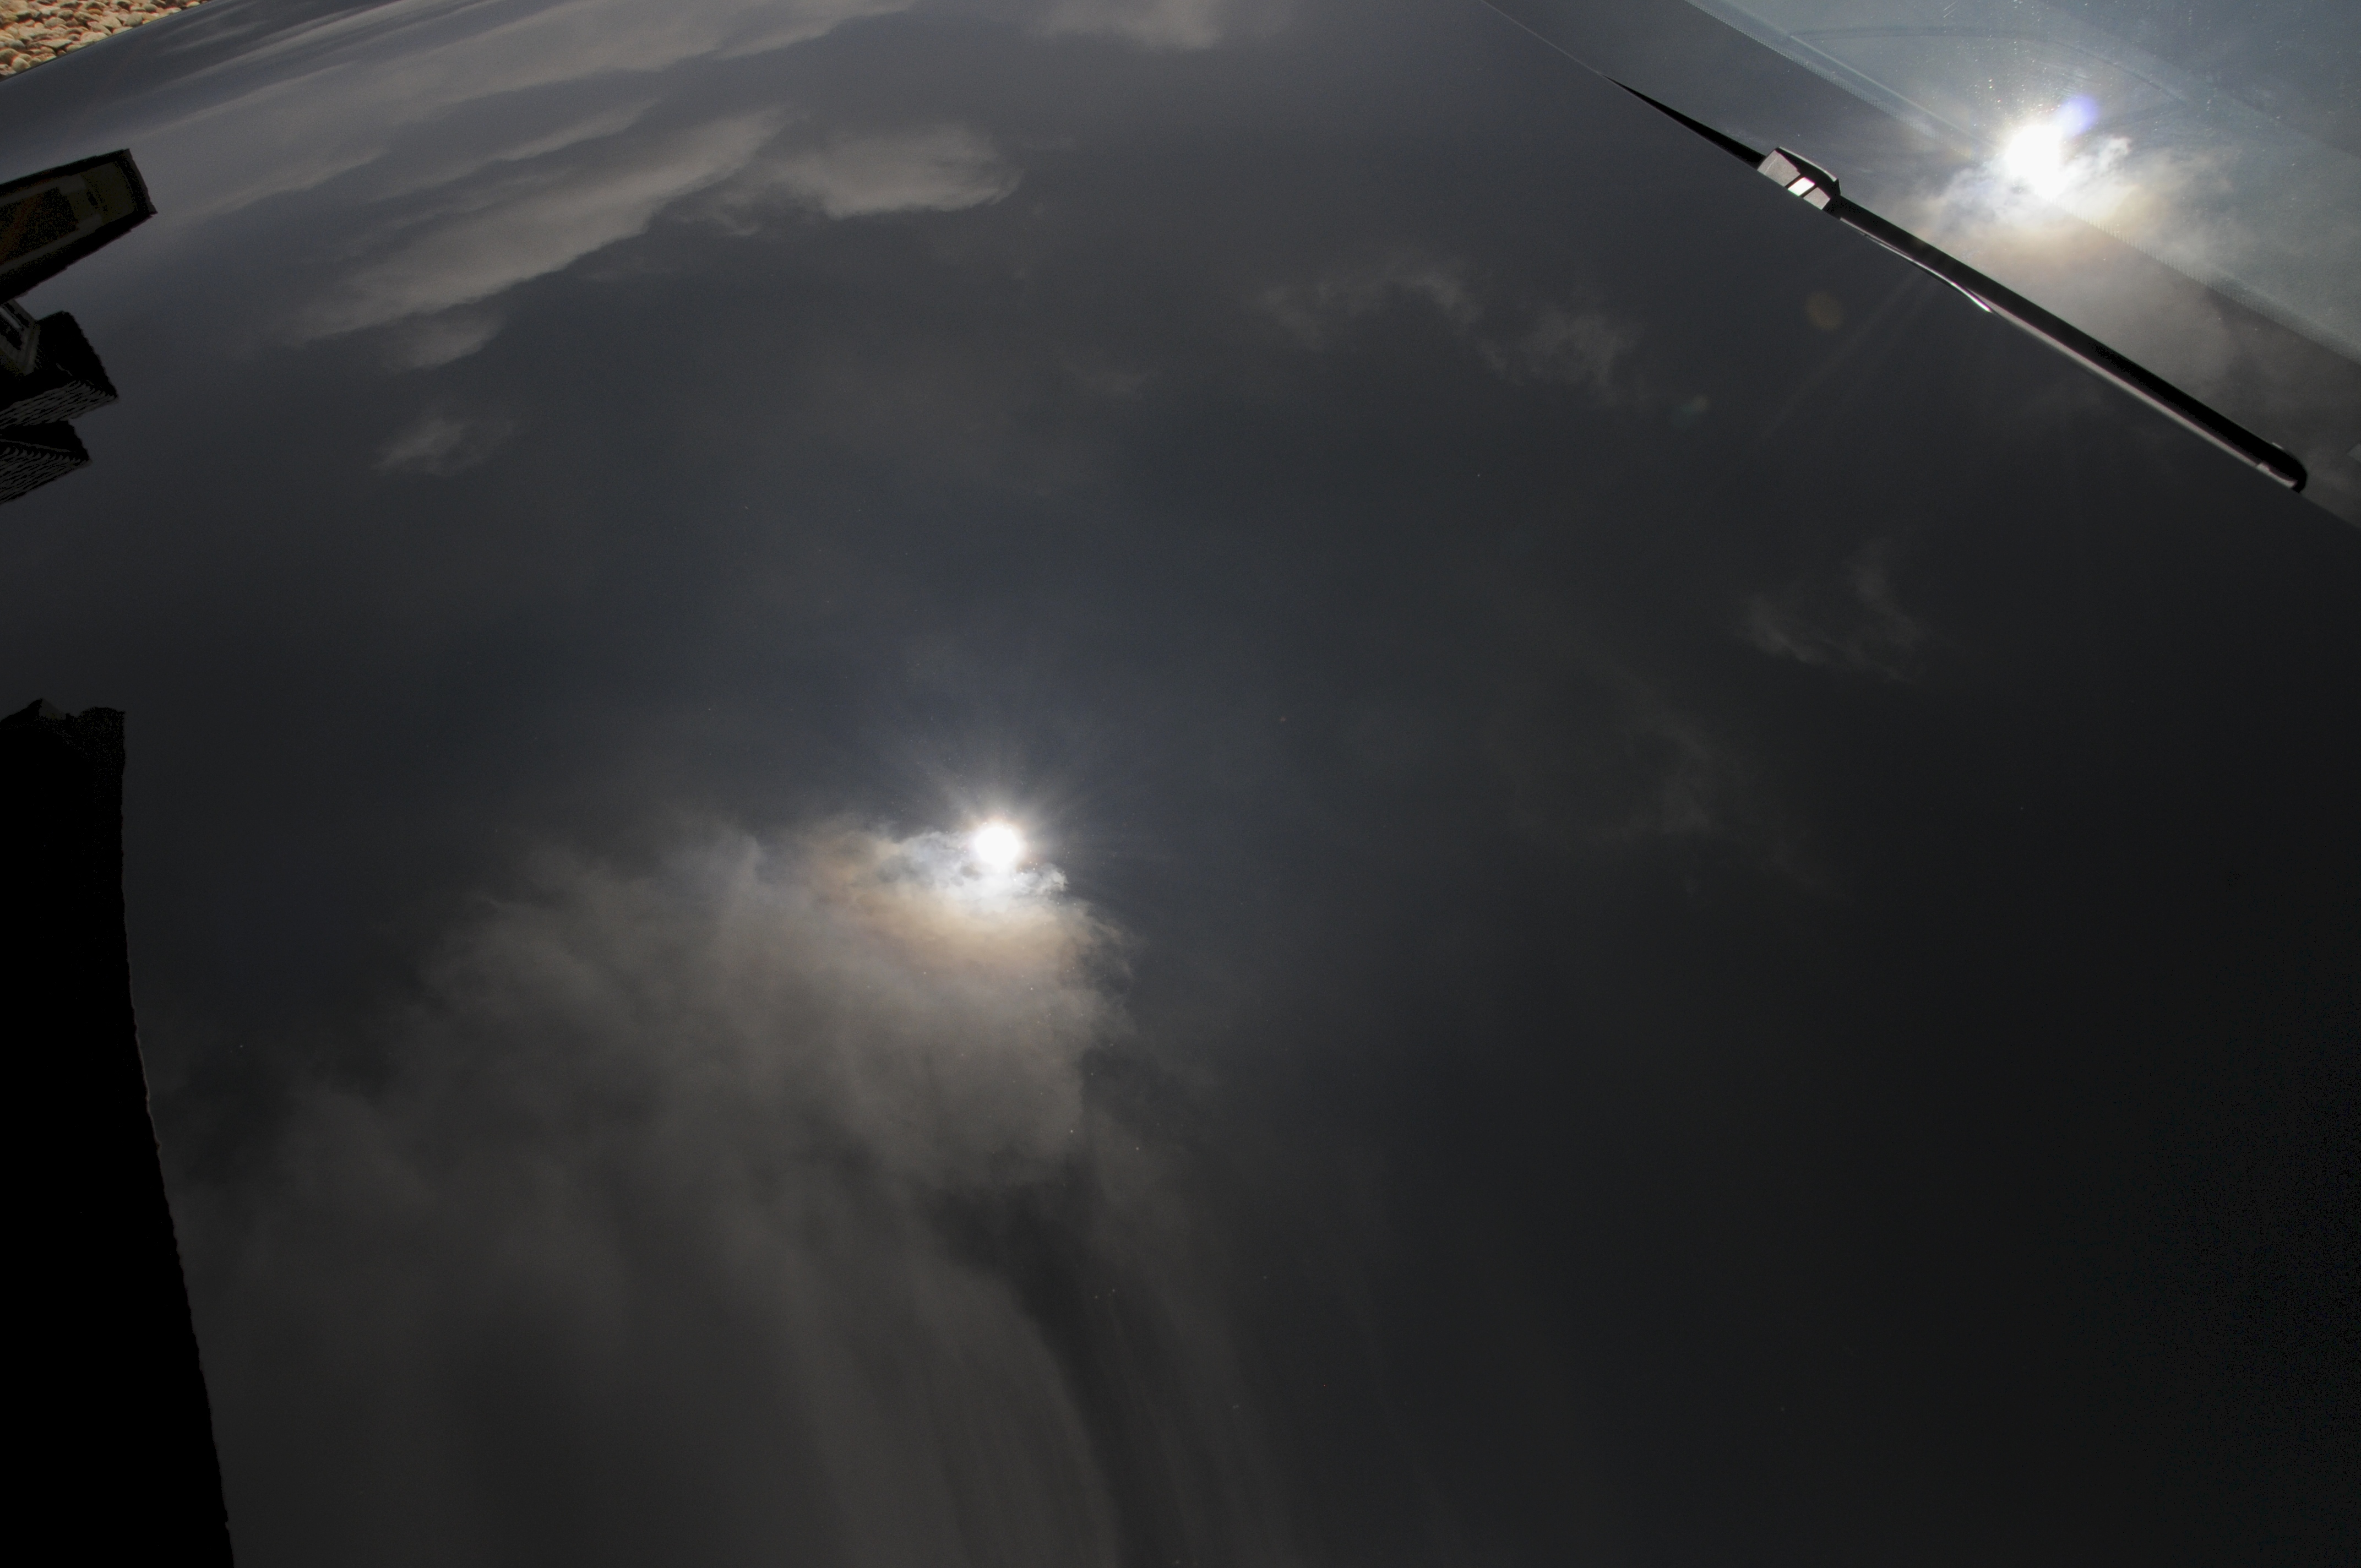
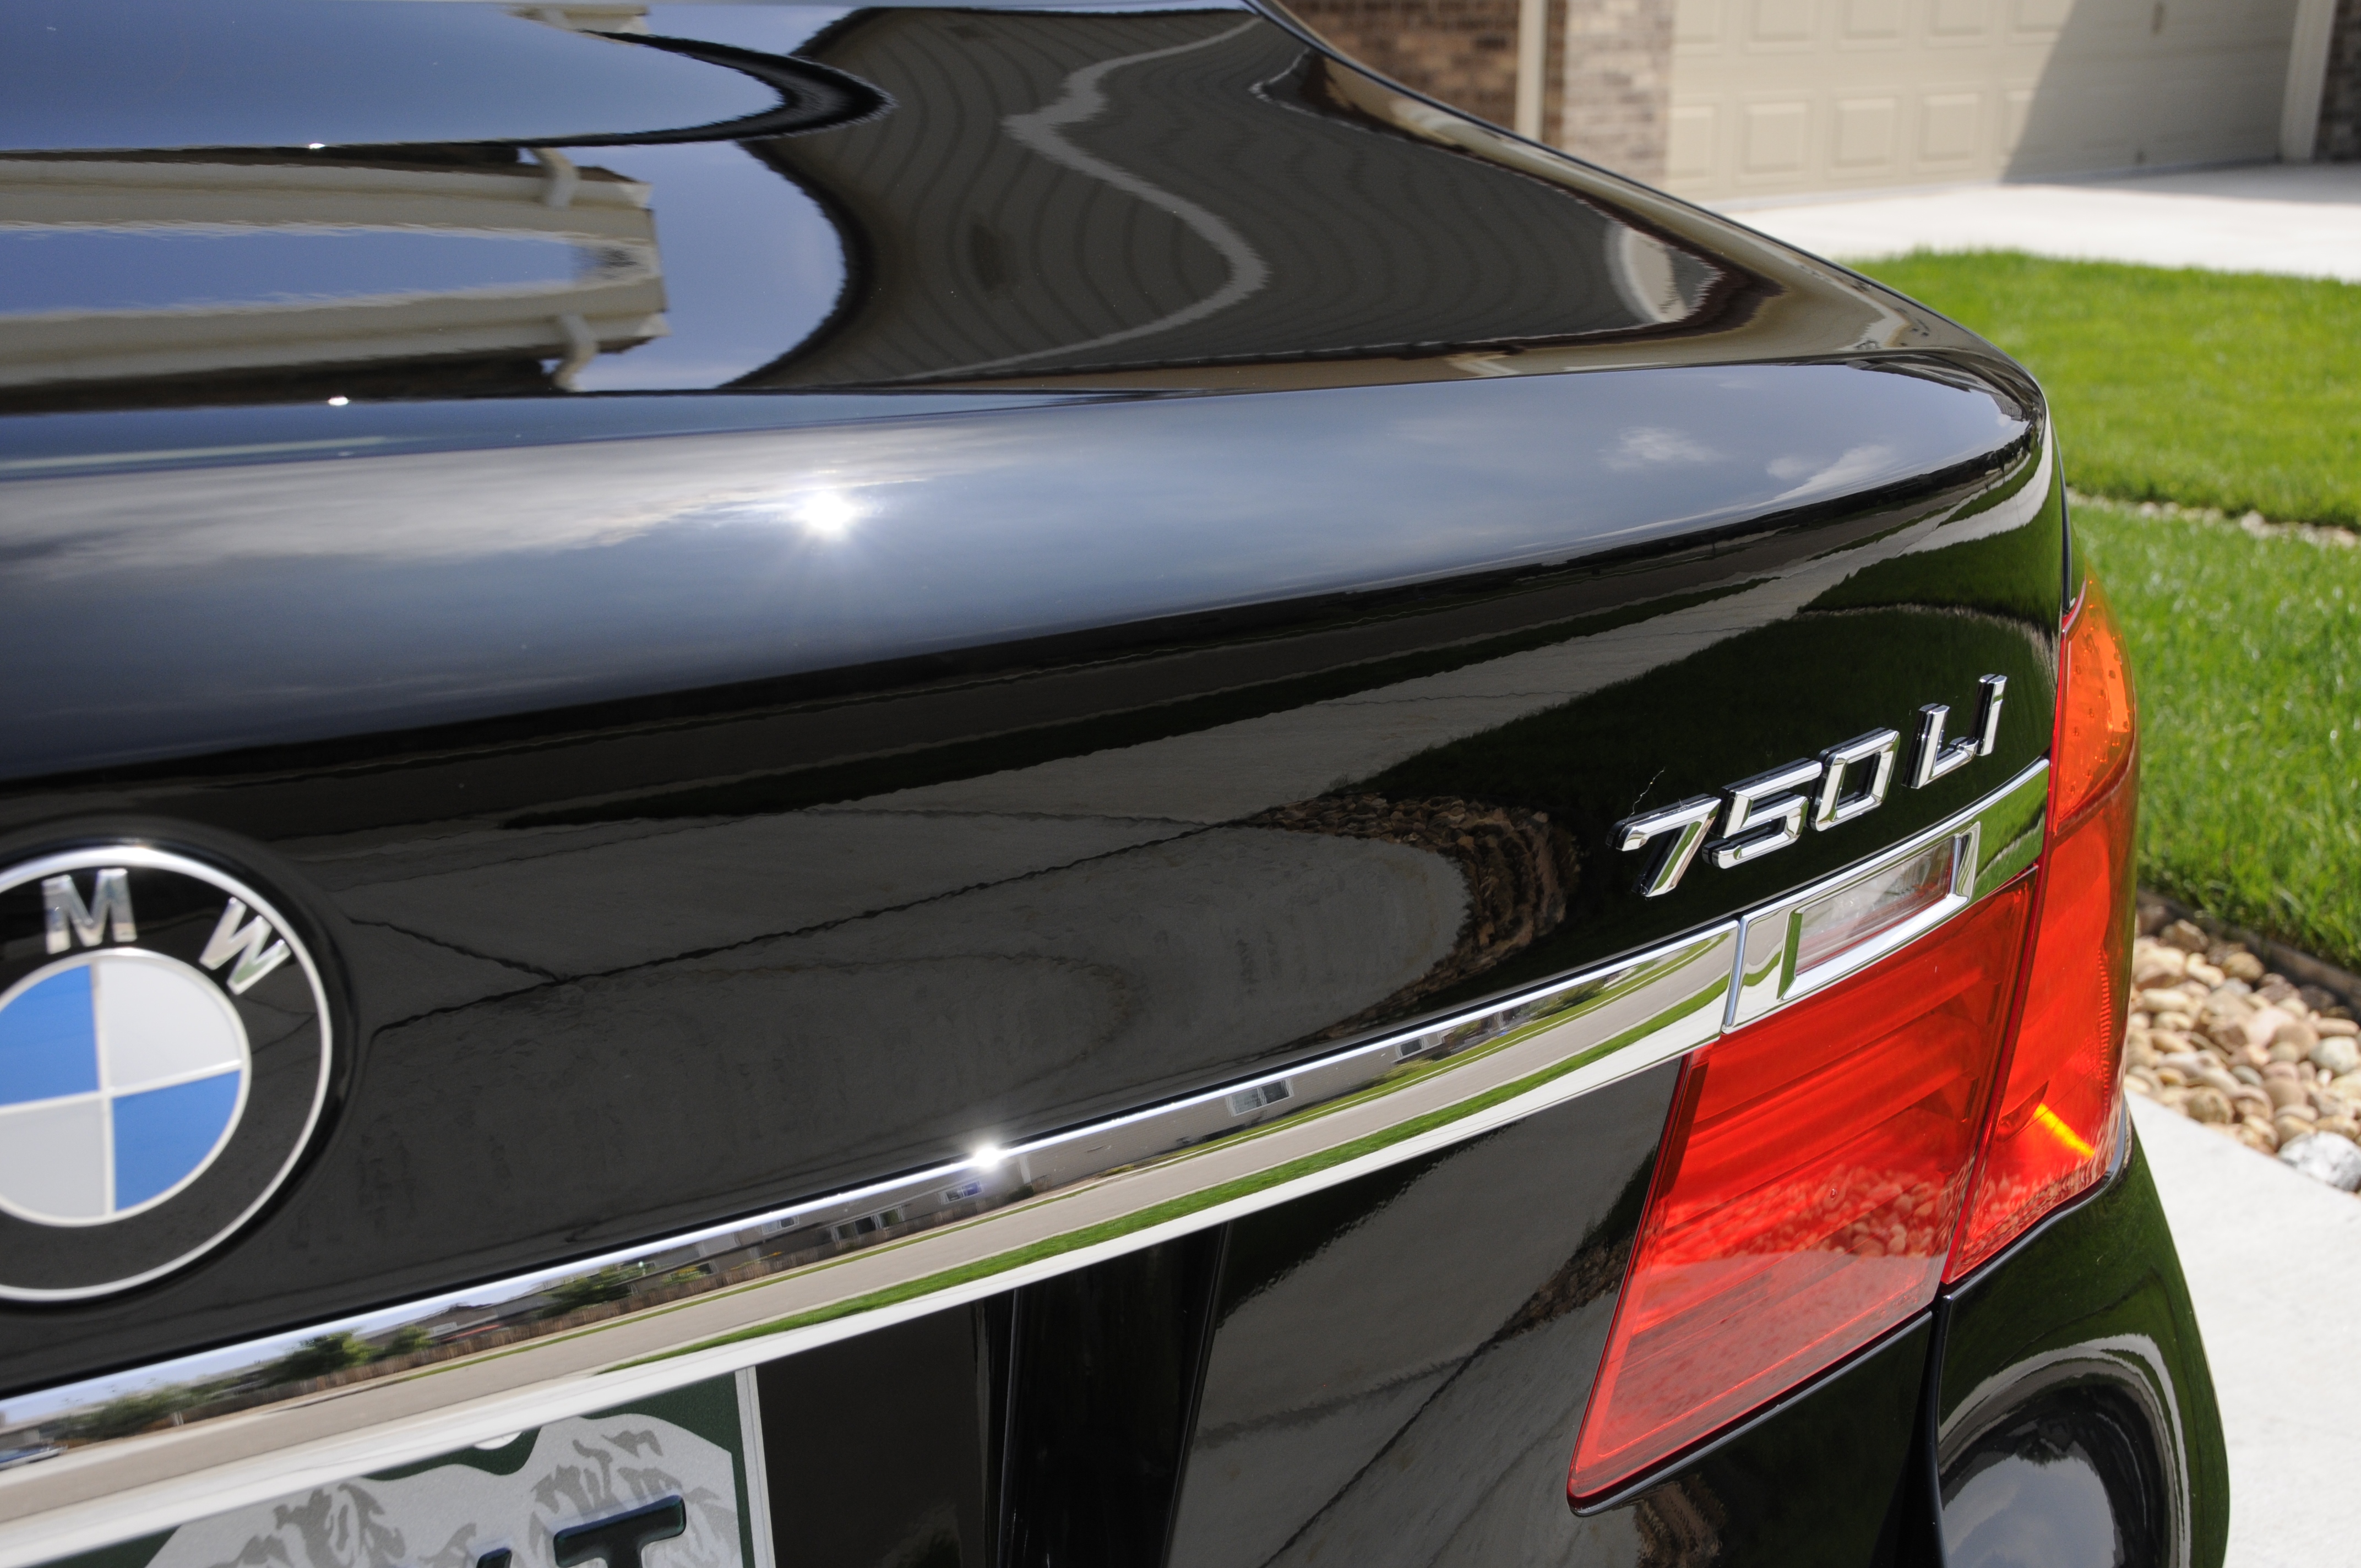
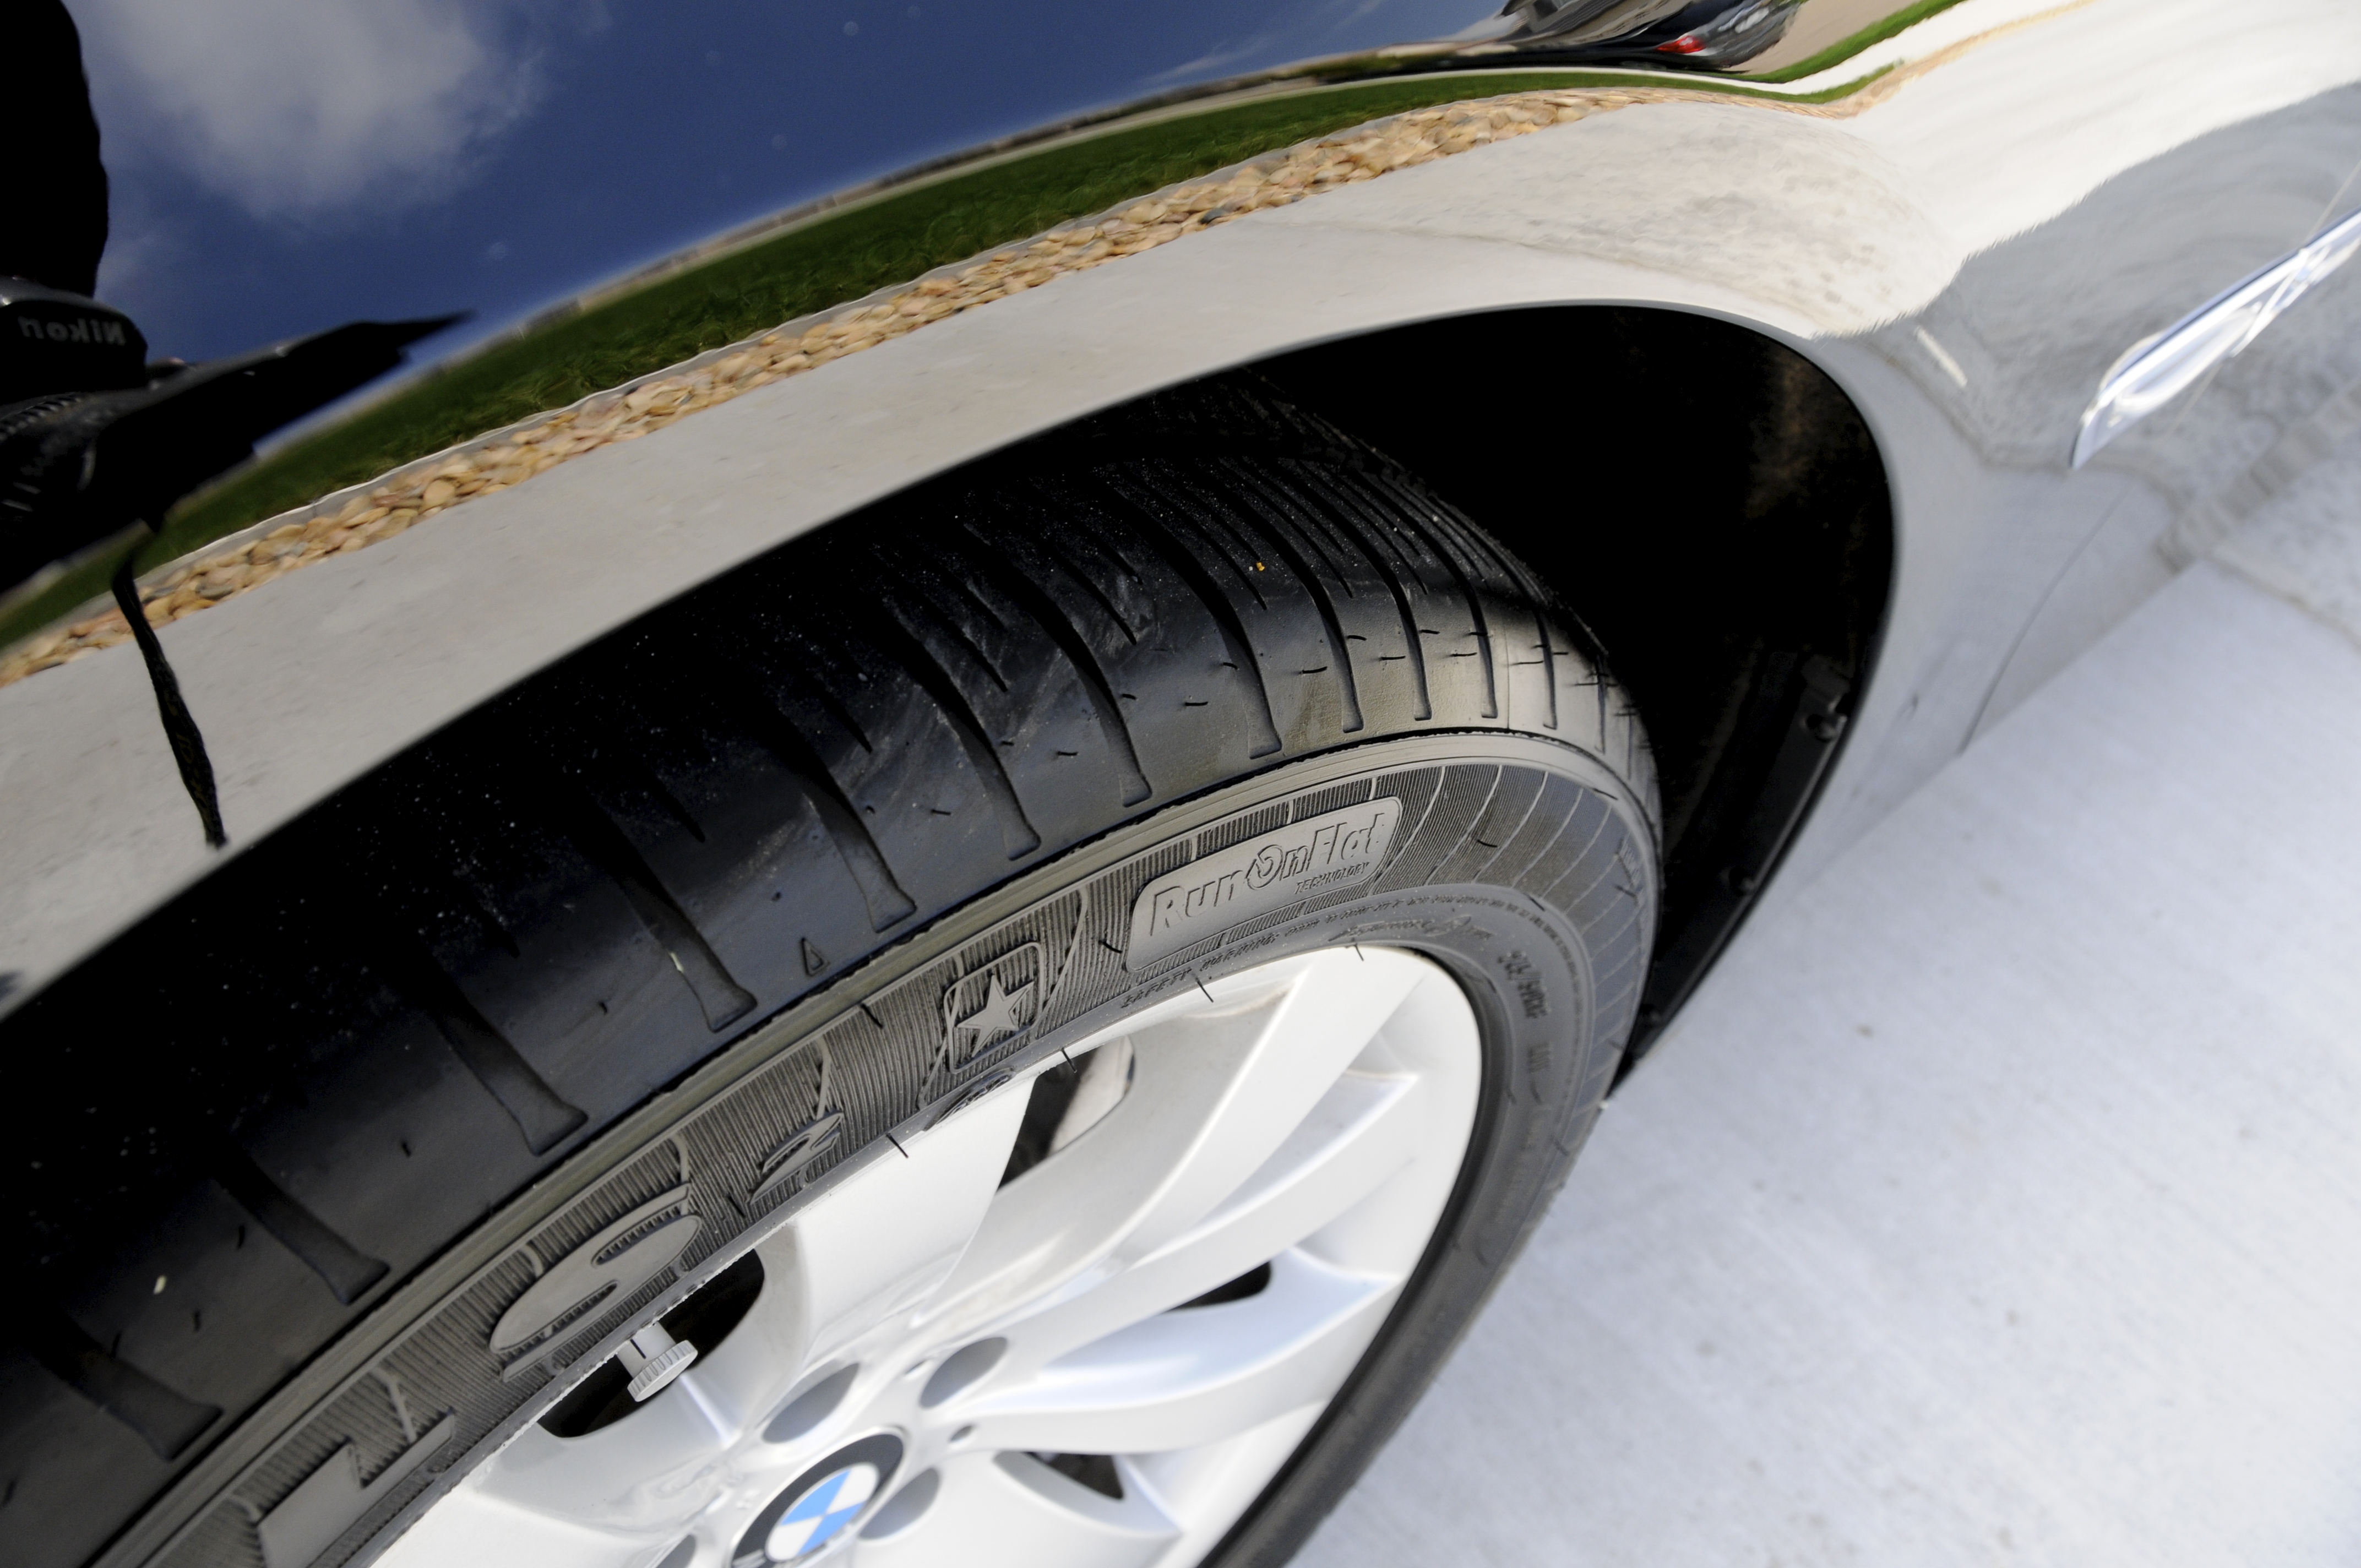
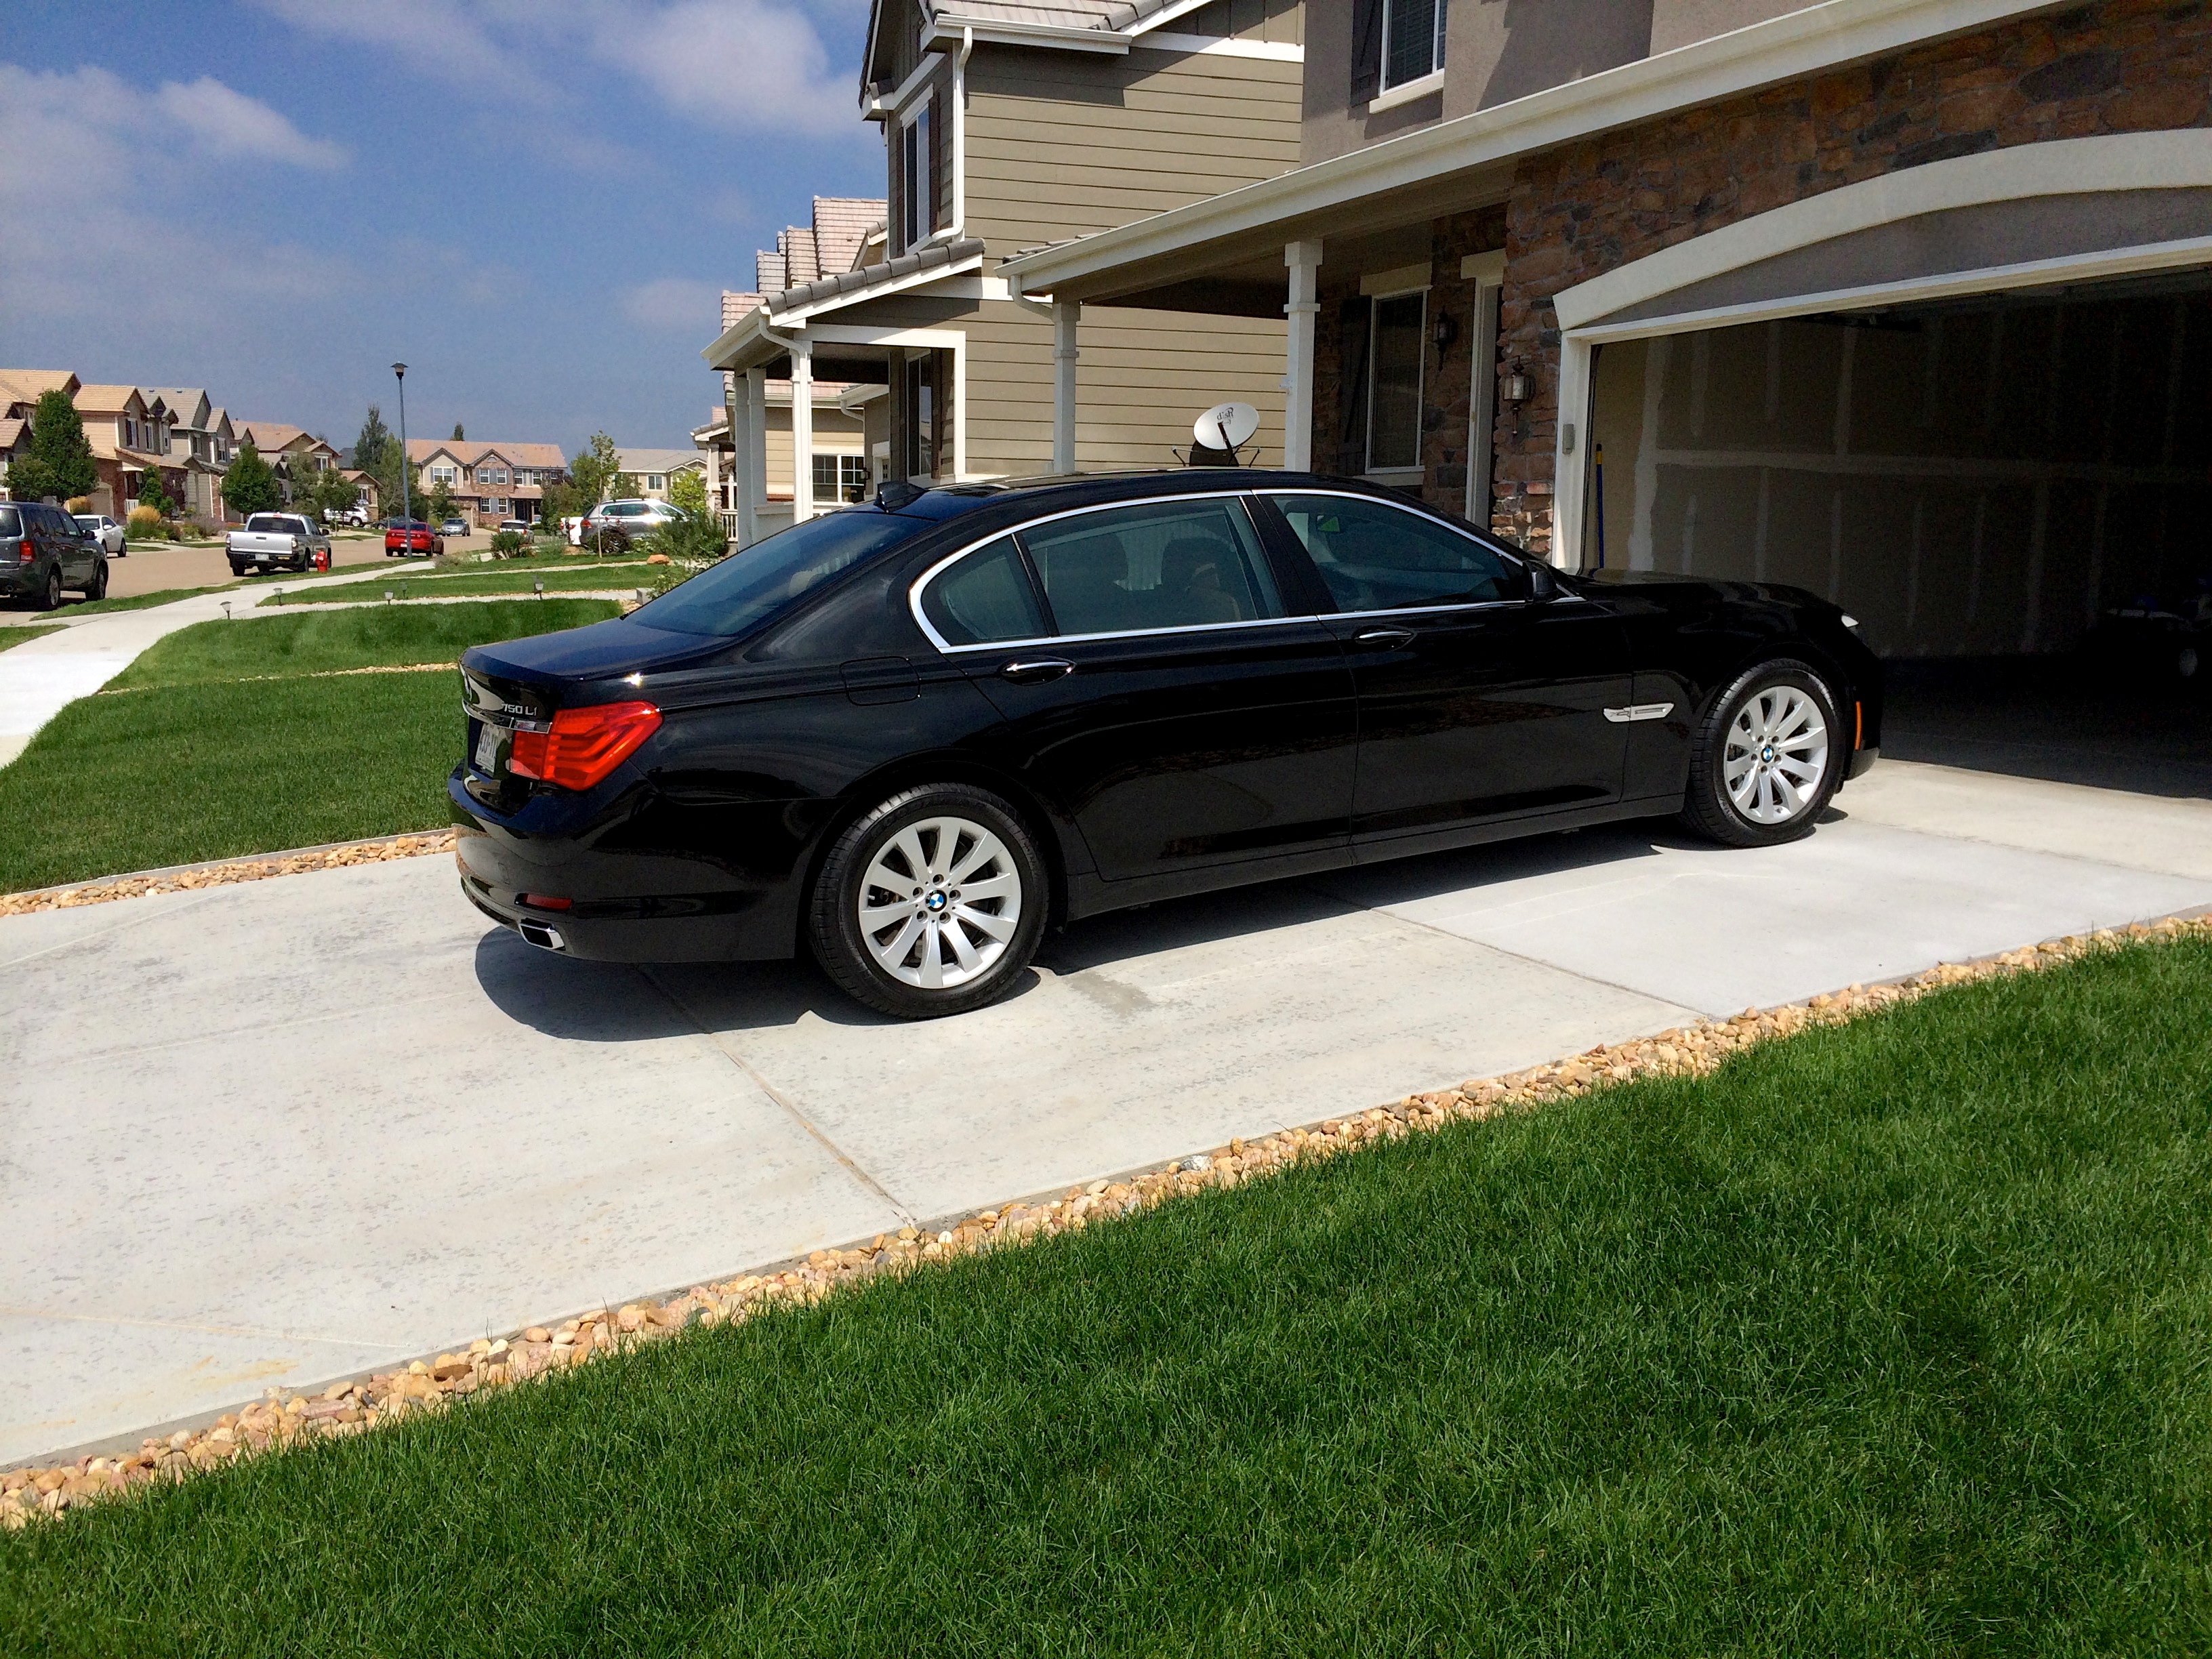
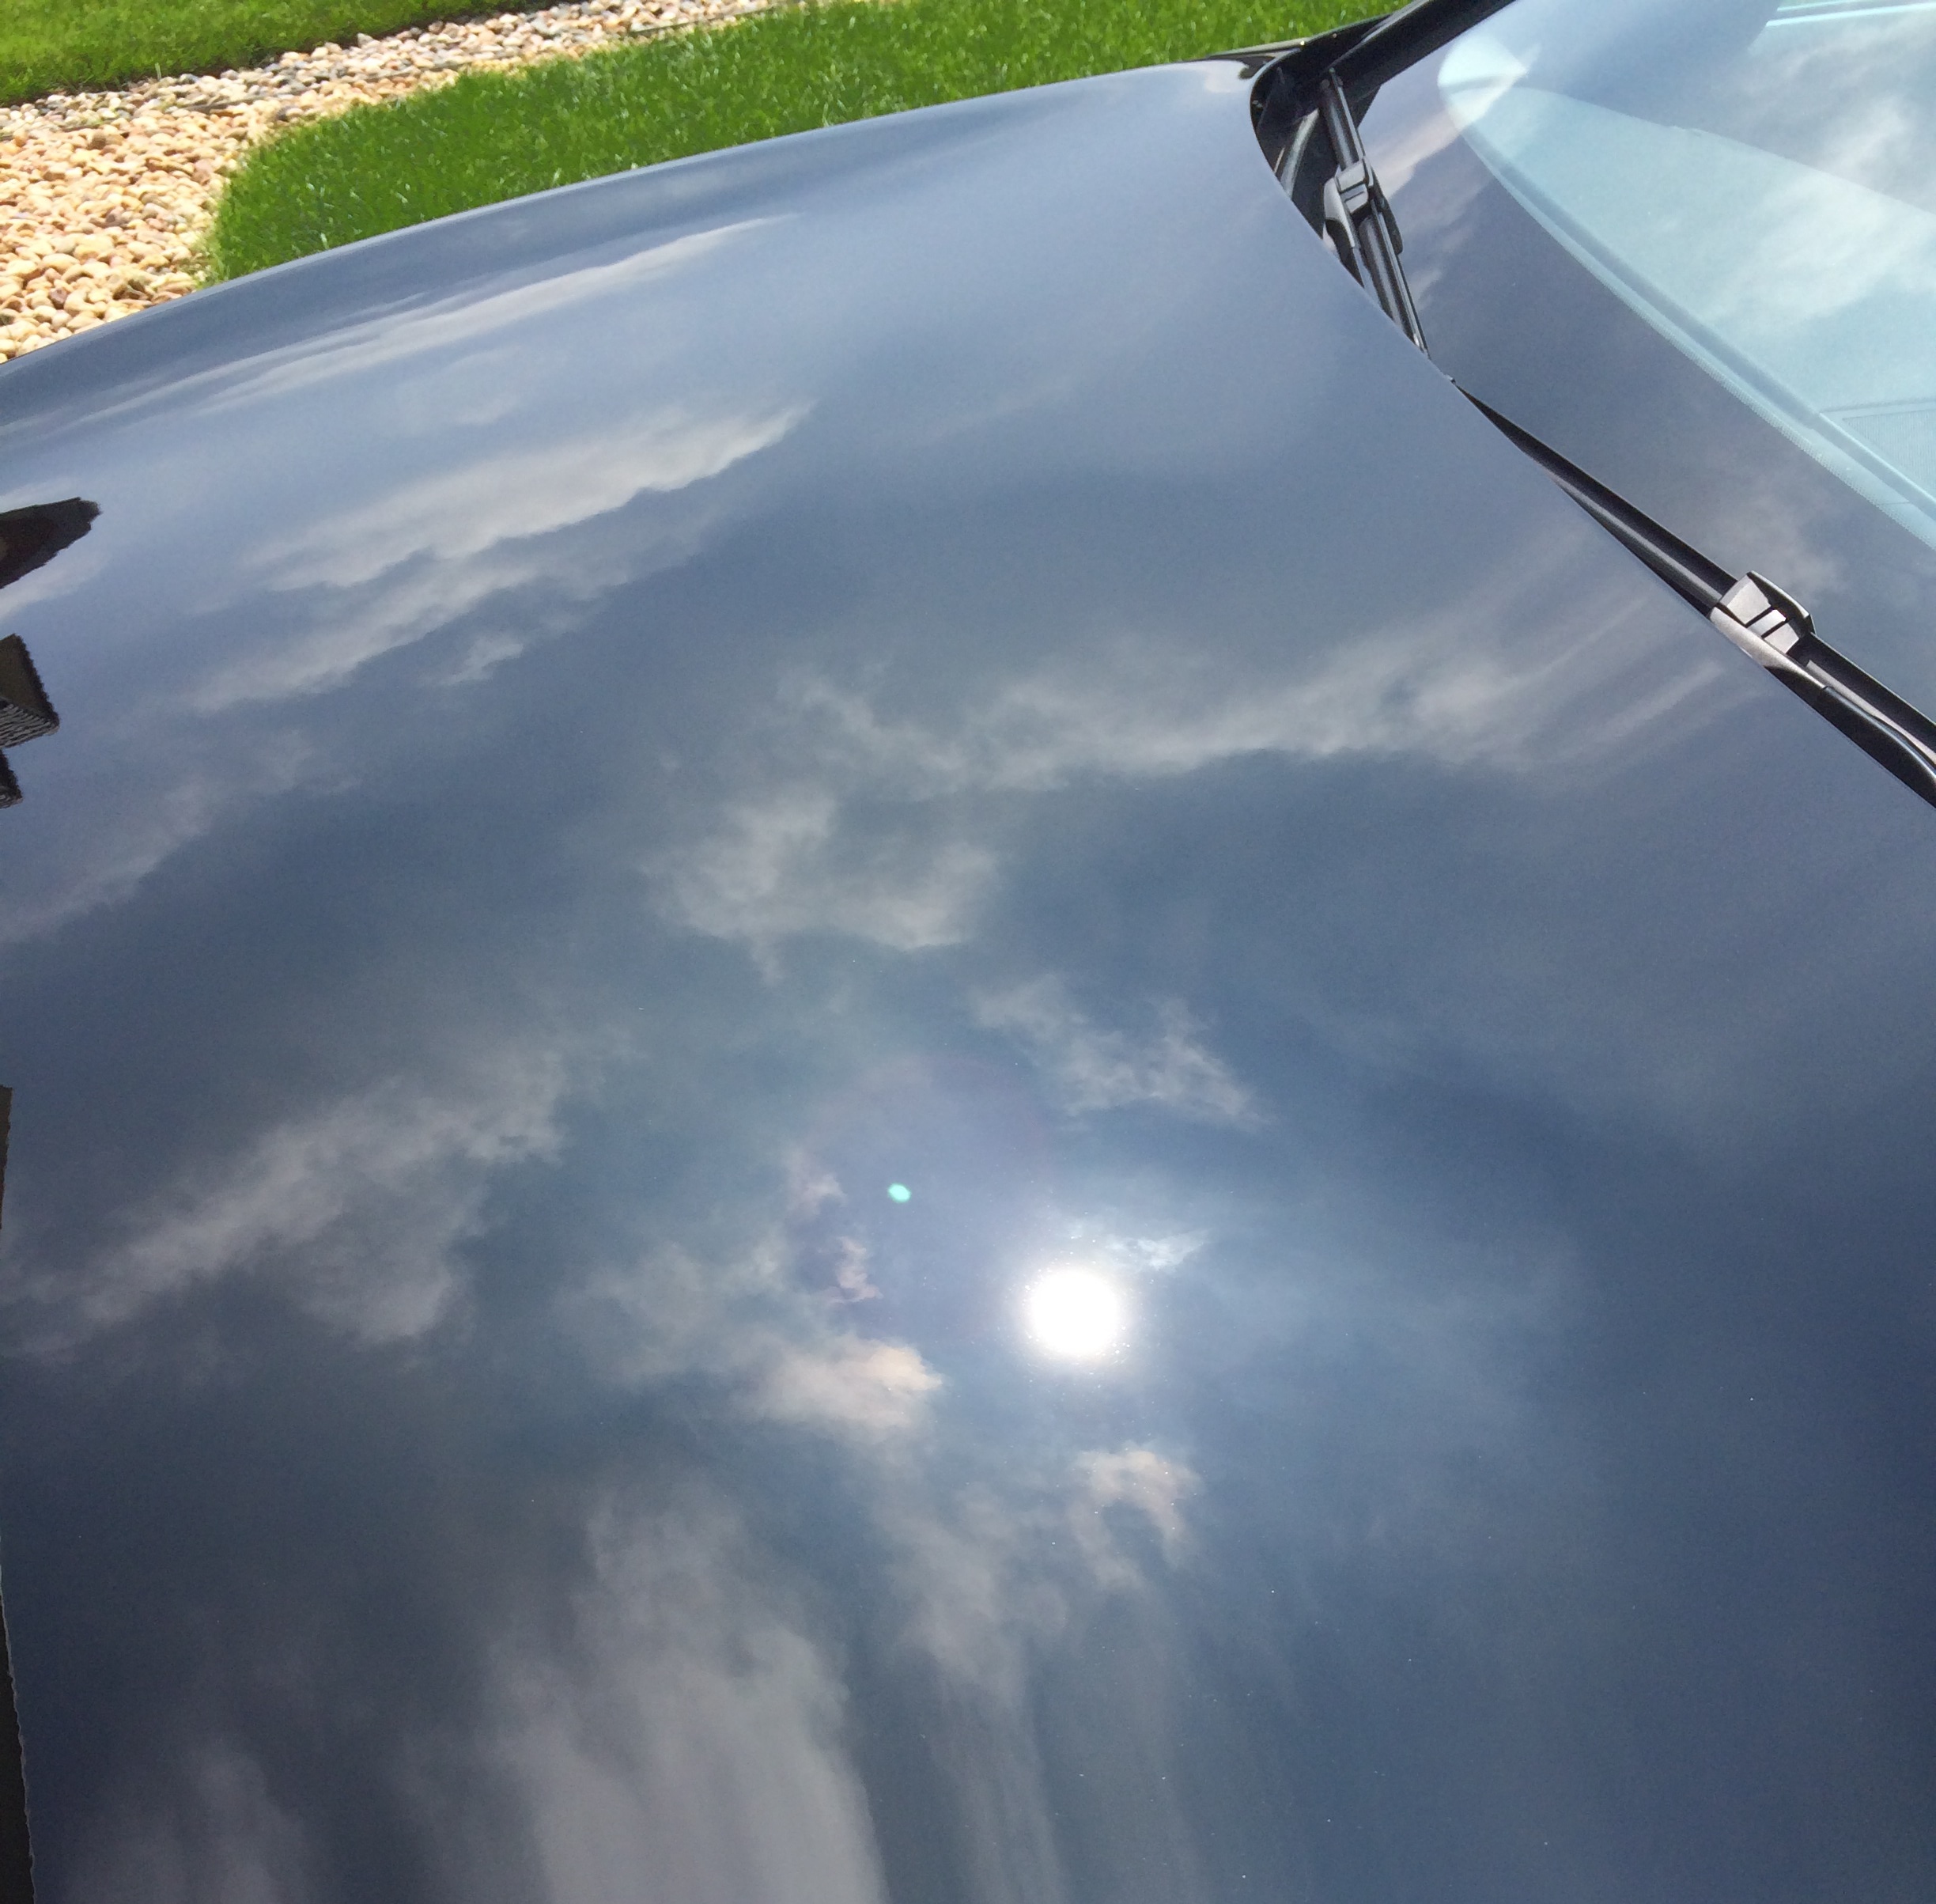
It was right as I finished the interior that the sun decided to burn thru the cloud cover so I could get some decent after shots. Overall extremely pleased with how this car came out
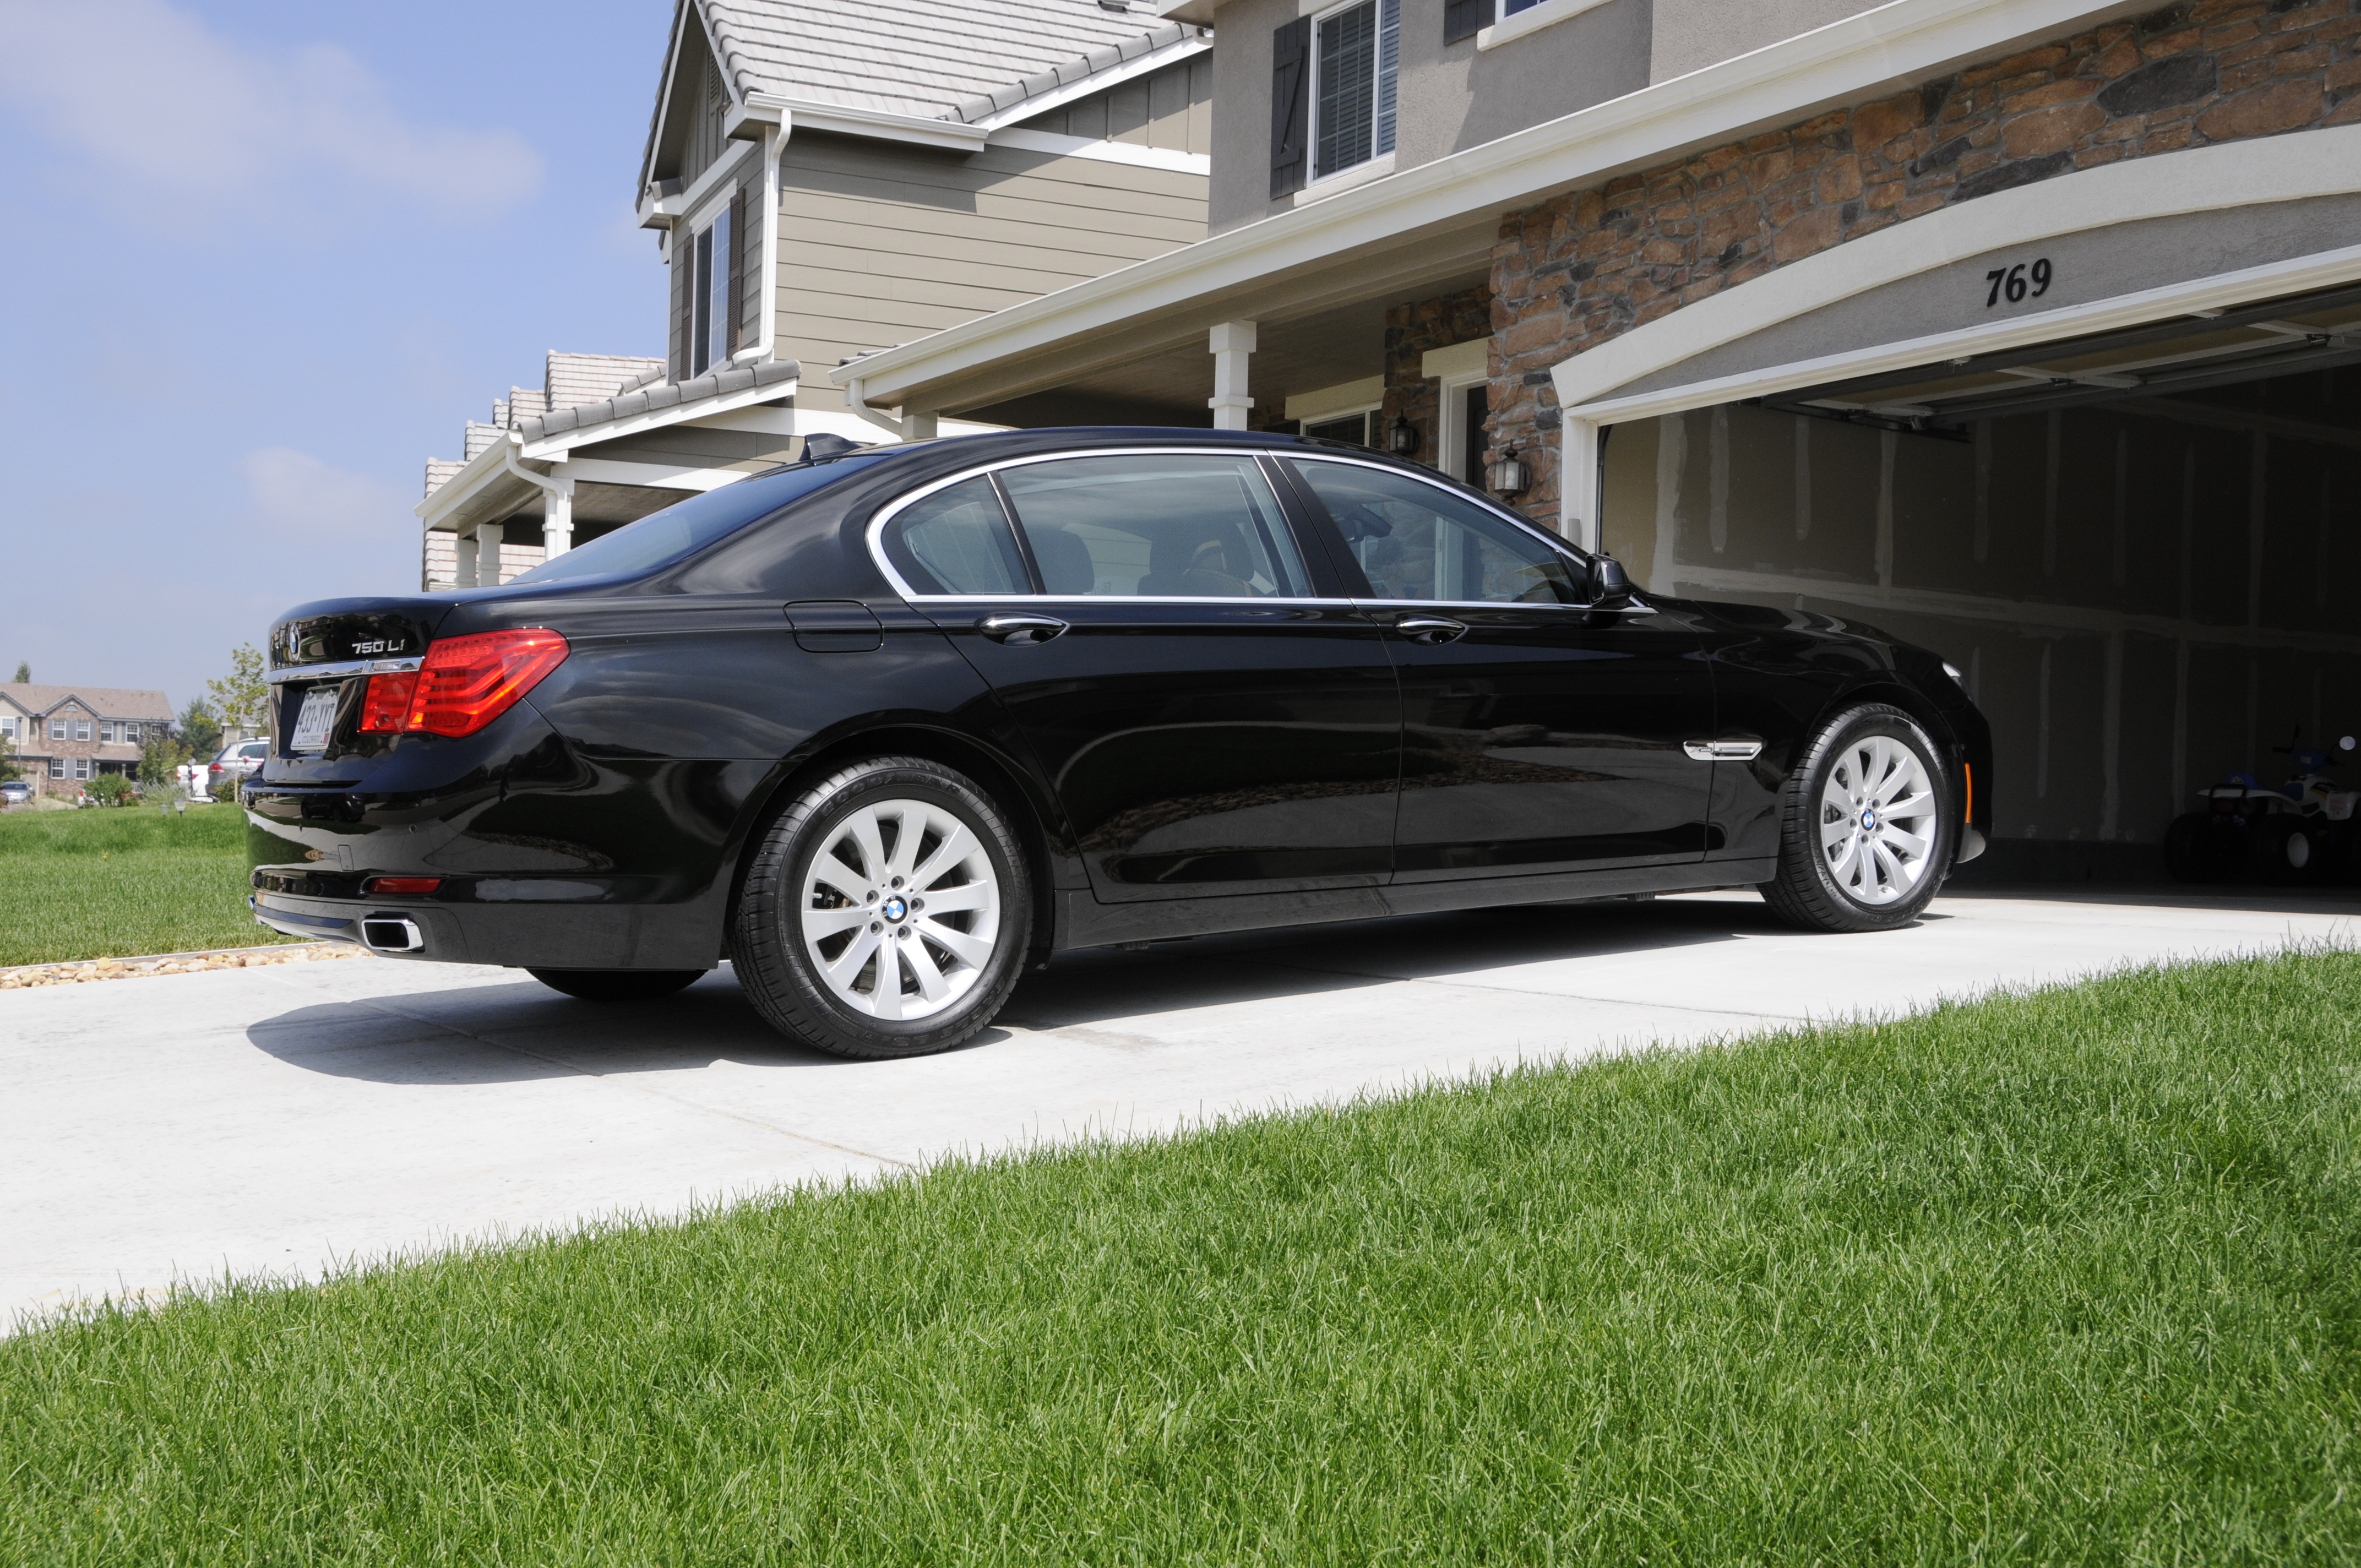
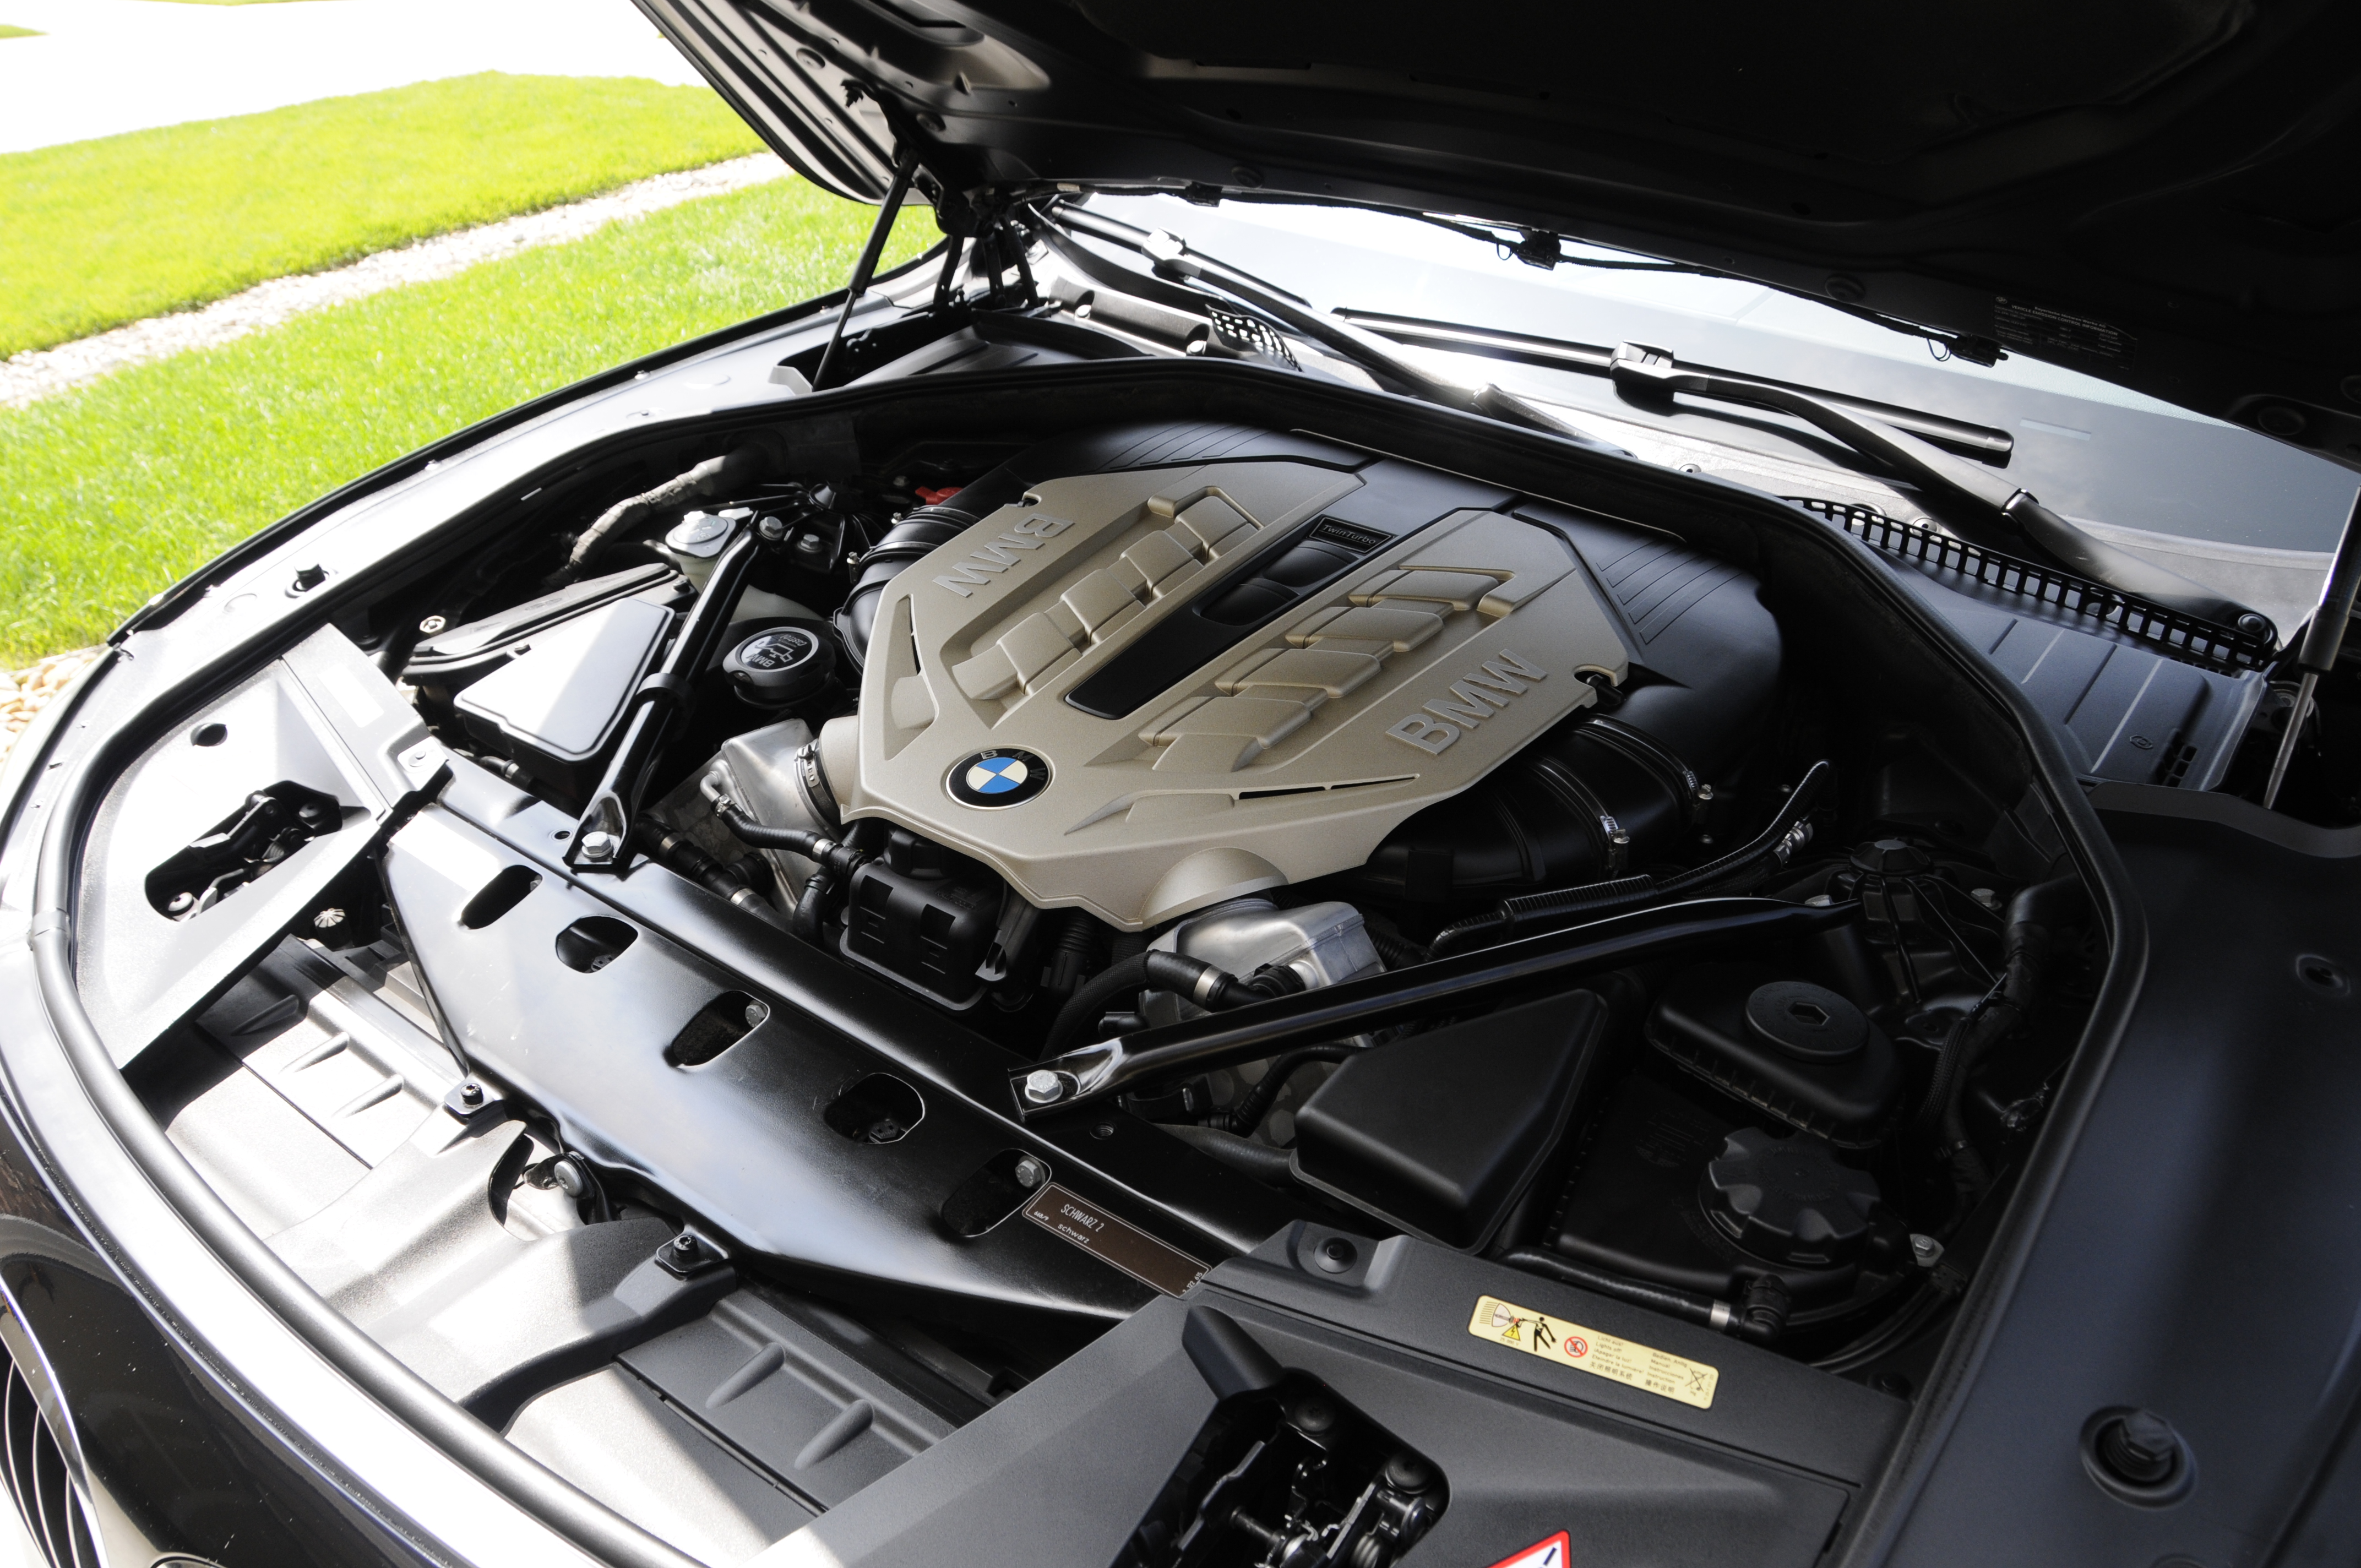
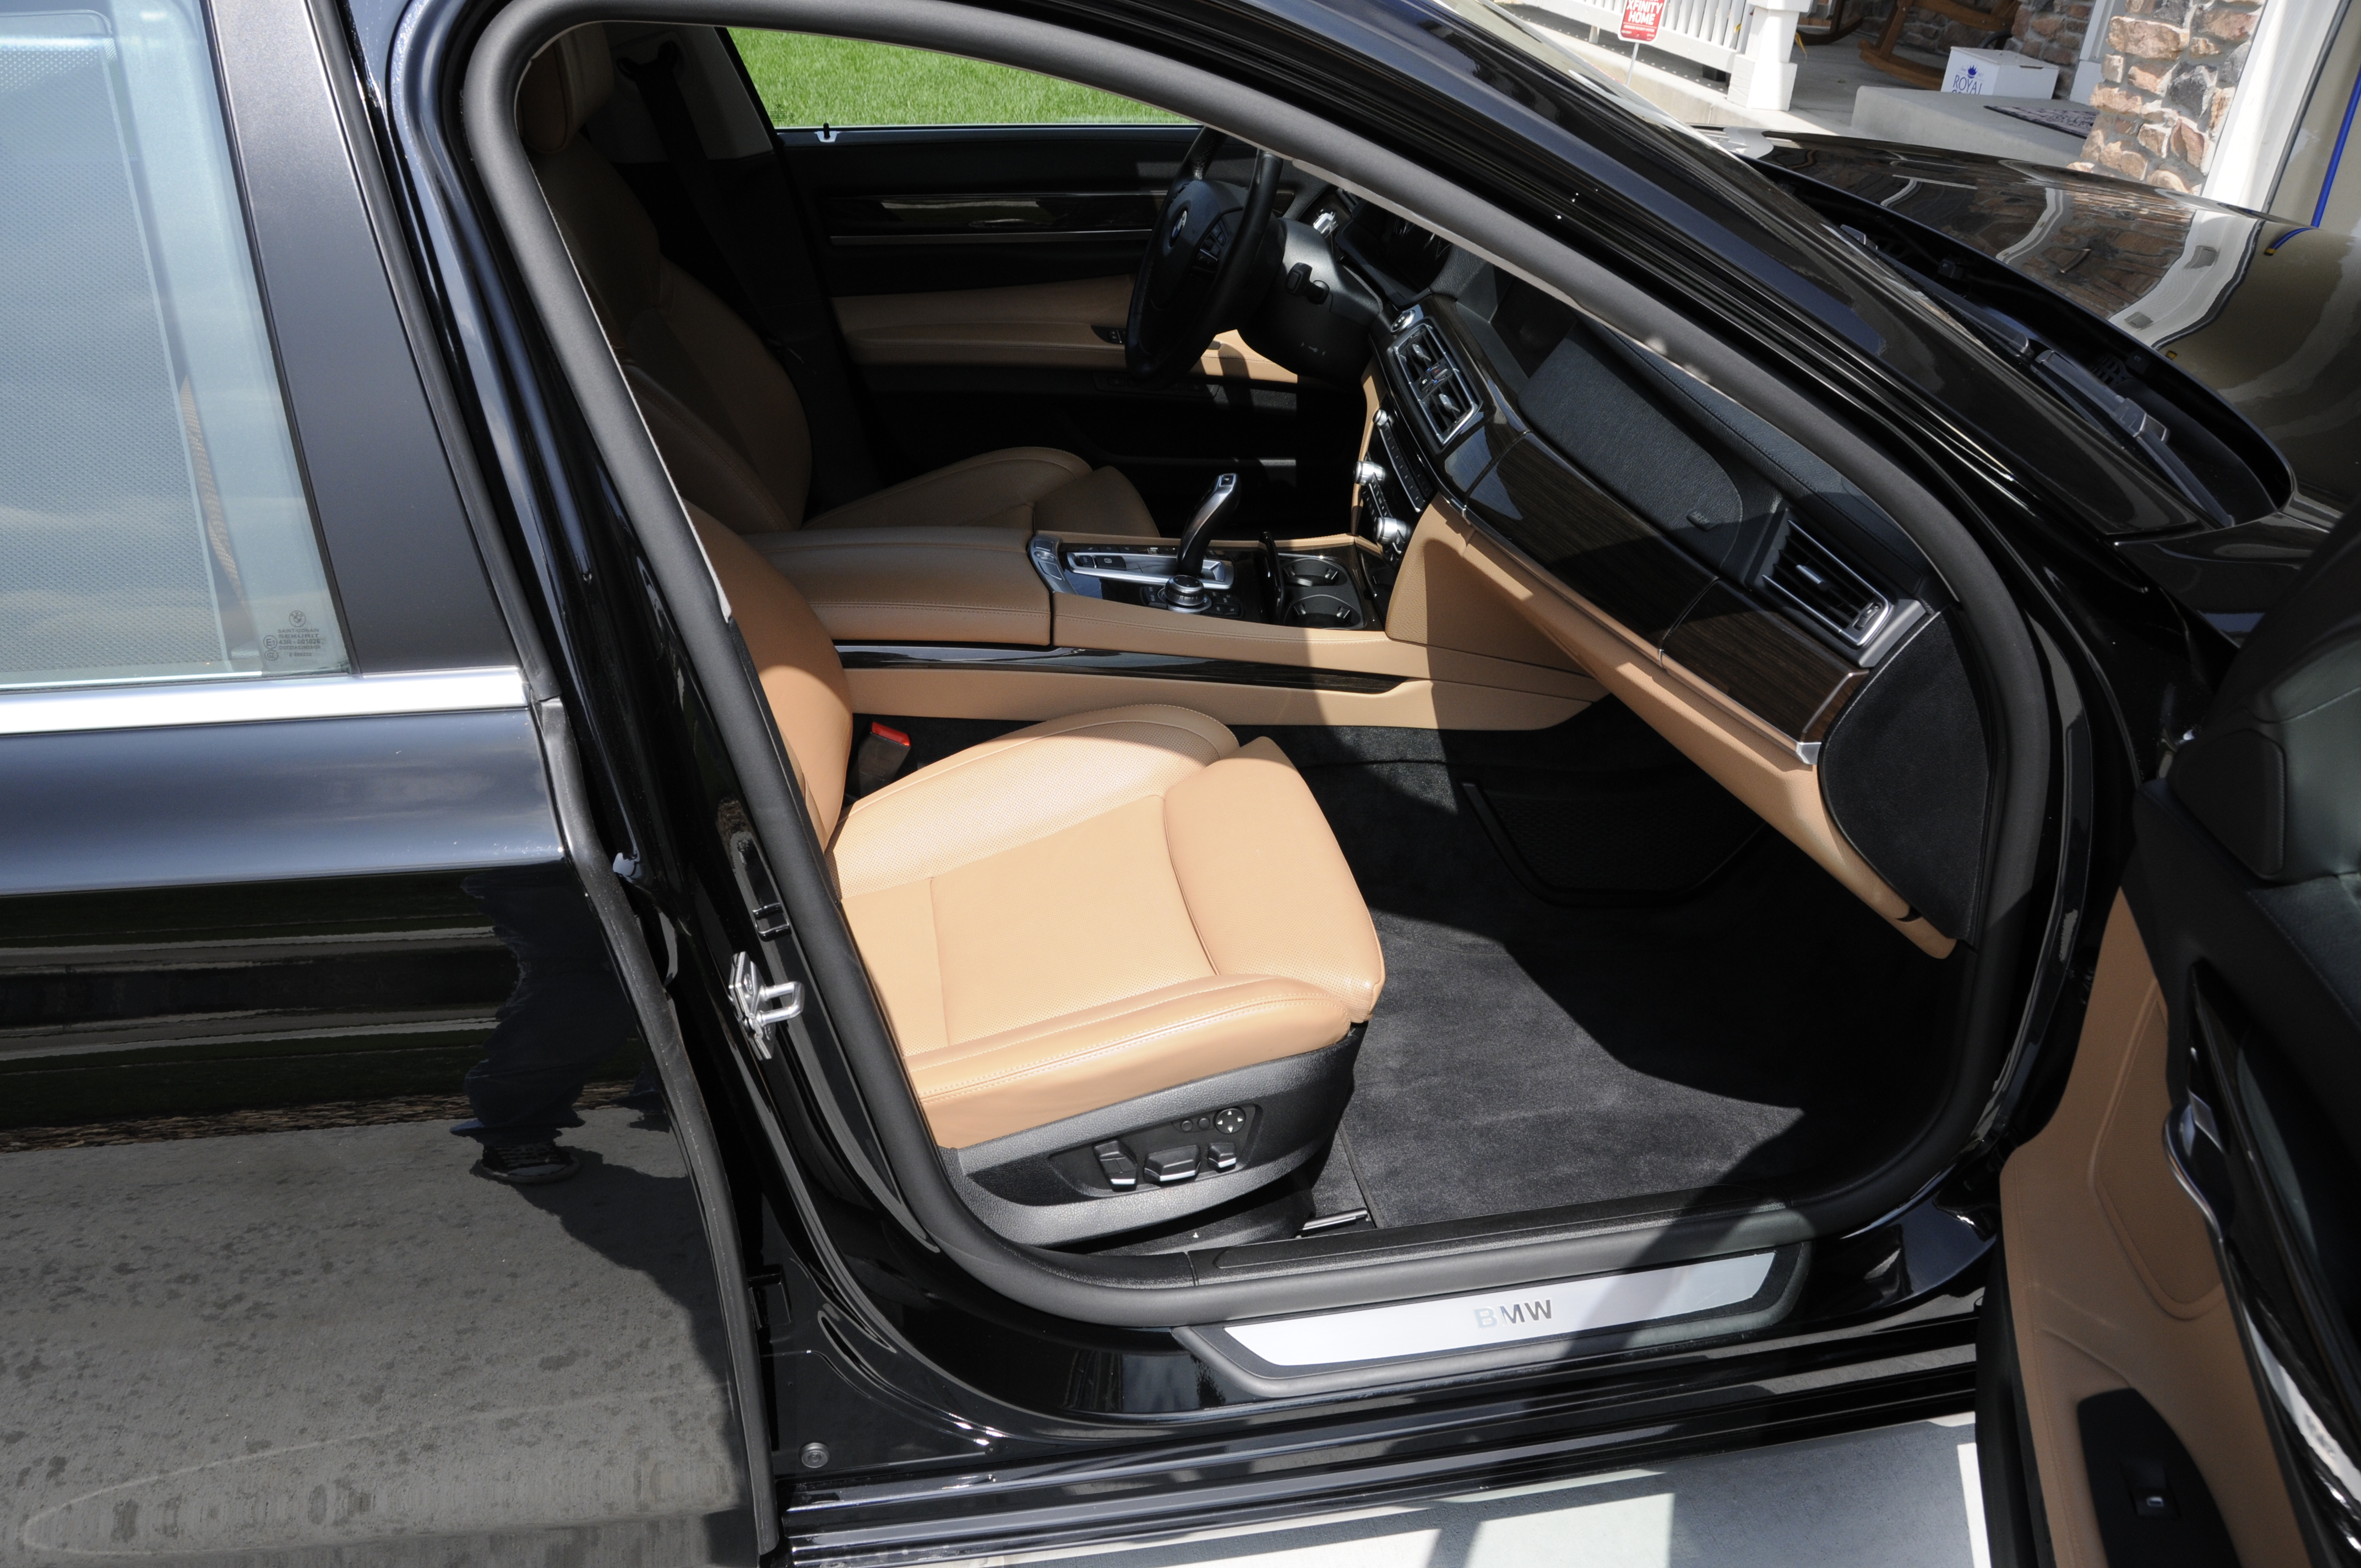
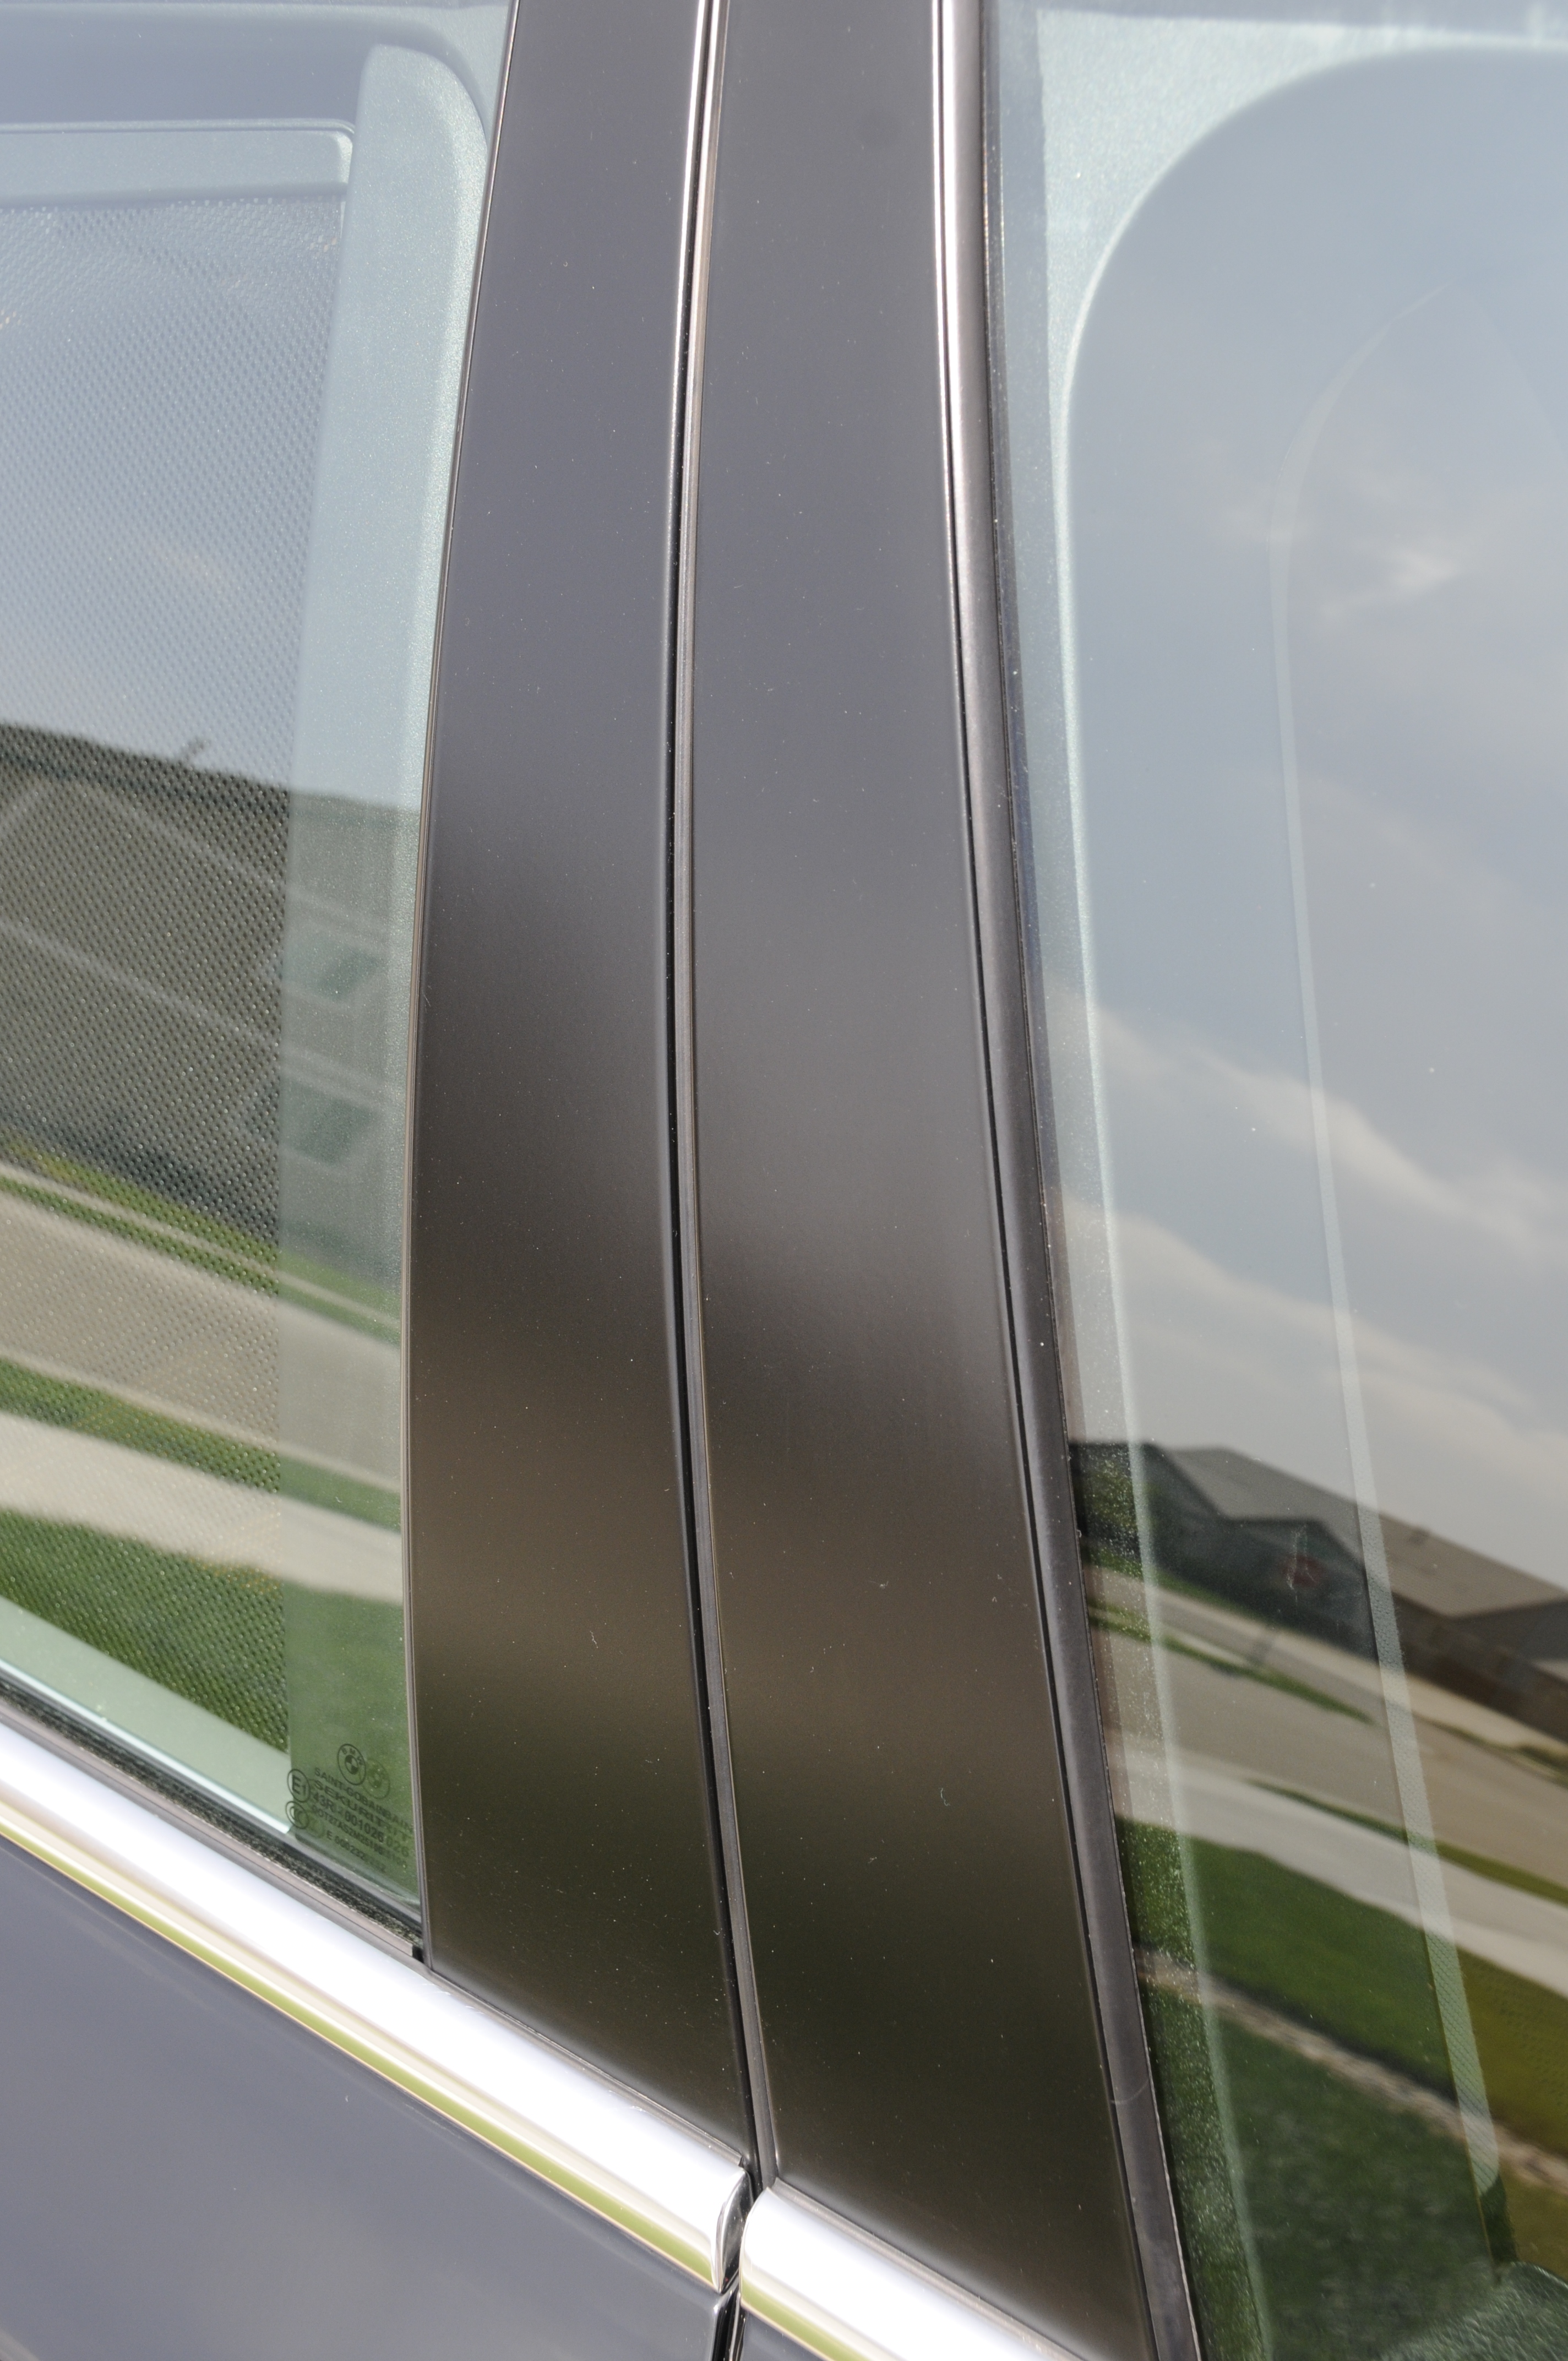
obligatory 'vonkleisting' shot
Drove it back to her owner who was over the top excited to see his car looking so good. Felt good to do a 'good deed' like this one rather than a paid job. Since it was for a buddies dad it wasn't so much about getting paid as it was making him happy and putting all the SCG products thru their paces to show what they can do. Thanks for looking!
TOTAL MAN HOURS: 12

It was right as I finished the interior that the sun decided to burn thru the cloud cover so I could get some decent after shots. Overall extremely pleased with how this car came out


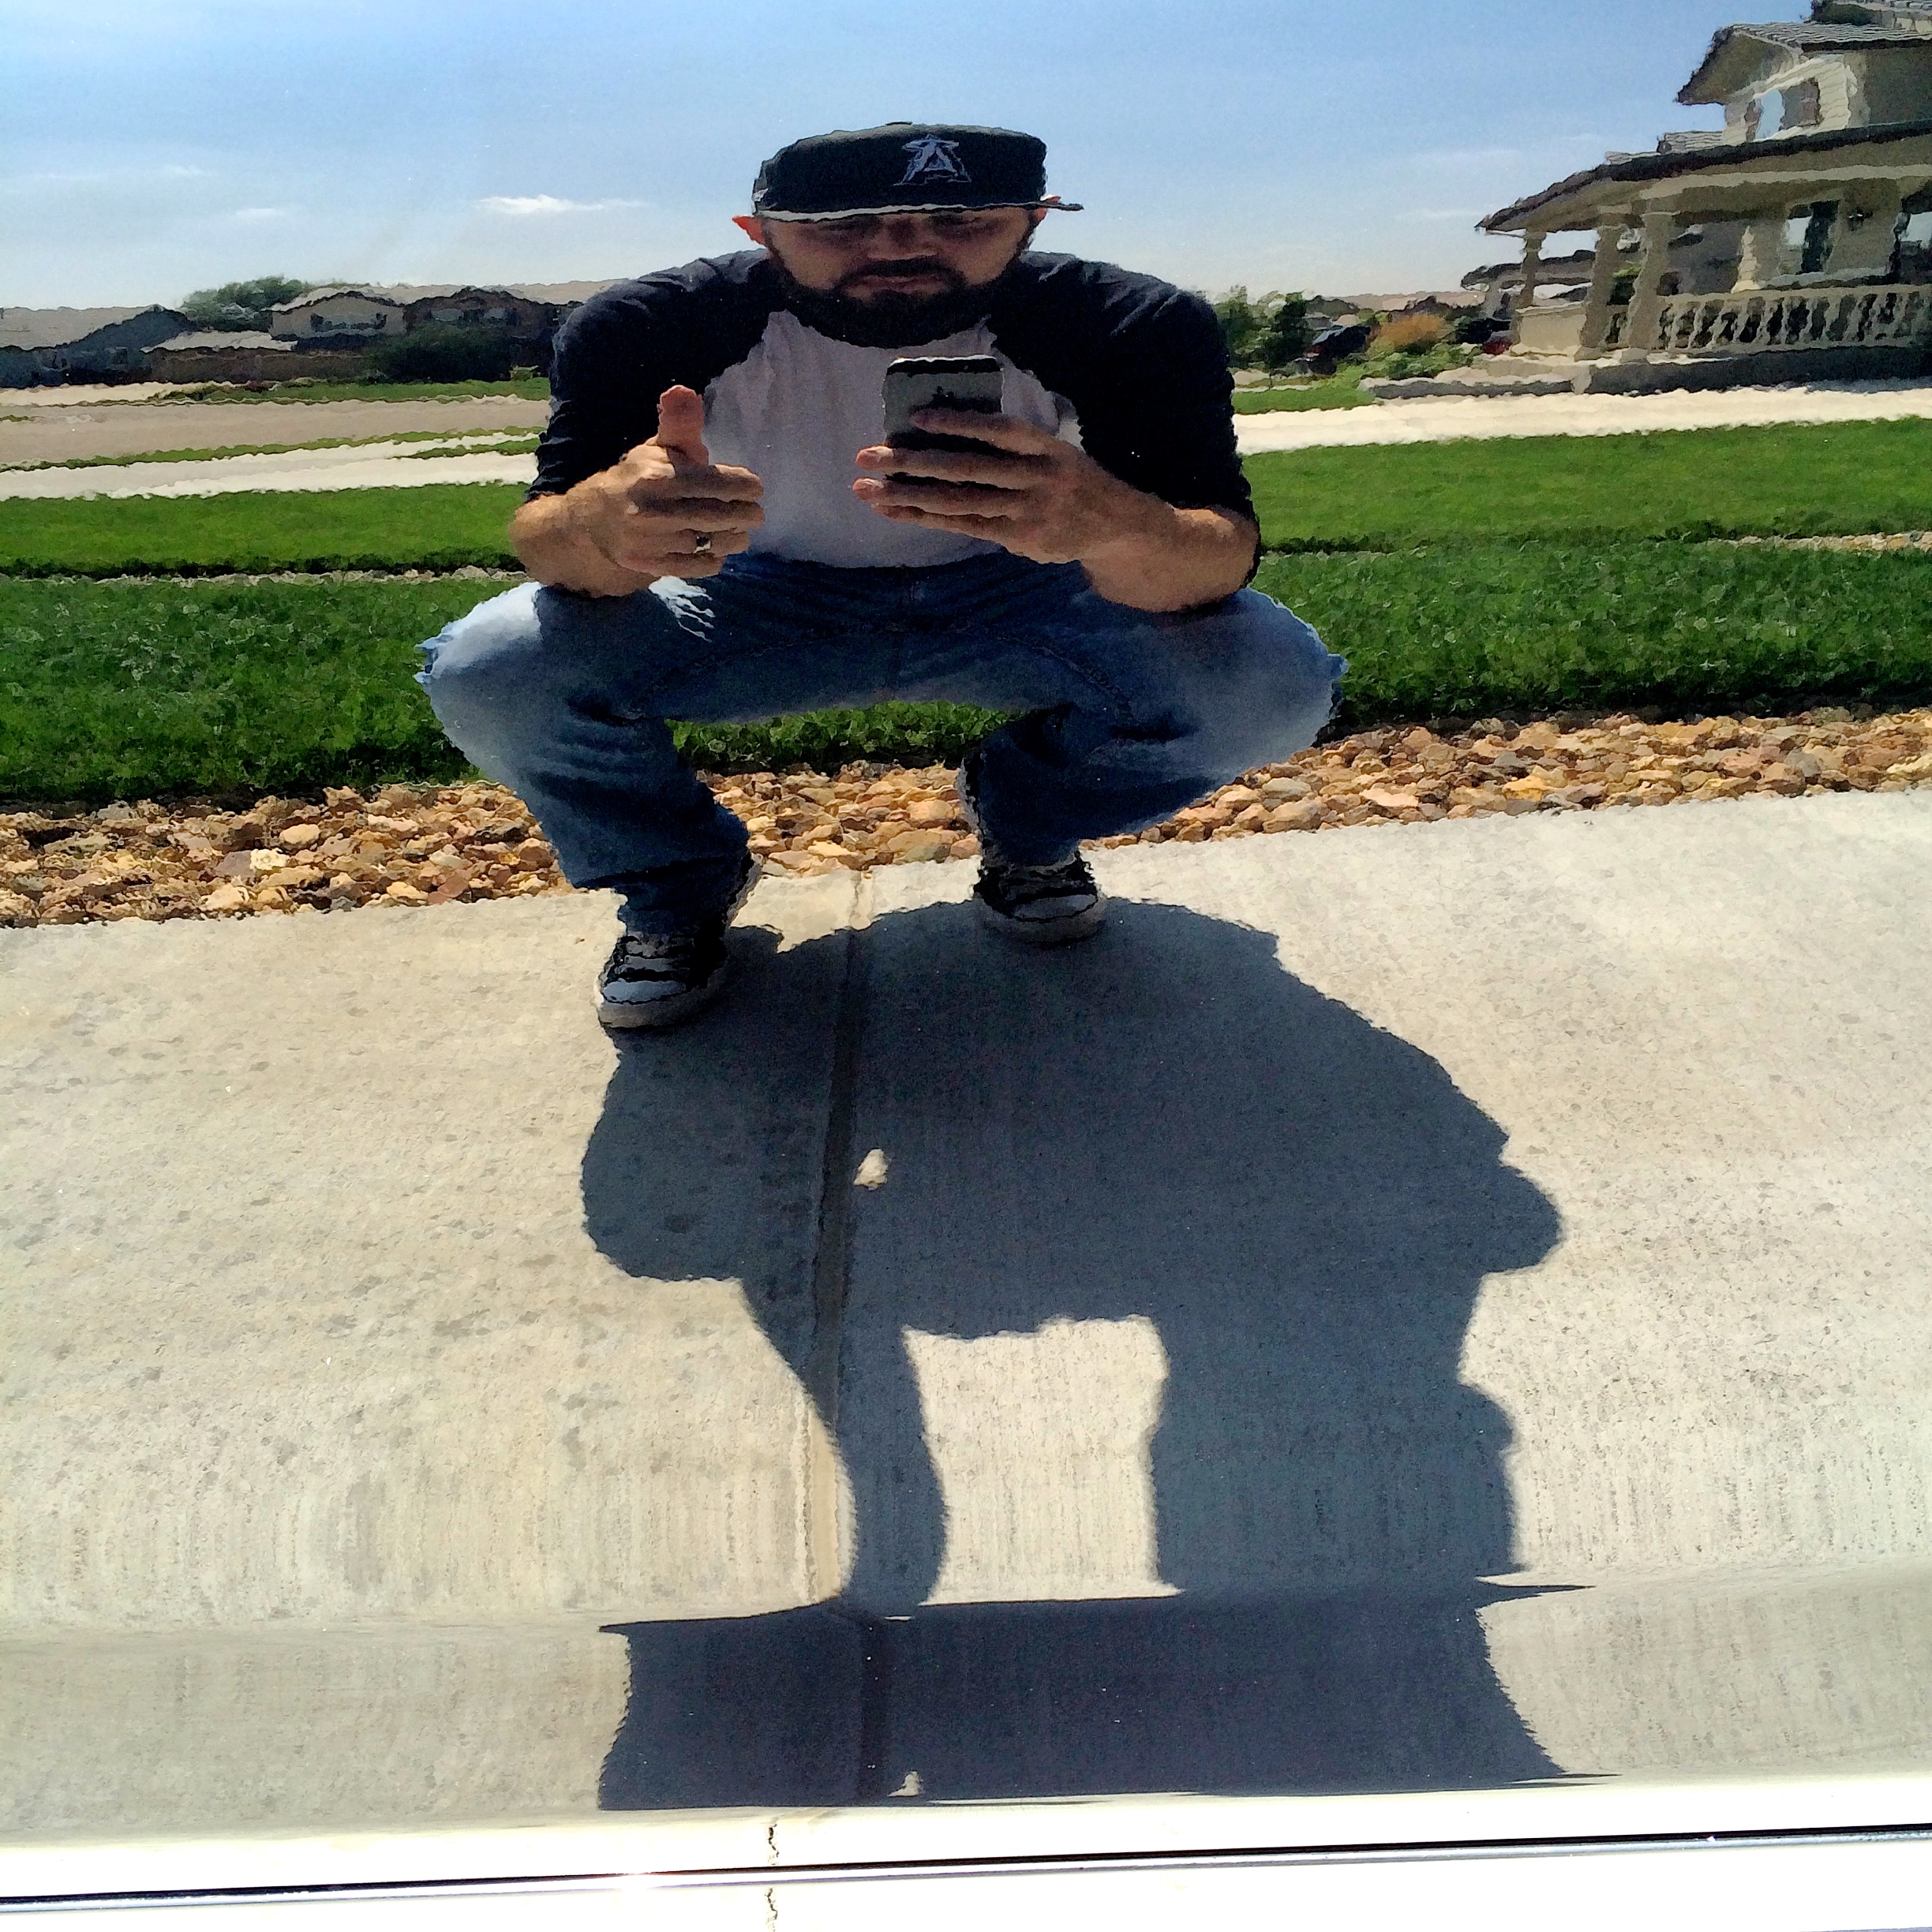
obligatory 'vonkleisting' shot

Drove it back to her owner who was over the top excited to see his car looking so good. Felt good to do a 'good deed' like this one rather than a paid job. Since it was for a buddies dad it wasn't so much about getting paid as it was making him happy and putting all the SCG products thru their paces to show what they can do. Thanks for looking!

TOTAL MAN HOURS: 12

Last edited by Surf City Garage; 09-09-2014 at 12:27 PM.


