
Headlight/Lens Upgrade
 08-06-2016, 09:47 AM
#1
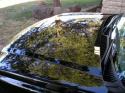
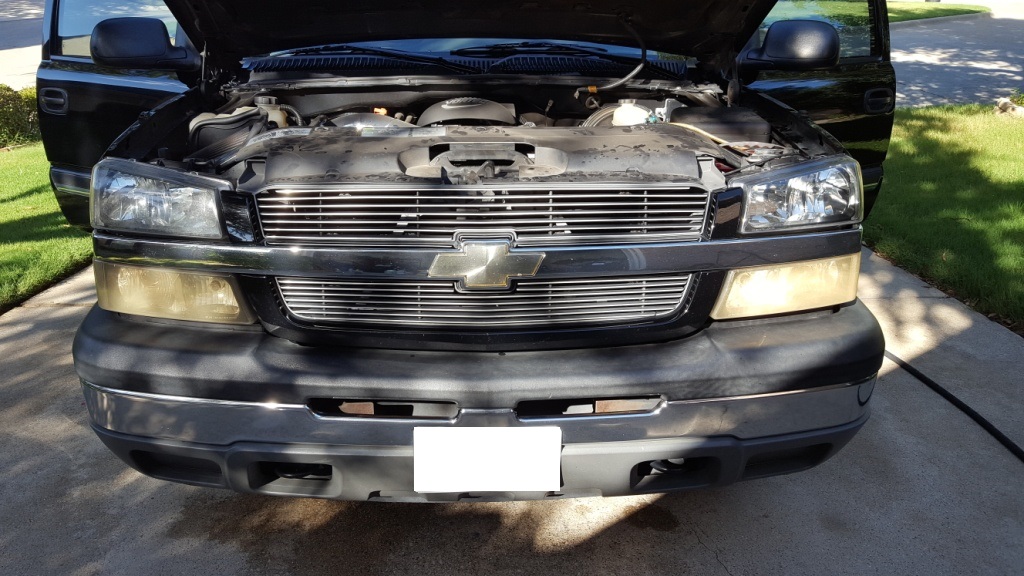
The front end has been looking embarrassing for longer than I care to admit. I had OEM lenses from 2006 to 2014. They were getting rough so I replaced them with some ebay specials, all 4 lenses for $120ish. Those sorry bastards lasted for 8 months before the turn signals yellowed. A few weeks later the half assed clear coat on the headlights started washing off�.just an awful product.
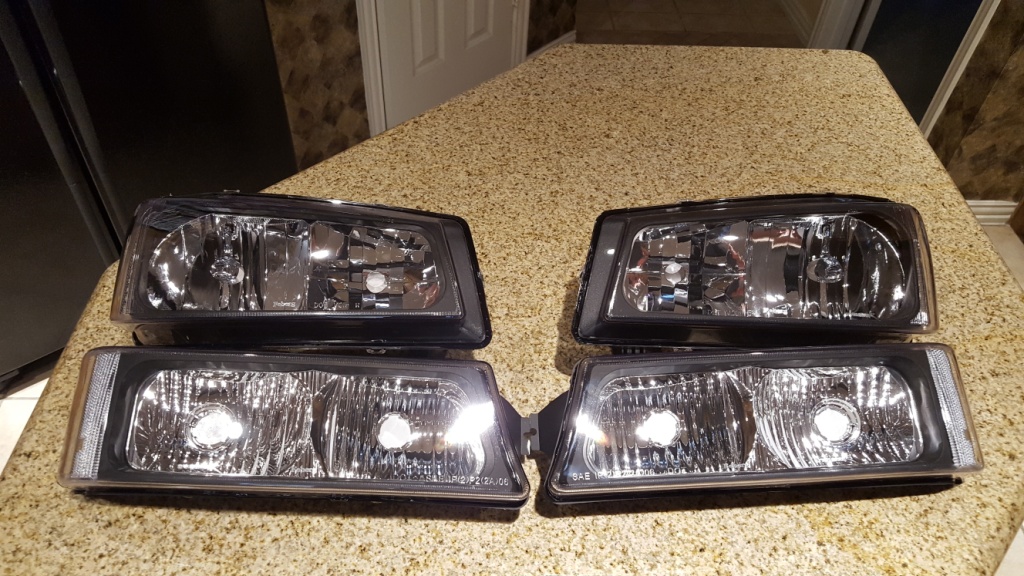
Thing is, I though the clear side reflectors looked good. Long story stupid I got another $120ish set of 4 lenses. But this time I would wrap them with 3M film. The way I see it, I get a chance to try a product I�ve always thought was cool, for the total cost including lenses (2 times�..) and film for the cost of a single OEM headlight/lens assembly from parts direct.
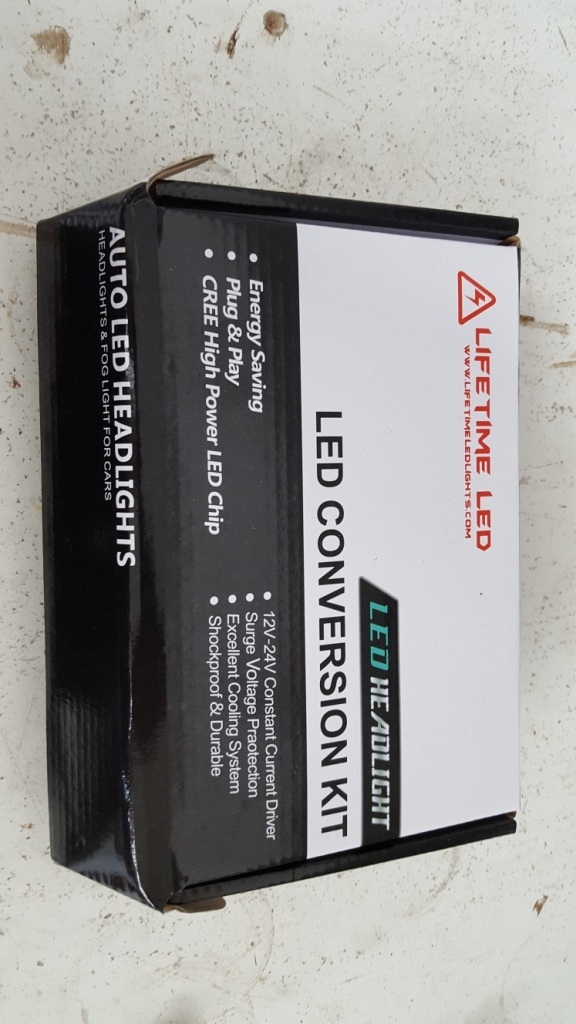
Secondly I wanted to try another product I thought looked good. These guys had a spot on that Sunday morning car TV show. They are LED and have a lifetime warranty. This was going to be a much larger pain in the *** than the film, however I had enjoyed screwing off in the garage for a few hours. The light is of a tasteful temperature. It isn�t blue or yellow, just a nice bright white.
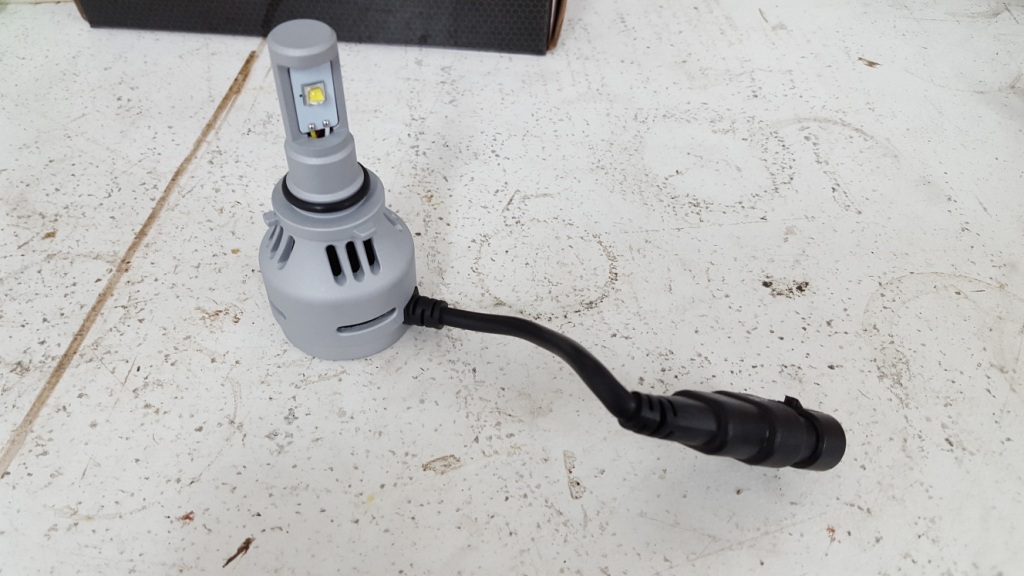
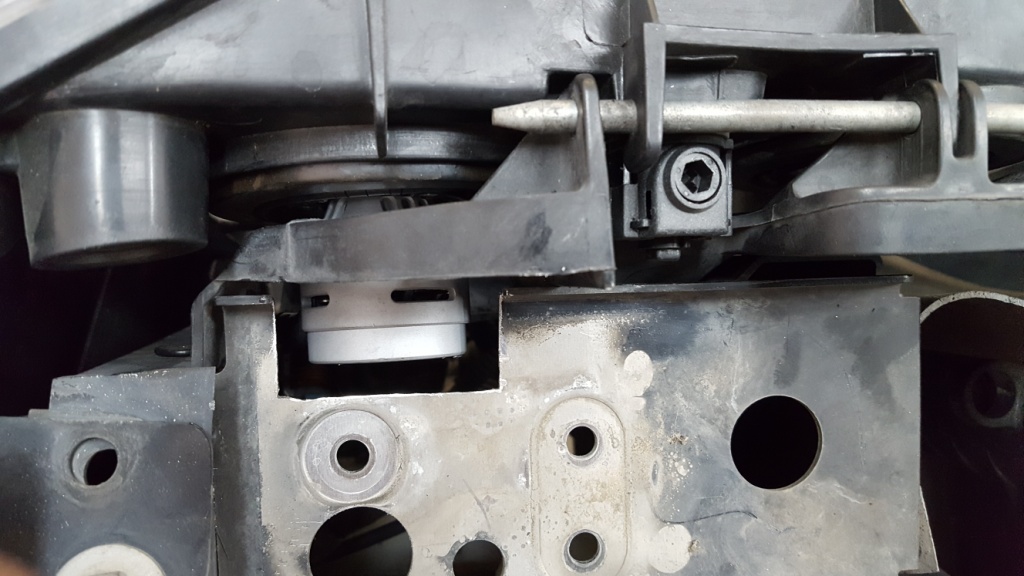
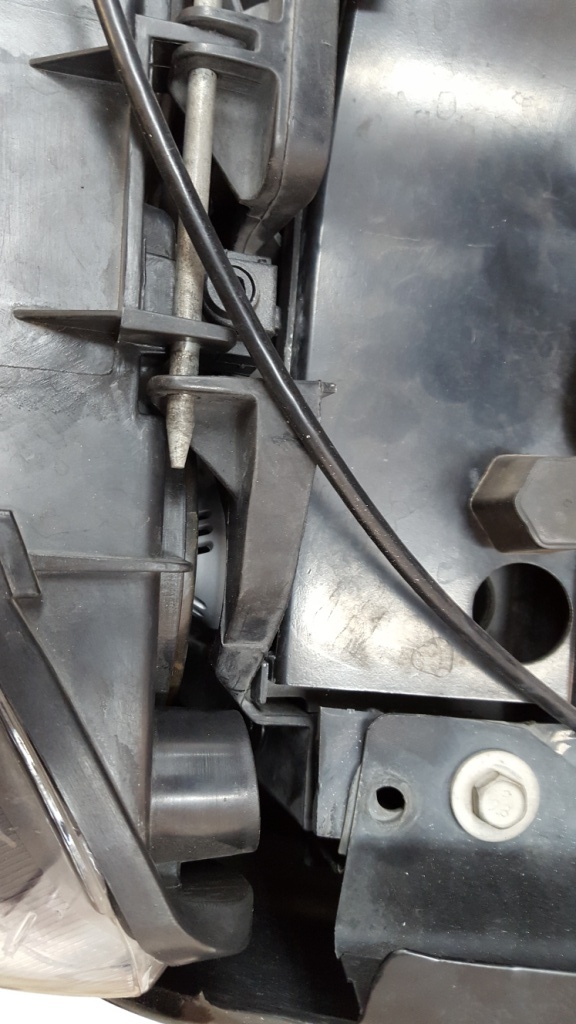
These are the 9005 beams. I figured I would test out the low beams first. The pain in the *** part begins. They have much more meat behind the lock flange. I didn�t think a thing about it when I purchased them. Turns out you need to hog out the headlight bucket a decent bit.

You also need to clearance the upper core support/bracketry. Grab a cutoff wheel and some files. The upper support and brackets on either side are aluminum. Many of you know that already, but I was pumped.
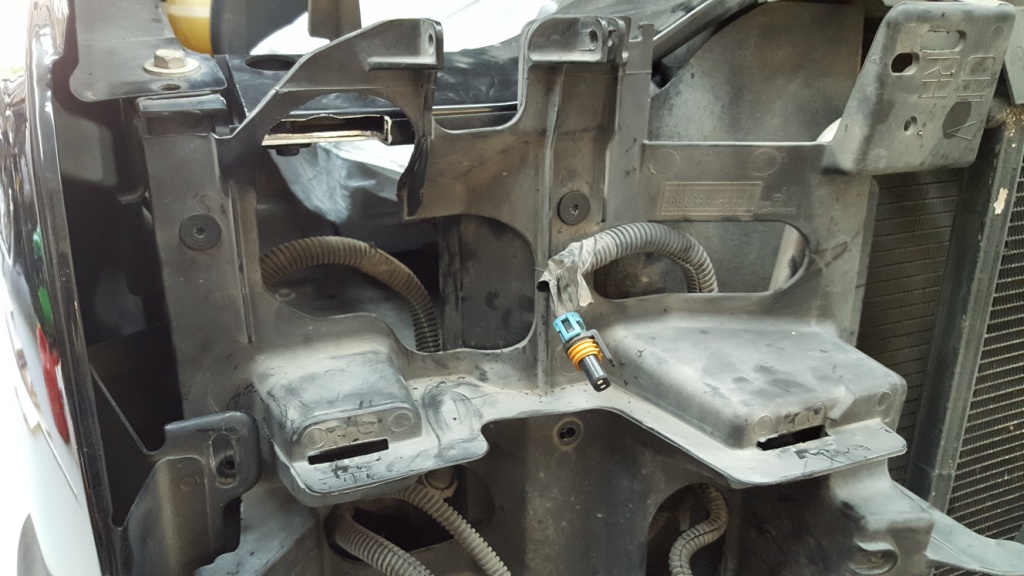
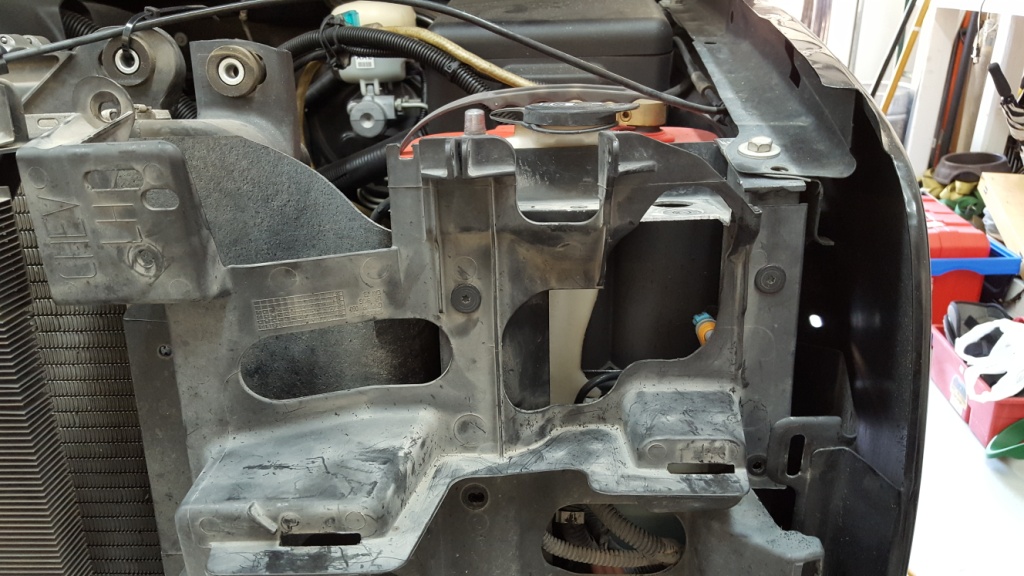
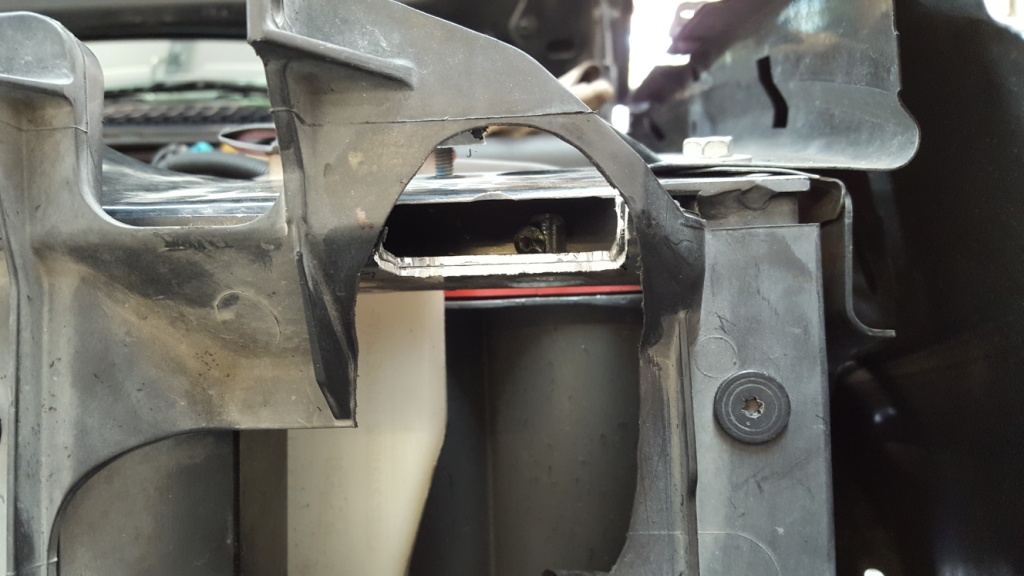
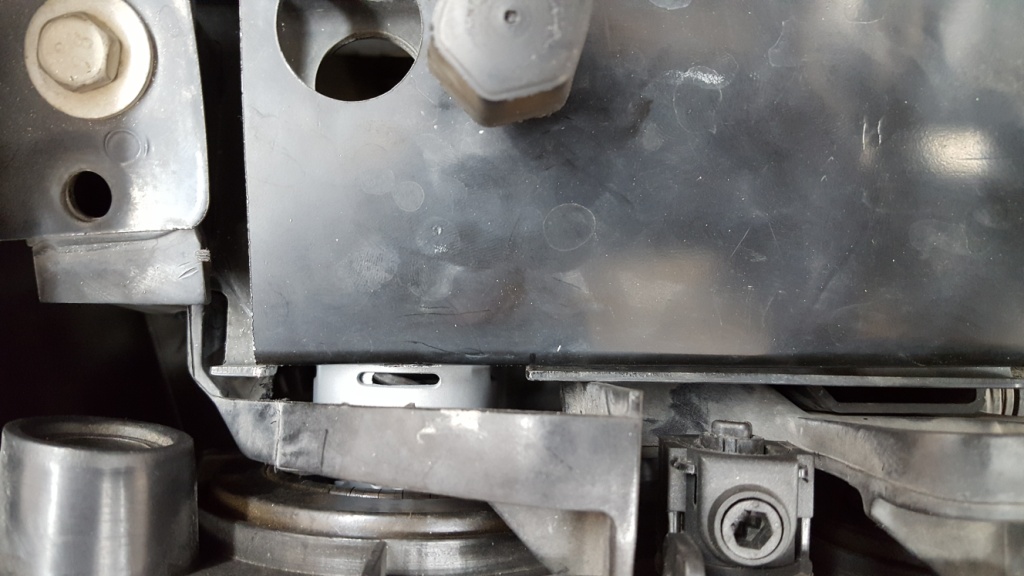
I�m glad I had enough room to keep the top section of the core support intact. This way your eye passes right over it�.doesn�t look like someone took a hatchet to the thing.
Applying the 3M film was far more stressful for me. I was searching for the right length and width when I stumbled on this company. They have contour cut pieces of film for most front end components. Hood, grill, lights, etc. I was super pumped and ordered the headlight lens kit immediately. It arrived safe and I got to prep. Obviously you need to be indoors for this. Any trash floating around will get trapped. I cleaned with the recommended soap/water ratio.

Once you are in a nice clean area, these are all the tools you need.

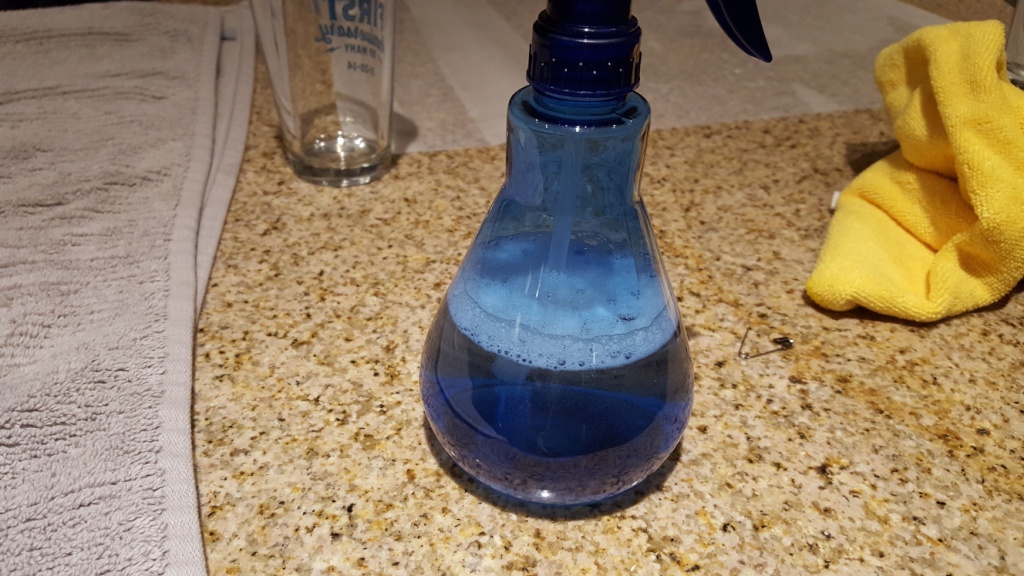
You get directions and a solution for application. I�ve installed large decals and know about the soapy solution and heat gun tricks. However this is a totally clear �sticker.� I followed the directions to a T. The soap solution is .5ml baby shampoo/32oz water. It has a quarter inch of loose bubbles when shaken.
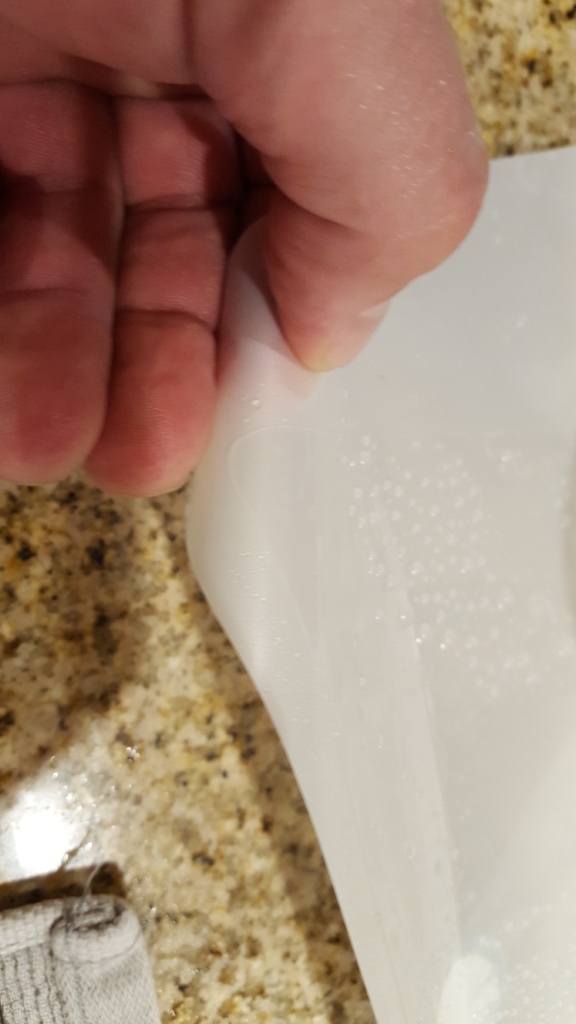
They recommend you spray everything with soap solution including your hands. Bend the backing to release the film. Don�t get lazy and pick at it with your fingernail. As you are peeling the film back spray the adhesive side.
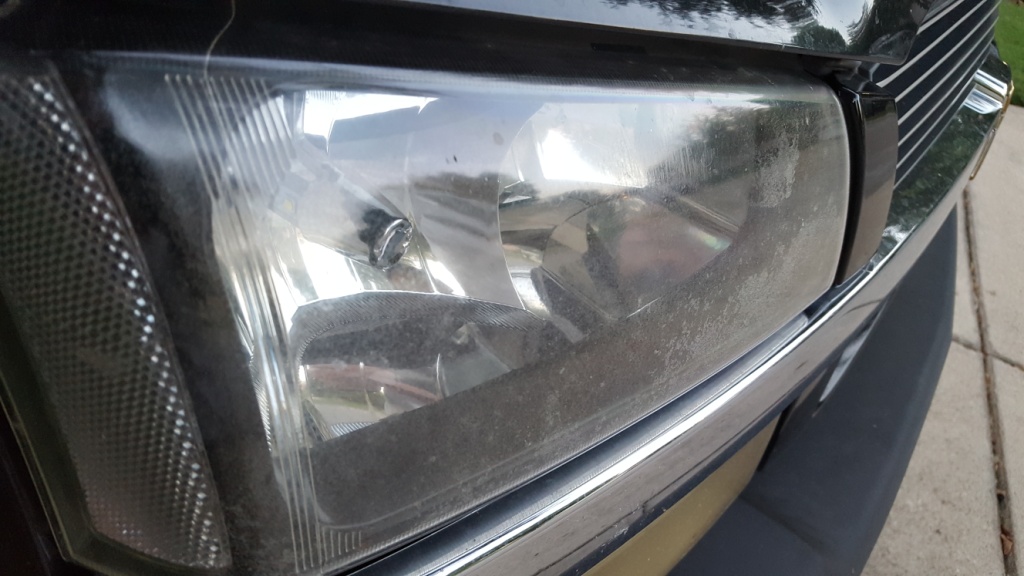
Spray your hands every time you spray the film. I think I would have had closer to 100% success had I done this more often. You can apply a good amount of pressure to the squeegee to get the water solution out. Otherwise you will end up with bubbles. I did on 3 of the 4. You can press them with your fingers towards the closest edge, but take it slow. I thought the adhesive was going to set far quicker than it did. I ended up stretching the film as I worked out a bubble on the driver lense. The headlight lenses have a difficult corner at the top of the reflector. You have to stretch the film which isn�t difficult. However you have laid the entire rest of the film so you end up touching the corners a lot.


Thing is, I though the clear side reflectors looked good. Long story stupid I got another $120ish set of 4 lenses. But this time I would wrap them with 3M film. The way I see it, I get a chance to try a product I�ve always thought was cool, for the total cost including lenses (2 times�..) and film for the cost of a single OEM headlight/lens assembly from parts direct.
Secondly I wanted to try another product I thought looked good. These guys had a spot on that Sunday morning car TV show. They are LED and have a lifetime warranty. This was going to be a much larger pain in the *** than the film, however I had enjoyed screwing off in the garage for a few hours. The light is of a tasteful temperature. It isn�t blue or yellow, just a nice bright white.


These are the 9005 beams. I figured I would test out the low beams first. The pain in the *** part begins. They have much more meat behind the lock flange. I didn�t think a thing about it when I purchased them. Turns out you need to hog out the headlight bucket a decent bit.

You also need to clearance the upper core support/bracketry. Grab a cutoff wheel and some files. The upper support and brackets on either side are aluminum. Many of you know that already, but I was pumped.


I�m glad I had enough room to keep the top section of the core support intact. This way your eye passes right over it�.doesn�t look like someone took a hatchet to the thing.
Applying the 3M film was far more stressful for me. I was searching for the right length and width when I stumbled on this company. They have contour cut pieces of film for most front end components. Hood, grill, lights, etc. I was super pumped and ordered the headlight lens kit immediately. It arrived safe and I got to prep. Obviously you need to be indoors for this. Any trash floating around will get trapped. I cleaned with the recommended soap/water ratio.


Once you are in a nice clean area, these are all the tools you need.

You get directions and a solution for application. I�ve installed large decals and know about the soapy solution and heat gun tricks. However this is a totally clear �sticker.� I followed the directions to a T. The soap solution is .5ml baby shampoo/32oz water. It has a quarter inch of loose bubbles when shaken.

They recommend you spray everything with soap solution including your hands. Bend the backing to release the film. Don�t get lazy and pick at it with your fingernail. As you are peeling the film back spray the adhesive side.

Spray your hands every time you spray the film. I think I would have had closer to 100% success had I done this more often. You can apply a good amount of pressure to the squeegee to get the water solution out. Otherwise you will end up with bubbles. I did on 3 of the 4. You can press them with your fingers towards the closest edge, but take it slow. I thought the adhesive was going to set far quicker than it did. I ended up stretching the film as I worked out a bubble on the driver lense. The headlight lenses have a difficult corner at the top of the reflector. You have to stretch the film which isn�t difficult. However you have laid the entire rest of the film so you end up touching the corners a lot.
 08-06-2016, 09:59 AM
#2

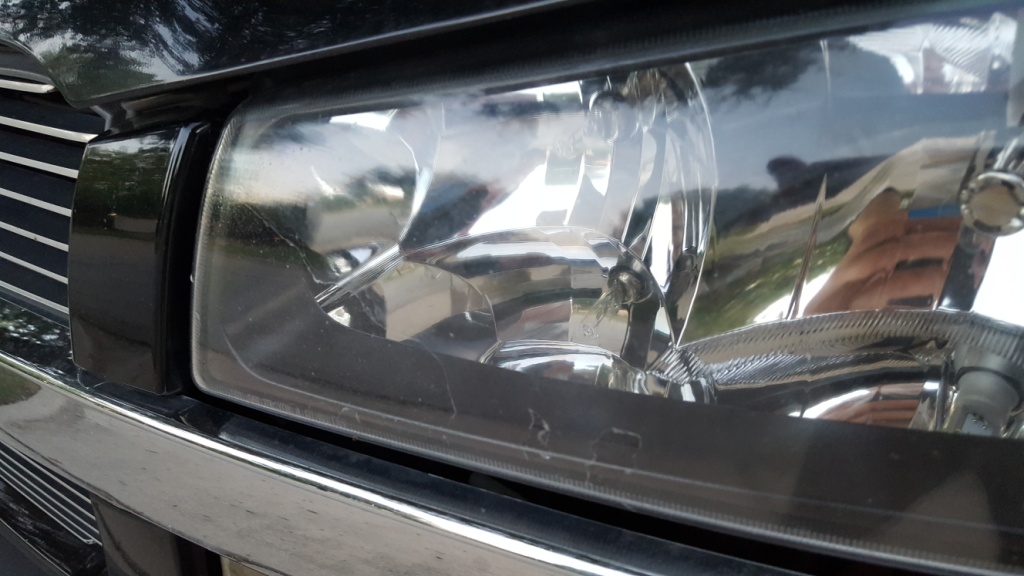
I did the worst on the drivers headlight lens. It was the first one so naturally this would be the worst. I can�t complain too much.

These happen also. A little persuasion from the heat gun takes care of it just fine. Use a micro fiber cloth to press it down while it cools.

Once you get to the parking/DTR lenses you are home free. They are stupid easy. It was a fun task of seeing how perfect you could lay a clear film over a brand new clear lens.
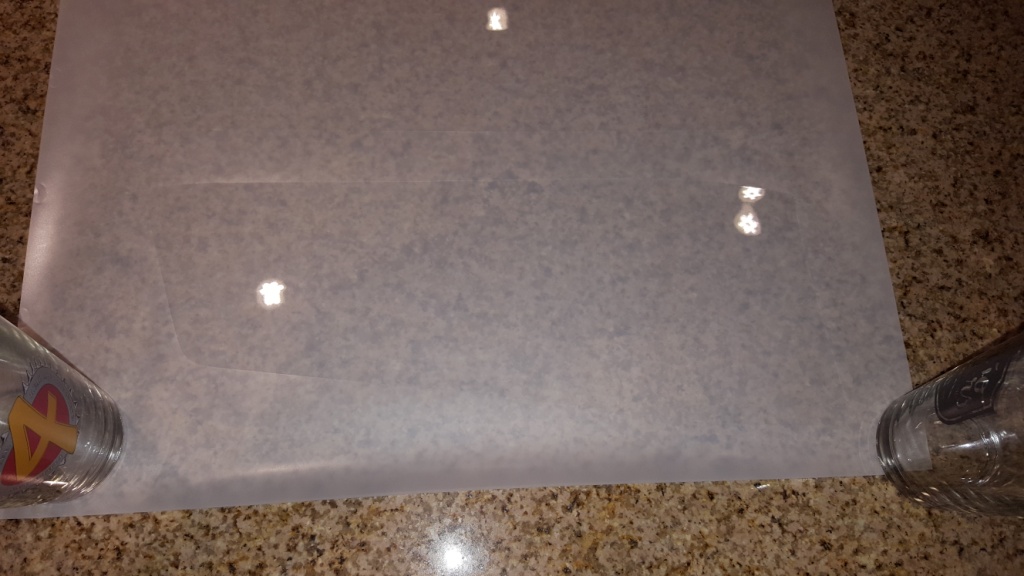
Hosed down

Film applied

If I did it over again I would have purchased the �newb� insurance. They offer to send you a replacement set of cut films for an additional 10%. After doing it once, the second would perfect�..or way worse, ripped it off, and would have yellow lenses by next summer.
Onto the install


And after a much needed bath


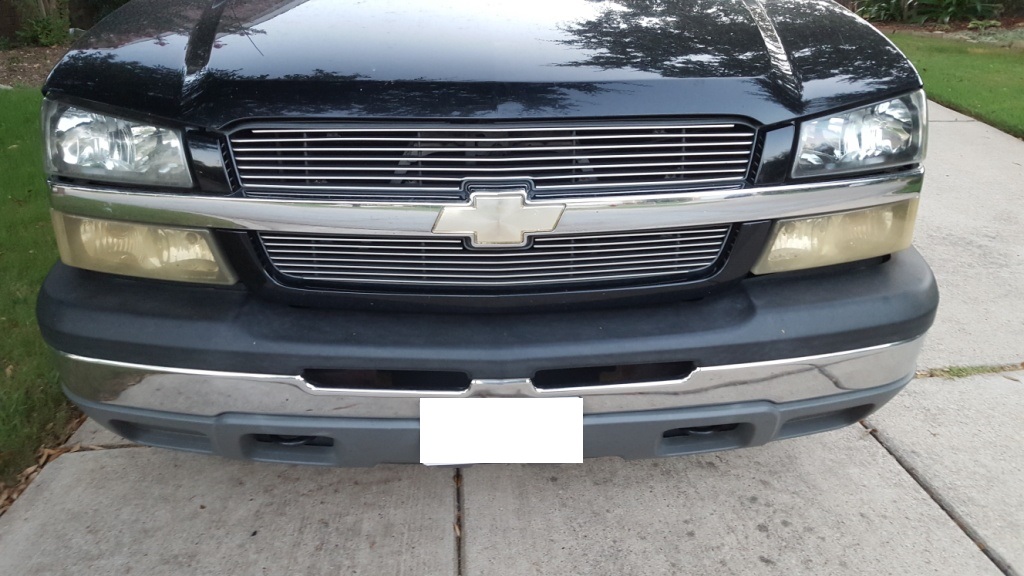
All Chevy�s�.all clean�.everything is right in the world.

The color is very pleasing. I was going to be super bummed if it was some foolish *** Tokyo drift, 9 faux chrome louvers on a ford ranger, carbon fiber windshield wiper looking nonsense. I need to aim them, but that will be quick and painless.

This is pointed down hill a fair amount. So the pattern looks way worse than it actually is.

I�ll update this from time to time and let you know how it holds up.

Thread
Thread Starter
Forum
Replies
Last Post
Raughammer
GM Engine & Exhaust Performance
11
12-29-2020 09:28 AM