When you click on links to various merchants on this site and make a purchase, this can result in this site earning a commission. Affiliate programs and affiliations include, but are not limited to, the eBay Partner Network.
Started out picking up a super clean 2000 rcsb from a buddy. Original plans were to do a super cheap "sloppy" style build and just drive the thing. As most of my projects go it kinda got out of hand.
I was a fabricator for a few years at a local street rod shop, that got me into a really bad habit of wanting something unique and different in everything I do. As you will see it really screws me up sometimes as stuff usually cost me 3 times more and takes 3 times longer. Anyway onto the build so far
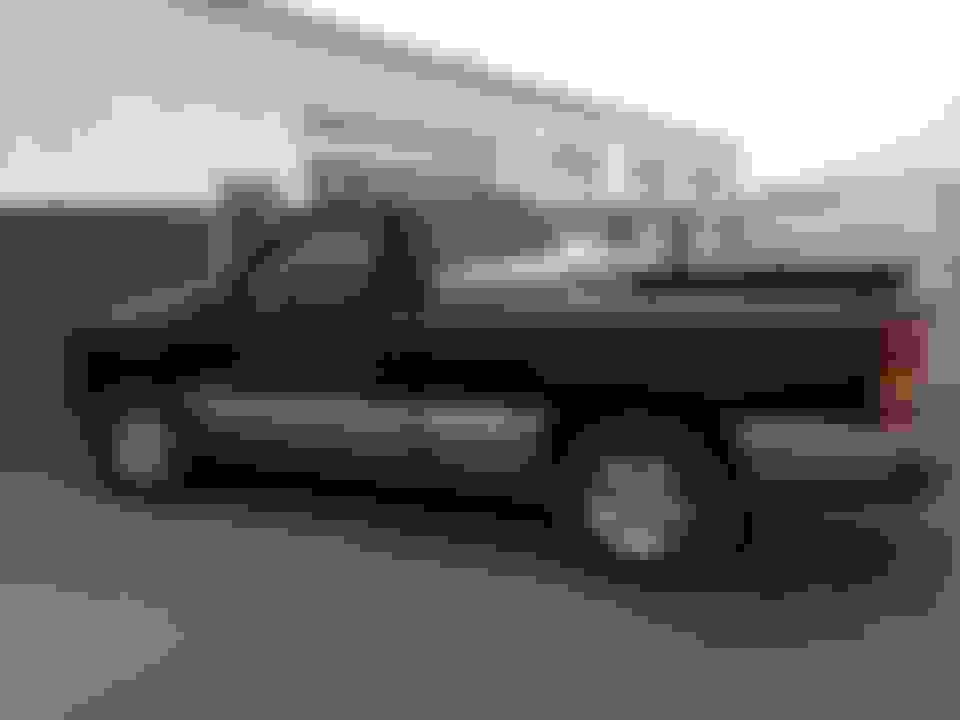
Here is the truck as I picked it up. Super grandpa style. As of today it looks almost identical on the outside, I did debadge, remove trim and the pinstripe, and got rid of the box ; other then that it looks just like this.
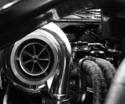
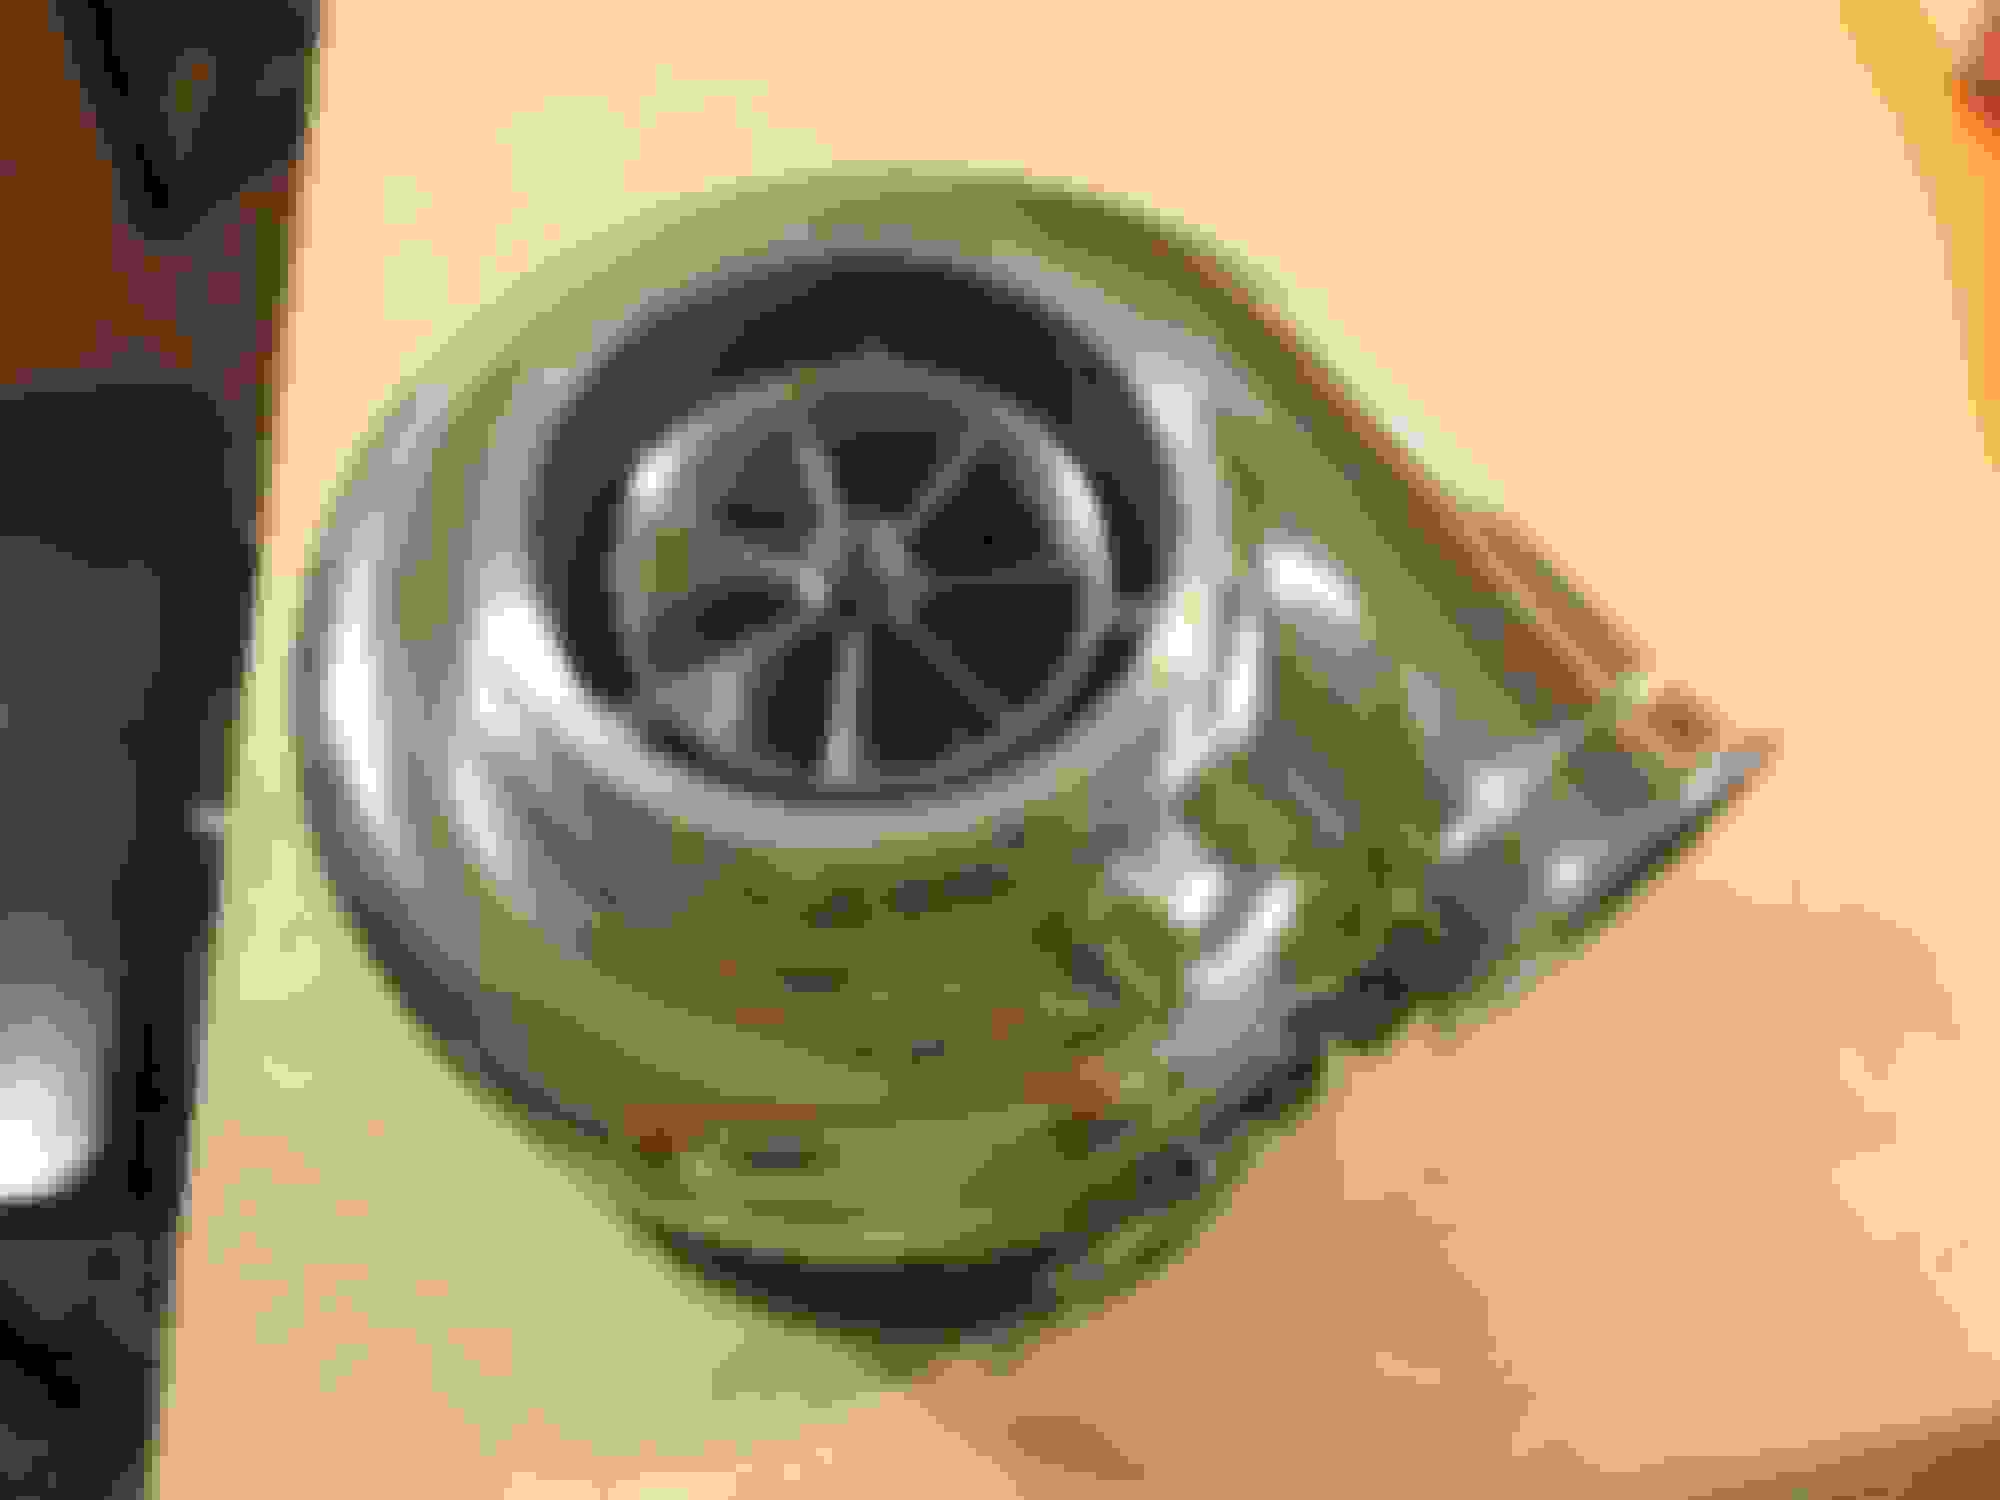
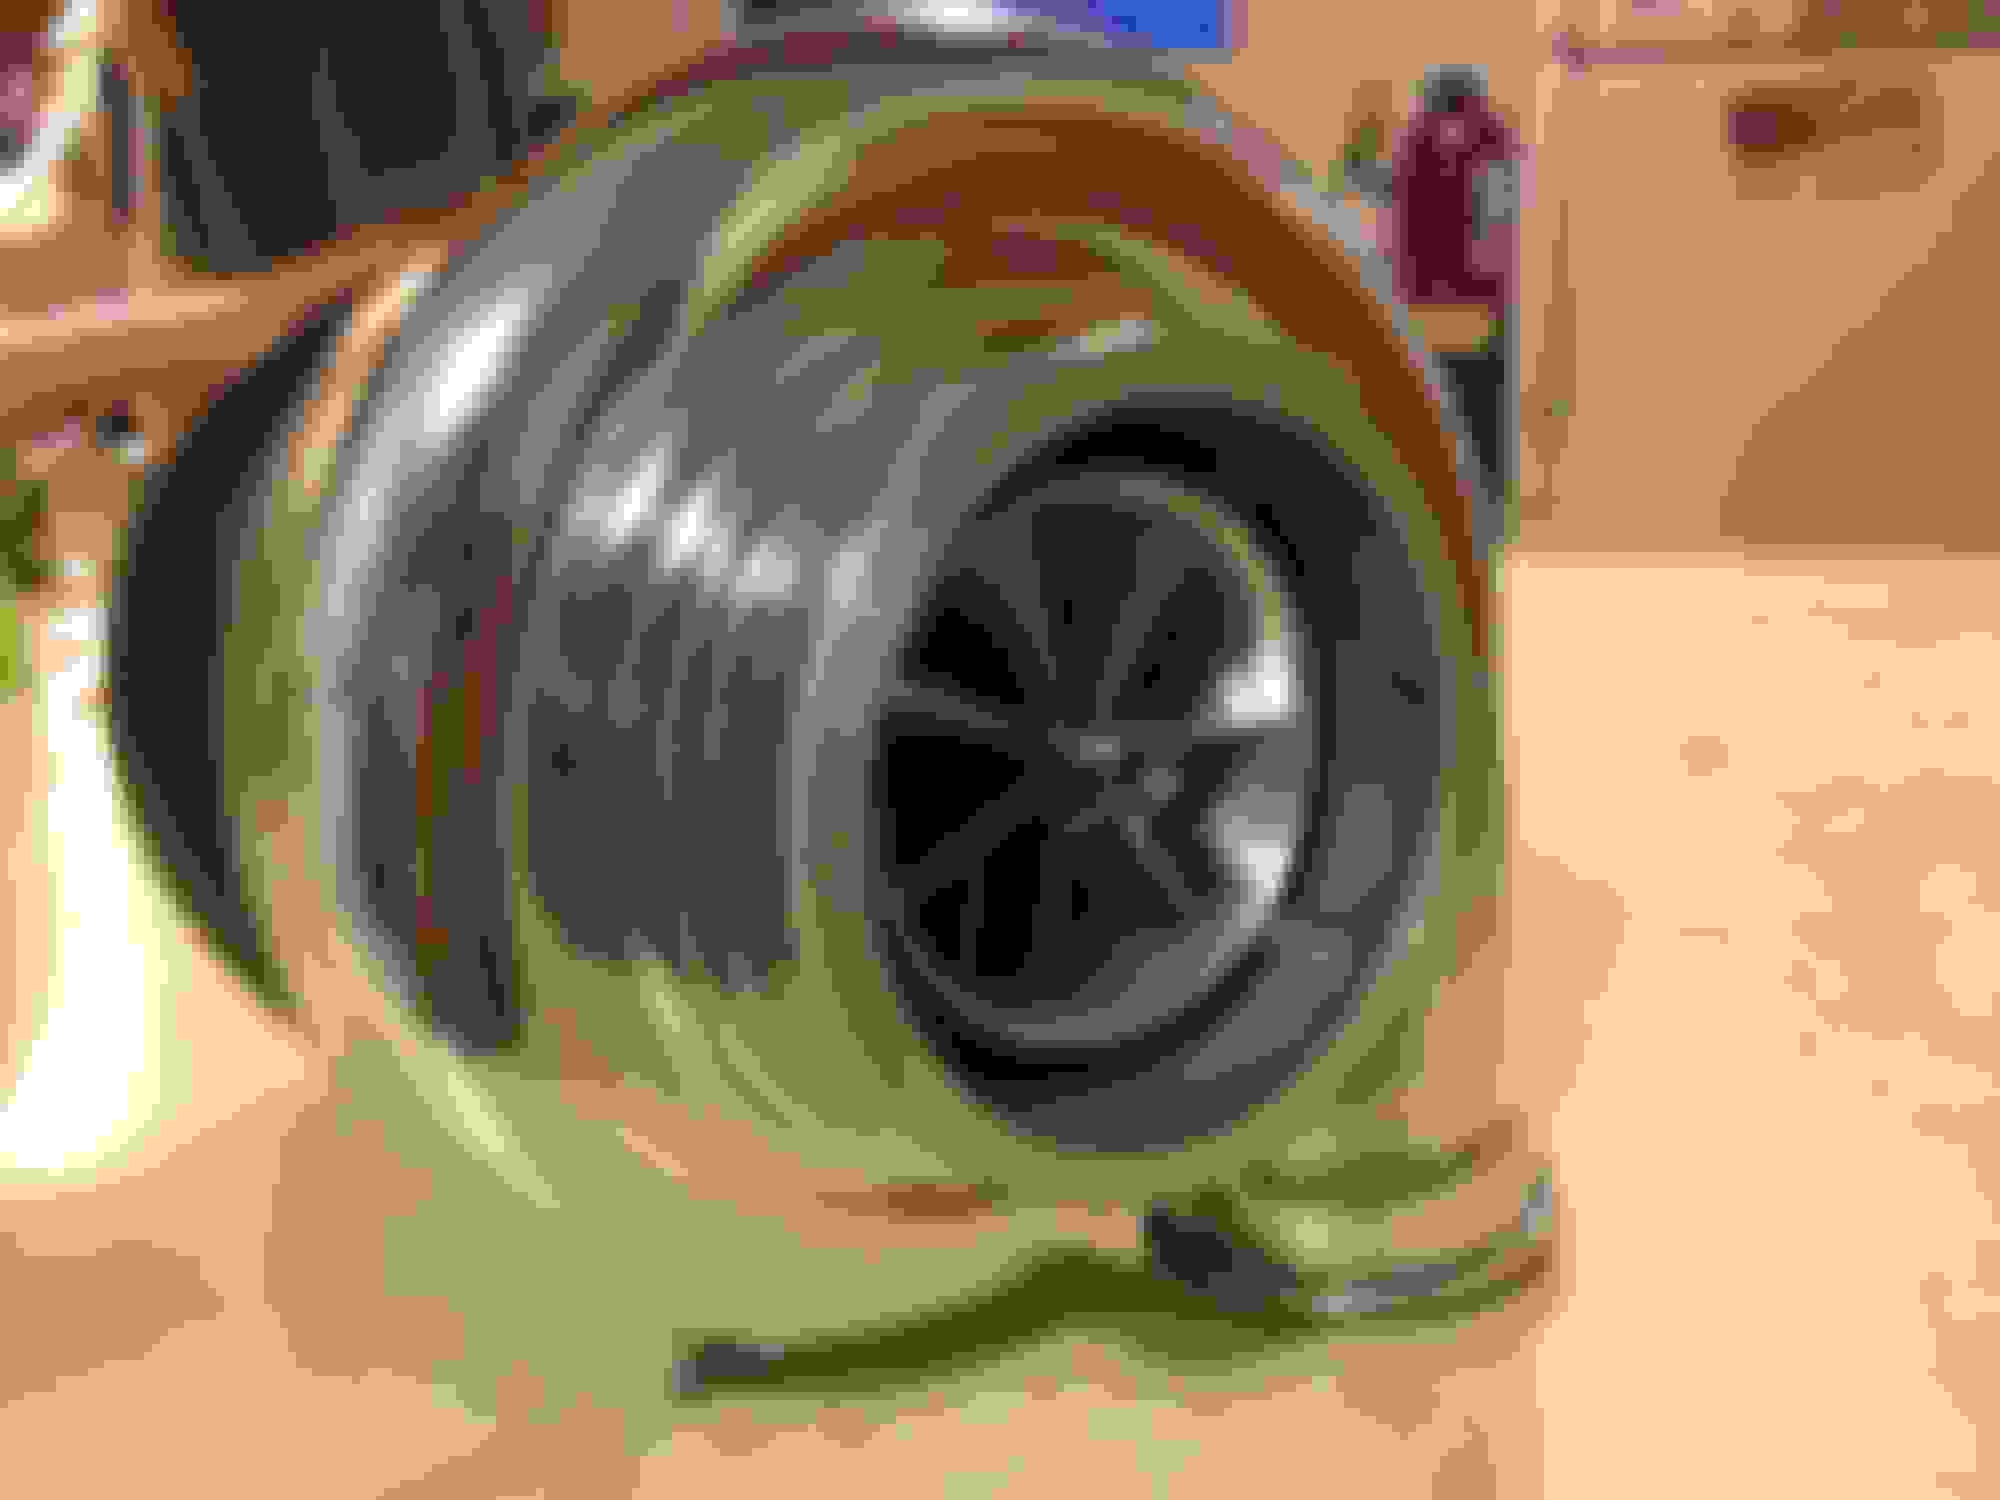
I drove the truck for a few weeks as I started collecting parts. My original plan was to use a on3 78/75 to stick with my sloppy theme. I ended up stumbling on APEX turbos eBay page and put in a super lowball offer on one of his billet s480's........he accepted lol. So after some talking with him we decided on a billet 80/87, 1.10 t4.
So here is where my OCD started to kick in. I wanted to do something different for my hotside. After looking around I really liked the look of Boostedsl2's manifold and the old Detroit speed kits. So I decided to make my own since I hate paying for something I know I can build.
I have done a few turbo systems before but never built a true 4-1 collector or full manifold before. So what the heck, no better way then to just jump straight in.
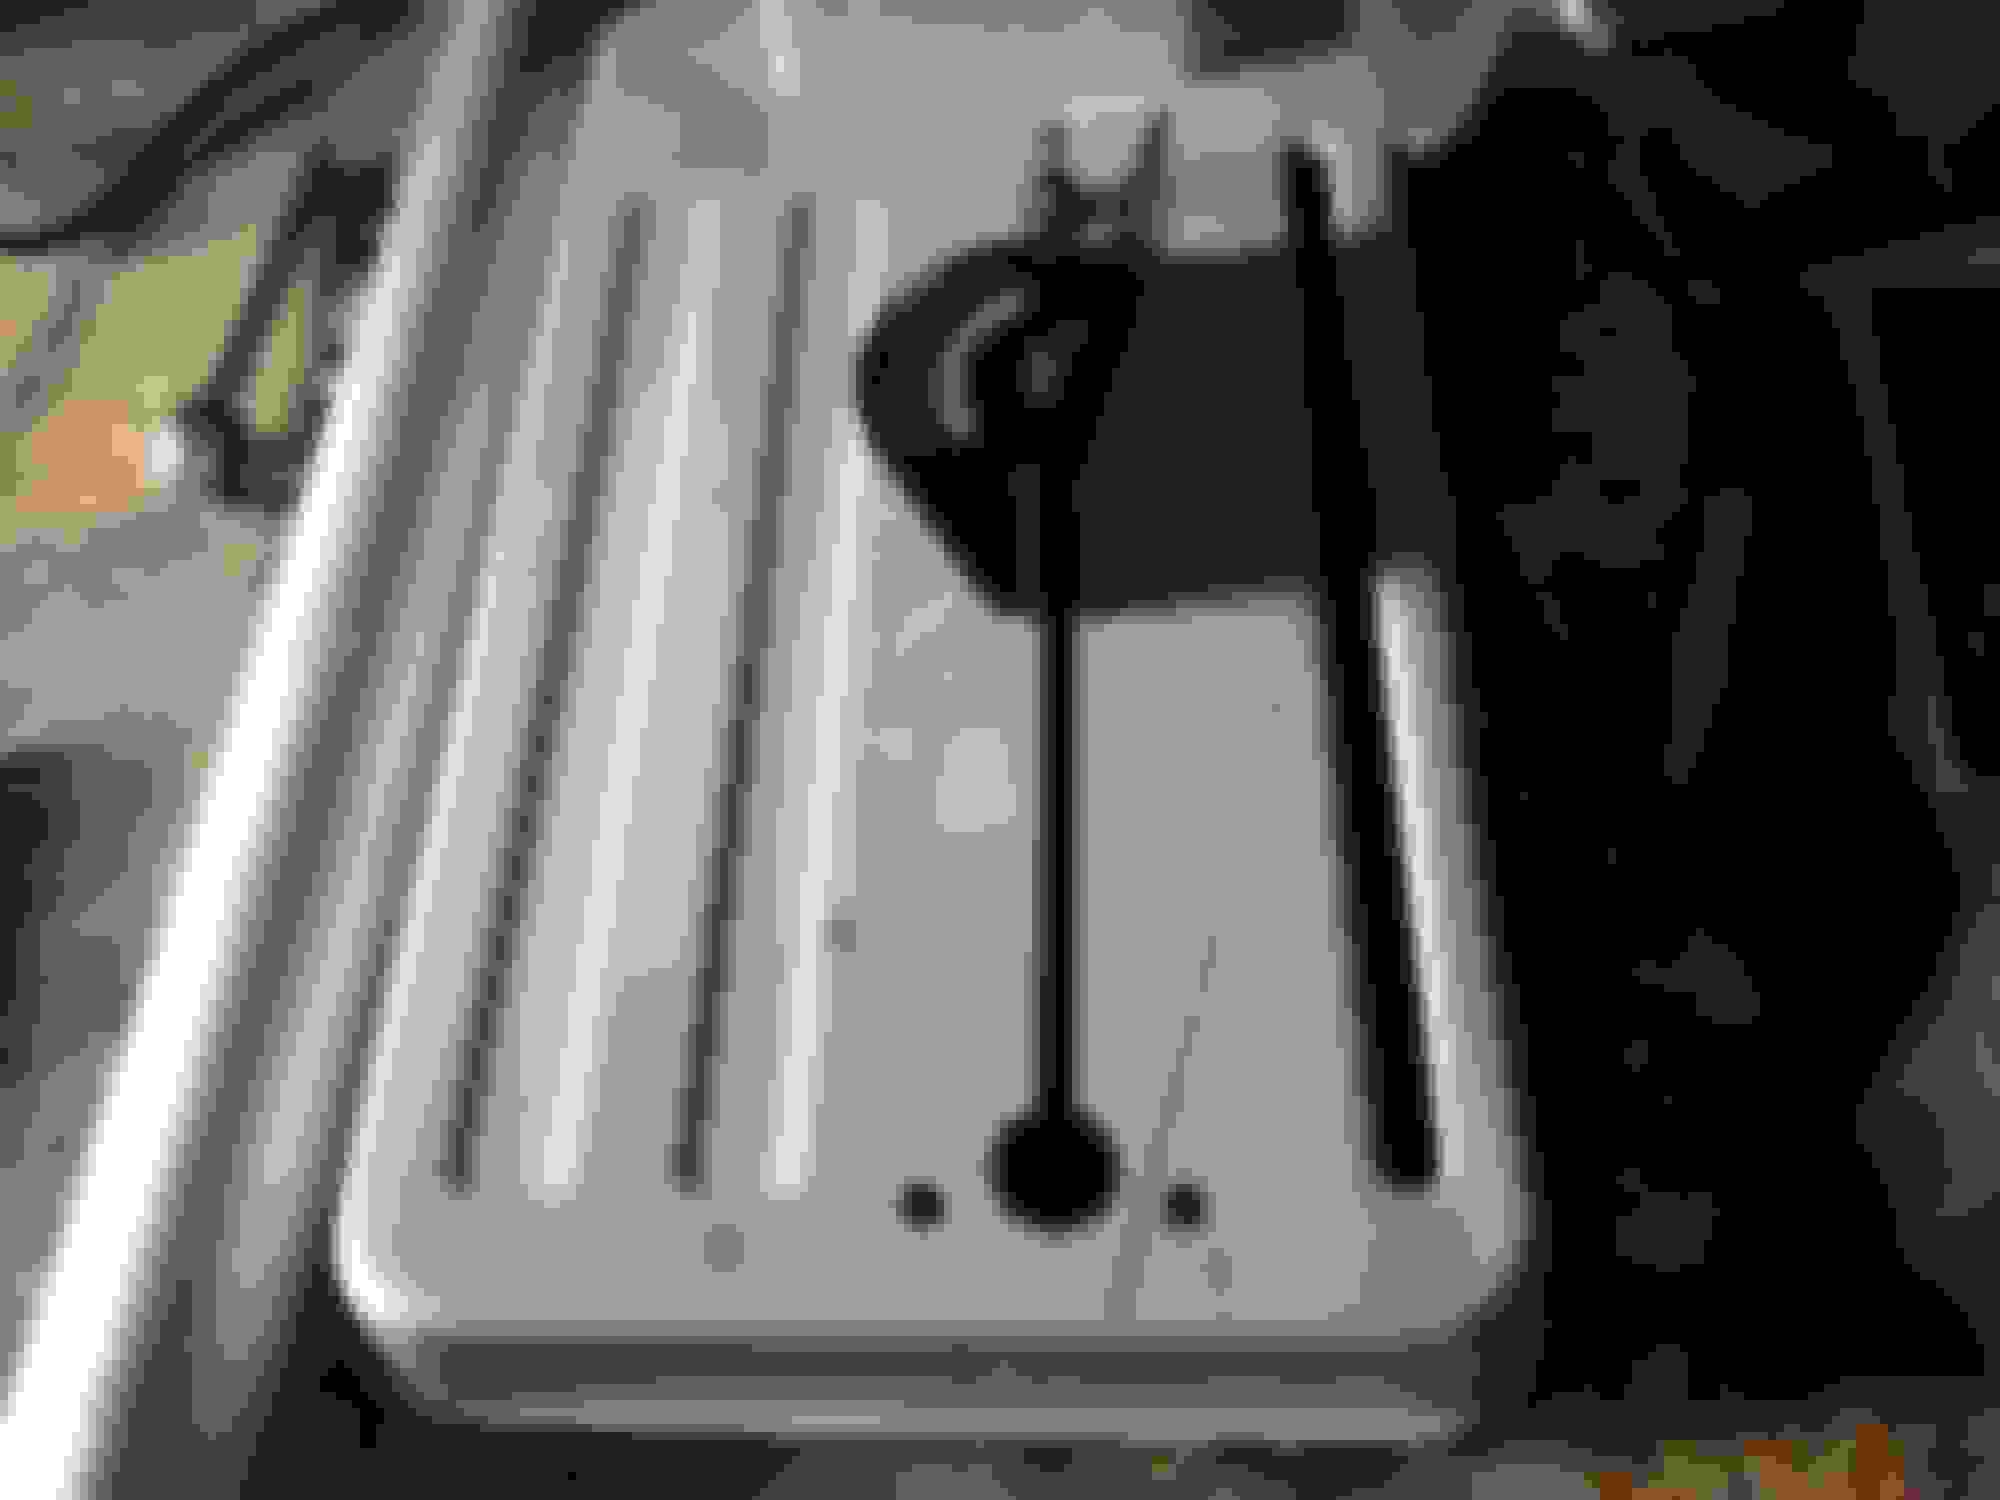
I wanted my 4-1 merge to be cut on 13* angles so I modified my chop saw and built a jig to hold my tubing so I could get accurate cuts.
I used some PVC that's really close to the same diameter as my sch10 tubing I am using. That way I can dial my angles in and get everything perfect before hacking some stainless up
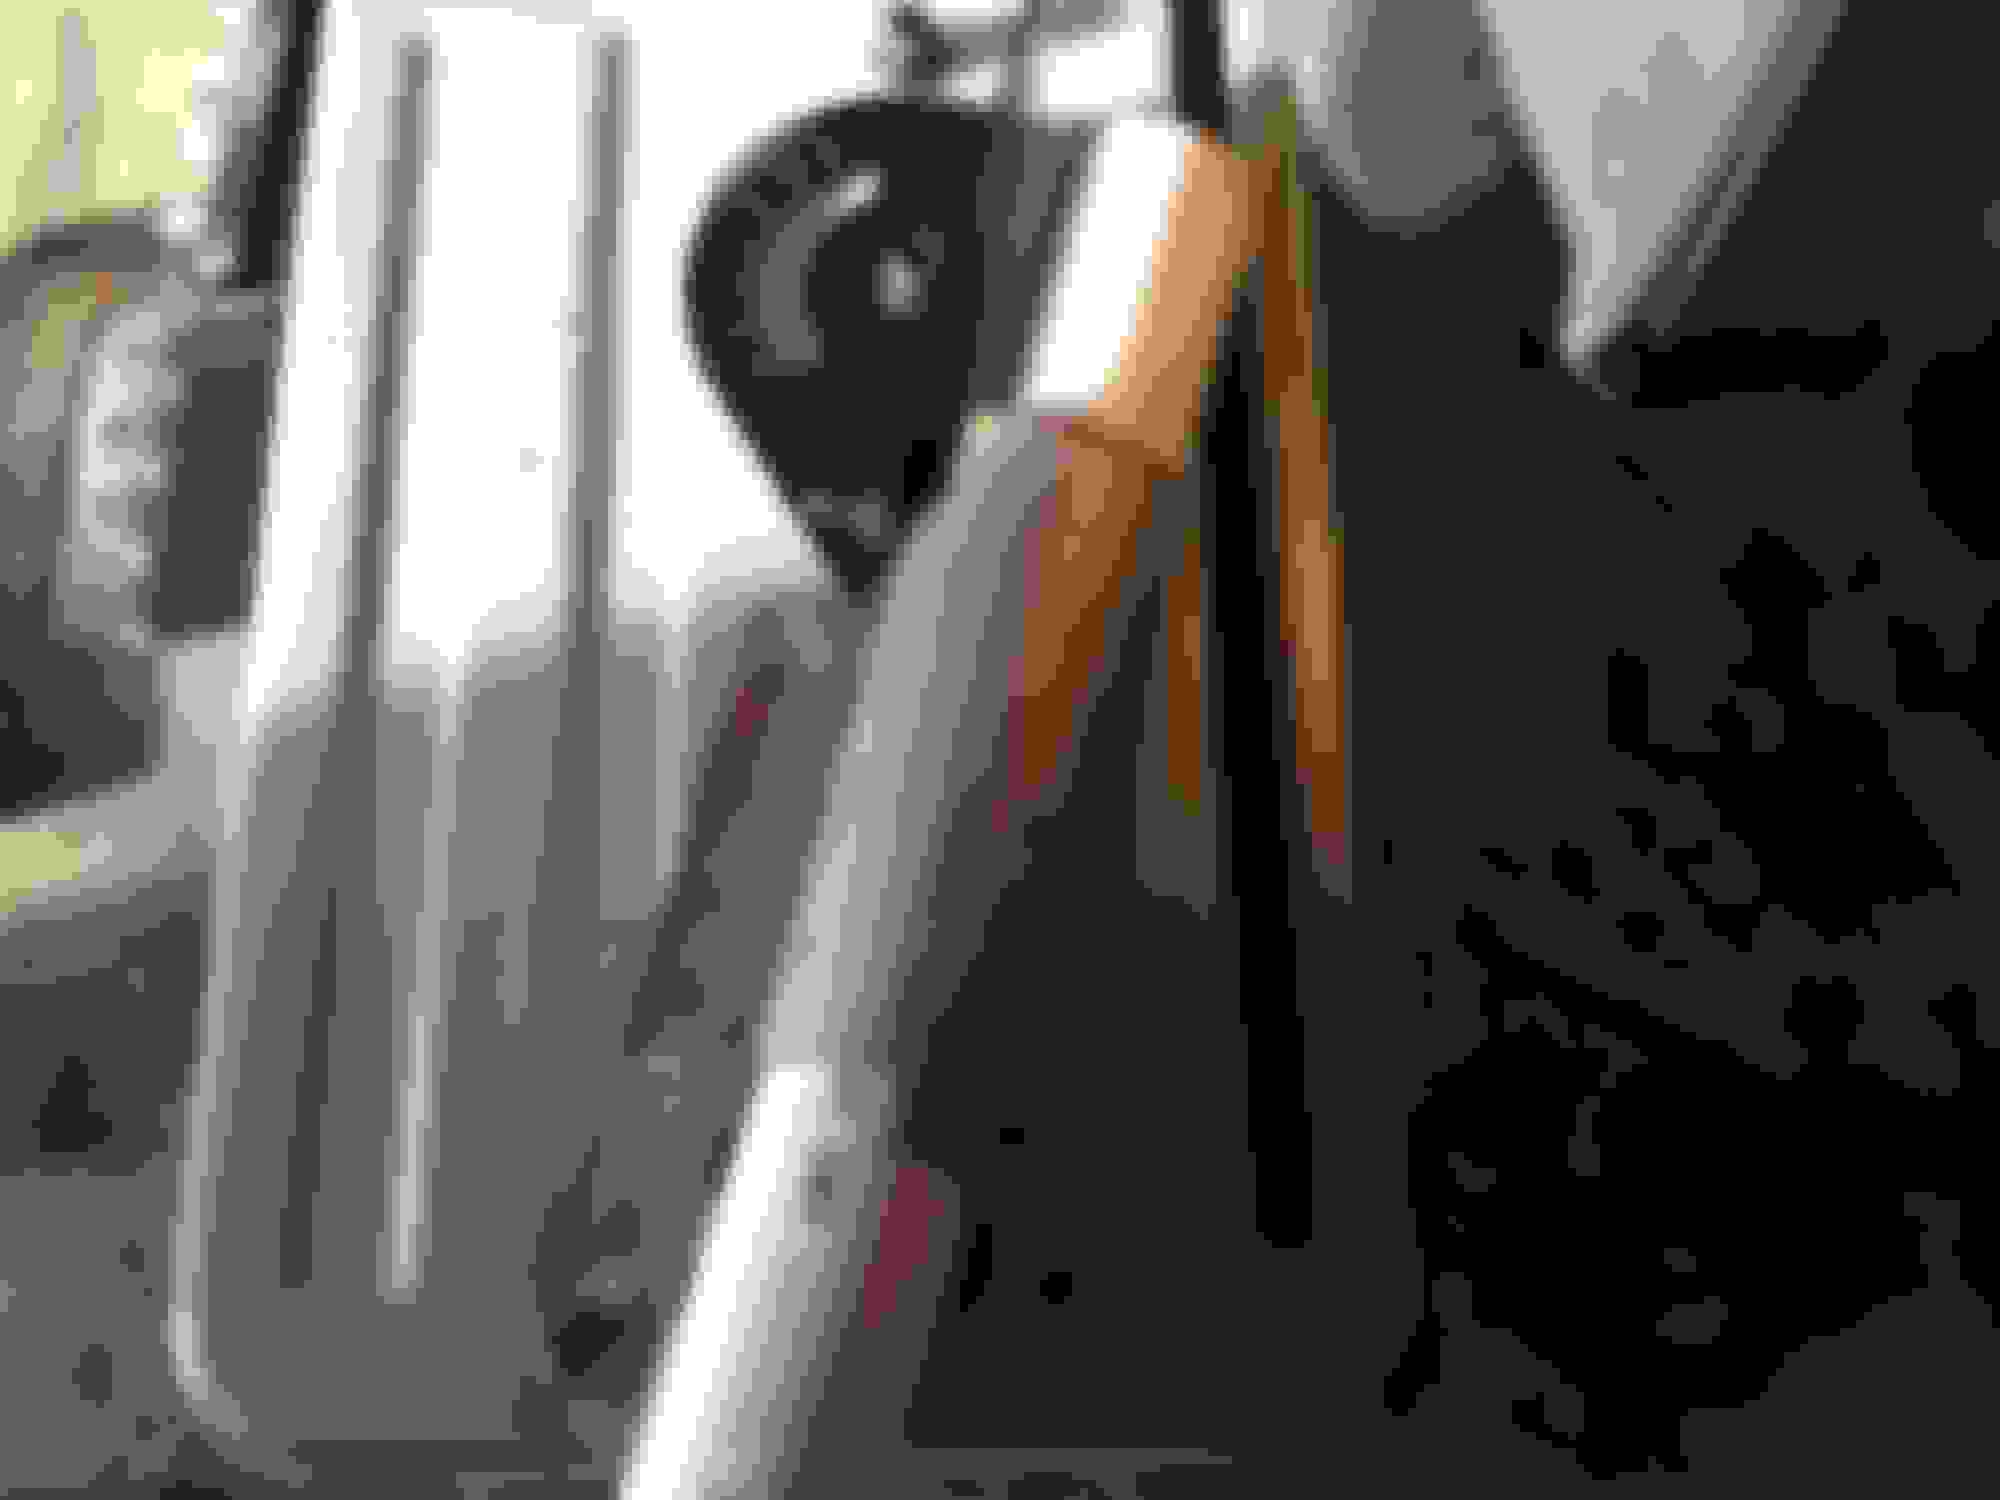
After cutting two out to check fitment and angles
Everything looked good so I started on the stainless
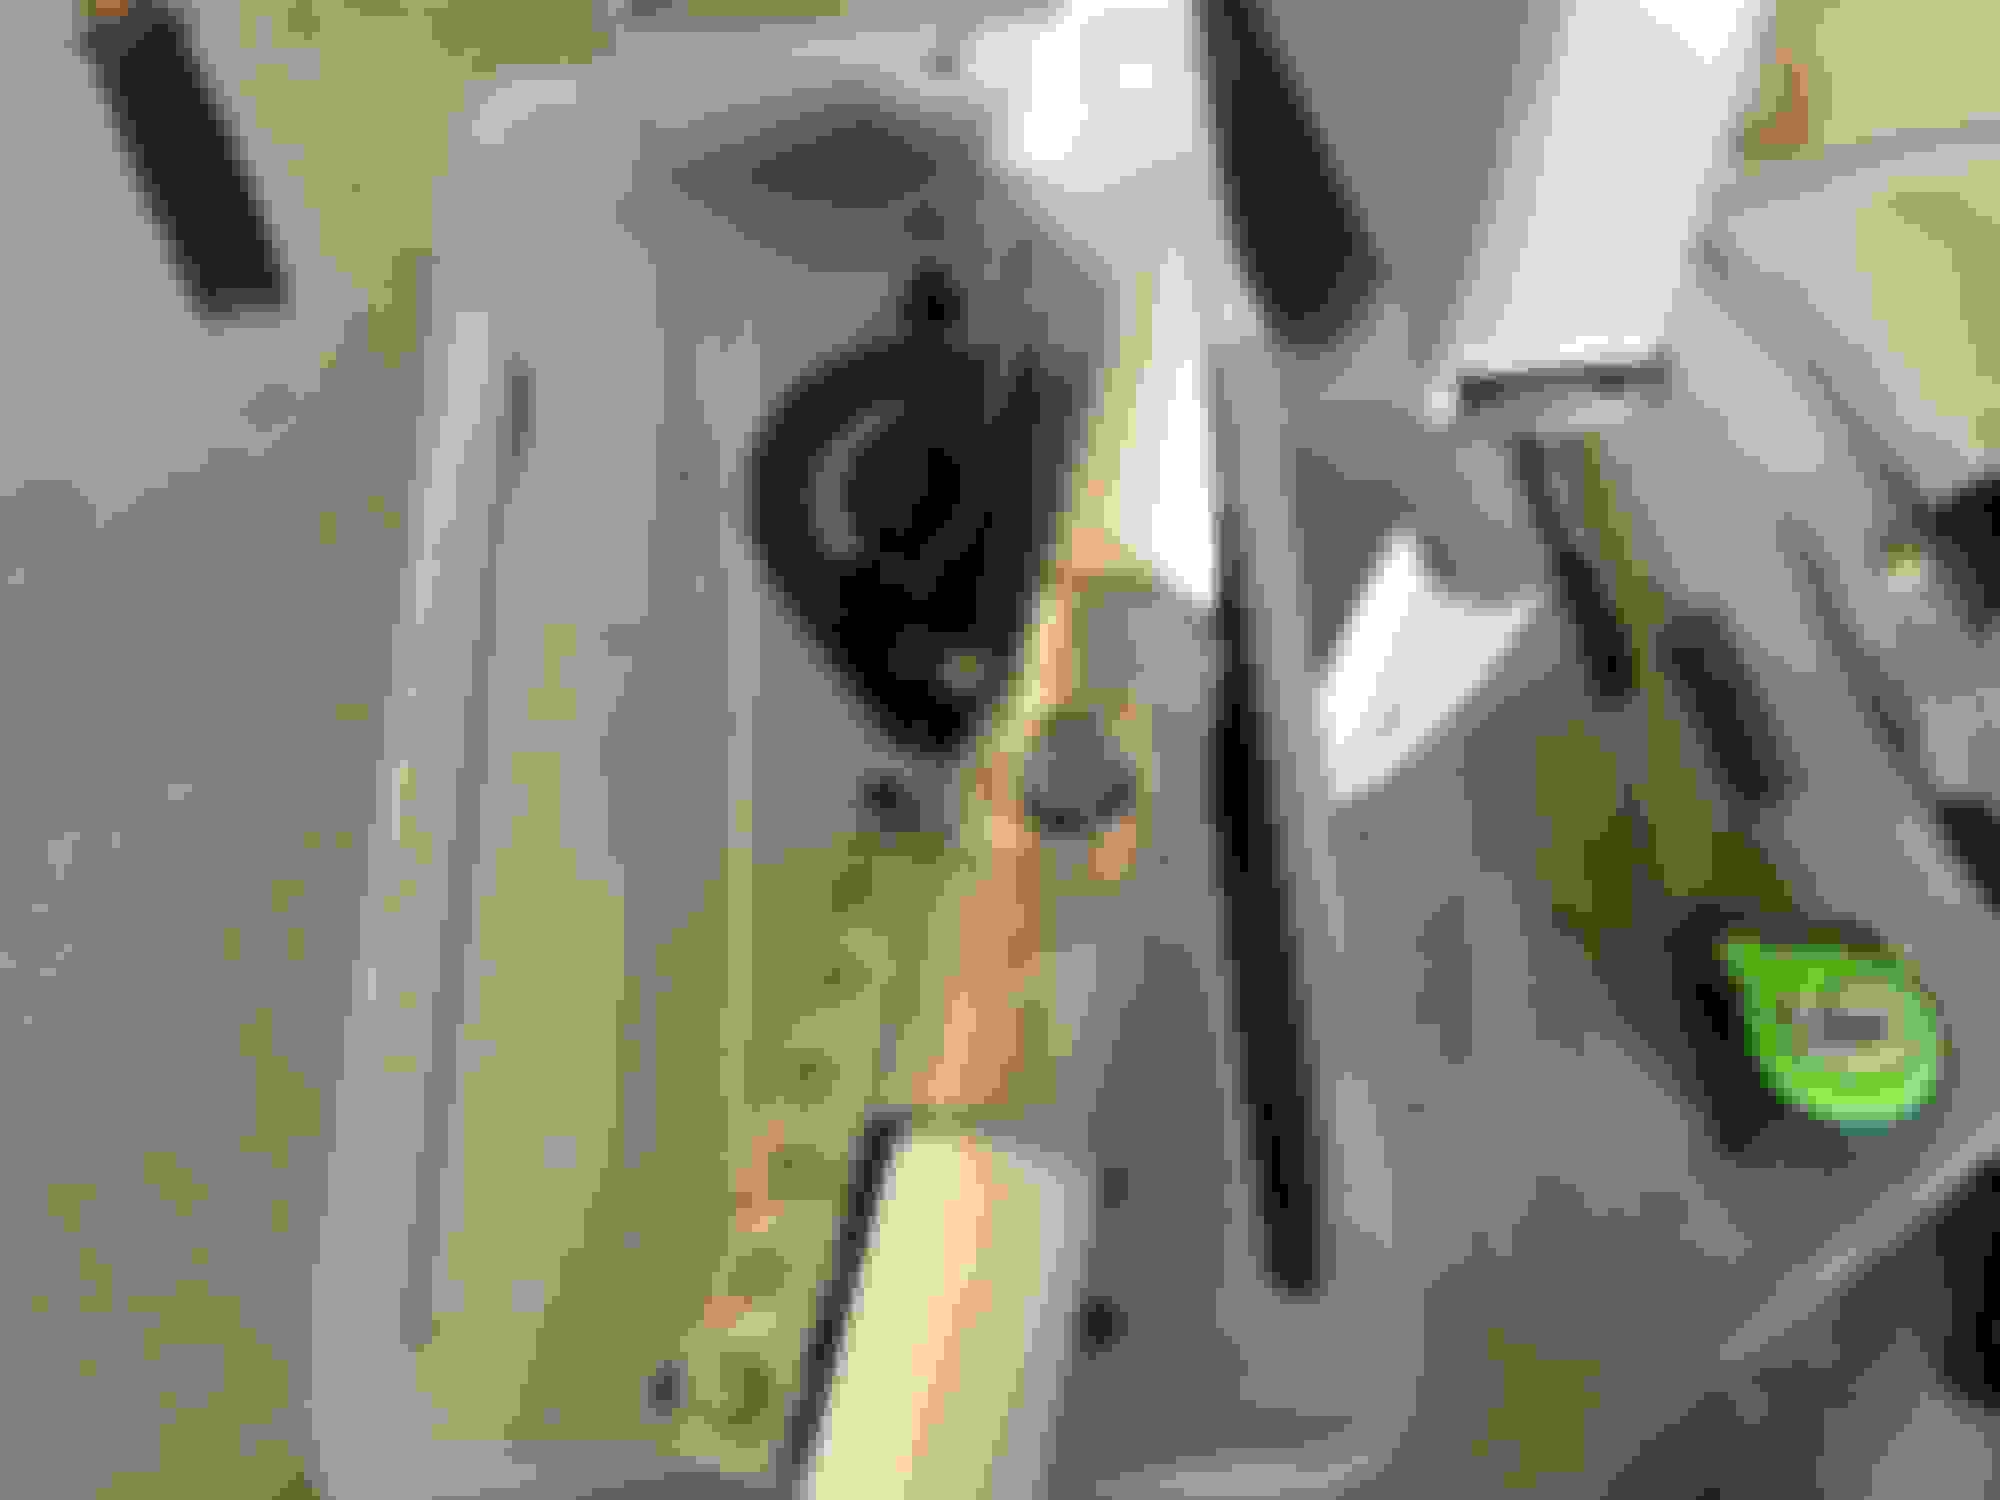
Two cut out and tacked together
All 4 cut and both sides tacked.
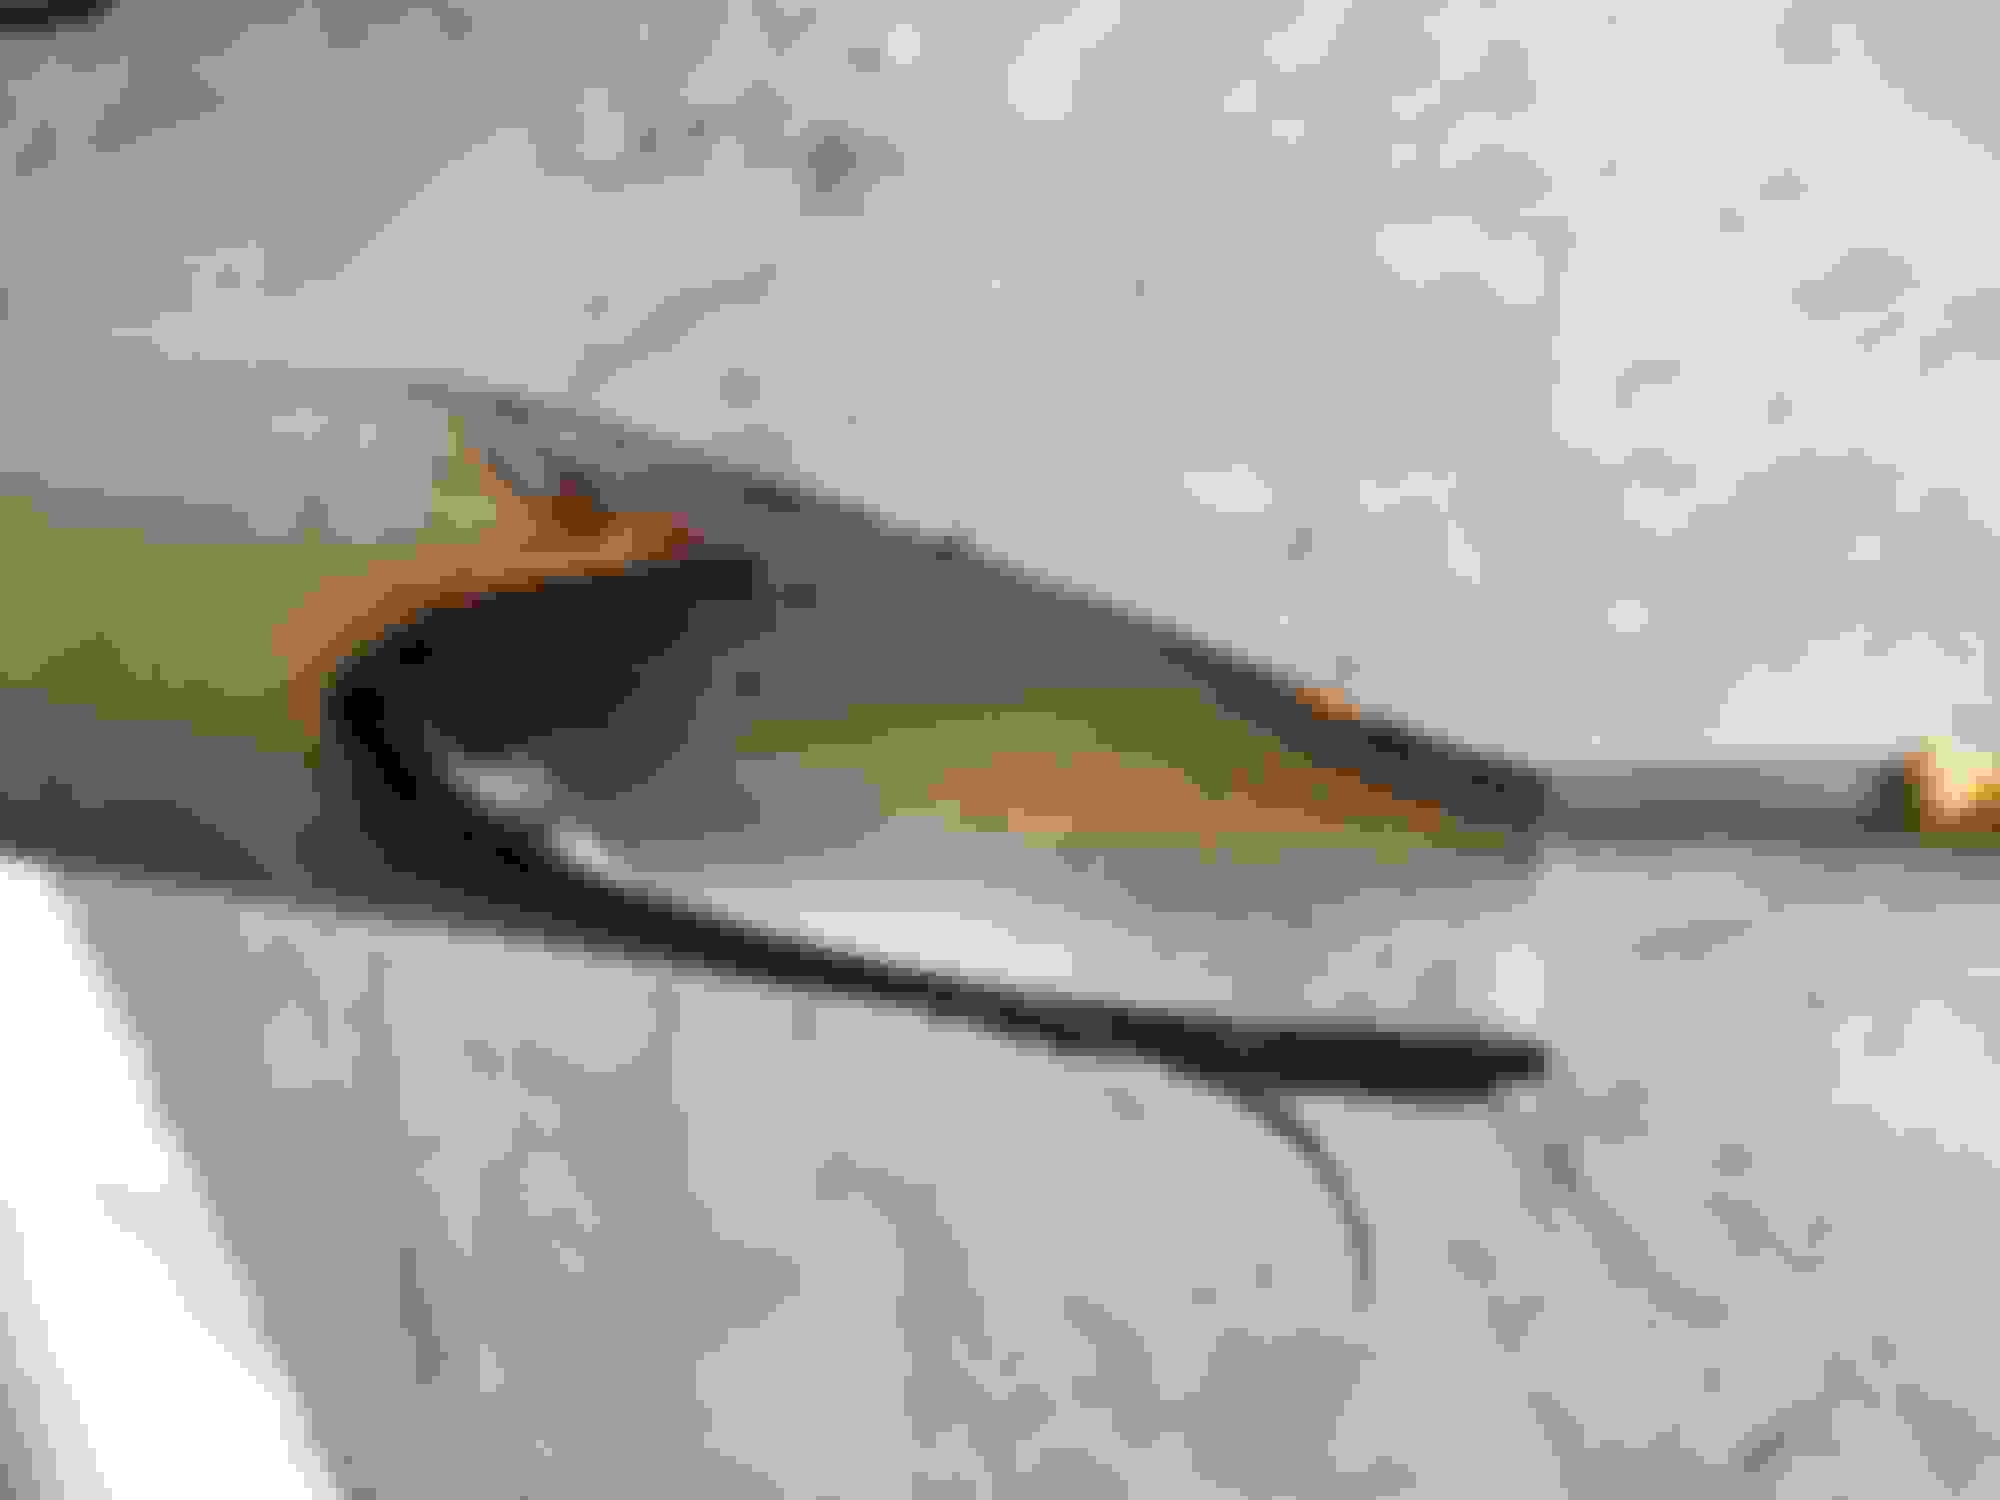
Finally got it all welded and trimmed down. Pretty happy how it turned out, I went with a bit steeper angle to keep it the whole merge short since space will fill up quickly.
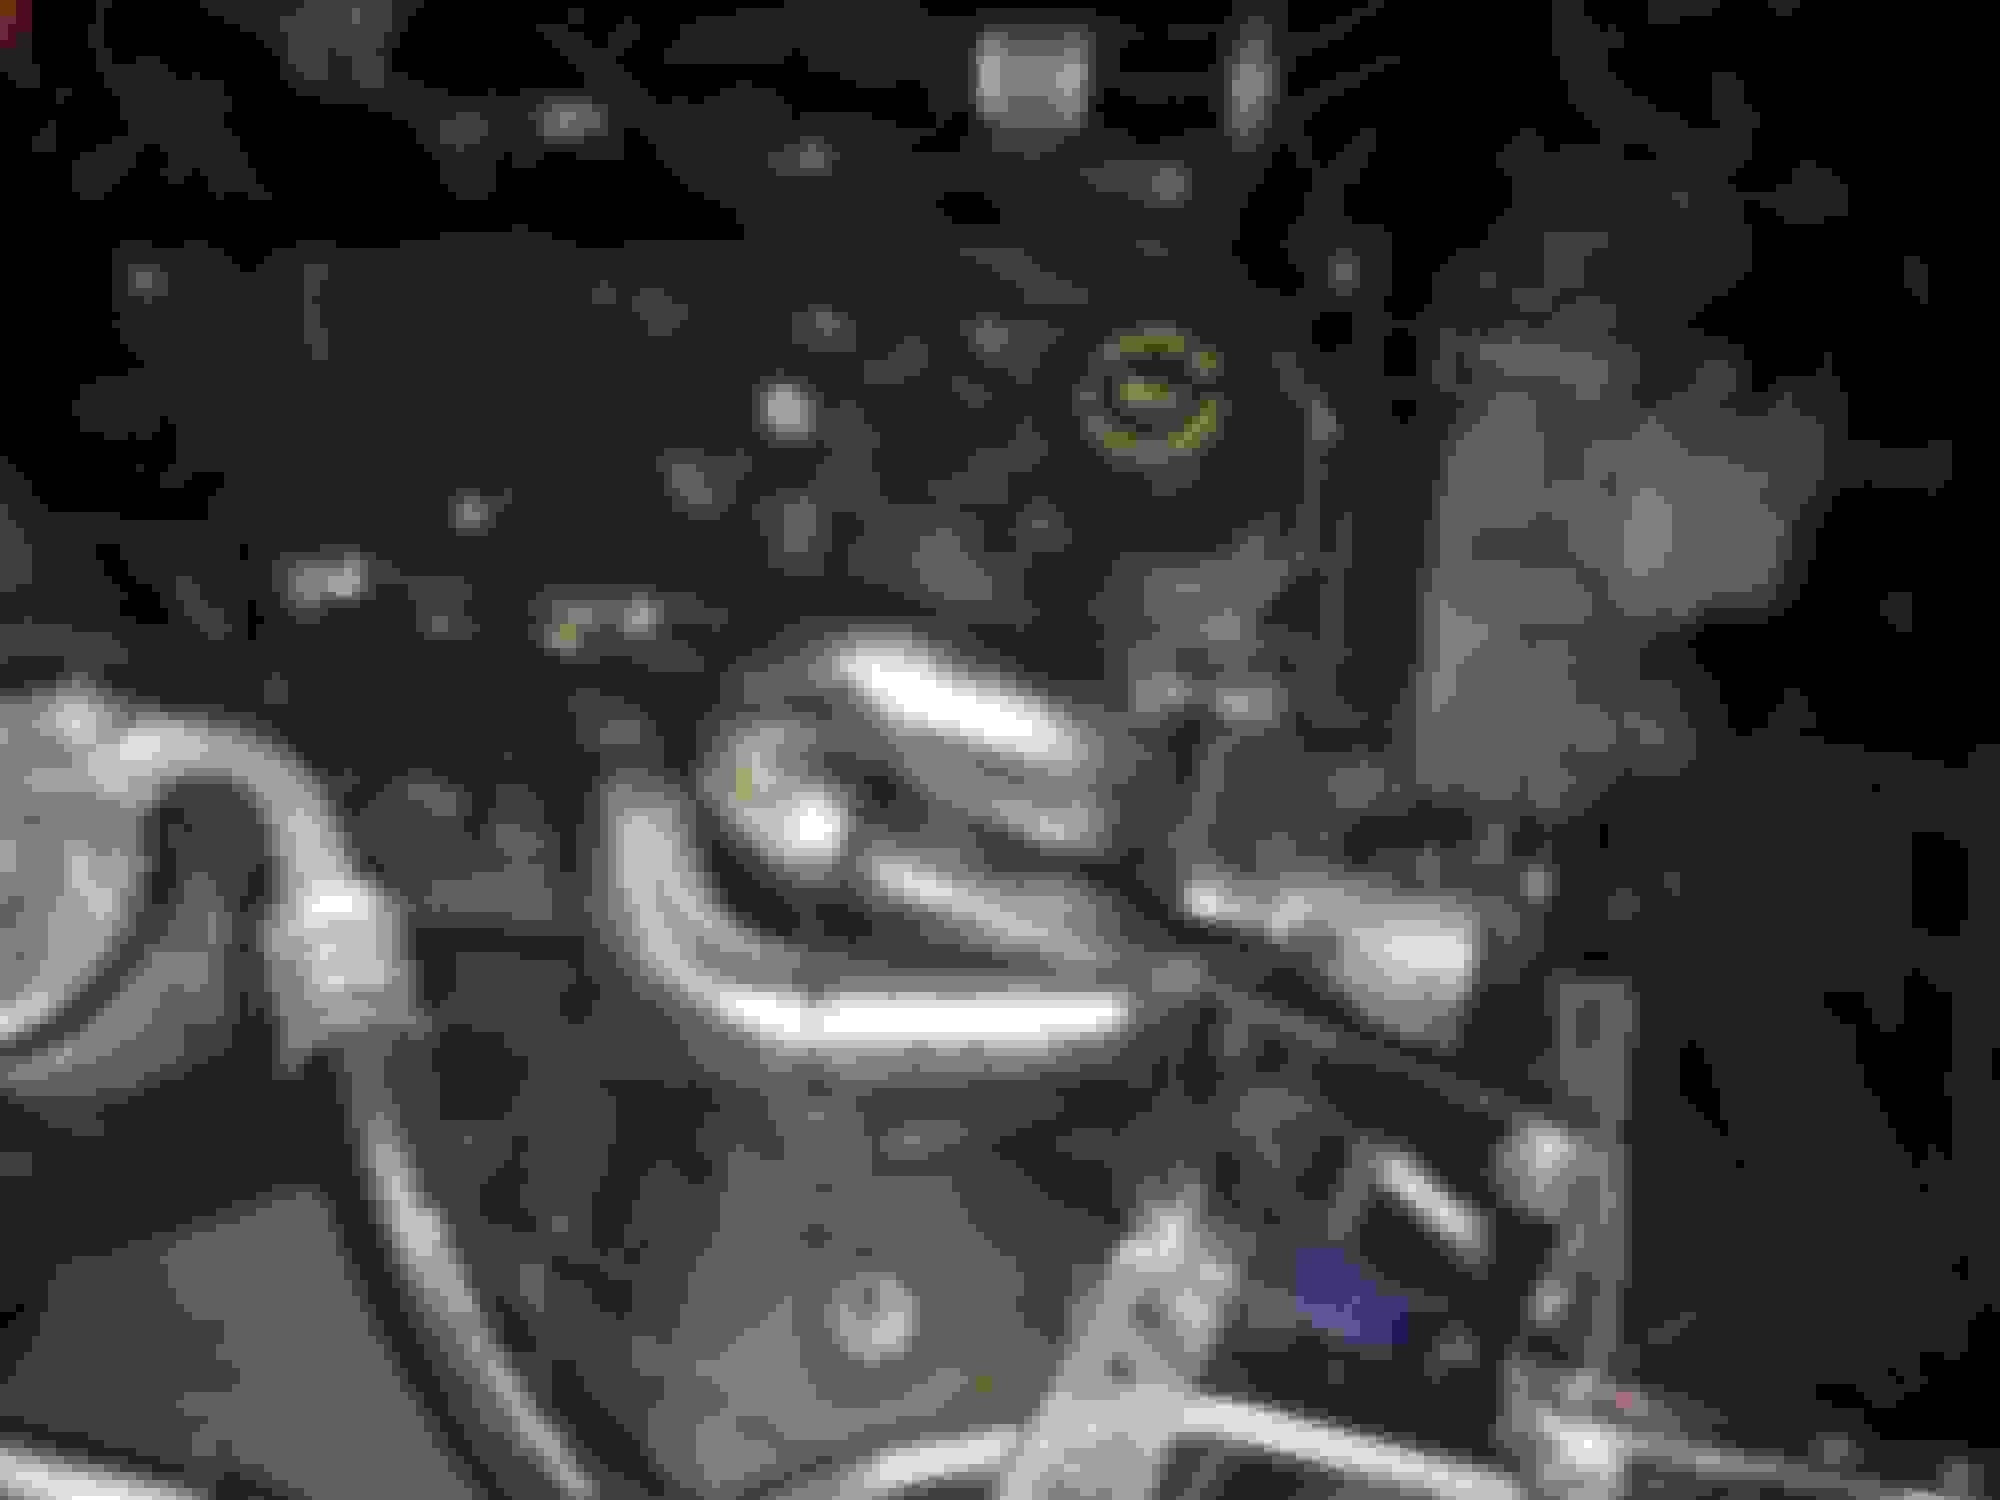
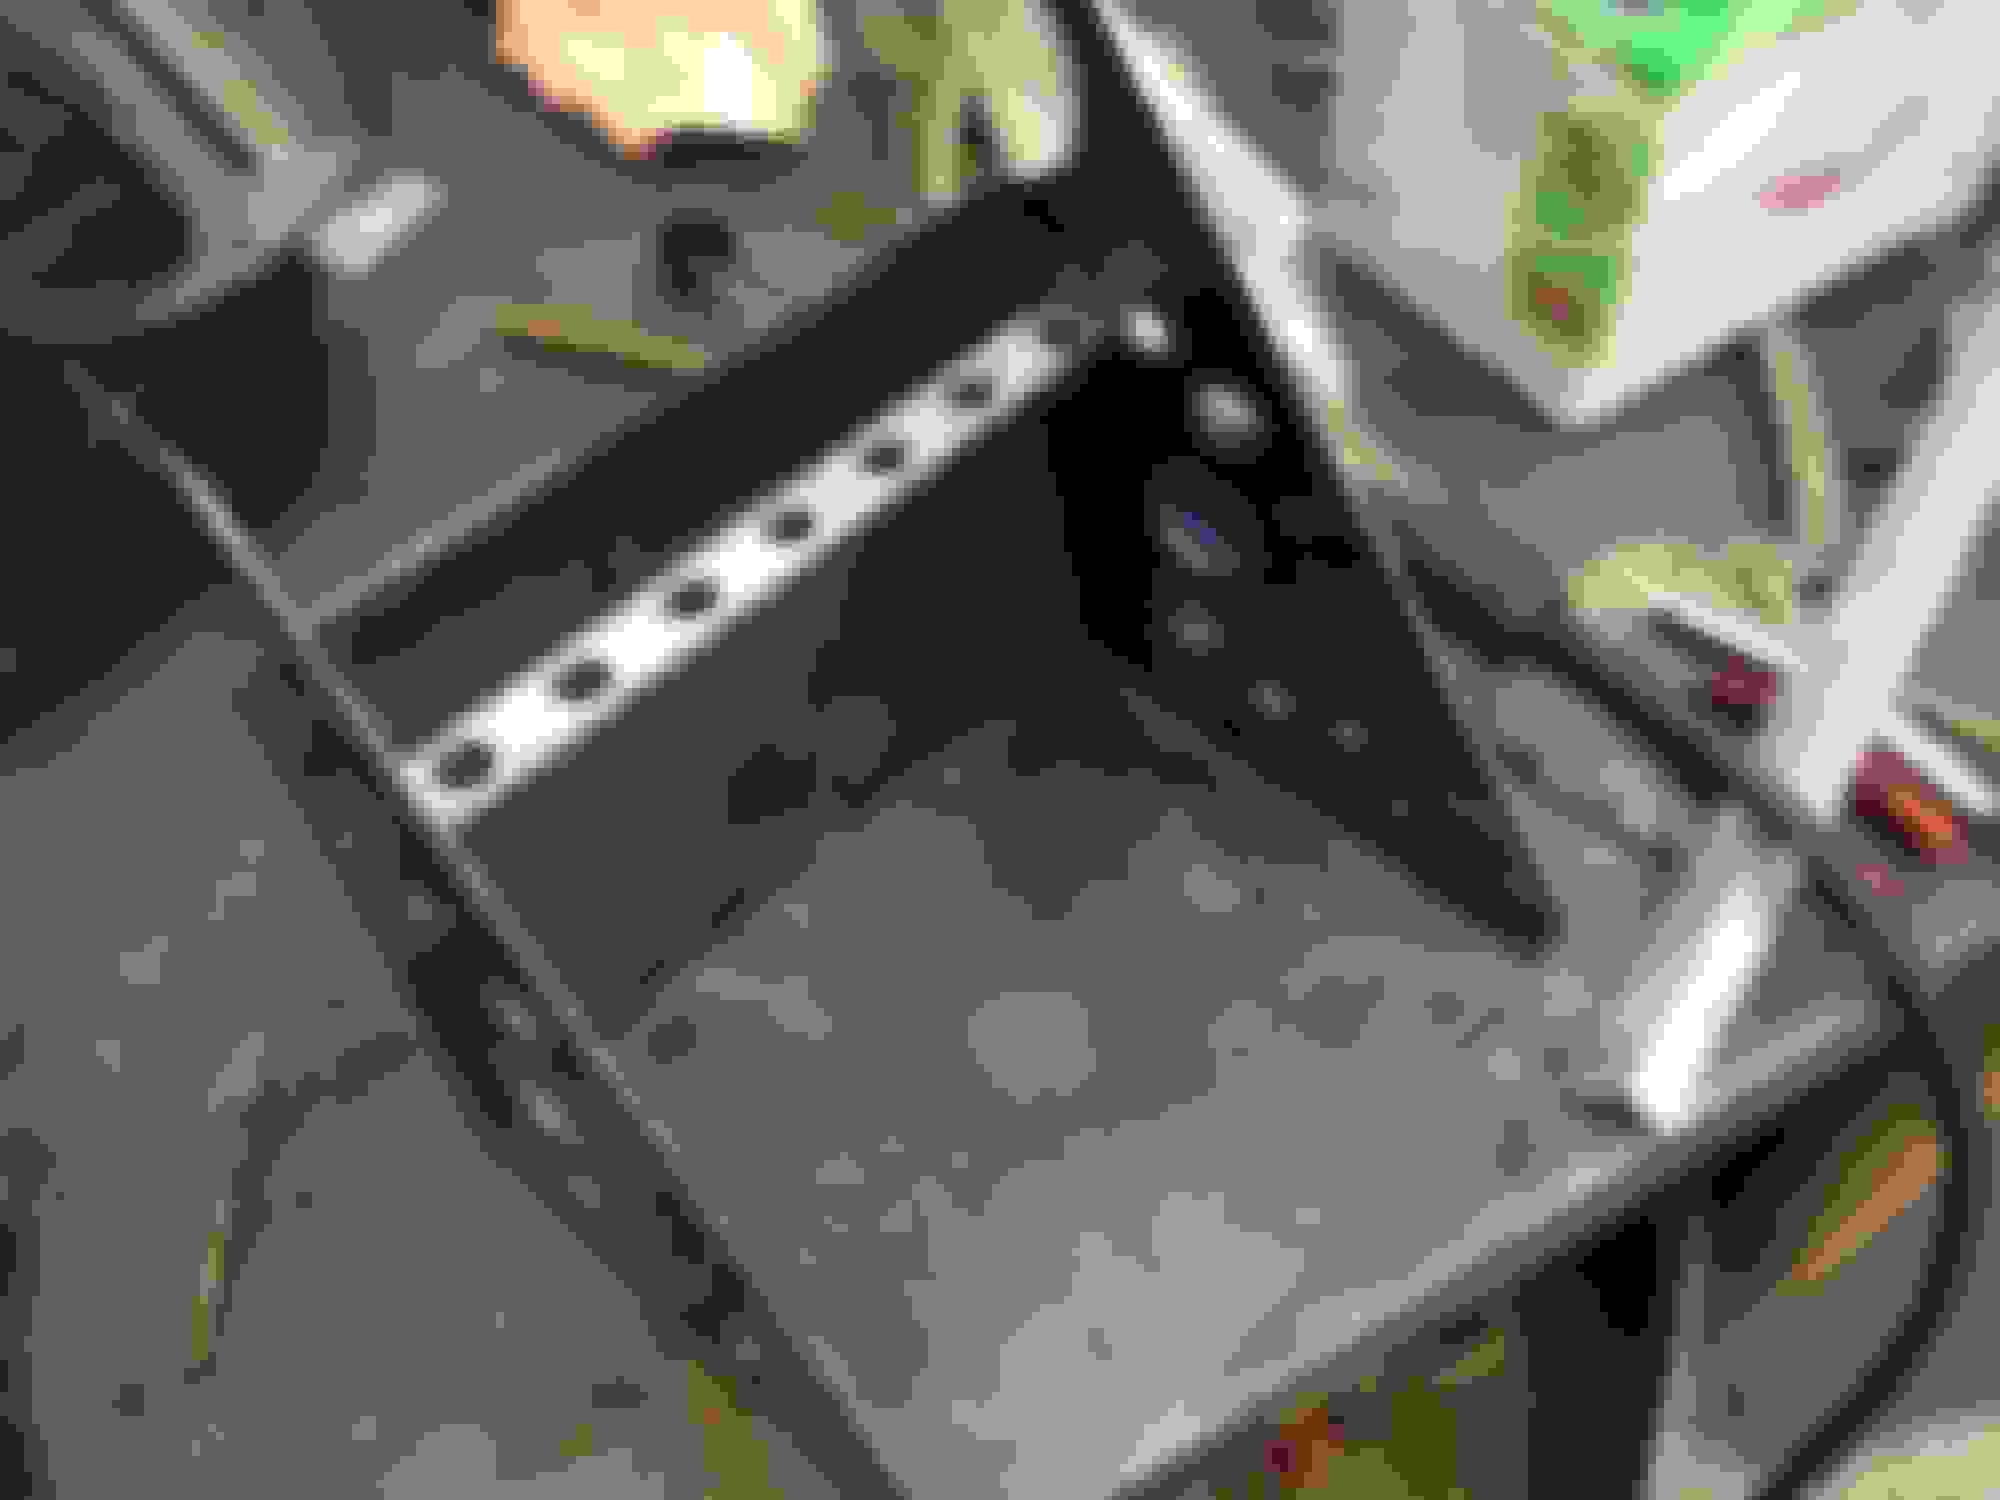
So once I finished the collector I cut out a head flange and a t4 flange and got piecing it together. Space got really tight really quick once I got everything in there, I went though a few different designs. This was the best design for clearance for a 4" downpipe and keeping the stock early style compressor manifold. I wish I would have made it a bit easier to get to the plugs, but it's done and am not going to change it now lol. One day when I move up to a t6 frame turbo I will build a new manifold.
Turbo placement
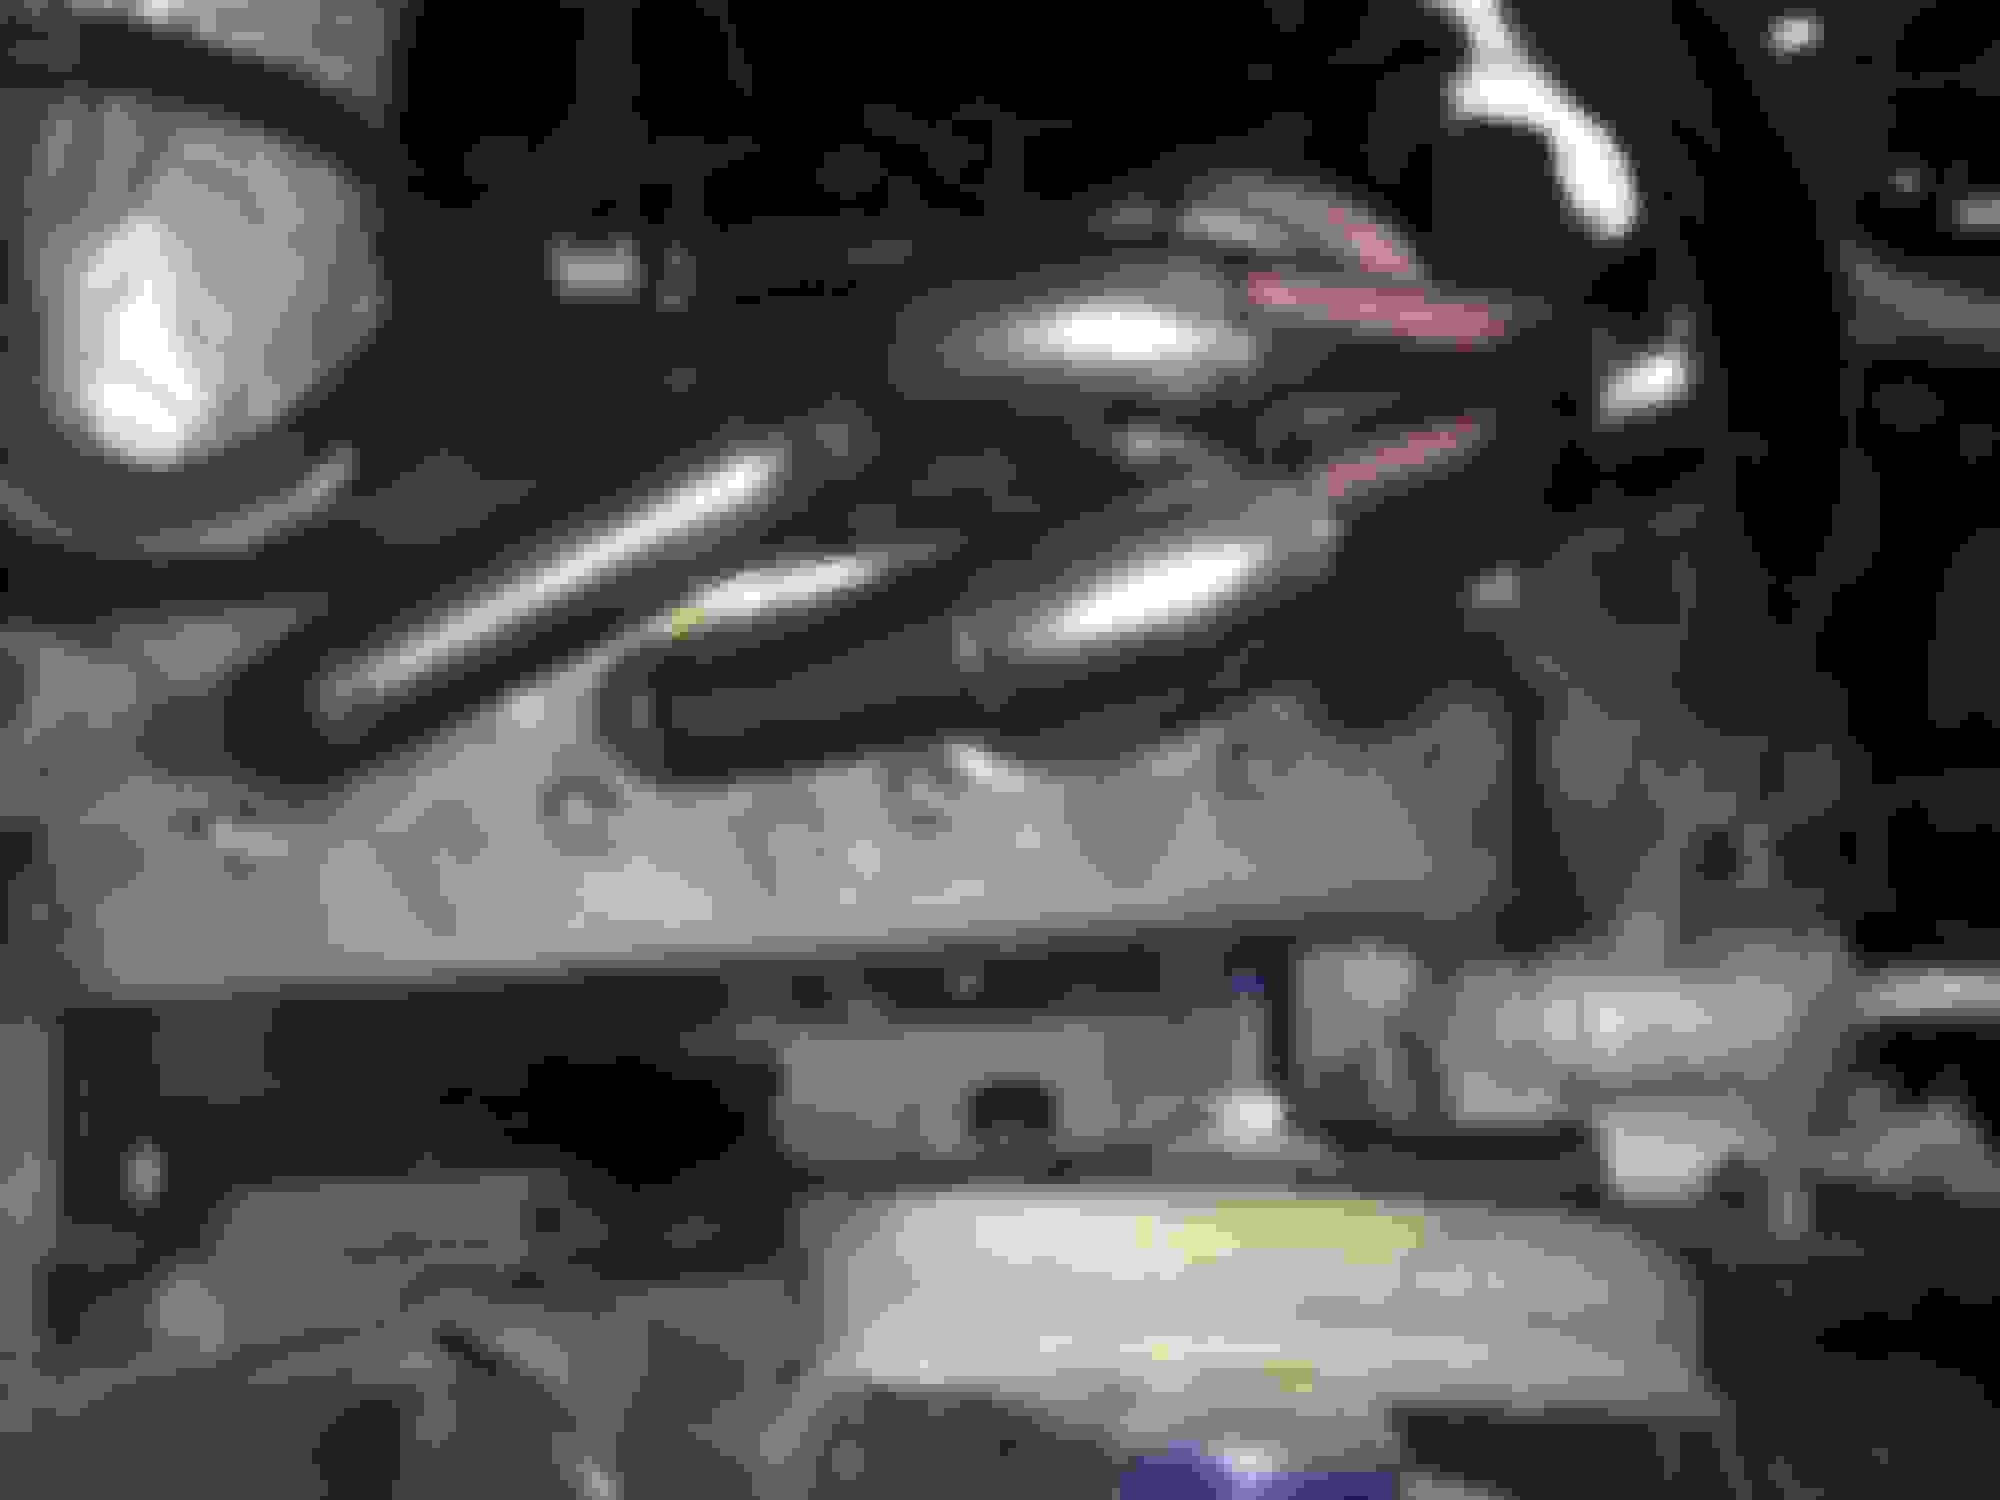
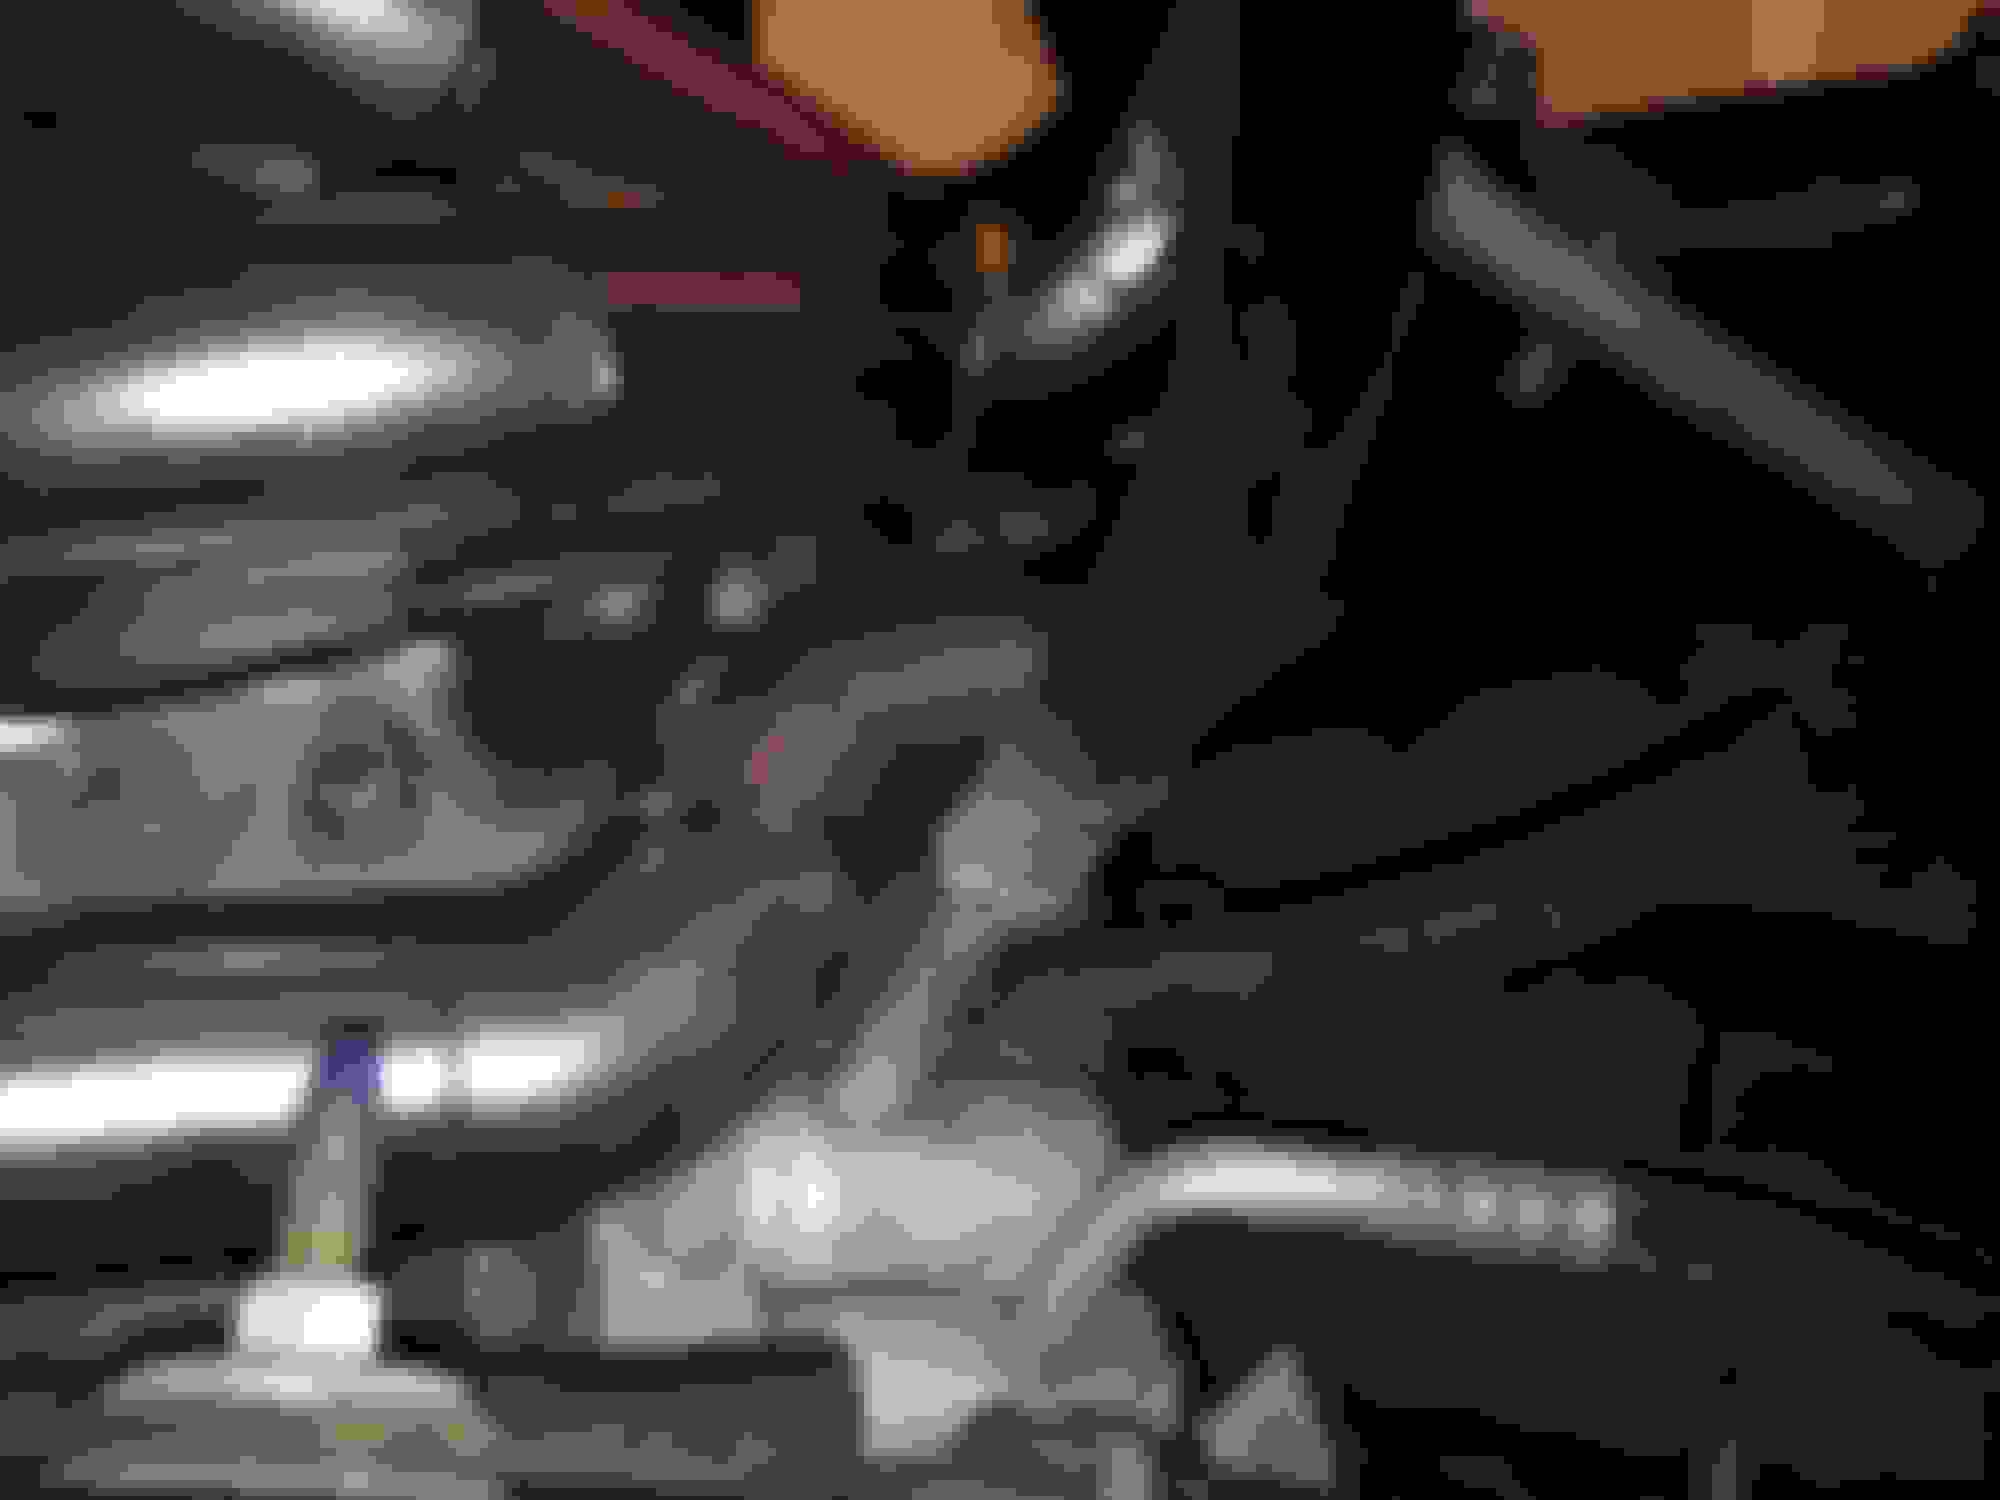
Mocking up passenger side primaries, I wanted to keep a true divided hotside, so the passenger banks feed the rear port of the twin scroll flange and the driver side will feed the front.
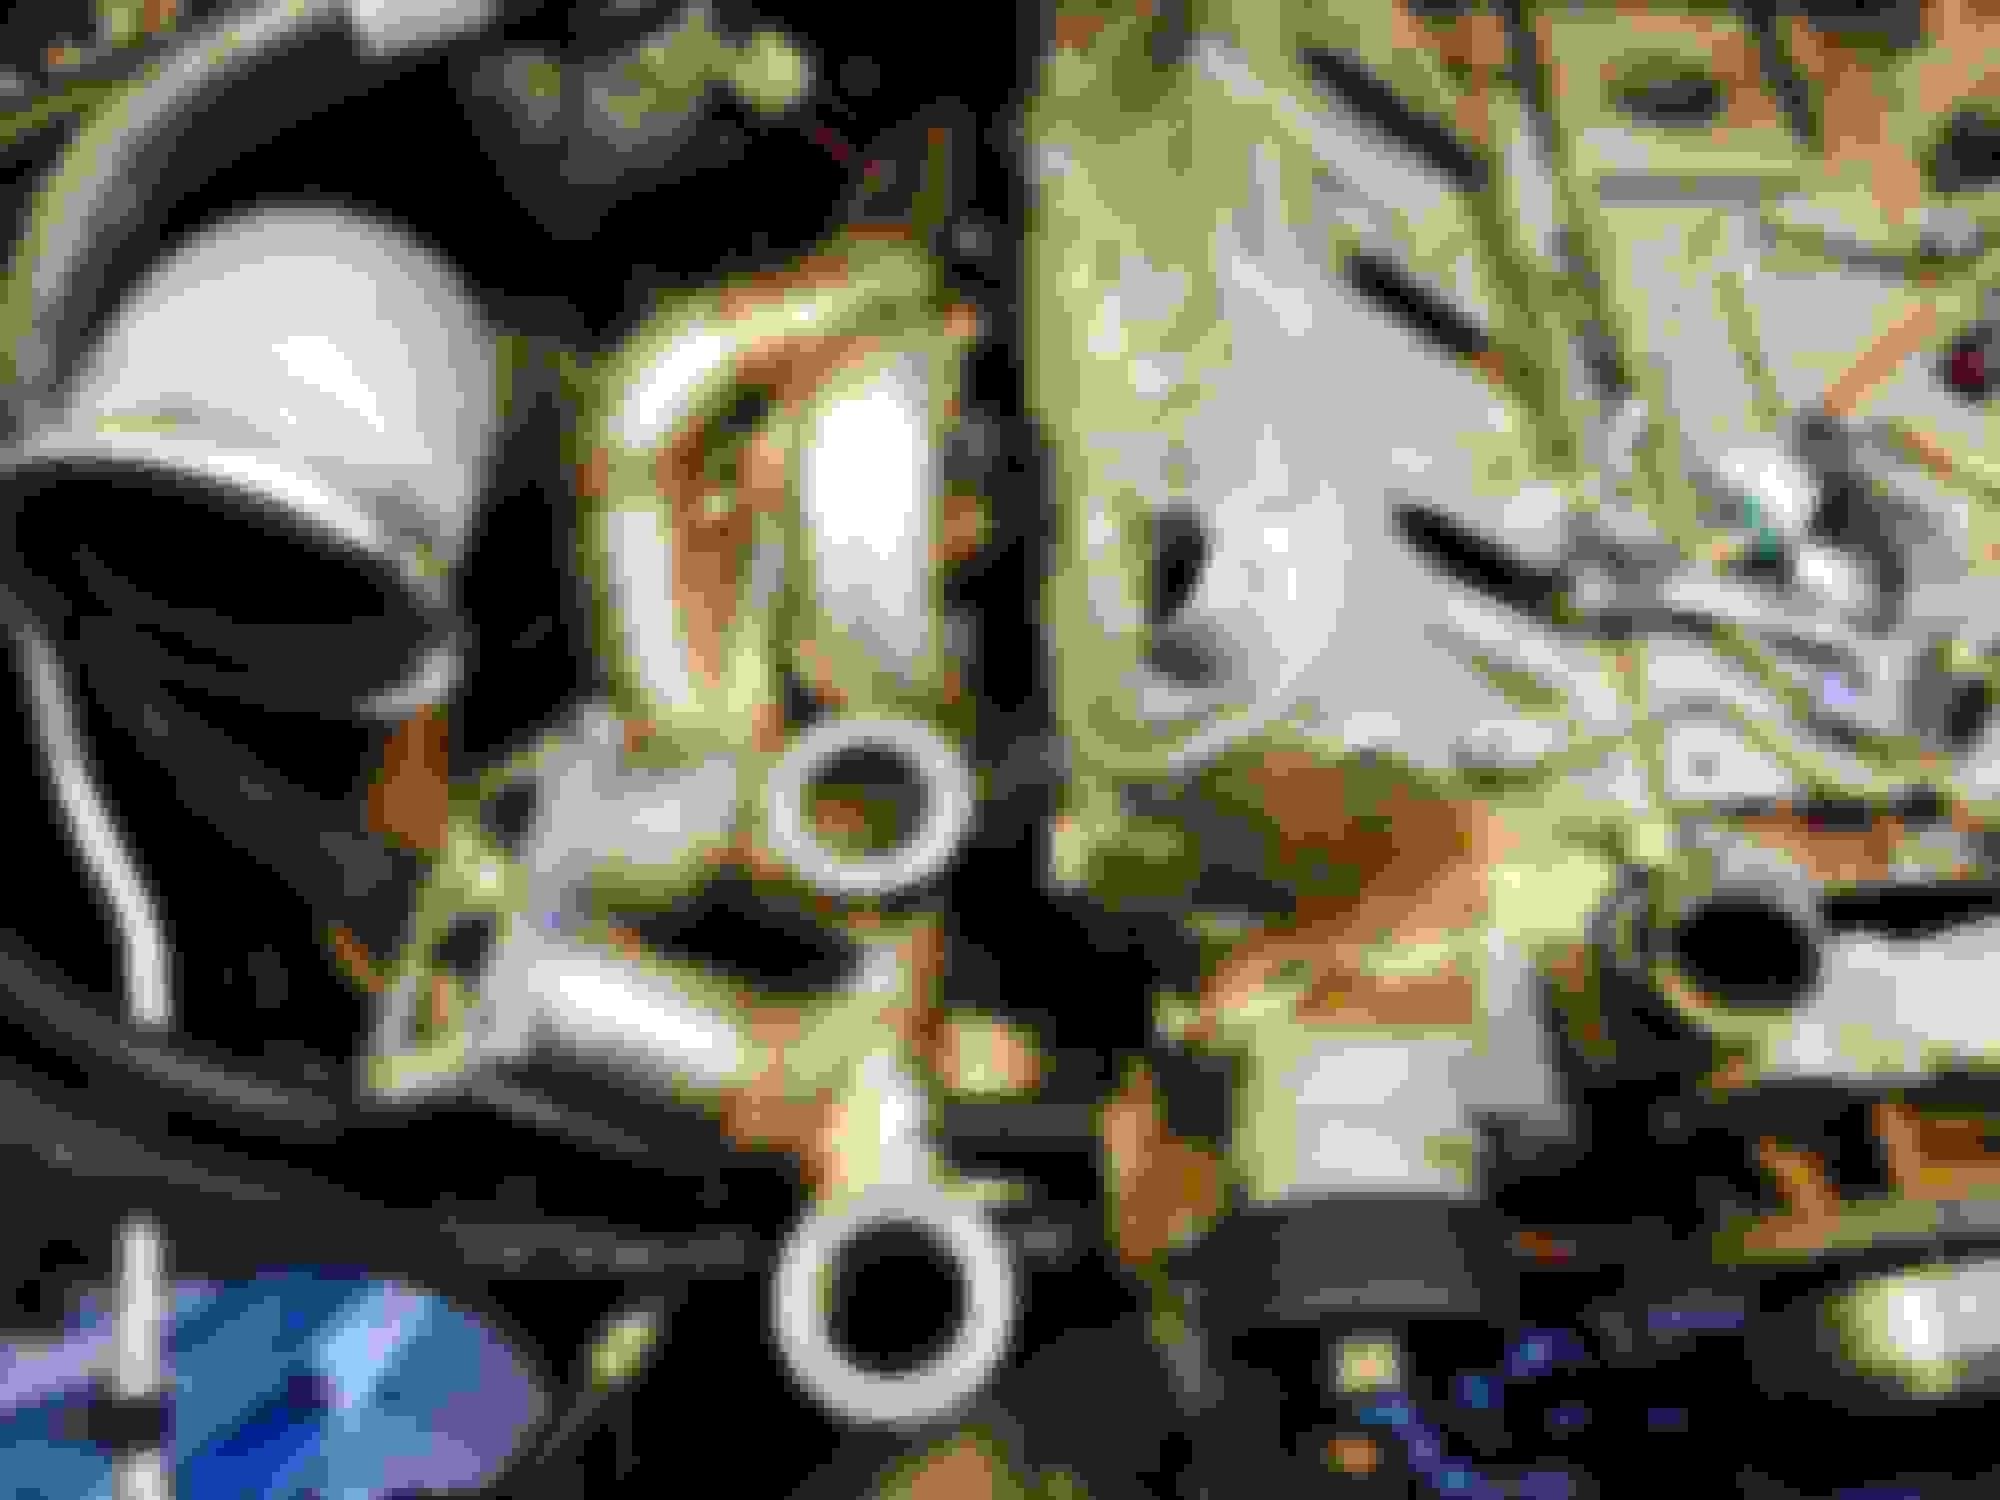
Start of the driver side cross over pipe that will be a fixed part to the manifold with a v-band down by the starter.
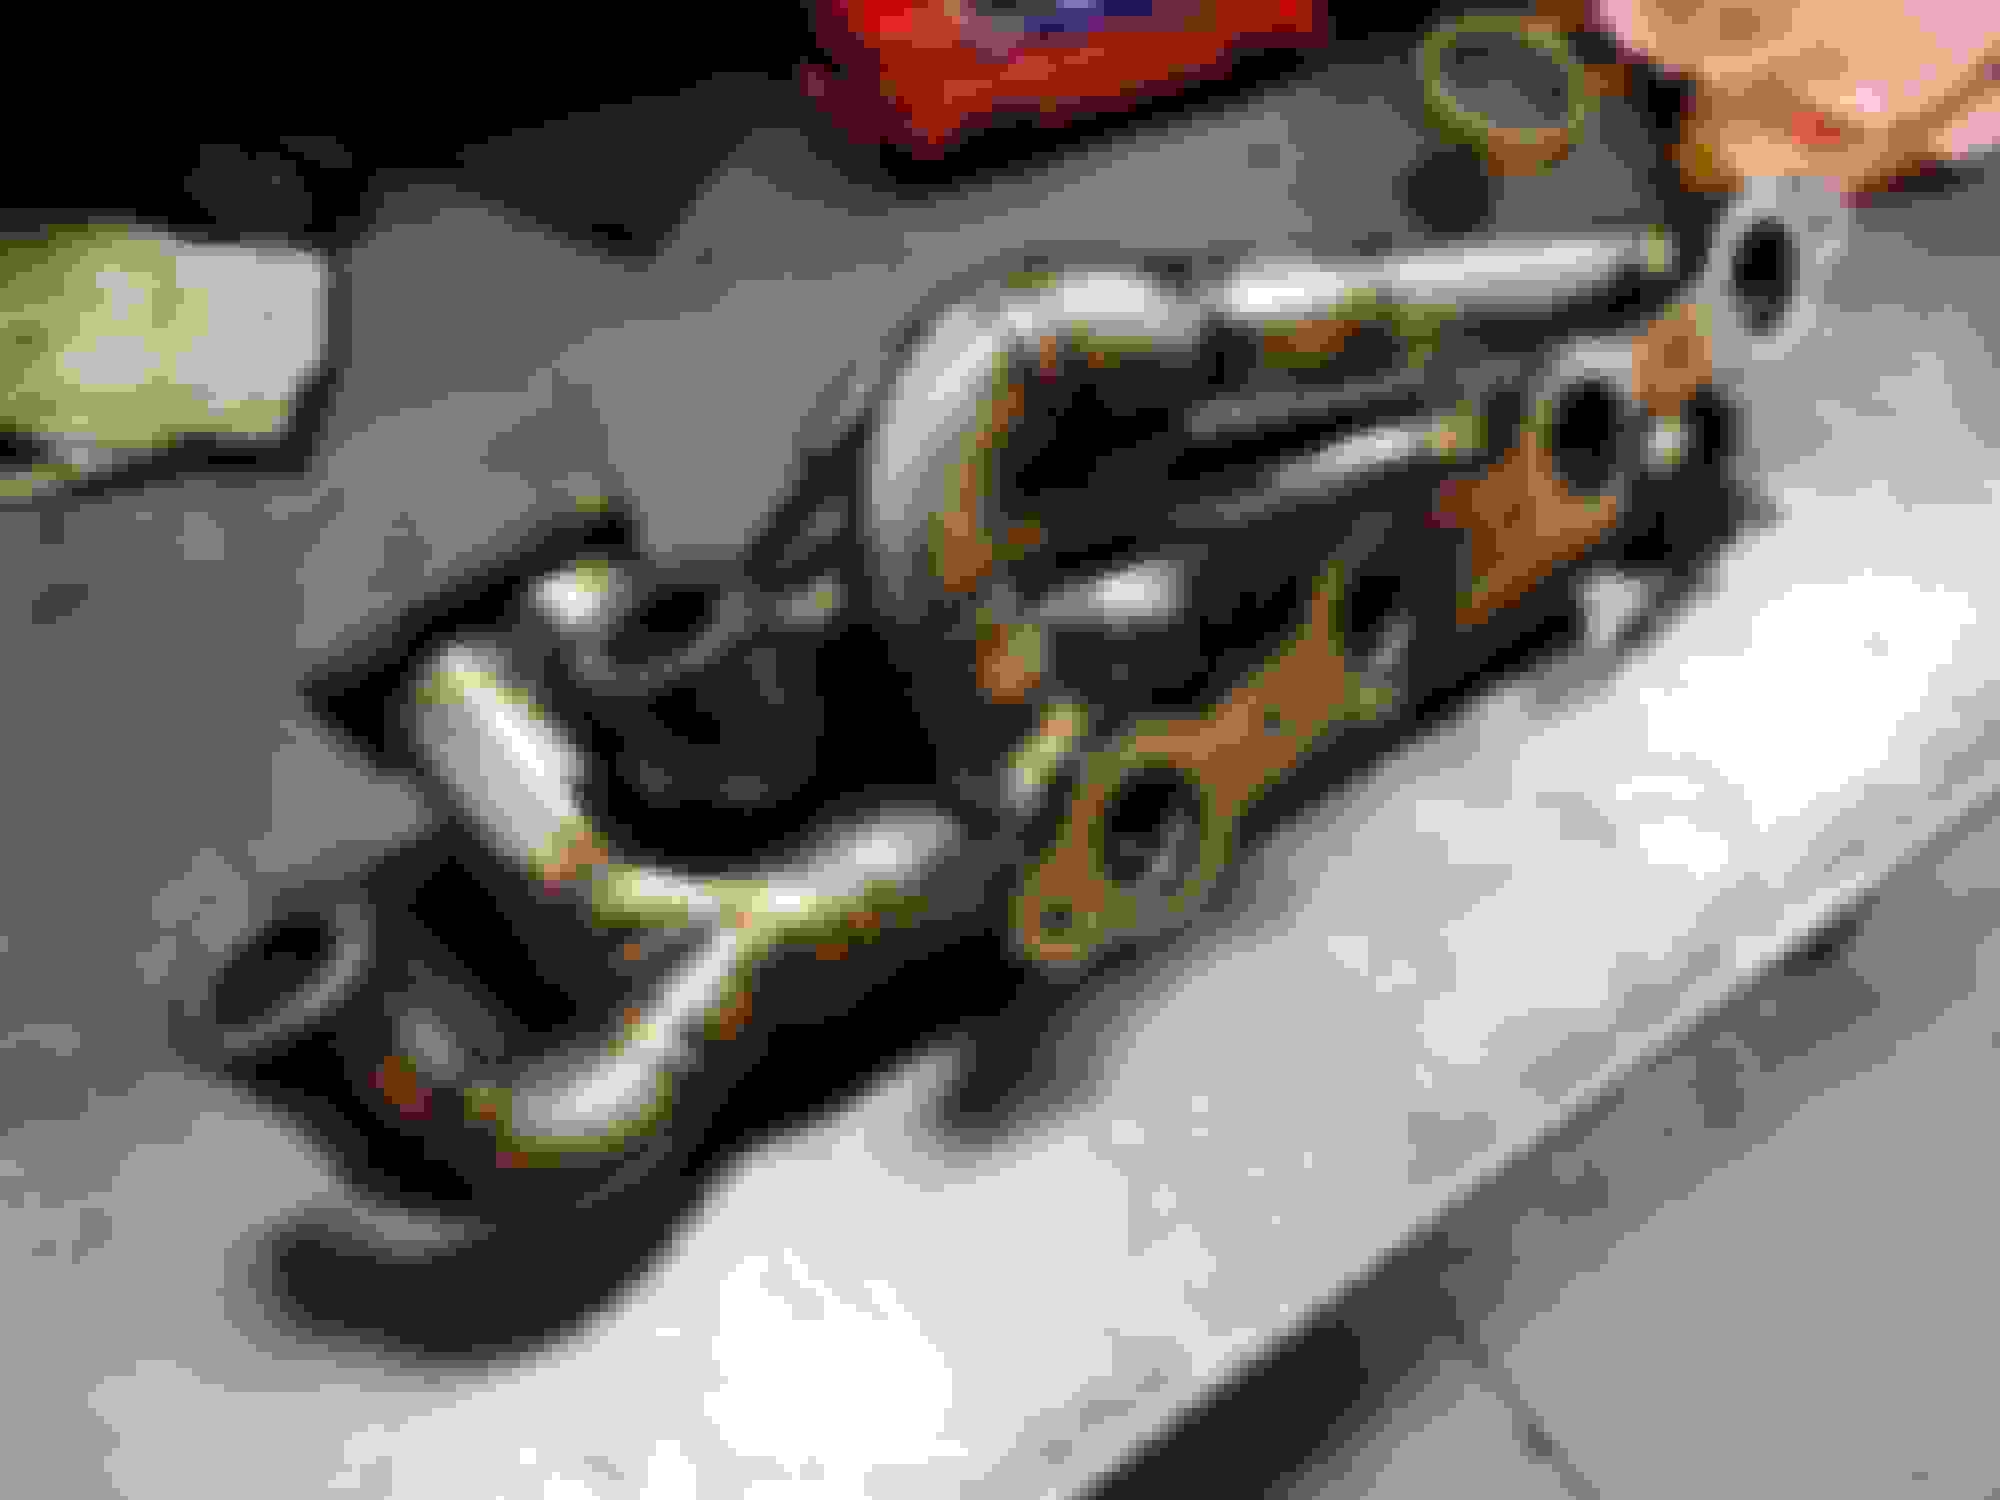
Manifold off and on the bench. I got a block of steel 2"x4" that I drilled and tapped with the head flange pattern. I bolted the manifold to it before I welded to keep the flange from warping.
So after a ton of time, welding, and argon I got it finished, I added two 38mm gates, should be plenty of gate and both have pretty good priority. Only time will tell how well it all works.
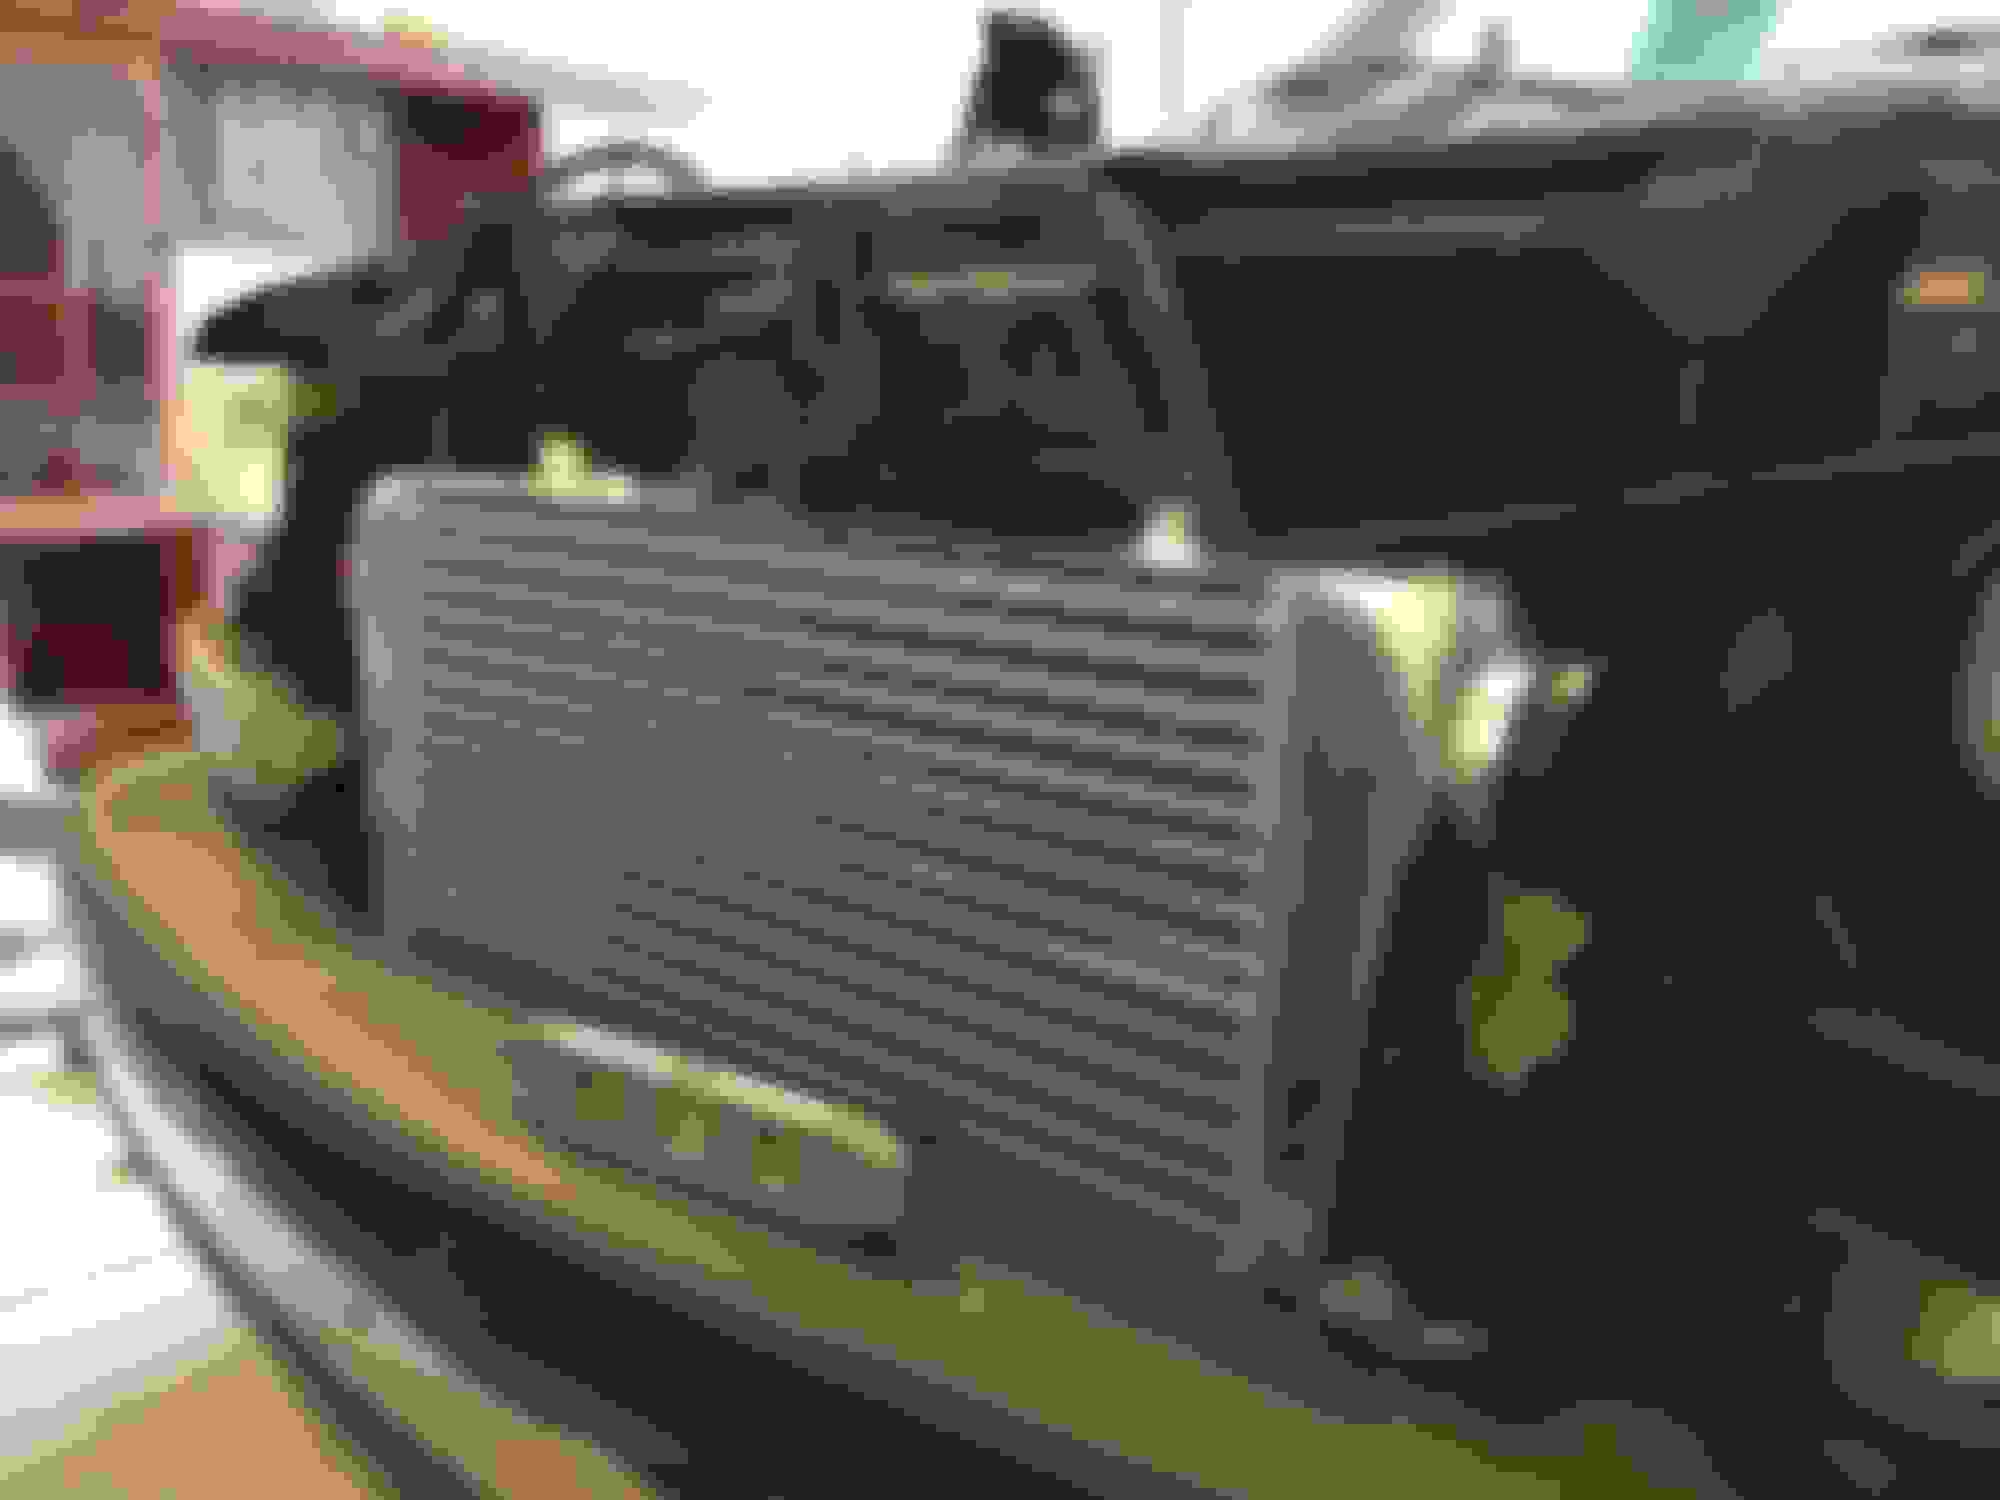
Next I got started on mounting the cheap eBay A/A. Just the standard 4" cooler from CX racing
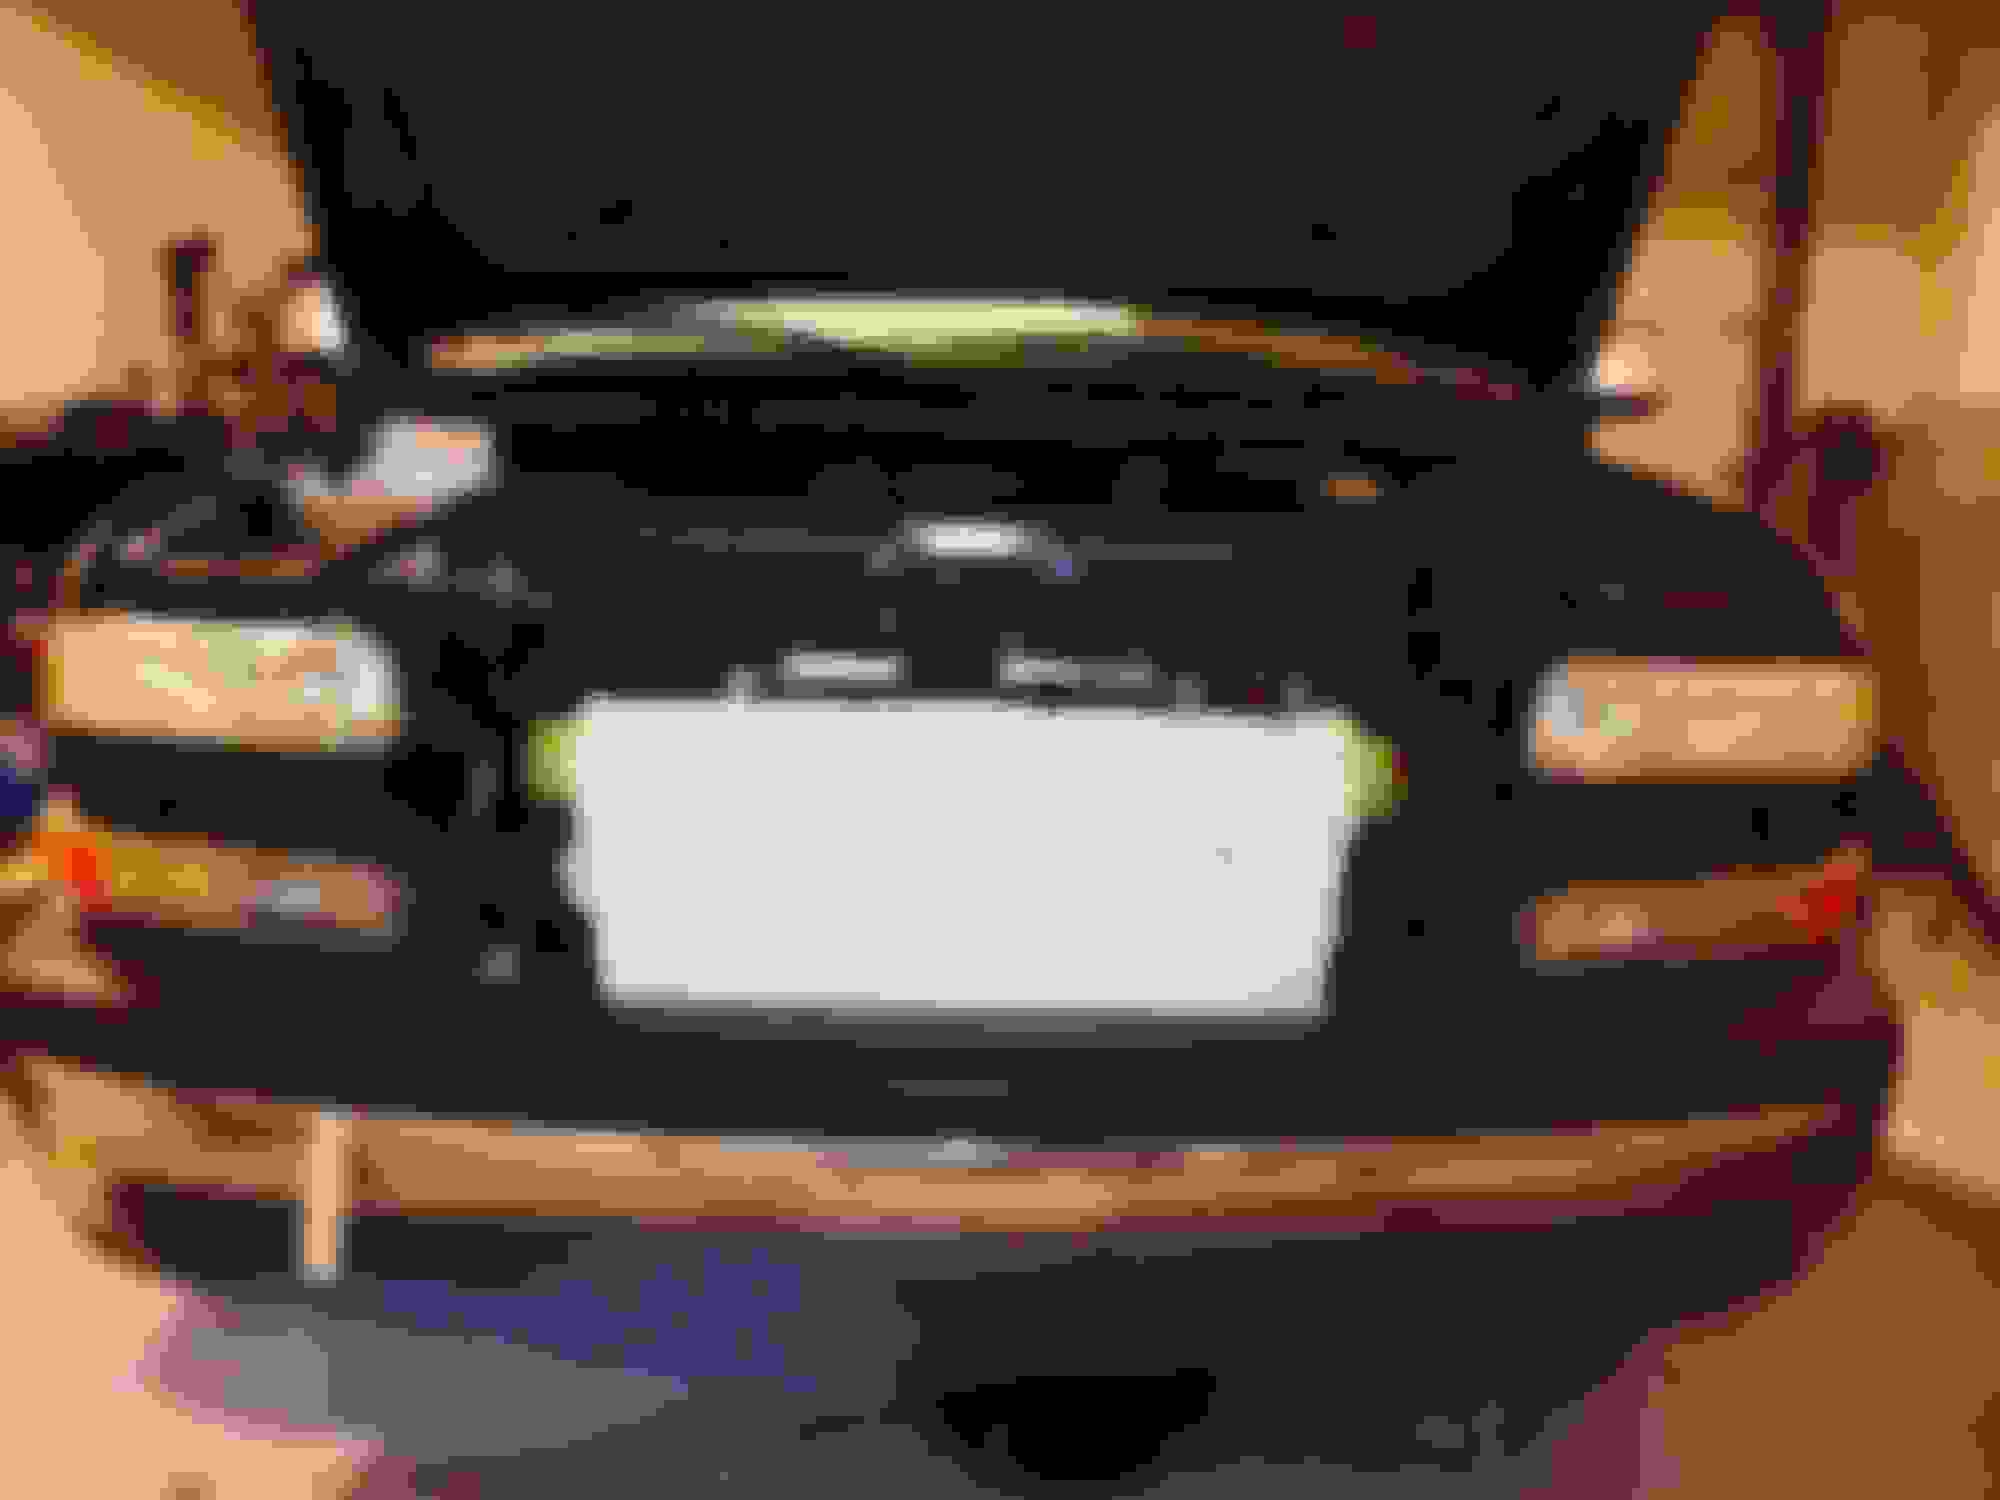
Got a screaming deal on a bumper cap and HD grill. I was sitting around trying to figure out where to mount my trans cooler and had an idea, but I needed to get the HD swap done first in order to see if it would work.
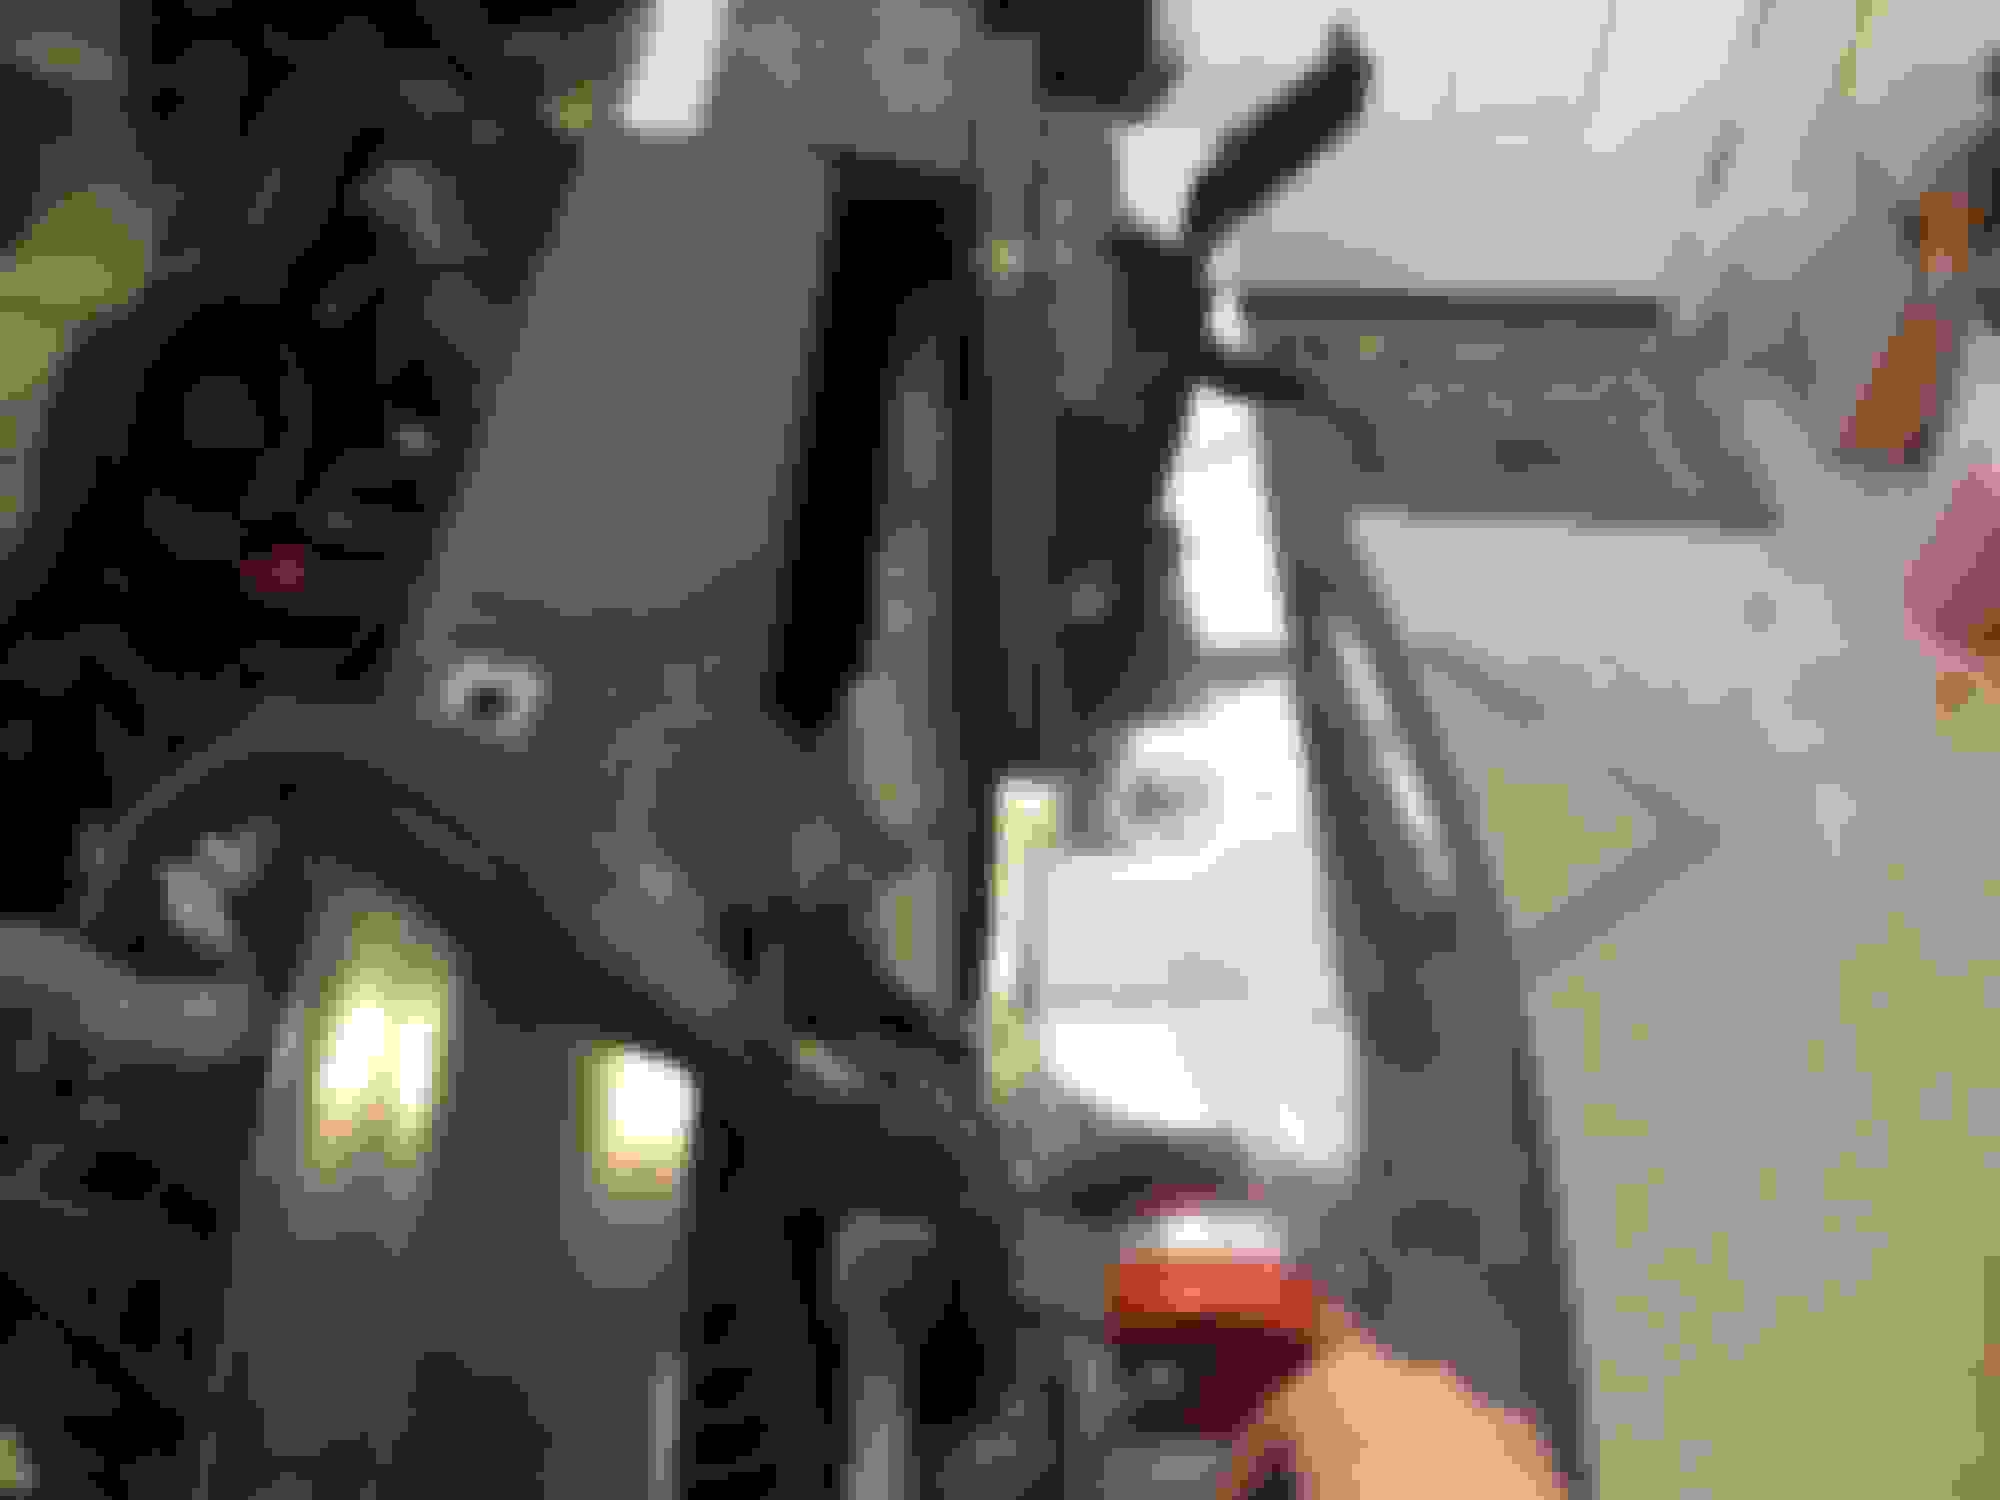
So since I had no room up front with the intercooler mounted I decided to lay the trans cooler horizontally underneath the intercooler. It has a fan on it but I was still worried it might not get the airflow it needed. My solution was to build a sort of "scoop" that was sealed to the cooler and was fed from the little openings in the bumper cap. So when it's all installed all the air that enters through those openings will be forced through the trans cooler. Great idea on paper, yet again only time will tell if it will work.
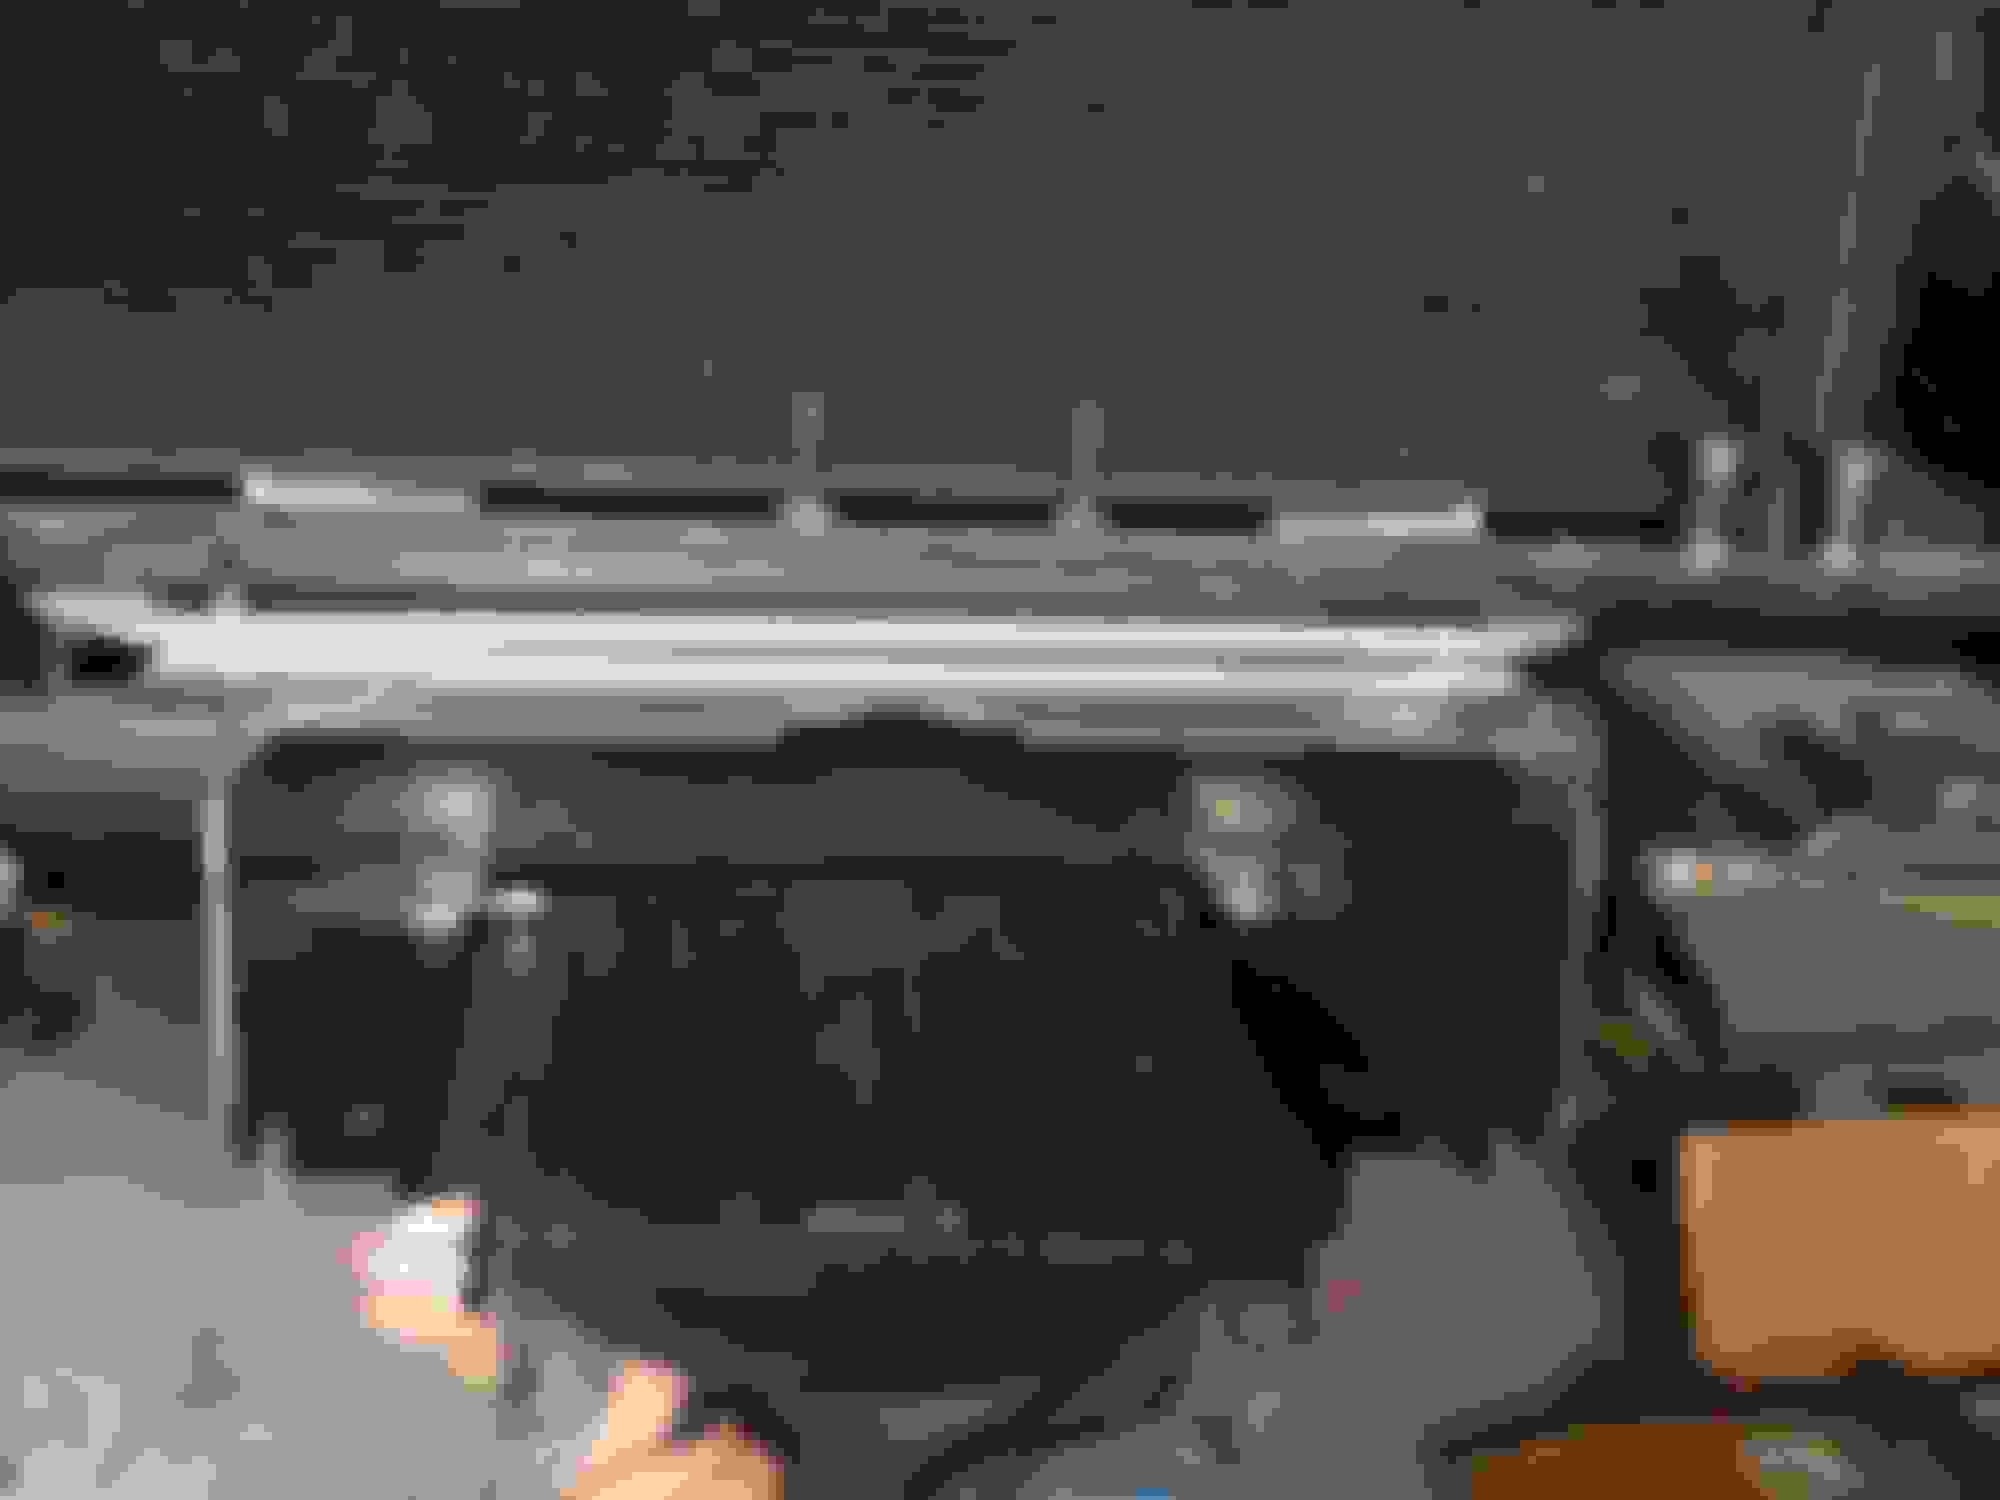
I also swapped to a set of LT1 fans that I got for cheap. Messing around with mounting them and I came up with this.
I didn't have access to a legit dimple die, I ended up using a lug stud off of a school bus and a piece of pipe. Turned out well for junk lol
I am super far behind on updates, so I will be making several posts in the next few days to try and get caught up to present day before I start my winter mods.
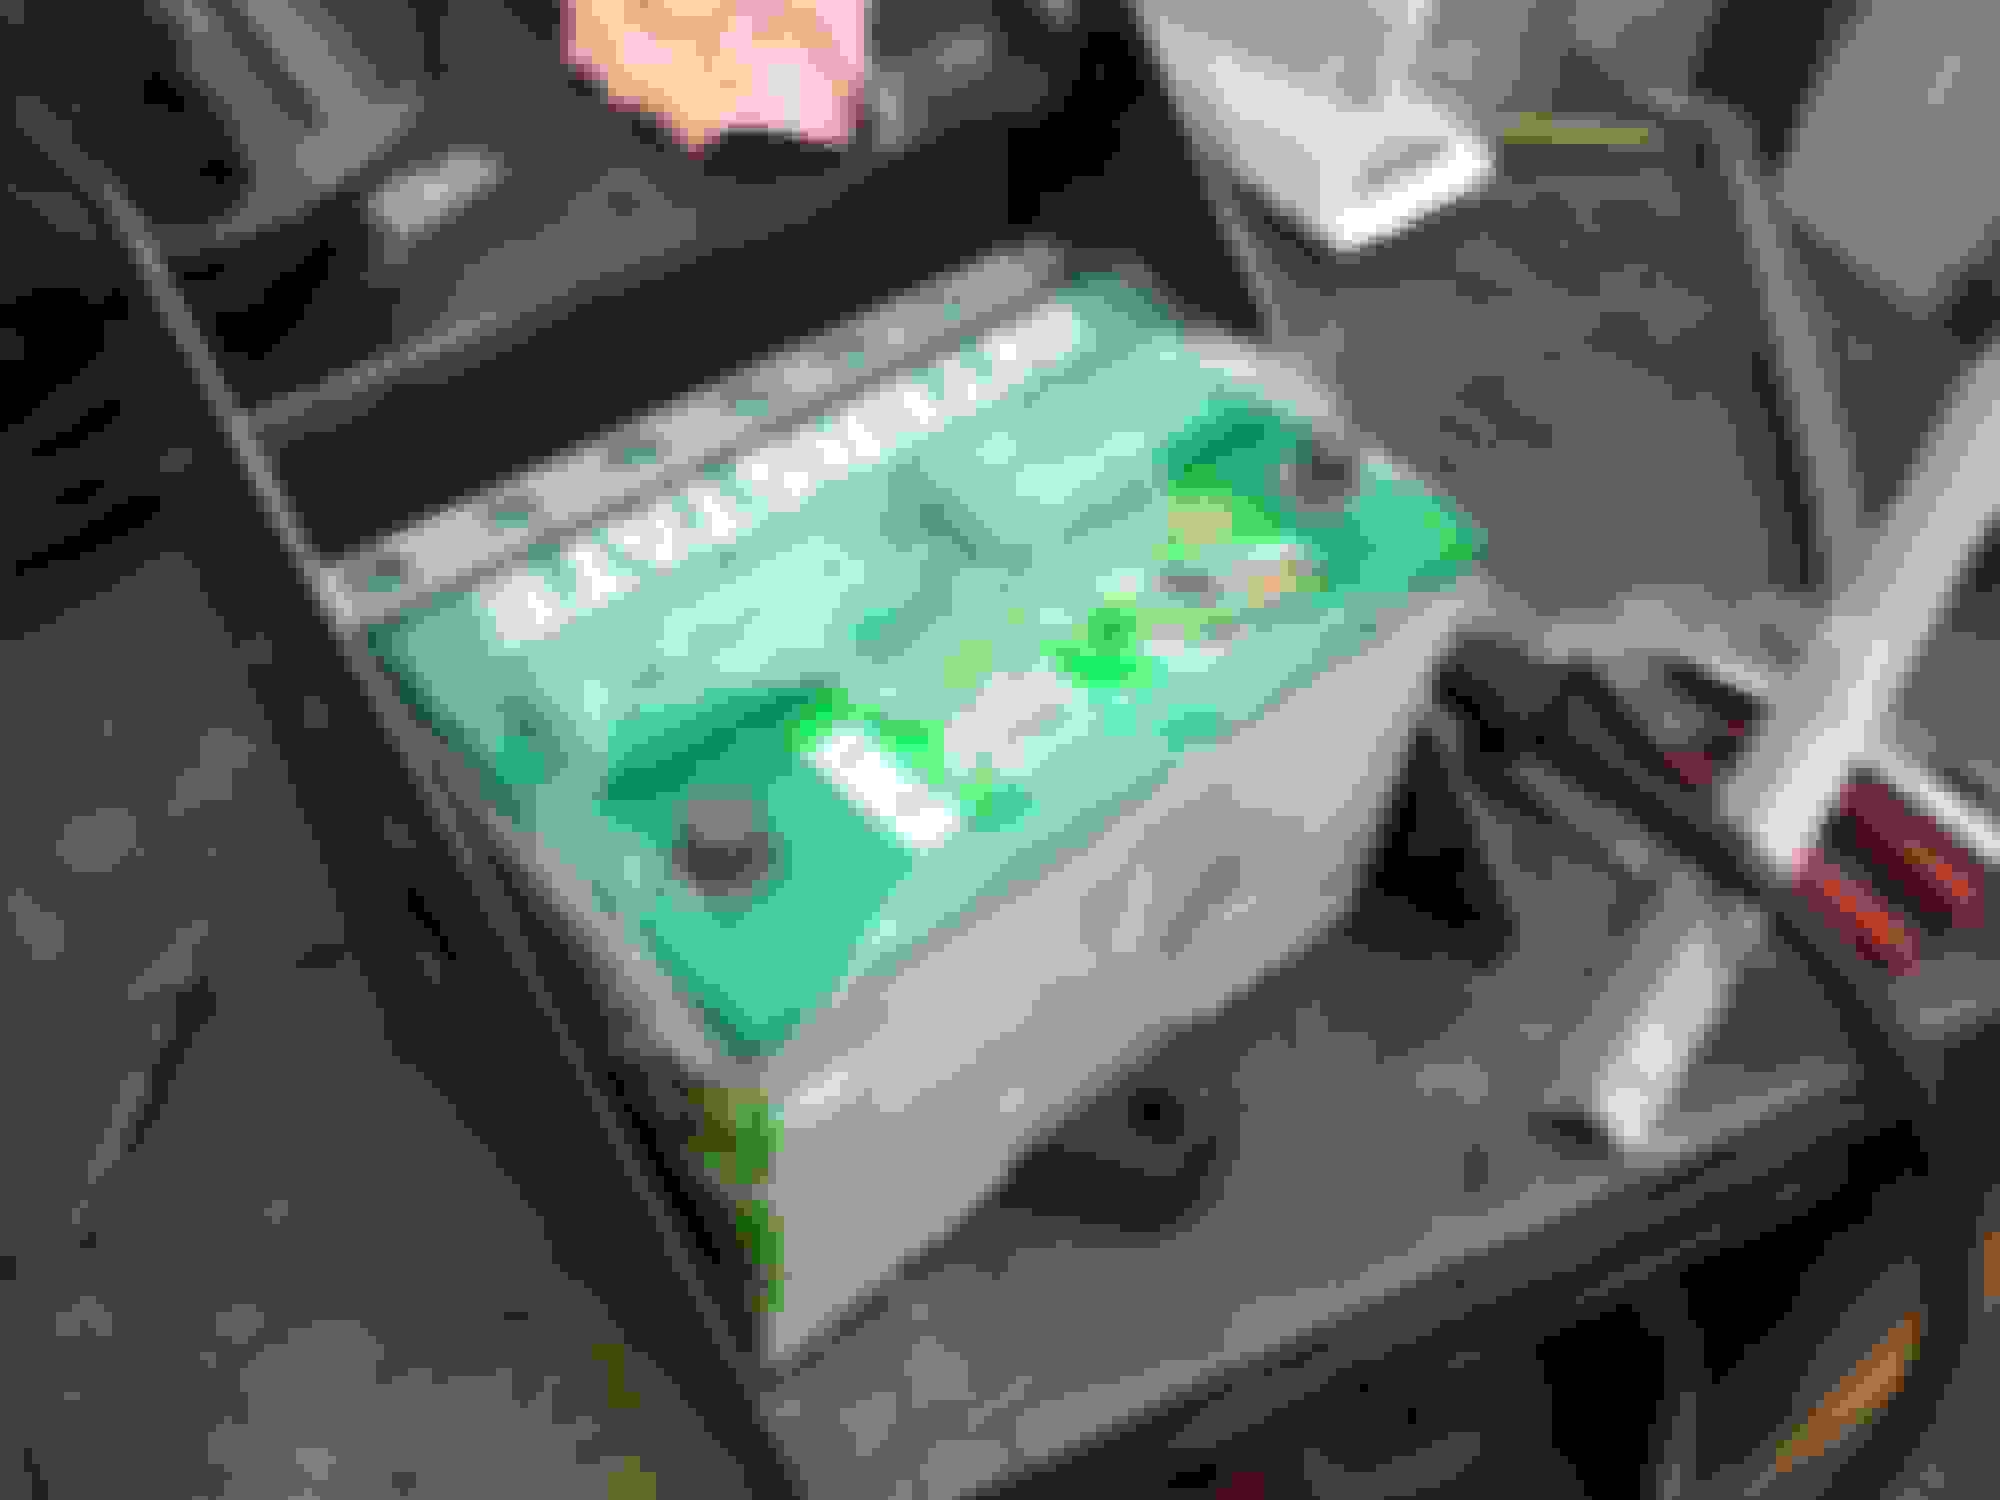
Anyway, after playing around with my water/meth tank I decided I would relocate the battery to make some room up front. I didn't want to put it in the bed and since I removed the spare and all the brackets I had a ton of room underneath.
Made a quick template and started cutting
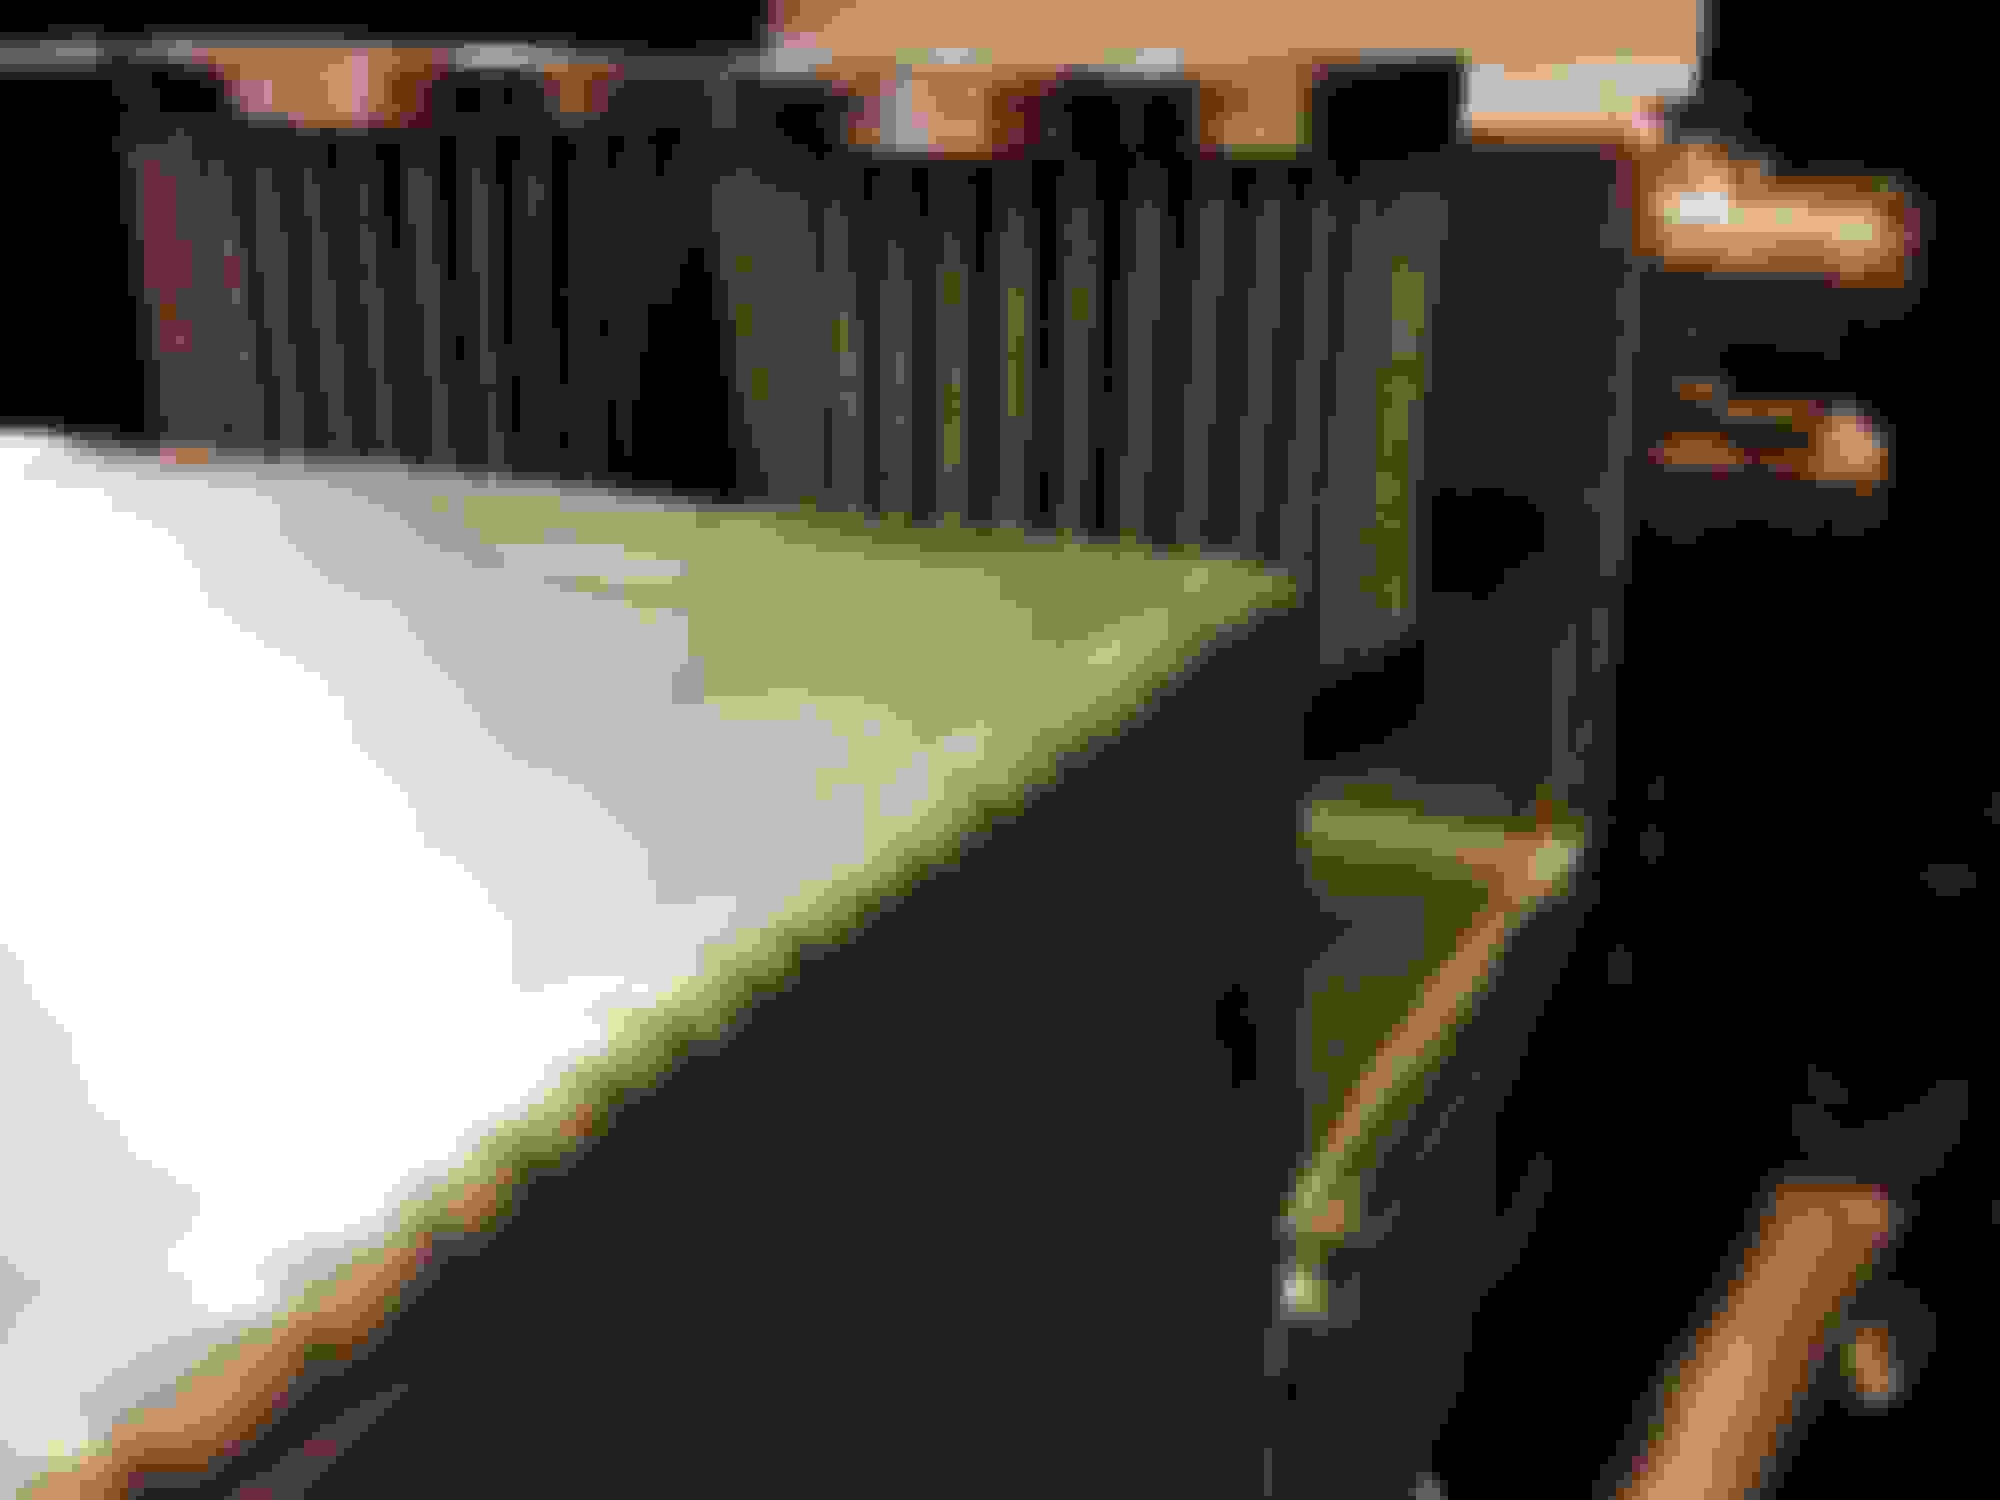
Bent up with some cute holes drilled.
Rear L channel added to hold top of battery
Battery in place
Welded up under the truck to the rear crossmember. Got it as high as I could and still be able to slide battery in and out.
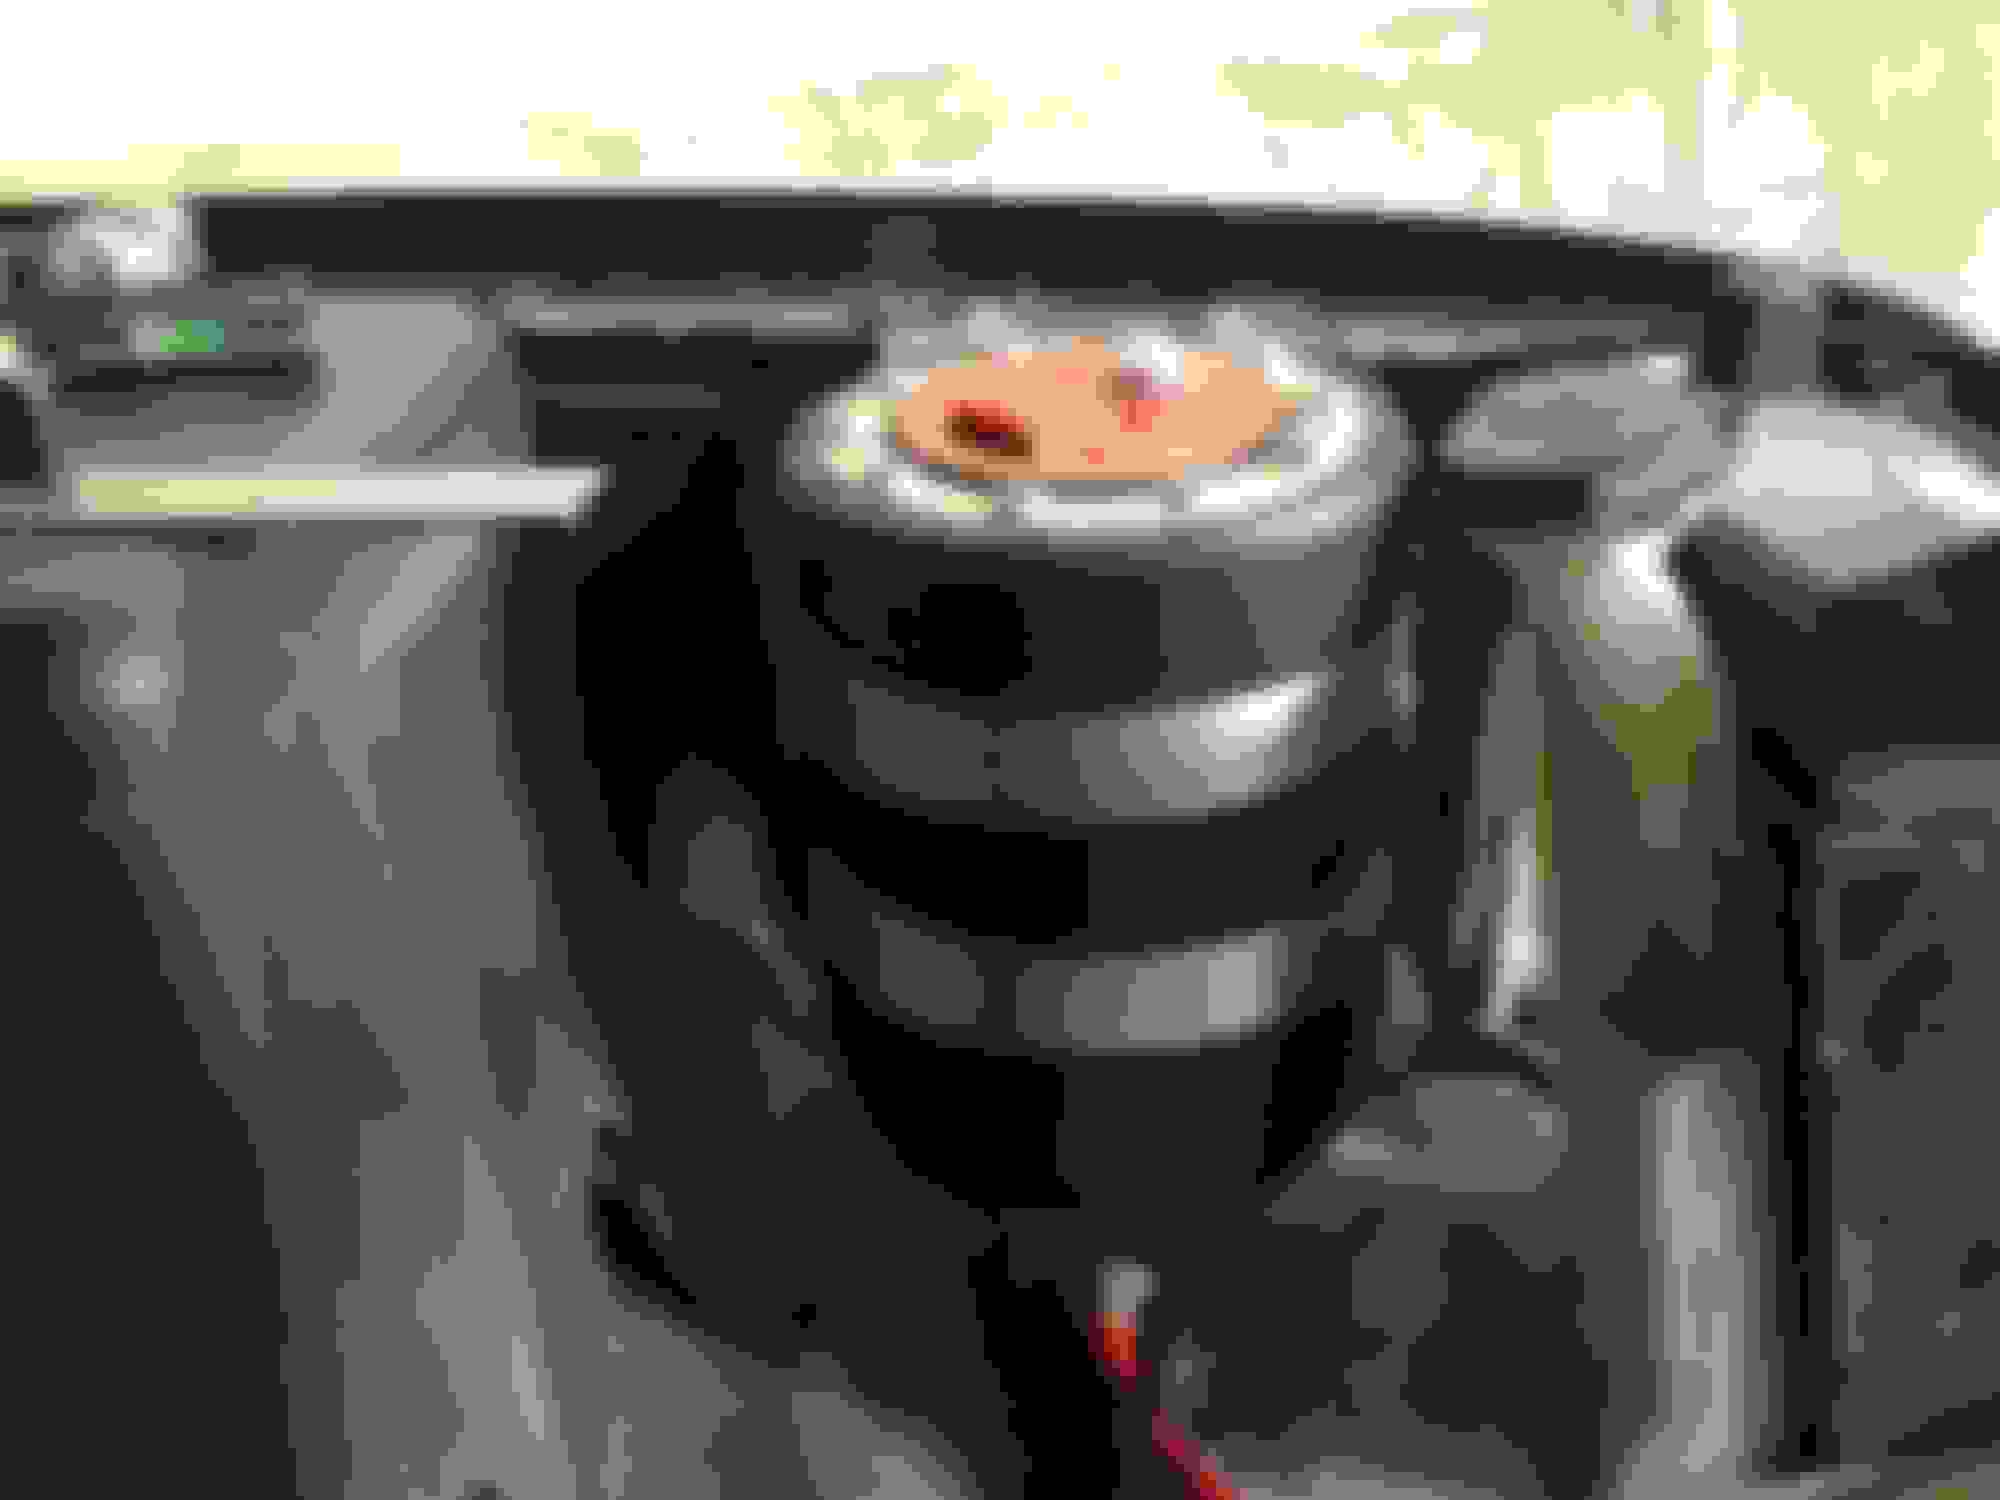
After that I made a quick little bracket and got my watermeth tank mounted
Decided I wanted to build a coolant tank/catch can that would fit back against the firewall on the passenger side. I like te looks of the Aldowelds tanks so I came up with something I thought he would build. For the catch tank I added 3 -10 fittings, I welded a -10 fitting to both covers and then copied something I saw done on Chapmans truck with a fitting welded in the valley cover as well.
Around this same time I ended up picking up a edelbrock proflo intake. I just hated how the truck intake looked and didn't wanna take the time to shave the spare one I had.
 11-28-2016, 07:11 PM