1932 Ford pro street....re-build


 04-02-2014, 08:12 PM
#132
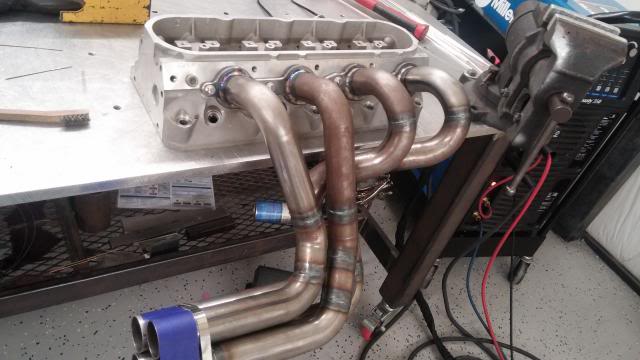
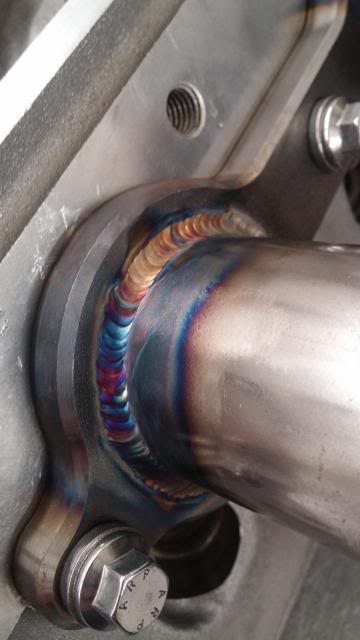
Passenger Header ready to be welded at the flange and collector. Starter fought me for space!

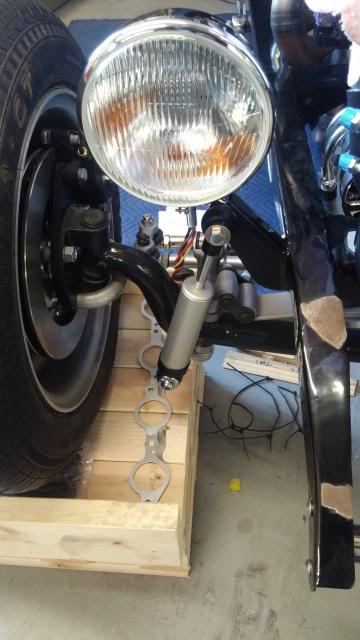
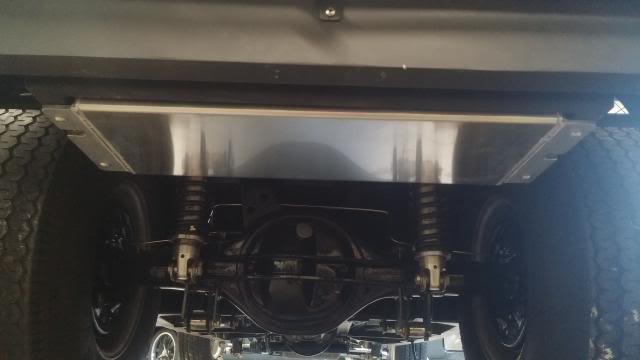
Called the guys at ridetech and they hooked me up with a custom built shock with the correct valving for the straight axle.
Got time to drill the holes for the Climate control bulkhead
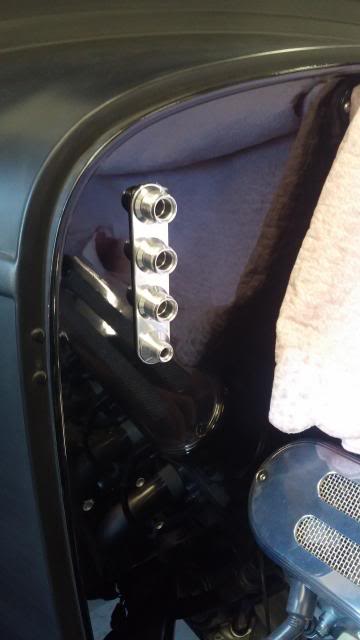
Started on A/C lines also... This is going to be interesting.


Called the guys at ridetech and they hooked me up with a custom built shock with the correct valving for the straight axle.

Got time to drill the holes for the Climate control bulkhead

Started on A/C lines also... This is going to be interesting.
 04-02-2014, 08:12 PM
#133
Some progress has finally been made. I hauled my Tig from home out to the shop so I could have a machine dedicated to my build to knock out the few things I needed to get done.
Exterior A/C SS hardlines and rubber are 100% complete. The SS Hardlines for the heater hoses are also complete.
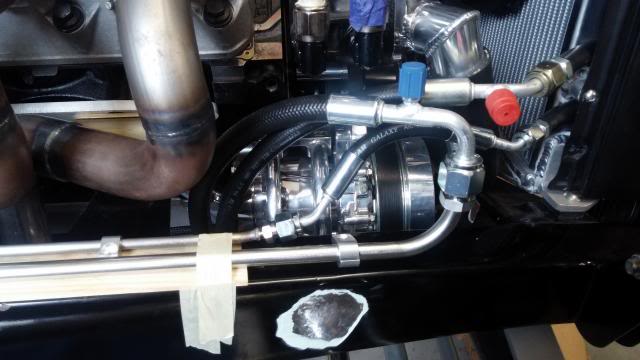
Gates Powergrip SB Clamps are awesome BTW

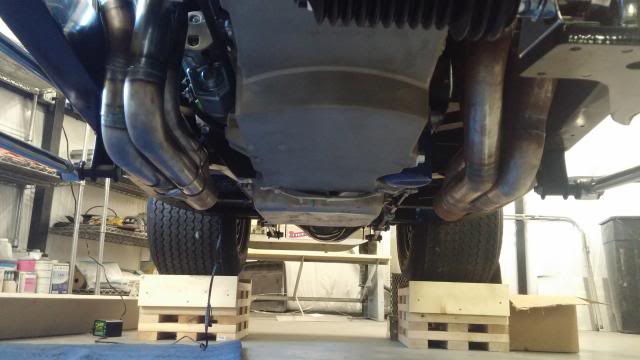
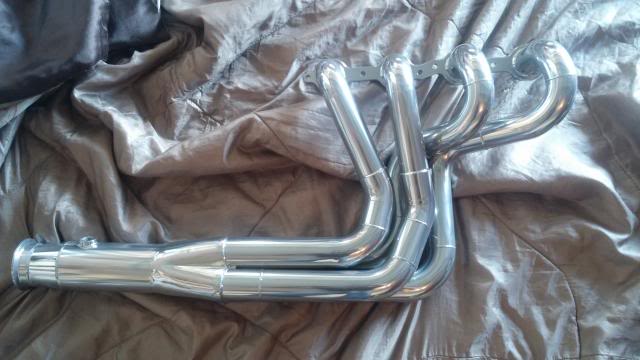
Headers are 100% done and will be dropped off for coating on Friday.
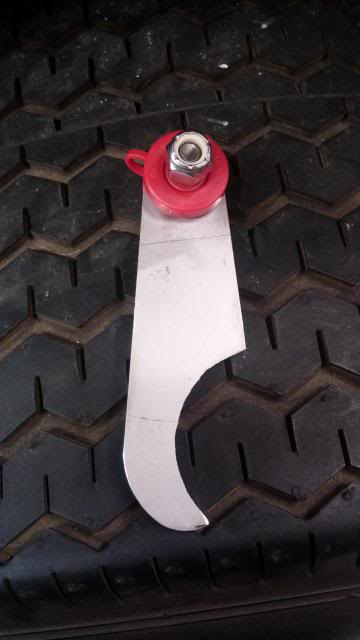
Exhaust is about 95% complete as of the end of today. I have to turn a spud on the lathe in the morning to recess weld into the frame so the hanger is bolted in with a single 3/8th bolt. FYI it does tuck up further than the pictures depict. I did not have the hangers set in the pictures.
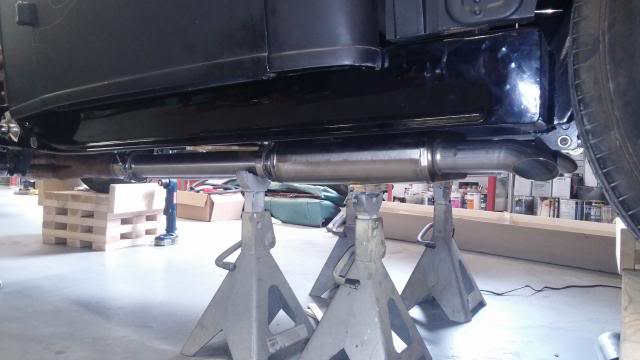
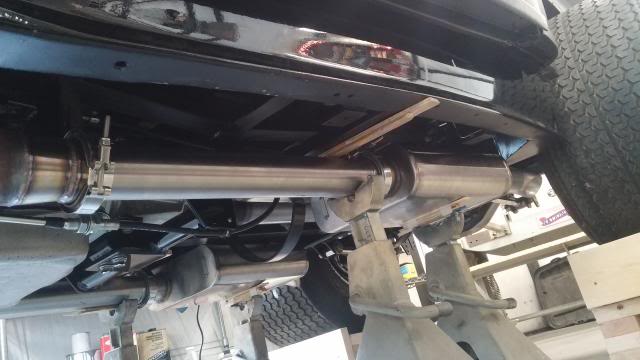
.125" Stainless sheet worked well for my hanger.

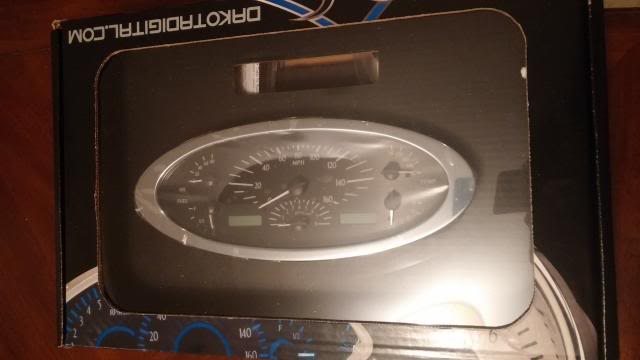
And the big brown truck dropped this off today.... VHX 32 Ford gauge kit!!!!
Exterior A/C SS hardlines and rubber are 100% complete. The SS Hardlines for the heater hoses are also complete.


Gates Powergrip SB Clamps are awesome BTW

Headers are 100% done and will be dropped off for coating on Friday.


Exhaust is about 95% complete as of the end of today. I have to turn a spud on the lathe in the morning to recess weld into the frame so the hanger is bolted in with a single 3/8th bolt. FYI it does tuck up further than the pictures depict. I did not have the hangers set in the pictures.


.125" Stainless sheet worked well for my hanger.


And the big brown truck dropped this off today.... VHX 32 Ford gauge kit!!!!


 04-11-2014, 12:17 AM
#137
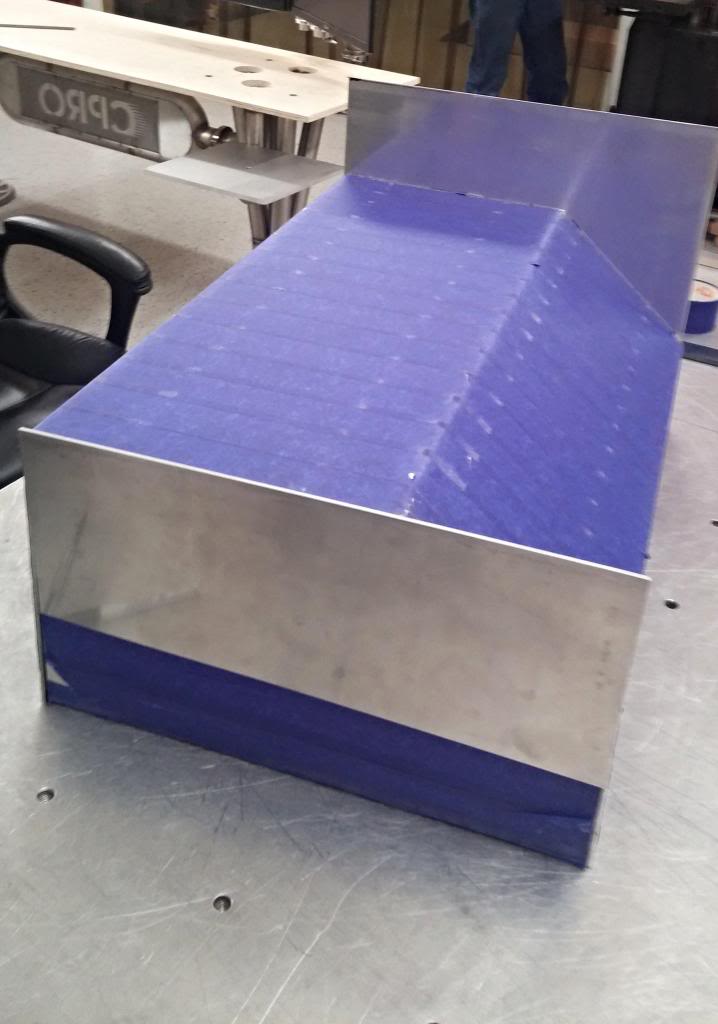
While waiting on the coaters I decided to tackle the fuel tank.
Started late Tuesday and finished this morning. I still have to weld in the filler and do you crafty work on the bed floor to tie it all together.
Roughing it in just using the brake and stomp sheer

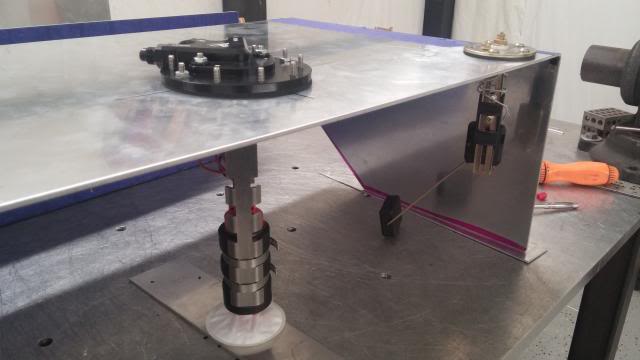
Setting the Aeromotive fuel pump assembly and the sending unit
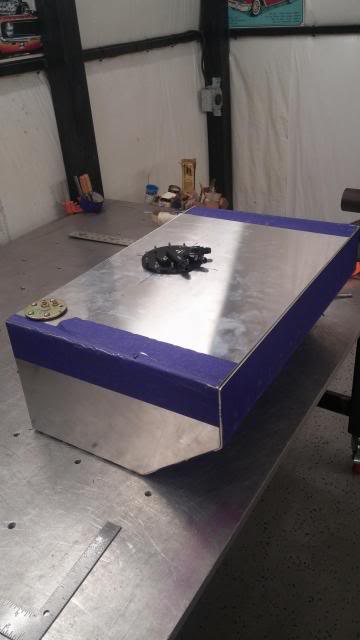
Final fit check
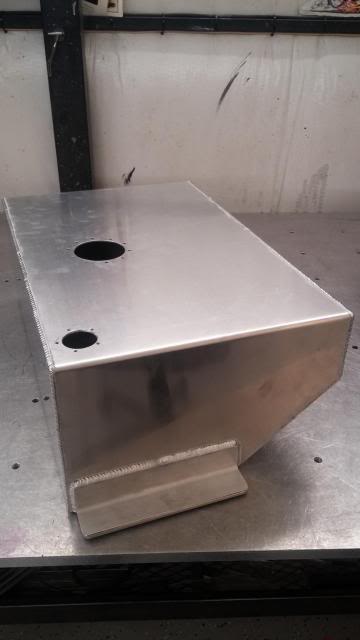
Welded it up
Bolted up!
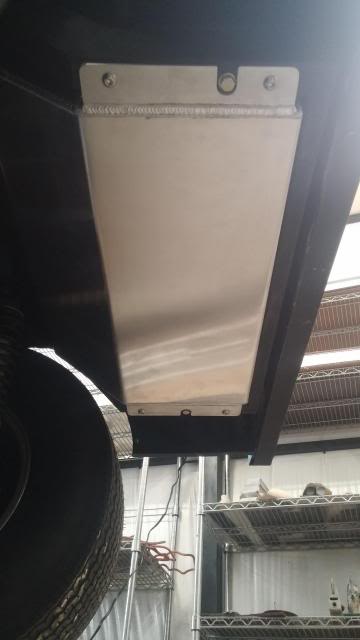
Fill cap sits about .100" below the floor
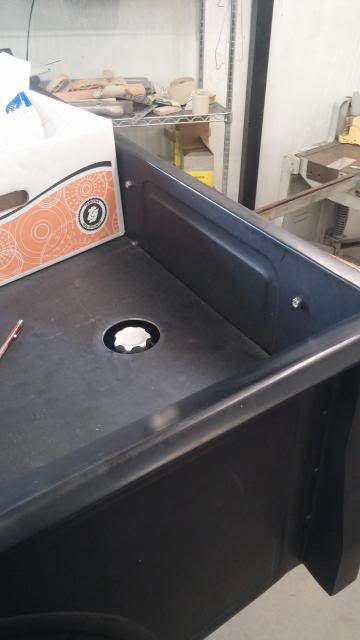
Started late Tuesday and finished this morning. I still have to weld in the filler and do you crafty work on the bed floor to tie it all together.
Roughing it in just using the brake and stomp sheer


Setting the Aeromotive fuel pump assembly and the sending unit

Final fit check

Welded it up

Bolted up!


Fill cap sits about .100" below the floor
 04-23-2014, 06:54 PM
#138
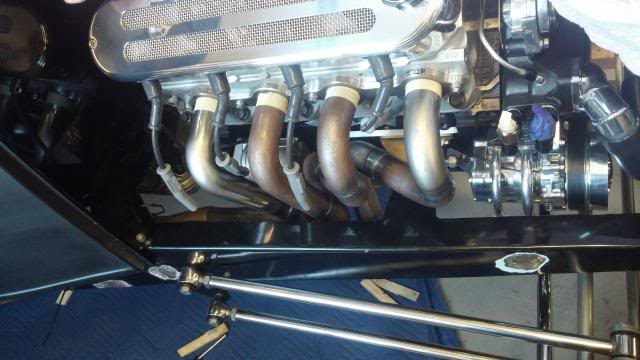
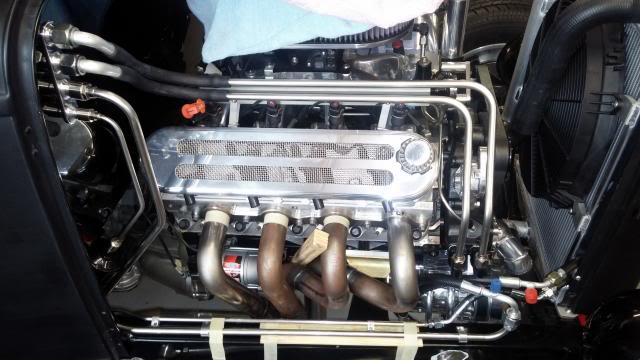
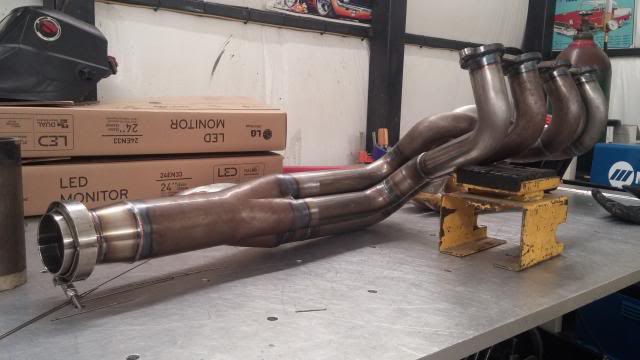
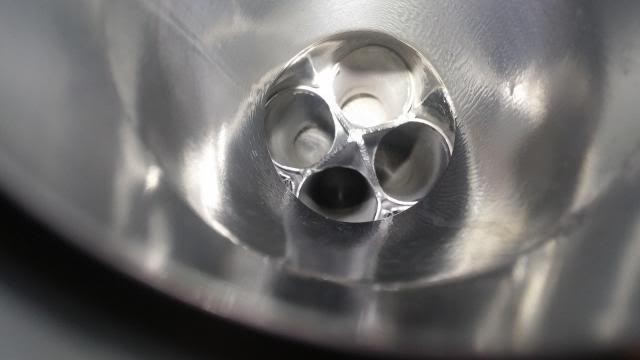
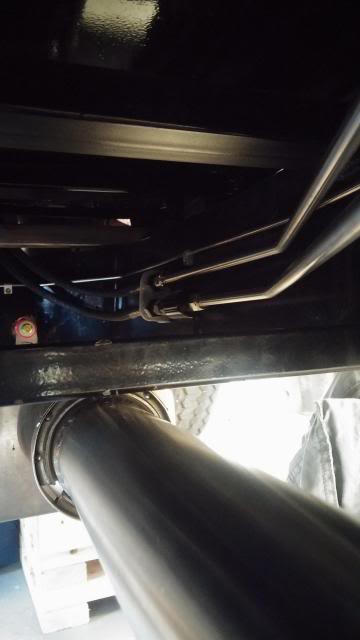
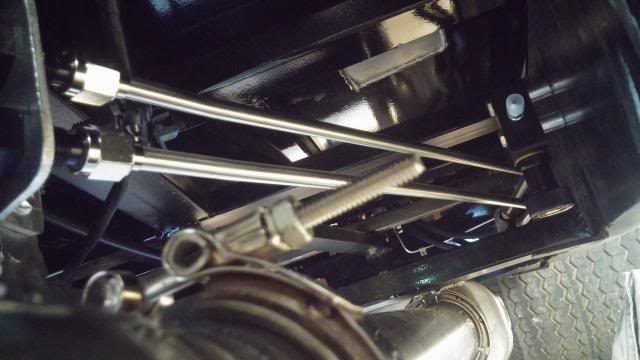
Headers are back from the coater.
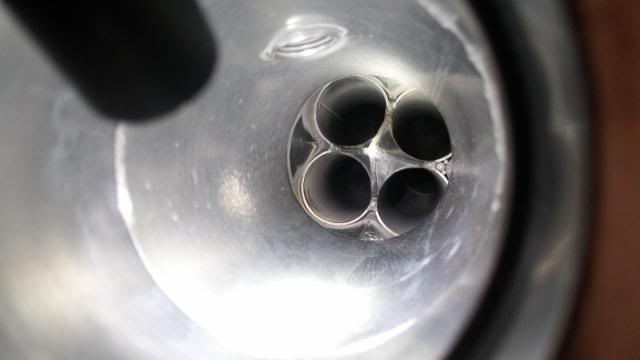
Thought I would also show the merge spikes. The polishing substrate has since been removed from the tubing joint.
Here are a few pictures of them on the truck and the master cylinder mounted.
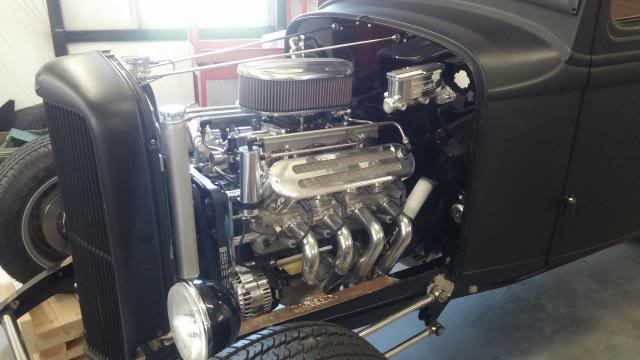
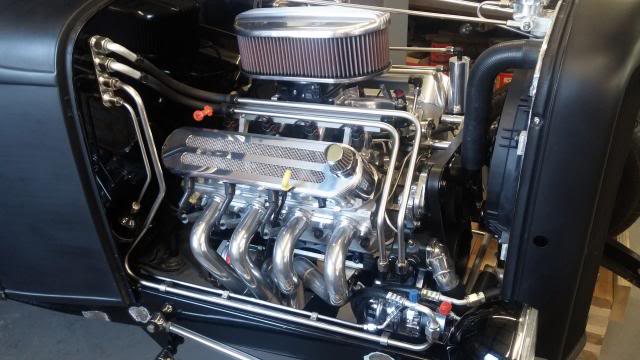
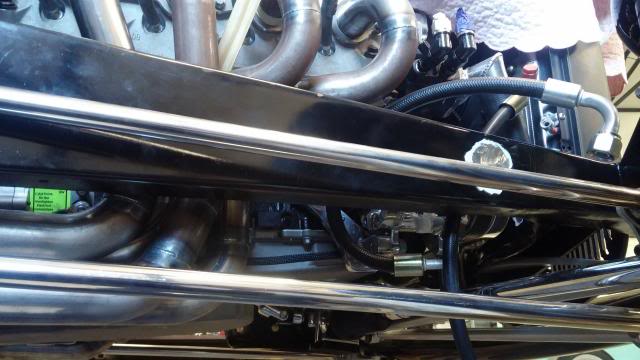
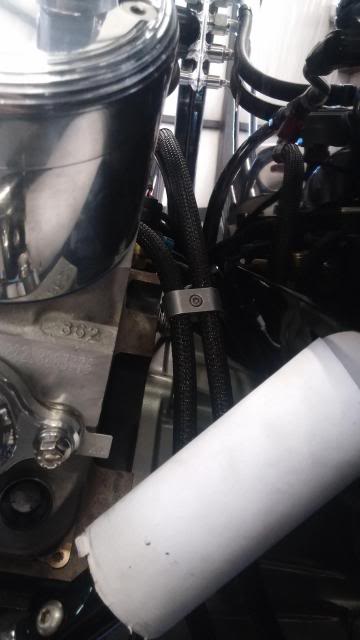
Next are few pictures of the finished fuel lines. The lines from the tank to the bulkheads and from the front bulkheads to the engine are 6 AN PTFE lined hoses made for me by Nitrous Outlet. The hardlines are stainless.
The list to get this thing ready to be torn apart for paint is shrinking fast.
I have to do the following before the tear down
1.Fabricate under dash brake pedal assembly
2.Mount front brake line bulkhead tabs
3.Make front brake lines
4.Finish inside A/C and Heater lines
5.Mount Throttle Pedal assembly and drill a hole in the firewall
6.Make throttle cable
7.Make evap unit drain line
8.Relocate power window and headlight switches
Doesn't look like much, but the brake pedal assembly is going to be a fight.

Thought I would also show the merge spikes. The polishing substrate has since been removed from the tubing joint.


Here are a few pictures of them on the truck and the master cylinder mounted.


Next are few pictures of the finished fuel lines. The lines from the tank to the bulkheads and from the front bulkheads to the engine are 6 AN PTFE lined hoses made for me by Nitrous Outlet. The hardlines are stainless.


The list to get this thing ready to be torn apart for paint is shrinking fast.
I have to do the following before the tear down
1.Fabricate under dash brake pedal assembly
2.Mount front brake line bulkhead tabs
3.Make front brake lines
4.Finish inside A/C and Heater lines
5.Mount Throttle Pedal assembly and drill a hole in the firewall
6.Make throttle cable
7.Make evap unit drain line
8.Relocate power window and headlight switches
Doesn't look like much, but the brake pedal assembly is going to be a fight.
04-24-2014, 09:43 PM
#140
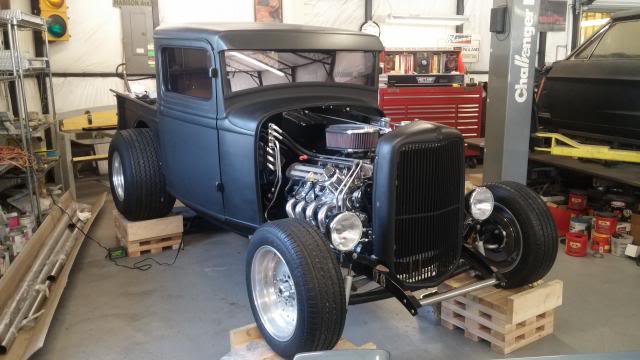
Ok guys looks like I'm going to stick with 15's. That being said. Which wheel do you prefer? Also be aware that the wheels pictured have a smooth lip. My wheels will have a step lip similar to what an American Racing TT II has.
Fronts will be 15x6 rear 15x12
Rear tires will be Hoosier Pro street 31/16.5-15
Fronts Yokohama AVID ENvigor 175/65-15
Foose four 42

US Mags Bonneville

US Mags Spade

Fronts will be 15x6 rear 15x12
Rear tires will be Hoosier Pro street 31/16.5-15
Fronts Yokohama AVID ENvigor 175/65-15
Foose four 42
US Mags Bonneville
US Mags Spade