The LSX S10
 01-03-2013, 12:52 AM
#21
On The Tree
Thread Starter

Join Date: Feb 2009
Location: Lexington, AL
Posts: 104
Likes: 0
Received 0 Likes
on
0 Posts
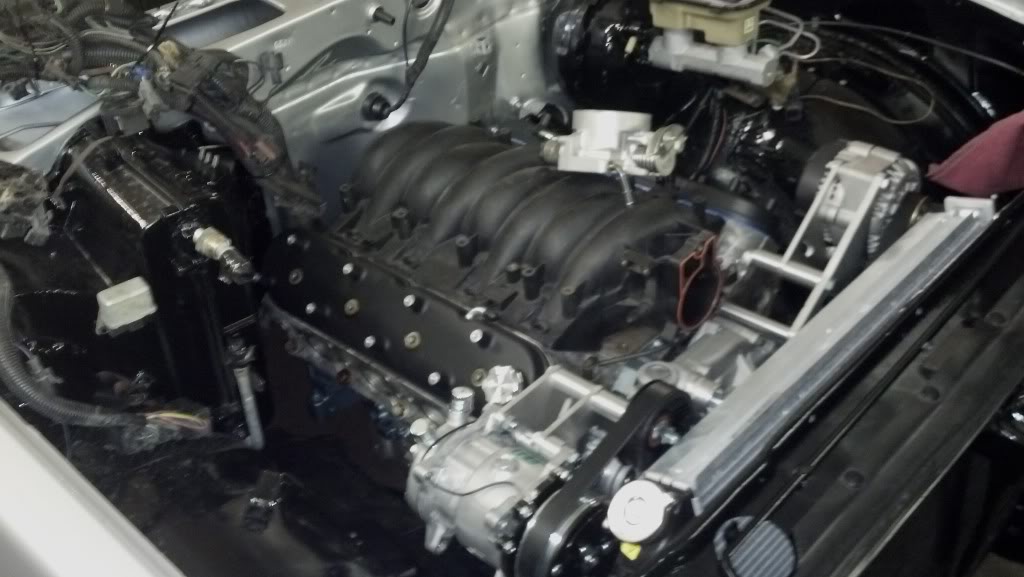
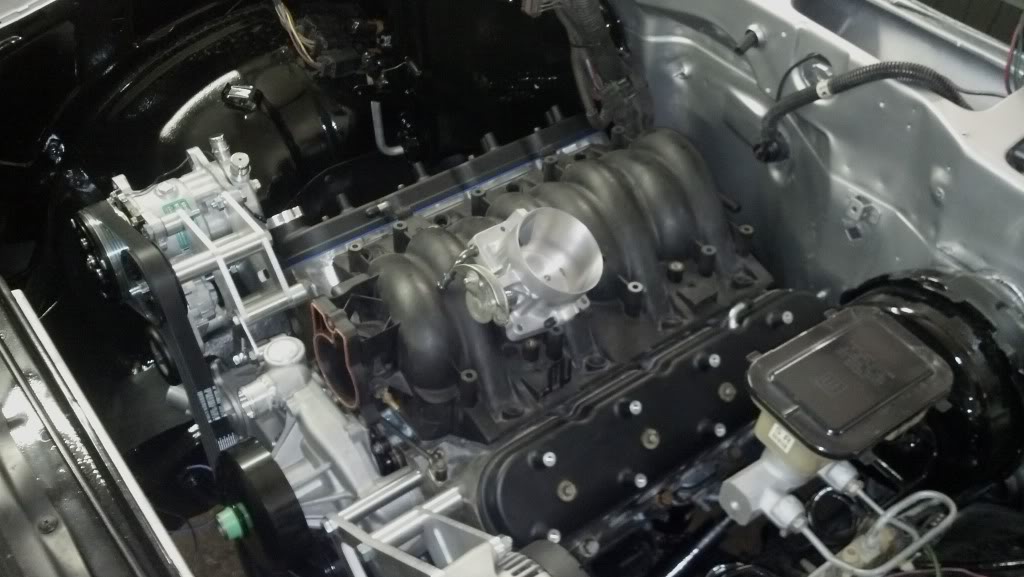
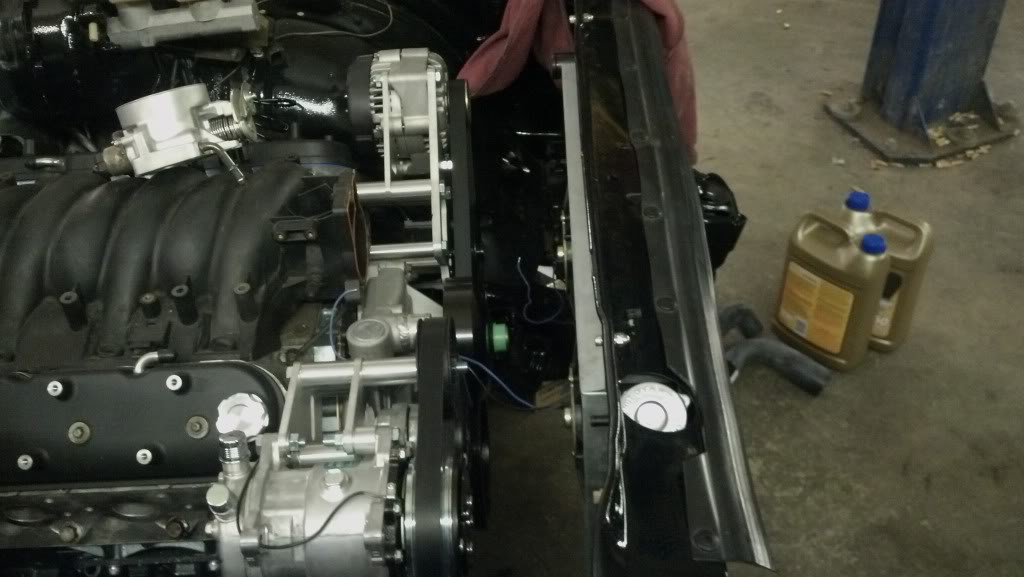
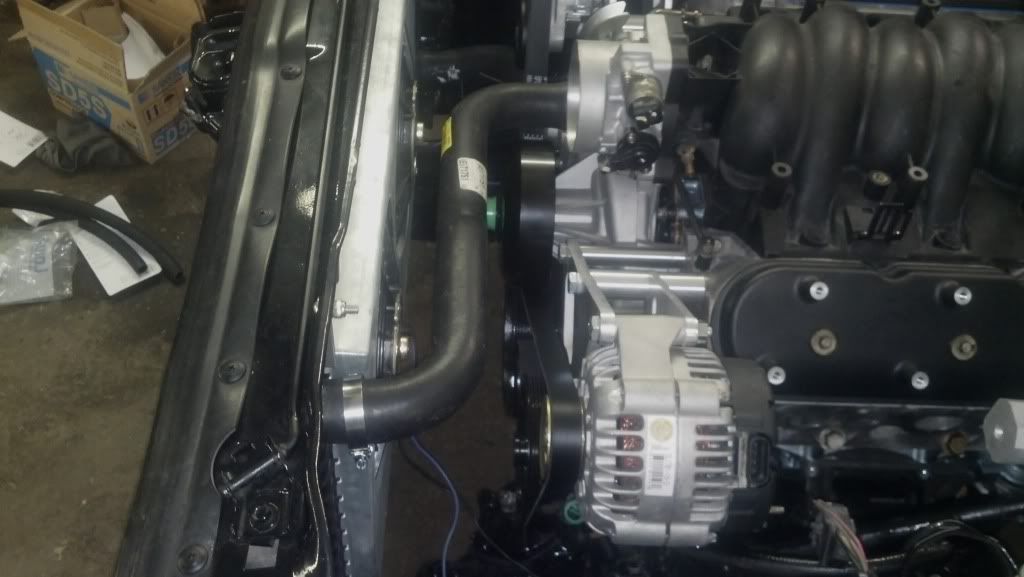
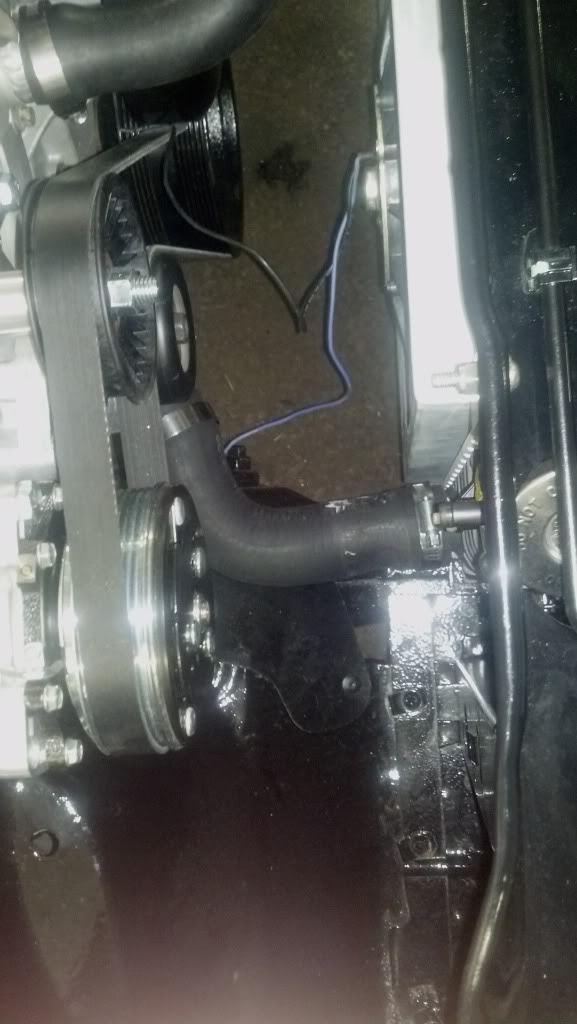
I apologize for not doing my research and being hard headed. I made a major mistake and Eatsgts pointed it out a long time ago when i was gathering parts from him at advance. I have a LS6 intake. I also bought truck accessories and truck relocation brackets. Never thought about it til i started bolting it together. Throttle body gets into the upper water neck coming out the pump.
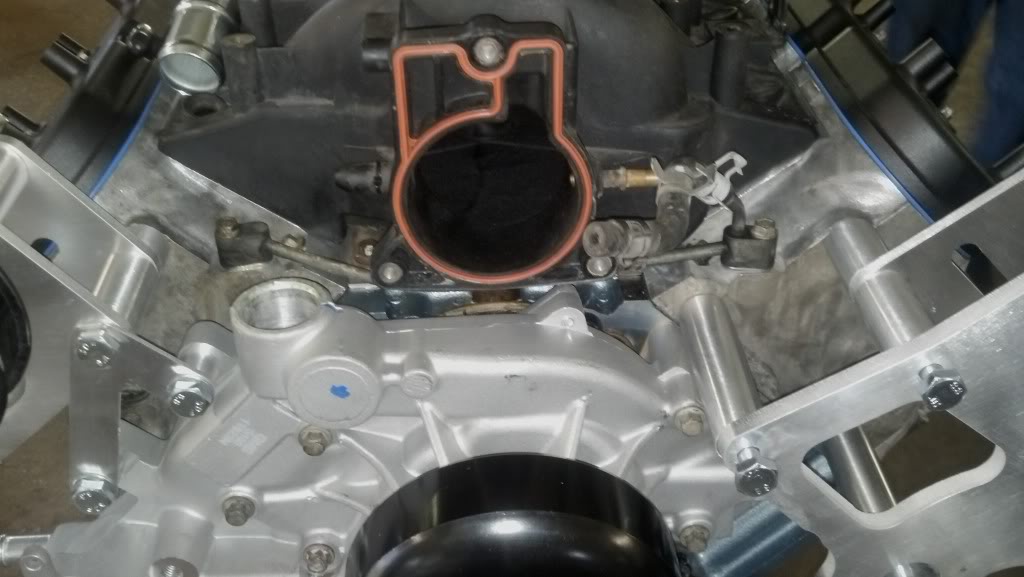
I cant afford the money or the time to save up for new accessories and brackets so i done some engineering
Call me crazy but i bought a universal water neck actually had 3/4 NPT end. I cut it off drilled a hole in my pump in the location of where a car water neck is and tig welded it in.
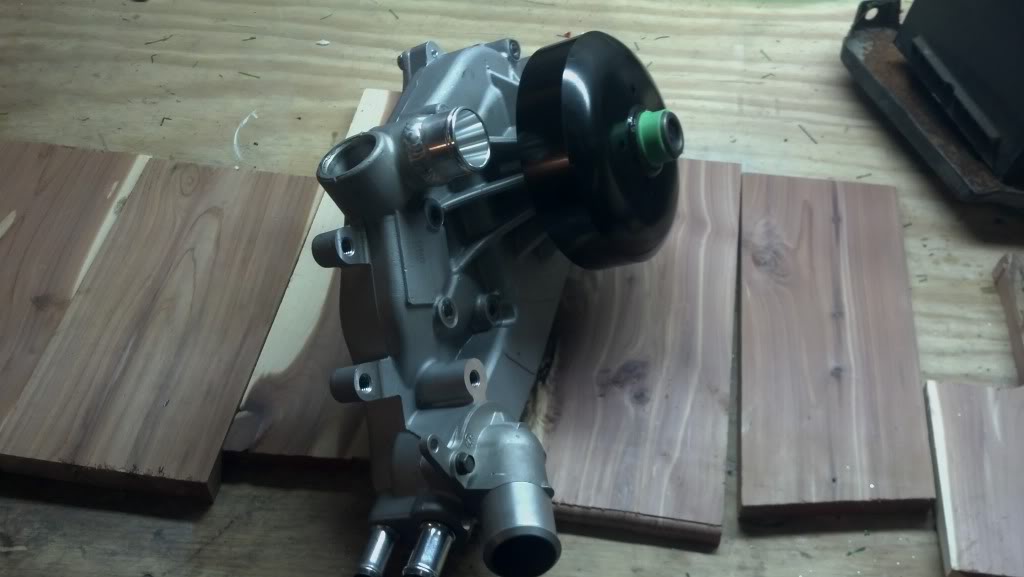
I found a 1 3/8" freeze plug that with a little finesse will fit my existing water neck hole
I cant afford the money or the time to save up for new accessories and brackets so i done some engineering
Call me crazy but i bought a universal water neck actually had 3/4 NPT end. I cut it off drilled a hole in my pump in the location of where a car water neck is and tig welded it in.
I found a 1 3/8" freeze plug that with a little finesse will fit my existing water neck hole
 01-03-2013, 01:06 AM
#22
On The Tree
Thread Starter
Join Date: Feb 2009
Location: Lexington, AL
Posts: 104
Likes: 0
Received 0 Likes
on
0 Posts
On my way to a buddys shop. He has a lift which i will gladly use!
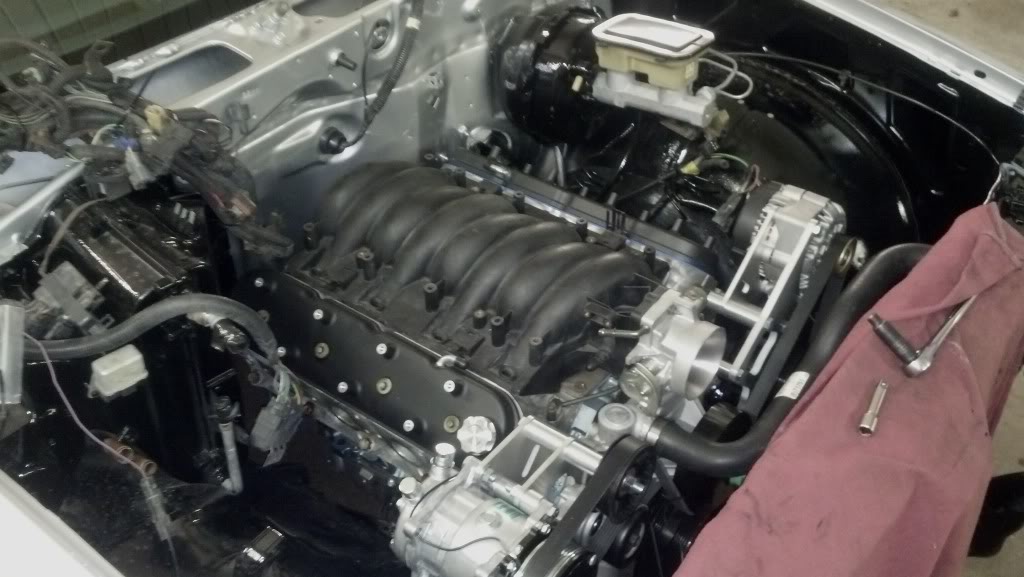
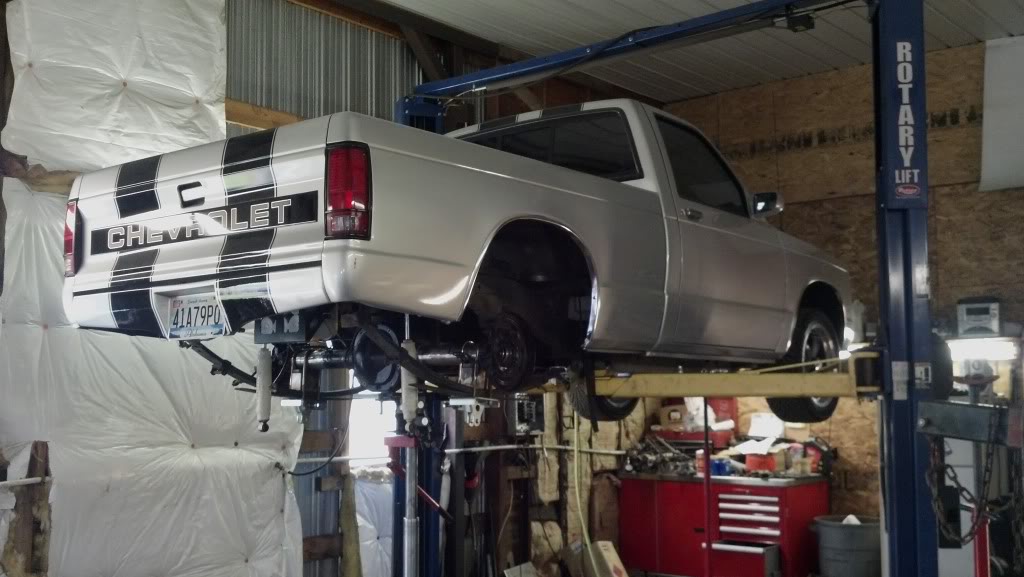
There it is last time that engine bay will be lonely haha
Tonight i feel i accomplished something finally after gathering parts for over a year and been slowly working since February.
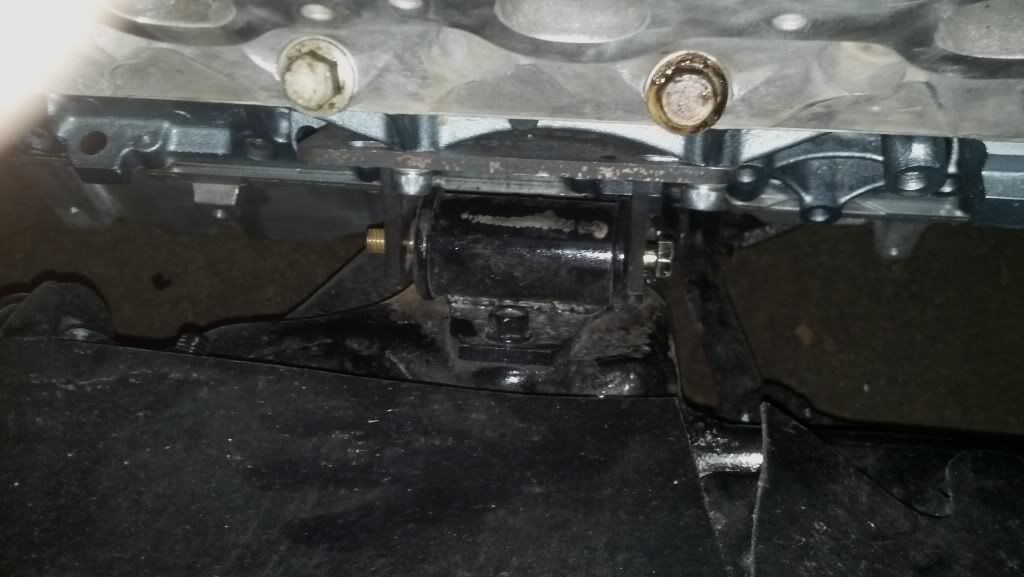
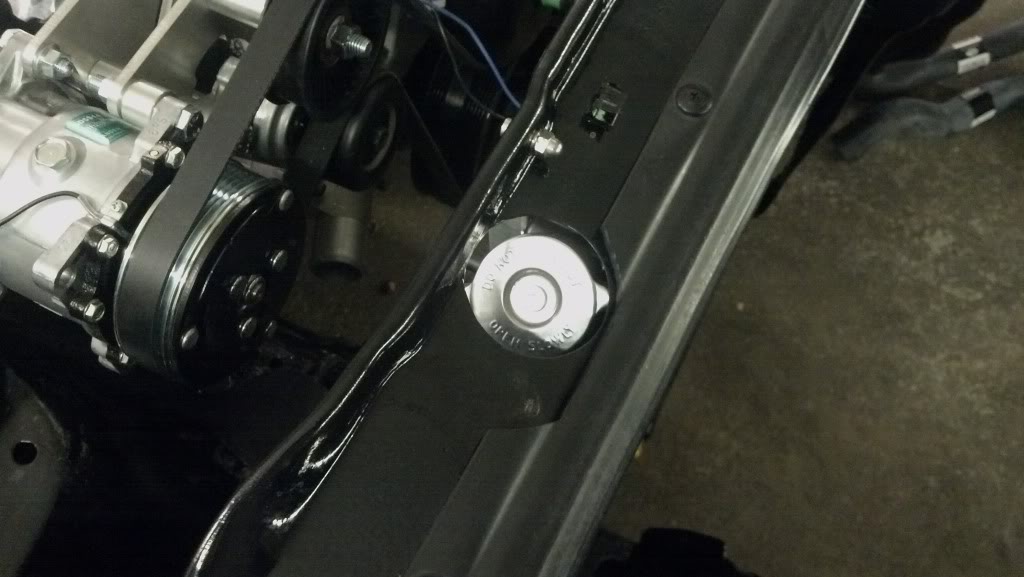
When test fitting several months ago the passenger side of the motor was higher for some reason. I slotted the holes in my mounts hoping to drop that side down but i found the problem. The motor mount practically swallows the frame mount. The motor mount touches the frame and was keeping the motor from setting down where it needed to be. Solved that problem by taking an inch off the mount. Now to do some touch up paint work. Not too bad for a beginner. Only put a couple scratches in the engine bay. Lol
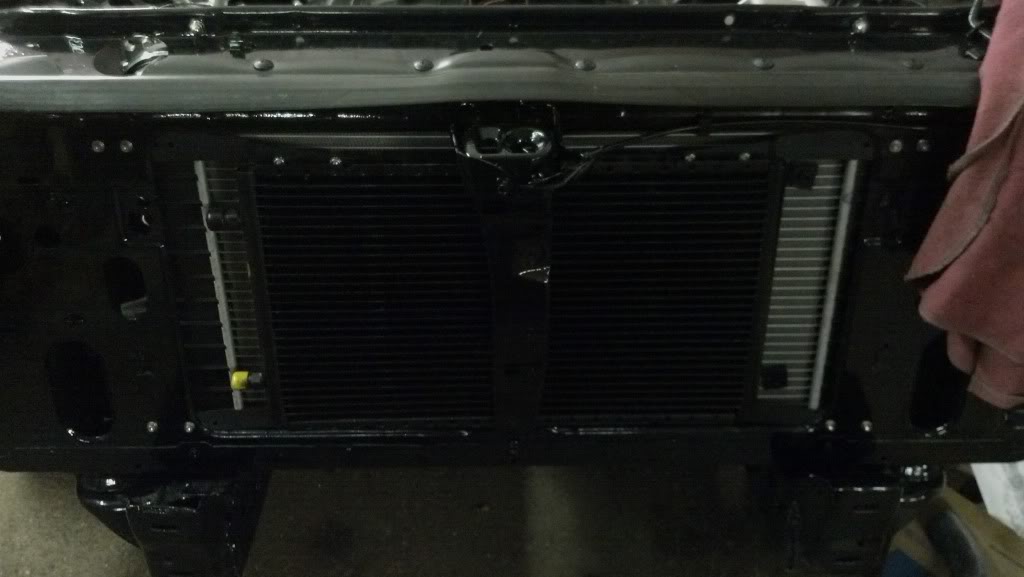
Went ahead set the radiator and condenser in
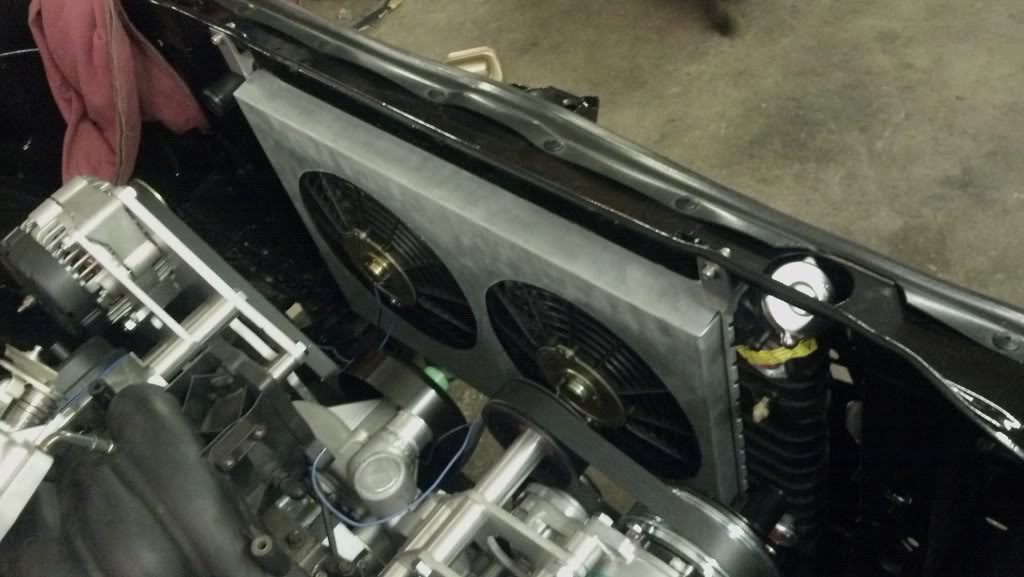
There it is last time that engine bay will be lonely haha
Tonight i feel i accomplished something finally after gathering parts for over a year and been slowly working since February.
When test fitting several months ago the passenger side of the motor was higher for some reason. I slotted the holes in my mounts hoping to drop that side down but i found the problem. The motor mount practically swallows the frame mount. The motor mount touches the frame and was keeping the motor from setting down where it needed to be. Solved that problem by taking an inch off the mount. Now to do some touch up paint work. Not too bad for a beginner. Only put a couple scratches in the engine bay. Lol
Went ahead set the radiator and condenser in
Last edited by superchevyguy07; 01-03-2013 at 01:13 AM. Reason: left out pic

 01-15-2013, 05:16 PM
#28
On The Tree
Thread Starter
Join Date: Feb 2009
Location: Lexington, AL
Posts: 104
Likes: 0
Received 0 Likes
on
0 Posts
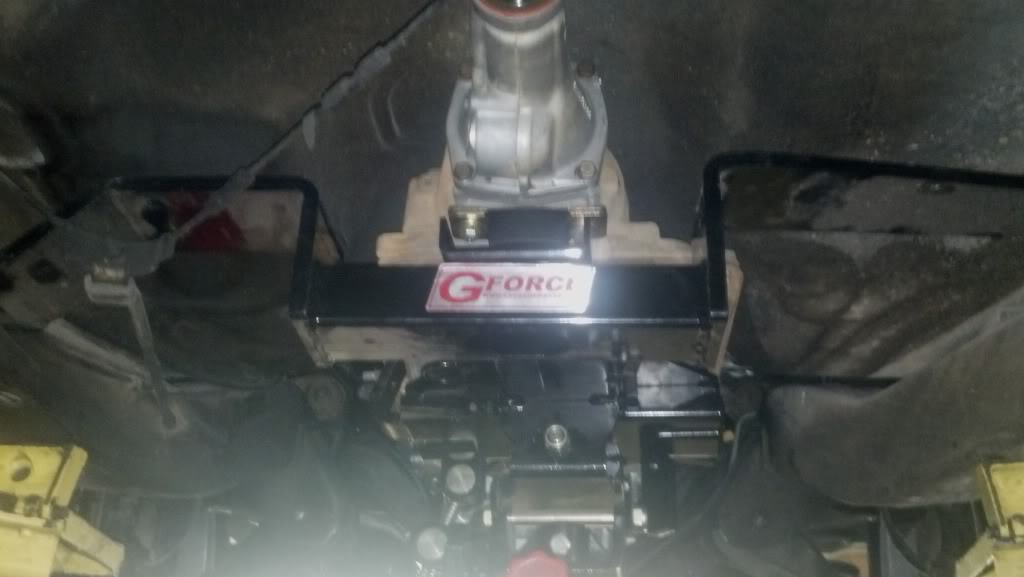
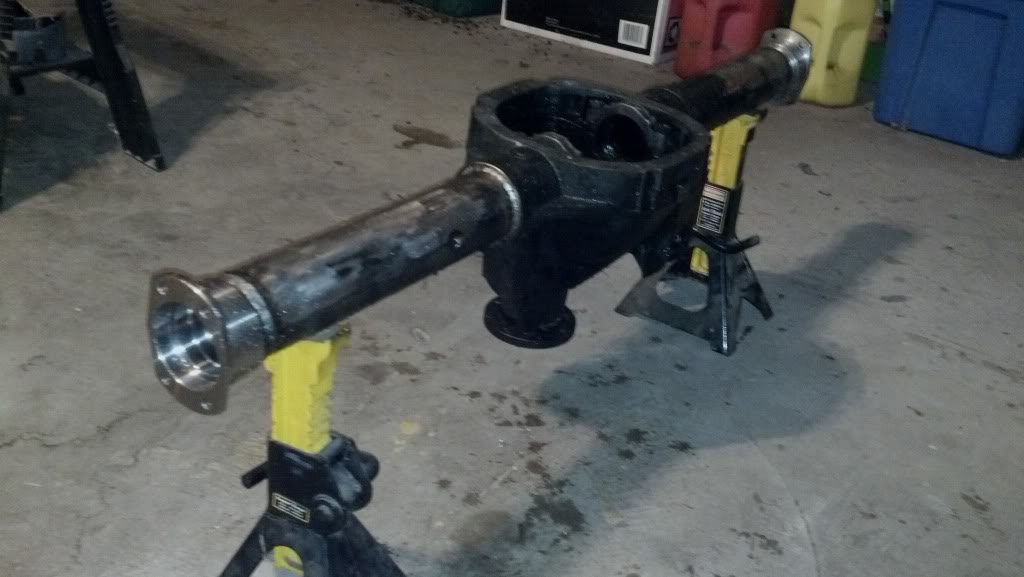
Been slowing down here lately but got my rearend back had it narrowed 5 1/2" to be pretty close to my stock 7.5 width. The pinion is nice and square right in the middle where it should be. Also notice i went with 9" ends just in case i see some racing in future.
01-20-2013, 02:03 PM
#29
On The Tree
Thread Starter
Join Date: Feb 2009
Location: Lexington, AL
Posts: 104
Likes: 0
Received 0 Likes
on
0 Posts
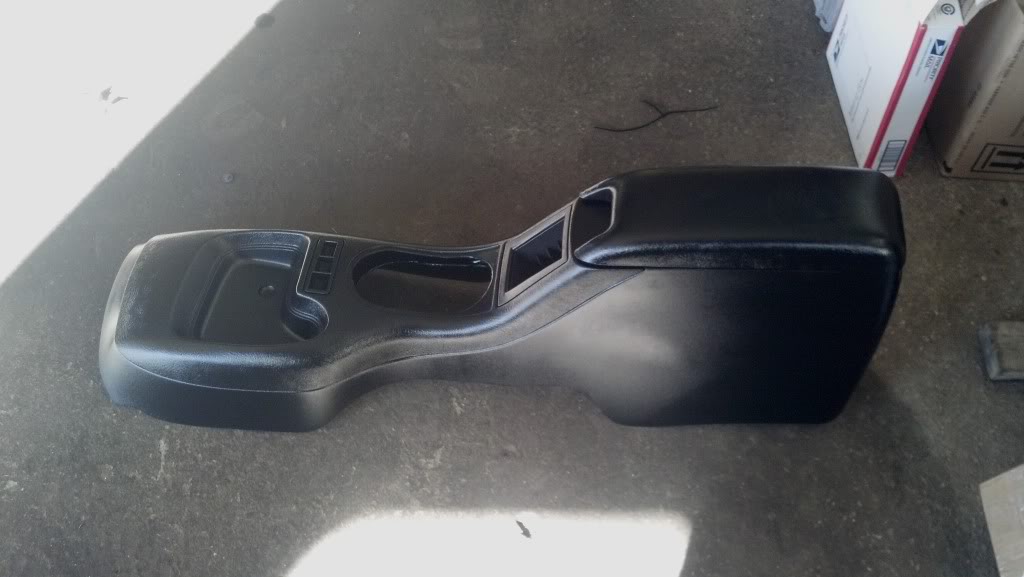
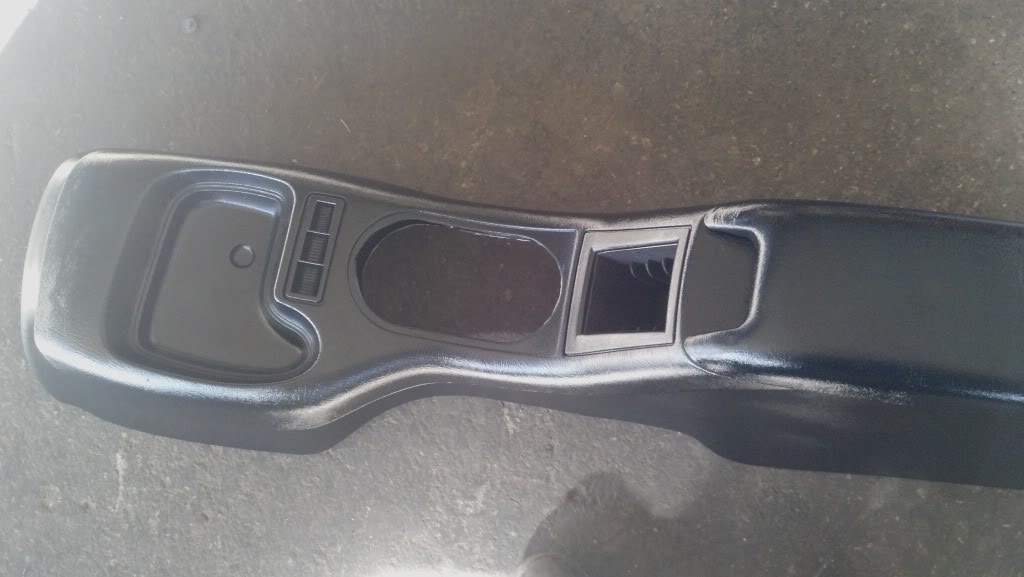
Been working with the harness and running vacuum lines the last couple days. Run into a problem with my shifter, I intended on keeping the column shift and should have looked into it a lot more early on. So I'll be moving it to the floor and hacking up a blazer console to support it. Going with a lokar 6" floor mount for 4l60s. Cut the cup holders out then will be bringing the shifter up through there with a custom boot.
Engine harness still in progress.....
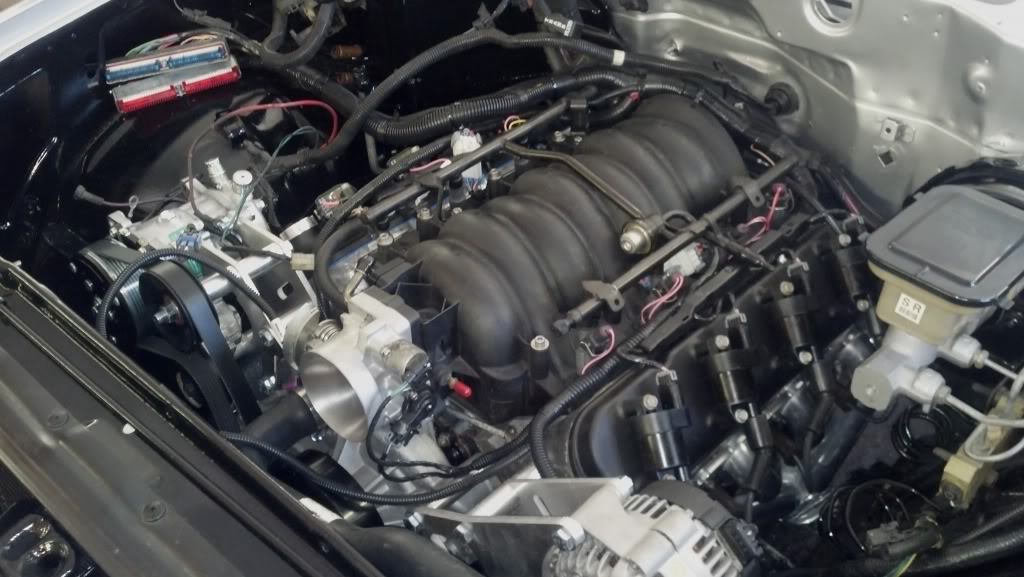
Engine harness still in progress.....
04-14-2013, 12:04 PM
#30
On The Tree
Thread Starter
Join Date: Feb 2009
Location: Lexington, AL
Posts: 104
Likes: 0
Received 0 Likes
on
0 Posts
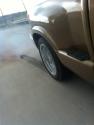
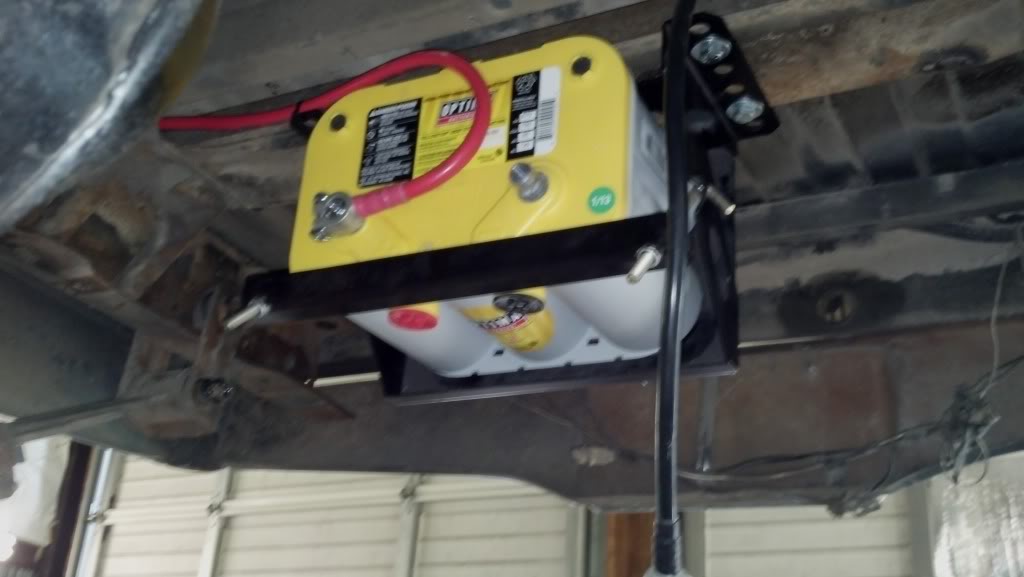
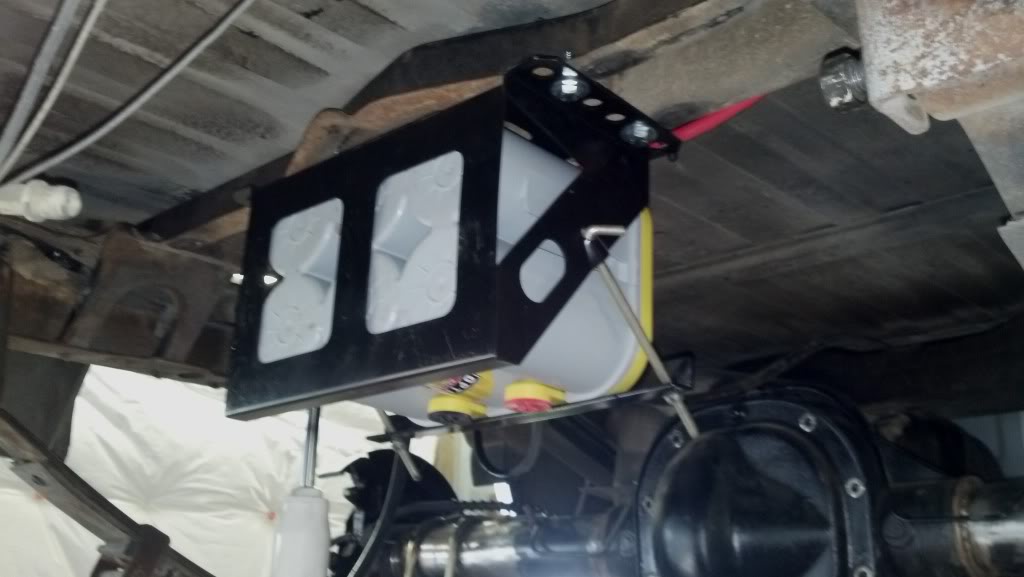
Haven't worked on it much lately been working lot of OT but I've going steady all morning making progress. Hoping to get it to muffler shop by late this week.
Rearend end is in place just need to get it on the ground set the pinion angle. Battery is relocated and cables ran starter is on. While I'm this far in I'll replace leaf spring bushings and then to mount the slide a links.
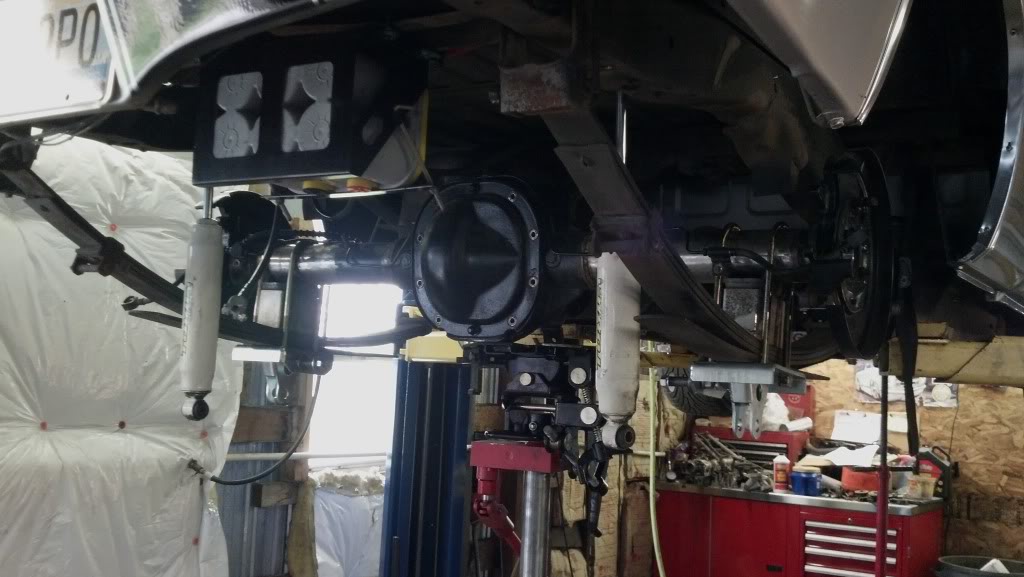
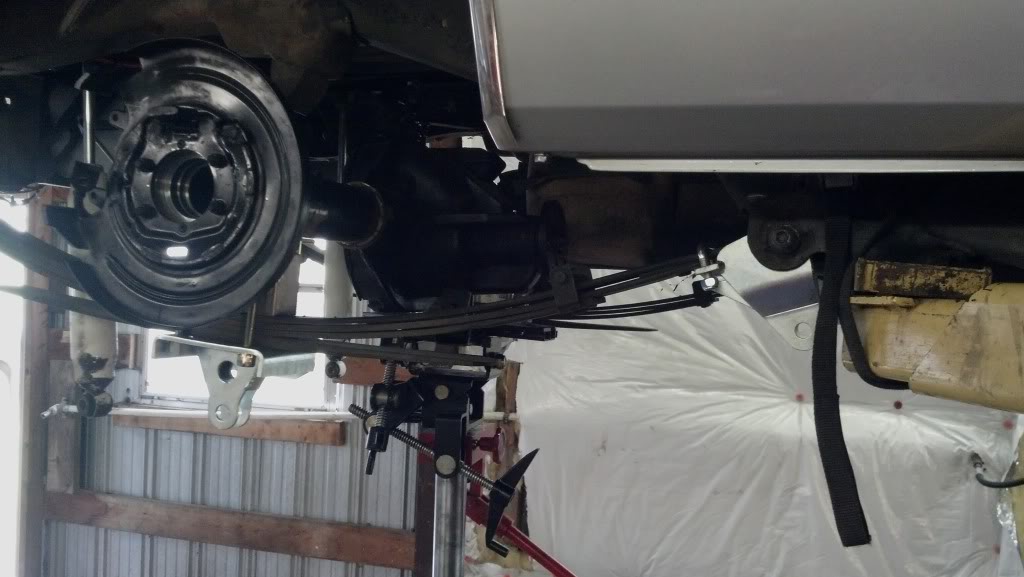
Rearend end is in place just need to get it on the ground set the pinion angle. Battery is relocated and cables ran starter is on. While I'm this far in I'll replace leaf spring bushings and then to mount the slide a links.

