MoriMoto Sierra Spec HID Install with pics
 01-29-2015, 07:17 AM
#1
Well If you have the stock projectors I don't even have to tell you how bad they suck. There are a few write ups on doing a complete retro fit and HID install.
I kept it simple and just did the 35watt 5000k HID Kit. With These Trucks you need the Relays and capacitor or they will flicker and give you a Error message. Gone are the days of cheap Chinese HIDs getting you by.
Im picky about wiring and I wanted it to look OEM for the most part
You can install these without removing the lights but i wanted to hide the Relays ballast and ignitors.
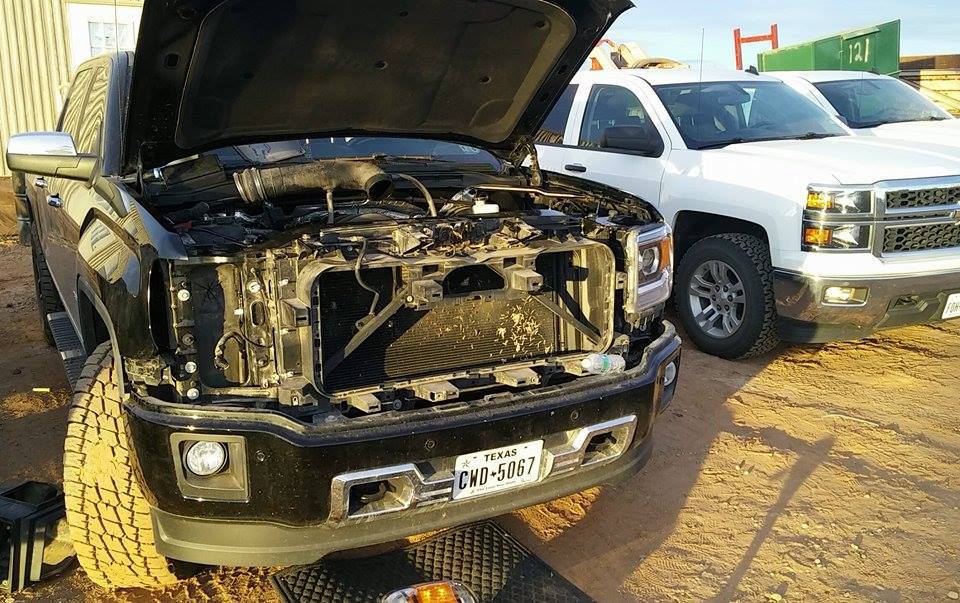
FastHeadLights has a video on YouTube on how to remove your lights which requires removing the top piece of the bumper and grill. Be careful pulling a color matched top bumper piece out you can stress the paint if you flex it too much. Be Patient with it
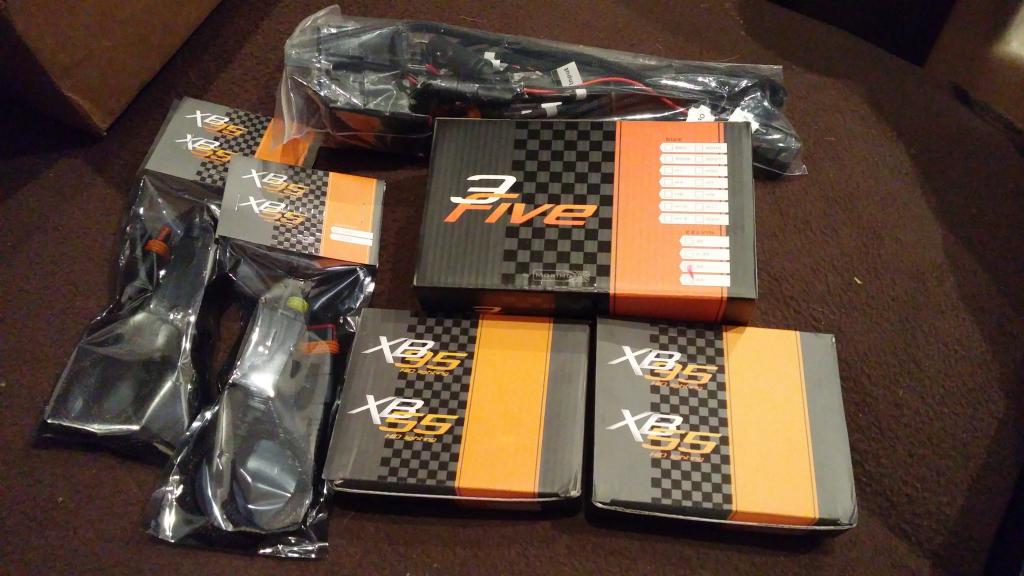
Here is what you get. My Kit came with external ignitors not all kits do
The Relay harness is nice but in my opinion the leg to the opposite ballast needs to be longer for better install. Most put the relay on the passenger side by the battery but after reading up that sometime the capacitors and relays failed i wanted easy access to the harness. I mounted them on the drivers side.
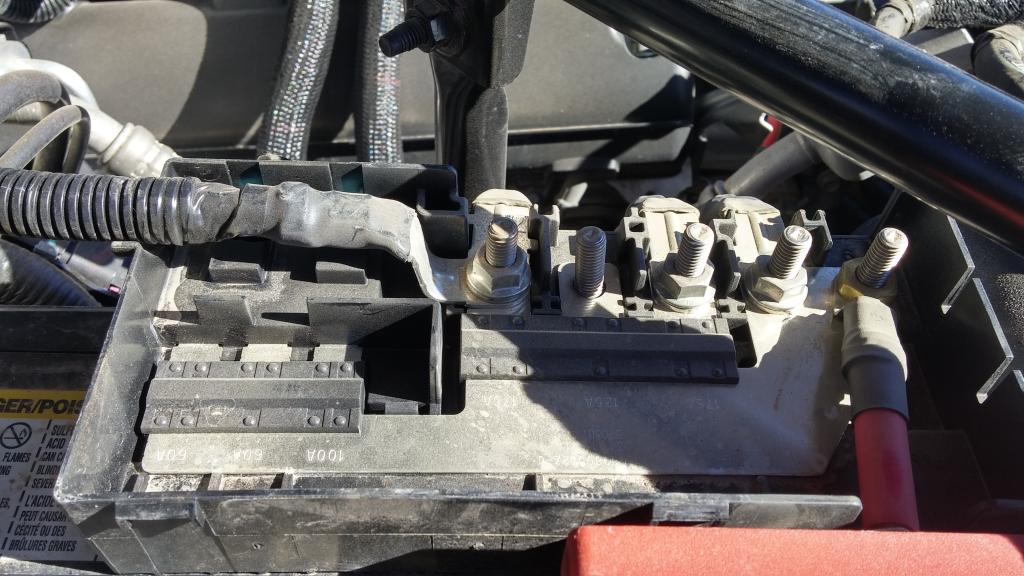
Lots of options to power relays here
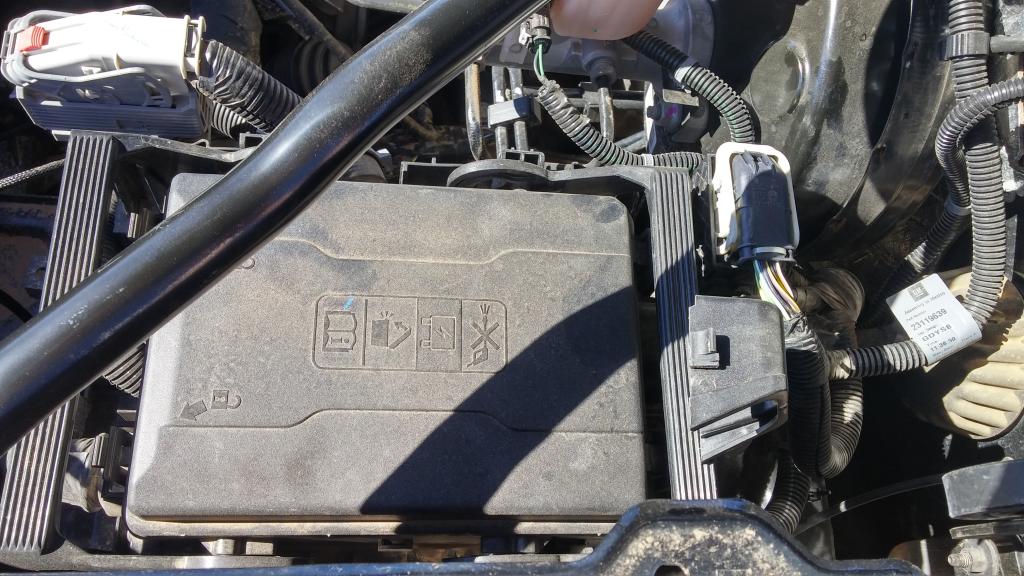
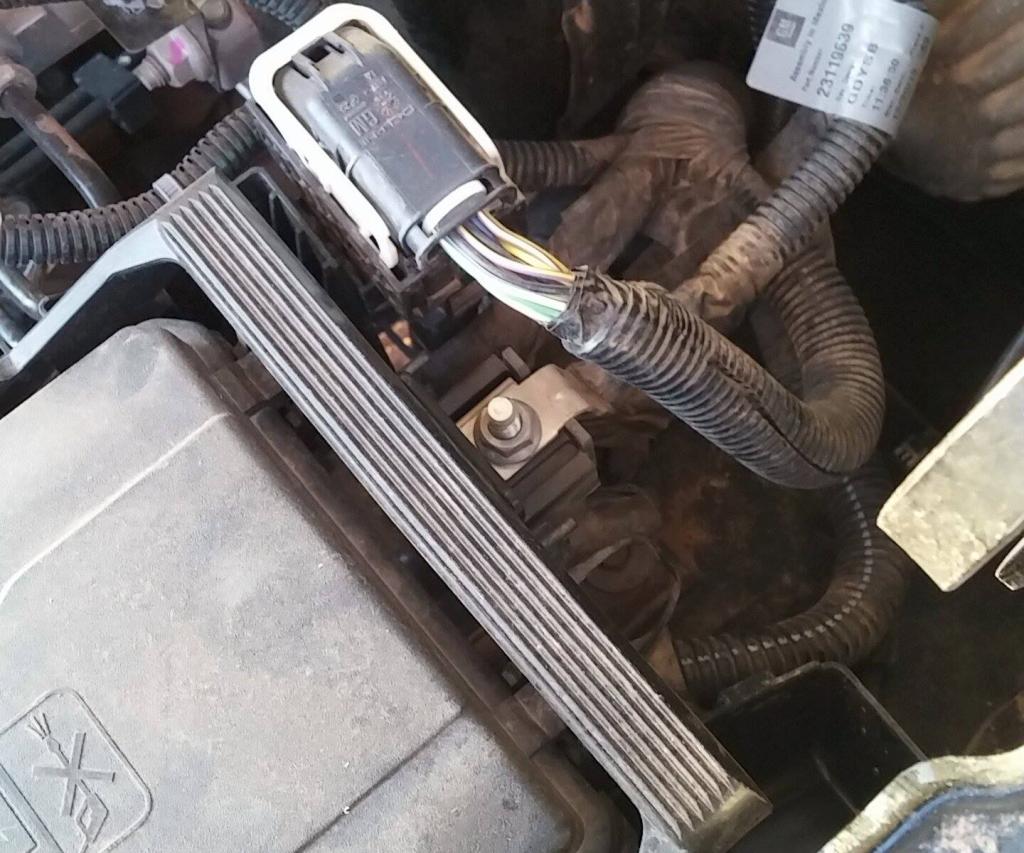
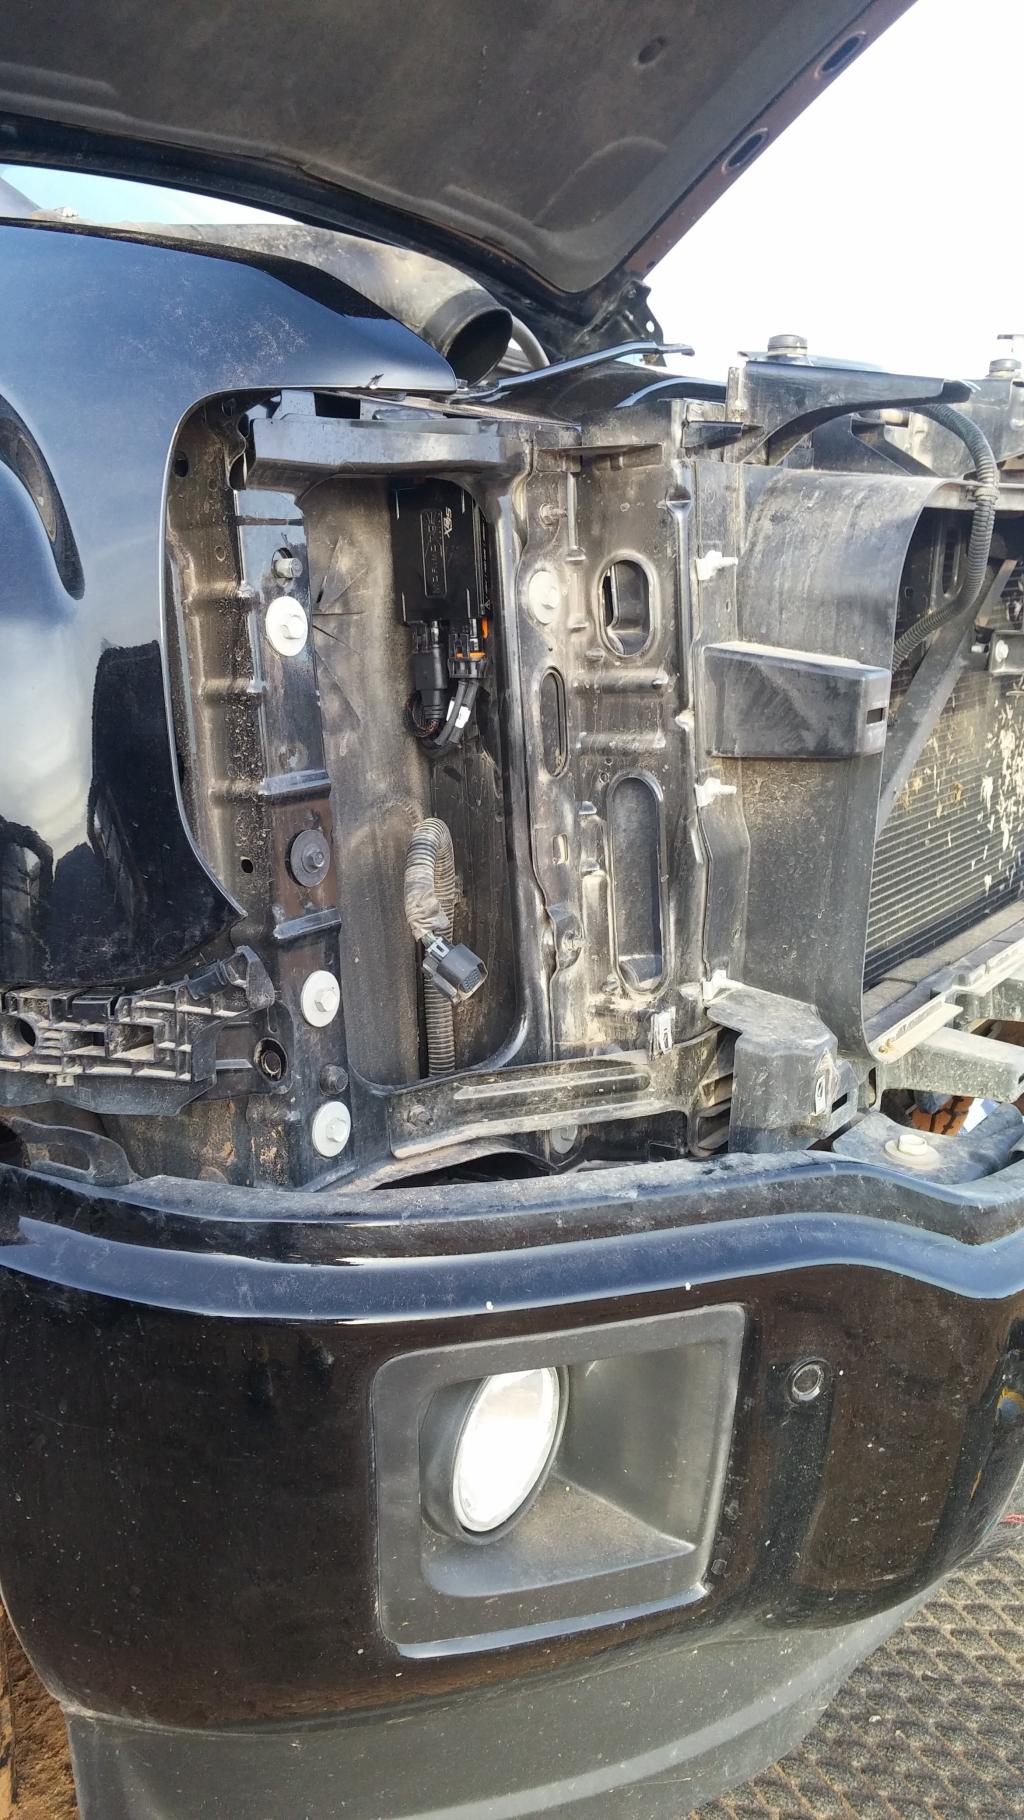
I chose drivers side. There is a direct power source that crosses the fire wall to the fuse panel. I got power there. Its under the dust cover.
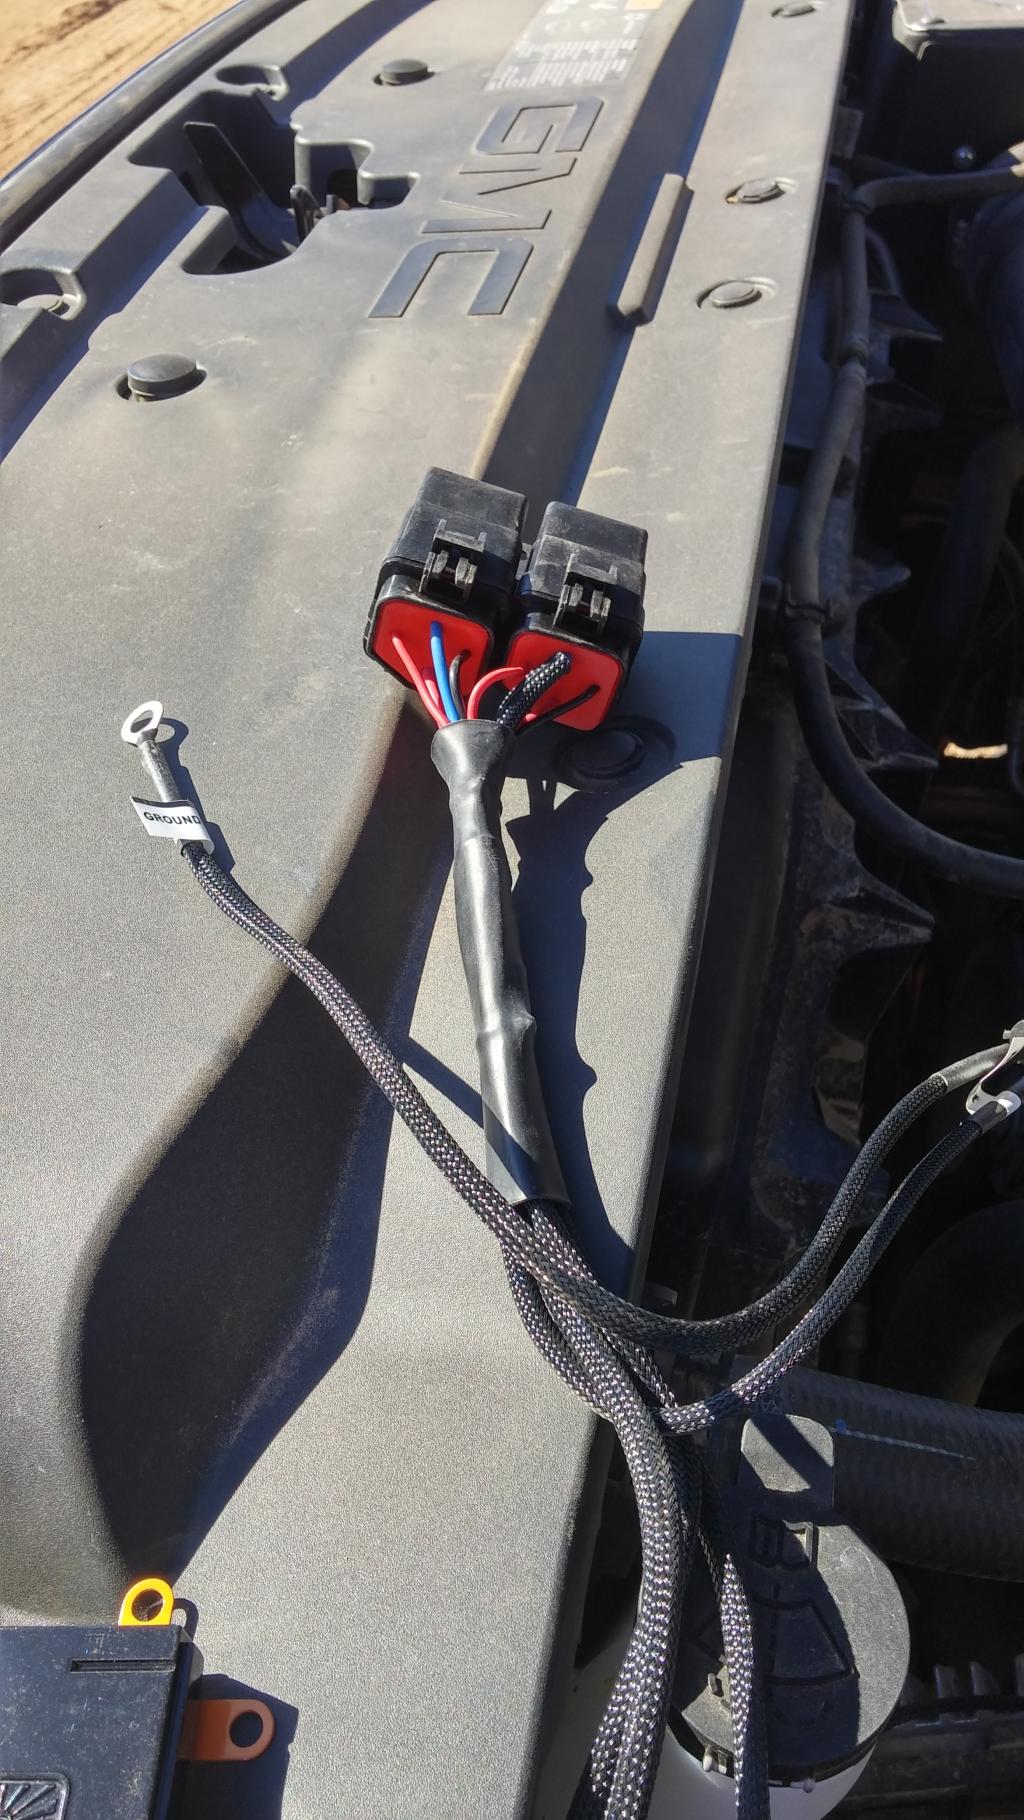
Speaking of dust I used my truck for work the roads are usually dirt gravel and sand. Sorry so dirty lol. When installing the relay harness you only use one side for signal power from your lights to the relay. You leave the other side unplugged. I just taped it up to be sure of no contact when bouncing around inside the light housing
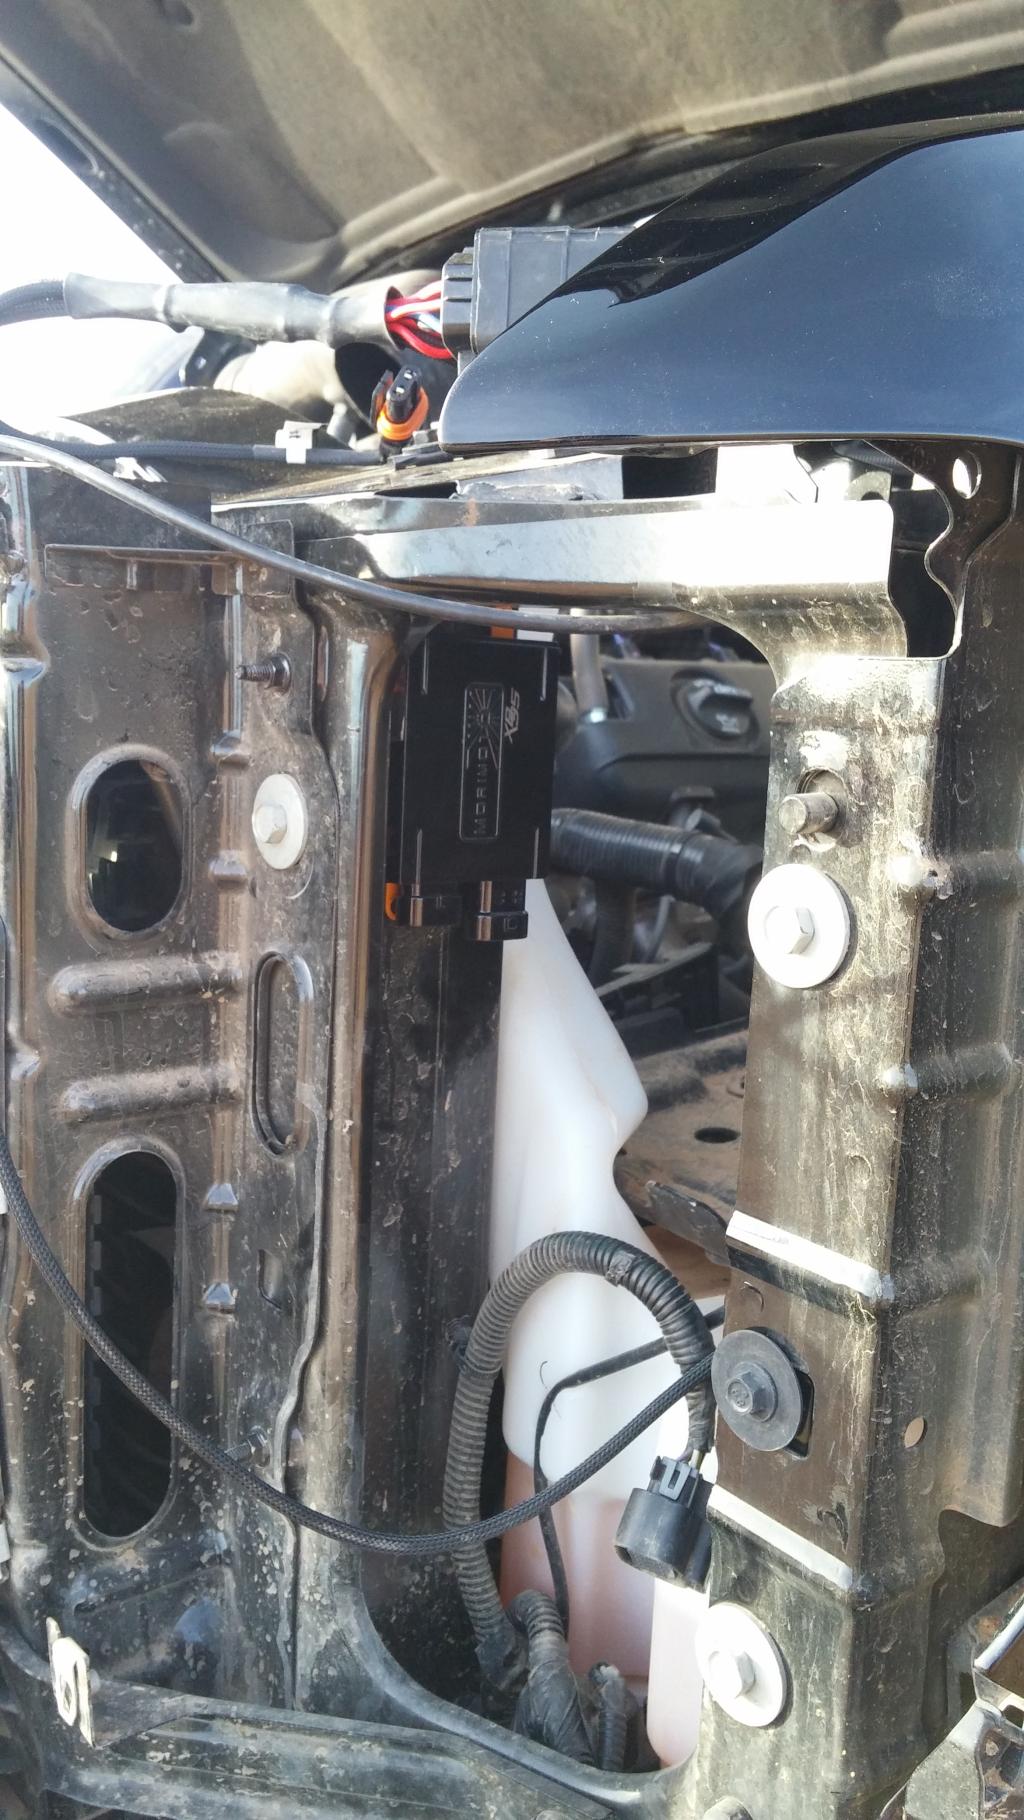
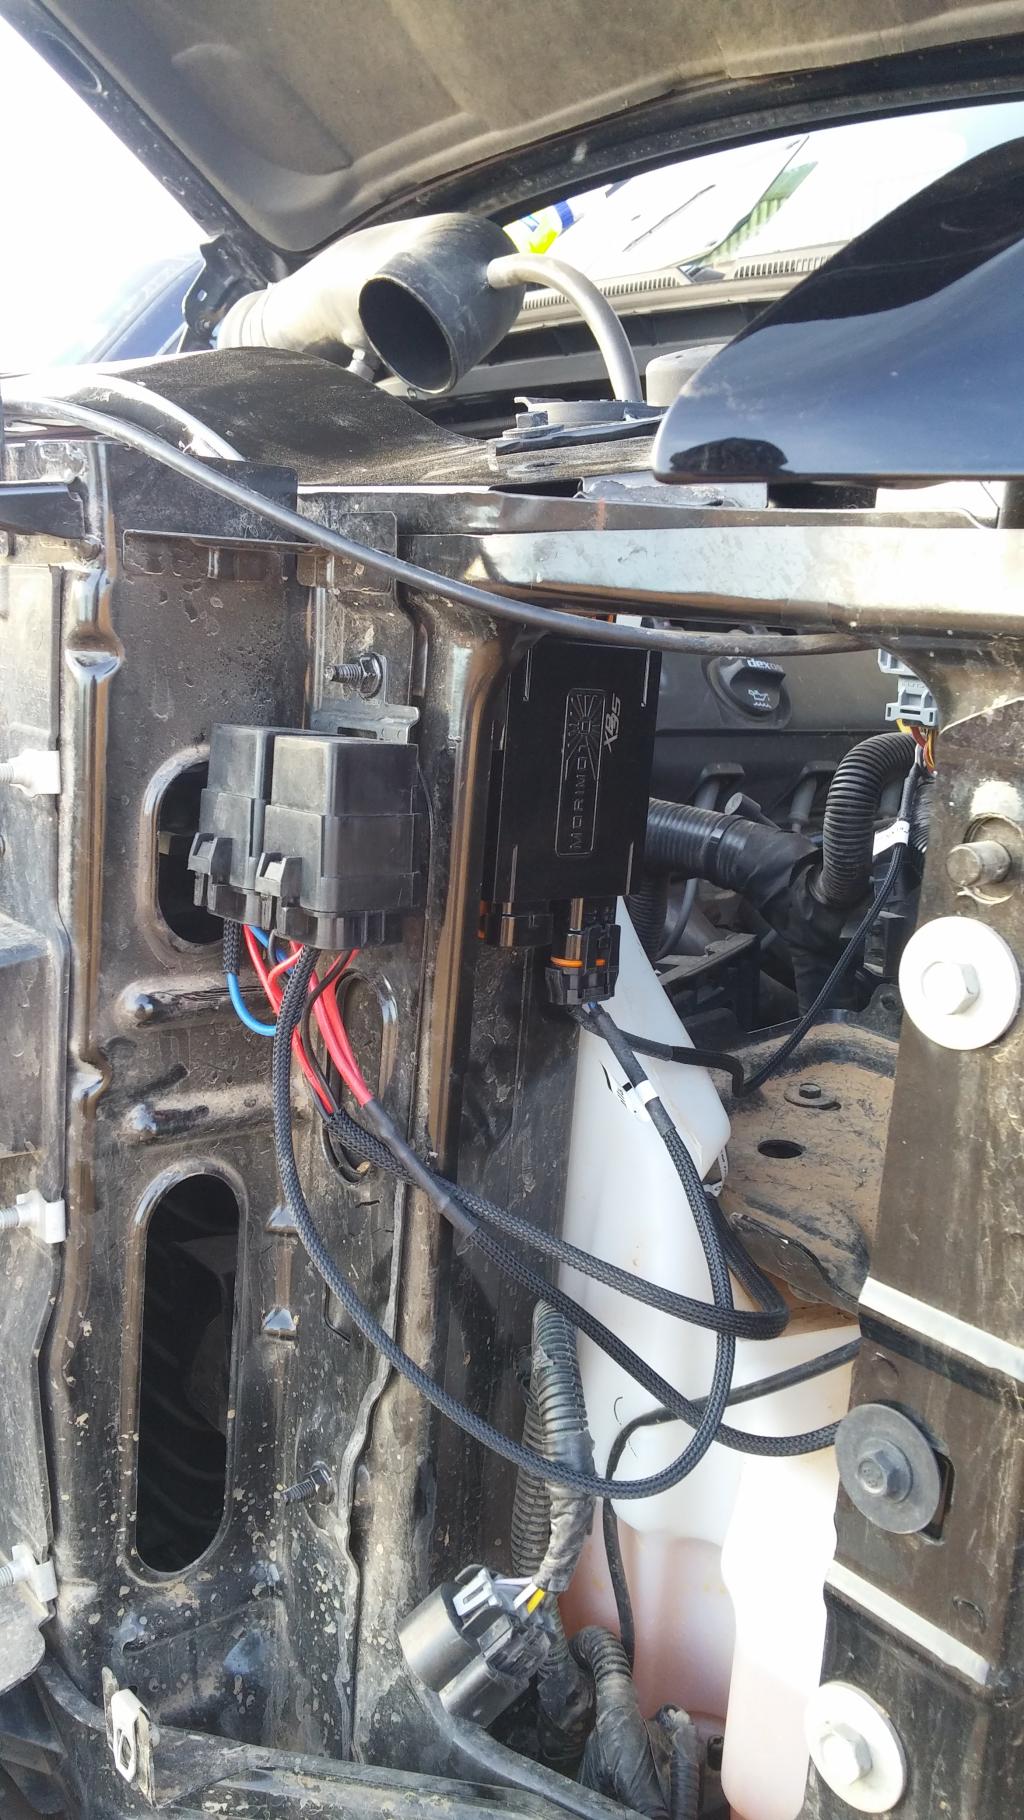
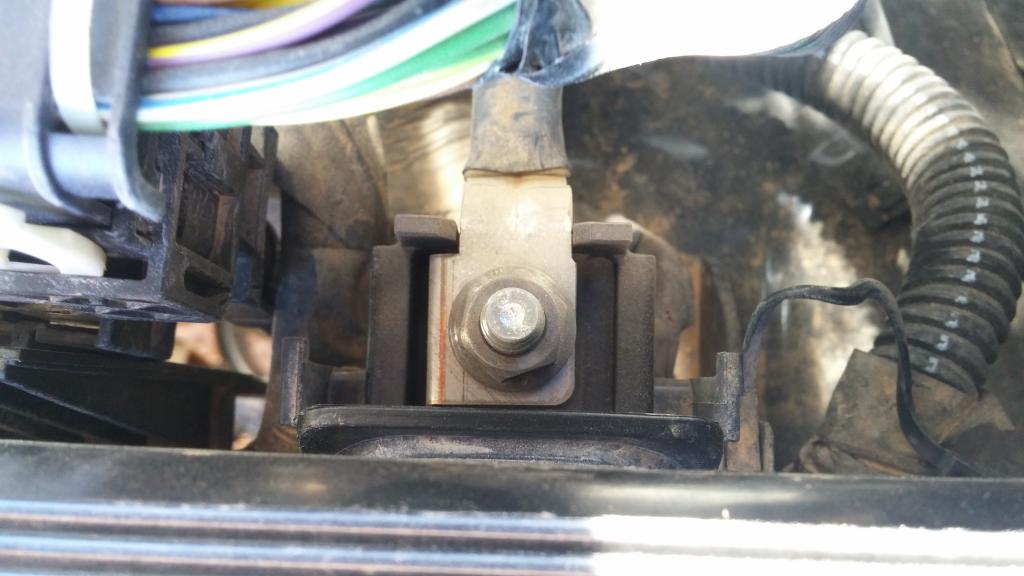
Drivers side i mounted the relays on a Existing bolt and also that was a good ground for the ballast harness as well. As you can see they tuck perfectly behind the light. Keep your light handy and check you clearances before punching holes all over your truck mounting ballasts and relays
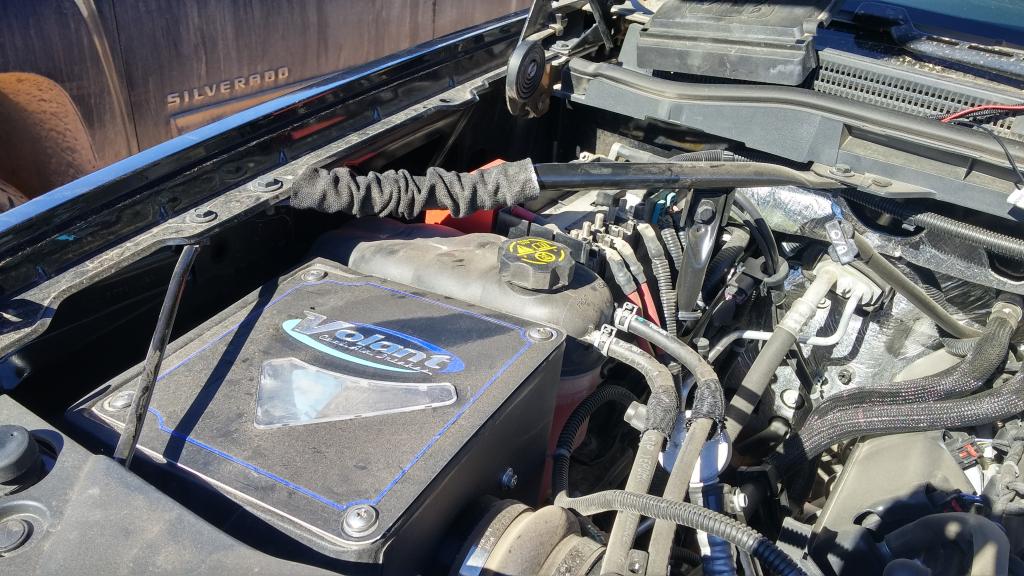
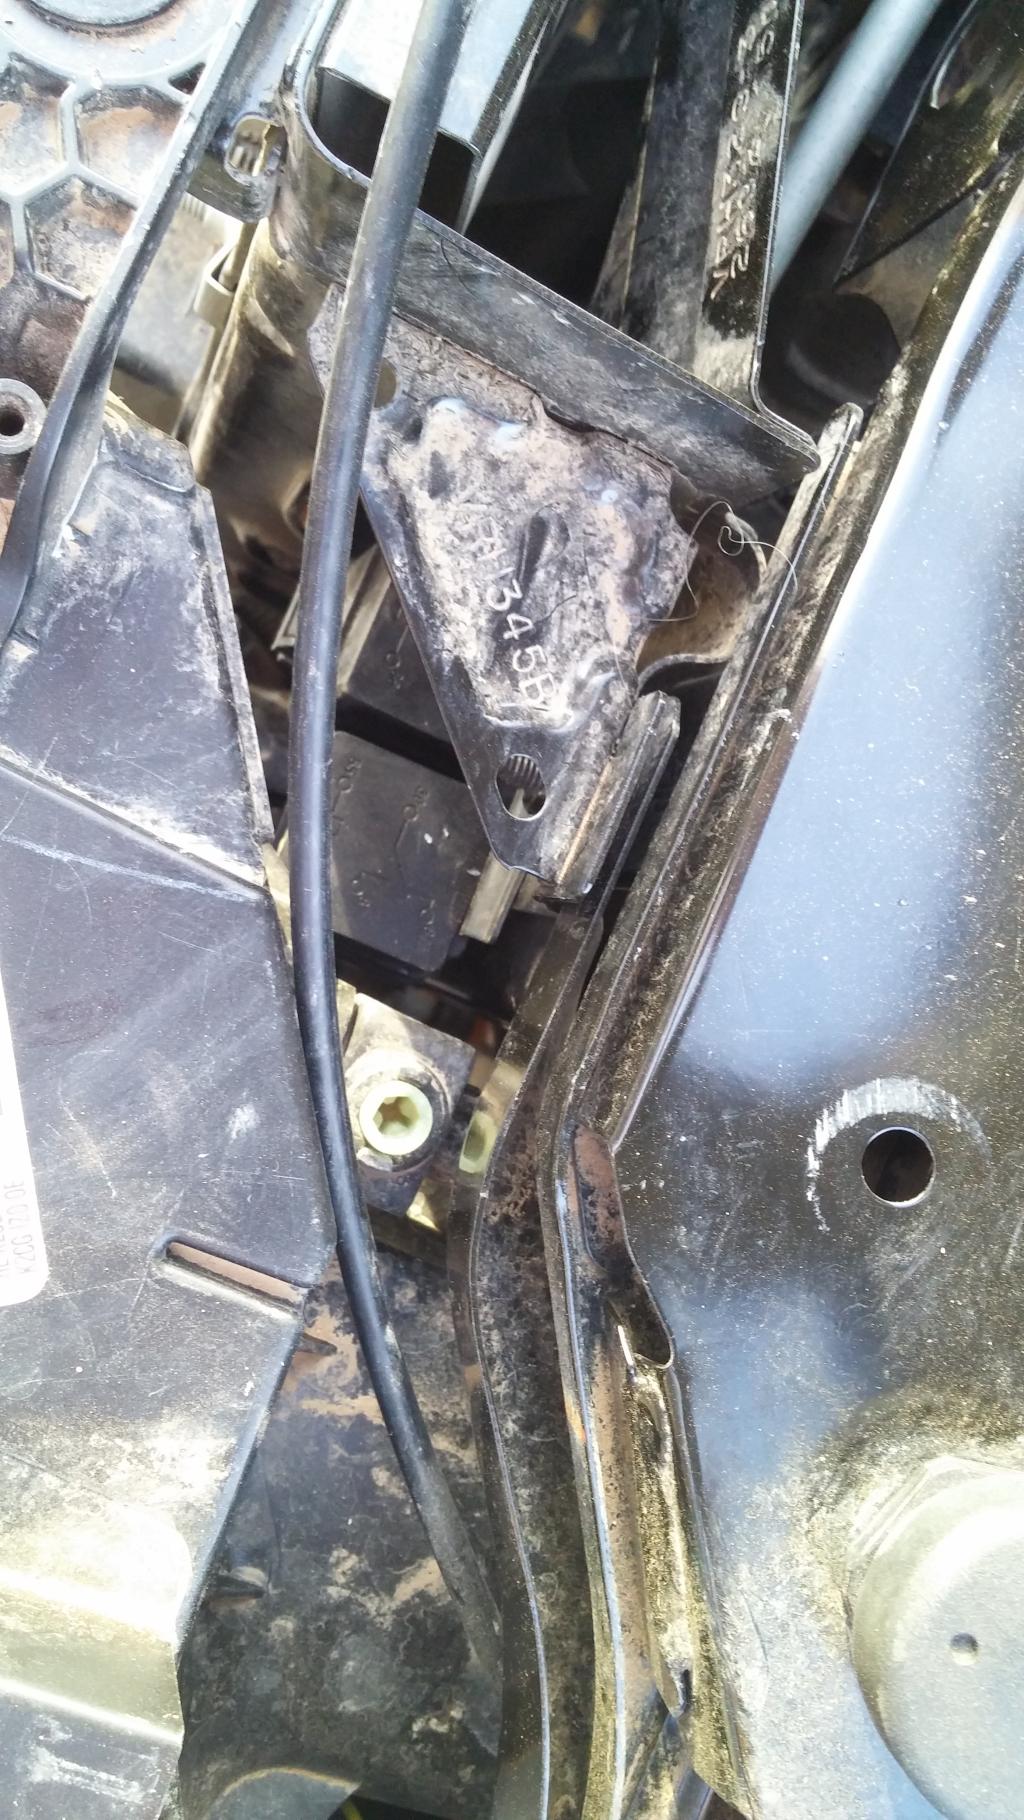
Passenger side i mounted the ballast in the same spot. You have to remove your factory air box or in my case Volant CAI.
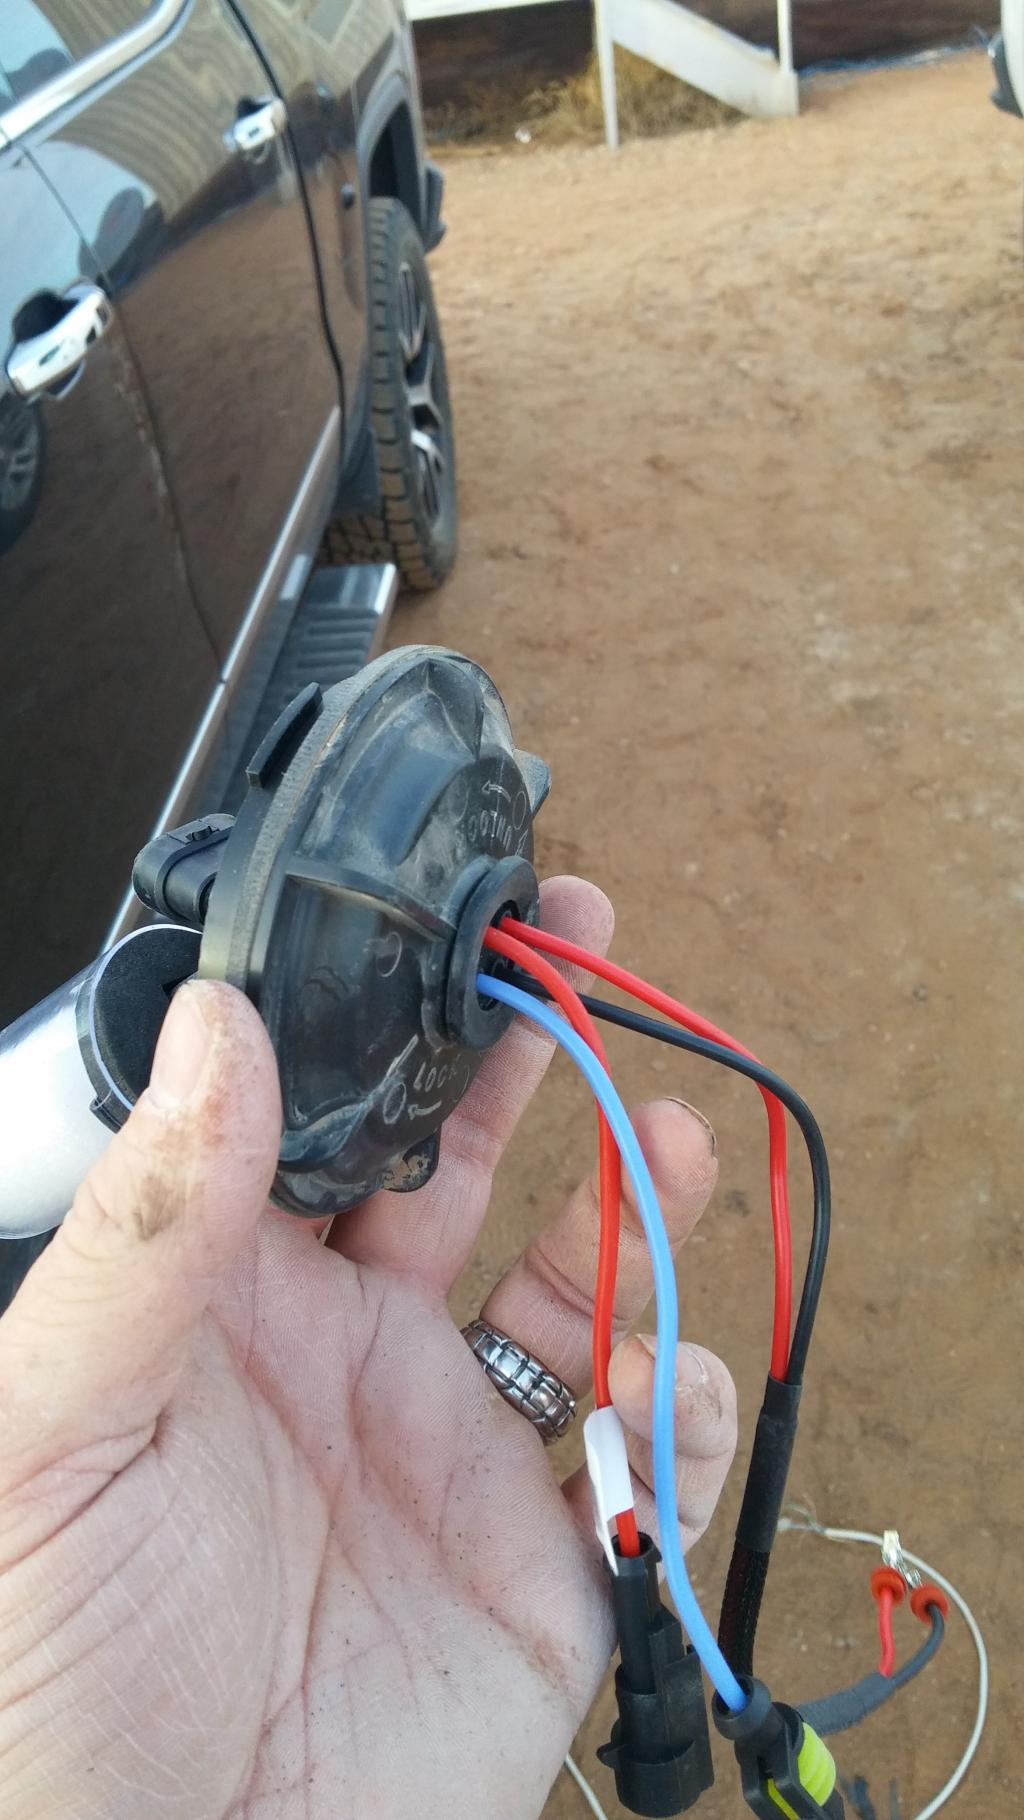
I drilled the dust covers instead of the actual light because if i sell it some day and take it back to stock i can just swap someone their covers.
The rest is just putting the truck back together. I failed to get a pic of the light output but its a drastic improvement over factory halogen bulbs. I will get a pic tonight and update. I hope this can be helpful for someone Morimoto didnt have a install video or instructions for the Trucks yet so here you go. This kit is quality and fairly cheap. 180 bucks to my door.
I kept it simple and just did the 35watt 5000k HID Kit. With These Trucks you need the Relays and capacitor or they will flicker and give you a Error message. Gone are the days of cheap Chinese HIDs getting you by.
Im picky about wiring and I wanted it to look OEM for the most part
You can install these without removing the lights but i wanted to hide the Relays ballast and ignitors.
FastHeadLights has a video on YouTube on how to remove your lights which requires removing the top piece of the bumper and grill. Be careful pulling a color matched top bumper piece out you can stress the paint if you flex it too much. Be Patient with it
Here is what you get. My Kit came with external ignitors not all kits do
The Relay harness is nice but in my opinion the leg to the opposite ballast needs to be longer for better install. Most put the relay on the passenger side by the battery but after reading up that sometime the capacitors and relays failed i wanted easy access to the harness. I mounted them on the drivers side.
Lots of options to power relays here
I chose drivers side. There is a direct power source that crosses the fire wall to the fuse panel. I got power there. Its under the dust cover.
Speaking of dust I used my truck for work the roads are usually dirt gravel and sand. Sorry so dirty lol. When installing the relay harness you only use one side for signal power from your lights to the relay. You leave the other side unplugged. I just taped it up to be sure of no contact when bouncing around inside the light housing
Drivers side i mounted the relays on a Existing bolt and also that was a good ground for the ballast harness as well. As you can see they tuck perfectly behind the light. Keep your light handy and check you clearances before punching holes all over your truck mounting ballasts and relays
Passenger side i mounted the ballast in the same spot. You have to remove your factory air box or in my case Volant CAI.
I drilled the dust covers instead of the actual light because if i sell it some day and take it back to stock i can just swap someone their covers.
The rest is just putting the truck back together. I failed to get a pic of the light output but its a drastic improvement over factory halogen bulbs. I will get a pic tonight and update. I hope this can be helpful for someone Morimoto didnt have a install video or instructions for the Trucks yet so here you go. This kit is quality and fairly cheap. 180 bucks to my door.
Last edited by Midnightrider; 01-29-2015 at 07:54 AM.


Trending Topics


Thread
Thread Starter
Forum
Replies
Last Post