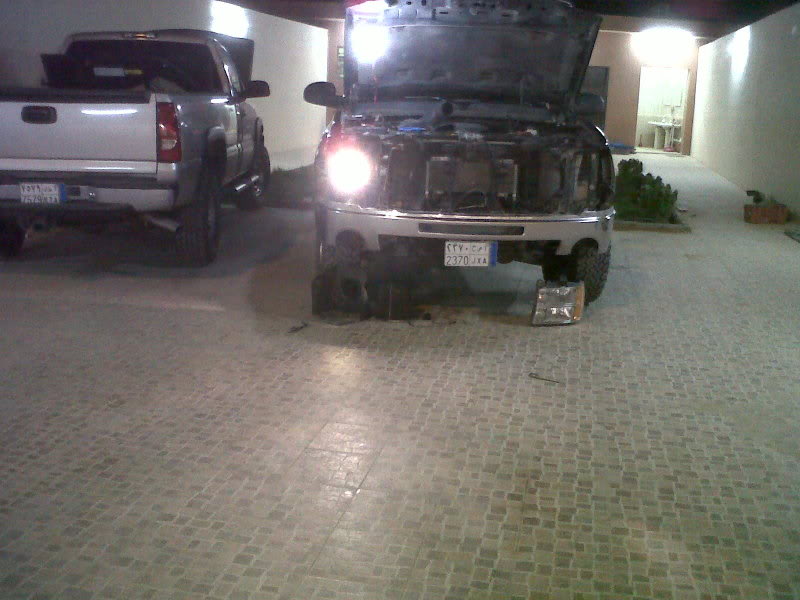
09 GMC SIERRA with 4 HID projectors headlights..(alot of pics)
 07-02-2011, 02:01 AM
#1
TECH Fanatic
Thread Starter

Join Date: Feb 2009
Location: Saudi Arabia
Posts: 1,020
Likes: 0
Received 0 Likes
on
0 Posts
i know this not the kind of threads that ppl write arround here but just to share the experince with you ...
so i just payed 700$ to buy and ship these over to me

they are bixenon projectors , an after market repilca of the infiniti FX 35/FX 45
of cource these must come with a complete hid kit
so i went with this after market company called morimoto wich is backed up by 18 months waranty for everthing

because the projectors are bixenon i went with 4 projectors
and just to rise it up a notch i went with 50w ballasts and bulbs @4300k
pics of the gool in mind
more pics of the above
http://www.lightwerkz.net/news/2011/...on-conversion/
a company did the next and the cost for that setup for 1550$ and a singal projector will cost you 925$..they used a lower class projectors that uses an amp H1 bulb not like what i bought that uses a real HID bulb the D2S:thumbs:
of cource i wont do the led strip


another great look( mind that i will replace the white with black)
http://blackflamecustoms.com/gallery/gmc/07-gmc-sierra/
what will i be seeing from an FX-R projector? note that this is a 35w setup and a singal projector not 2 ,and projectors are 40ft away
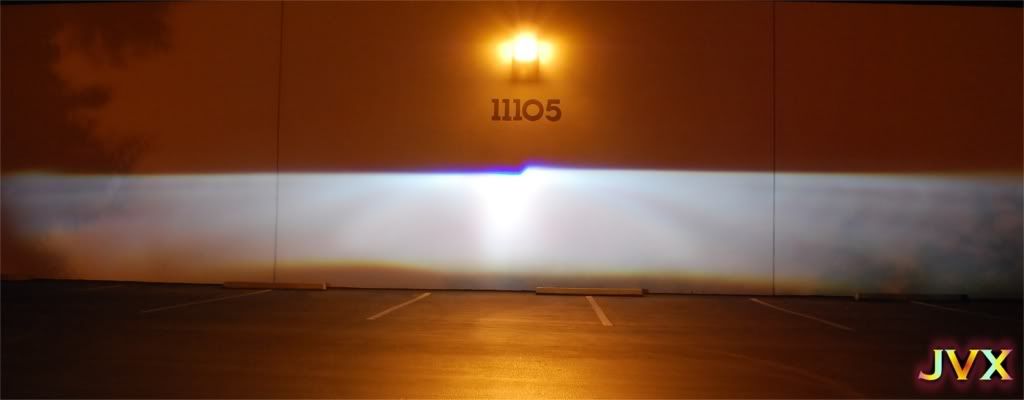
i have 4 of each so ill take picture of one each as an example
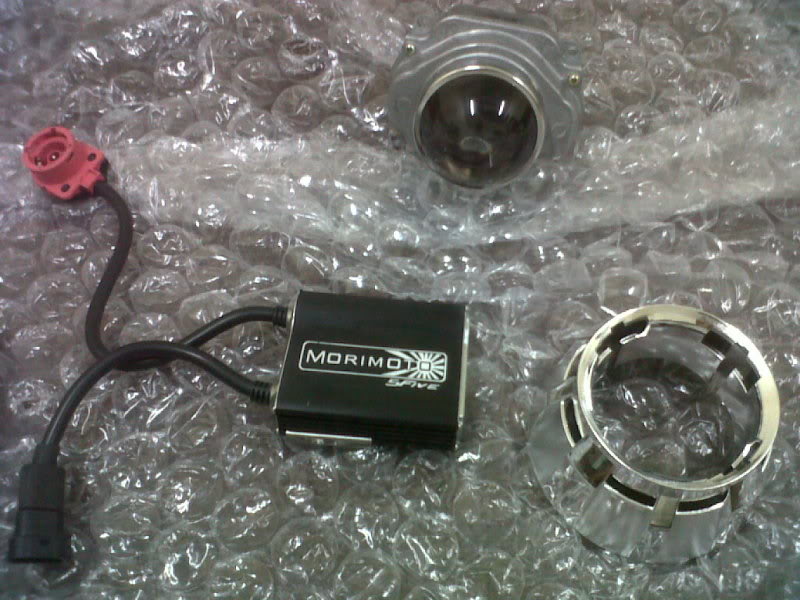
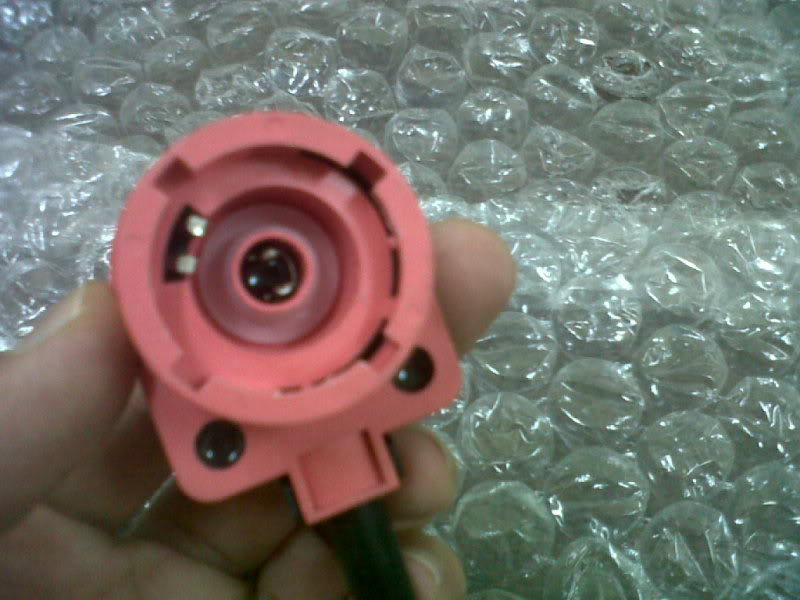
they send custom harness for my high beam
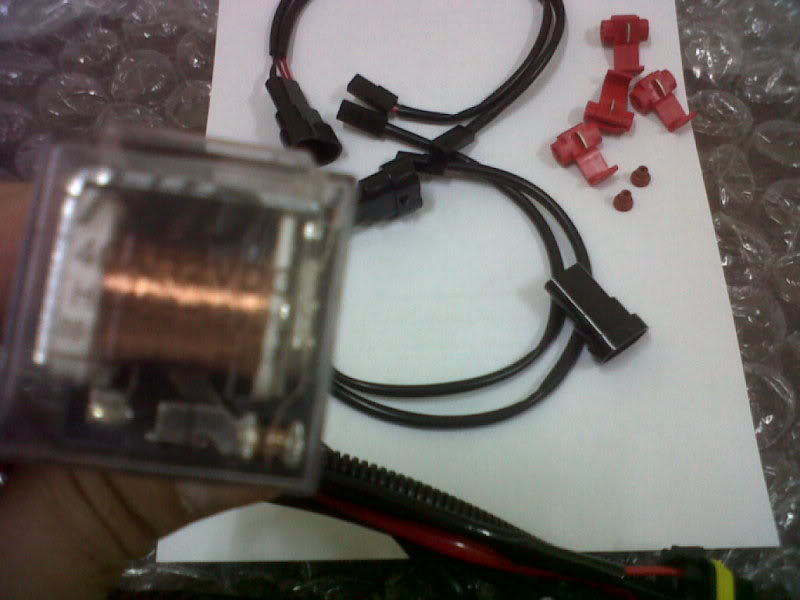

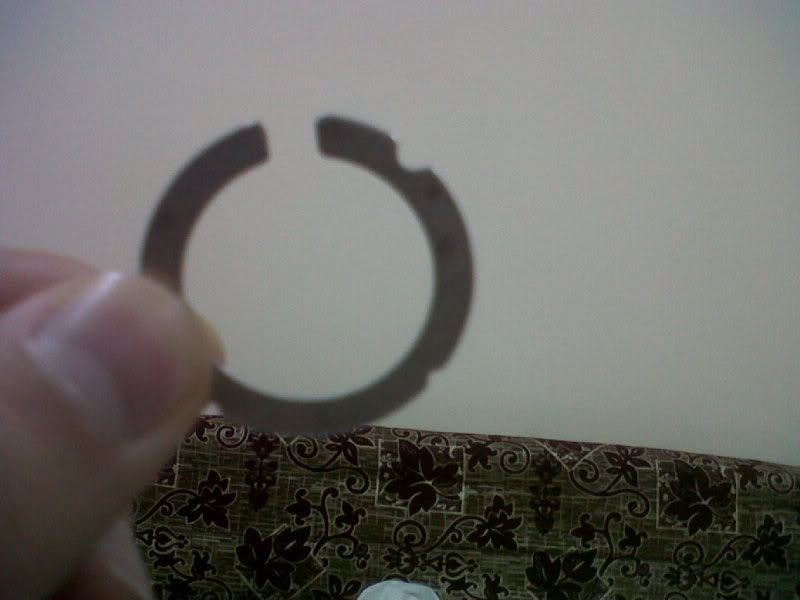
they send a 1mm spacer with each projector a 2mm would emprove the light output but give it a less sharper look, will i have 4 so ill space 2 and leave 2 as is
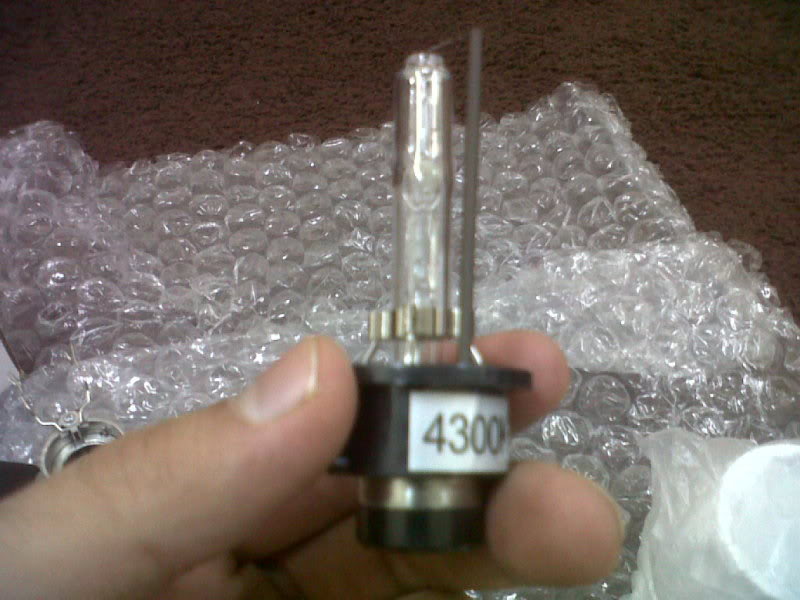
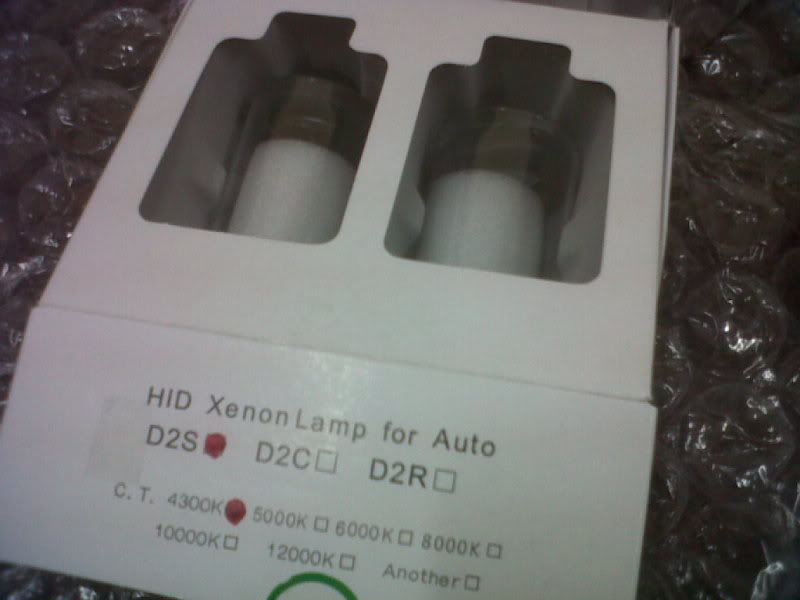
blub color is 4300k i kinda changed my mind too late i want 5000k but ill do it latter in a year or so.
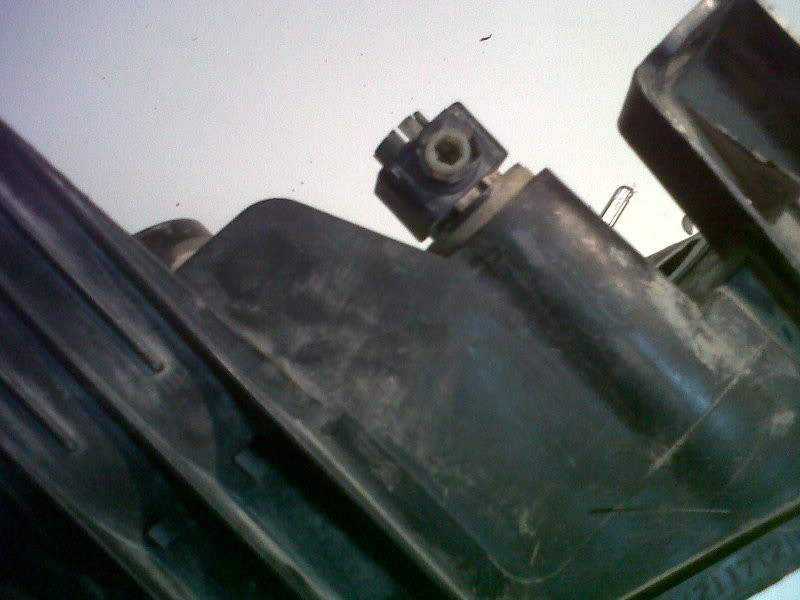
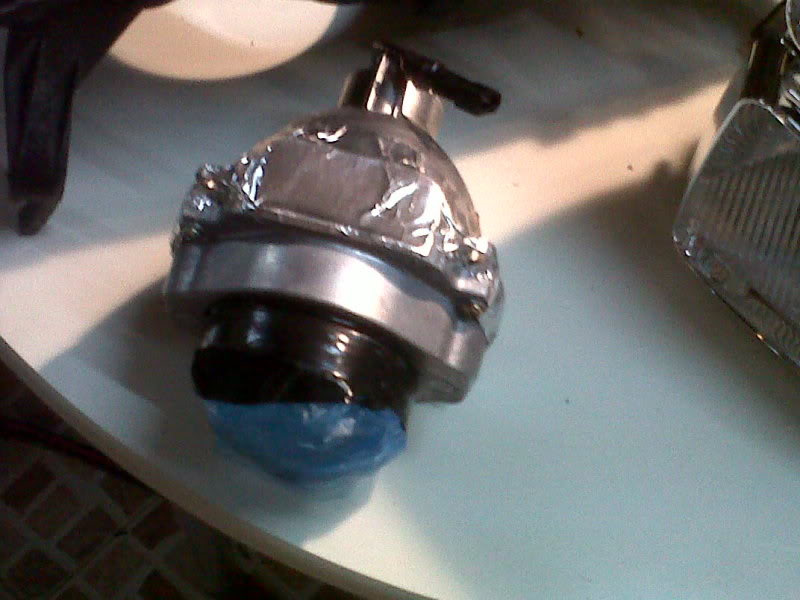
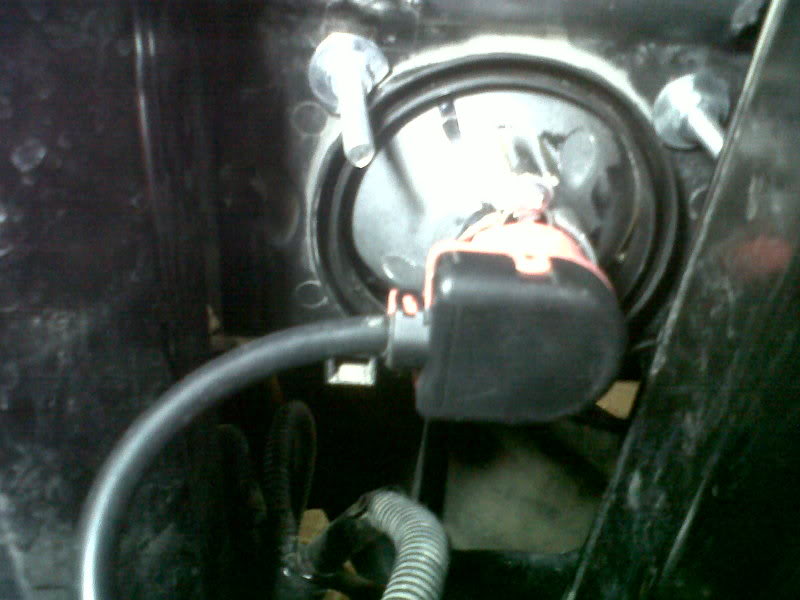
high beam solenoid
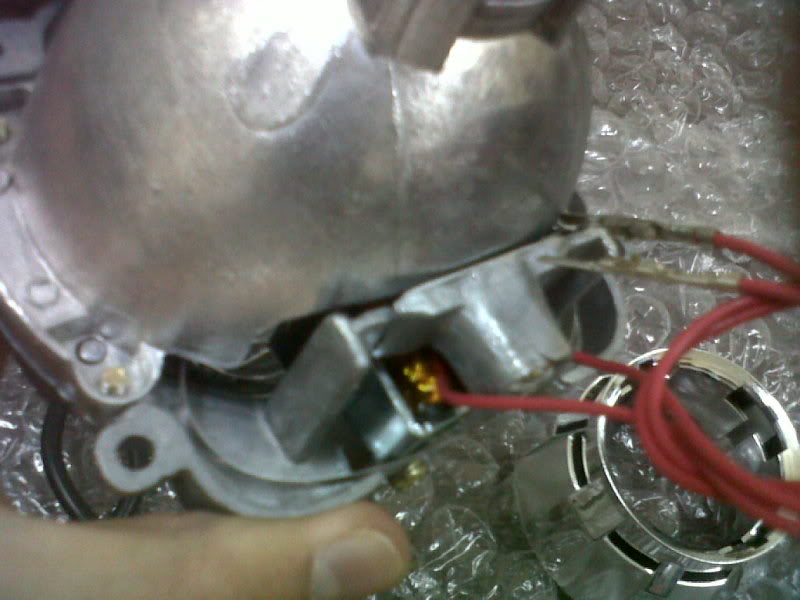
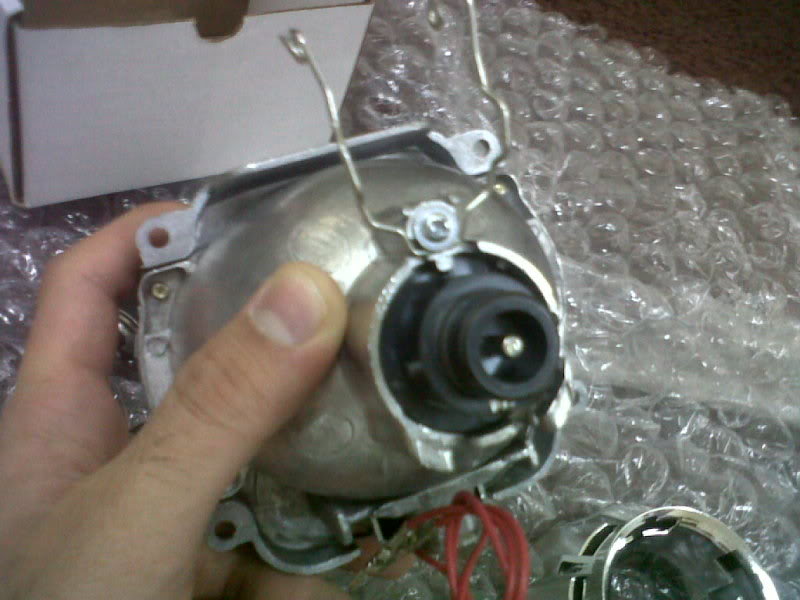
back of the projector
so i just payed 700$ to buy and ship these over to me
they are bixenon projectors , an after market repilca of the infiniti FX 35/FX 45
of cource these must come with a complete hid kit
so i went with this after market company called morimoto wich is backed up by 18 months waranty for everthing
because the projectors are bixenon i went with 4 projectors
and just to rise it up a notch i went with 50w ballasts and bulbs @4300k
pics of the gool in mind
more pics of the above
http://www.lightwerkz.net/news/2011/...on-conversion/
a company did the next and the cost for that setup for 1550$ and a singal projector will cost you 925$..they used a lower class projectors that uses an amp H1 bulb not like what i bought that uses a real HID bulb the D2S:thumbs:
of cource i wont do the led strip
another great look( mind that i will replace the white with black)
http://blackflamecustoms.com/gallery/gmc/07-gmc-sierra/
what will i be seeing from an FX-R projector? note that this is a 35w setup and a singal projector not 2 ,and projectors are 40ft away
i have 4 of each so ill take picture of one each as an example
they send custom harness for my high beam
they send a 1mm spacer with each projector a 2mm would emprove the light output but give it a less sharper look, will i have 4 so ill space 2 and leave 2 as is
blub color is 4300k i kinda changed my mind too late i want 5000k but ill do it latter in a year or so.
high beam solenoid
back of the projector
Last edited by sand man; 07-12-2011 at 05:32 PM.
 07-02-2011, 02:01 AM
#2
TECH Fanatic
Thread Starter
Join Date: Feb 2009
Location: Saudi Arabia
Posts: 1,020
Likes: 0
Received 0 Likes
on
0 Posts
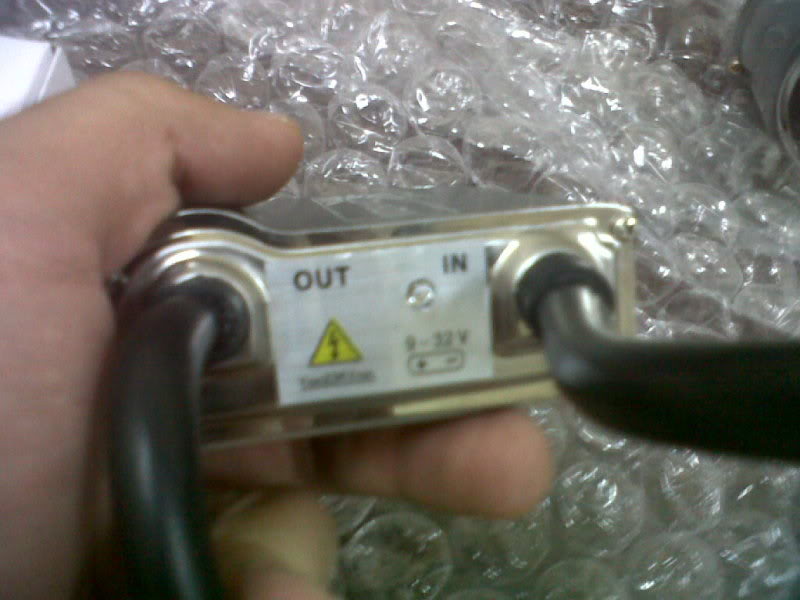
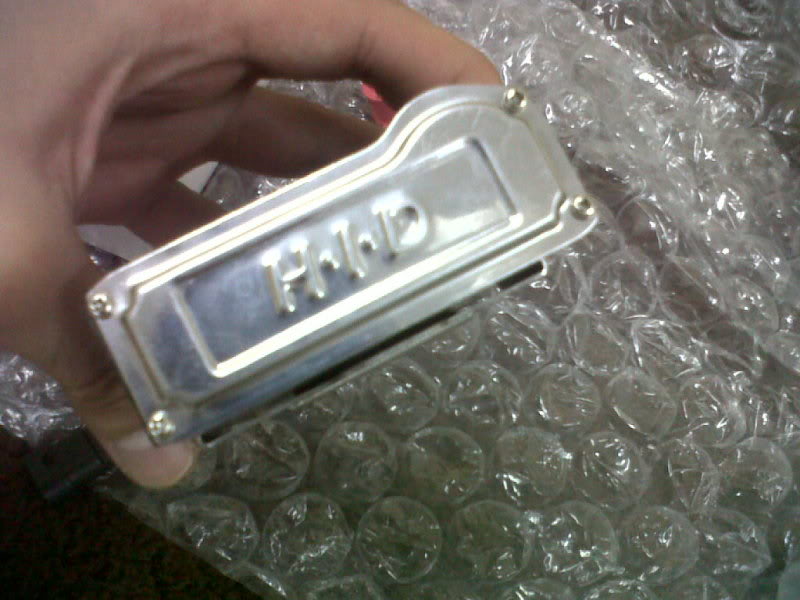
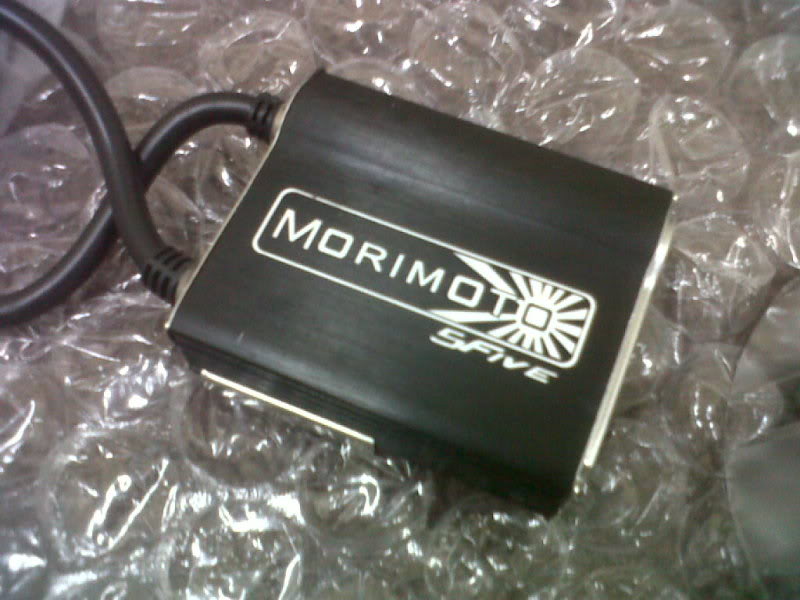
ballast.. looks good , and is 100% watar proof with 2 years warranty
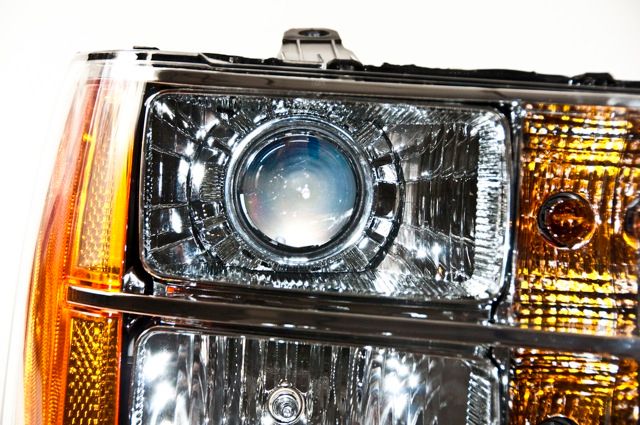
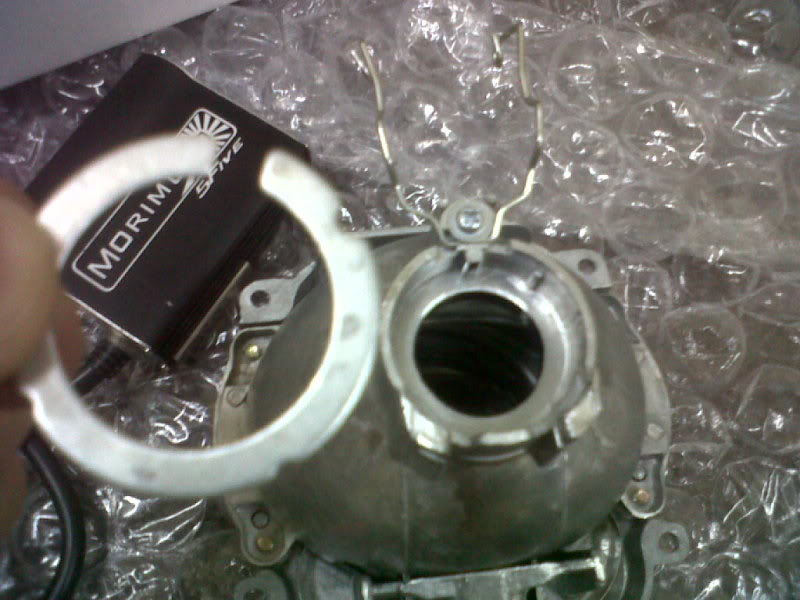
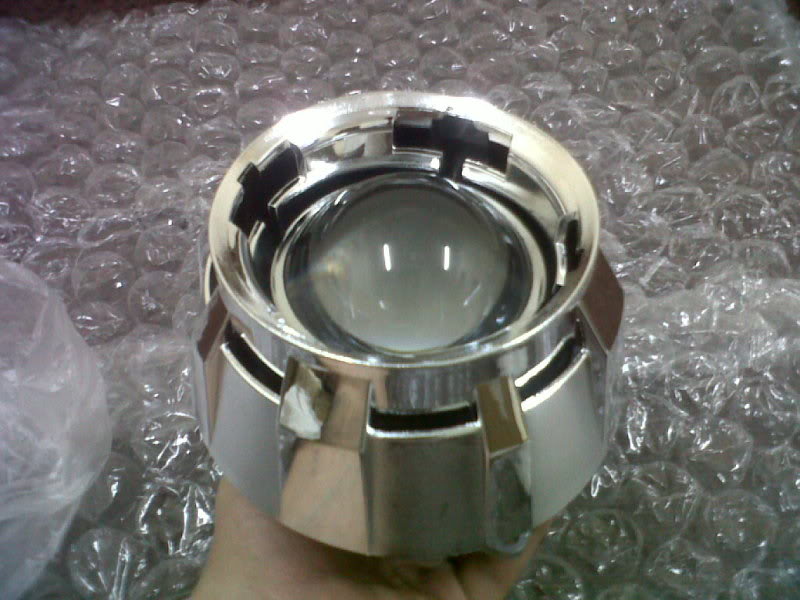
projector with the shroud on, it has a space inside for led angle eyes , i might consider those in the future

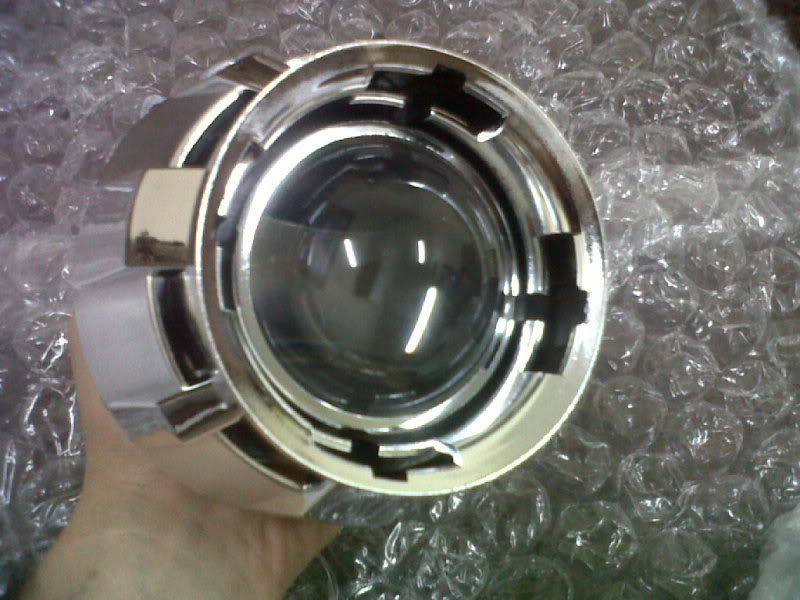
naked projector

bulbs
here is what i have done
i bought 4 fx-r projectors , gattling gun shrouds, morimoto 5five bulbs and ballasts 4300k m with the harness.
the stuff has been sitting untill i finishd me collage exams i open the box 3 times a week to check the stuff lol
sorry for the low quality pic's all i had was my 3.2MP blackberry
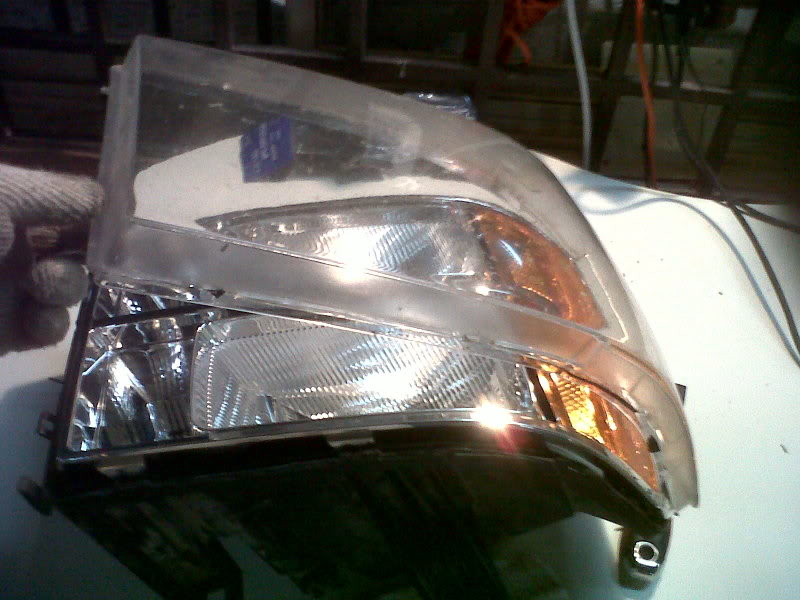
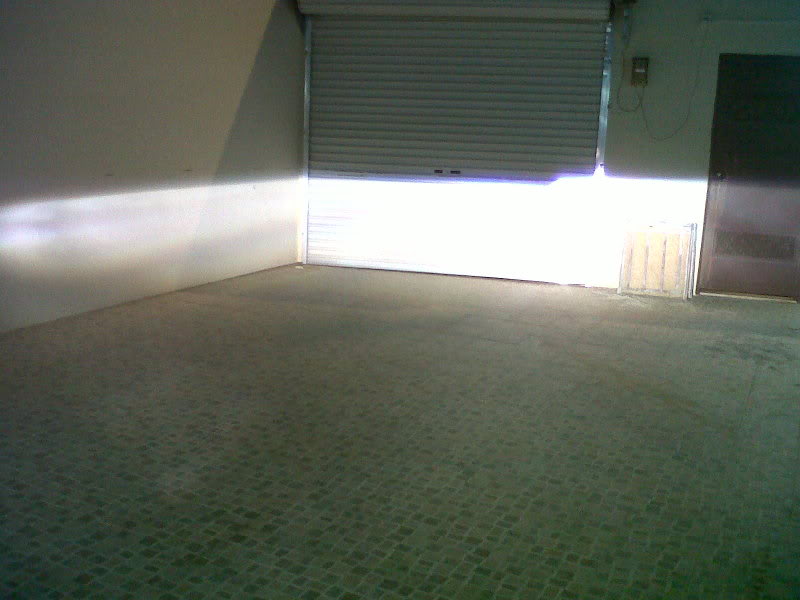
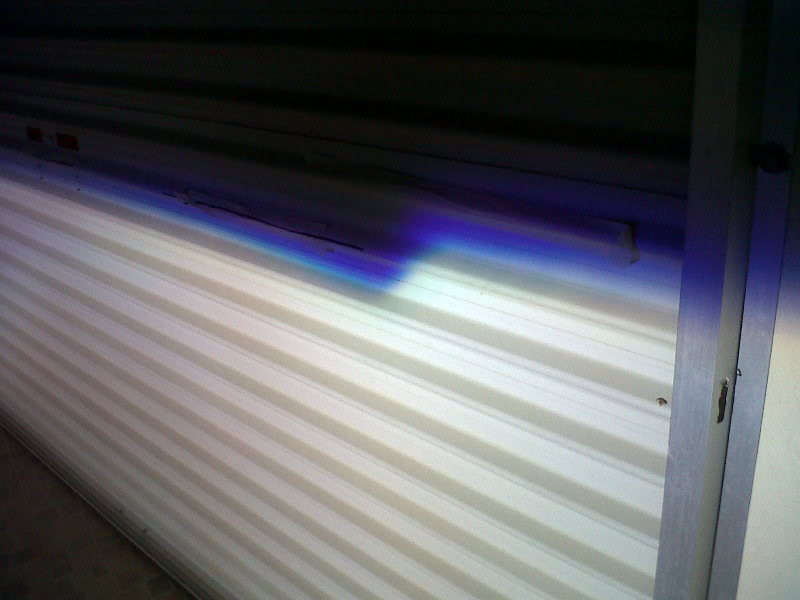
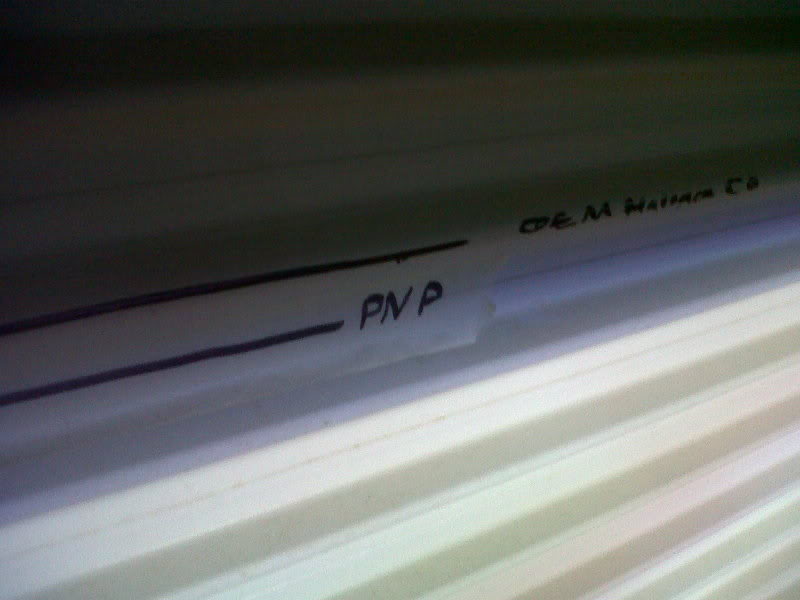
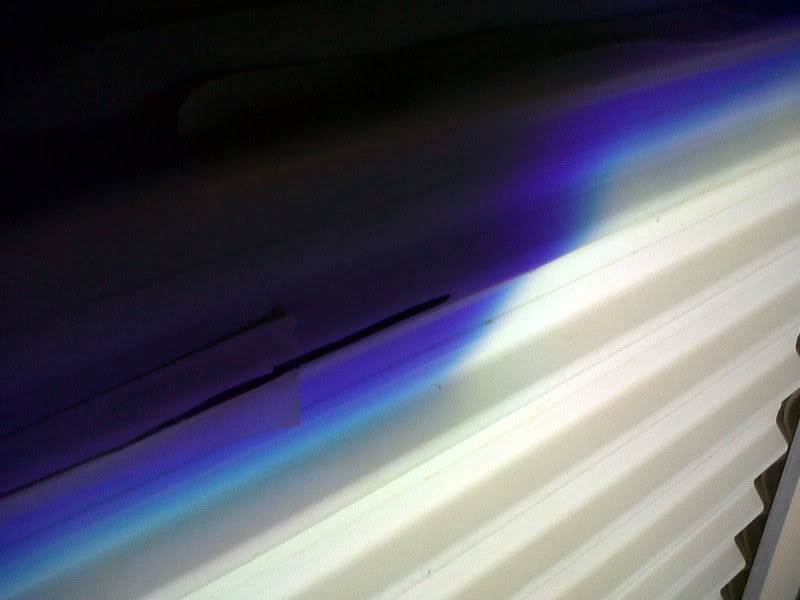
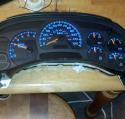
i started with the marking the hallogen cutoff so i sawped back from my PNP to the hallogen's
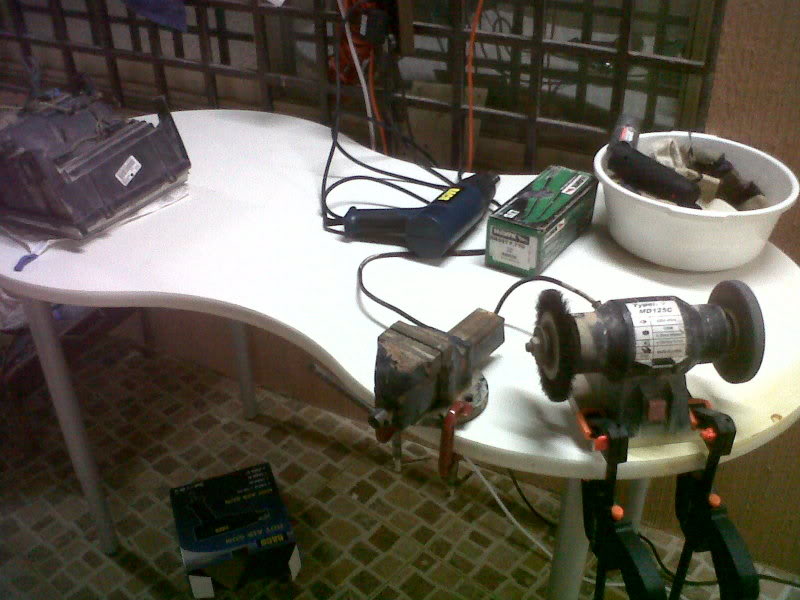
my workin area
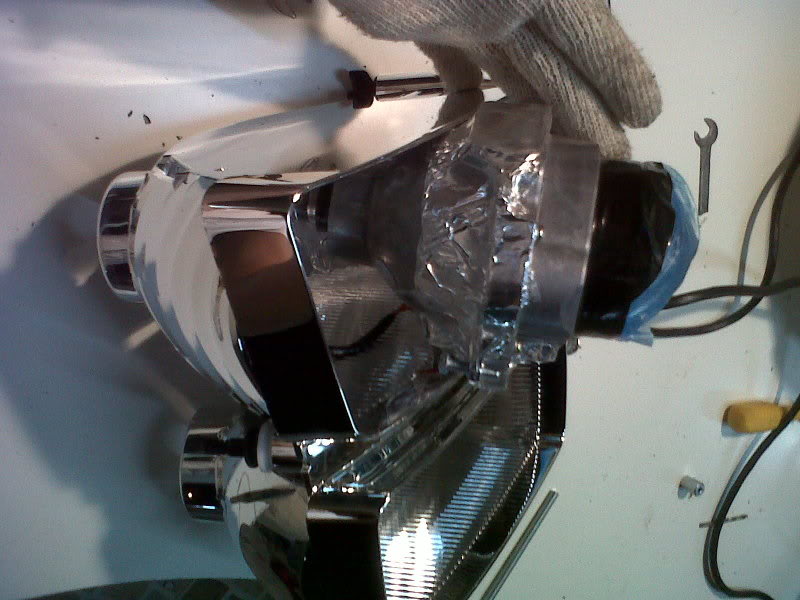
removed the harness for the heating process
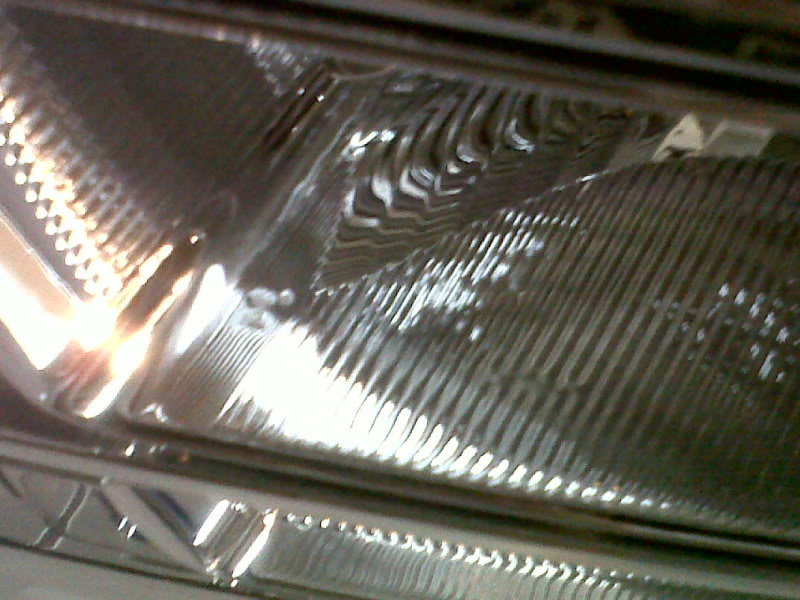
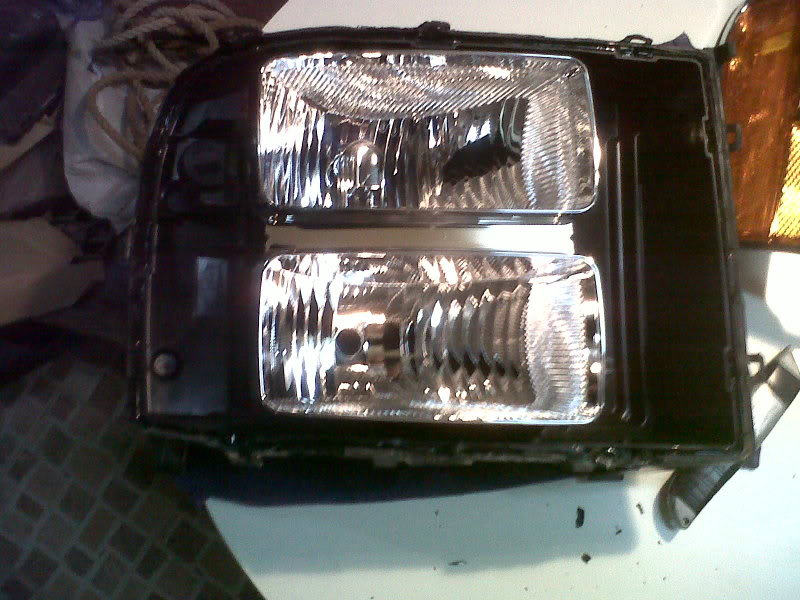
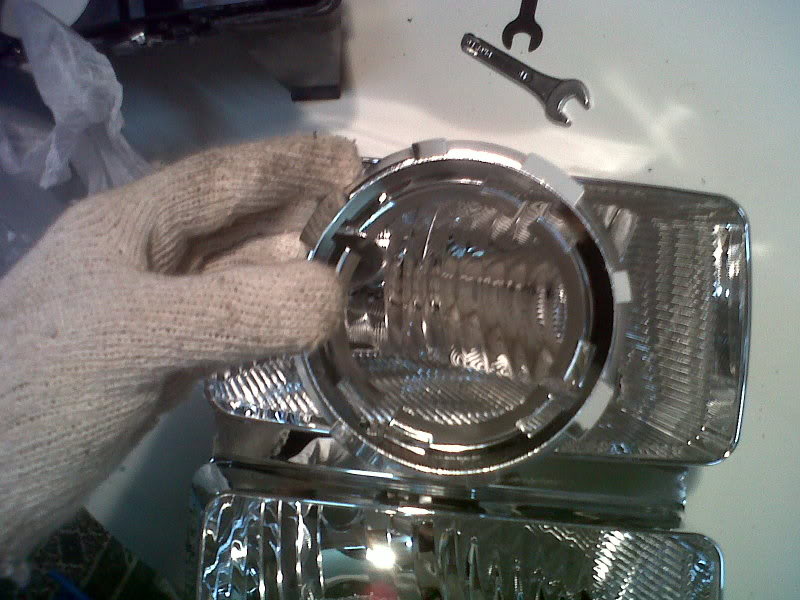
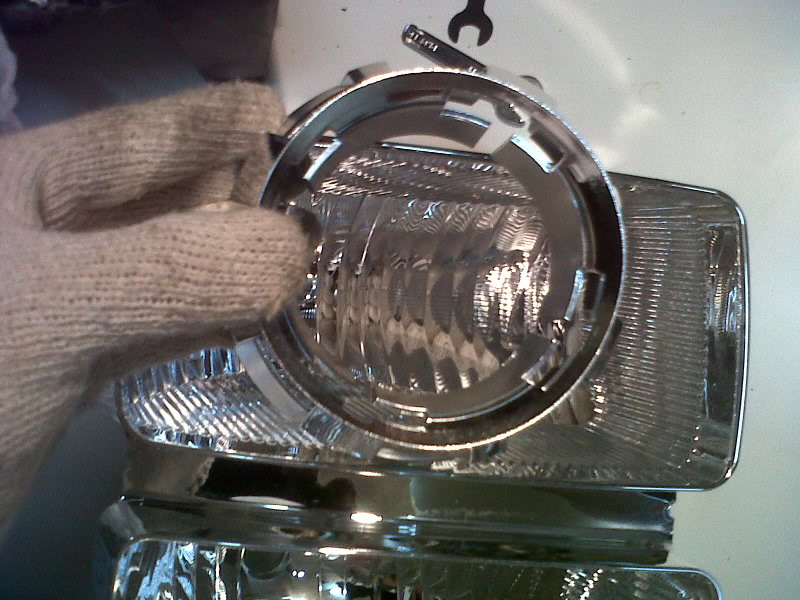
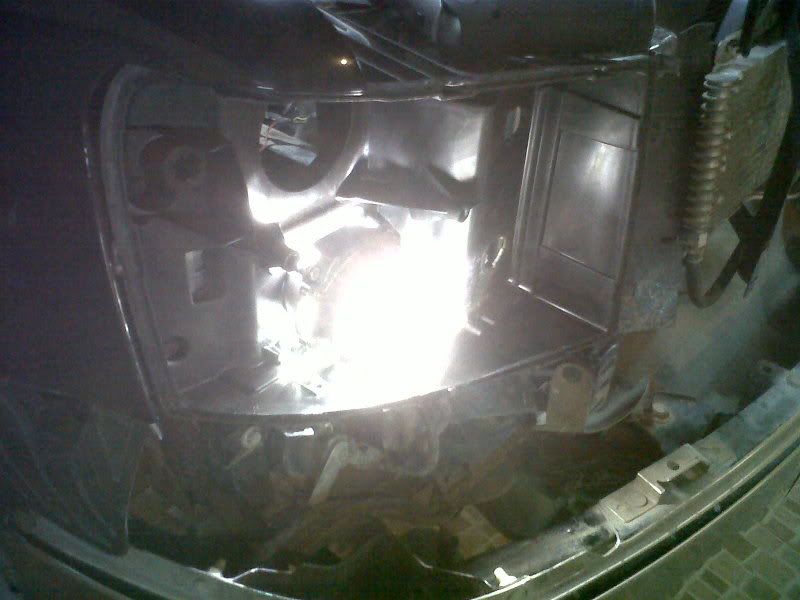
it toke me 1 hour just to peal the lens from the housing because this is my first retro and because i ussed a heat gun, i strongly recomend not to wast time with a heat gun...go to the oven and bake the hole thing for 2 minutes at about 210f
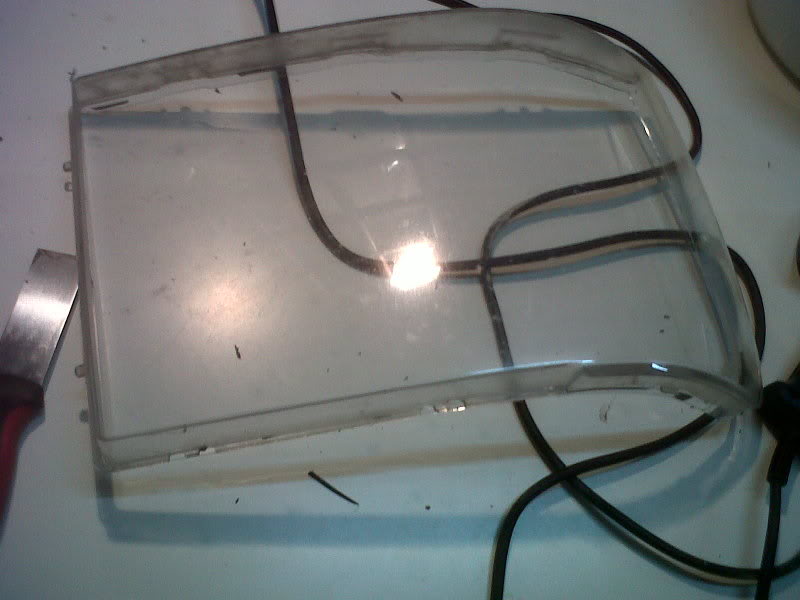
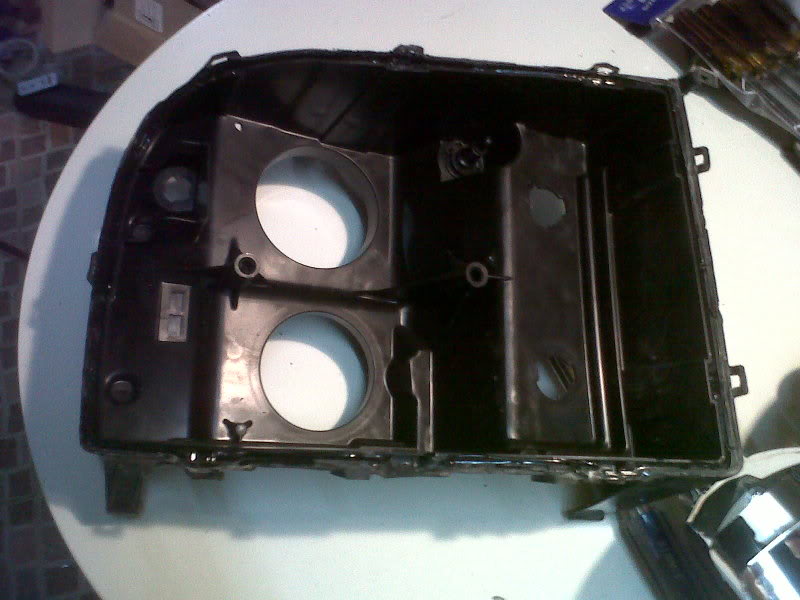
imperfictions of the OEM reflector
projector with the shroud on, it has a space inside for led angle eyes , i might consider those in the future
naked projector
bulbs
here is what i have done
i bought 4 fx-r projectors , gattling gun shrouds, morimoto 5five bulbs and ballasts 4300k m with the harness.
the stuff has been sitting untill i finishd me collage exams i open the box 3 times a week to check the stuff lol
sorry for the low quality pic's all i had was my 3.2MP blackberry
i started with the marking the hallogen cutoff so i sawped back from my PNP to the hallogen's
my workin area
removed the harness for the heating process
it toke me 1 hour just to peal the lens from the housing because this is my first retro and because i ussed a heat gun, i strongly recomend not to wast time with a heat gun...go to the oven and bake the hole thing for 2 minutes at about 210f
imperfictions of the OEM reflector
07-02-2011, 02:02 AM
#3
TECH Fanatic
Thread Starter
Join Date: Feb 2009
Location: Saudi Arabia
Posts: 1,020
Likes: 0
Received 0 Likes
on
0 Posts
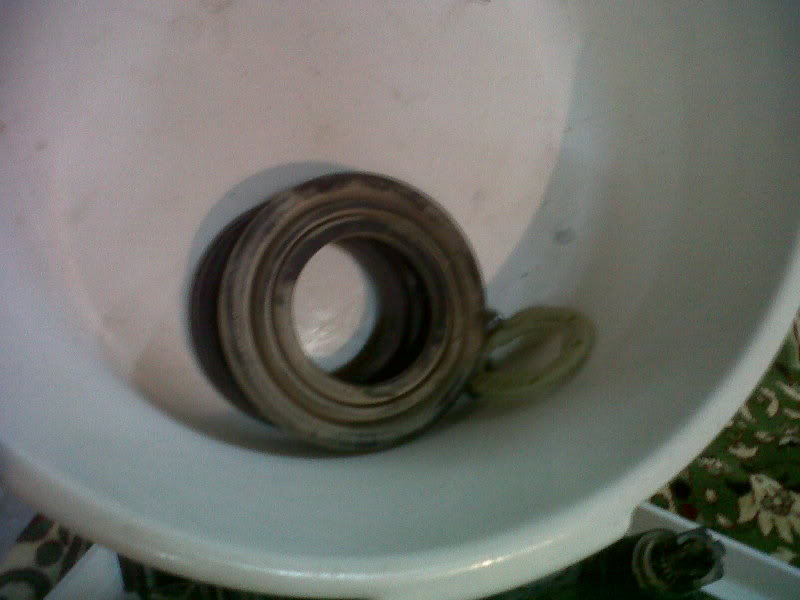
use a powl or any thing to keep all your bolts and littel things in it so you wont lose any
ruber removed
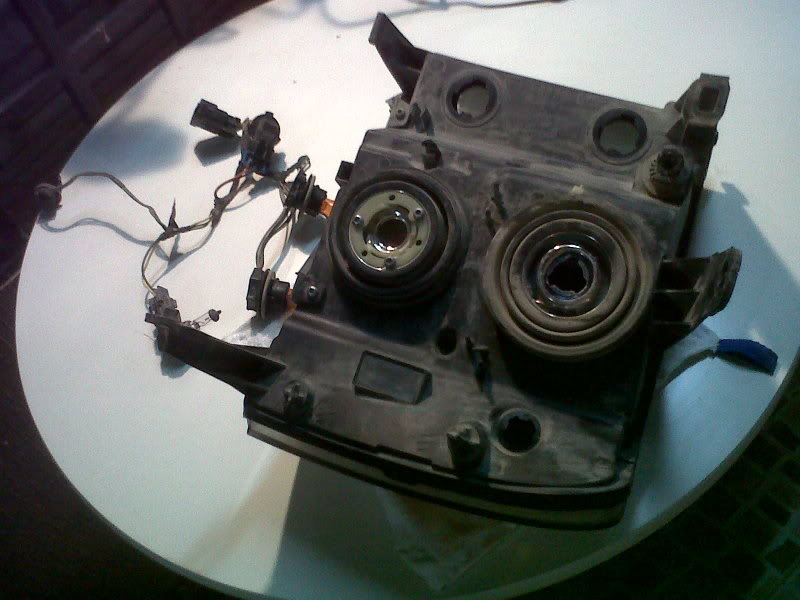
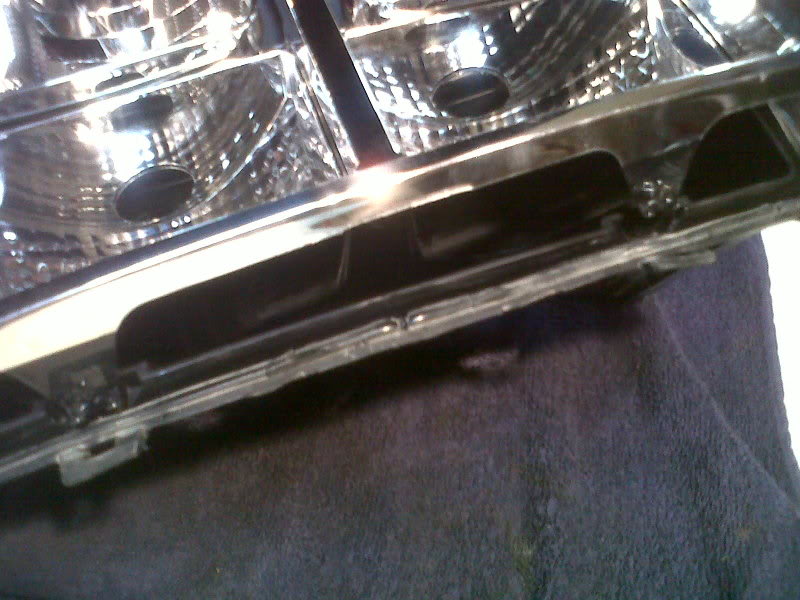
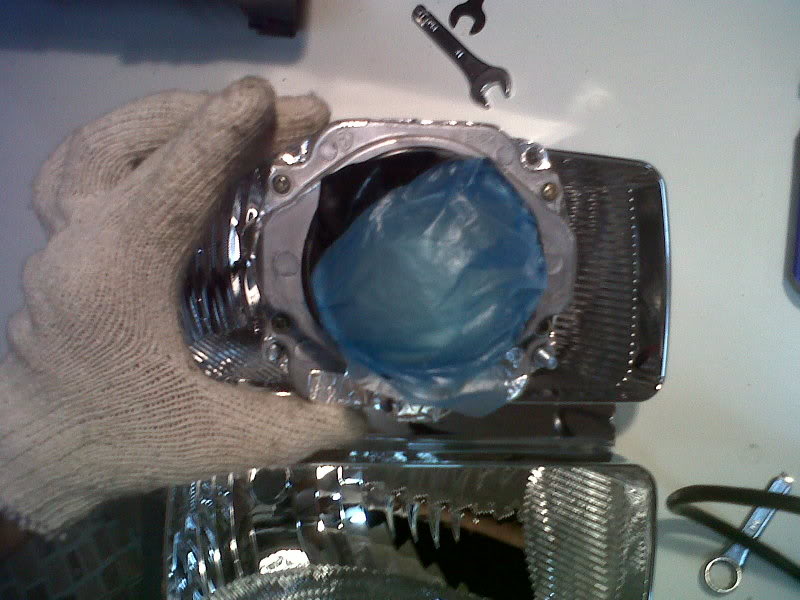
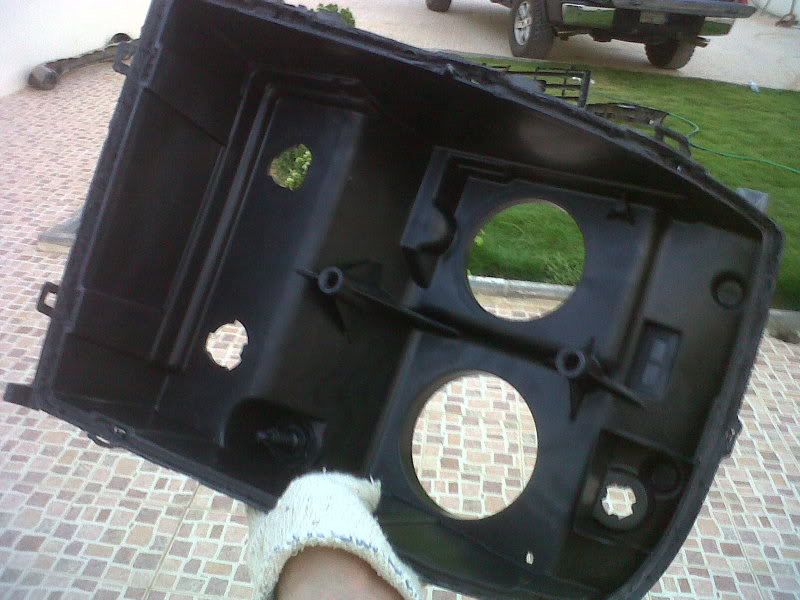
i looked every where for the screws that held the reflector to the housing and didnt find any after drilling two holes in the back...no probs the silicone will close them up just right.
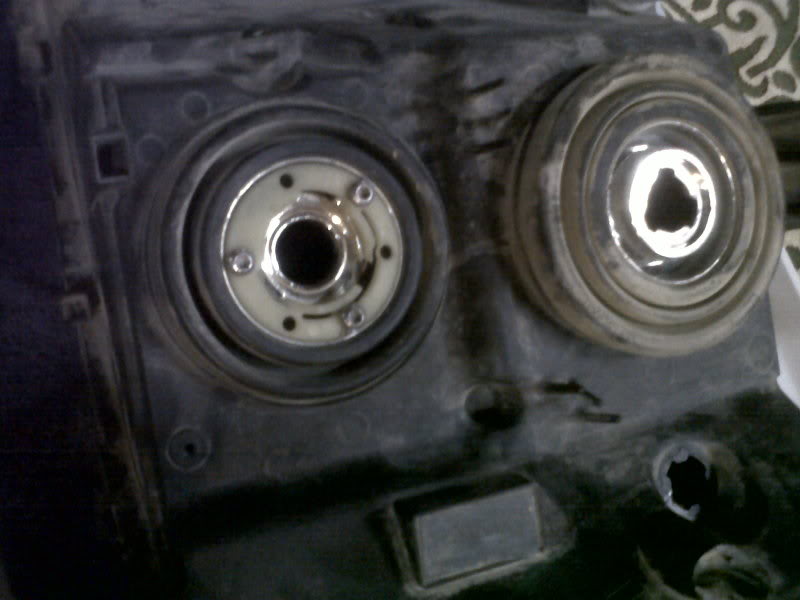
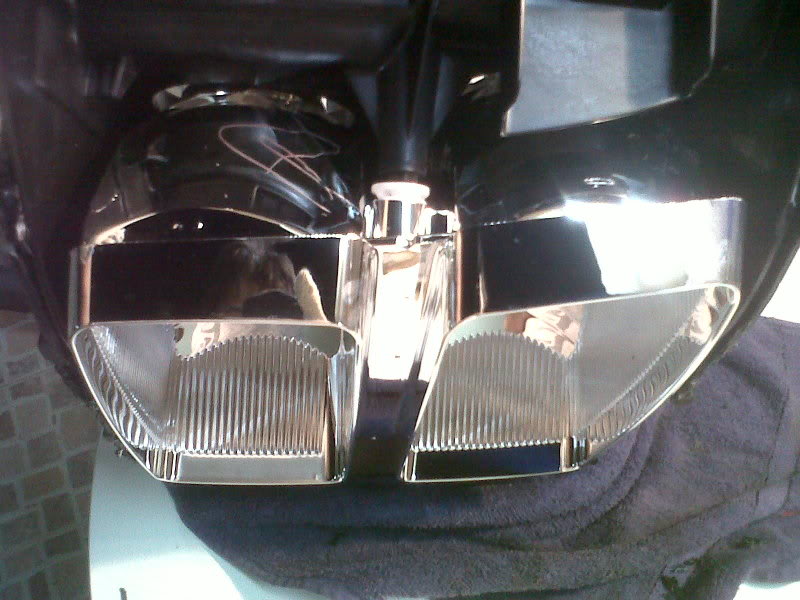
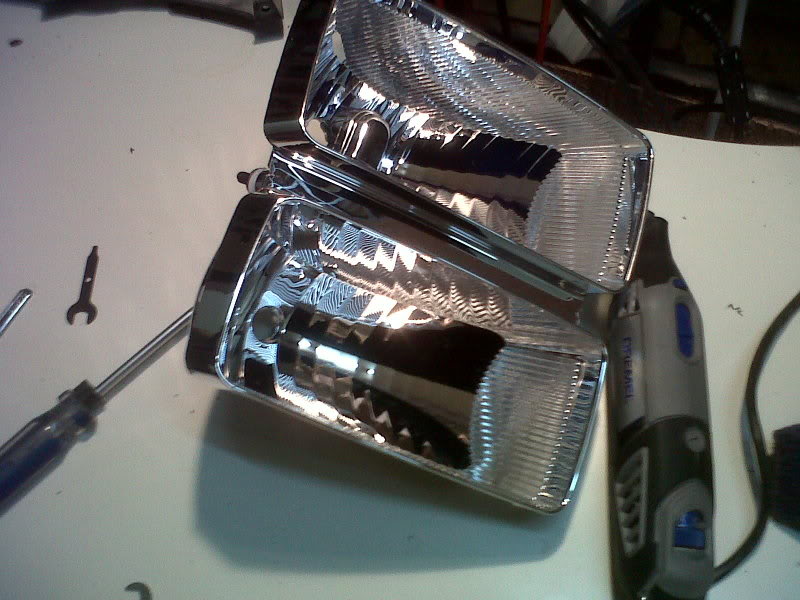
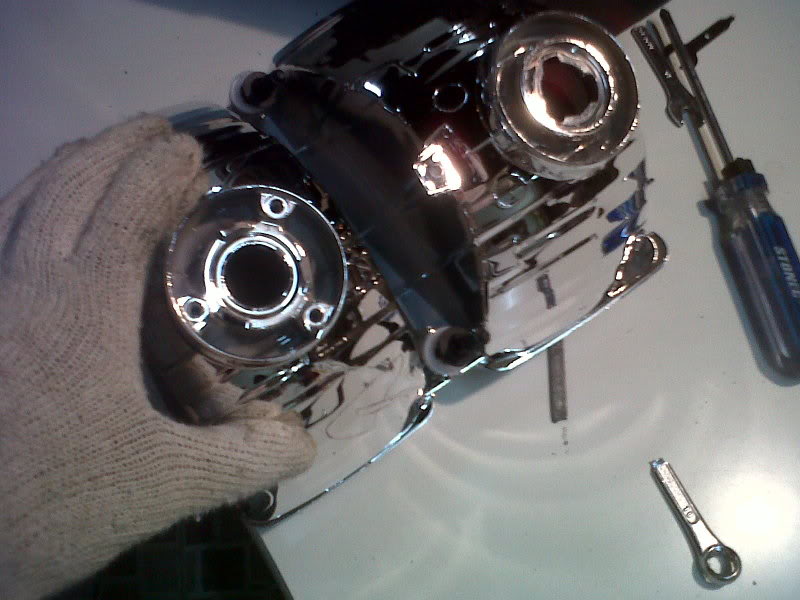
the reflector is acctually two parts the reflectors for the high and low beams and the signal and liner reflector
the signal reflector was held on the housing with the sealent and somthing i dont know what you call it but ill say clips
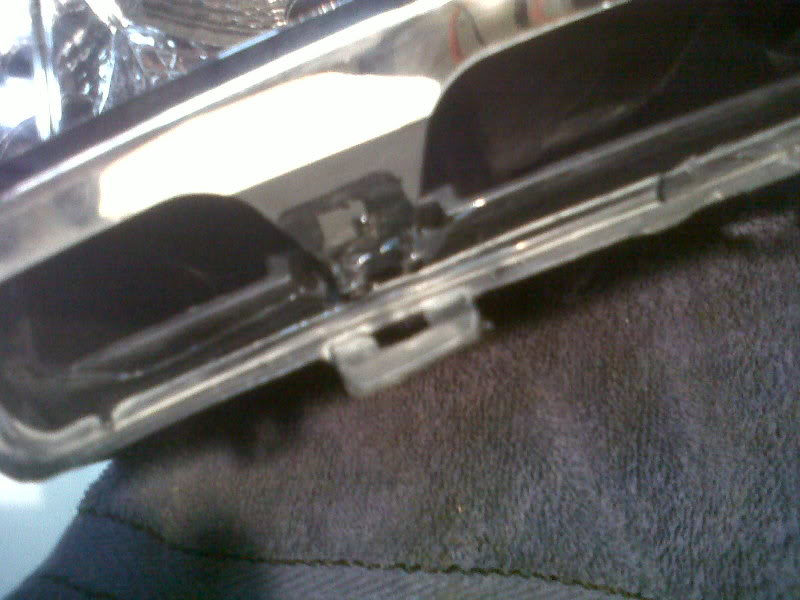
first pice out
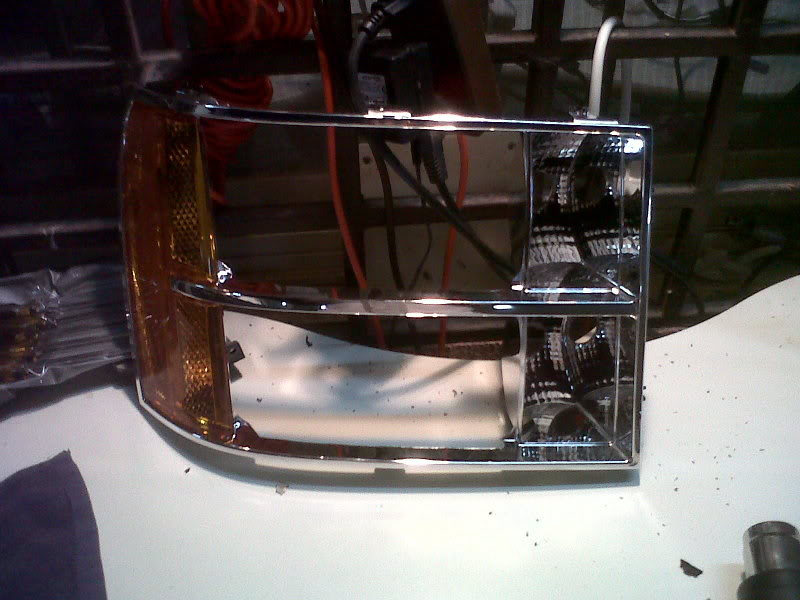
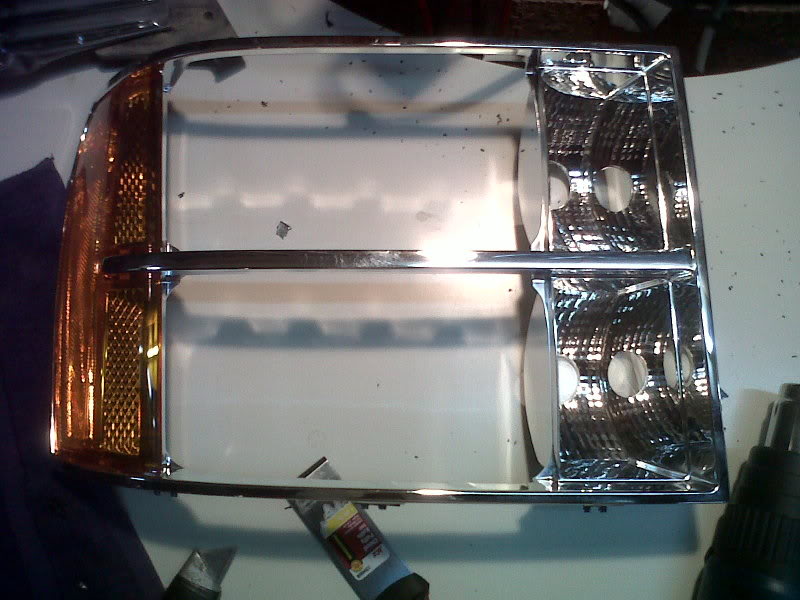
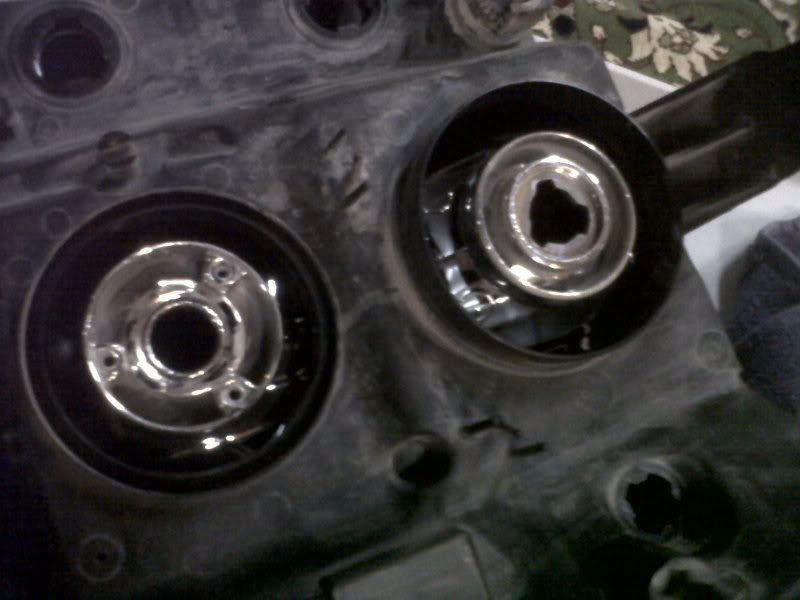
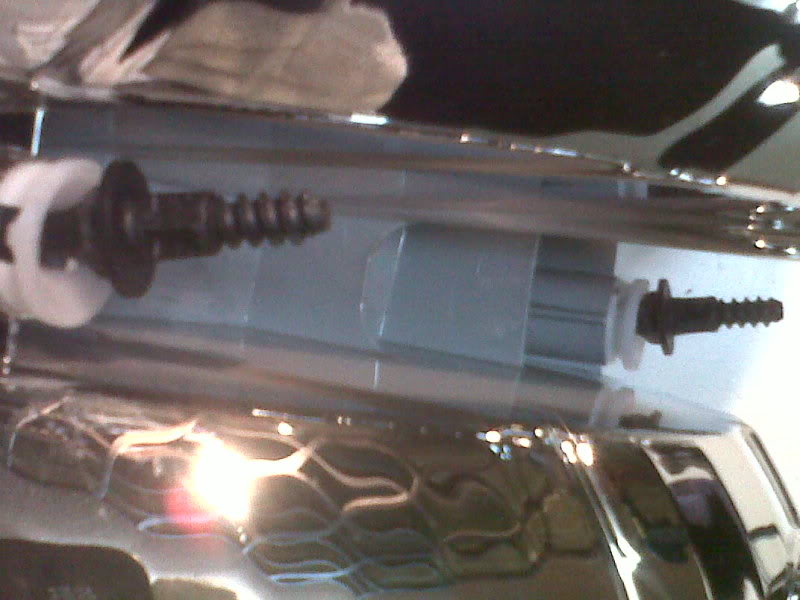
this is the actual reflector
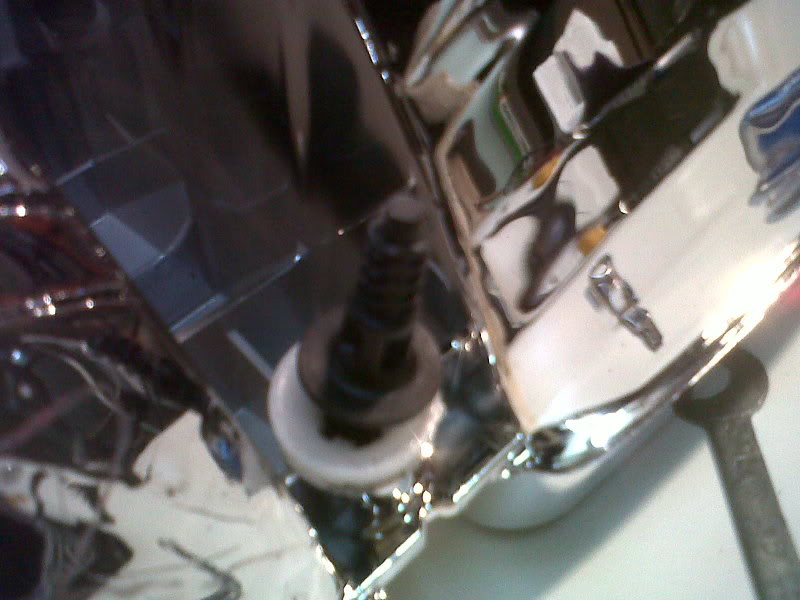
its mounted uisng 2 10 mm plastic bolts that are attached to a flexable plastic adabter( the white piece)
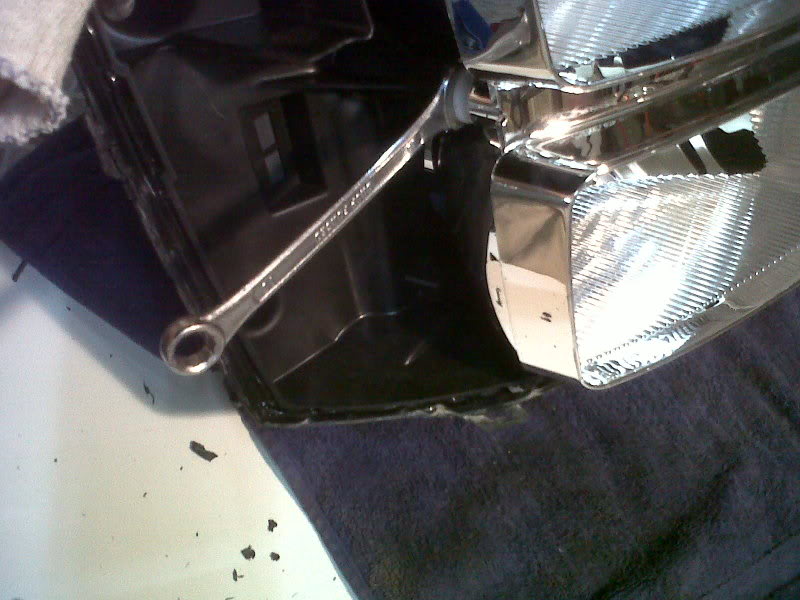
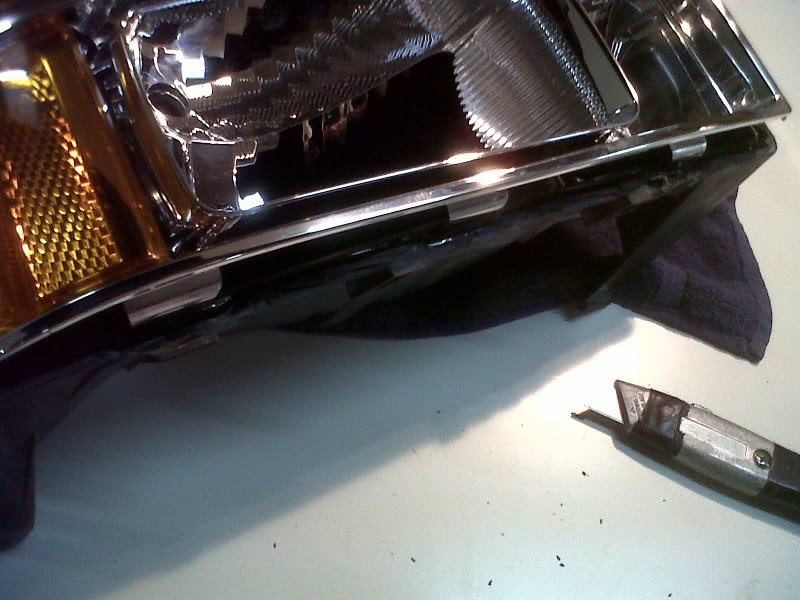
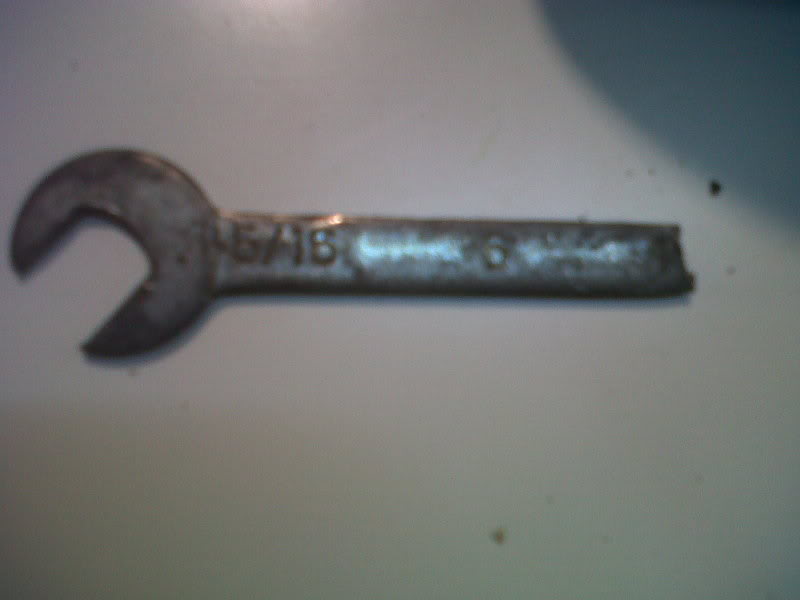
the second bolt was in the inner side and it was so tight i couldent use my 10mm wrench so i used this 5/16
WAAAAAAAAA!!
didnt work
so i cuted my wrench

this is the inner side bolt
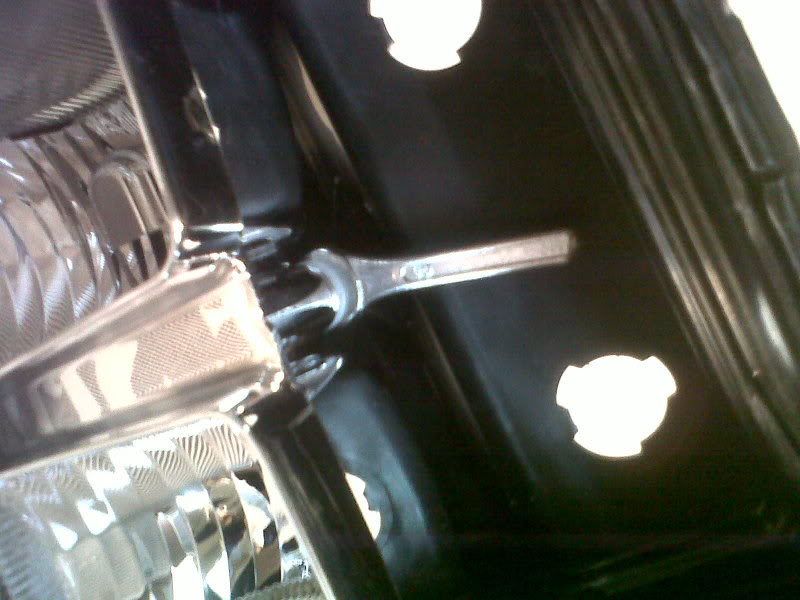
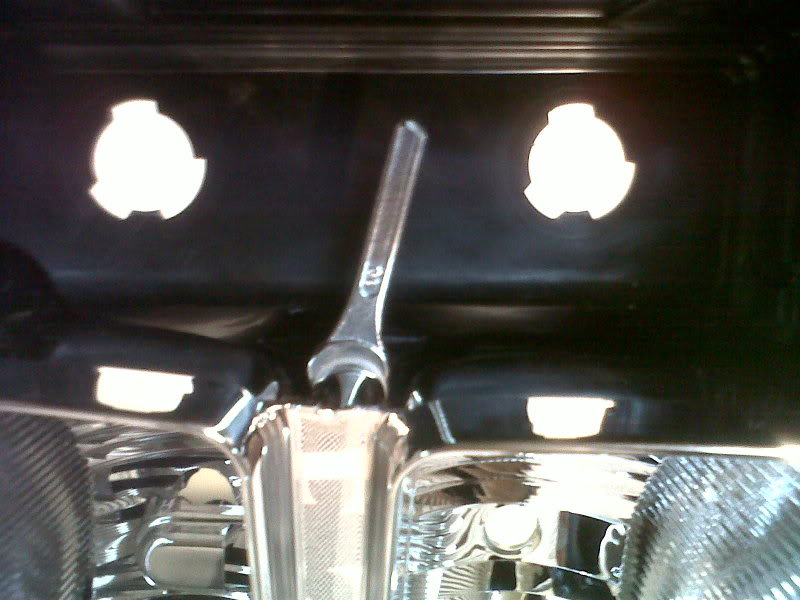
its out....damn hard
befor you hurry up and pull it...there is a holding point at the adjusting screw..
you dont need a wrench on that one just pop it firmly and slowly
the plastic bolt at the back of the reflector
 07-02-2011, 02:03 AM
#4
TECH Fanatic
Thread Starter
Join Date: Feb 2009
Location: Saudi Arabia
Posts: 1,020
Likes: 0
Received 0 Likes
on
0 Posts
this projector is the mokeup projector
the projector is alot taller than the reflector
the shroud
so i cuted the mokeup projector and i fWONked it up ... i orderd another one i still have 3 good ones so ill complete this unit and wait untill the replacement projector arrives and do the driver's side
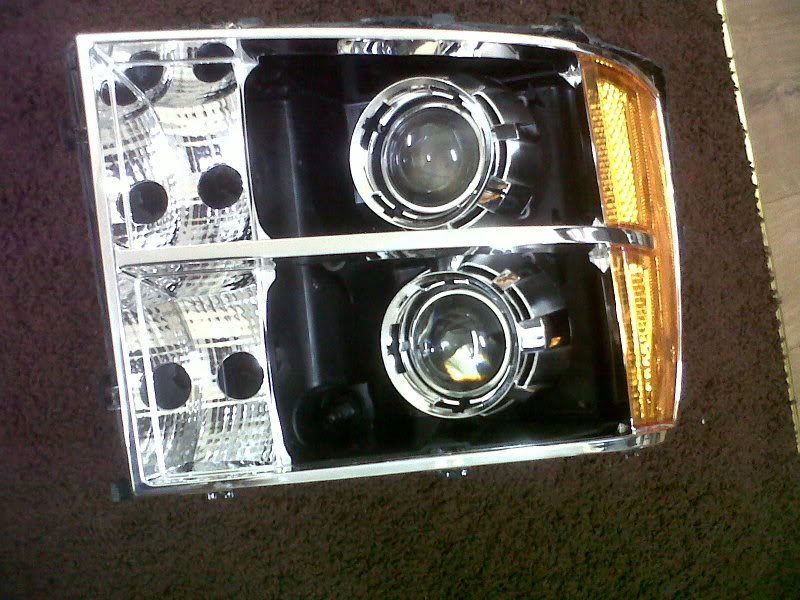
this is my goal... i wont be using the oem reflectors and wont use the acrilc eather
it looks so good that way and looks tough too i want to show some details like bolts and stuff to make it look like a heavy duty setup
i dont mind the look
i thought about the mounting method , what to chose from , the cheap and easy epoxy/silcone rote or the better JnC method..
i wint with the JnC , the adjusting option is always appricated.
i cleand the housing from the old robber PITA, for any one that will use this as a "how to" heat the rubber with a heat gun and use a small flat blade screw driver,and a wide paint removeing blade
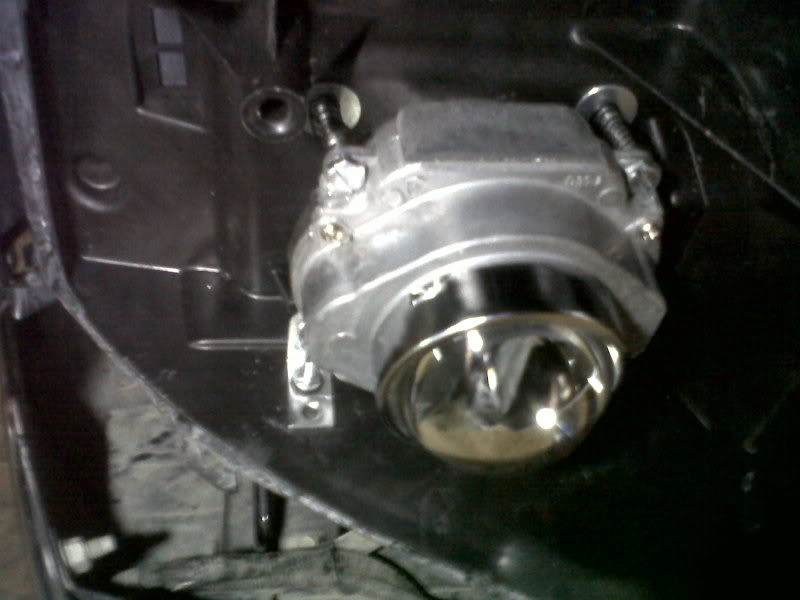
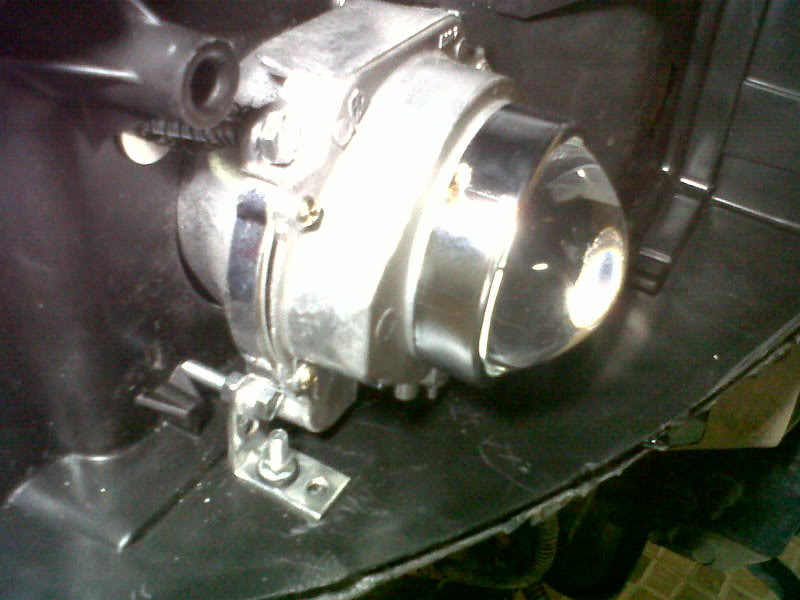
set the projector temporarly to adjust and mark the drilling holes
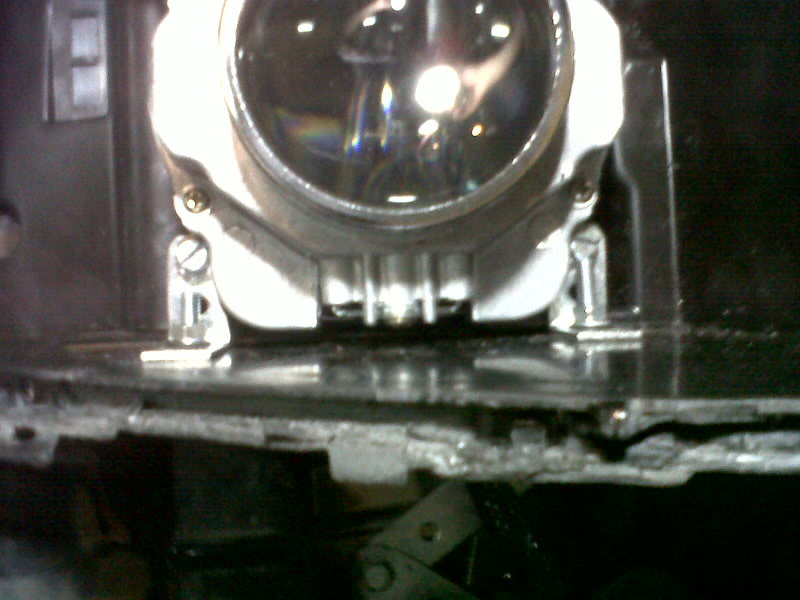
drilled the holes and monted the two " L" braket on the bottom of the projector using 8 mm to adjust the beam hight
this is how i used the bolt
nut
washer
rubber grommet
L bracket
=housing=
rubber grommet
washer
bolt head
here i did the upper mounts/ adjusters i used 10mm bolts with 80mm length
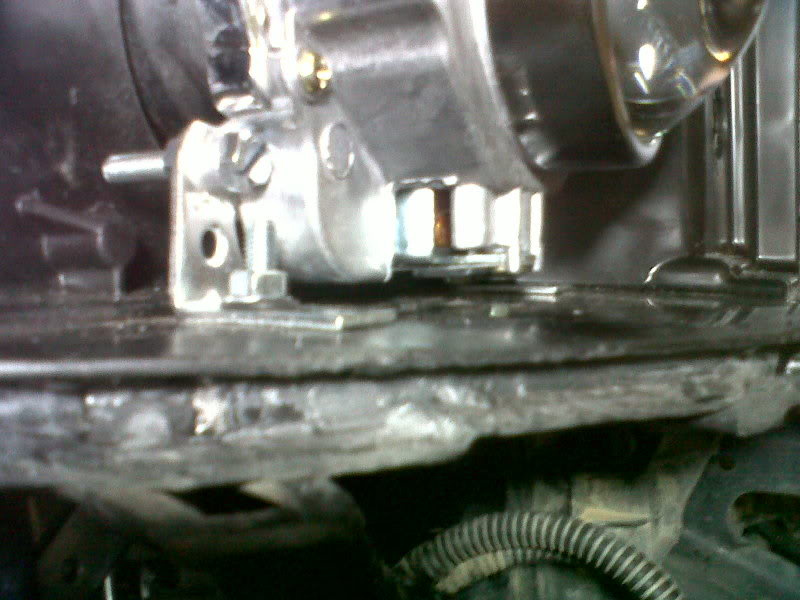
here is the upper adjusters/mounts setup
10mm bolt x 80 mm length
projector
coil spring
10mm washer
housing
10mm washer
10mm nut
10mm nut
i might add another nut cause the first 2 can be moved easy
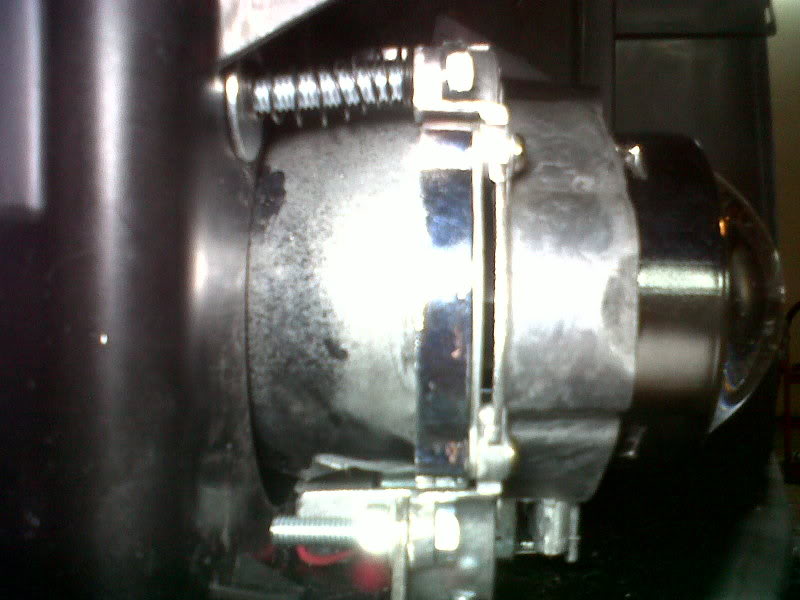
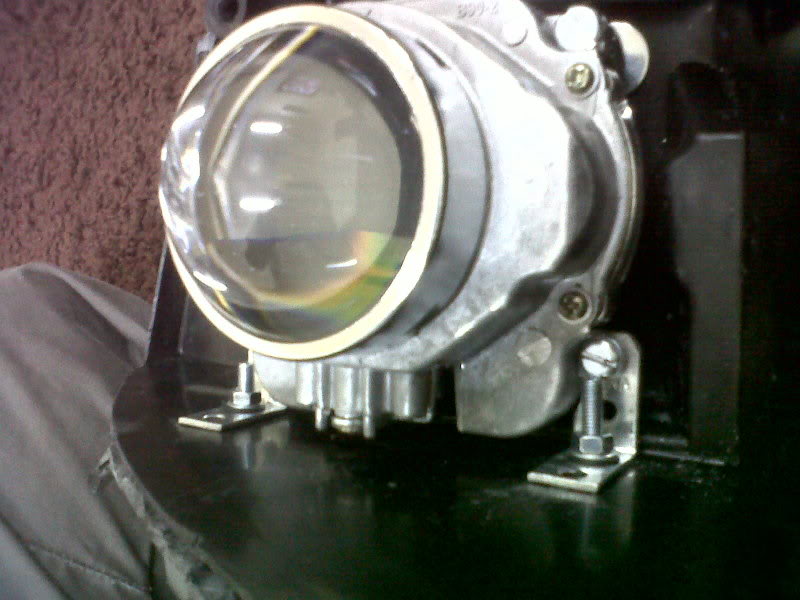
here is a back view of the projector and adjusting bolts
side

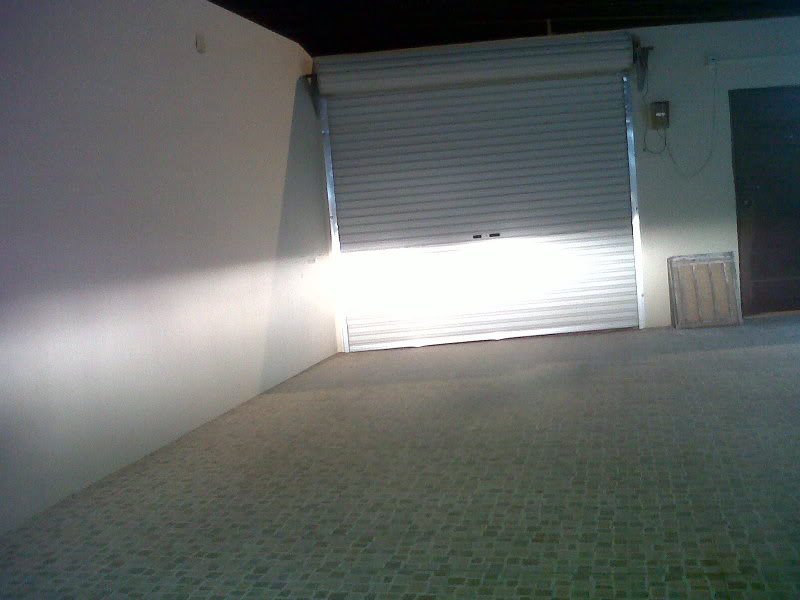
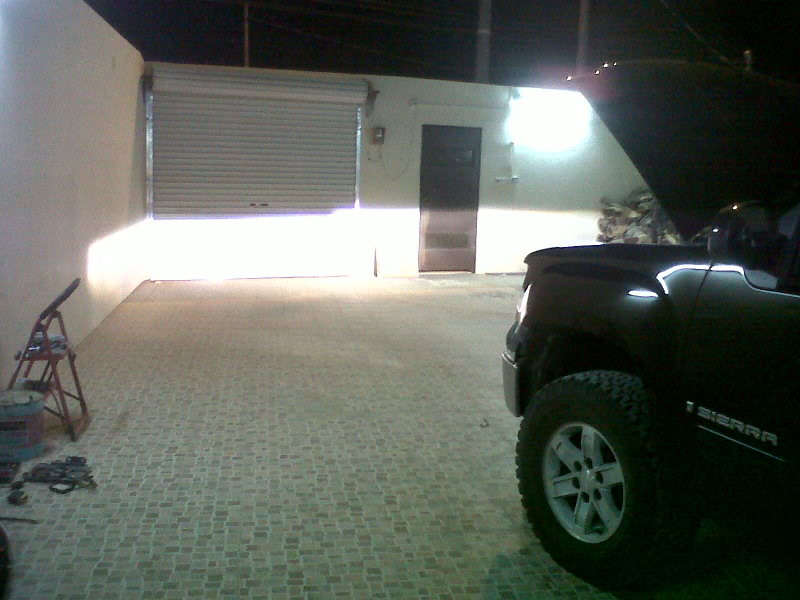
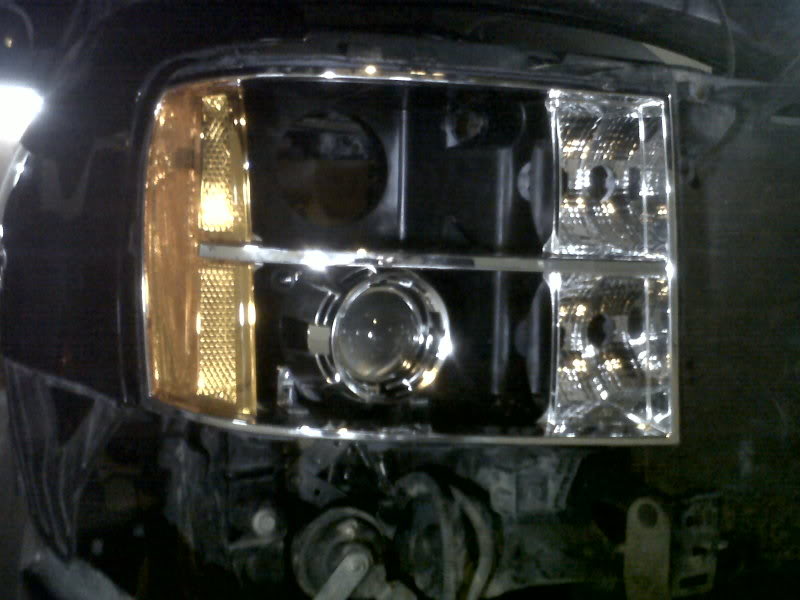
low beam after adjusting...this is ONE projector
 07-02-2011, 02:03 AM
#5
TECH Fanatic
Thread Starter
Join Date: Feb 2009
Location: Saudi Arabia
Posts: 1,020
Likes: 0
Received 0 Likes
on
0 Posts
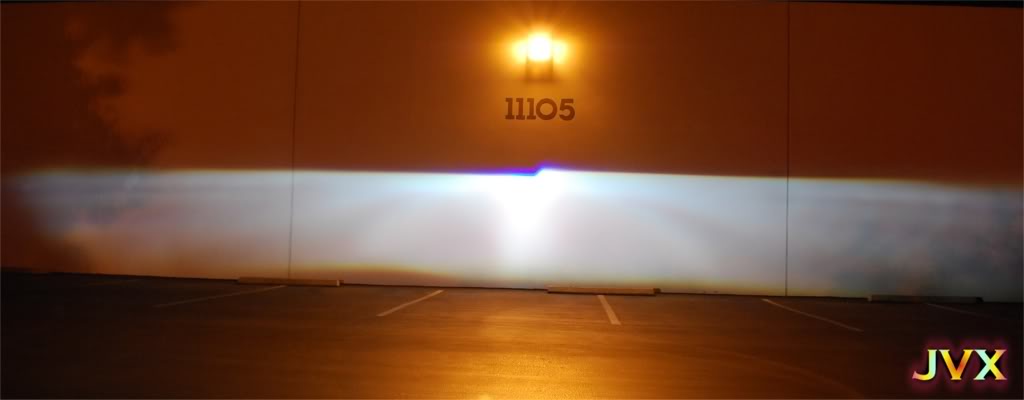
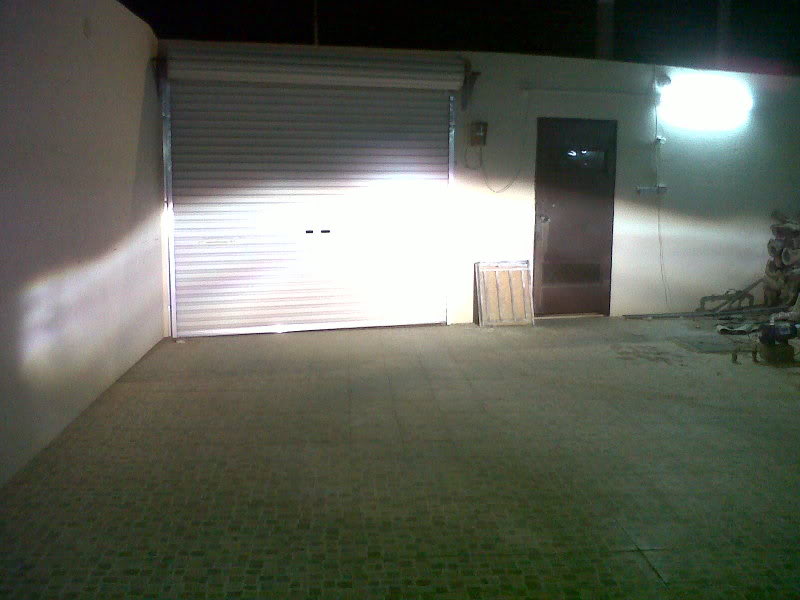
high beam after adjusting
testfitting to make sure it fits with no probs with the otter reflector
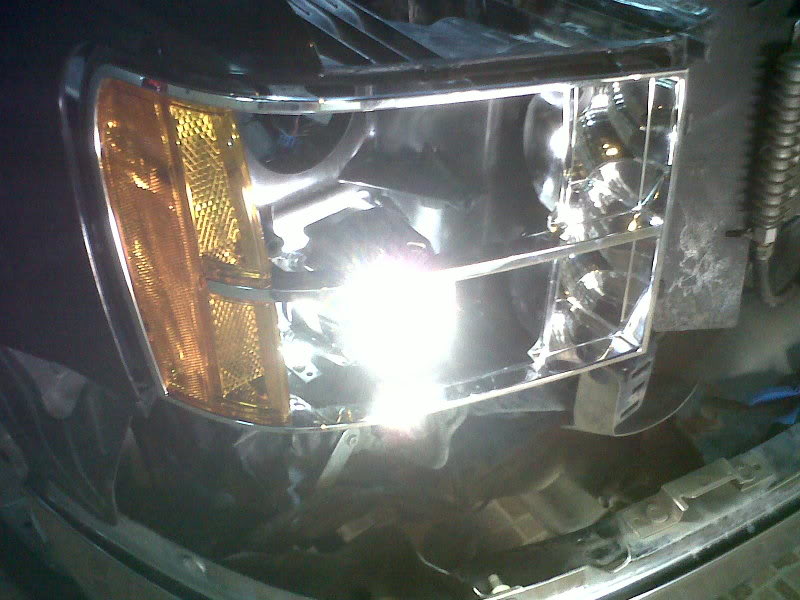

more pics

thats all i did for now... im taking my time because im waiting for a replacement for the broken projector...
hope you enjoyed this, this will be ubdated as soon as i get the new projectors in
testfitting to make sure it fits with no probs with the otter reflector
more pics
thats all i did for now... im taking my time because im waiting for a replacement for the broken projector...
hope you enjoyed this, this will be ubdated as soon as i get the new projectors in

Trending Topics
 07-02-2011, 11:23 PM
#9
TECH Fanatic
Thread Starter
Join Date: Feb 2009
Location: Saudi Arabia
Posts: 1,020
Likes: 0
Received 0 Likes
on
0 Posts


will be removed or somthing else


