How exactly should I install a Walbro 400 pump in a 99-02 Silverado fuel bucket?
 06-23-2016, 04:11 AM
#1

Hello everyone. I'm installing a Walbro 400 fuel pump in my 2000 Silverado. I've searched around a bit and can't seem to find any examples so I'm hoping for some advice.
Below is what I wrote in my build thread. What is the best way to install an aftermarket fuel pump in the smaller 99-02 fuel bucket?
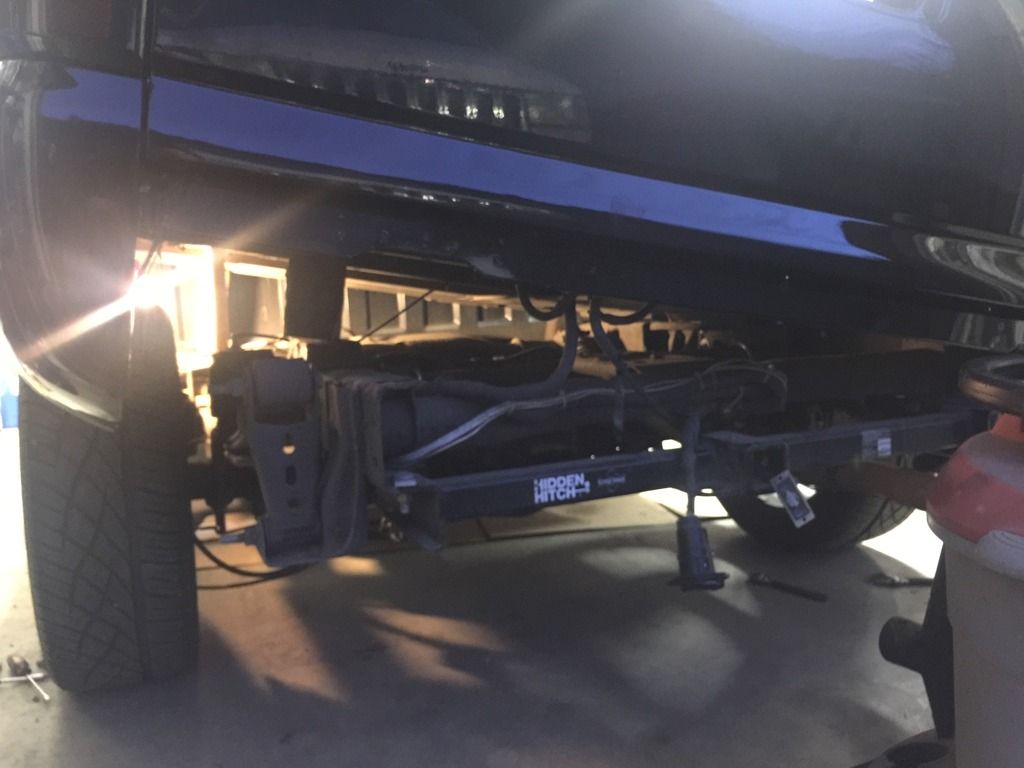
Next up, is installing the Walbro 400 fuel pump. That means, I have to drop the tank or remove the bed. I went with the tilting bed method.
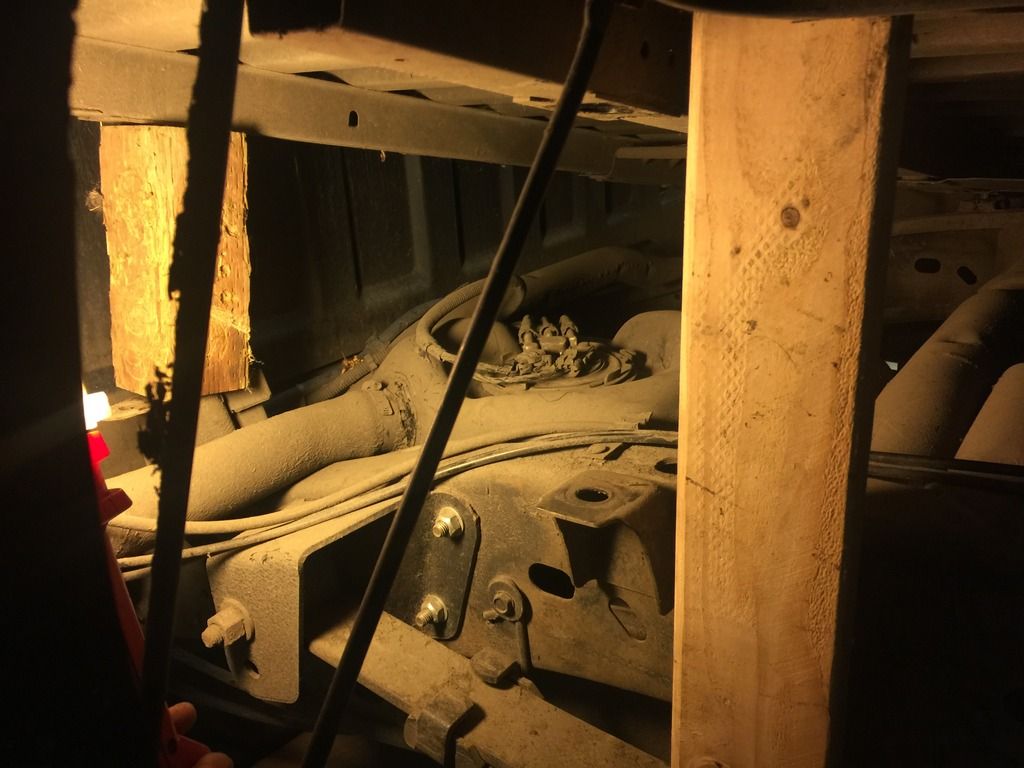
It's covered elsewhere but here's the gist. There are 8 bolts that hold the bed to the frame and 2 bolts that hold the filler neck to the bed. Remove the 4 bolts on the driver's side completely and loosen the 4 bolts on the passengers side. Next, jack or lift the bed up until you can get to the fuel pump. I braced it in 3 different areas with 2x4s and 4x4s.
Once I safely braced the bed in place. I loosened all the dirt surrounding the fuel bucket with my fingers and a screw driver. Then I vacuumed up what I could with a shopvac.
The easiest way for me to get the fuel lines off was to use vacuum hose pliers from harbor freight.
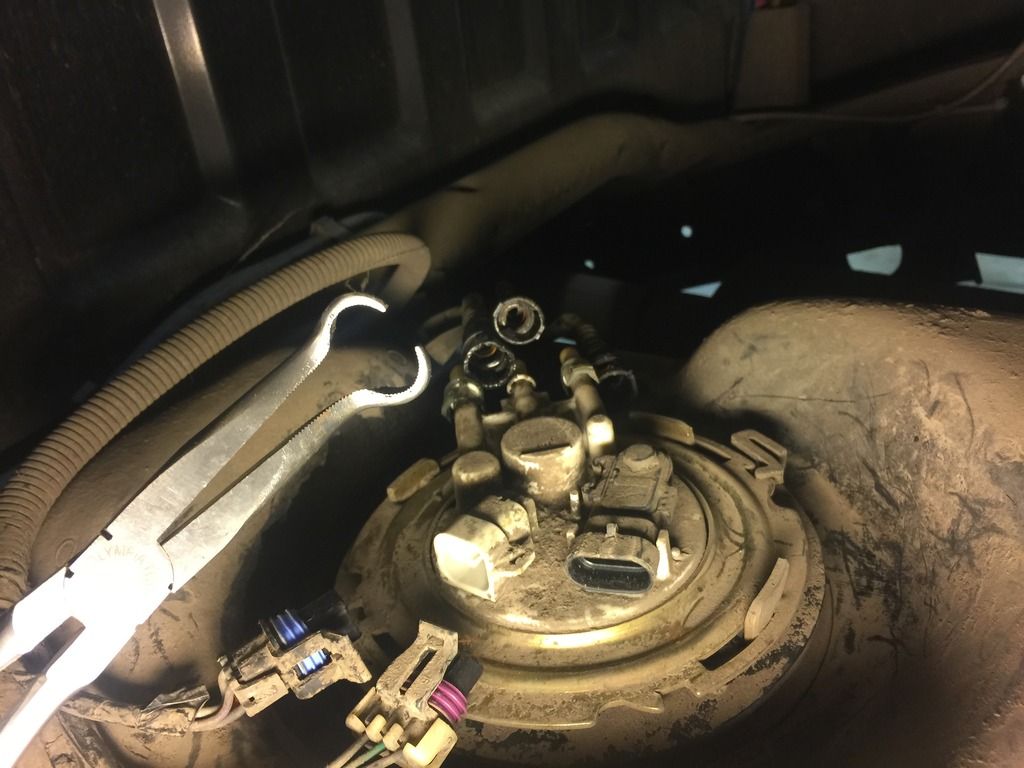
After that, I tapped the locking ring and slowly pulled the bucket out.
Here's my hotwire kit.

I started disassembling the fuel bucket. I have the earliest style fuel system with a return and the older plug style. Luckily my kit came with the upgraded piece. Removing the factory piece was more challenging than it needed to be though.
Here's the difference between the two.
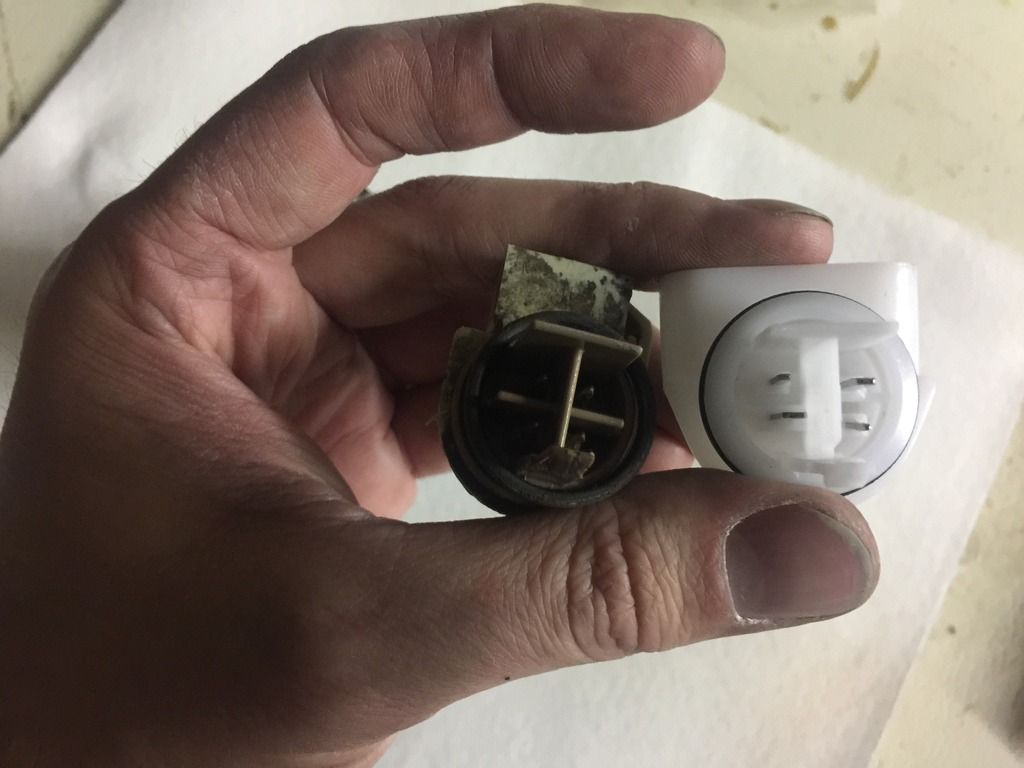
Now, on to the fuel pump. I need some advice here. How should install this?
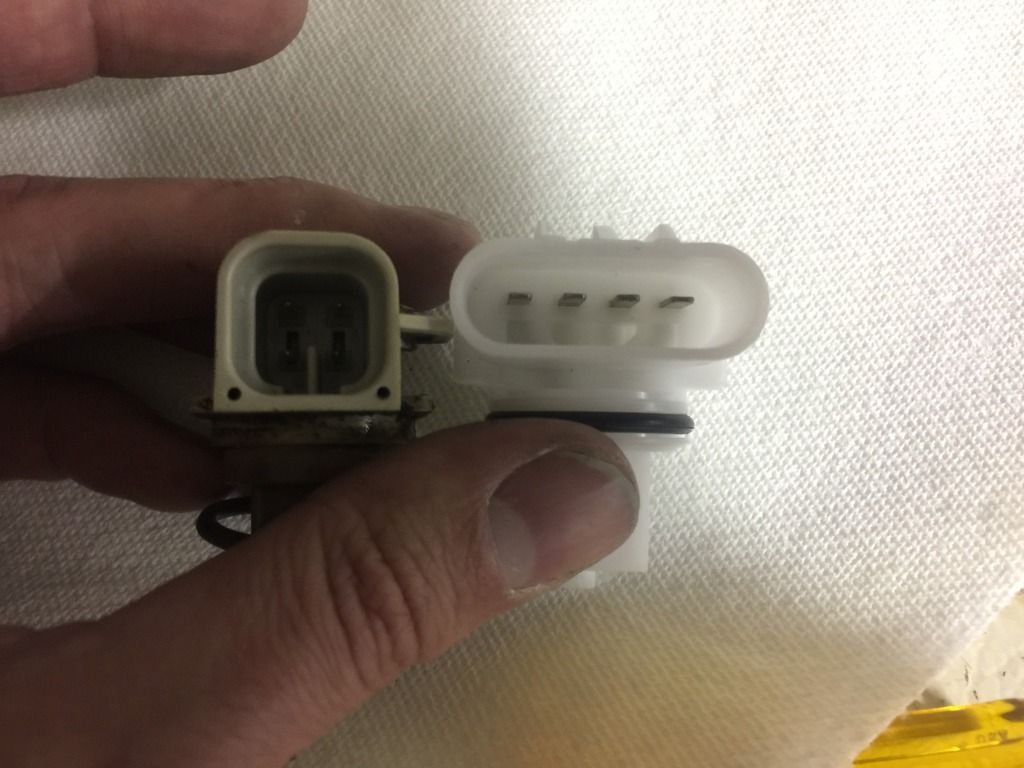
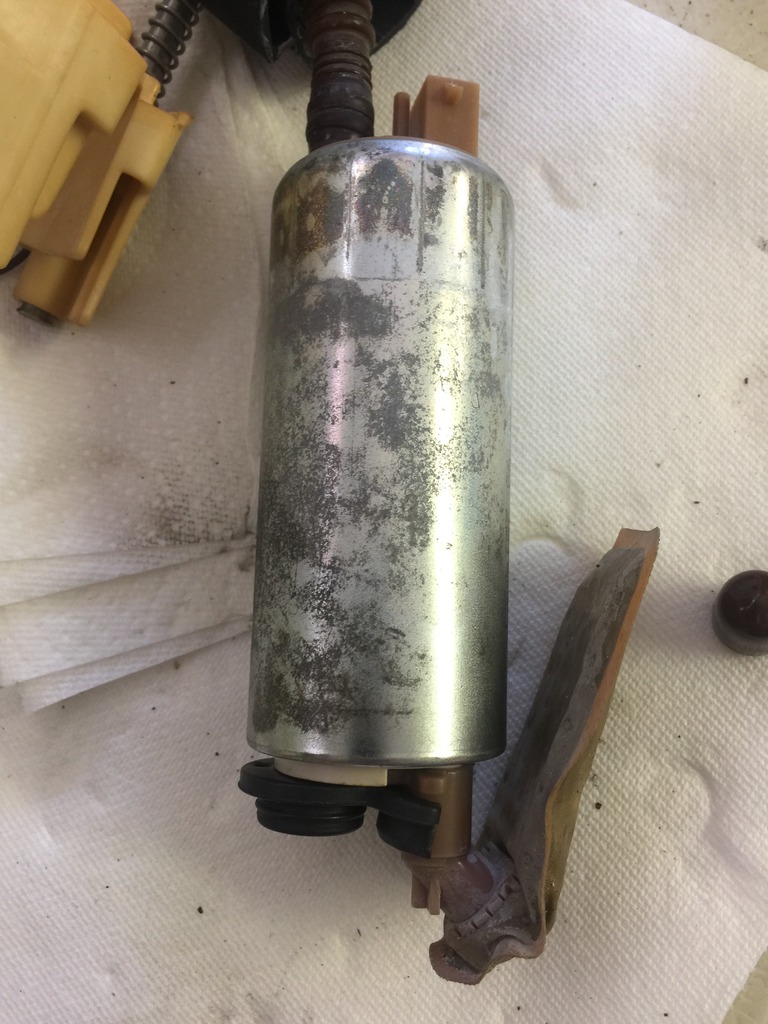
Walbro on the left, factory on the right.
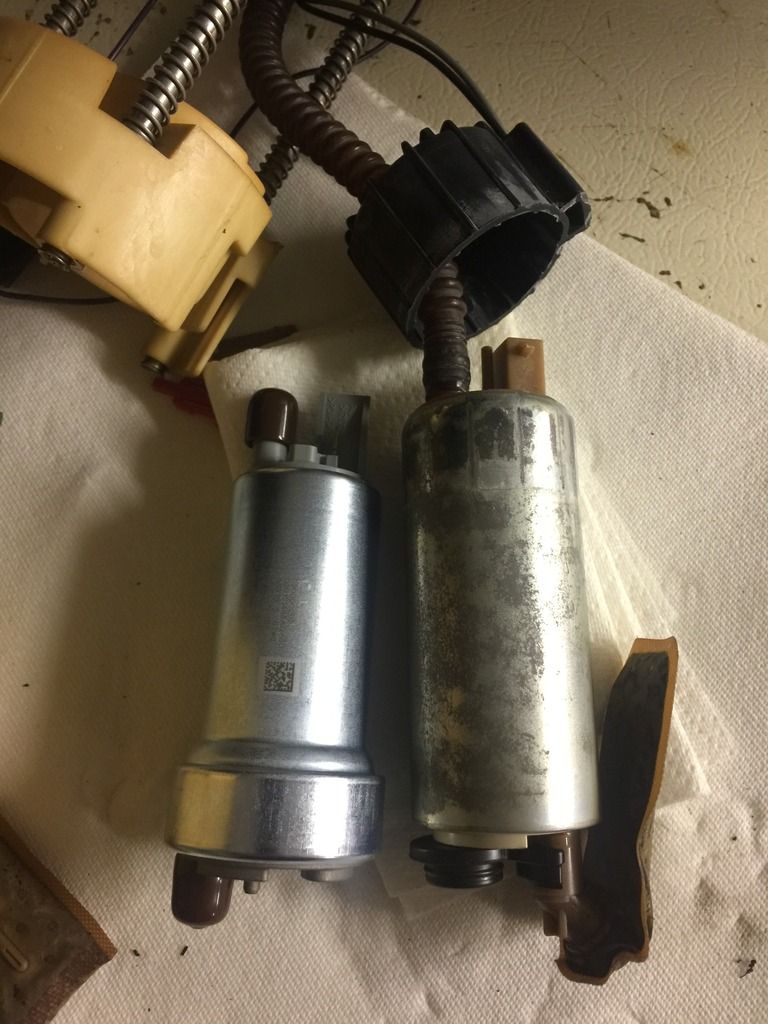
They are so similar in size, that I think I could install the Walbro in place of the factory. I can even fit the factory runner boot on the Walbro pump.
If I were to do that though, I'd trim the rubber piece a little so it fit perfectly.
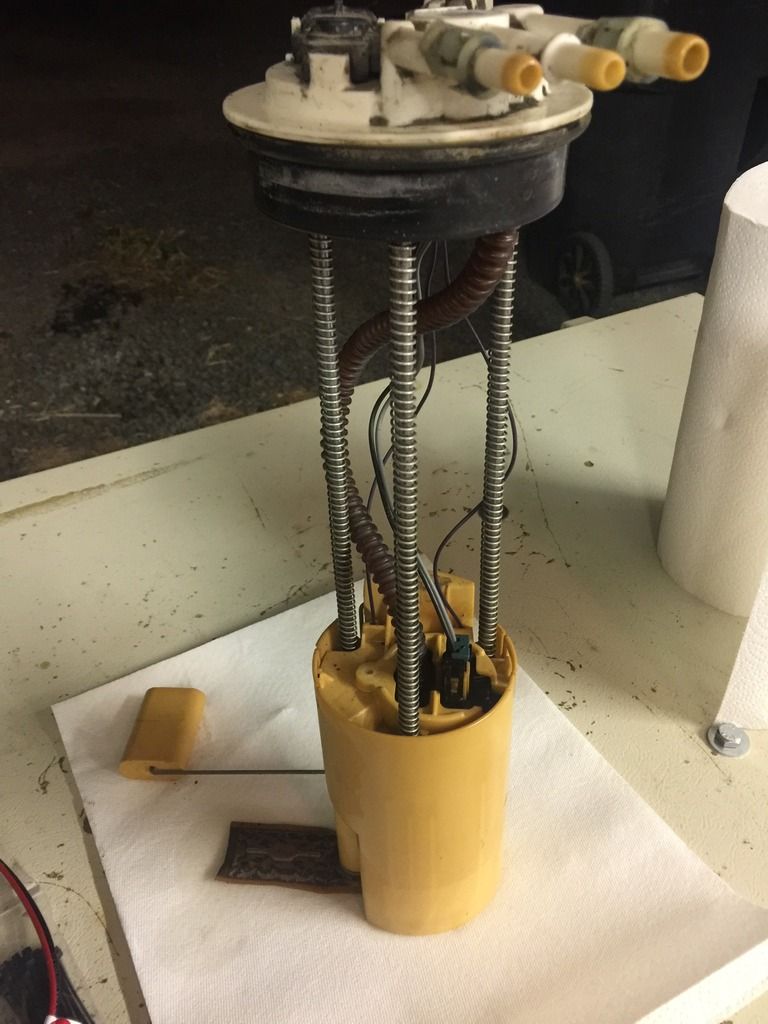
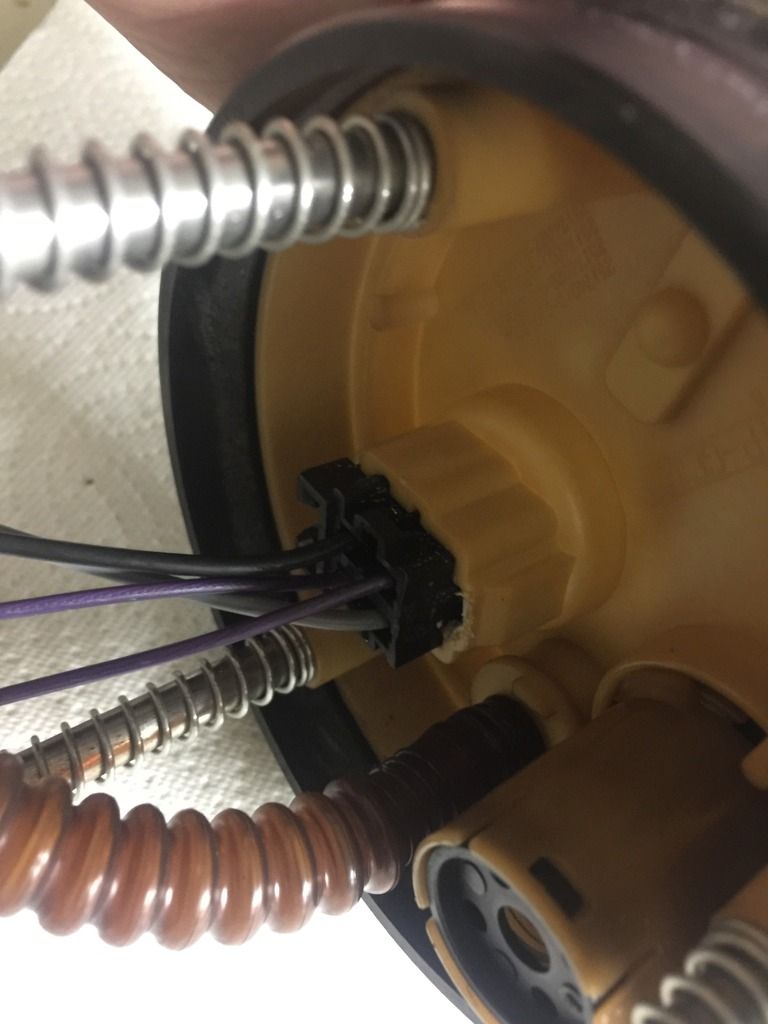
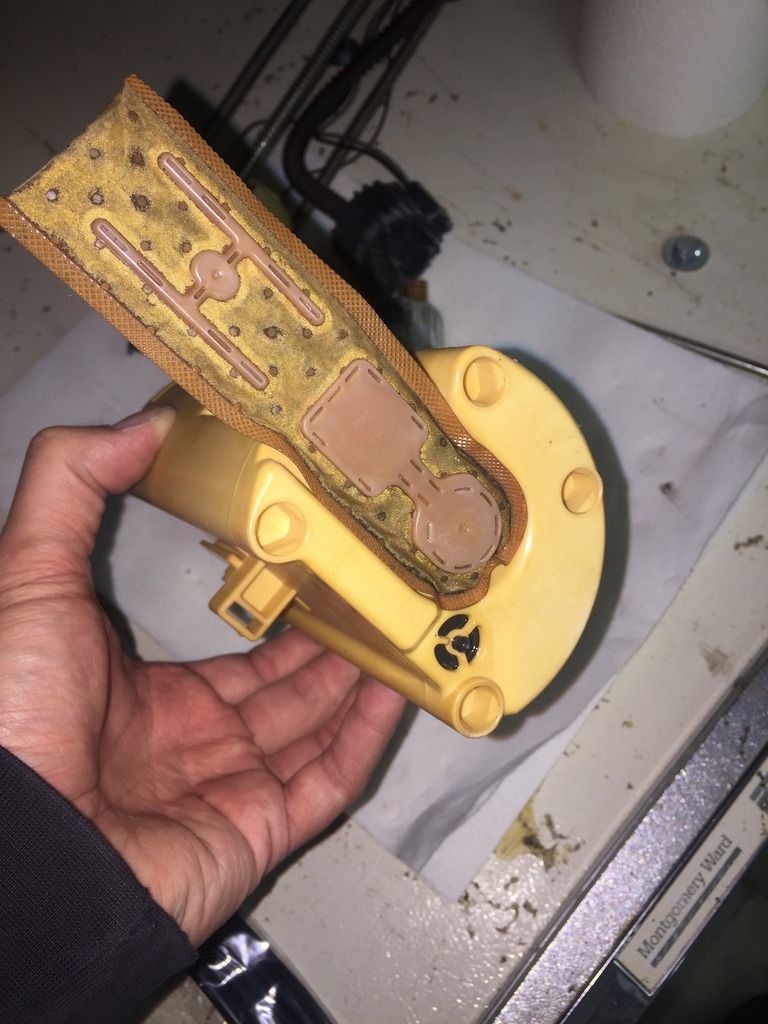
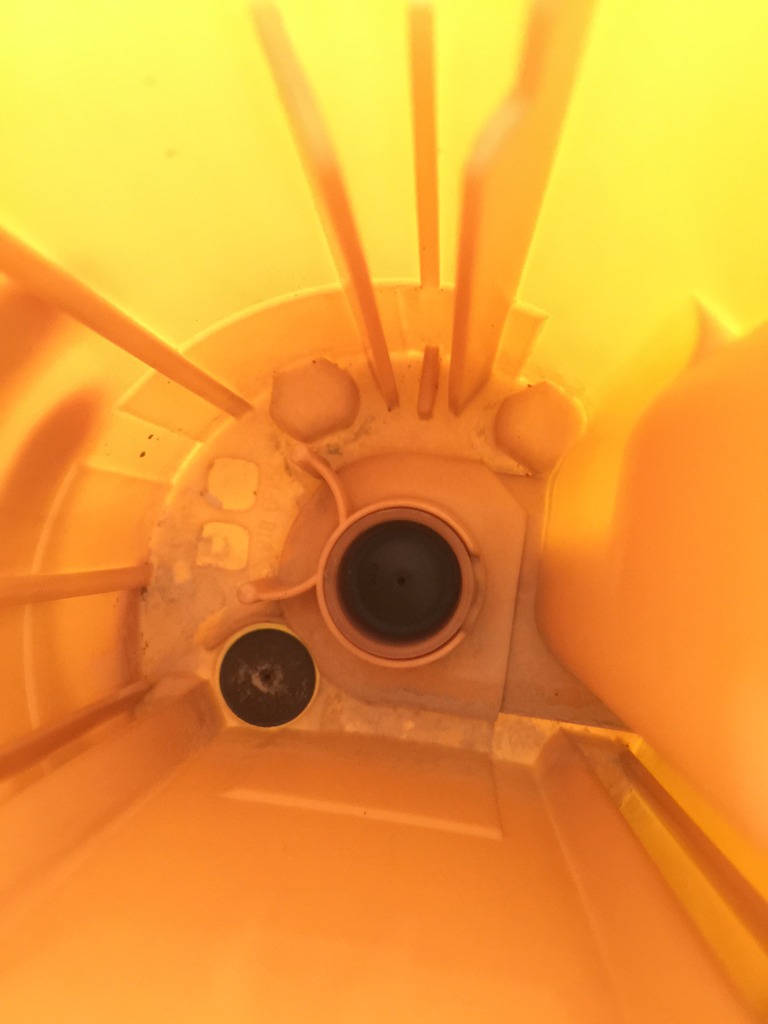
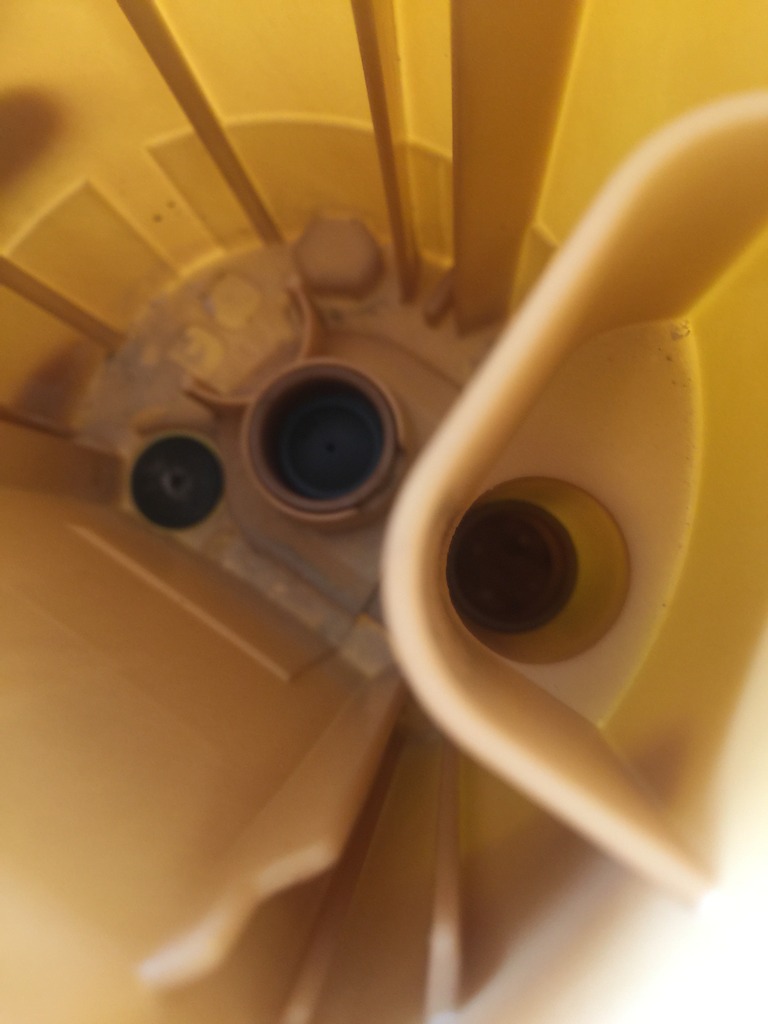
Here's the bucket, it's kinda tiny and odd. The factory fuel pump appears to draw from 2 different places. Seems strange to me.
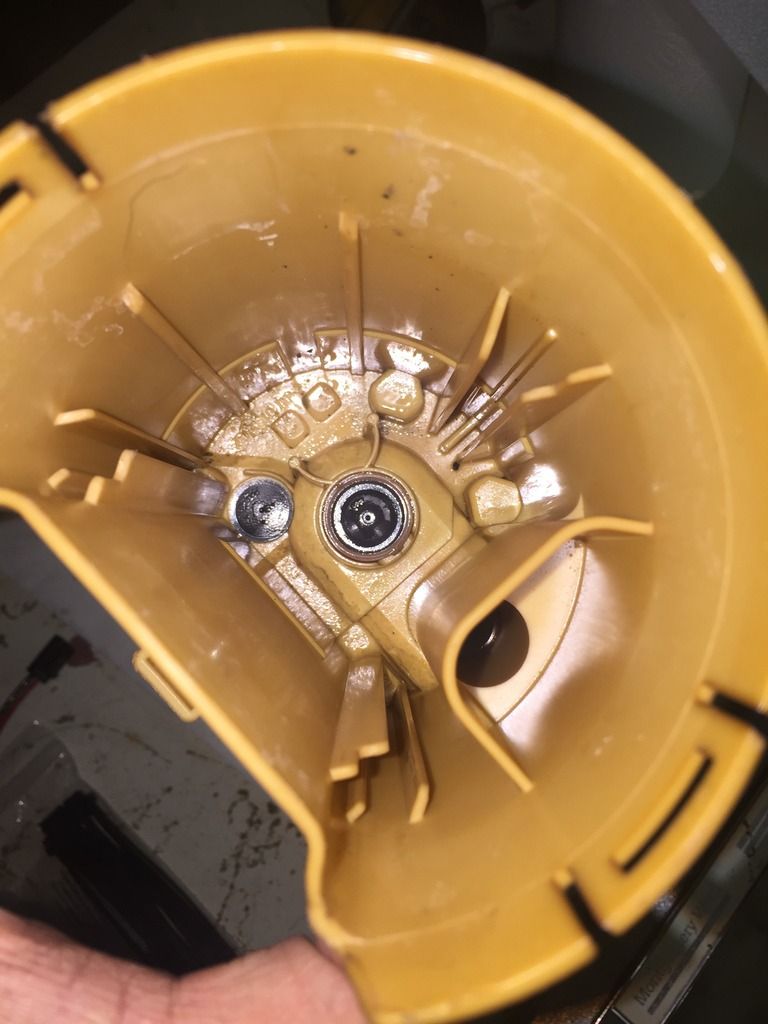
That black rubber piece looks like it's a one way diaphragm.
So, what do I do? Gut it? Cut the bottom of the bucket out and install the sock that came with the Walbro pump? Should I instead attempt to install it in a way that's similar to factory utilizing the rubber piece and factory sock? I'm all ears because I really don't know the best way to go about this.
I know the better solution is to swap in an 04-07 fuel tank. I may end up going that route, but if possible, I'd like to work with what I currently have.
Below is what I wrote in my build thread. What is the best way to install an aftermarket fuel pump in the smaller 99-02 fuel bucket?
Next up, is installing the Walbro 400 fuel pump. That means, I have to drop the tank or remove the bed. I went with the tilting bed method.
It's covered elsewhere but here's the gist. There are 8 bolts that hold the bed to the frame and 2 bolts that hold the filler neck to the bed. Remove the 4 bolts on the driver's side completely and loosen the 4 bolts on the passengers side. Next, jack or lift the bed up until you can get to the fuel pump. I braced it in 3 different areas with 2x4s and 4x4s.

Once I safely braced the bed in place. I loosened all the dirt surrounding the fuel bucket with my fingers and a screw driver. Then I vacuumed up what I could with a shopvac.

The easiest way for me to get the fuel lines off was to use vacuum hose pliers from harbor freight.

After that, I tapped the locking ring and slowly pulled the bucket out.

Here's my hotwire kit.

I started disassembling the fuel bucket. I have the earliest style fuel system with a return and the older plug style. Luckily my kit came with the upgraded piece. Removing the factory piece was more challenging than it needed to be though.


Here's the difference between the two.


Now, on to the fuel pump. I need some advice here. How should install this?
Walbro on the left, factory on the right.

They are so similar in size, that I think I could install the Walbro in place of the factory. I can even fit the factory runner boot on the Walbro pump.

If I were to do that though, I'd trim the rubber piece a little so it fit perfectly.
Here's the bucket, it's kinda tiny and odd. The factory fuel pump appears to draw from 2 different places. Seems strange to me.

That black rubber piece looks like it's a one way diaphragm.

So, what do I do? Gut it? Cut the bottom of the bucket out and install the sock that came with the Walbro pump? Should I instead attempt to install it in a way that's similar to factory utilizing the rubber piece and factory sock? I'm all ears because I really don't know the best way to go about this.
I know the better solution is to swap in an 04-07 fuel tank. I may end up going that route, but if possible, I'd like to work with what I currently have.
 06-23-2016, 09:49 AM
#2
Teching In

Join Date: Mar 2016
Posts: 41
Likes: 0
Received 0 Likes
on
0 Posts
You should never cut your bucket or drill holes in it.. that defeats the purpose of a "bucket" its intention is to aspirate and keep fuel around the pump during a low fuel condition to ensure the pump doesn't suck air and burn up.
The sock that came with the new pump should be installed on the inlet of the new pump to keep contamination from entering the pump causing premature failure.
Im not 100% sure what that black rubber piece does without seeing the inlet of the factory pump. It could be a number of things.
The sock that came with the new pump should be installed on the inlet of the new pump to keep contamination from entering the pump causing premature failure.
Im not 100% sure what that black rubber piece does without seeing the inlet of the factory pump. It could be a number of things.
06-23-2016, 03:10 PM
#3

The black piece lets fuel into the bucket but not out I read somewhere. I took it out of my bucket when I installed my gss 340. After I put everything back together I thought it would have been better to of left it in.
06-23-2016, 03:53 PM
#4
I guess my question is should I just cut the bottom of the bucket off, fasten in the fuel pump, and never go below 1/4 tank, or should I press the pump into the factory location knowing that it'll only draw from outside the bucket?
 06-24-2016, 08:30 AM
#6
Teching In
Join Date: Mar 2016
Posts: 41
Likes: 0
Received 0 Likes
on
0 Posts
The black rubber circle to the left of your arrow is called an umbrella valve. that allows the bucket to static fill when submerged in fuel.. I would NOT drill any additional holes in the bucket. as this valve is intended to do what your attempting to do by drilling a hole. It also closes to keep fuel in the bucket when the module is not running to ensure you have a reservoir of fuel for start-up
Is there an aspiration jet on that module? how is it being driven? typically they are driven by a bleed that comes off the top of the pump connected via a small hose. that is what will keep the bucket full under 1/4 tank.
Is there an aspiration jet on that module? how is it being driven? typically they are driven by a bleed that comes off the top of the pump connected via a small hose. that is what will keep the bucket full under 1/4 tank.
Trending Topics
06-24-2016, 02:08 PM
#8
The black rubber circle to the left of your arrow is called an umbrella valve. that allows the bucket to static fill when submerged in fuel.. I would NOT drill any additional holes in the bucket. as this valve is intended to do what your attempting to do by drilling a hole. It also closes to keep fuel in the bucket when the module is not running to ensure you have a reservoir of fuel for start-up
Is there an aspiration jet on that module? how is it being driven? typically they are driven by a bleed that comes off the top of the pump connected via a small hose. that is what will keep the bucket full under 1/4 tank.
Is there an aspiration jet on that module? how is it being driven? typically they are driven by a bleed that comes off the top of the pump connected via a small hose. that is what will keep the bucket full under 1/4 tank.
I should have been more clear. When I say drill a hole in the bucket, I didn't mean in the bottom. I meant in the side on that bump. The factory fuel pump draws from 2 locations, inside and outside the bucket. Drilling a hole in that bump would essentially allow the pump to draw from the inside and outside simultaneously, but still, I see your point. Drilling a hole in the bottom or in the bump will allow for fuel to drain out of the bucket. Unfortunately I don't think there's a better solution in this situation. If that means keeping the tank above 1/4 at all times, then so be it.
What else can I do? Modify the Walbro so it has 2 inlets?
06-24-2016, 05:04 PM
#9
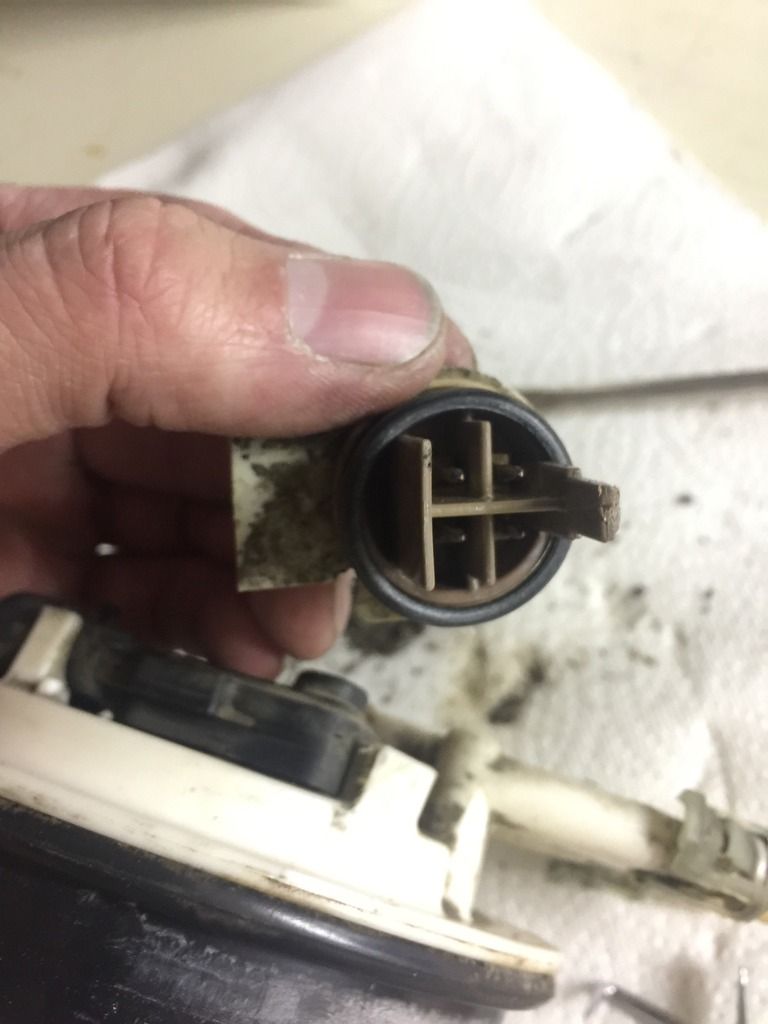
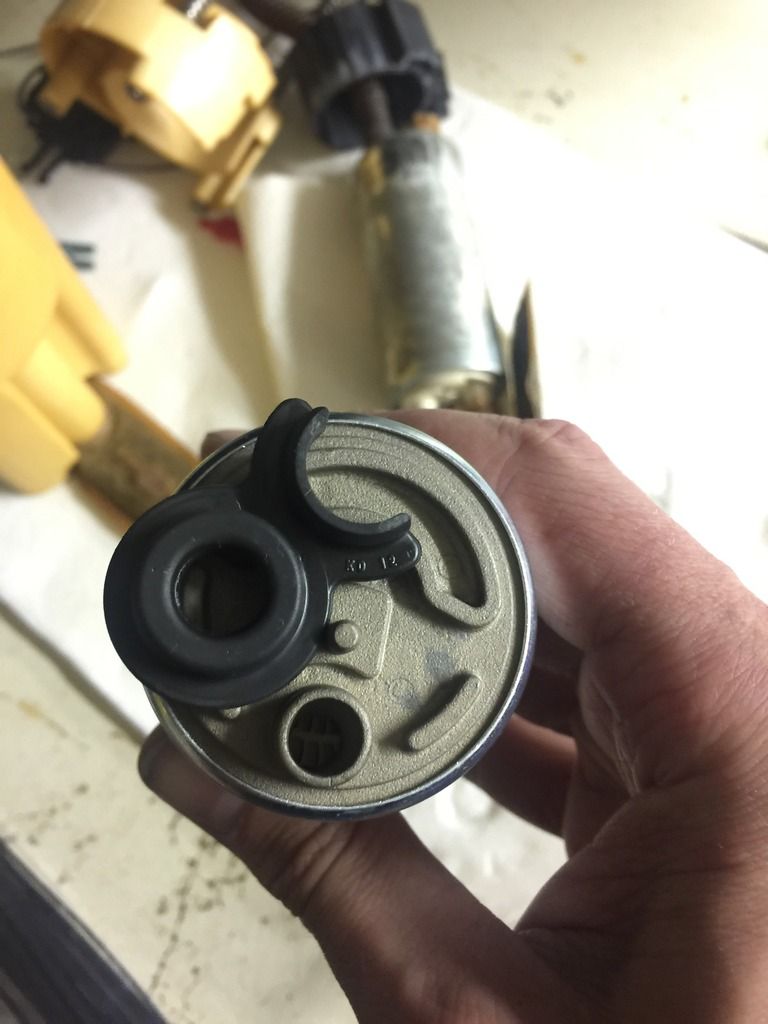
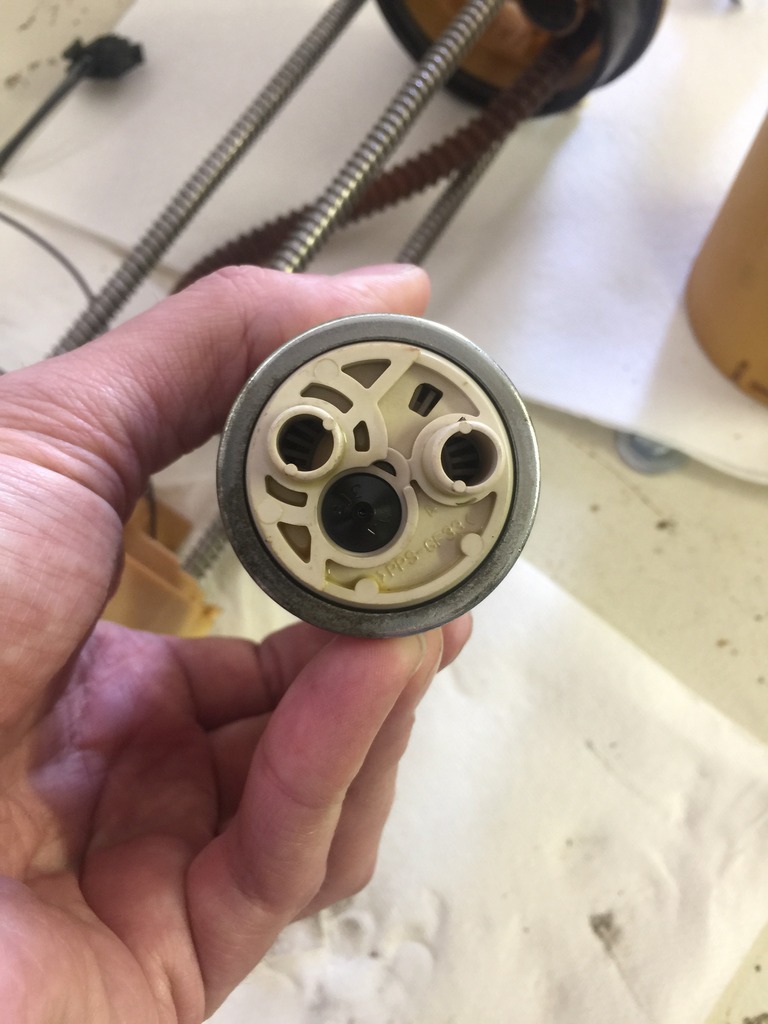
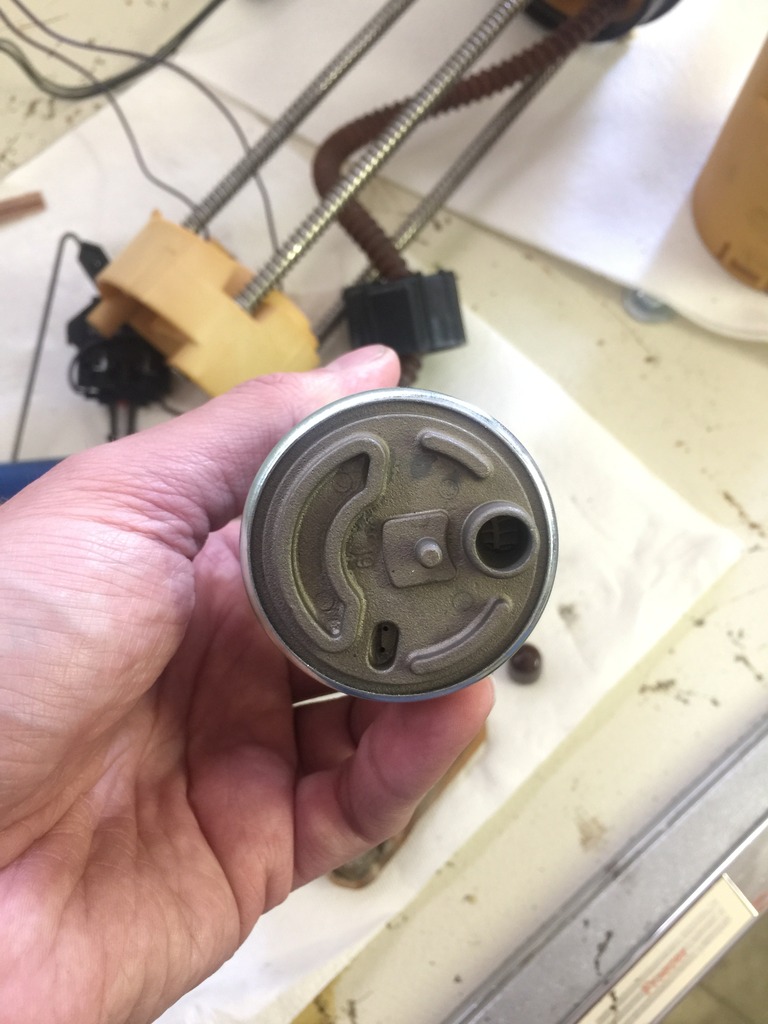
Okay, here's a pic of the bottom side of the factory pump.
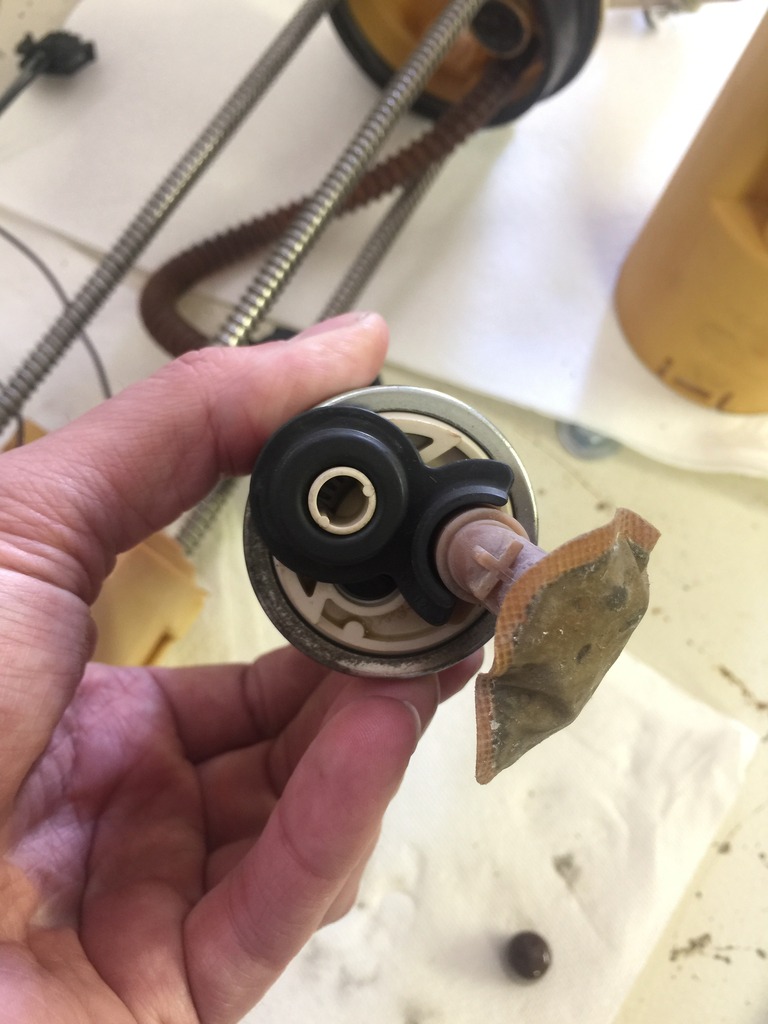
Here's what it looks like with the fittings on.
That black rubber piece fits into the center section. I was mistaken on how it functions. Drilling a hole in the bump in the center simply would be drilling a hole in the bottom.
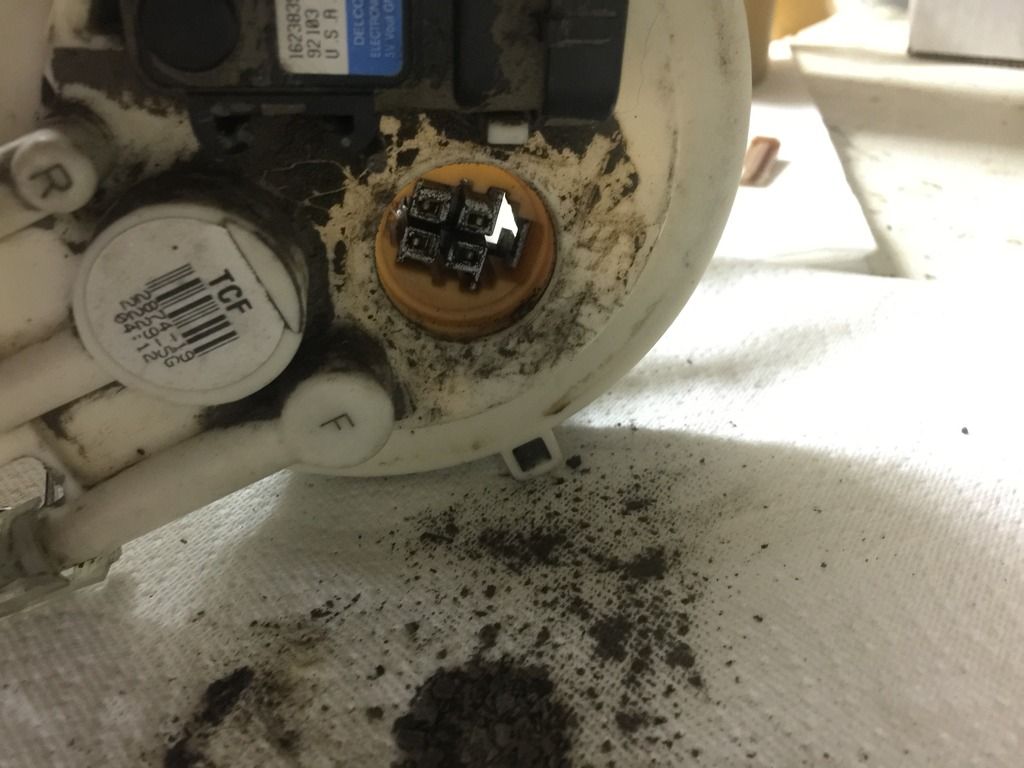
Along the right side here is a type of reservoir. One thing I could do, is remove this or drill holes in it. This would allow the pump to pull from inside and outside the bucket.
You can see that the factory sock connects in 2 places. One, the reservoir and two the tank.
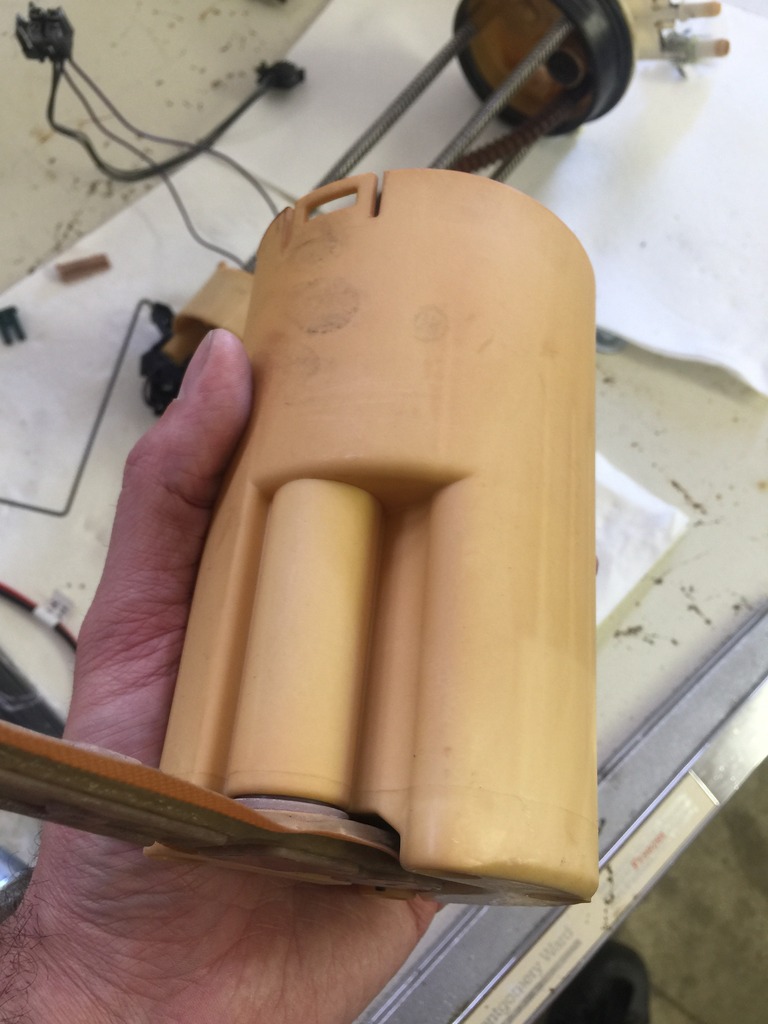
Walbro pump.
Thoughts?

Here's what it looks like with the fittings on.


That black rubber piece fits into the center section. I was mistaken on how it functions. Drilling a hole in the bump in the center simply would be drilling a hole in the bottom.

Along the right side here is a type of reservoir. One thing I could do, is remove this or drill holes in it. This would allow the pump to pull from inside and outside the bucket.

You can see that the factory sock connects in 2 places. One, the reservoir and two the tank.

Walbro pump.

Thoughts?
