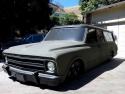
project SARGE, the bagged 67 turbo burb build


 09-24-2014, 11:56 PM
#32
On The Tree
Thread Starter
Join Date: Aug 2013
Posts: 144
Likes: 0
Received 0 Likes
on
0 Posts
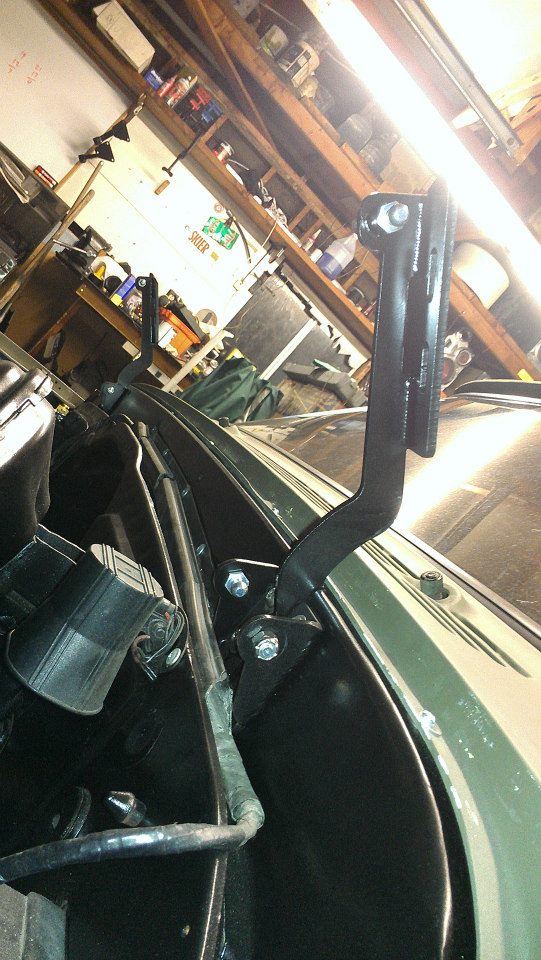
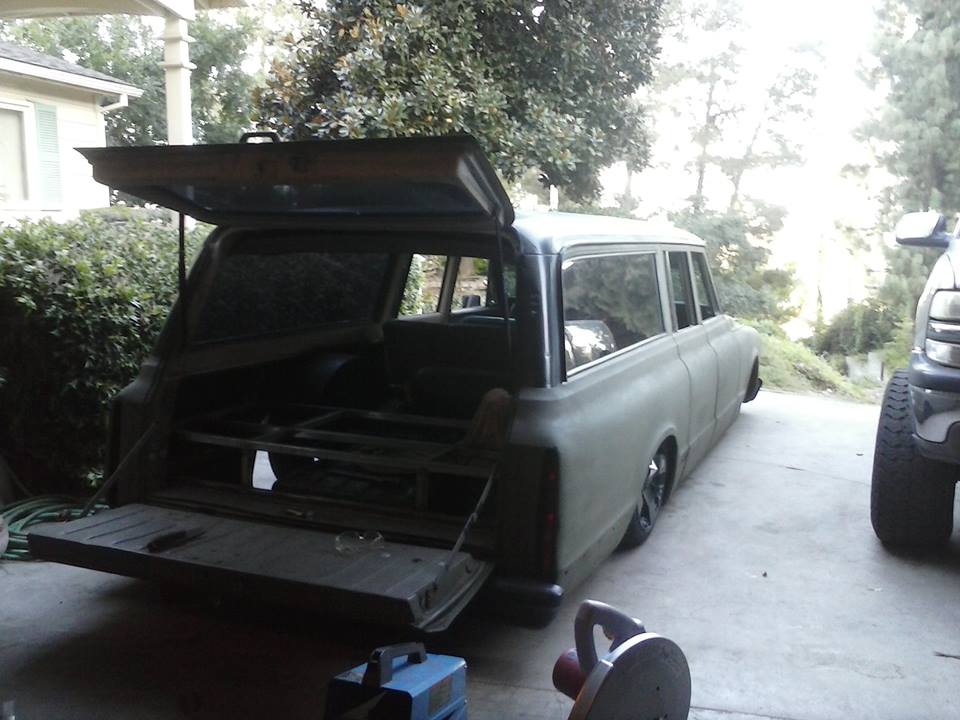
hood hinges done, just need to install the gas shocks
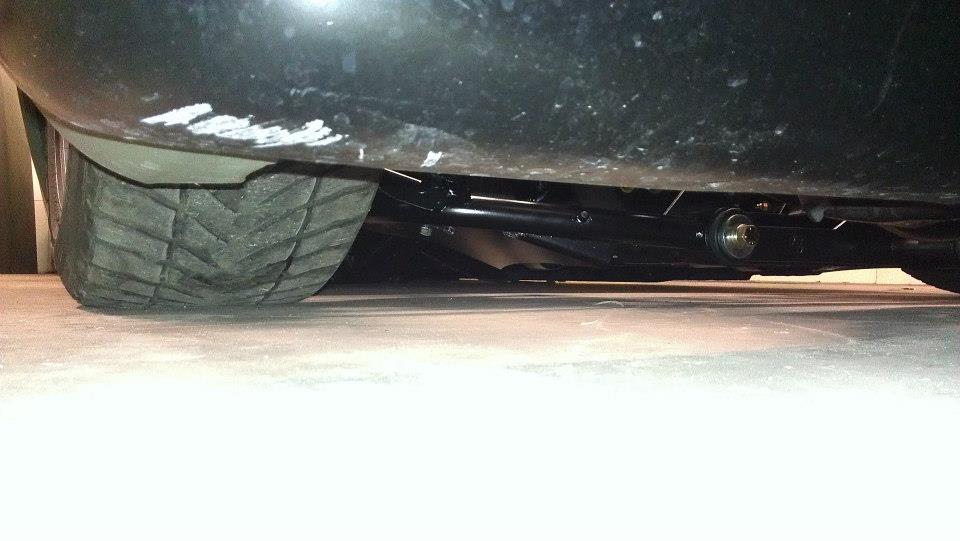
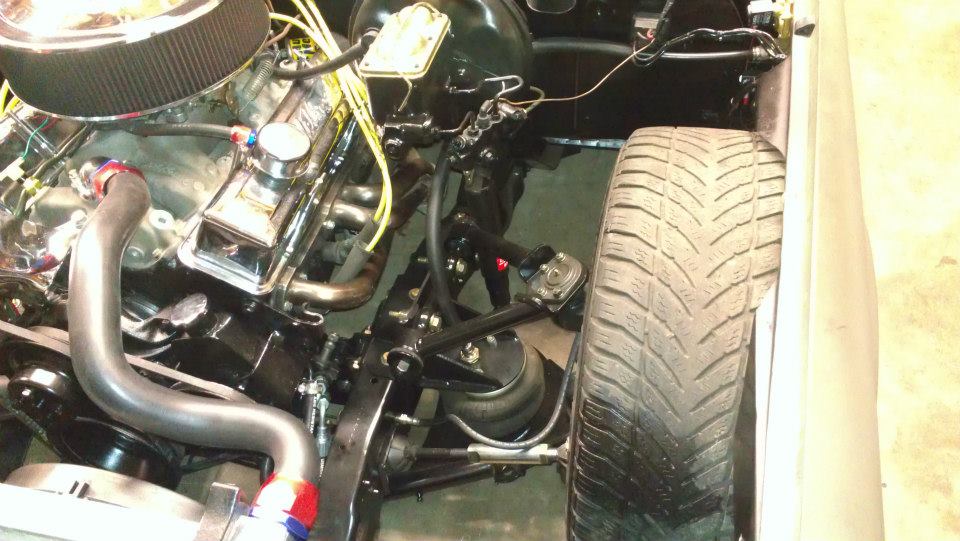
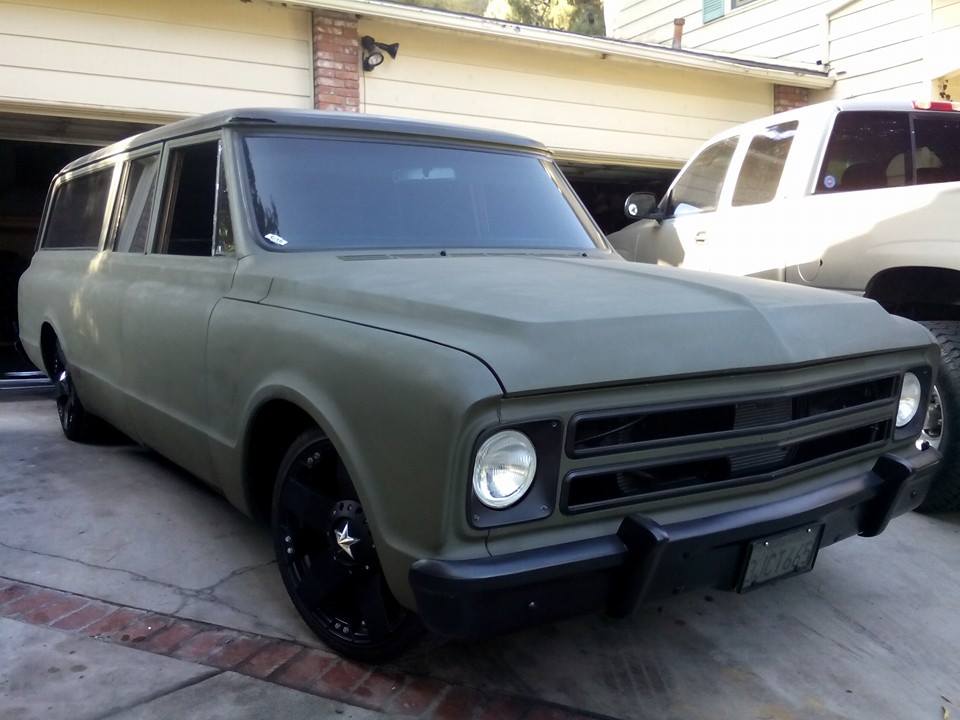
the front suspension is no longer the lowest part of the truck

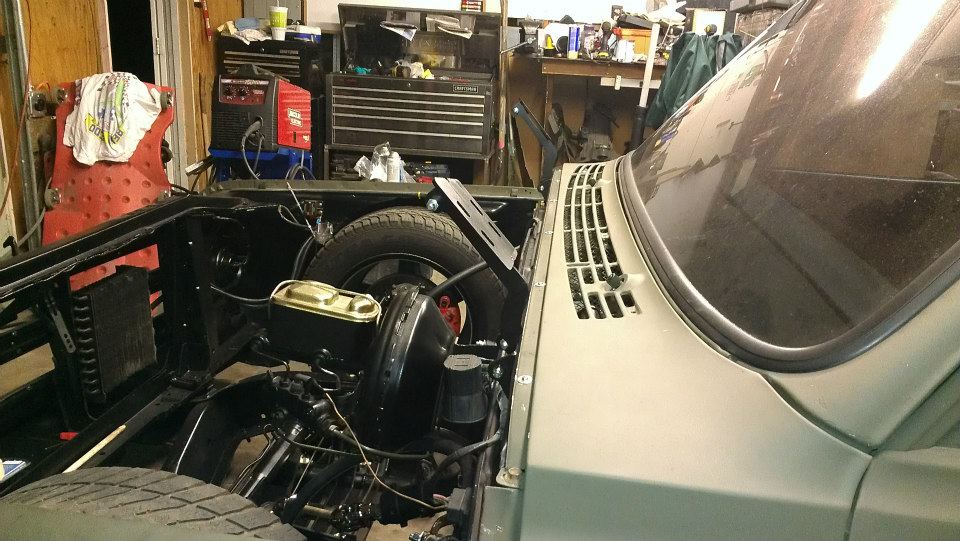
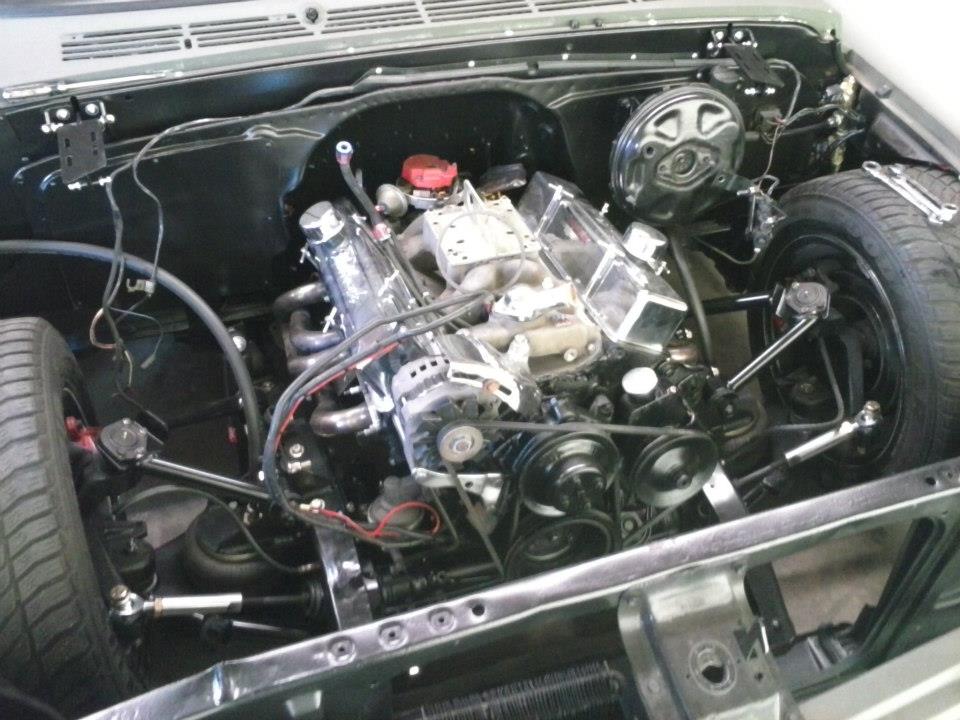
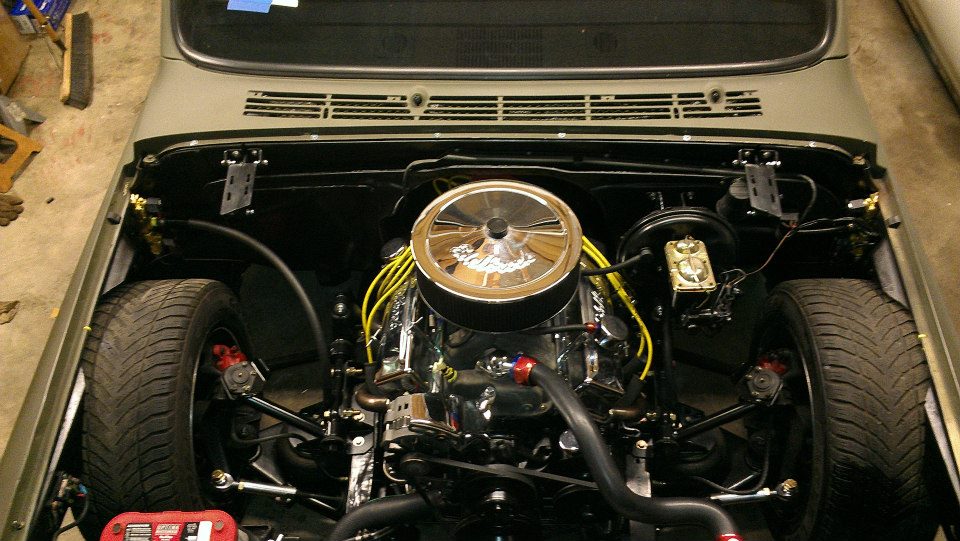
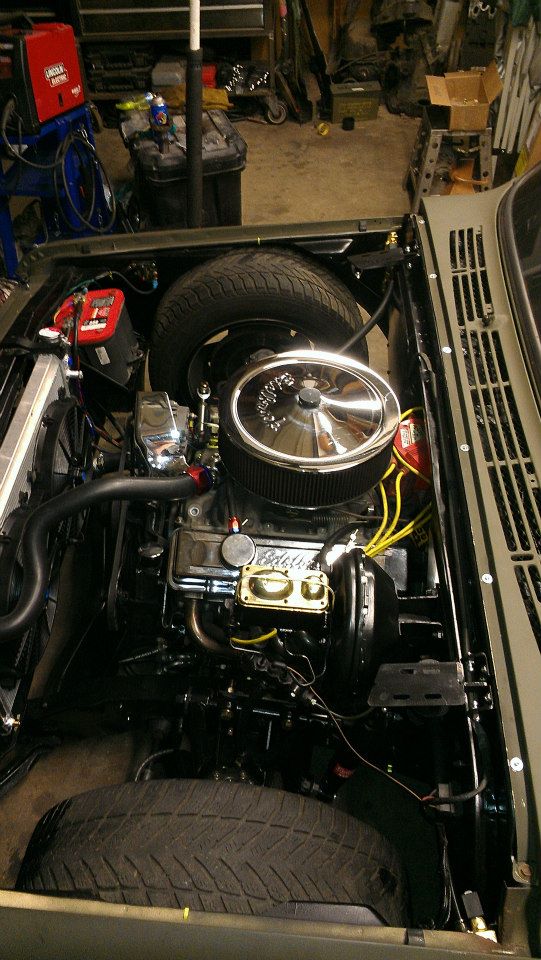
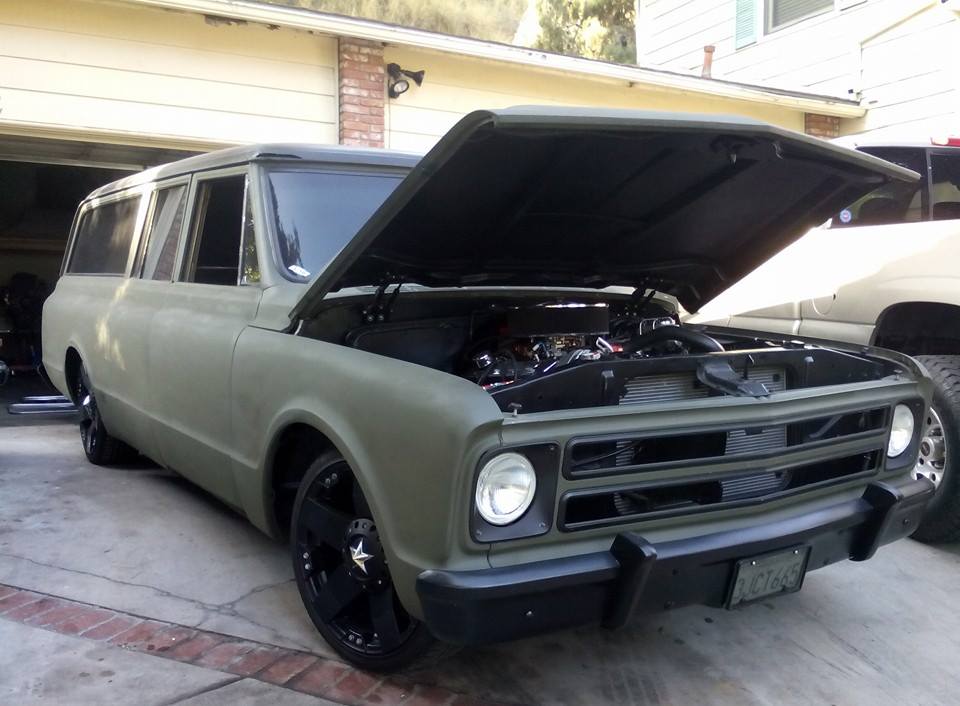
got the engine and transmission dropped back in
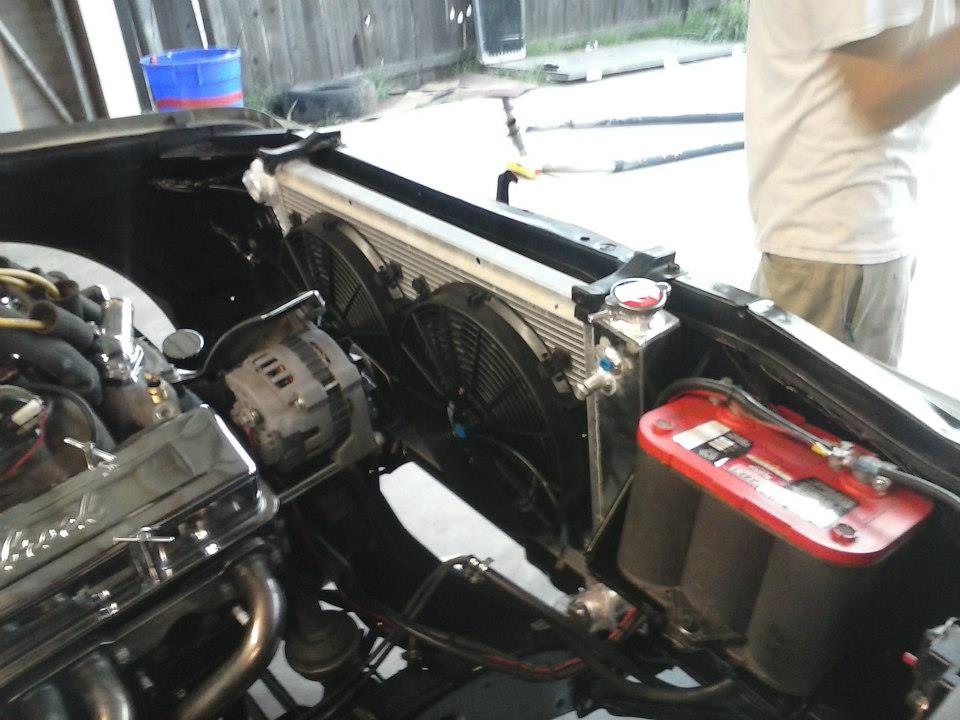
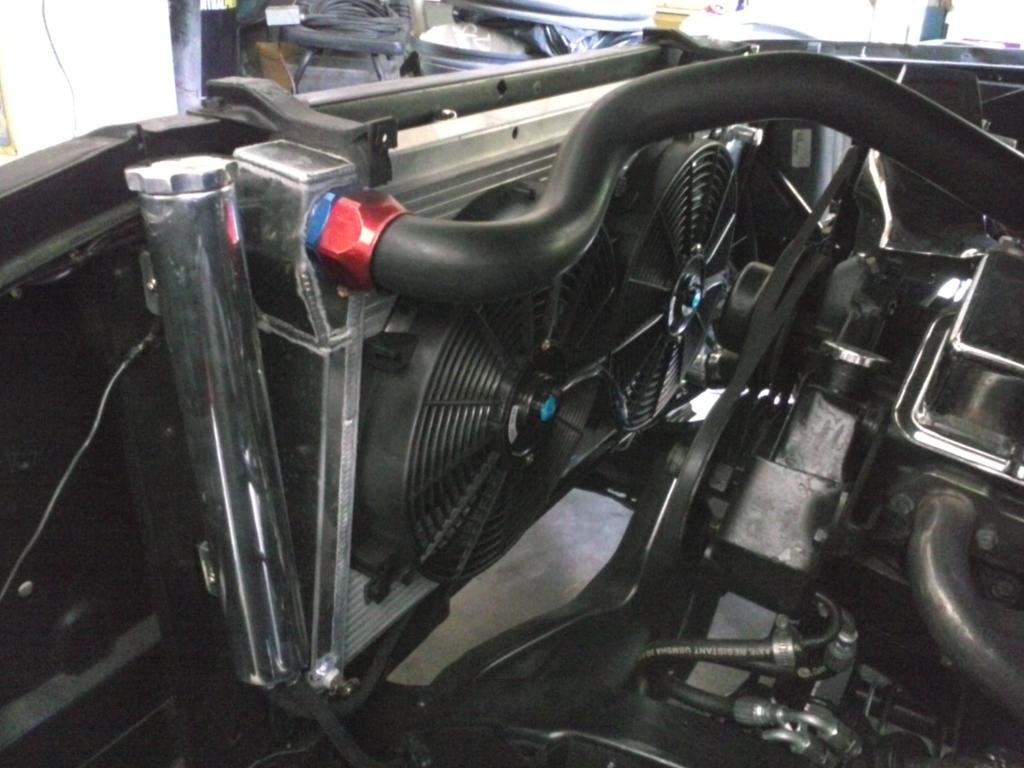
new aluminum radiator, and dual electric fans also installed
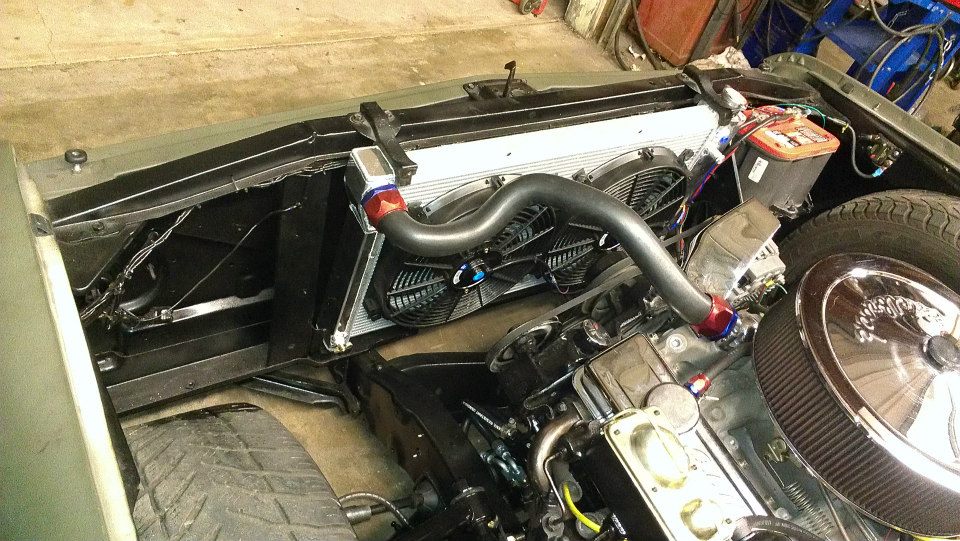
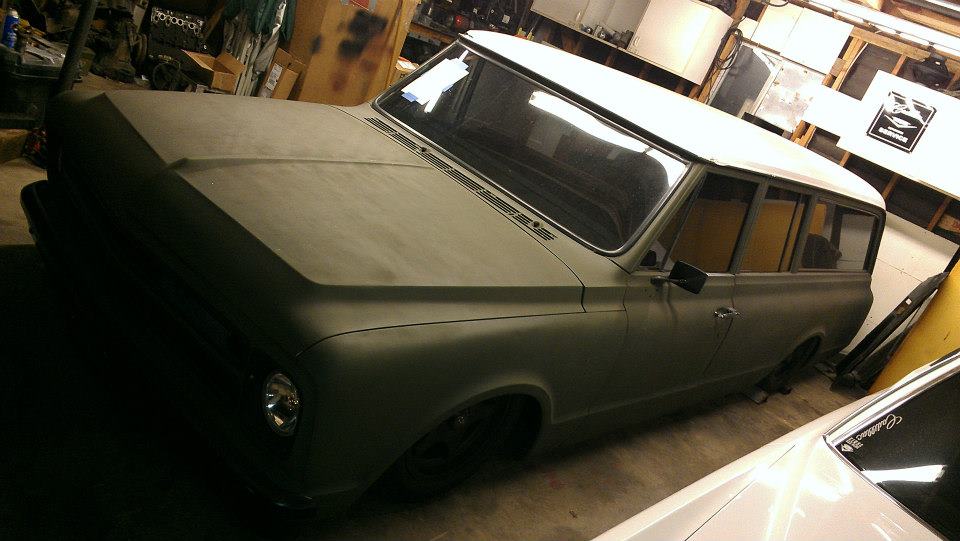
buttoning up the top side... got it all wired back up and running
hood hinge mount plates welded to the hood
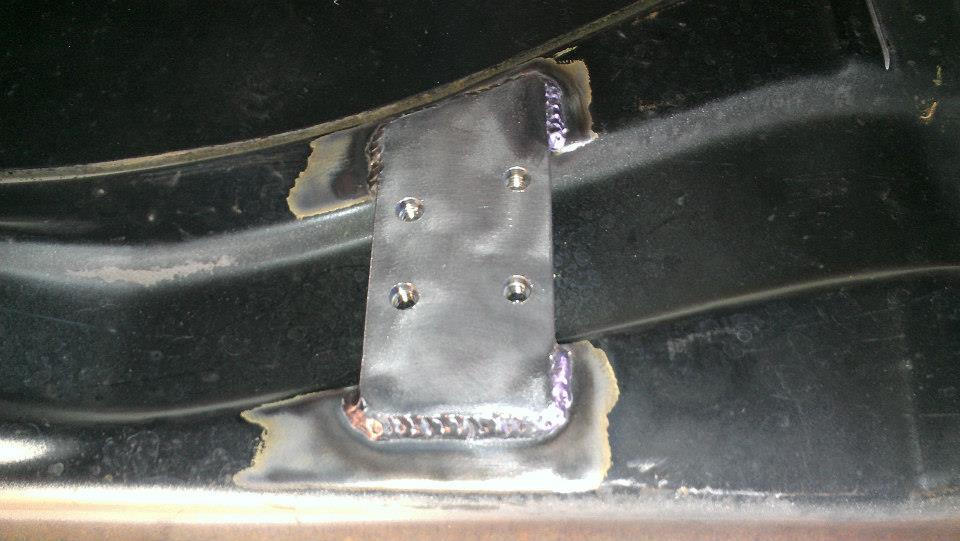
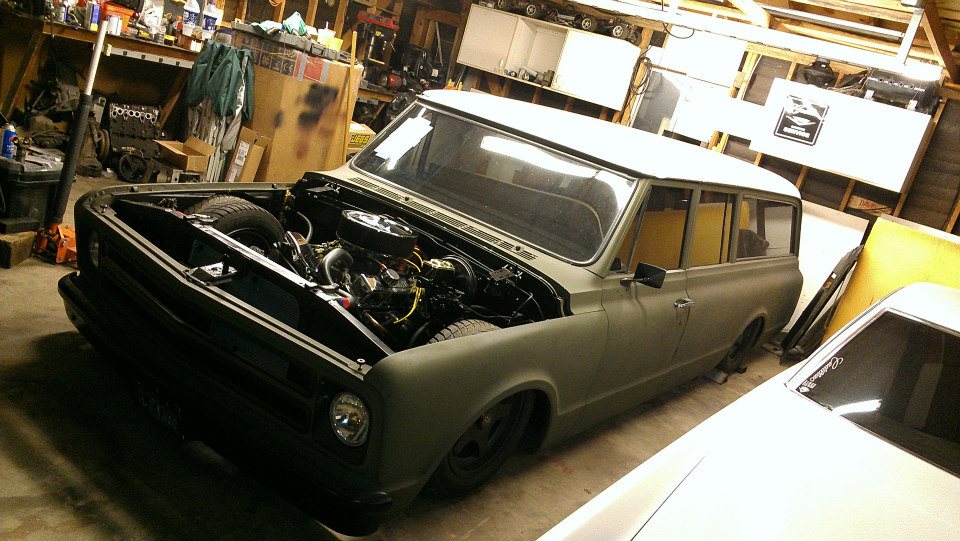
and the hood installed
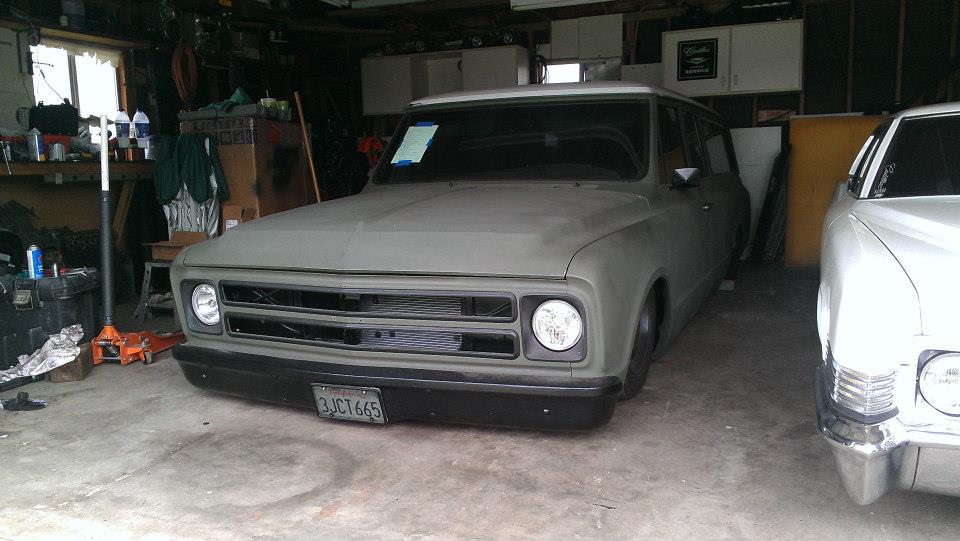

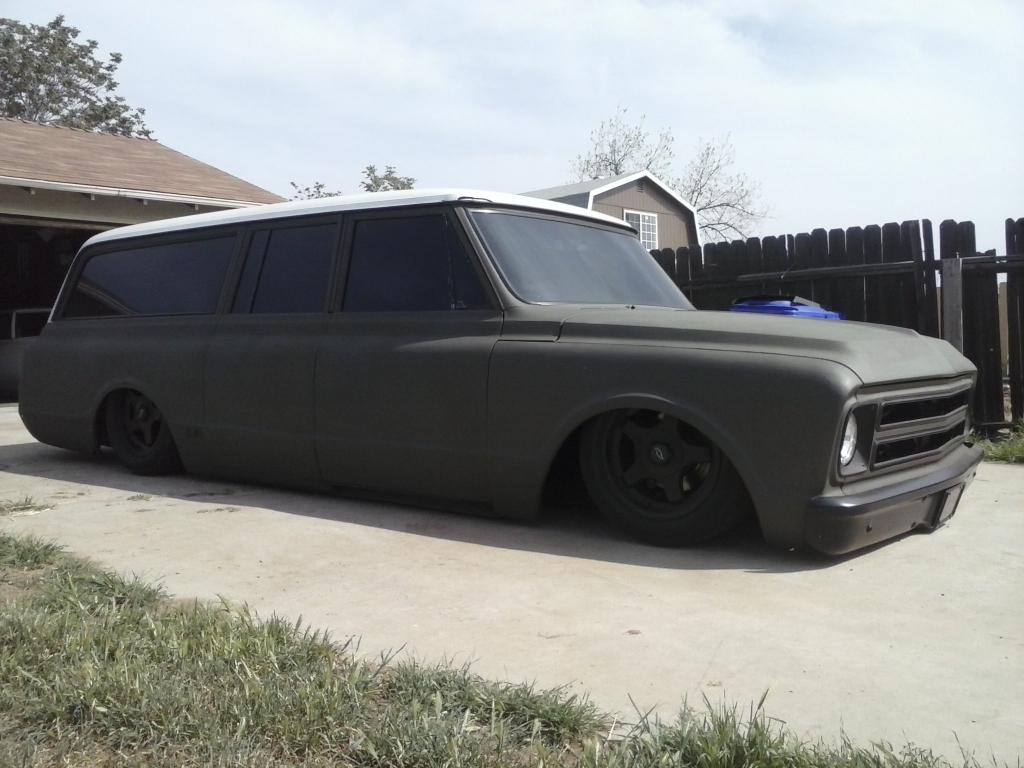
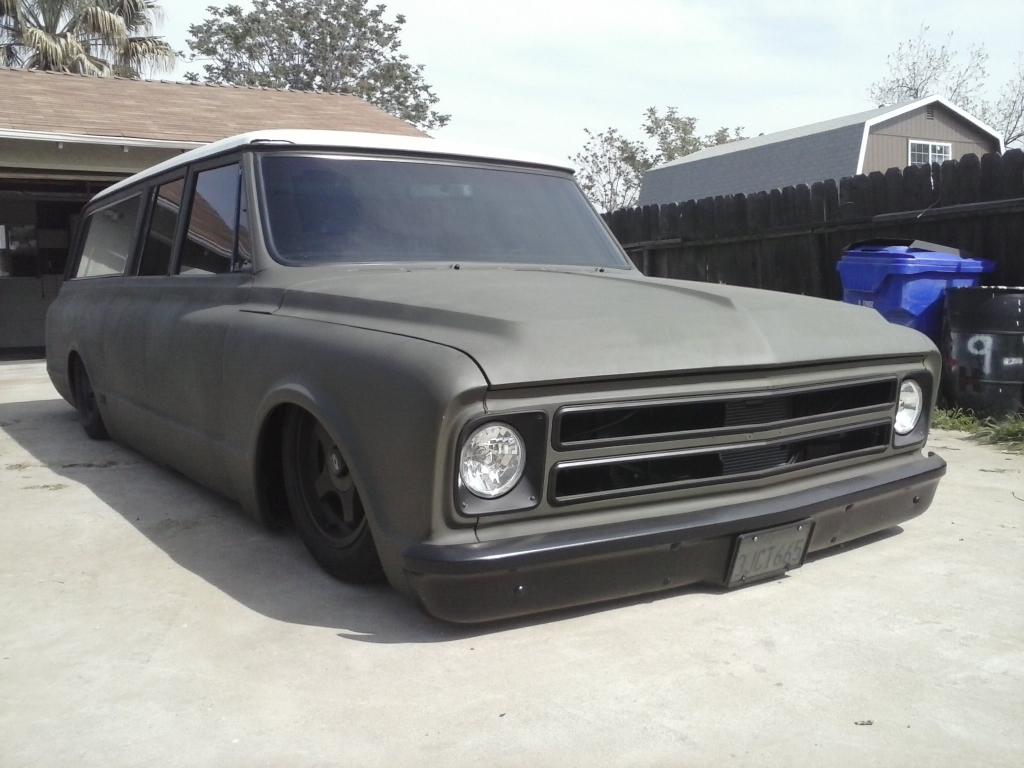
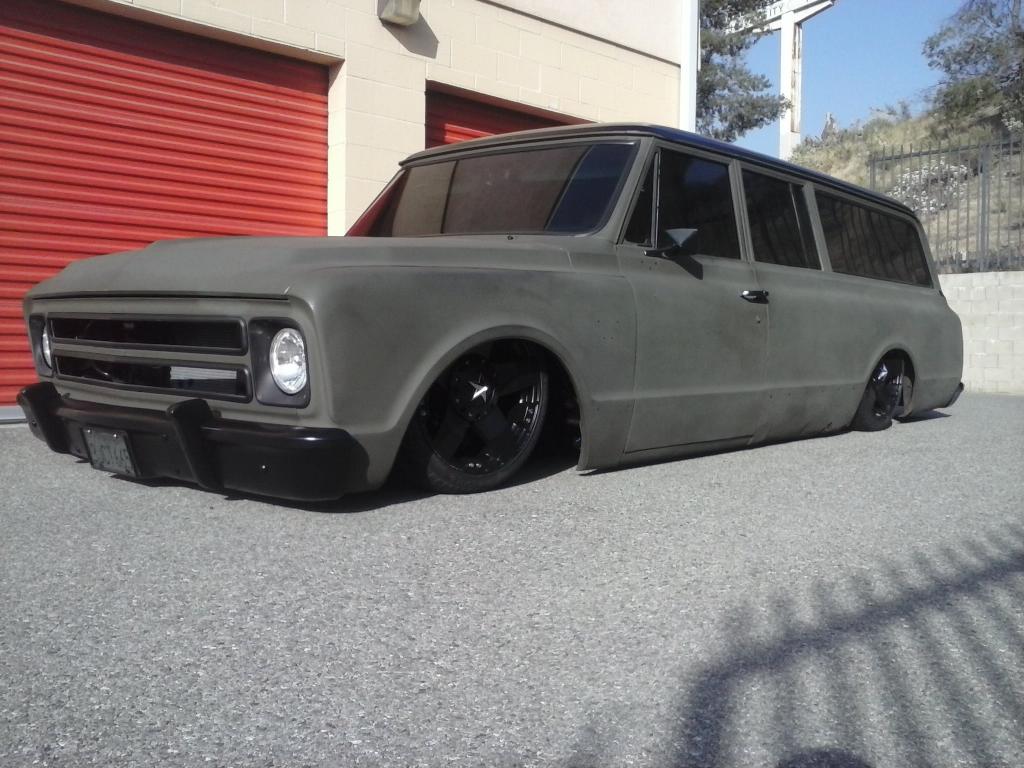
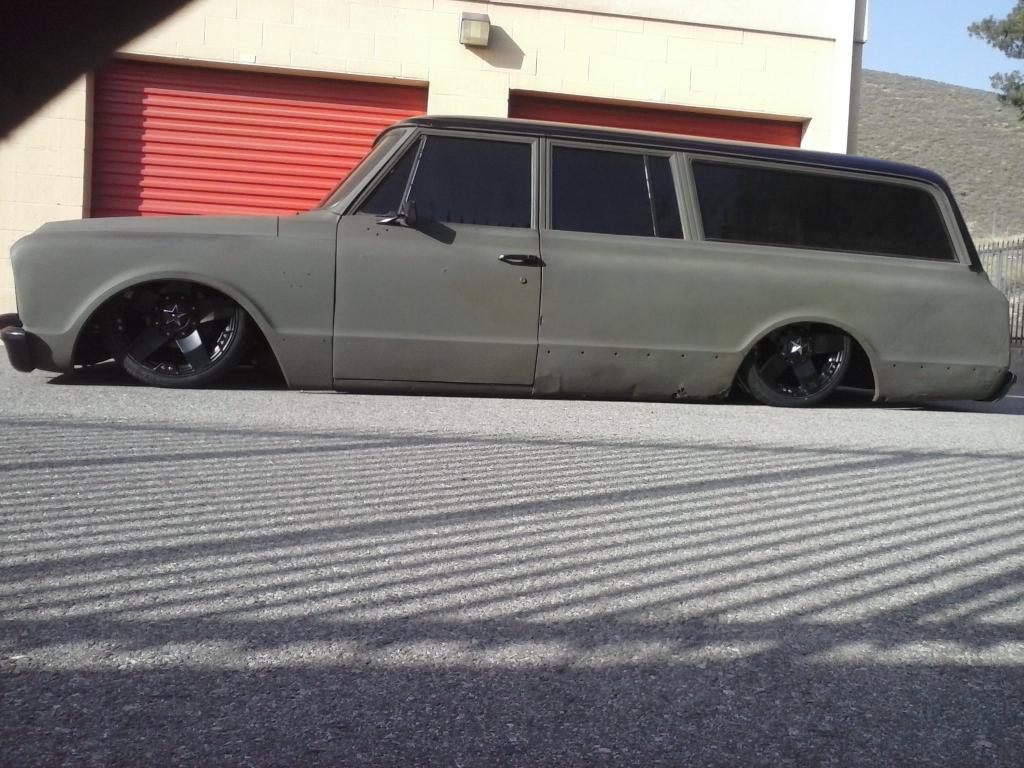
outside in the daylight

the front suspension is no longer the lowest part of the truck


got the engine and transmission dropped back in

new aluminum radiator, and dual electric fans also installed


buttoning up the top side... got it all wired back up and running


hood hinge mount plates welded to the hood

and the hood installed


outside in the daylight


Last edited by project 67 sub; 09-25-2014 at 05:10 AM.
09-24-2014, 11:56 PM
#33
On The Tree
Thread Starter
Join Date: Aug 2013
Posts: 144
Likes: 0
Received 0 Likes
on
0 Posts

welding frame horns back on so i can put a bumper back on it

bumper mounted up


building the y-pipe


bottom of hood painted and bolted up

new billet carrier bearing

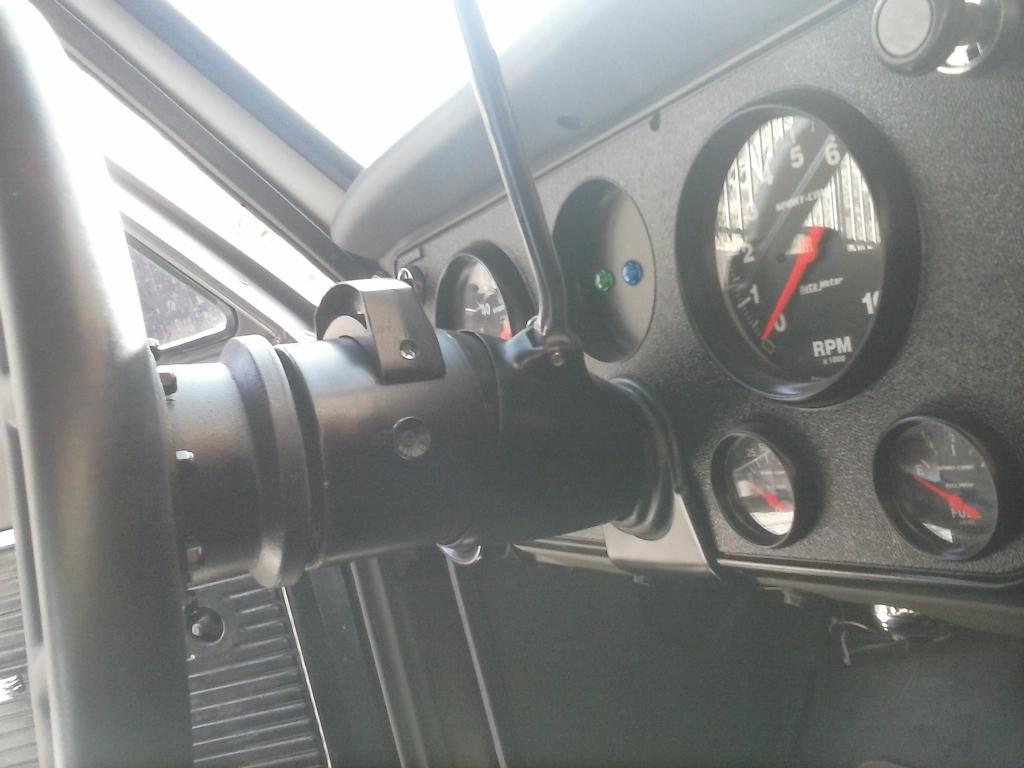
OG truck tilt steering column and a/c vents

steering column torn apart

and cut down... and welded back up


how much i removed

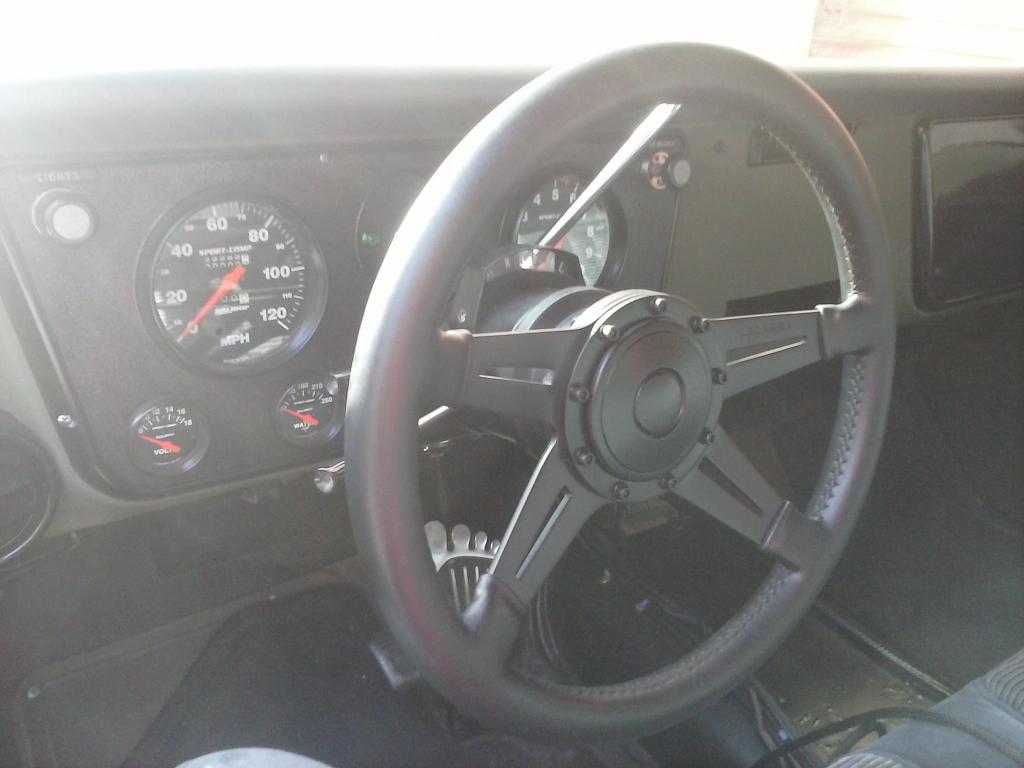
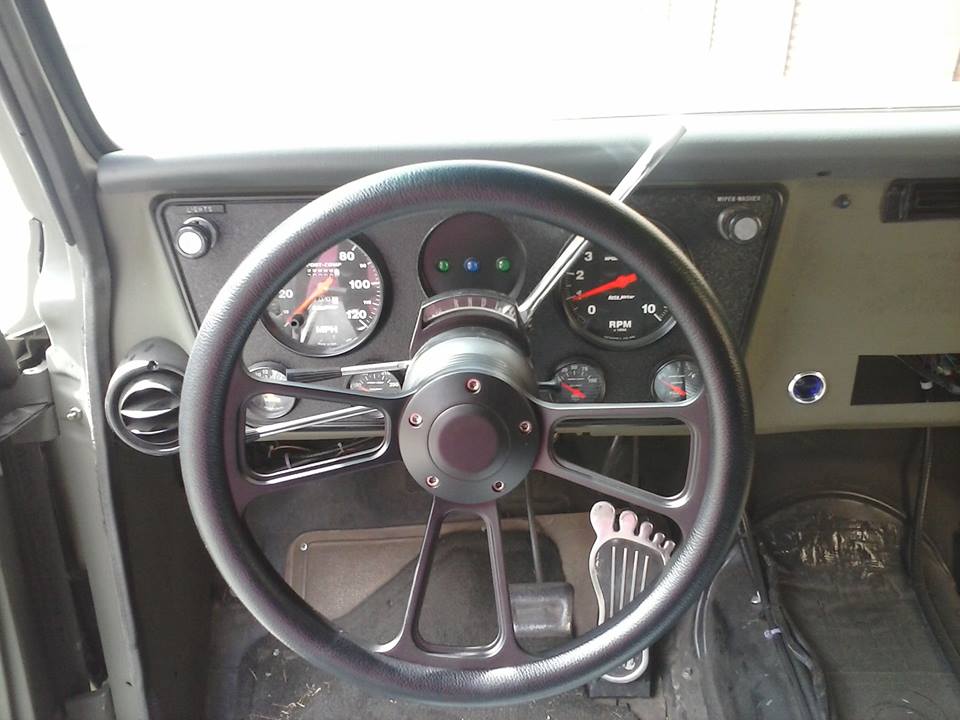
new gauge cluster installed

side by side view

freshly painted junk yard find steering wheel

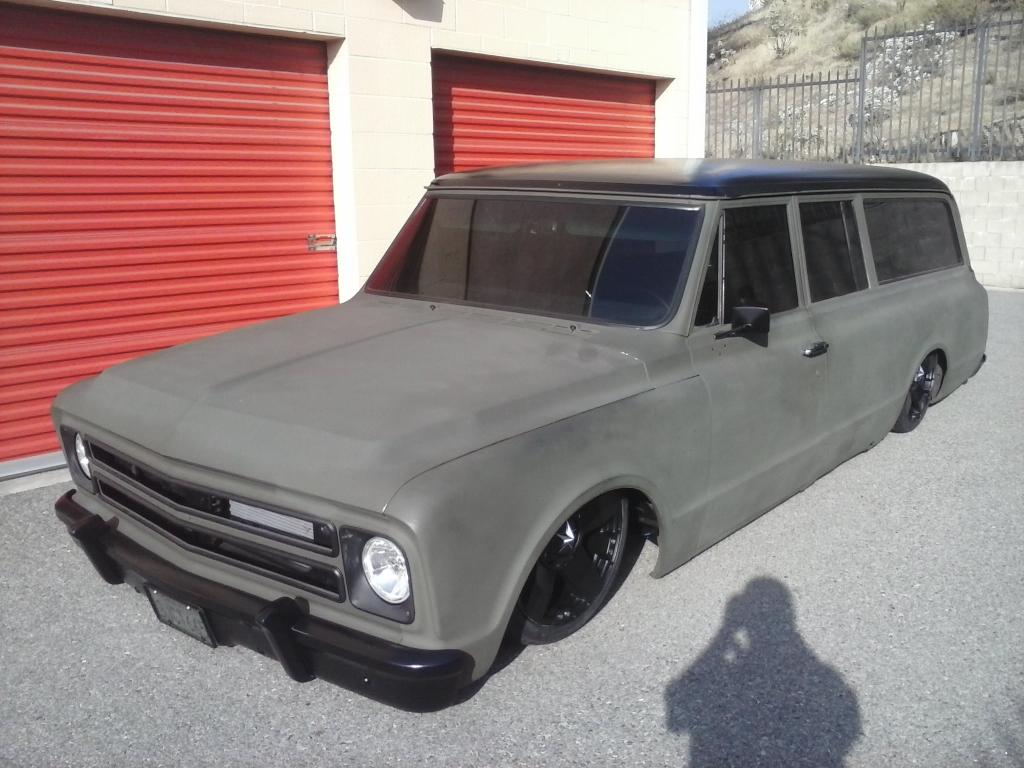
roof painted satin black


bumper guards mounted up and painted

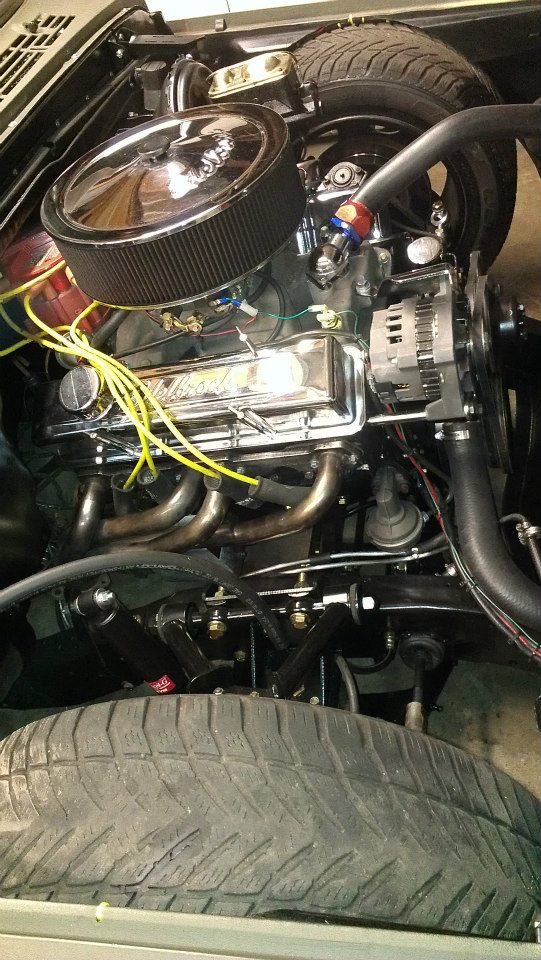
upgraded alternator

Last edited by project 67 sub; 09-25-2014 at 05:23 AM.
09-24-2014, 11:57 PM
#34
On The Tree
Thread Starter
Join Date: Aug 2013
Posts: 144
Likes: 0
Received 0 Likes
on
0 Posts
steering wheel and shortened OG truck tilt column mounted

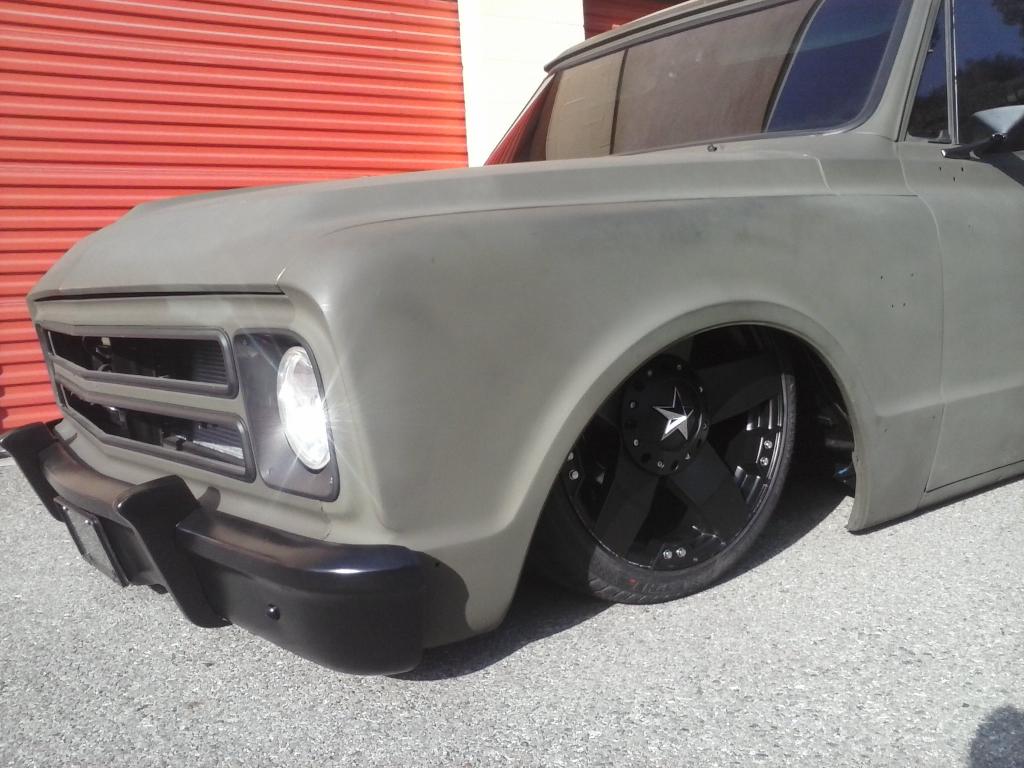
got my new wheels in, and new tires mounted up
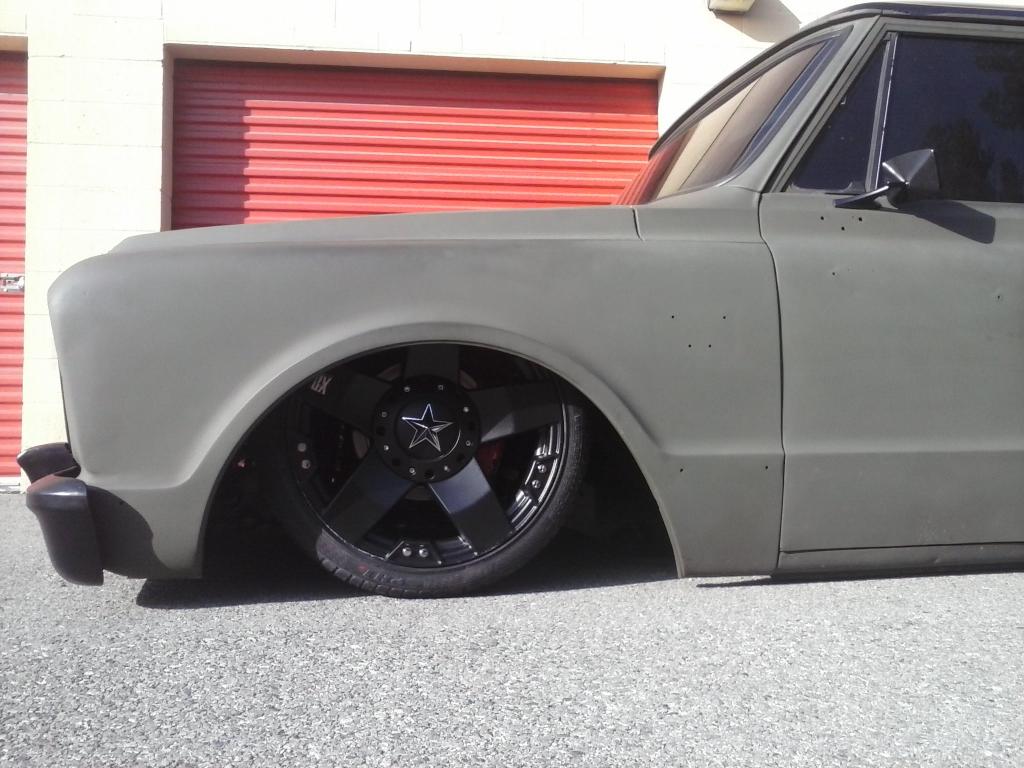
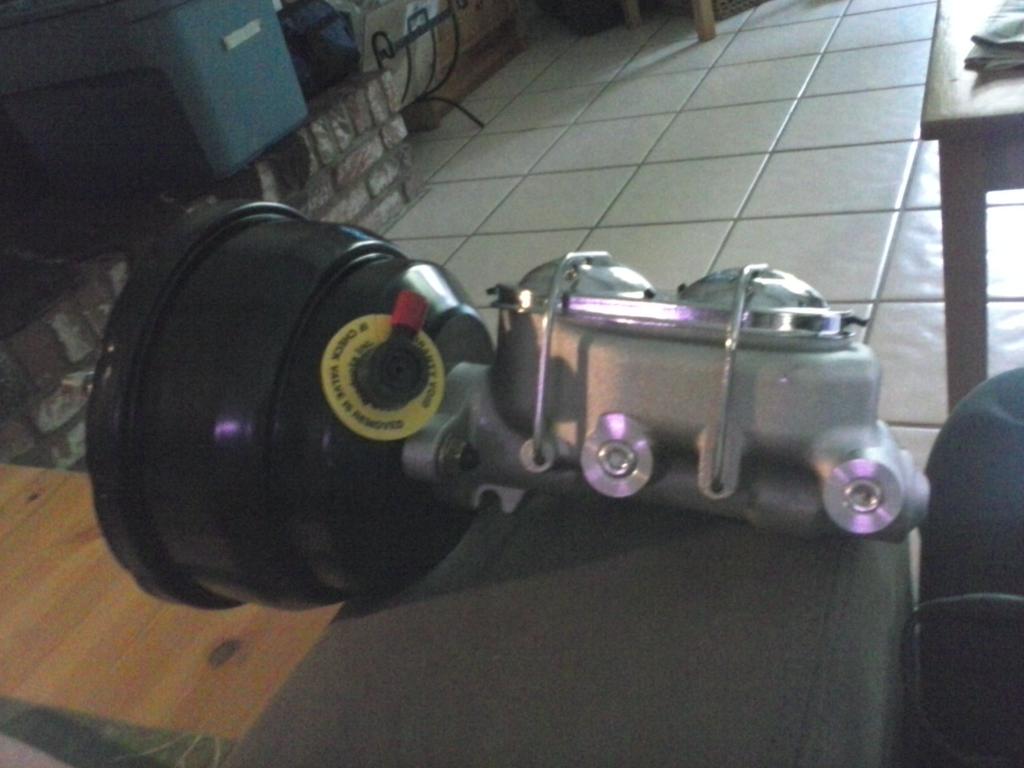
new CPP booster and master cylinder
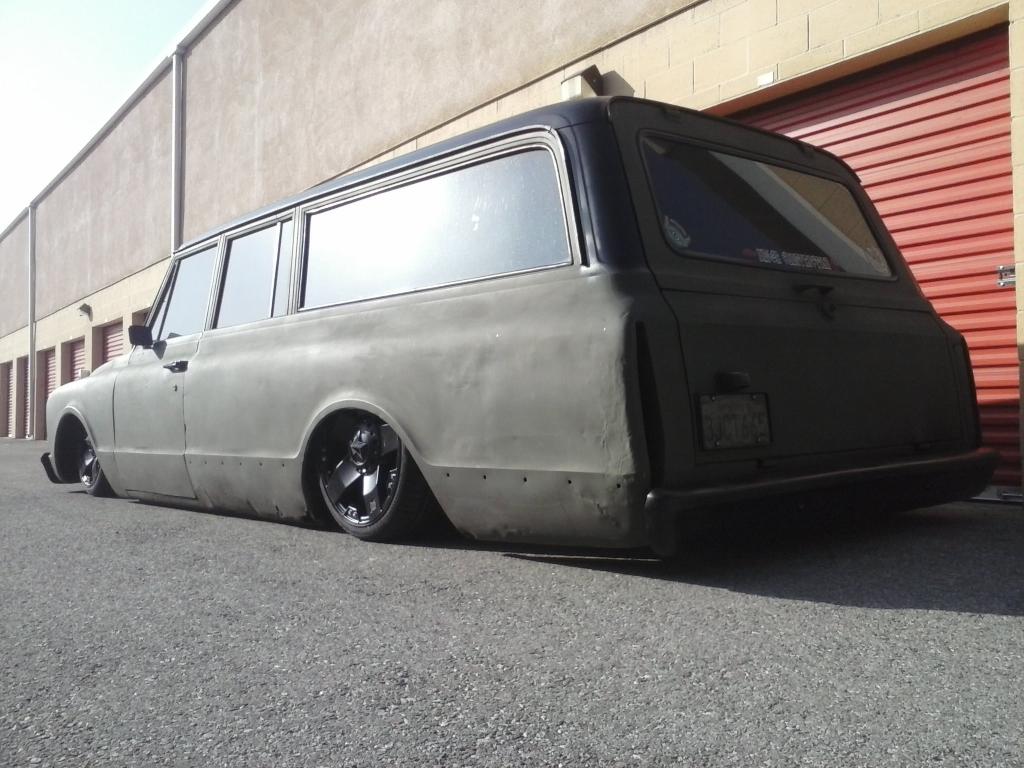
full lift

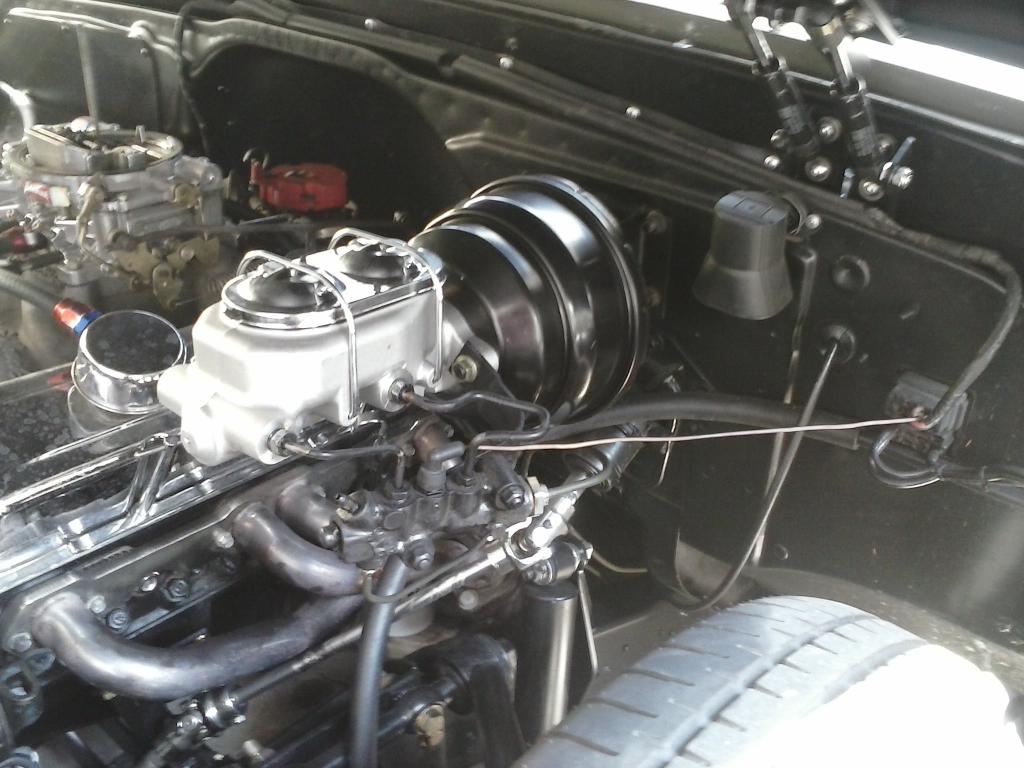
new cpp booster/master cylinder installed
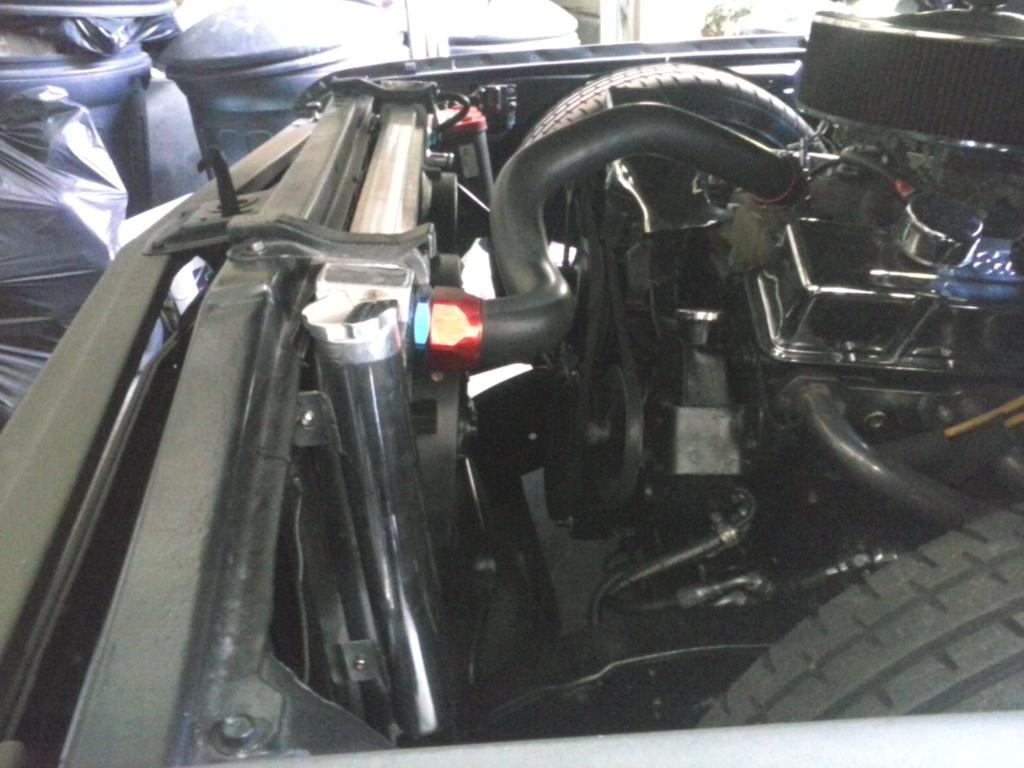
aluminum overflow can installed
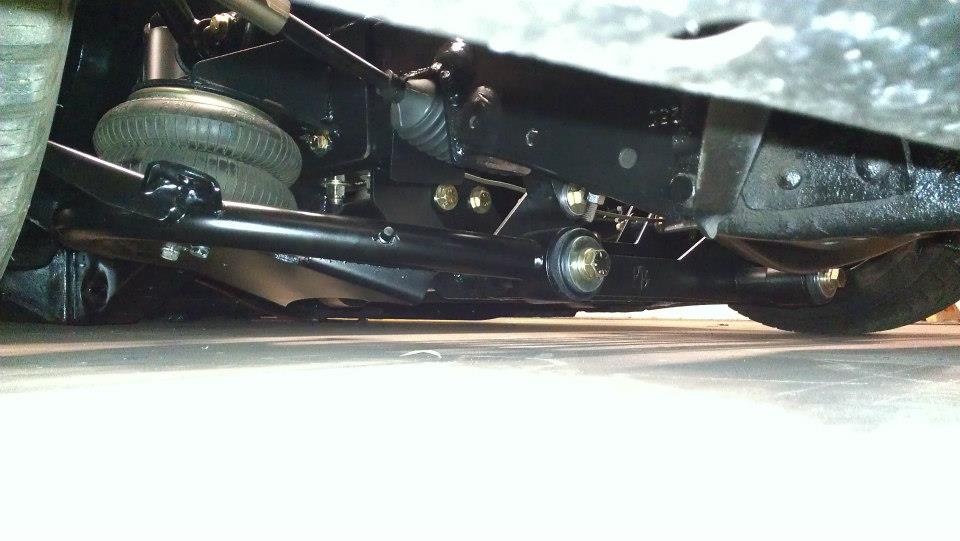
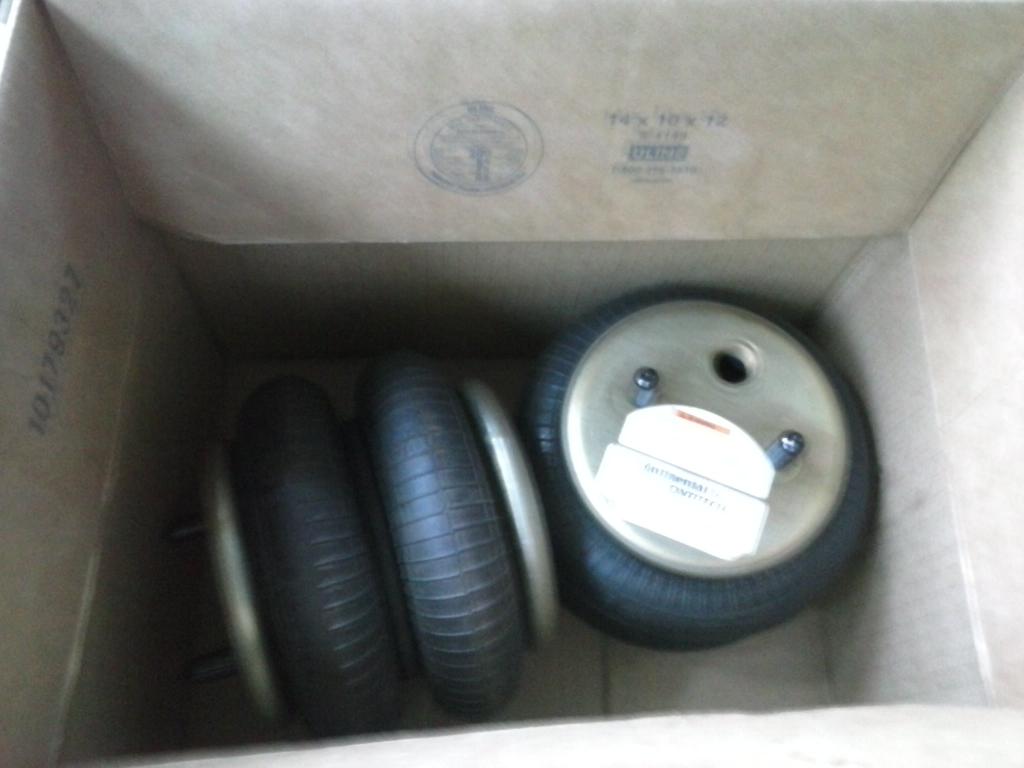
new bags to replace the pos airlift dominator air bags
shaved door handle actuators
ordered me my new steering wheel

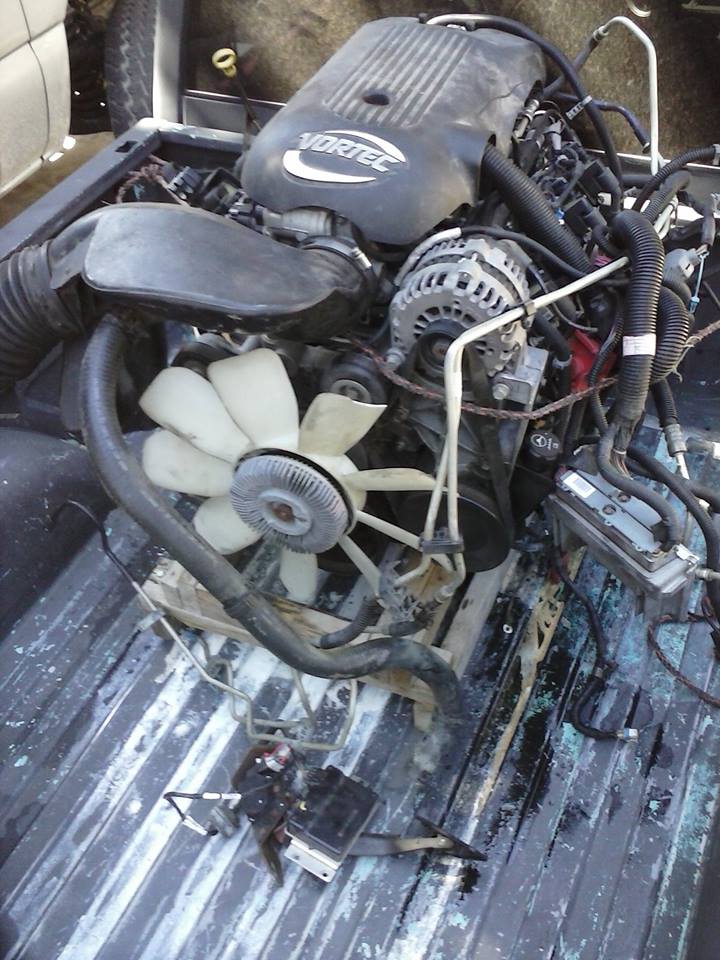
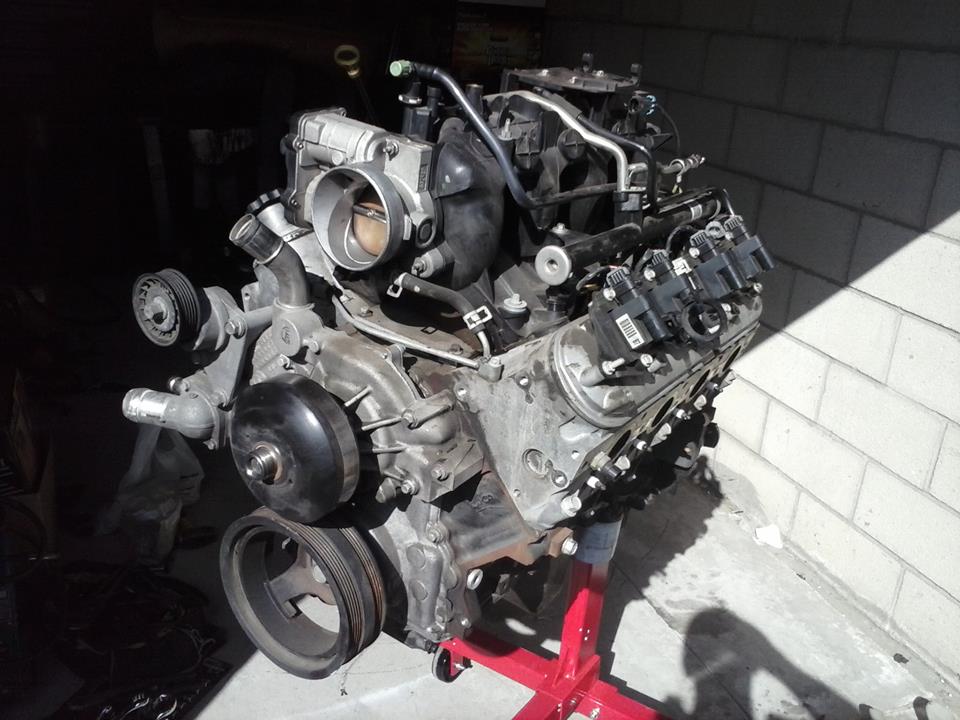
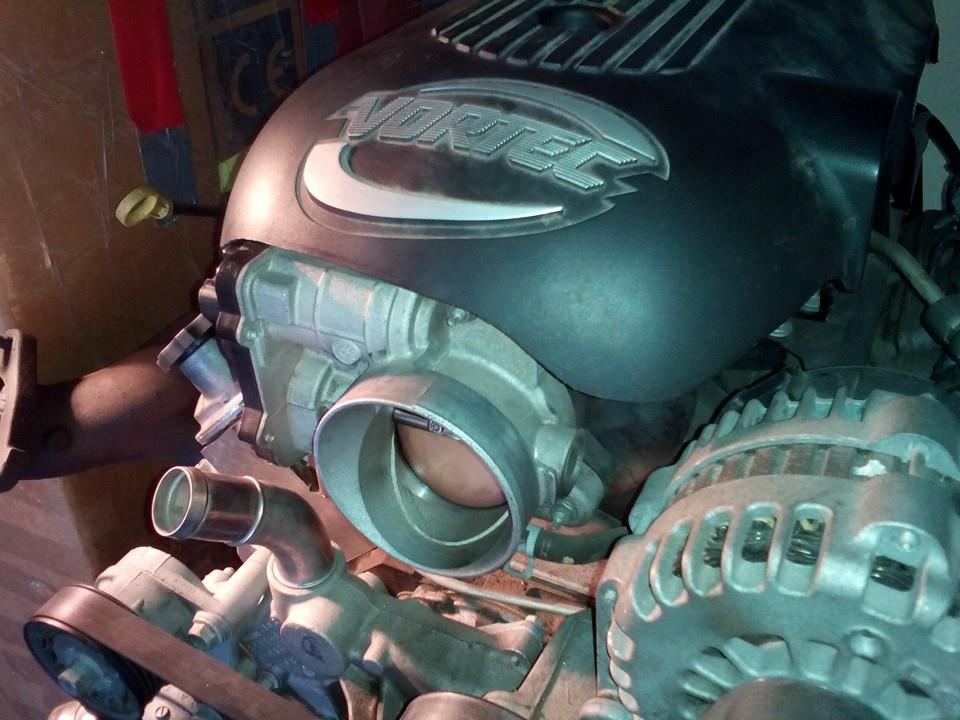
picked me up a new/used motor... supposed to be a 2004 5.3 vortec motor with 93k miles out of a rolled over/wrecked Tahoe


got my new wheels in, and new tires mounted up


new CPP booster and master cylinder

full lift

new cpp booster/master cylinder installed

aluminum overflow can installed


new bags to replace the pos airlift dominator air bags

shaved door handle actuators

ordered me my new steering wheel

picked me up a new/used motor... supposed to be a 2004 5.3 vortec motor with 93k miles out of a rolled over/wrecked Tahoe

Last edited by project 67 sub; 09-25-2014 at 05:35 AM.
09-24-2014, 11:57 PM
#35
On The Tree
Thread Starter
Join Date: Aug 2013
Posts: 144
Likes: 0
Received 0 Likes
on
0 Posts
dbw gas pedal assembly
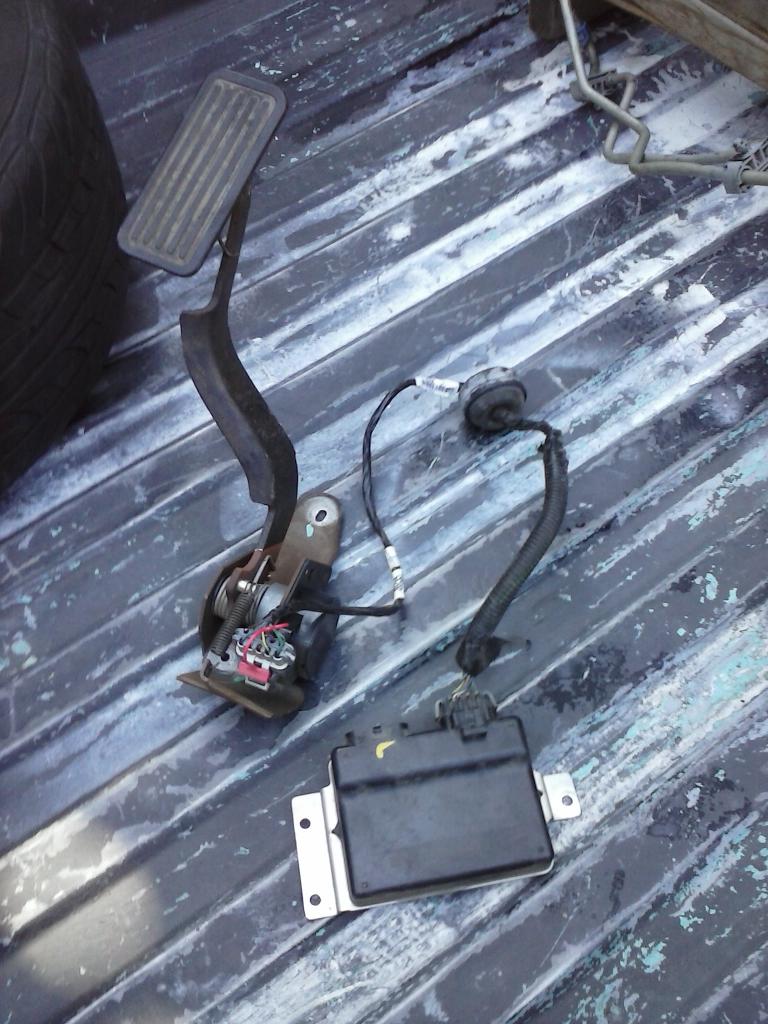
the engine harness and ecu that needs to be modified
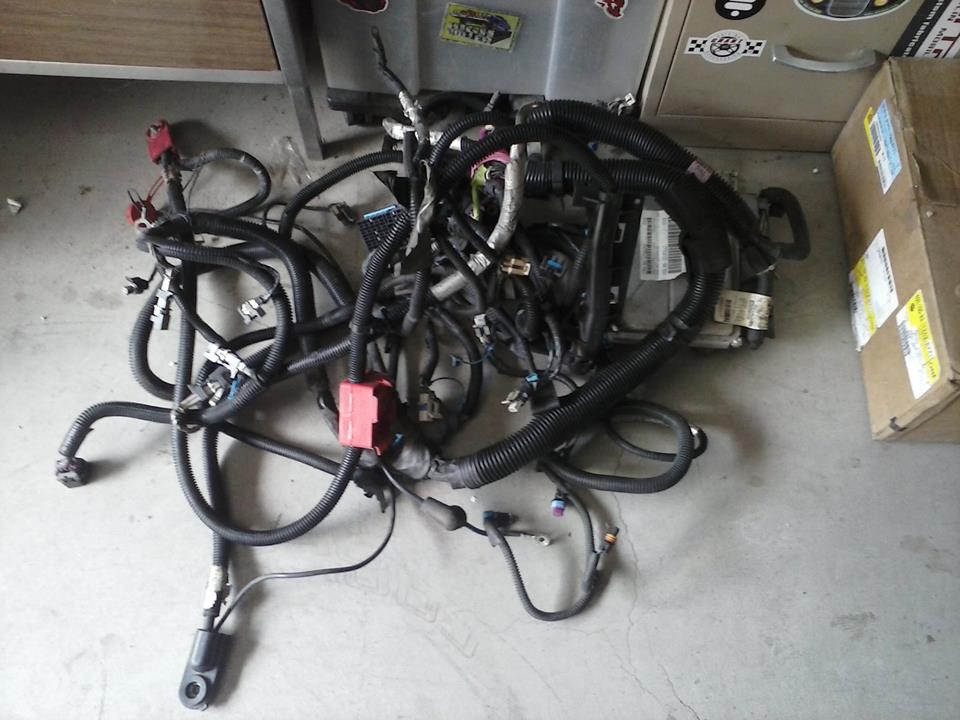
getting it slowly taken apart
new steering wheel came in, and got it installed
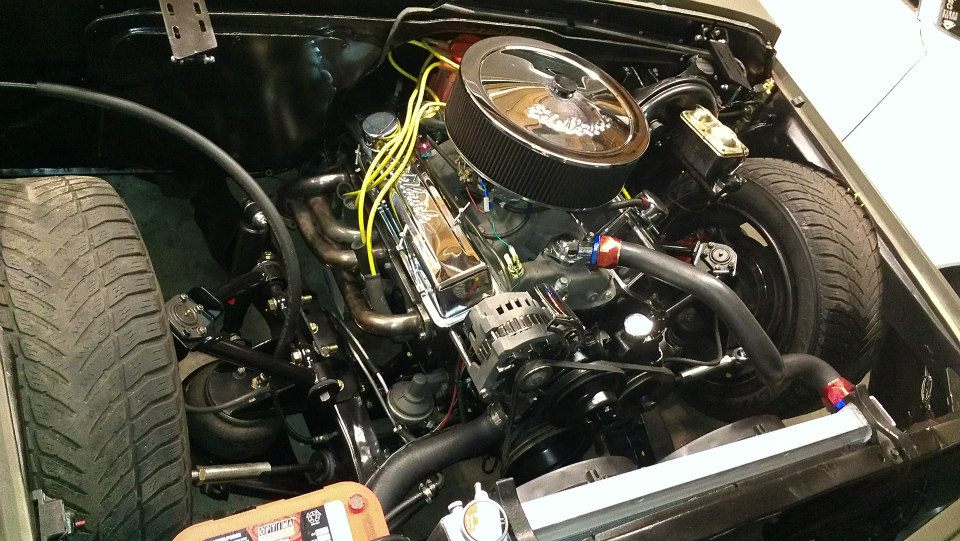
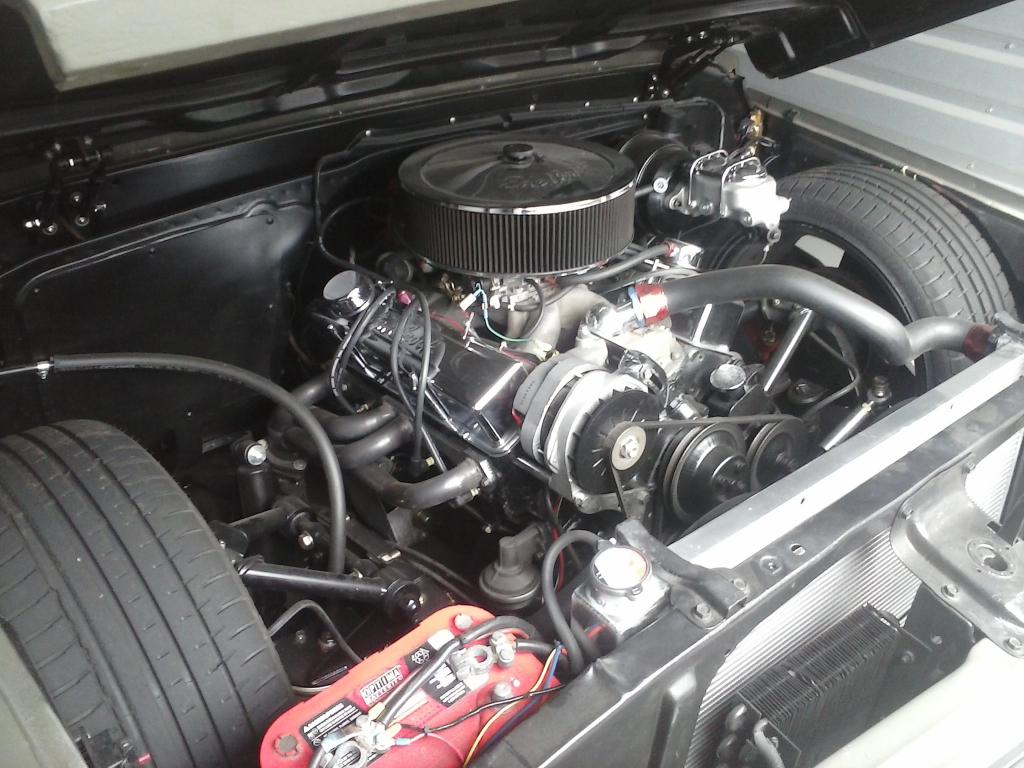
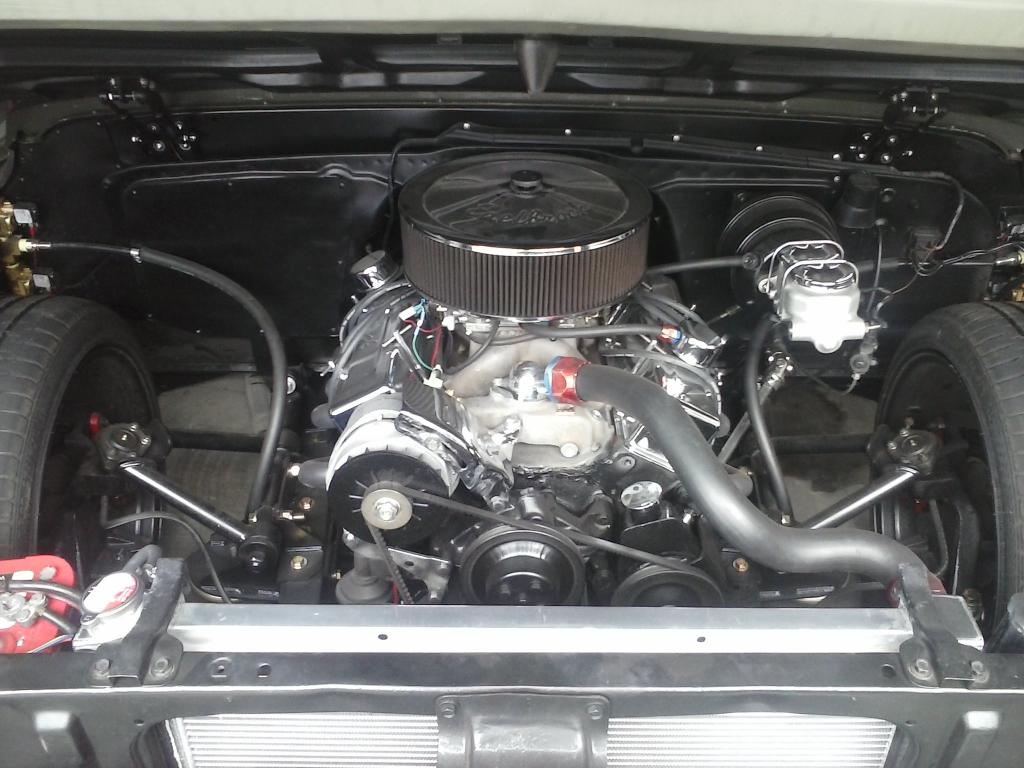
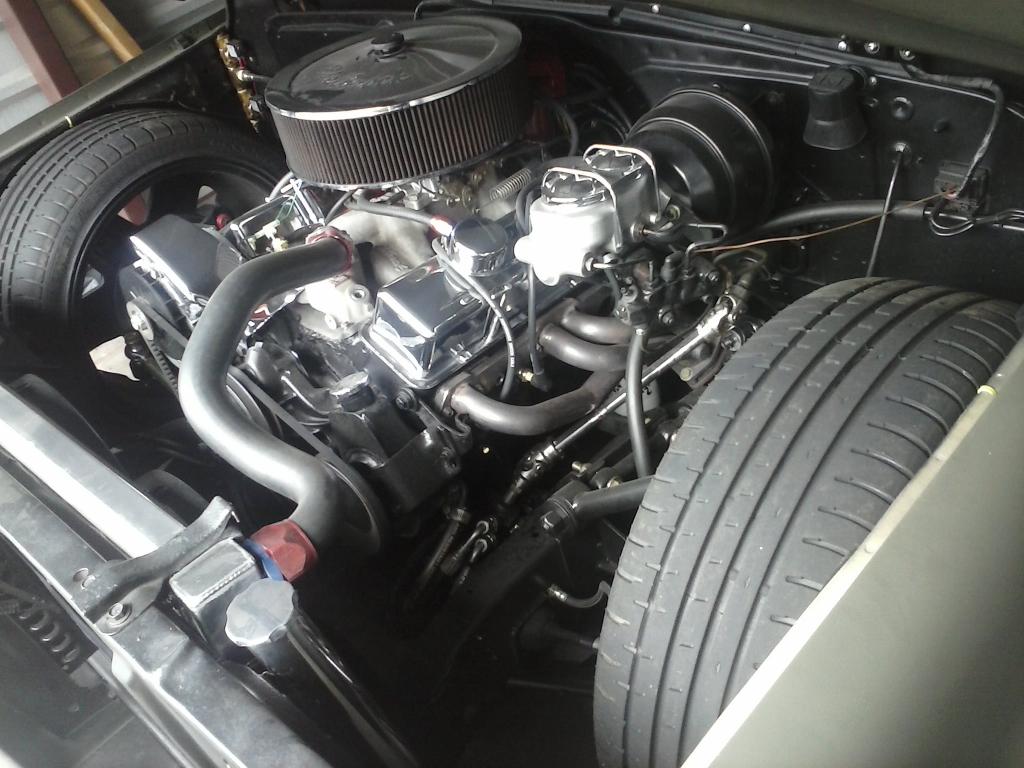
current pic of engine bay
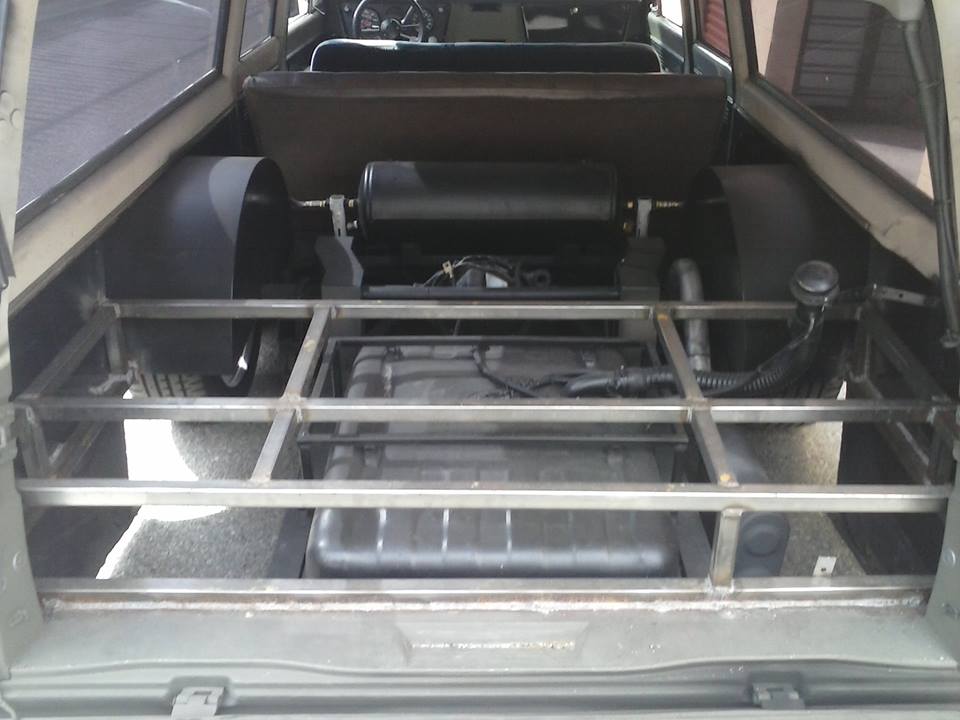
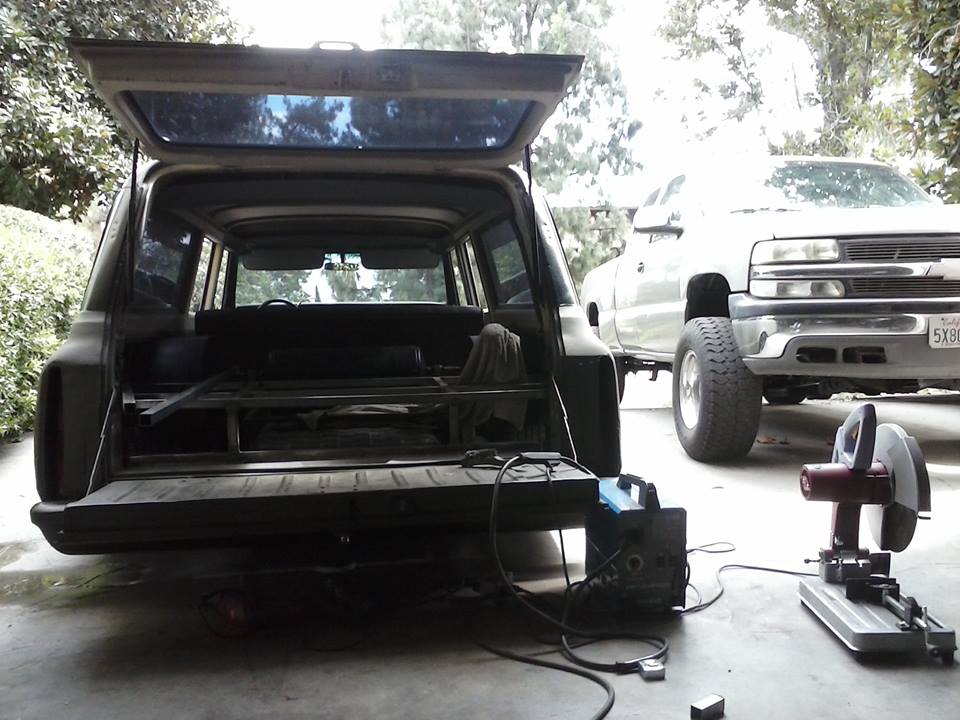
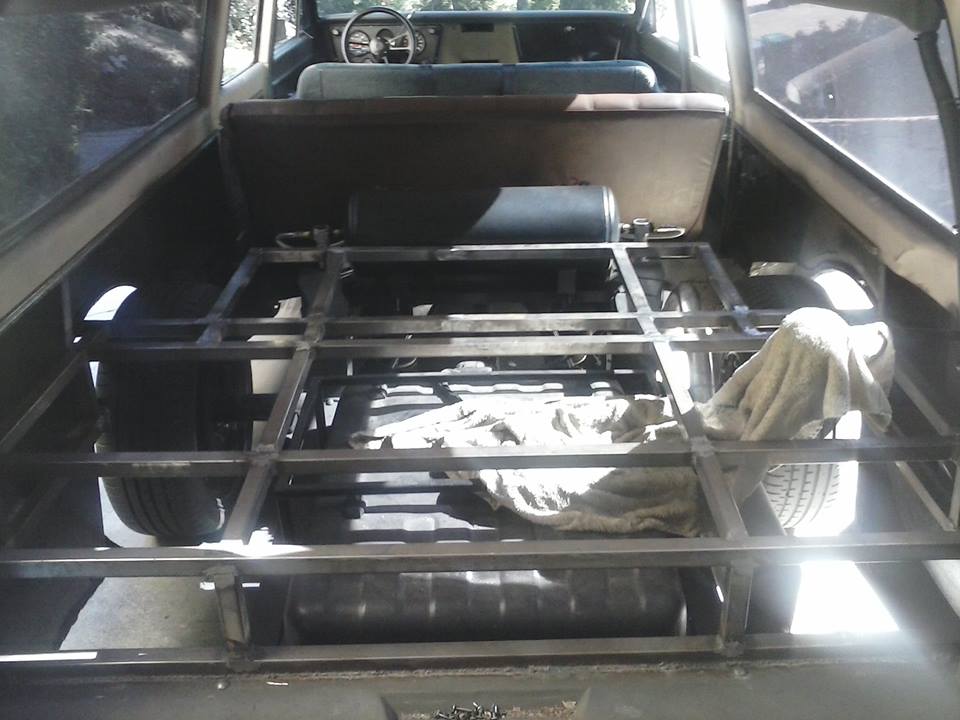
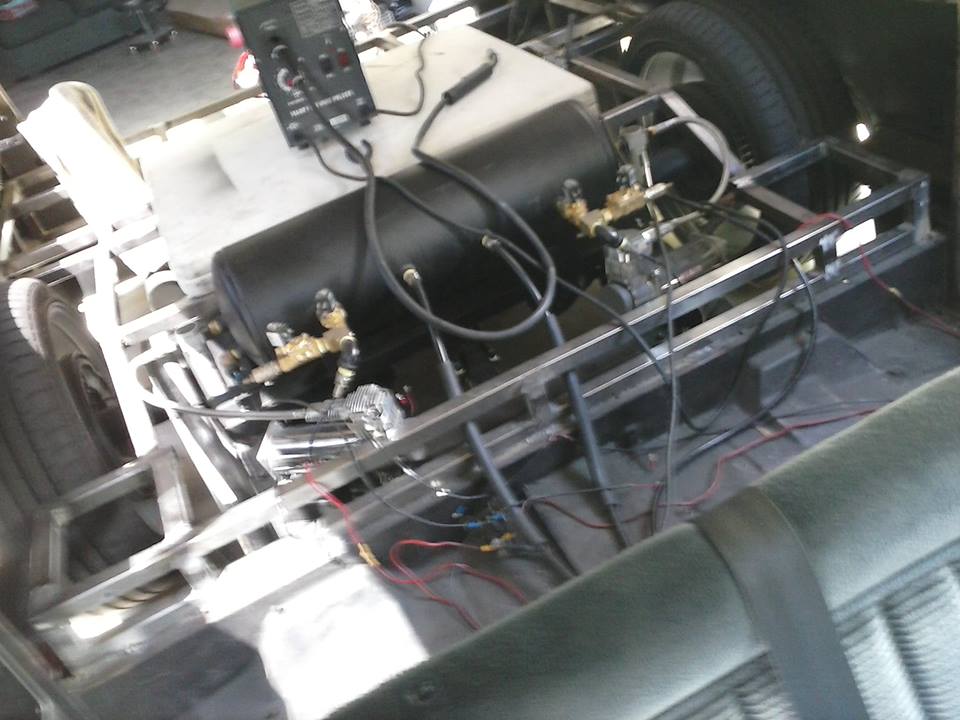
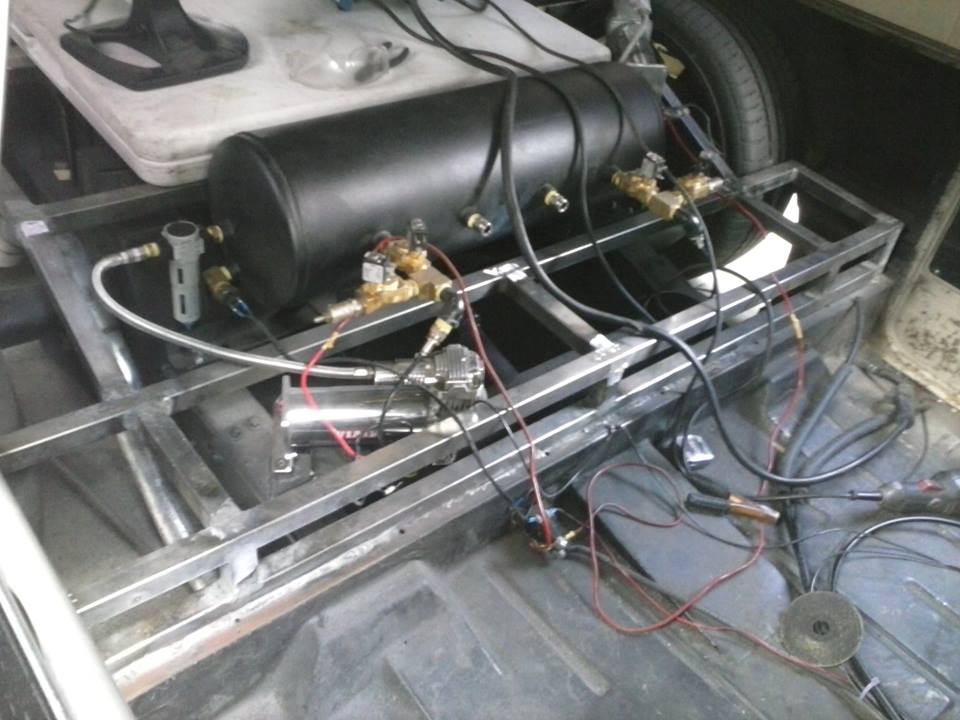
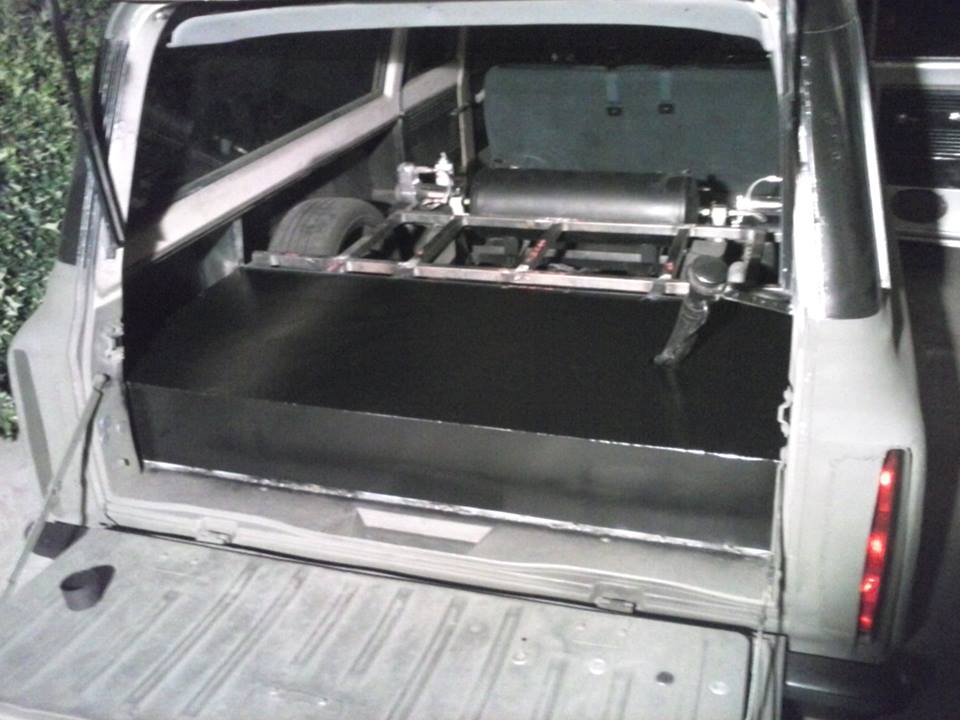
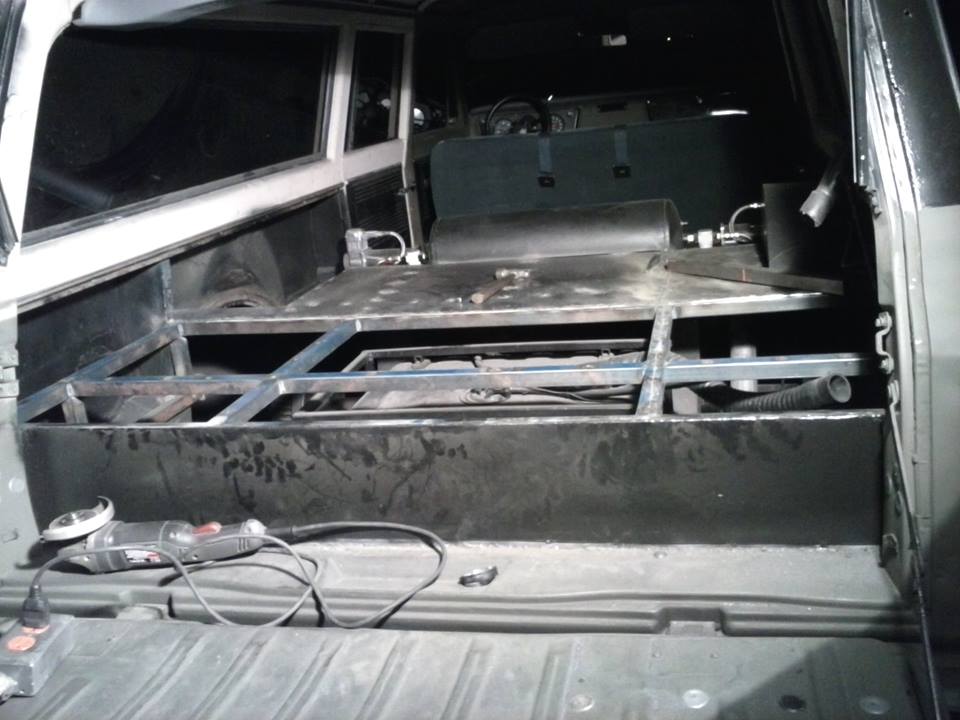
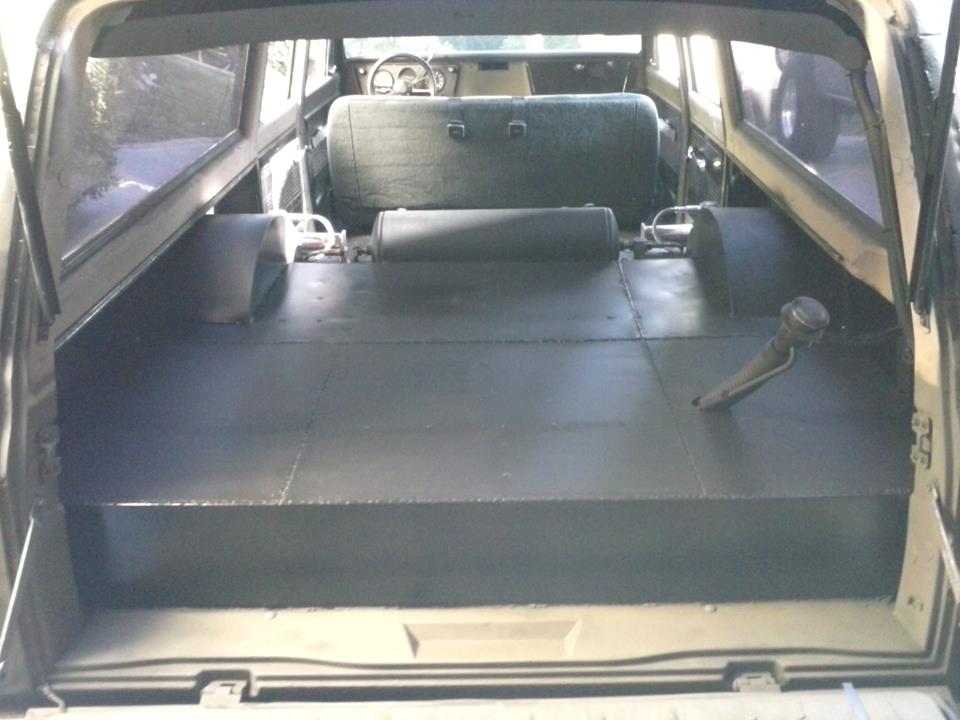
framing up a rear floor
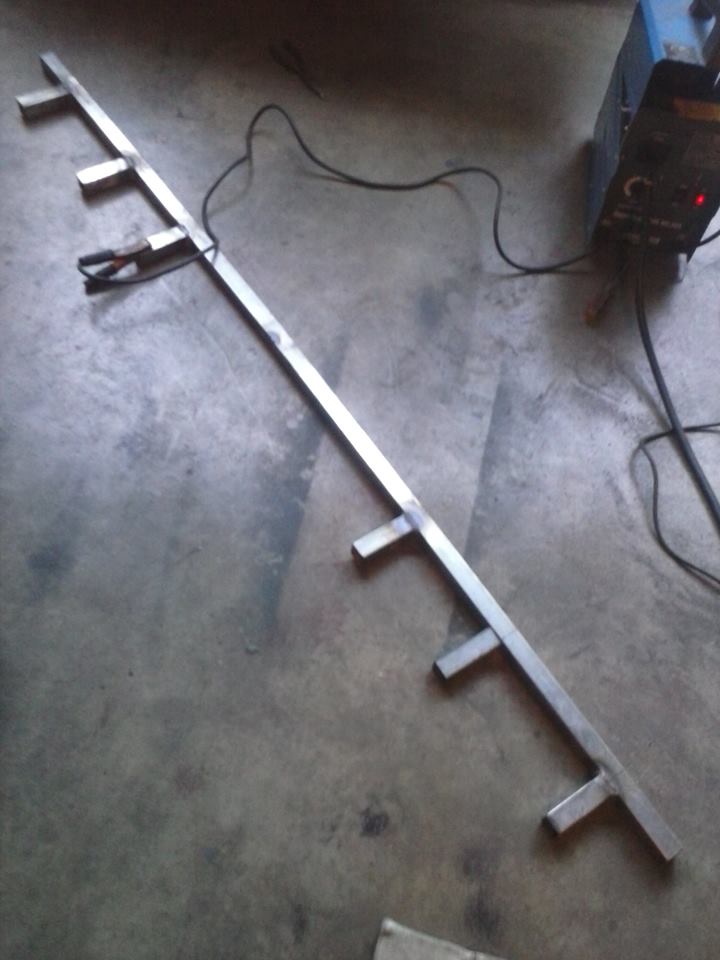
that fitment. lol

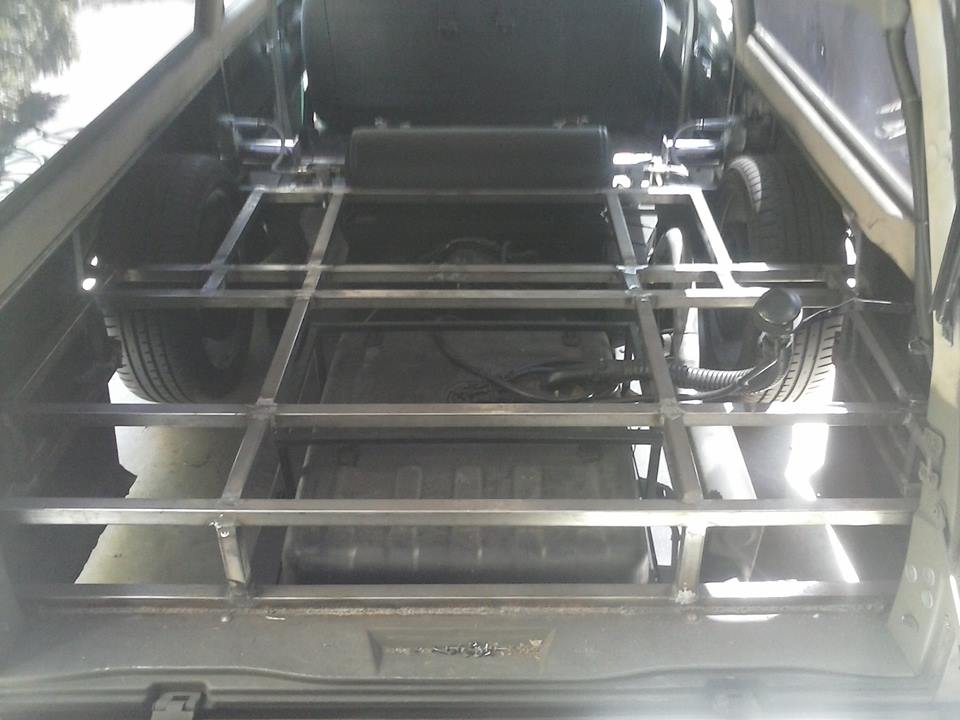
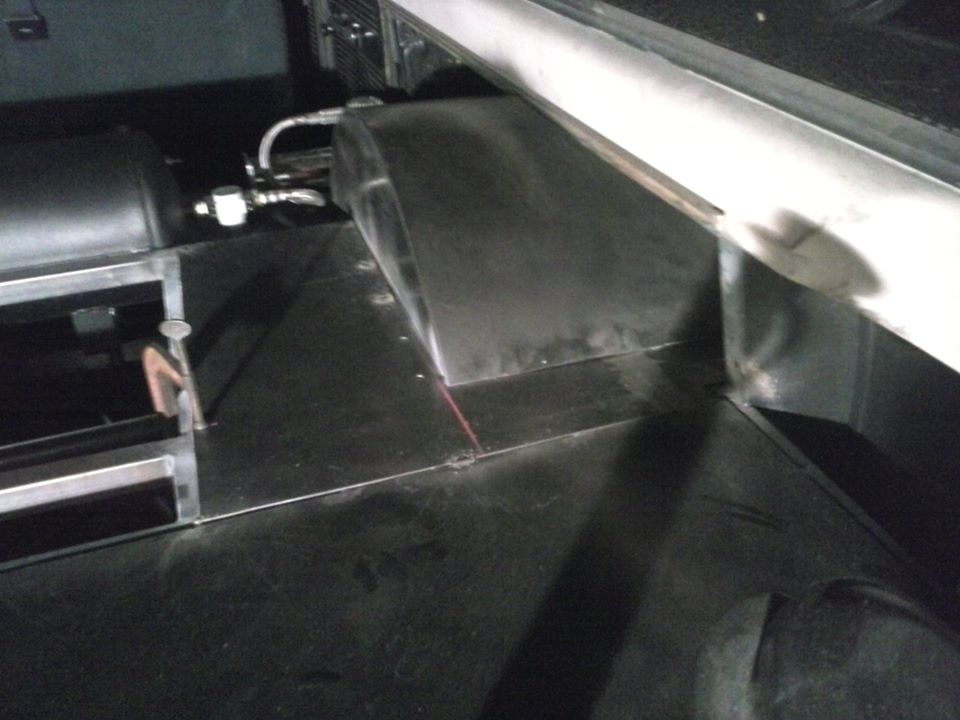
another floor crossmember/frame piece... and welded in, with a few moree braces added to it
got a bunch more frame welding from top side done... ready to start covering it up
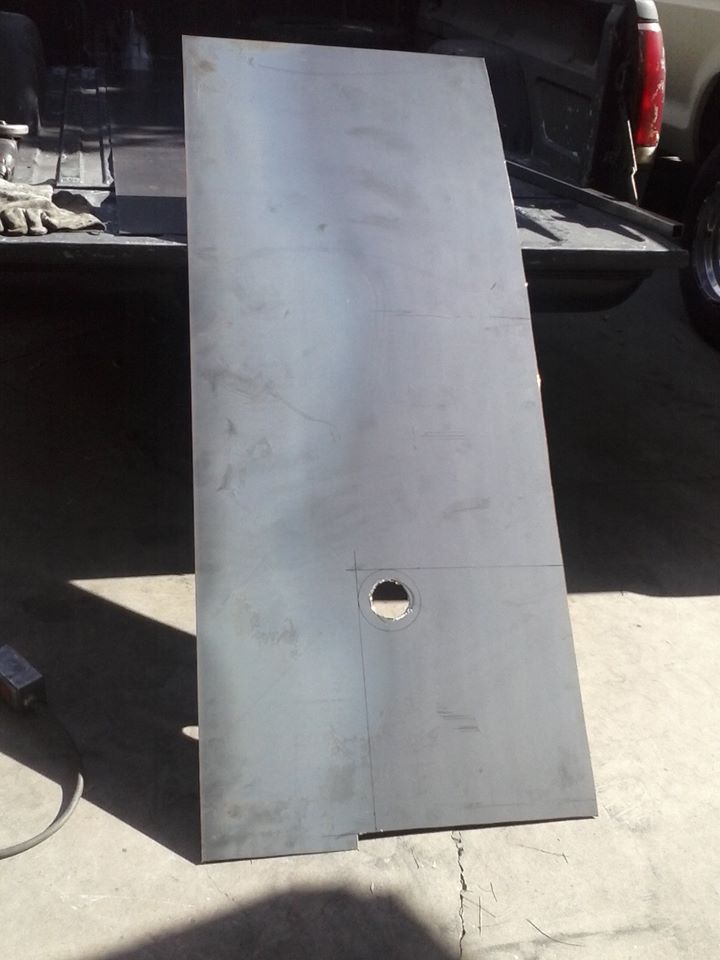
sheet metal for the burb floor
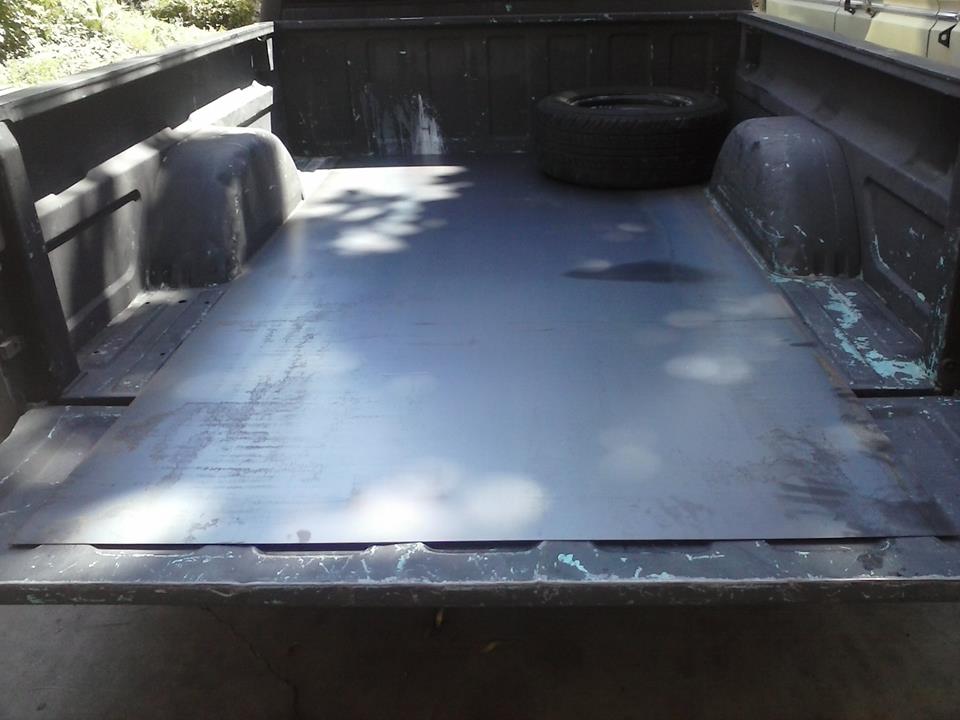
first piece cut to cover the floor
second piece cut, and welding both in


the engine harness and ecu that needs to be modified

getting it slowly taken apart

new steering wheel came in, and got it installed

current pic of engine bay


framing up a rear floor


that fitment. lol

another floor crossmember/frame piece... and welded in, with a few moree braces added to it


got a bunch more frame welding from top side done... ready to start covering it up

sheet metal for the burb floor

first piece cut to cover the floor

second piece cut, and welding both in

Last edited by project 67 sub; 09-25-2014 at 05:46 AM.
09-24-2014, 11:58 PM
#36
On The Tree
Thread Starter
Join Date: Aug 2013
Posts: 144
Likes: 0
Received 0 Likes
on
0 Posts
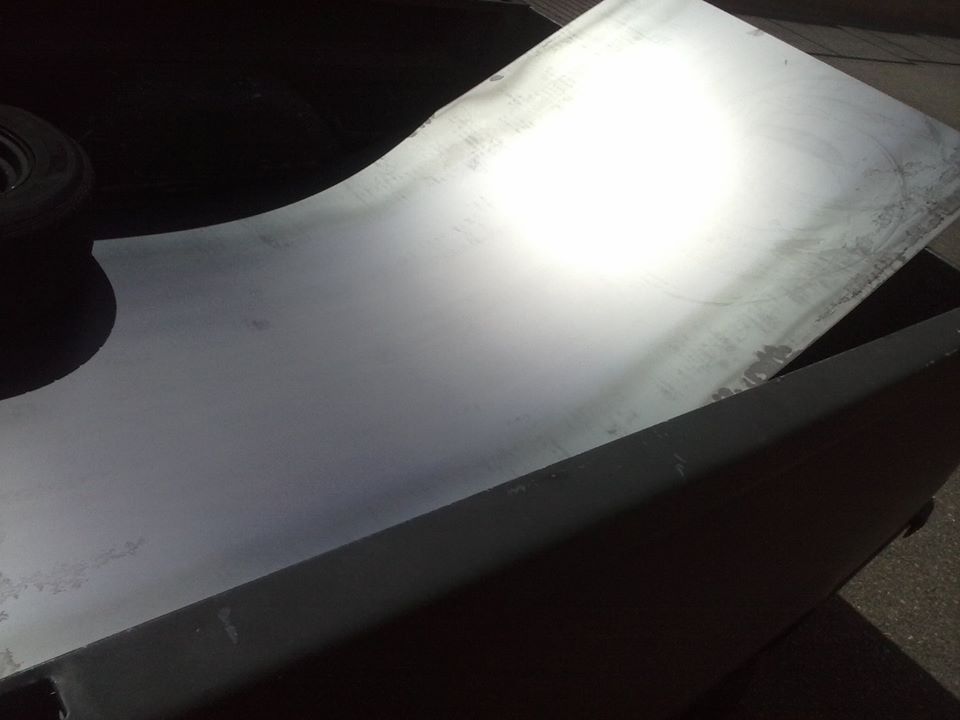
these two pieces are done... enough for now
one of the wheel tubs trimmed/cut down and welded in, and working on another piece of the floor
picked up some more sheet metal for the floor
little set back... wasn't happy with the rear part of the floor, so i cut it back out to redo it cause it was warped and wavy
doing it in 3 smaller pieces, and welding slower to keep the heat down and not to warp it
left side piece tack welded in, now i need to trim the center piece a little bit and get it welded in
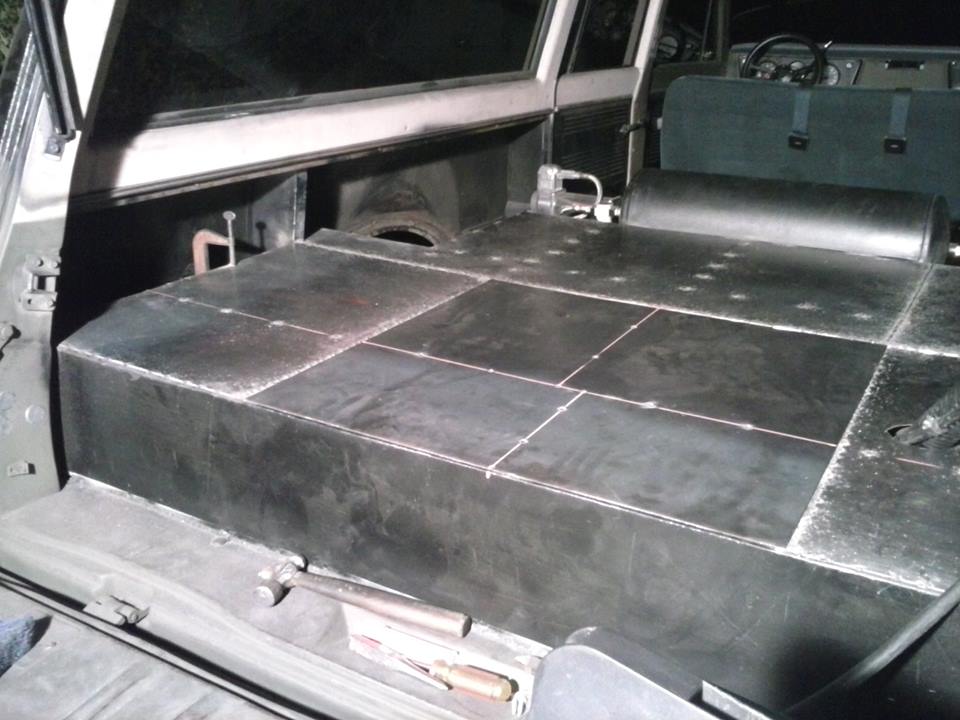
all tack welded in... now just a butt load more until its welded solid
all tack welded in... now just a butt load more until its welded solid

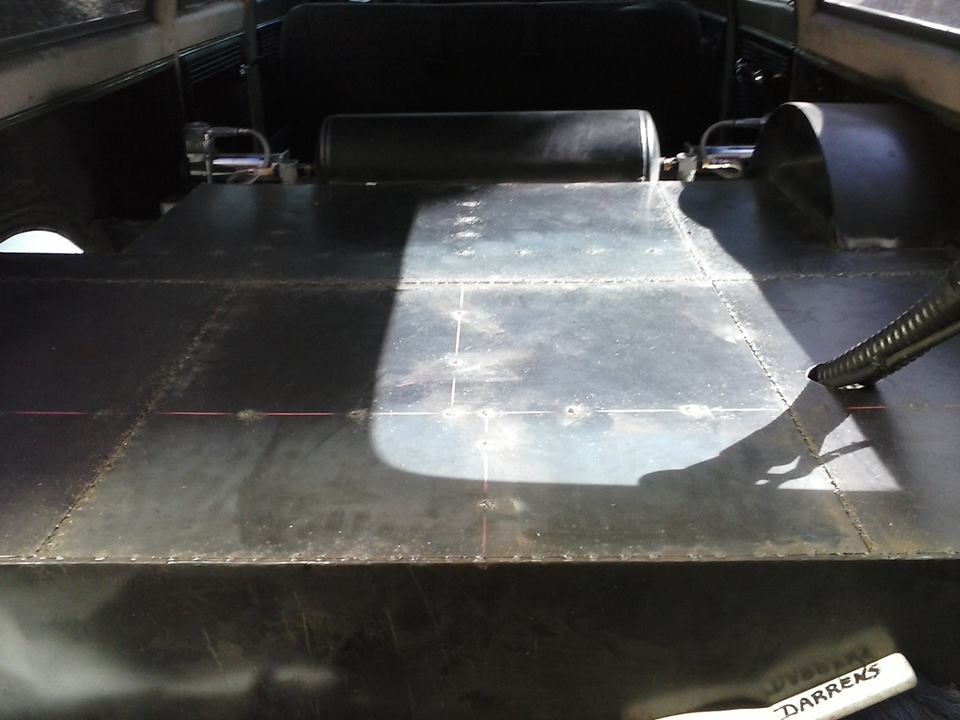
Put some primer and satin black paint over the top side of the floor a little bit ago... bottom side of each piece was painted prior to being welded in
Finally, after 3 weeks my PB dropmember LSx engine mounts came... Via the electric UPS truck. lol
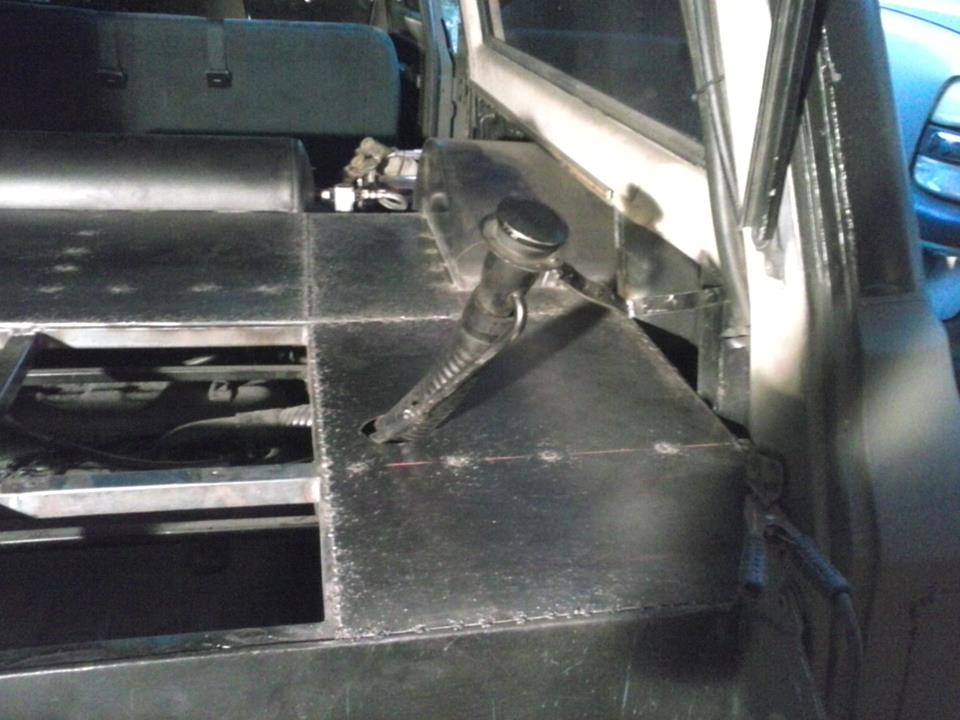
Working on the front upright part of the floor...
Almost done welding in the front top floor pieces
And painted...
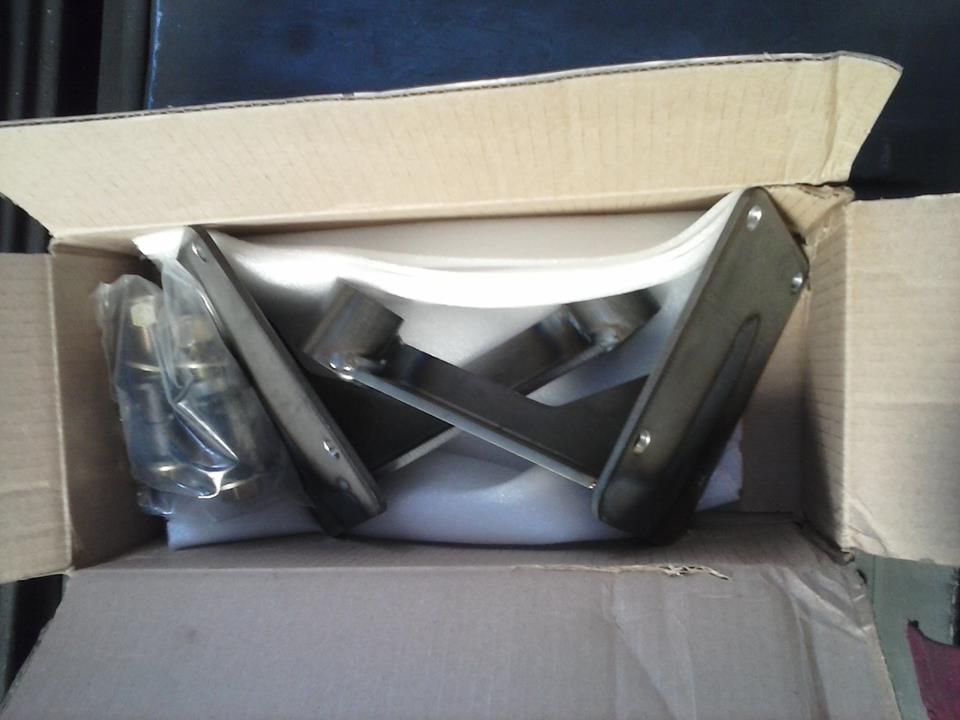
Picked up this seat today for $40 to use as the new rear seat in the suburban.... now at least they will both match. and some day they will get reupholstered
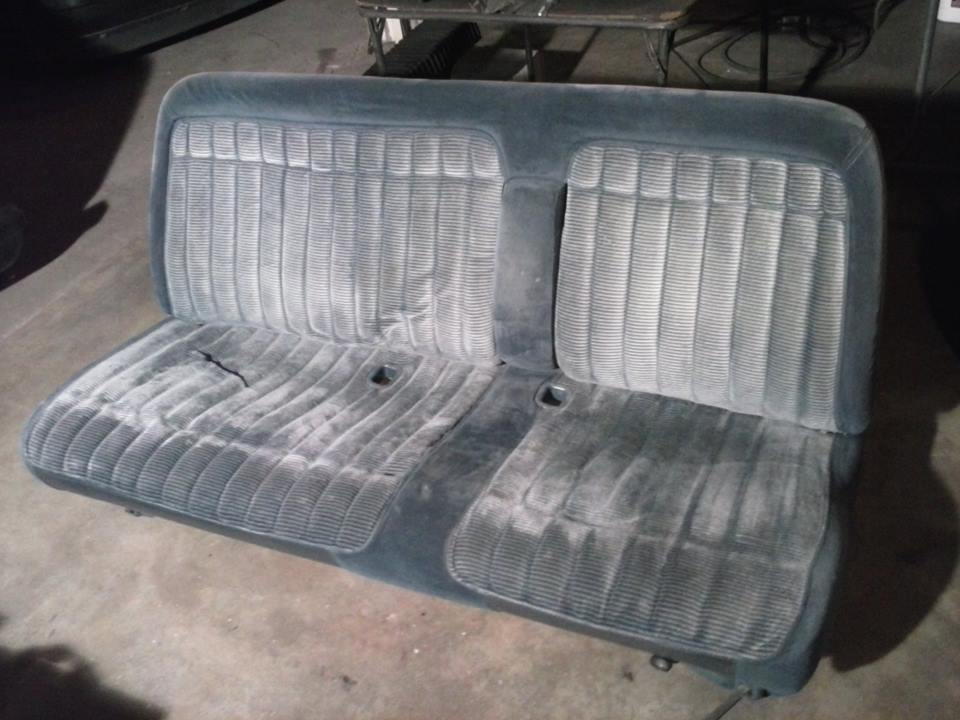
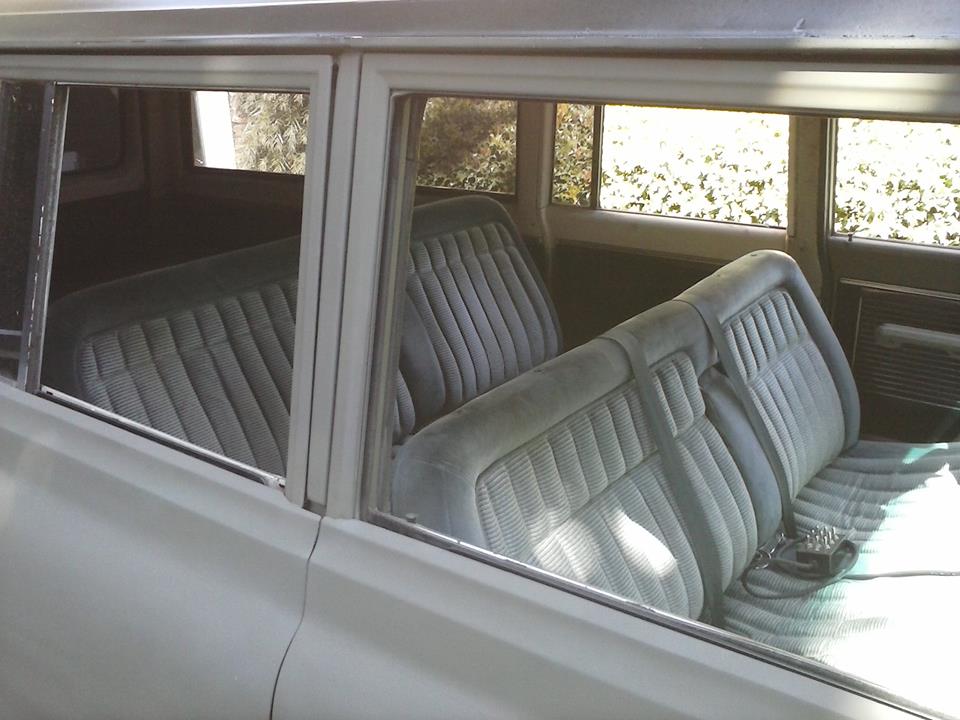
First test fit and to see how its gonna look. may cut the seat bracket down like i did with the front one later on down the road, but not right now

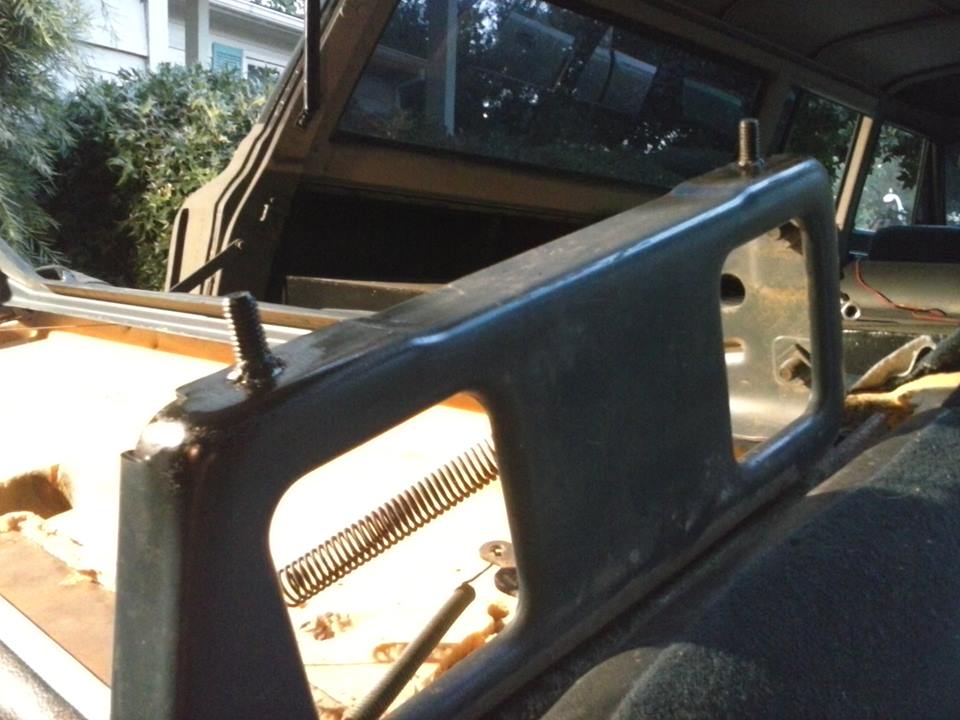
Bolts welded to all 4 corners of the rear seat bracket.... now to just drill 4 mounting holes and get it bolted in.
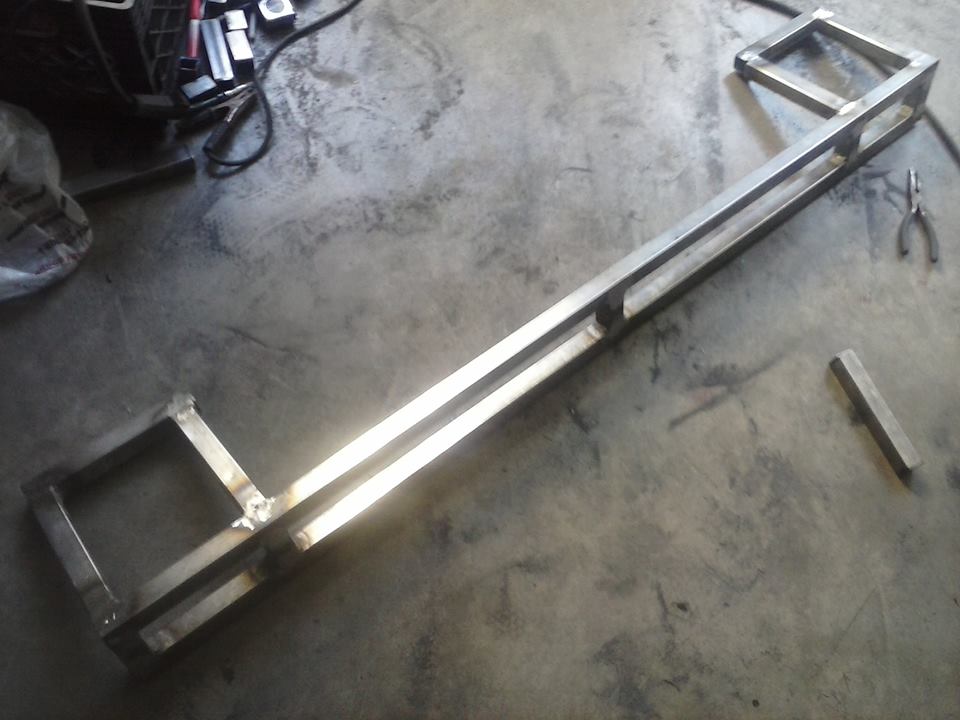
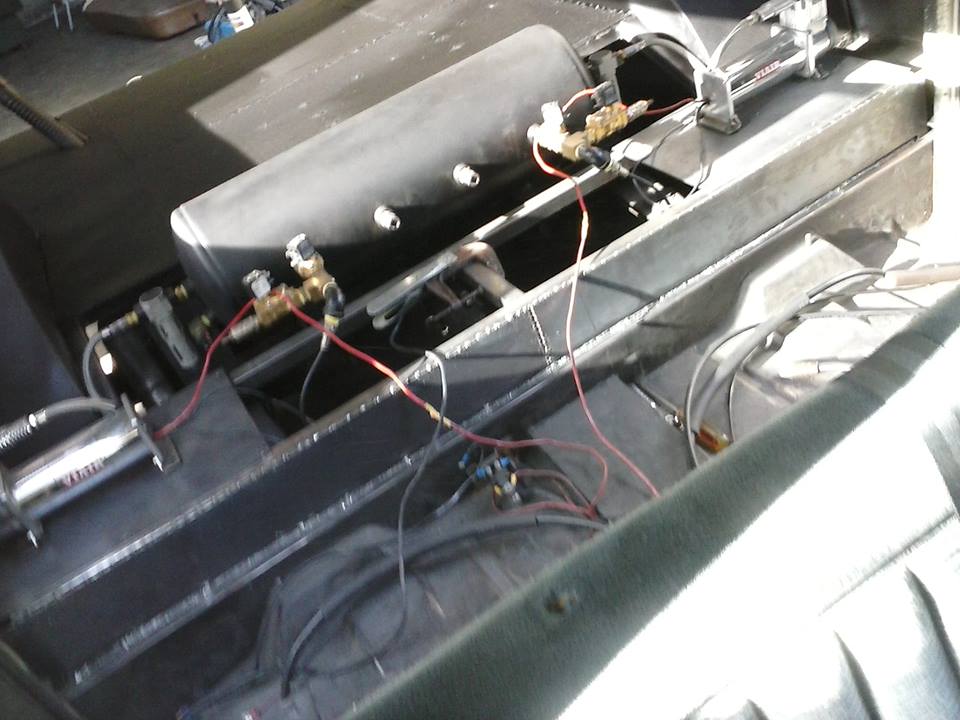
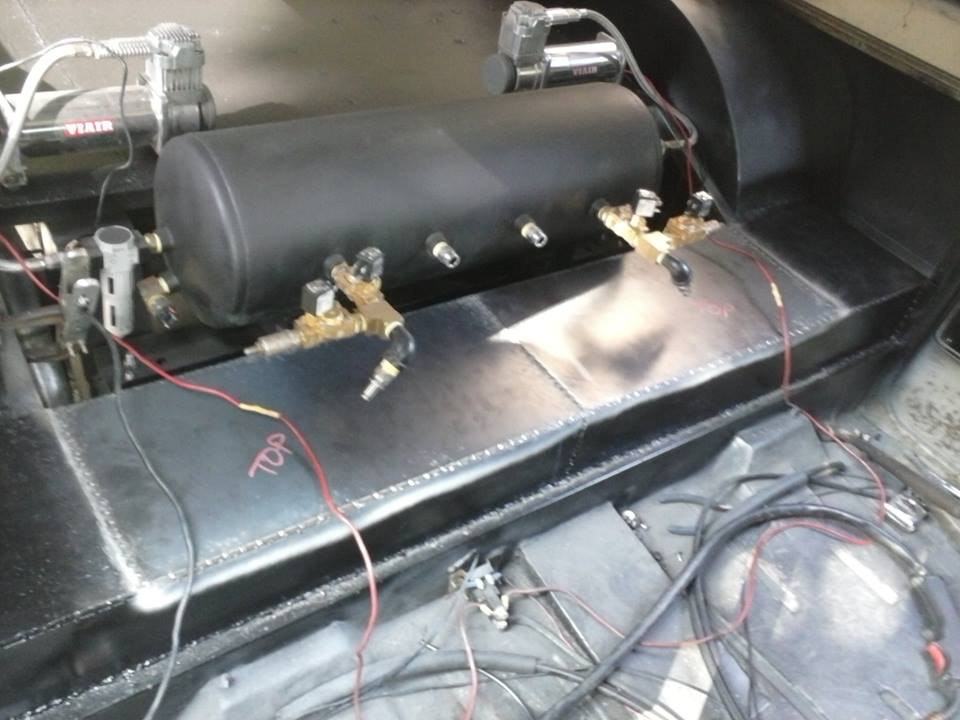
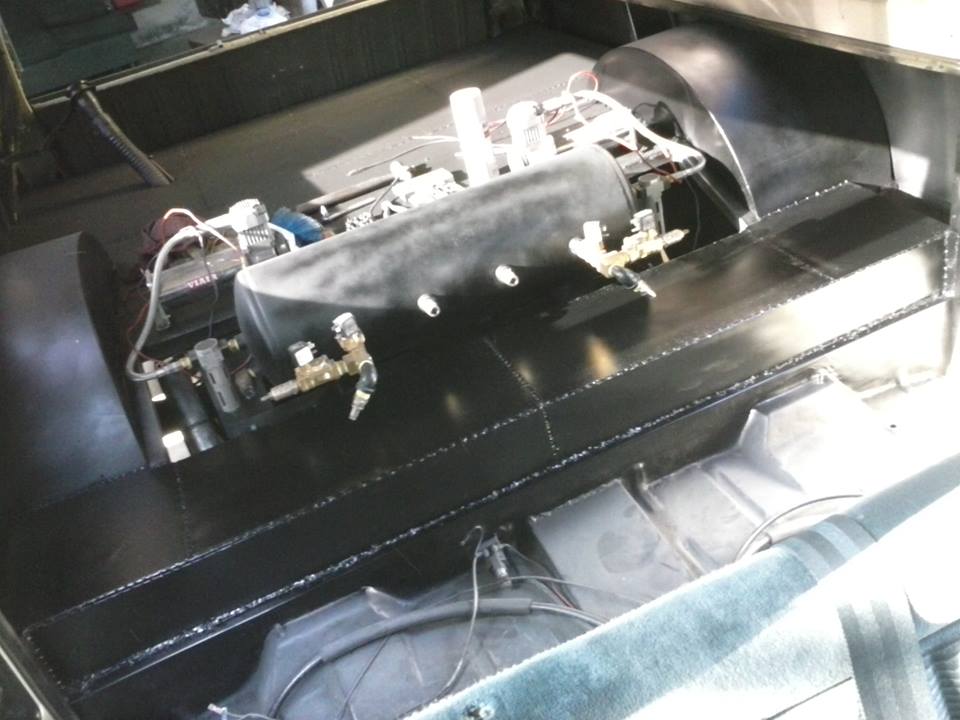
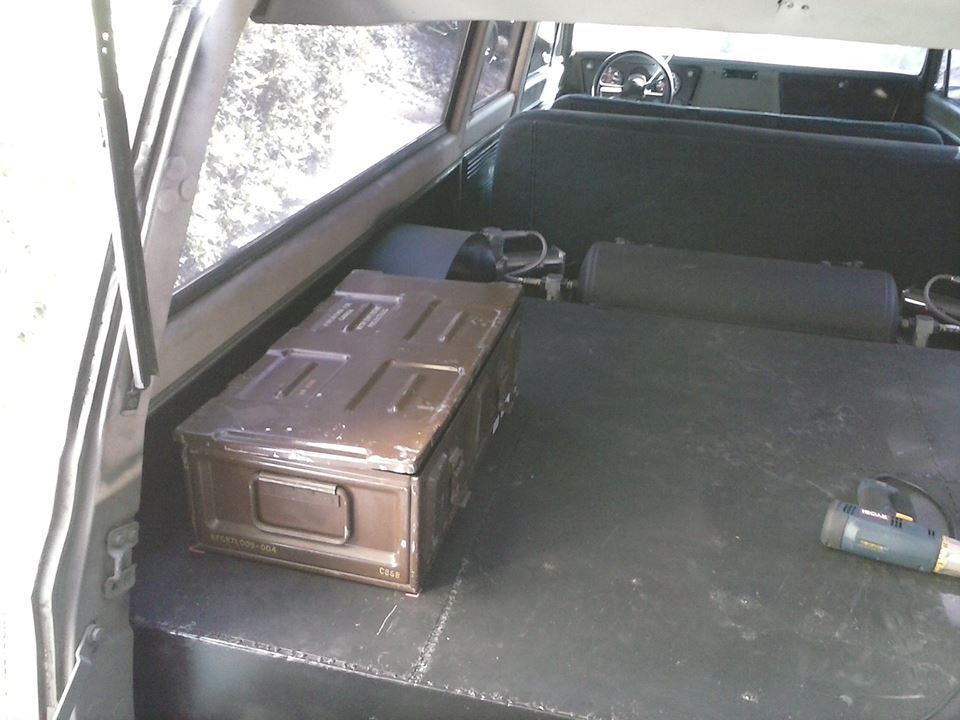
got my battery box mounted up for when i relocate the battery
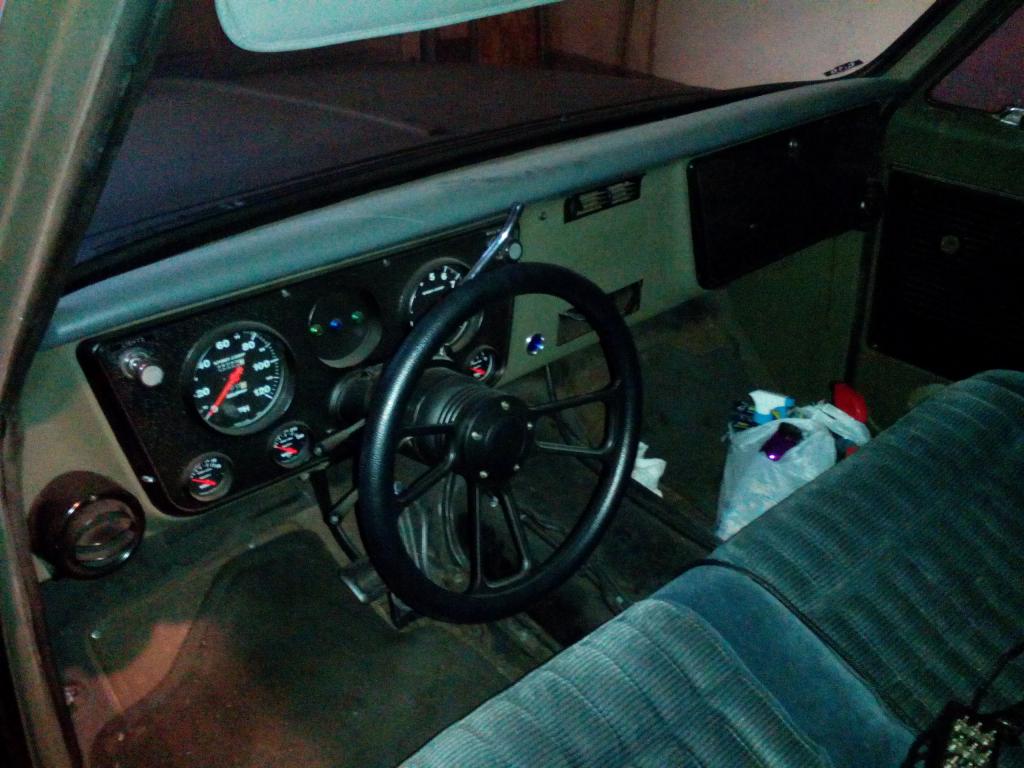
random dash pic
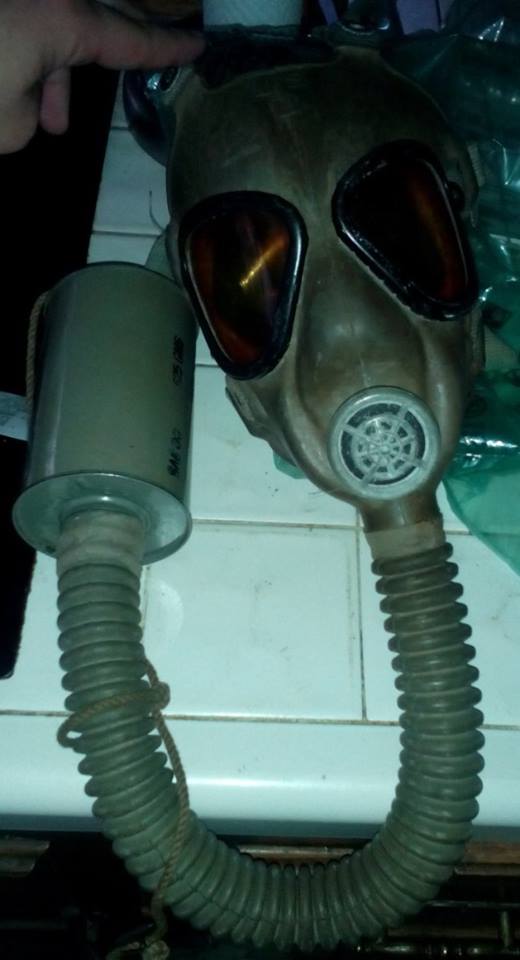
got another "prop" to use for car shows...

one of the wheel tubs trimmed/cut down and welded in, and working on another piece of the floor

picked up some more sheet metal for the floor

little set back... wasn't happy with the rear part of the floor, so i cut it back out to redo it cause it was warped and wavy

doing it in 3 smaller pieces, and welding slower to keep the heat down and not to warp it

left side piece tack welded in, now i need to trim the center piece a little bit and get it welded in

all tack welded in... now just a butt load more until its welded solid

all tack welded in... now just a butt load more until its welded solid

Put some primer and satin black paint over the top side of the floor a little bit ago... bottom side of each piece was painted prior to being welded in

Finally, after 3 weeks my PB dropmember LSx engine mounts came... Via the electric UPS truck. lol

Working on the front upright part of the floor...

Almost done welding in the front top floor pieces

And painted...

Picked up this seat today for $40 to use as the new rear seat in the suburban.... now at least they will both match. and some day they will get reupholstered

First test fit and to see how its gonna look. may cut the seat bracket down like i did with the front one later on down the road, but not right now


Bolts welded to all 4 corners of the rear seat bracket.... now to just drill 4 mounting holes and get it bolted in.

got my battery box mounted up for when i relocate the battery

random dash pic

got another "prop" to use for car shows...

Last edited by project 67 sub; 09-25-2014 at 06:01 AM.
09-24-2014, 11:58 PM
#37
On The Tree
Thread Starter
Join Date: Aug 2013
Posts: 144
Likes: 0
Received 0 Likes
on
0 Posts
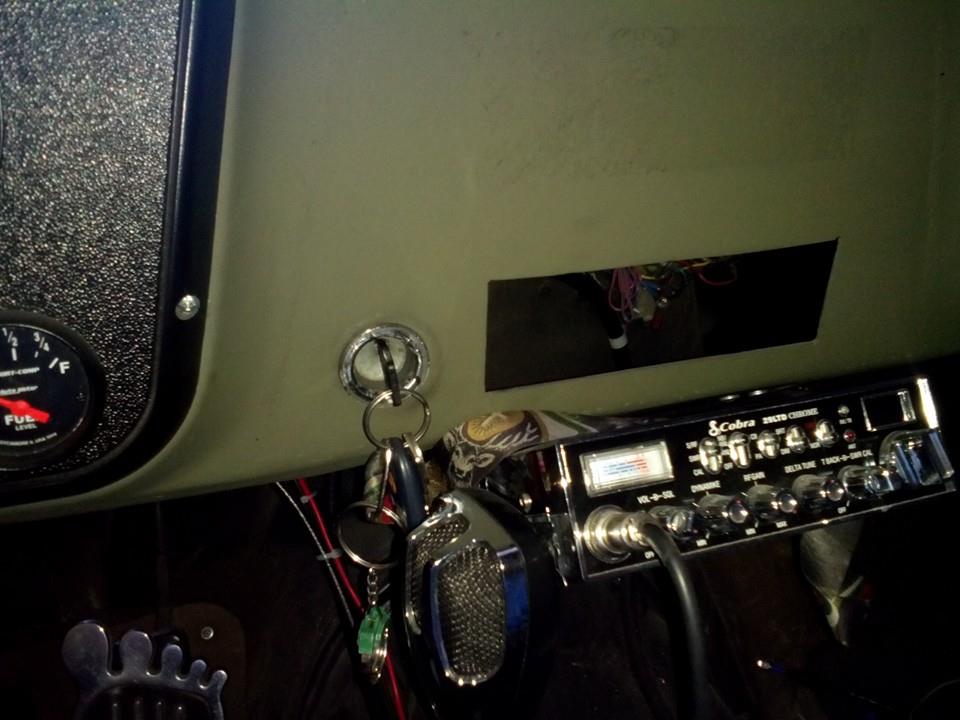
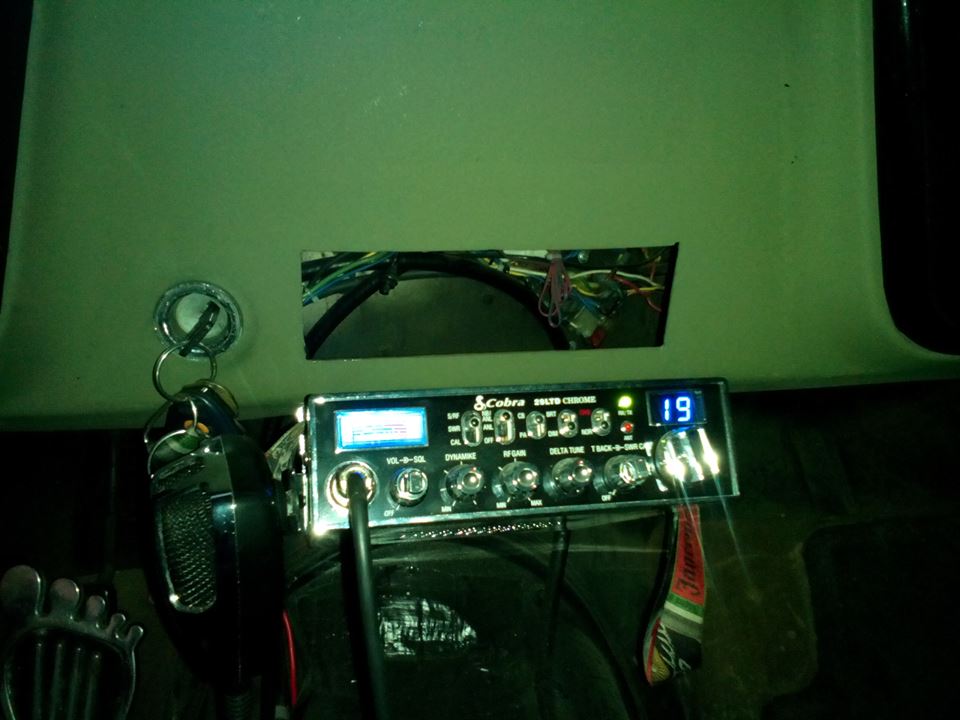
and... No more push button starter mounted in the dash, because of it having issues. So moved the ignition back into the dash in its place. And also mounted my cb. Still need to hook it up though. Lol
couple more random pics
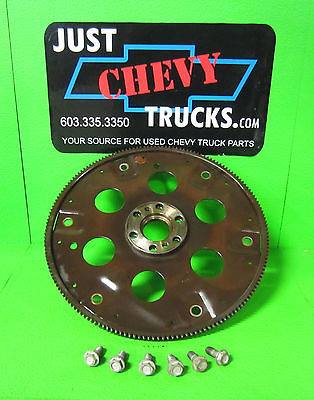
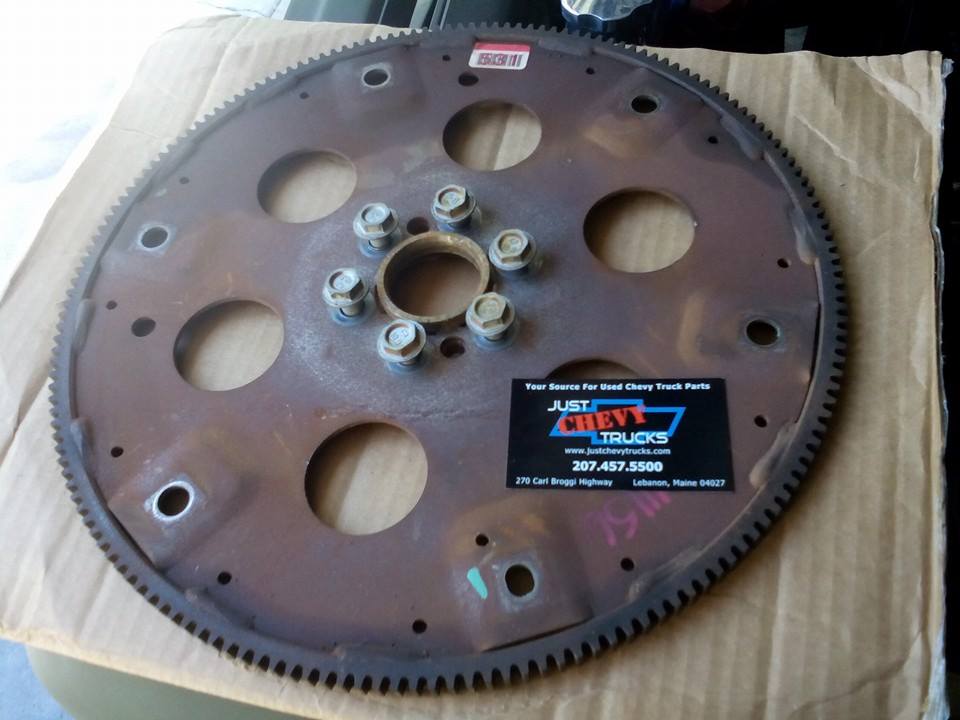
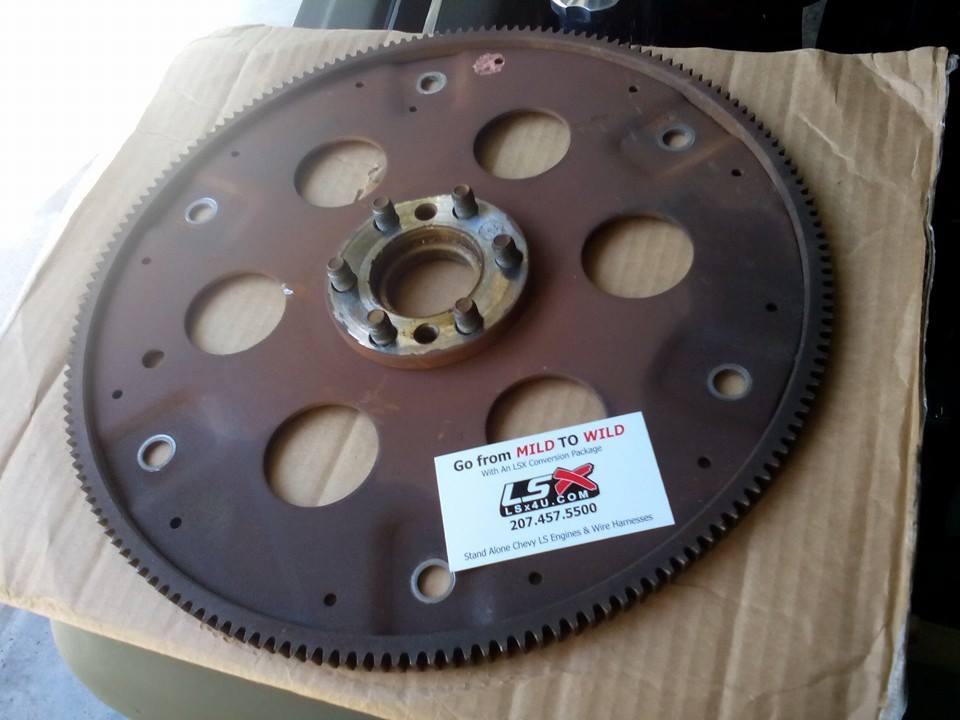
had to order this so i could be one step/part order closer to my vortec 5.3LS/th400 swap
had to do some trimming on the intake cover for my 5.3 swap so it actually fit right
and it showed up...
And another temporary rear bumper, which was the one that was on it when I originally bought the burb. Decided to go back to having the license plate in the bumper, instead of in the tailgate with the smooth bumper I was doing/making. also, i picked up the license plate mount/bracket from the local salvage yard for $2
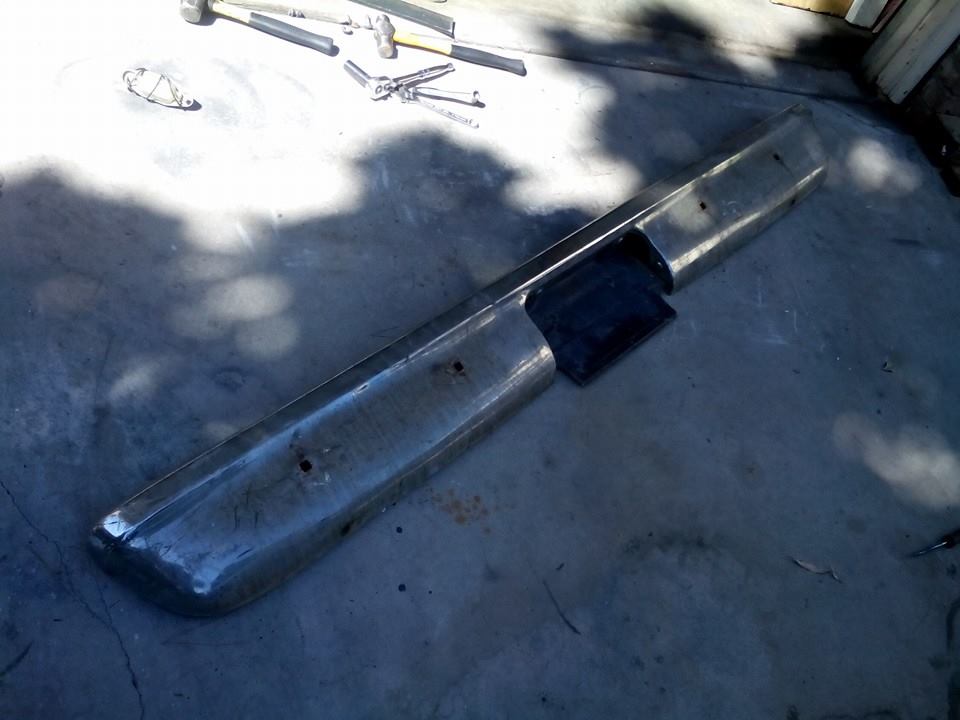
Added this license plate flip down/up bracket I kept off of my old 77 camaro for when I eventually install a hidden hitch
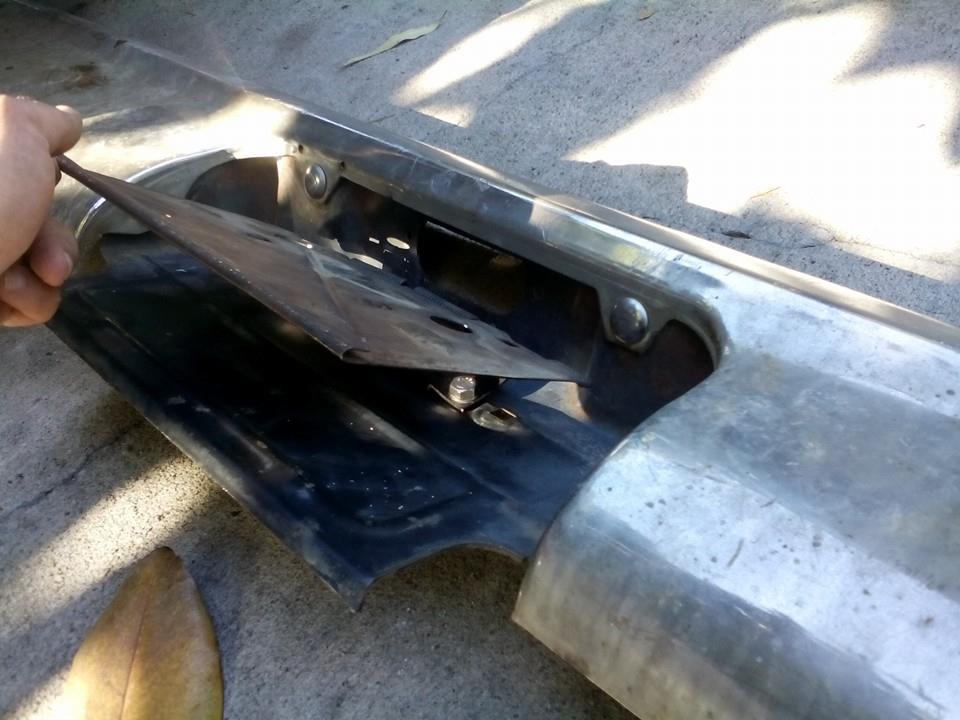
had to flip the licence plate, and that camaro flip up/down bracket, so that the license plate could be properly lit by the light. now i just need to swap out the tailgate with the other one I have once I get it home and cleaned up

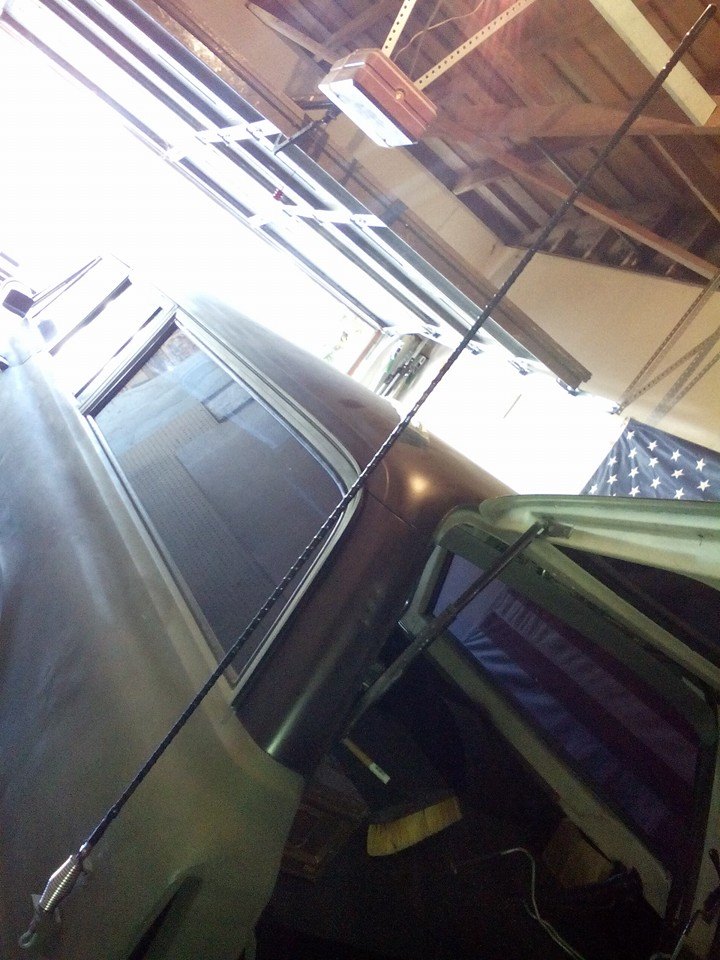
finally hooked up some power to the cb, just need a couple other things so i can mount my antennas and run the coax cables
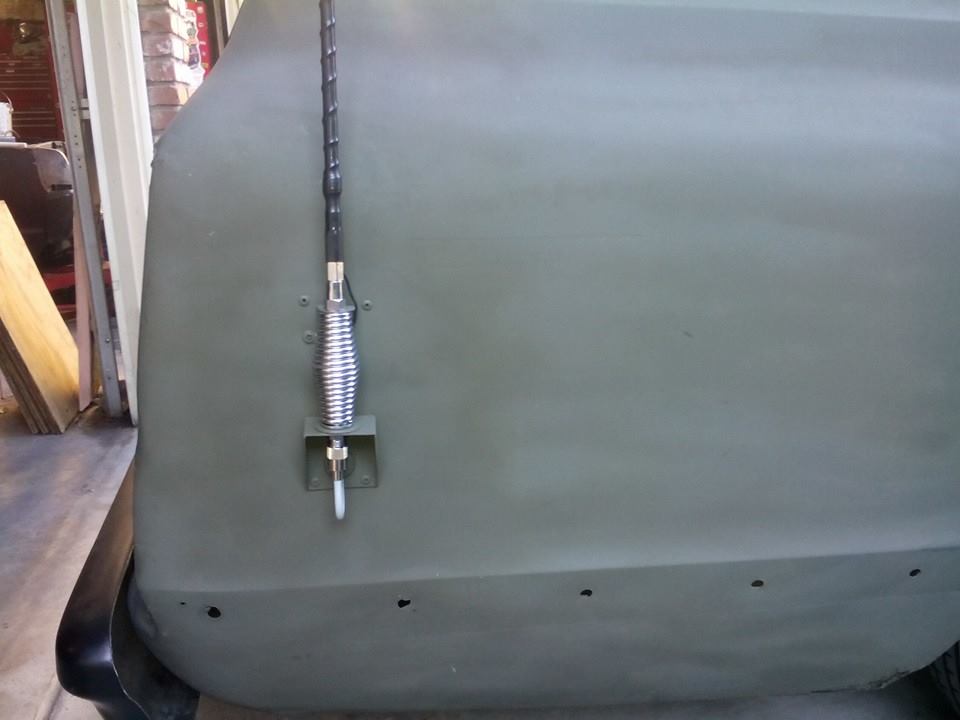
Couple of homemade temporary cb antenna mounts. Just need to drill some mounting holes and stuff now
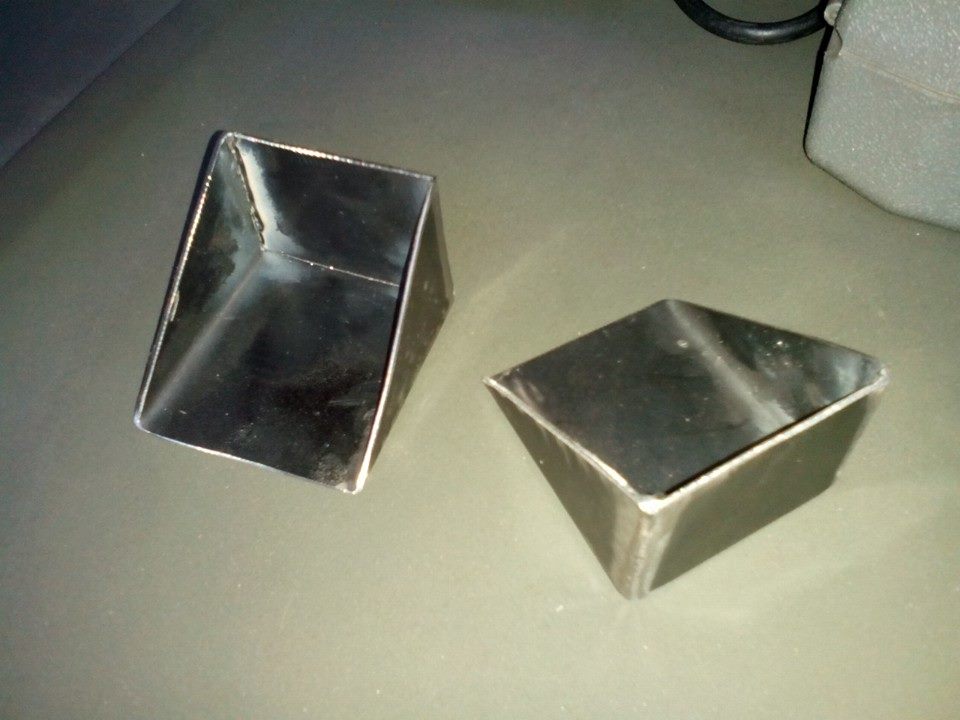
One down one to go...
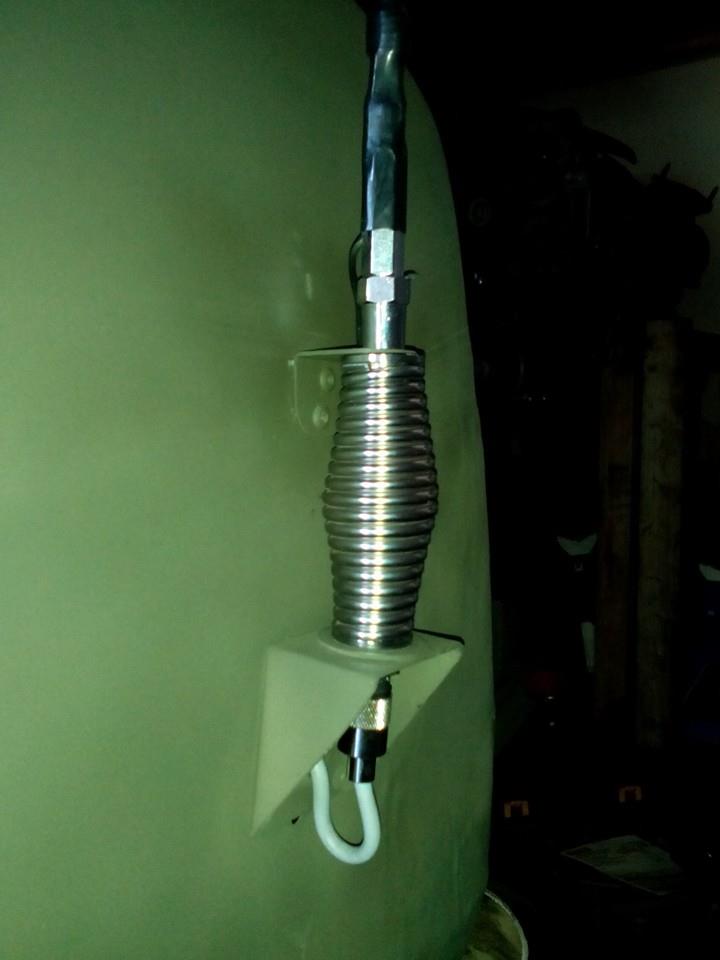

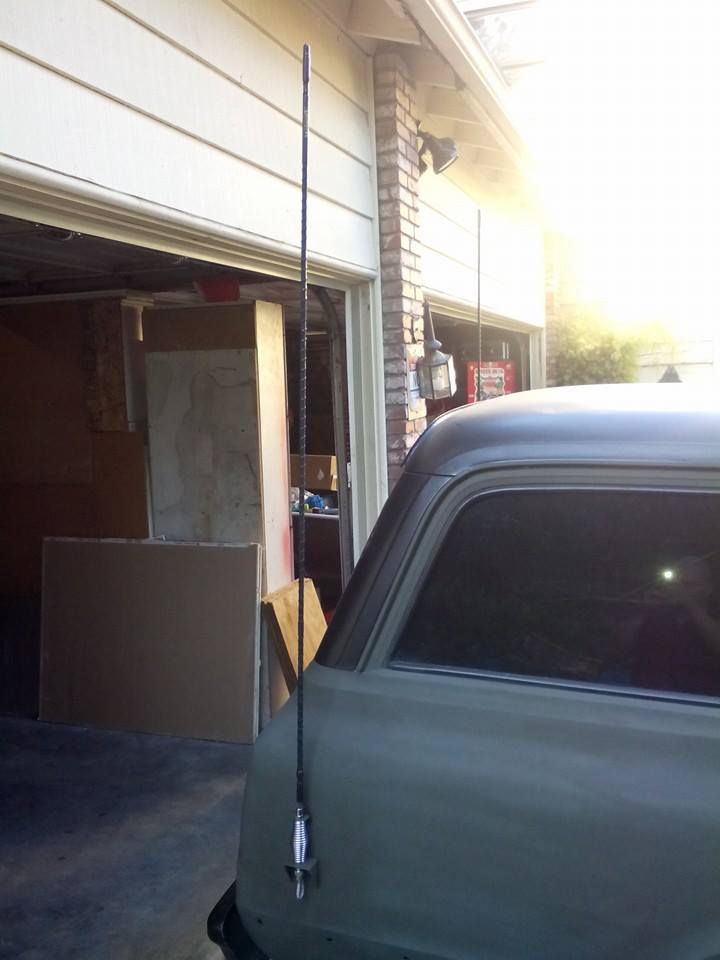
And the 2nd one is done...

couple more random pics


had to order this so i could be one step/part order closer to my vortec 5.3LS/th400 swap

had to do some trimming on the intake cover for my 5.3 swap so it actually fit right

and it showed up...


And another temporary rear bumper, which was the one that was on it when I originally bought the burb. Decided to go back to having the license plate in the bumper, instead of in the tailgate with the smooth bumper I was doing/making. also, i picked up the license plate mount/bracket from the local salvage yard for $2

Added this license plate flip down/up bracket I kept off of my old 77 camaro for when I eventually install a hidden hitch

had to flip the licence plate, and that camaro flip up/down bracket, so that the license plate could be properly lit by the light. now i just need to swap out the tailgate with the other one I have once I get it home and cleaned up

finally hooked up some power to the cb, just need a couple other things so i can mount my antennas and run the coax cables

Couple of homemade temporary cb antenna mounts. Just need to drill some mounting holes and stuff now

One down one to go...


And the 2nd one is done...


Last edited by project 67 sub; 09-25-2014 at 06:06 AM.
09-25-2014, 03:48 PM
#38
On The Tree
Thread Starter
Join Date: Aug 2013
Posts: 144
Likes: 0
Received 0 Likes
on
0 Posts
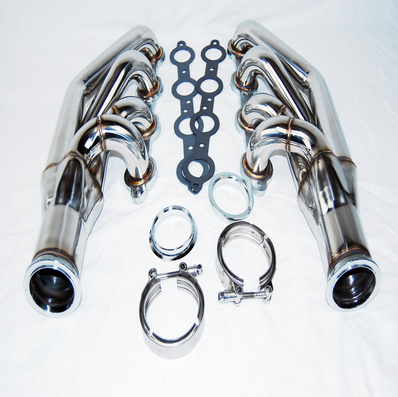
and now i have a set of these up and forward turbo manifolds (ebay specials) coming, that a friend of mine bought for a turbo 6.0 first gen rx7 project he's working on. he cant use them as he says they wont work because of the small engine bay. so he's sending them to me free of charge to use on my turbo vortec 5.3 build/swap 

Last edited by project 67 sub; 09-25-2014 at 04:36 PM.
09-27-2014, 03:11 AM
#39
Good job on the burb man. It's come a long ways since you first got it. One day I'll step up to a set of bags. I don't think I'll ever lay frame with the red truck but may buy another one some day to do it with.
09-27-2014, 07:13 PM
#40

Sweet build man, so many man hours in this.
Are you a body man by trade or just your fun hobby that you are pretty good at?
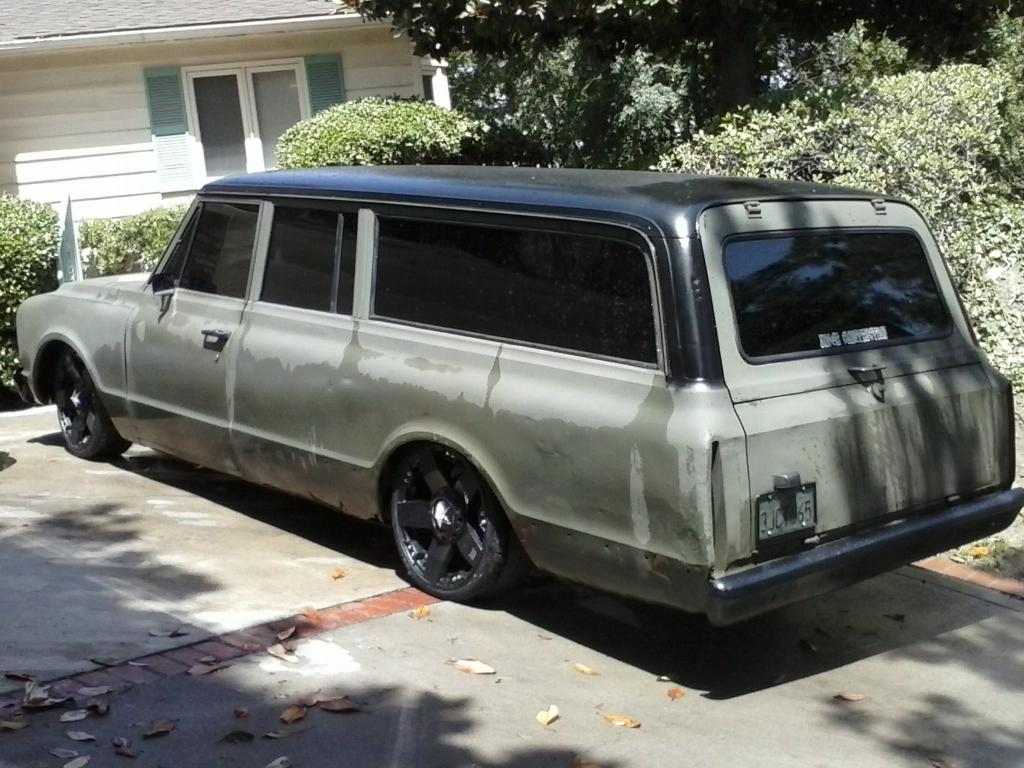
I also noticed like every set of tires would slowly be lower in some pictures that must span some time, I assume getting an alignment just got pointless because of the all the changes and that you'd fix it when the suspension was completed.
Are you a body man by trade or just your fun hobby that you are pretty good at?
I also noticed like every set of tires would slowly be lower in some pictures that must span some time, I assume getting an alignment just got pointless because of the all the changes and that you'd fix it when the suspension was completed.

