project SARGE, the bagged 67 turbo burb build
 09-24-2014, 11:51 PM
#21
On The Tree
Thread Starter
Join Date: Aug 2013
Posts: 144
Likes: 0
Received 0 Likes
on
0 Posts


picked up an NOS arm rest

redoing the exhaust again


painted and reinstalled the arm rests/door handles


painted the exhaust


picked up some headlight bezels and seat belts


cleaned, died, and painted

Last edited by project 67 sub; 09-25-2014 at 03:21 AM.
 09-24-2014, 11:51 PM
#22
On The Tree
Thread Starter
Join Date: Aug 2013
Posts: 144
Likes: 0
Received 0 Likes
on
0 Posts


white bezels painted black

can you say patch panel? now i just need to figure out where im gonna store it, and how im gonna get it their and yes its from a 67 suburban so its year correct as well


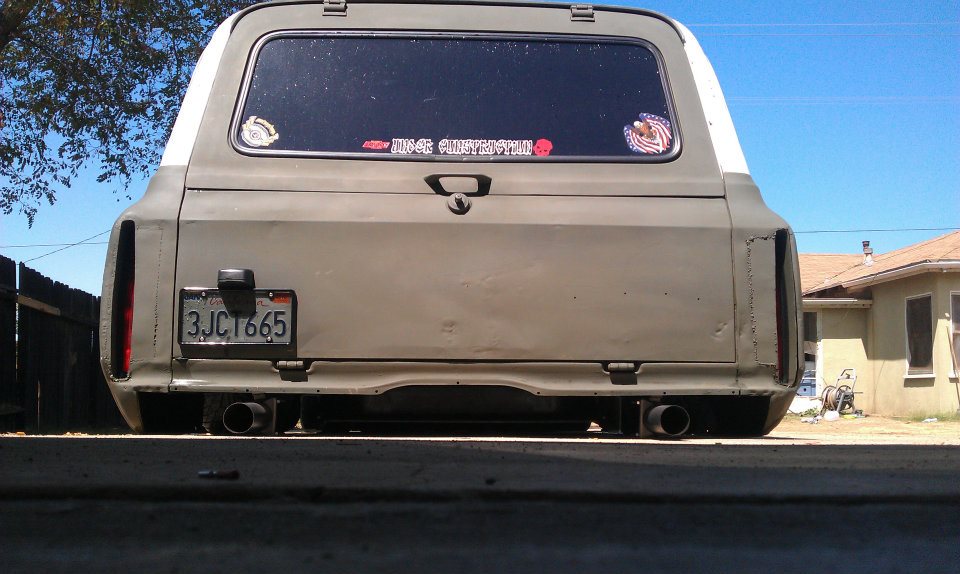
another rear bumper to help make what i need/want, it will be smooth from one side to the other except for bumper bolts... it will not have the license plate cut out

the piece i will use to shave the spare tire well indentation

rear frame horns i will use to repair the ones i cut off

and now the bumper is strait, just need to weld up some holes, do some paint stripping, and shave the license plate cut out area

paint stripped, and license plate area cut out


and a piece cut out of the other bumper i have to u shave the license plate area

and welded in, along with welding up 20 different holes. lol


back sprayed with rust converter... and the front side as well. then primered, and guide coated. needs a bit of body work.

Last edited by project 67 sub; 09-25-2014 at 03:31 AM.
09-24-2014, 11:52 PM
#23
On The Tree
Thread Starter
Join Date: Aug 2013
Posts: 144
Likes: 0
Received 0 Likes
on
0 Posts


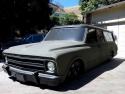
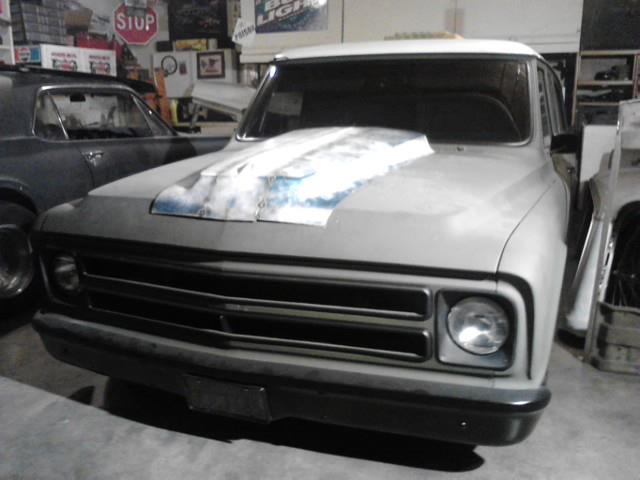
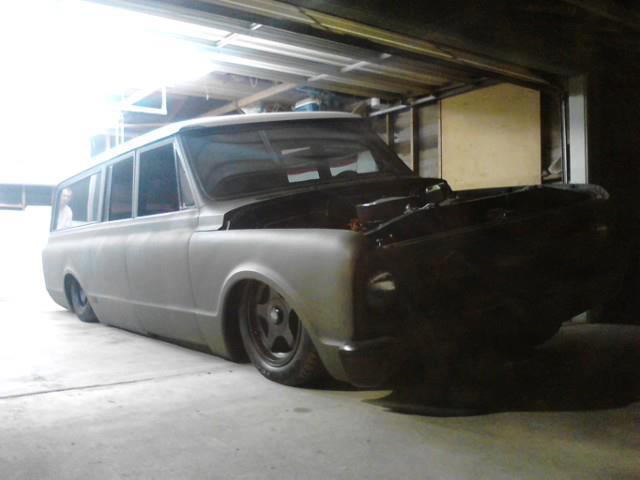
finally got it back to my house and out of my buddies storage unit... and its in the garage


laying a-arm

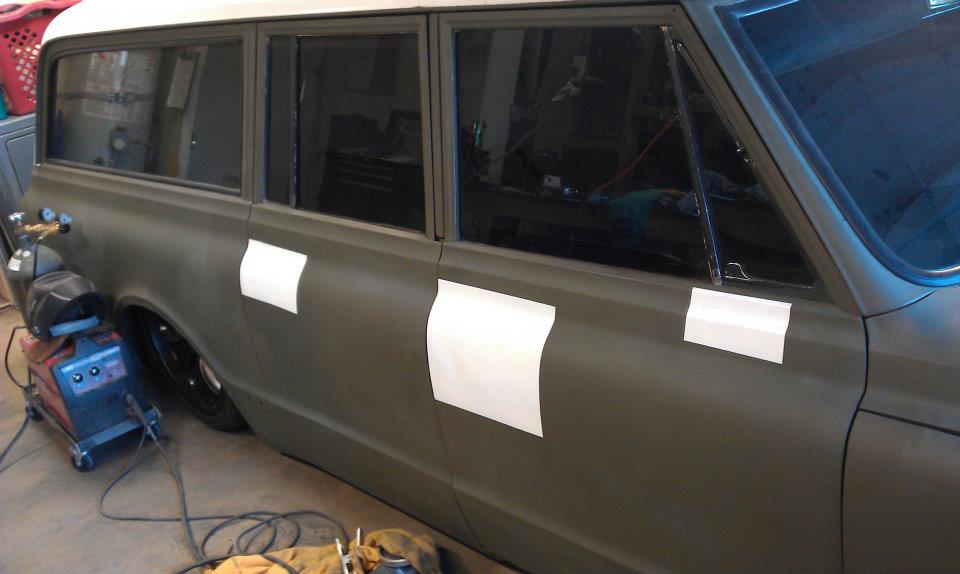
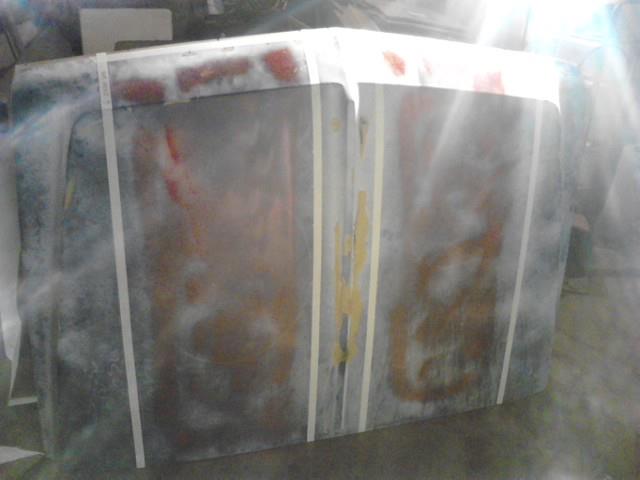
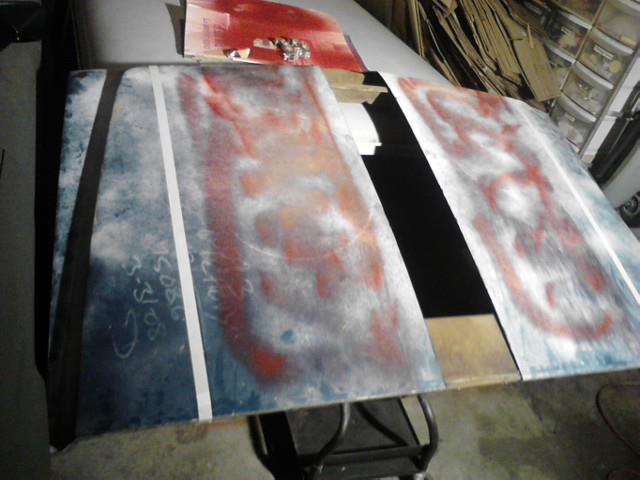
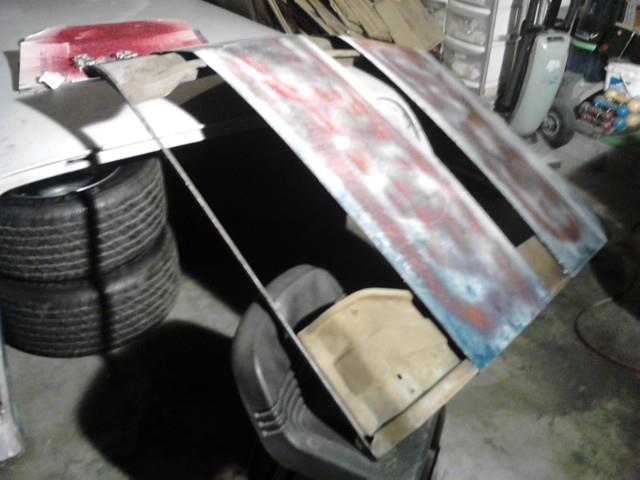
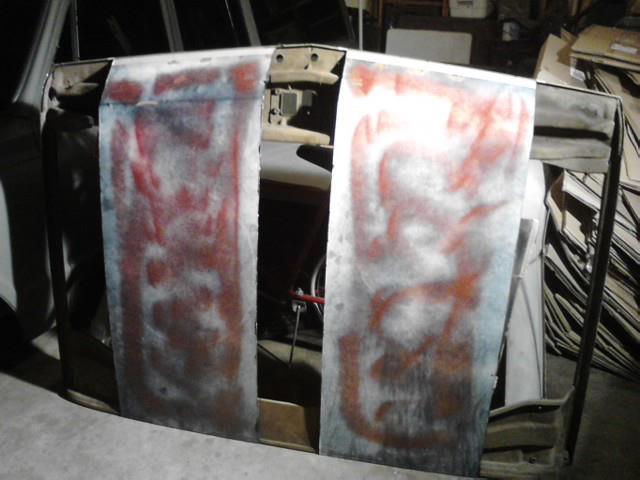
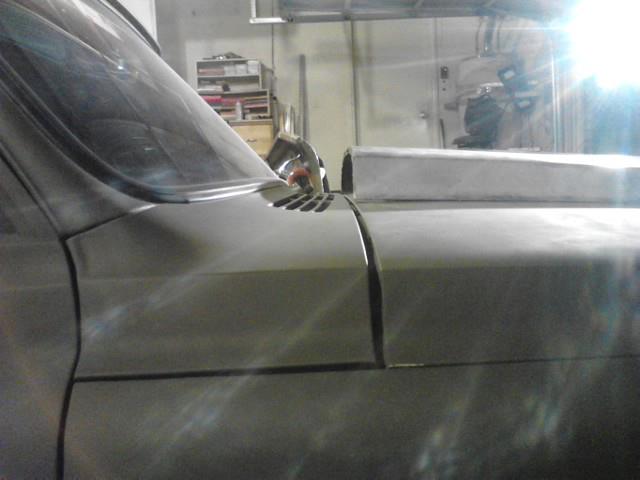
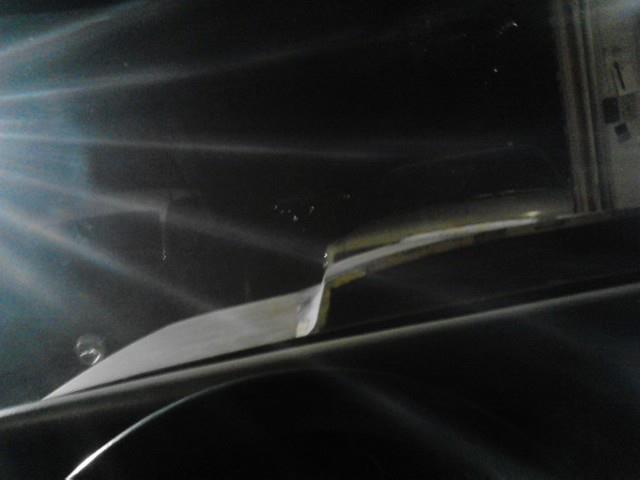
finally shaving the doors the right way, and the gas filler hole as well


Last edited by project 67 sub; 09-25-2014 at 03:38 AM.
09-24-2014, 11:52 PM
#24
On The Tree
Thread Starter
Join Date: Aug 2013
Posts: 144
Likes: 0
Received 0 Likes
on
0 Posts
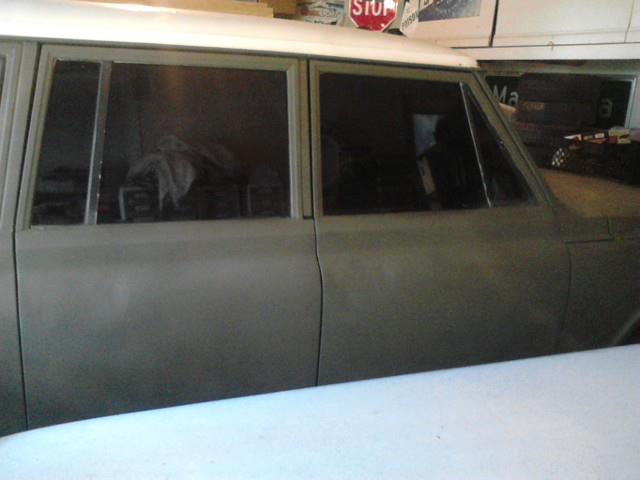
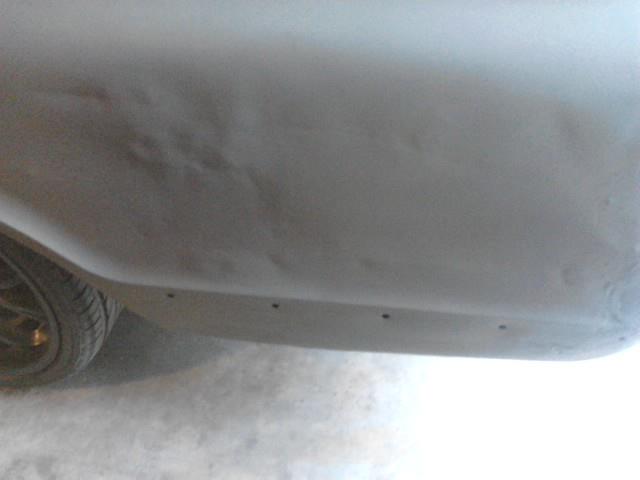
and done... for now. so some paint to keep the rust away
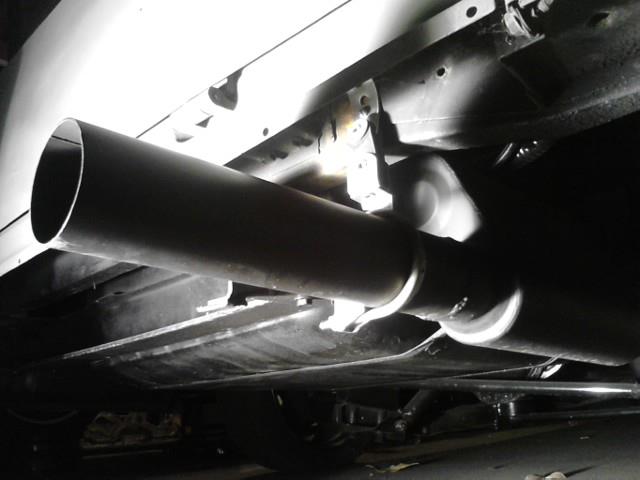
fixed my exhaust hanger problem the correct way.... should be a lot better now
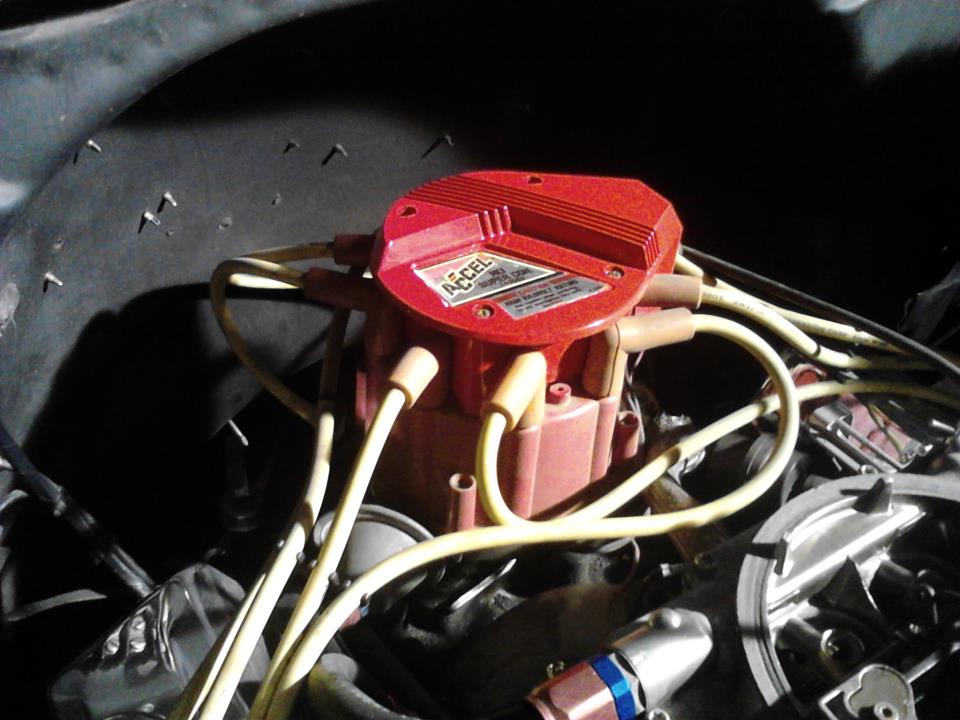
well... this used to be grey, but since i had to replace the coil in it, i decided to paint it red. now i either need a new distributor cap, or to paint this one red or black since it is faded lol

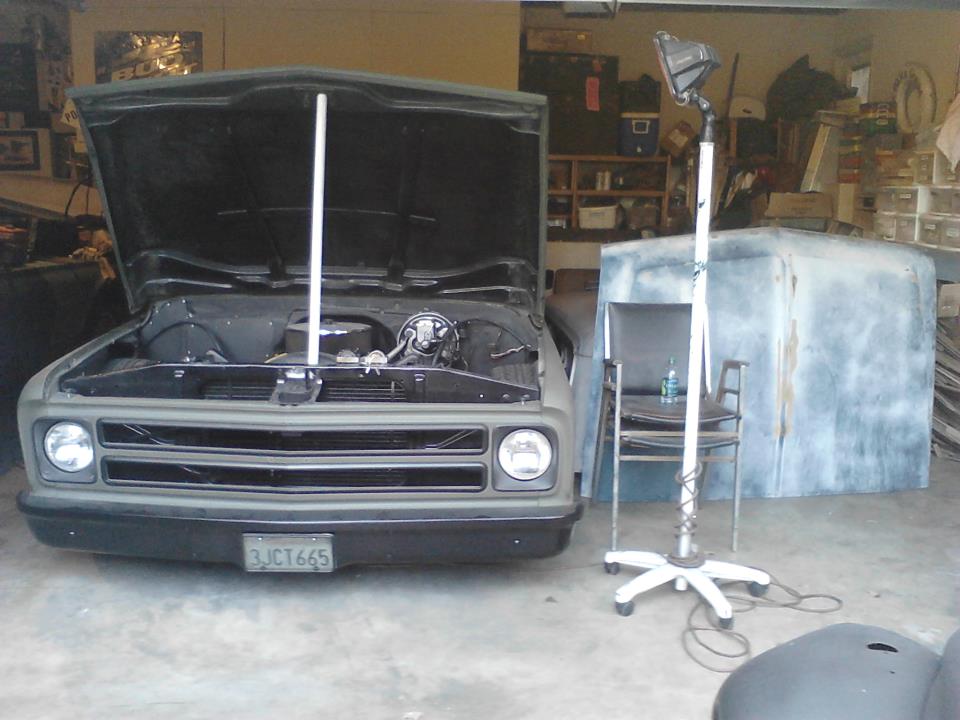
back in its hiding spot out of the elements
masked off for where it needs to be cut... and did some cutting
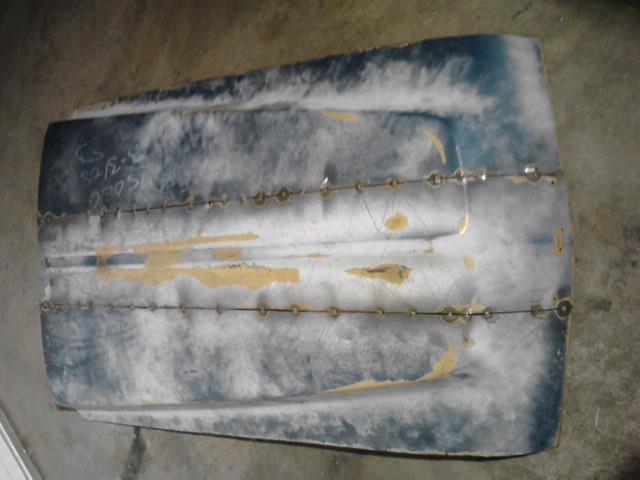
and the start of what it will look like
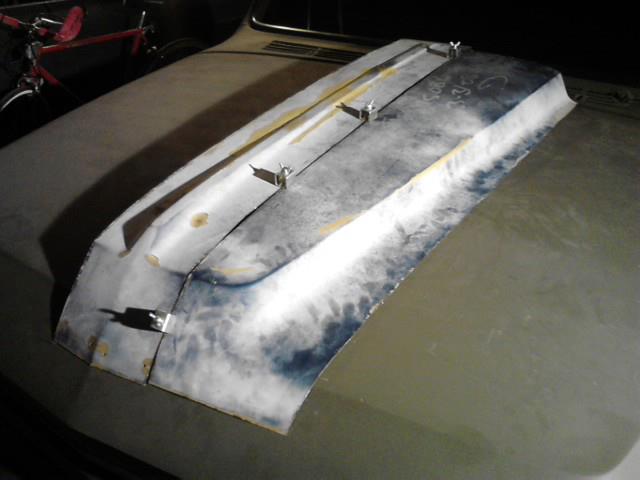
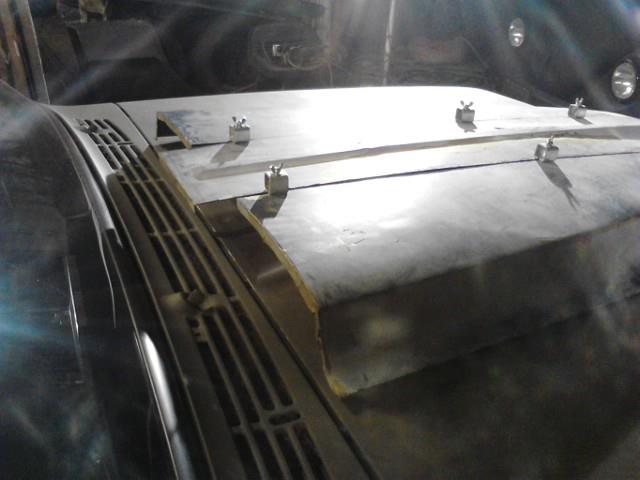
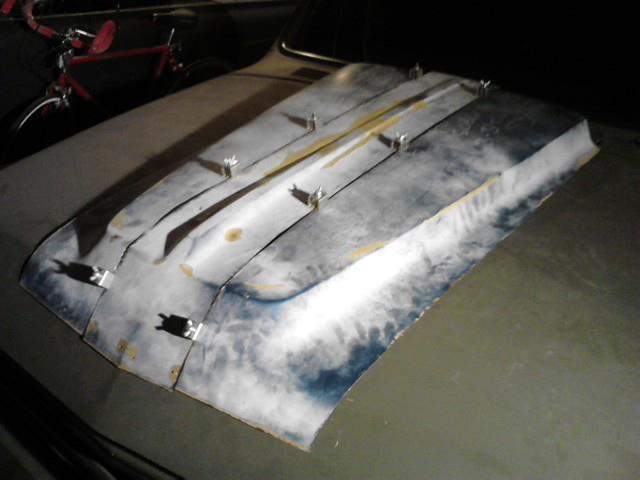
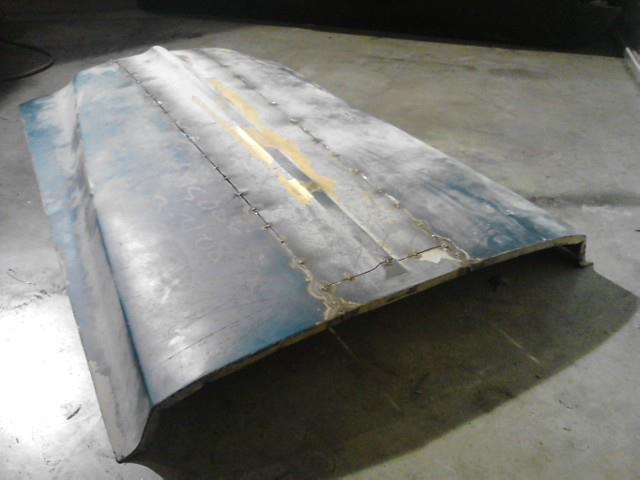
all tacked together, and the center piece shortened and tacked in too


fixed my exhaust hanger problem the correct way.... should be a lot better now

well... this used to be grey, but since i had to replace the coil in it, i decided to paint it red. now i either need a new distributor cap, or to paint this one red or black since it is faded lol


back in its hiding spot out of the elements

masked off for where it needs to be cut... and did some cutting


and the start of what it will look like


all tacked together, and the center piece shortened and tacked in too


Last edited by project 67 sub; 09-25-2014 at 03:49 AM.
09-24-2014, 11:53 PM
#25
On The Tree
Thread Starter
Join Date: Aug 2013
Posts: 144
Likes: 0
Received 0 Likes
on
0 Posts
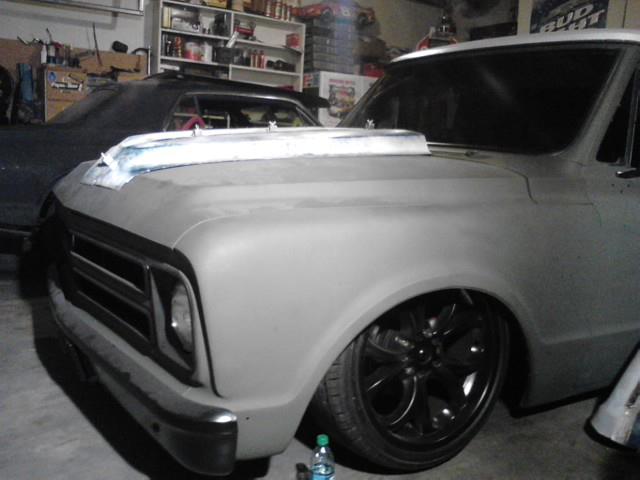
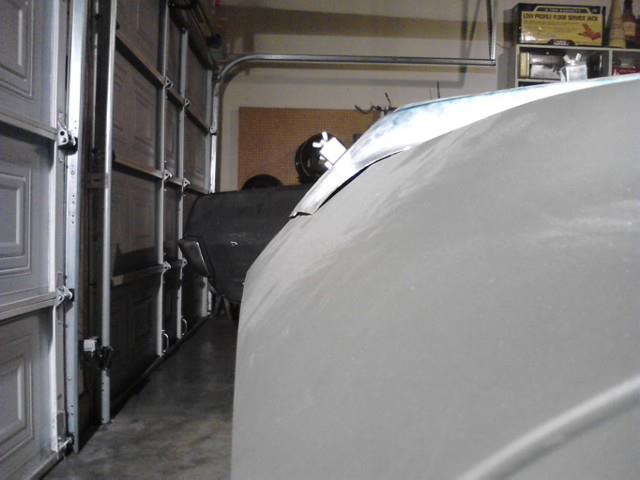
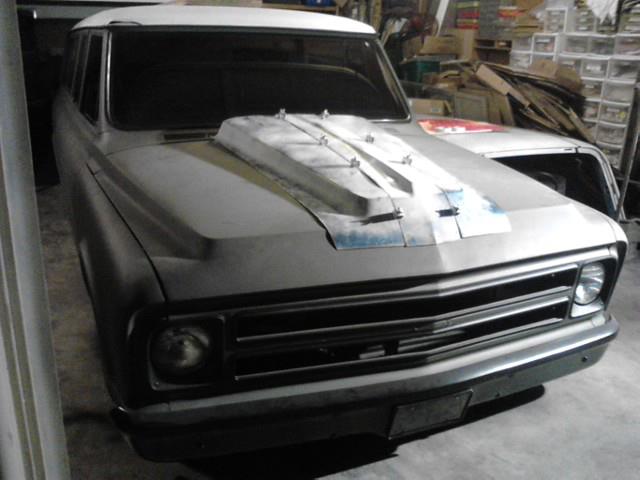
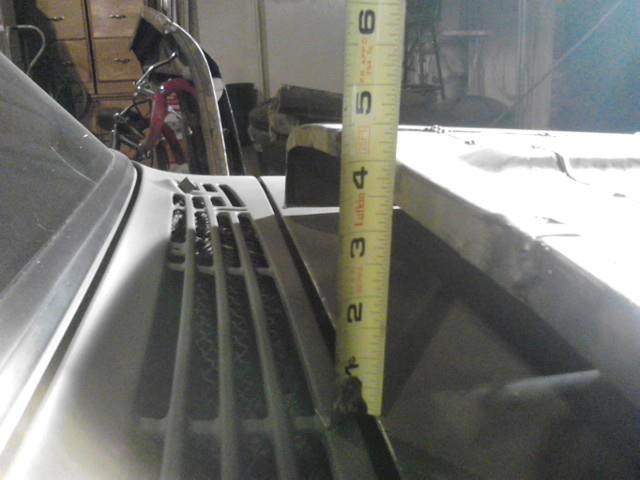
checking approximate height
inside view

outside view
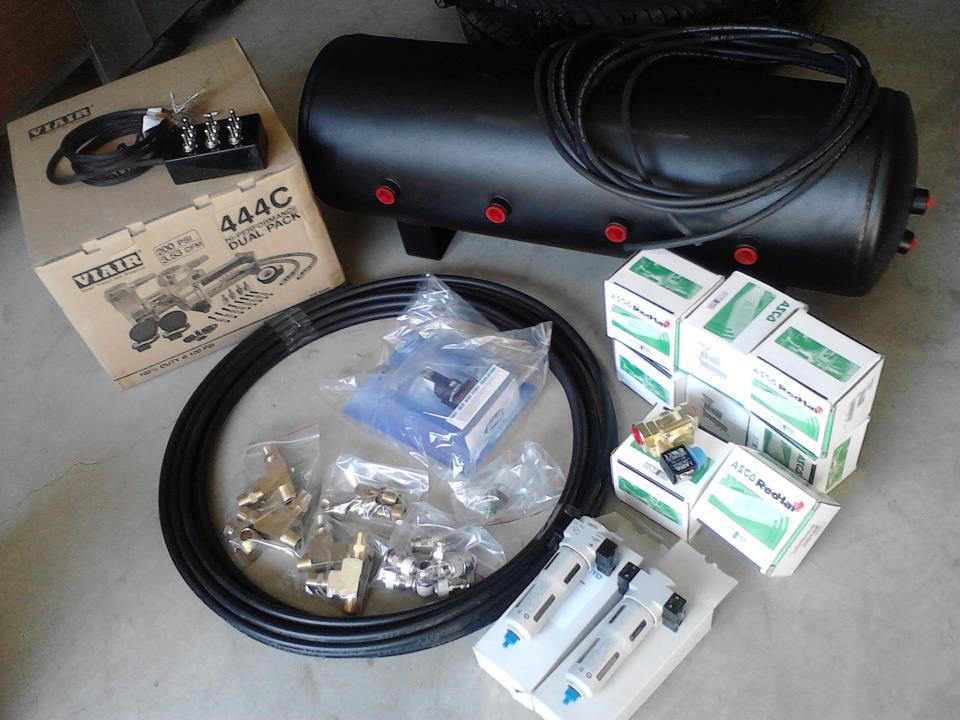
bunch of new parts for my air ride managment
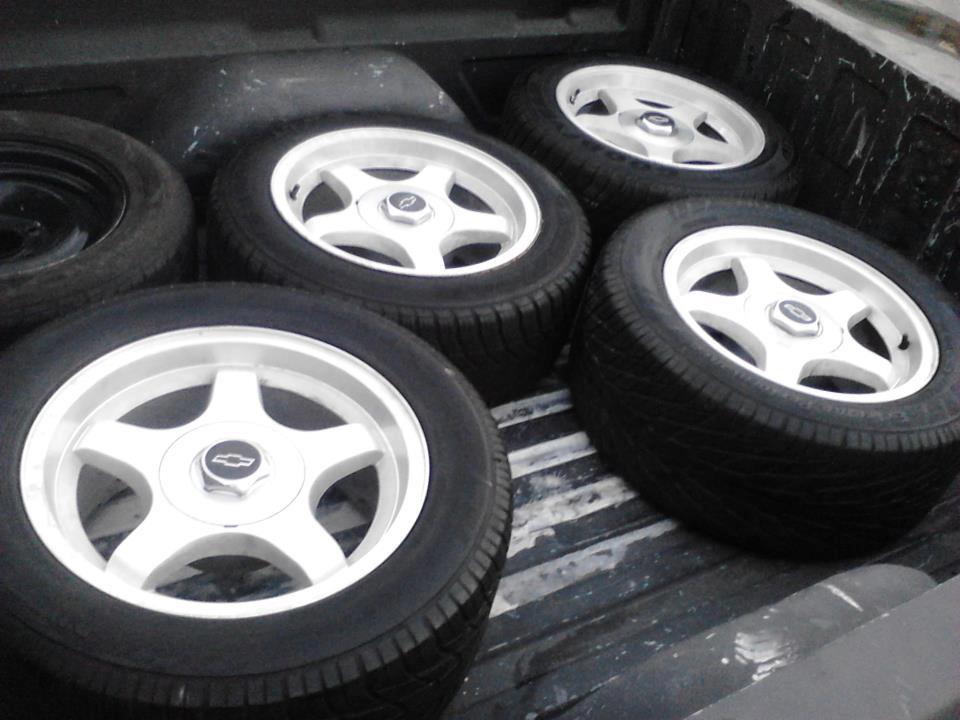
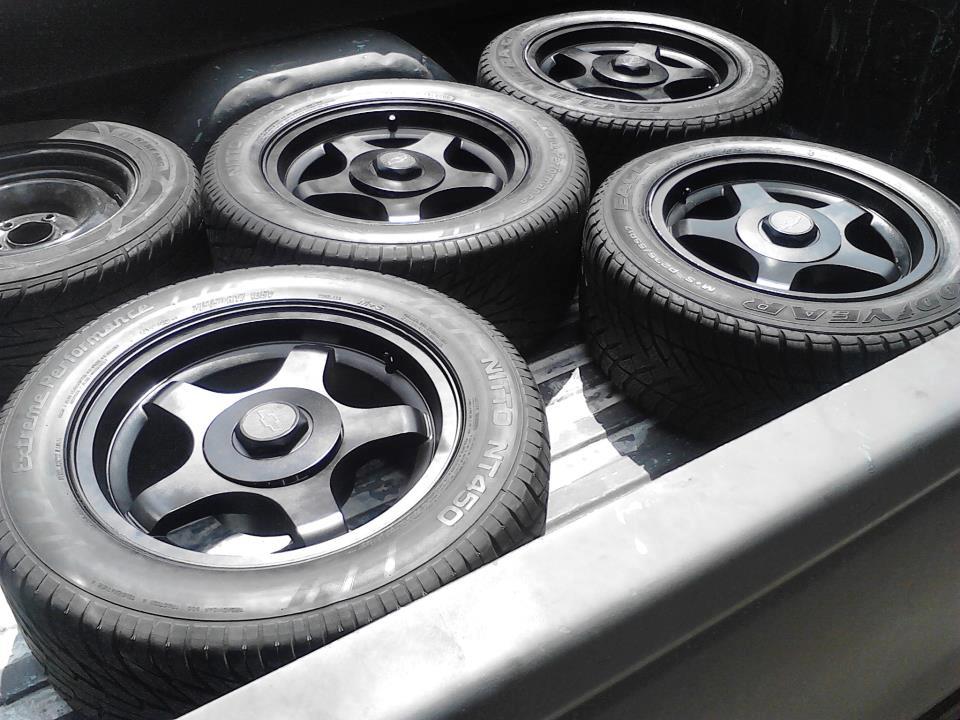
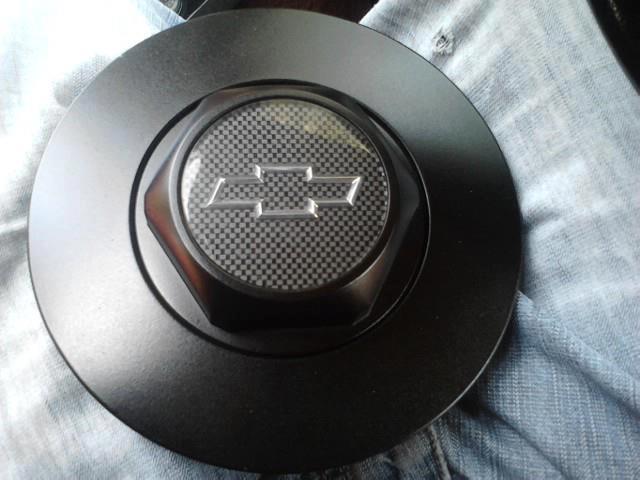
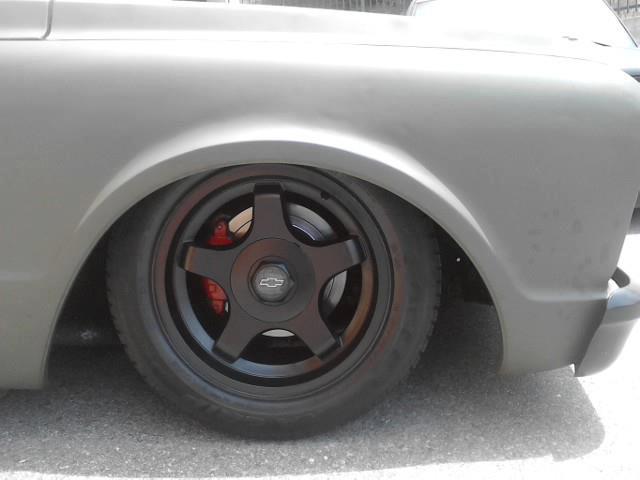
some new to me used temporary wheels (94-96 impala ss). and yes, i had to paint them black. lol.
putting parts together
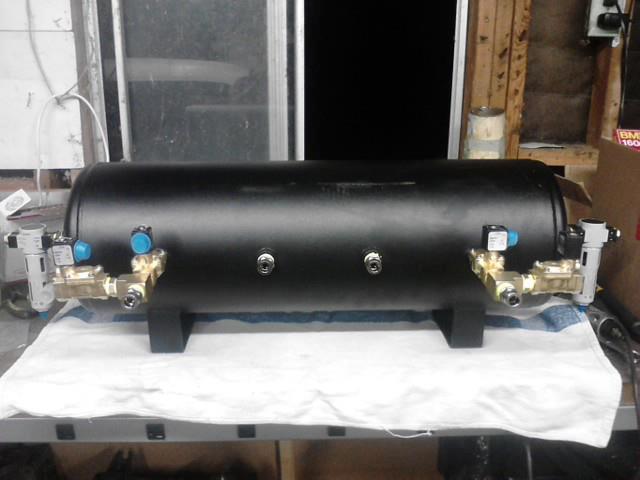

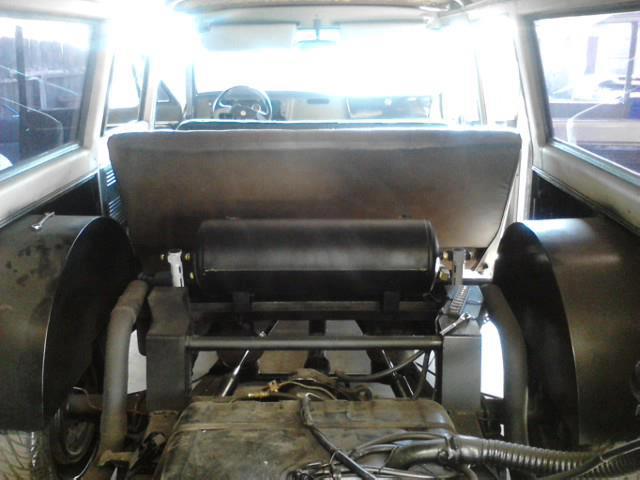
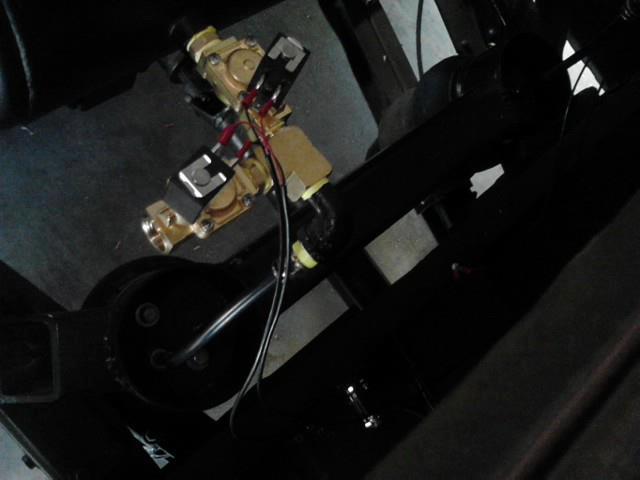
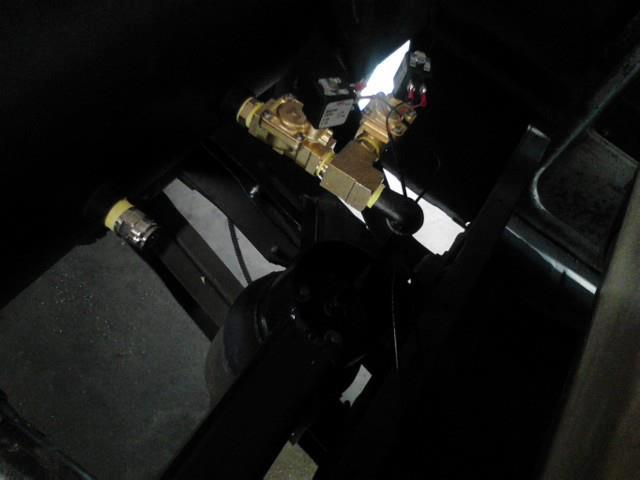
air tank mounted, and rear valves plumbed and wired up
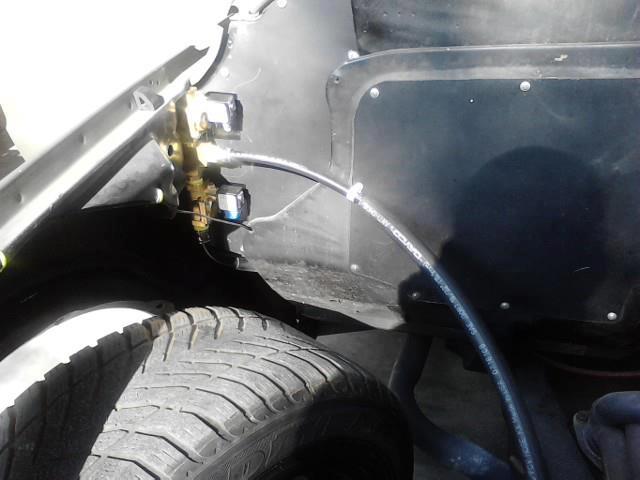
front valves plumed... just need wired up
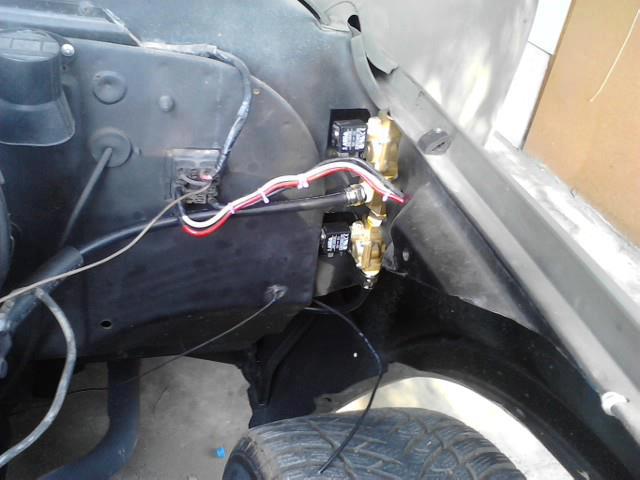
and done...


inside view


outside view

bunch of new parts for my air ride managment

some new to me used temporary wheels (94-96 impala ss). and yes, i had to paint them black. lol.


putting parts together


air tank mounted, and rear valves plumbed and wired up


front valves plumed... just need wired up


and done...


Last edited by project 67 sub; 09-25-2014 at 04:00 AM.
09-24-2014, 11:53 PM
#26
On The Tree
Thread Starter
Join Date: Aug 2013
Posts: 144
Likes: 0
Received 0 Likes
on
0 Posts


and my porterbuilt trailing arm and trans crossmember came in


getting it installed


my NOS bumper guards showed up

exhaust reducers

Last edited by project 67 sub; 09-25-2014 at 04:09 AM.
09-24-2014, 11:54 PM
#27
On The Tree
Thread Starter
Join Date: Aug 2013
Posts: 144
Likes: 0
Received 0 Likes
on
0 Posts
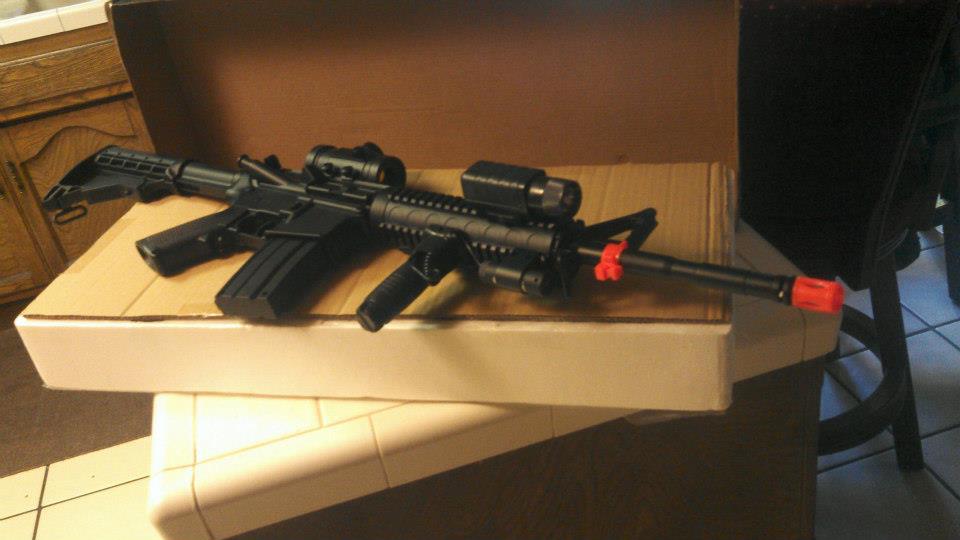
my fully functional M4 "prop". orange has been painted black since pic was taken
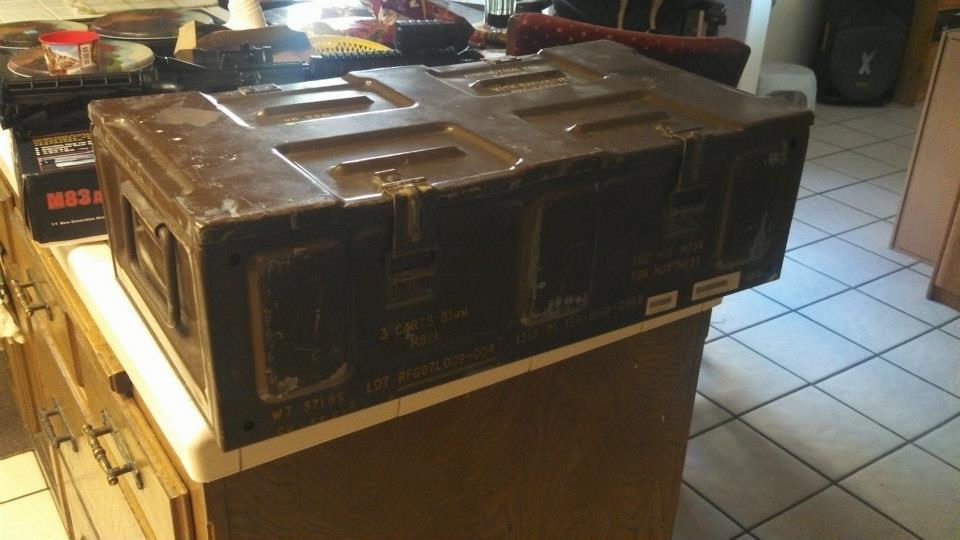
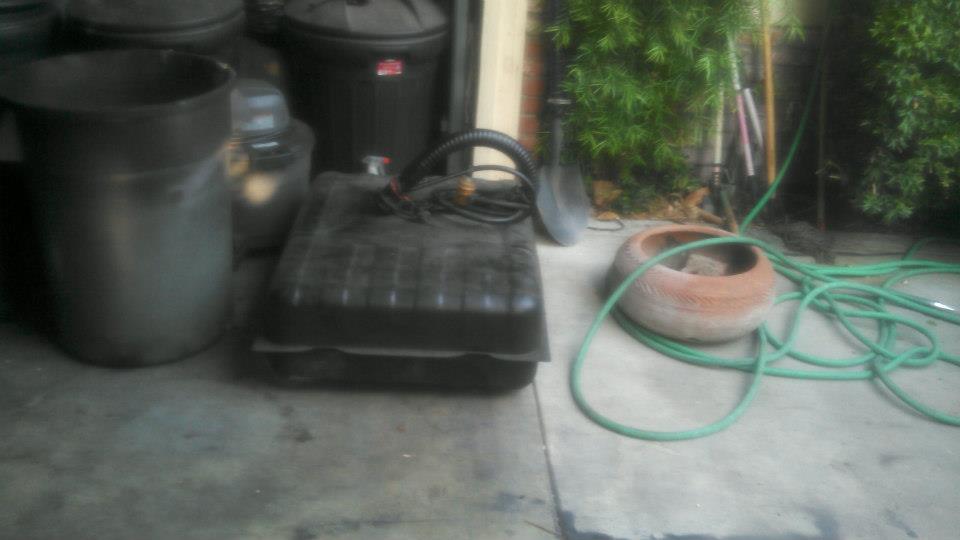
the ammo can battery box
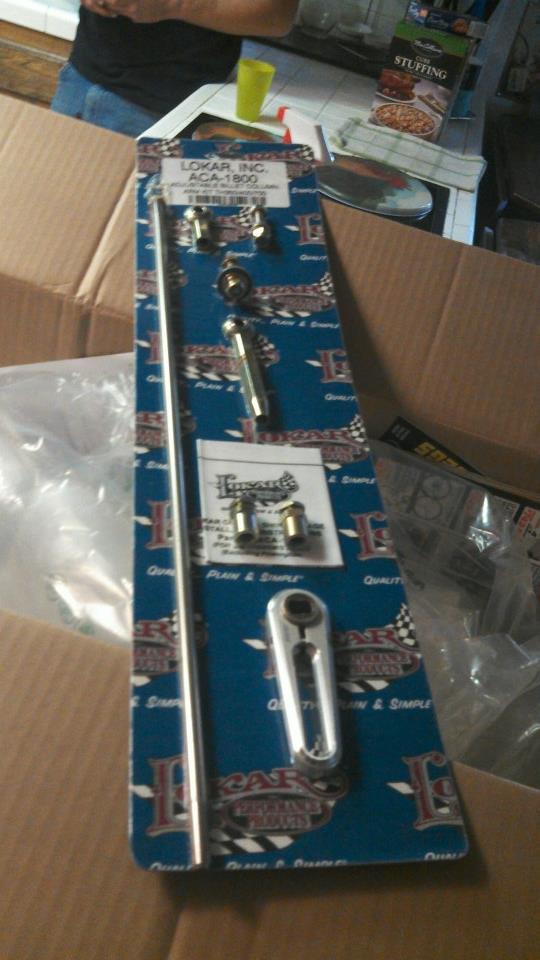
billet aluminum trans linkage
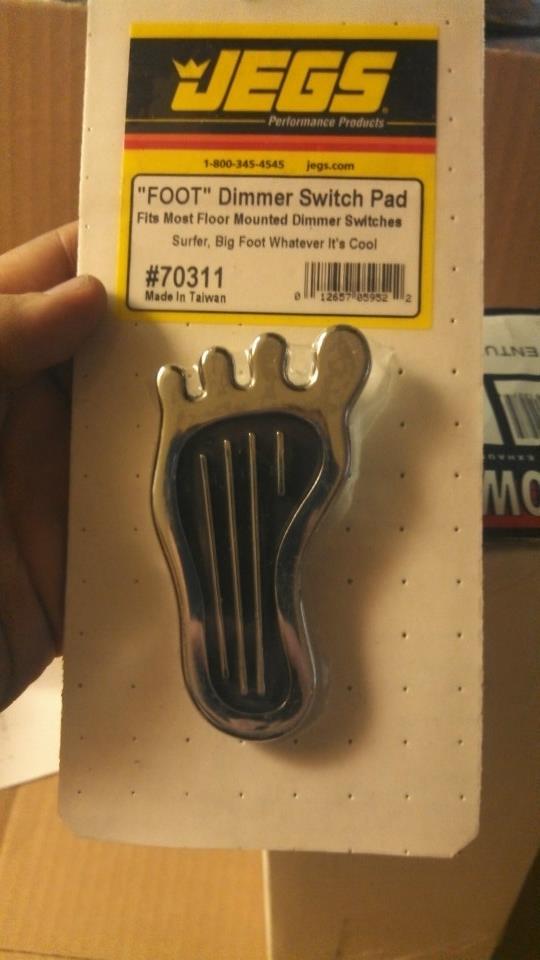
dimmer switch
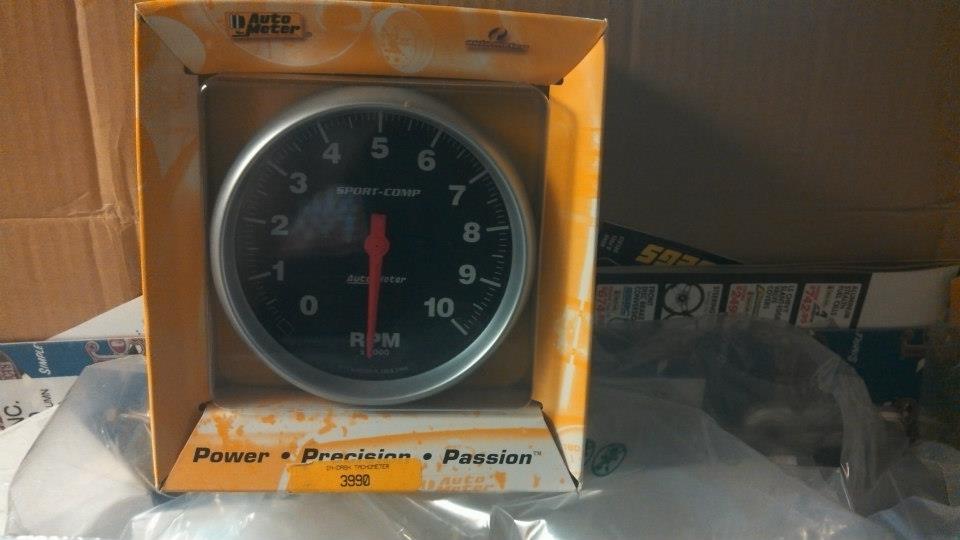
in dash tach
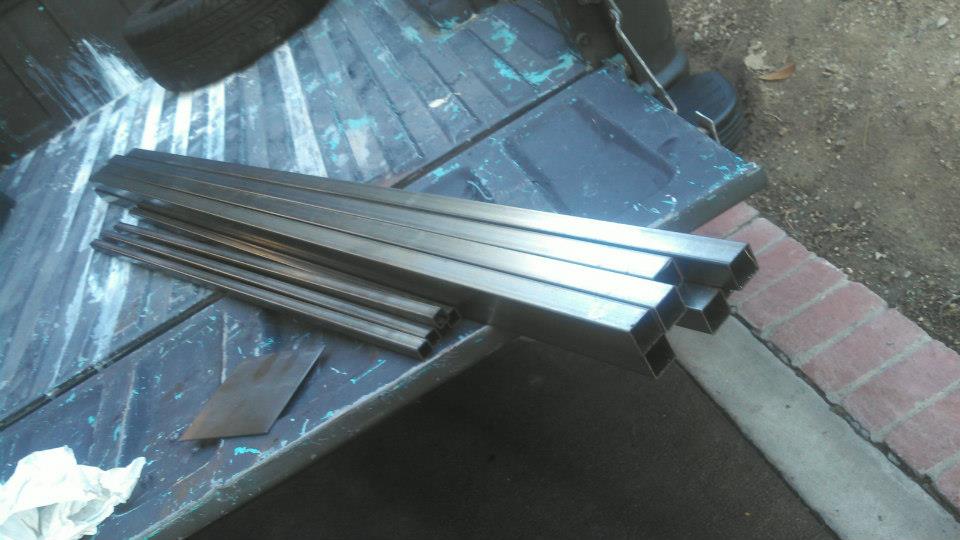
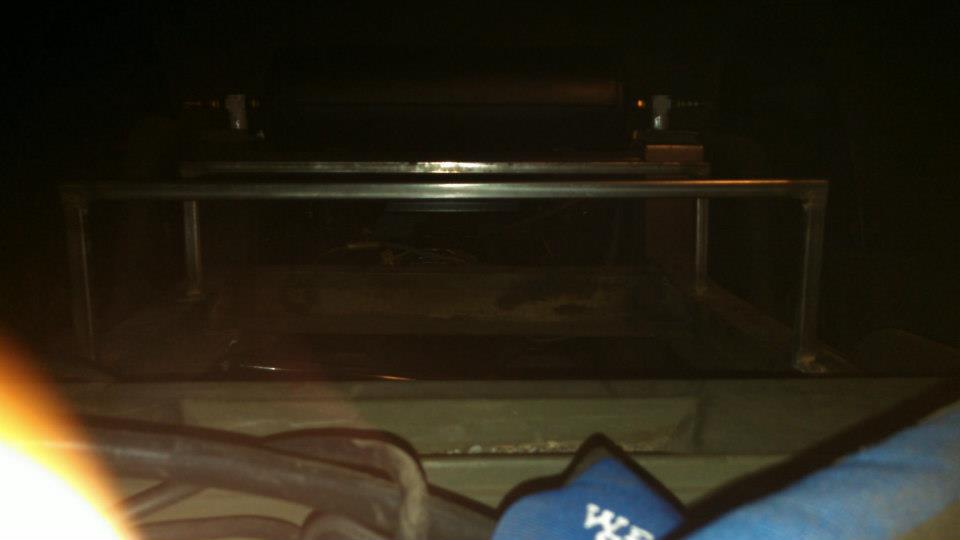
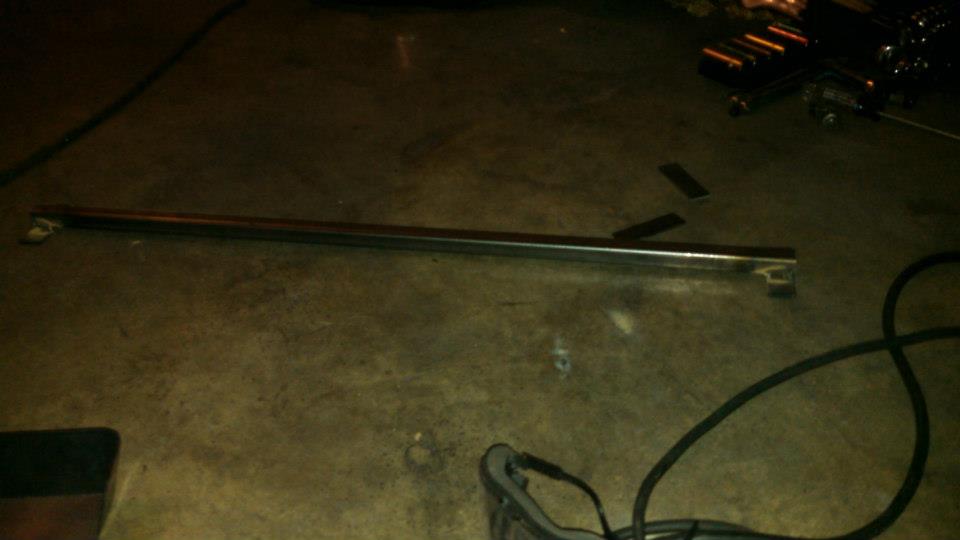
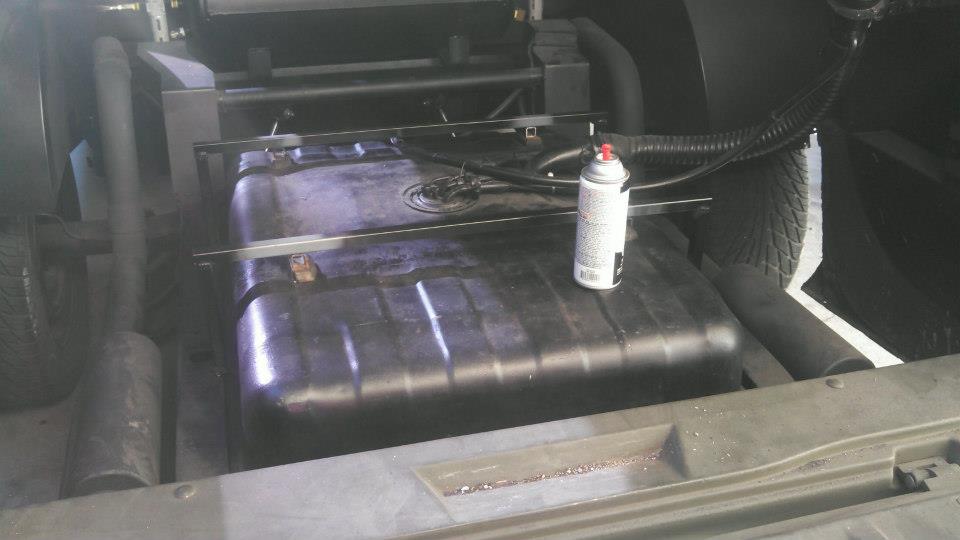
square tube to start framing up a gas tank mount, and a floor
as tank out, and the gaping hole where the tank was
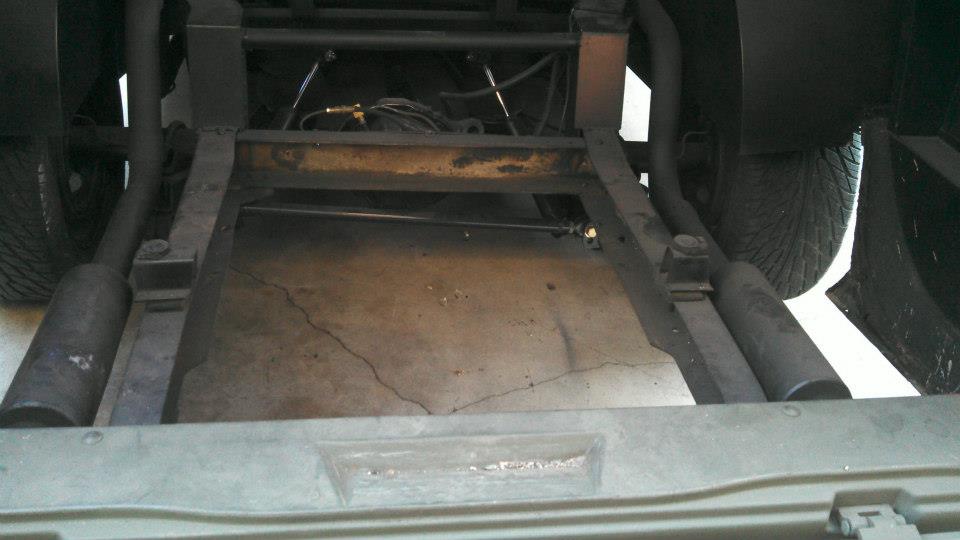
both built and welded in
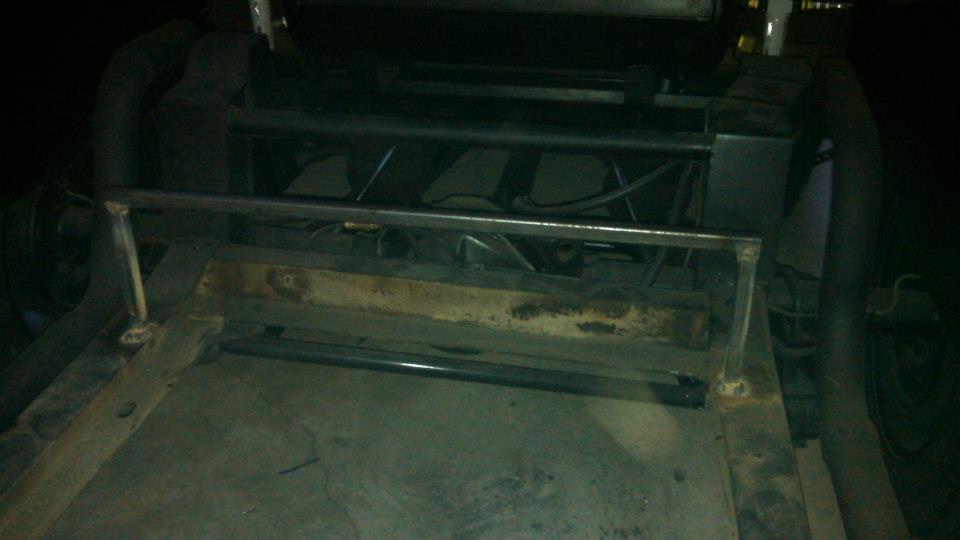
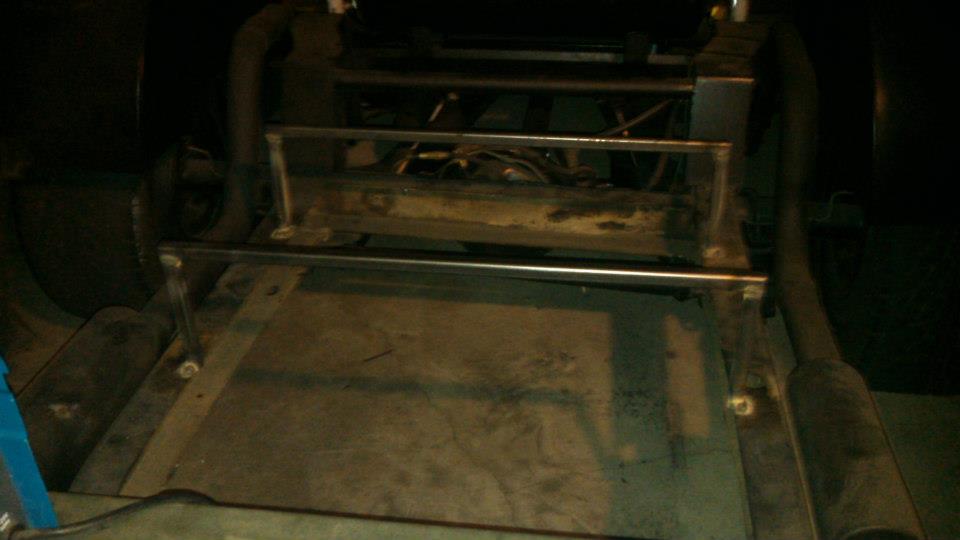
just below the height of the notch
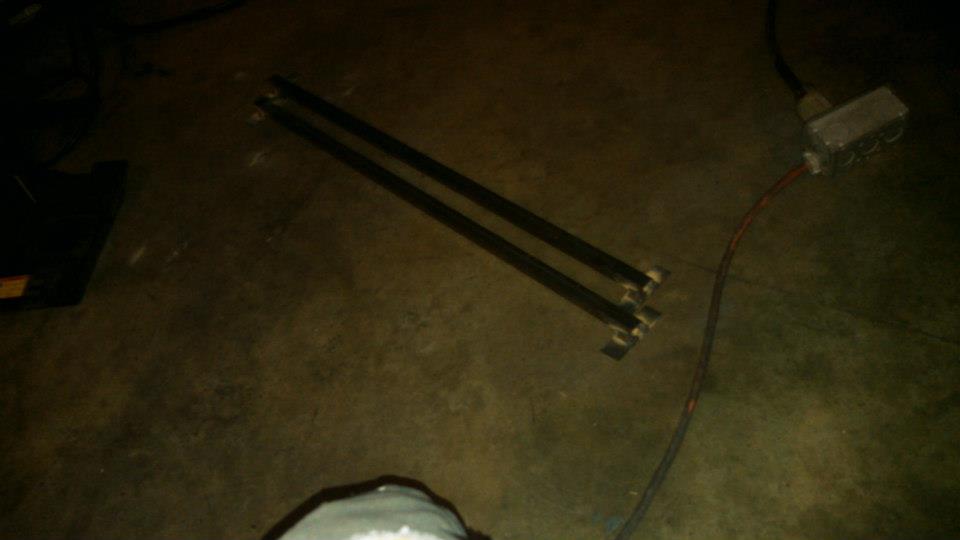
making the lowers
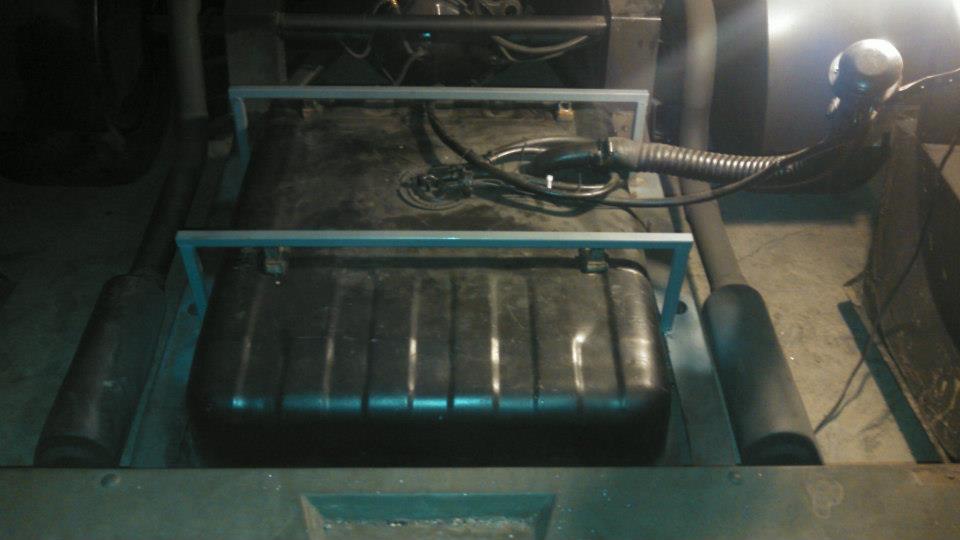
tank put back in

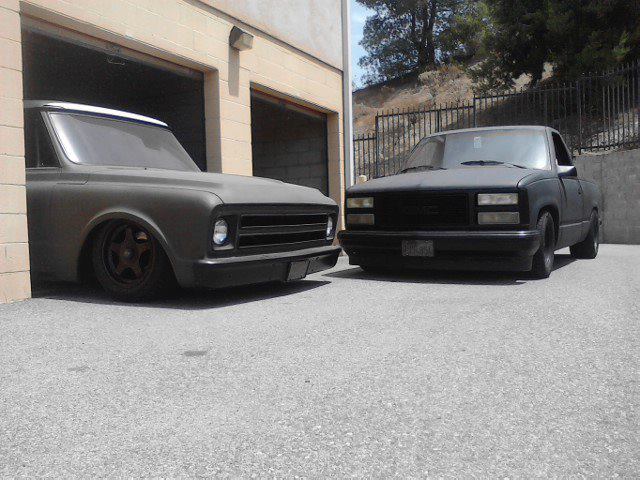
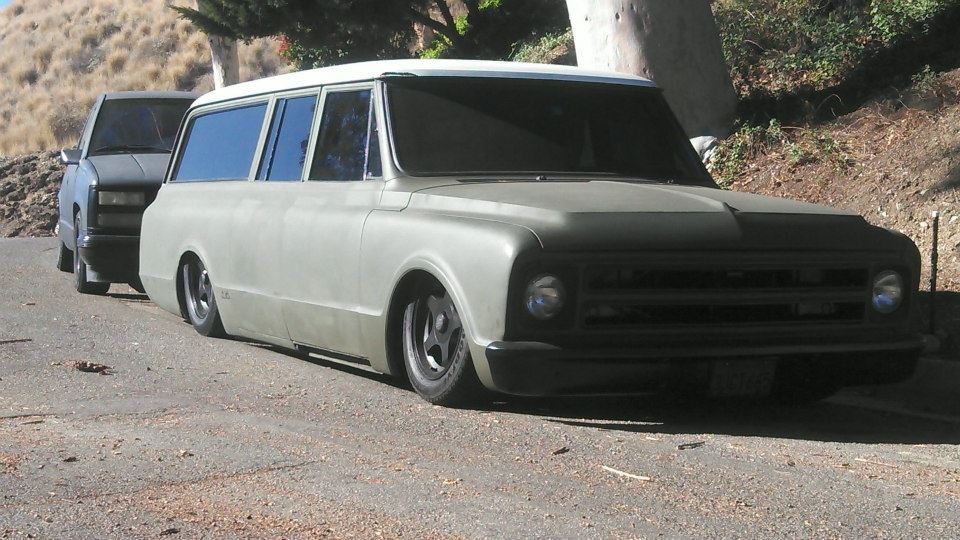
layed out in front of my sierra
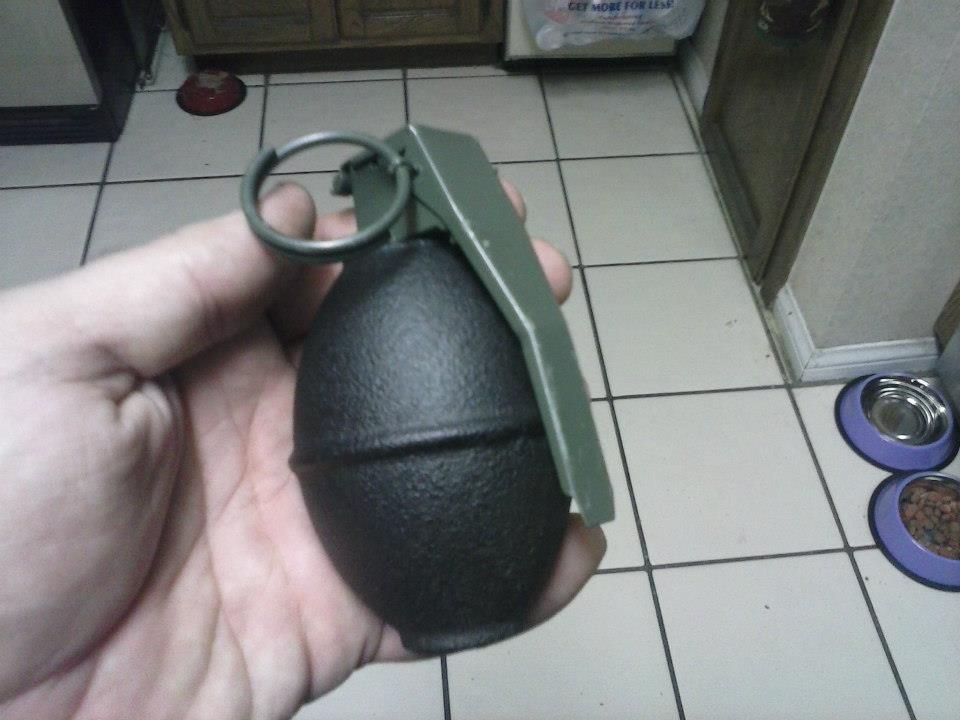
lemon grenade shifter handle
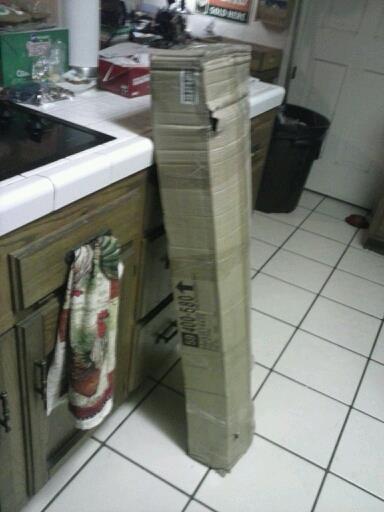
set of inner/outter rocker panels
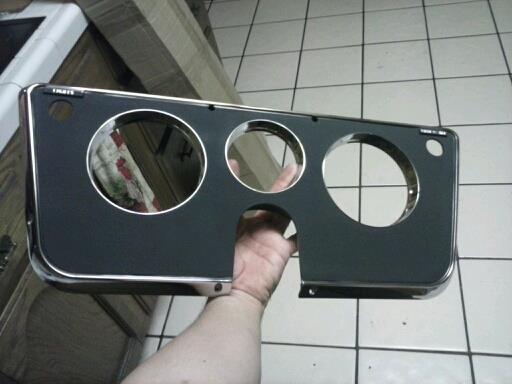
new gauge bezel, and mocking up gauges, and cutting new holes for the lower ones

the ammo can battery box

billet aluminum trans linkage

dimmer switch

in dash tach

square tube to start framing up a gas tank mount, and a floor

as tank out, and the gaping hole where the tank was


both built and welded in


just below the height of the notch

making the lowers


tank put back in


layed out in front of my sierra

lemon grenade shifter handle

set of inner/outter rocker panels

new gauge bezel, and mocking up gauges, and cutting new holes for the lower ones

Last edited by project 67 sub; 09-25-2014 at 04:22 AM.
09-24-2014, 11:55 PM
#28
On The Tree
Thread Starter
Join Date: Aug 2013
Posts: 144
Likes: 0
Received 0 Likes
on
0 Posts


gauge cluster done. for now

HELL YAH!!! getting ready to start installing my porterbuilt extreme dropmember that came in

tearing it apart for cleanup, repair, etc.


Last edited by project 67 sub; 09-25-2014 at 04:32 AM.


