project SARGE, the bagged 67 turbo burb build
 03-09-2016, 11:48 PM
#121
On The Tree
Thread Starter
Join Date: Aug 2013
Posts: 144
Likes: 0
Received 0 Likes
on
0 Posts
Evap purge solenoid plug ordered... and now installed.
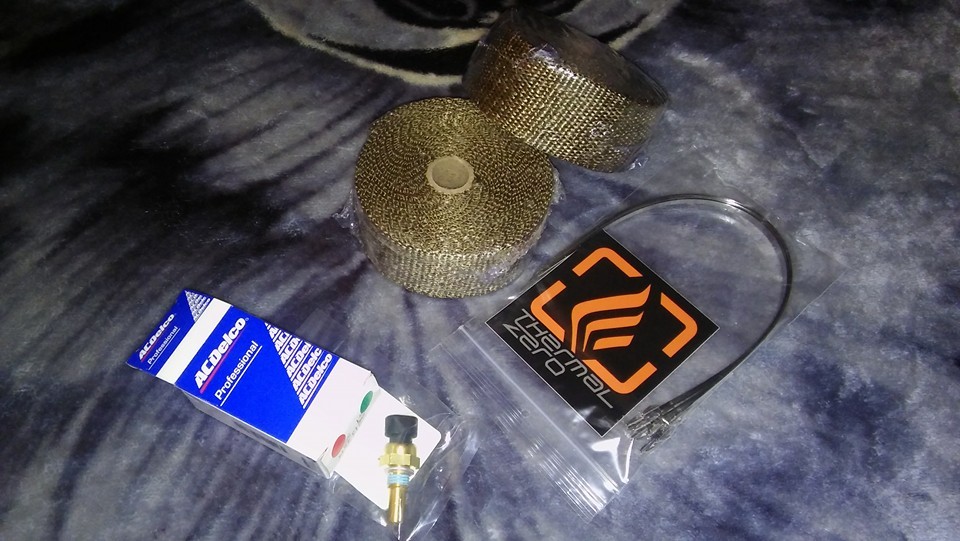
More parts for the burb showed up... More exhaust heat wrap, and a new coolant temp sensor since I broke the one on the 5.3 when I was transporting it back home
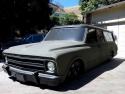
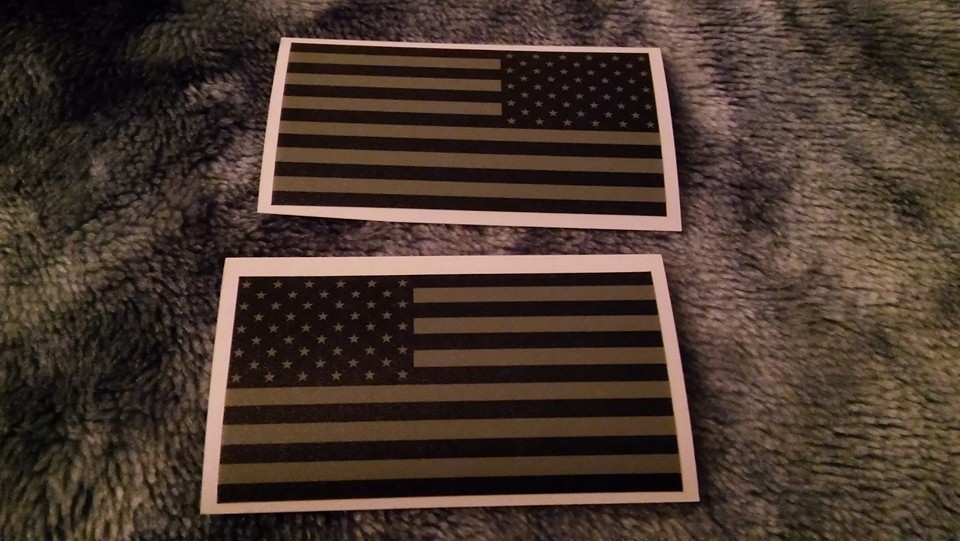
SARGE has his matching stars and bars now for once he's finally back on the road
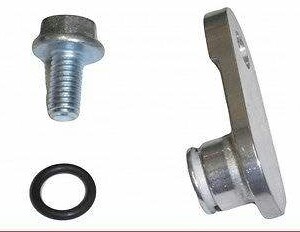
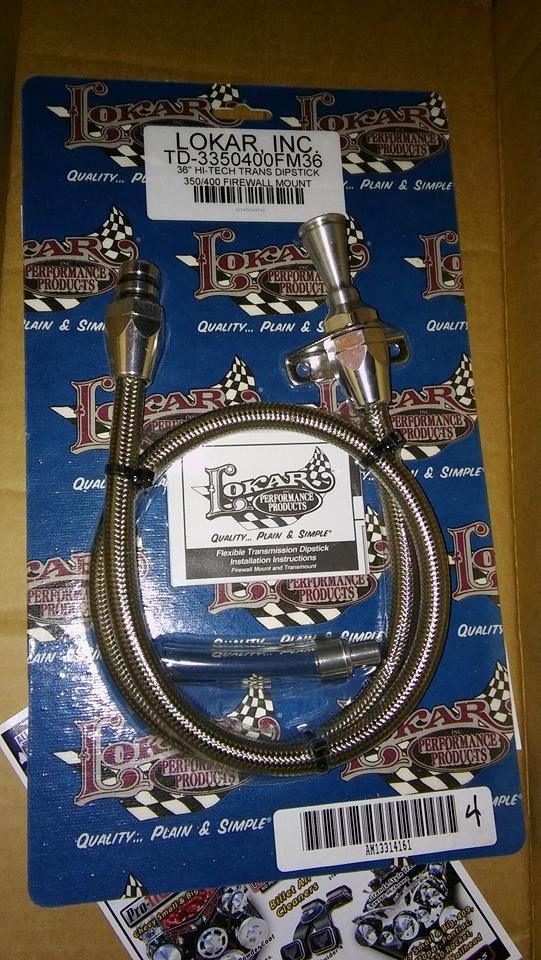
New longer and better trans dipstick showed up today

More parts for the burb showed up... More exhaust heat wrap, and a new coolant temp sensor since I broke the one on the 5.3 when I was transporting it back home

SARGE has his matching stars and bars now for once he's finally back on the road

New longer and better trans dipstick showed up today

 03-16-2016, 11:26 PM
#122
On The Tree
Thread Starter
Join Date: Aug 2013
Posts: 144
Likes: 0
Received 0 Likes
on
0 Posts
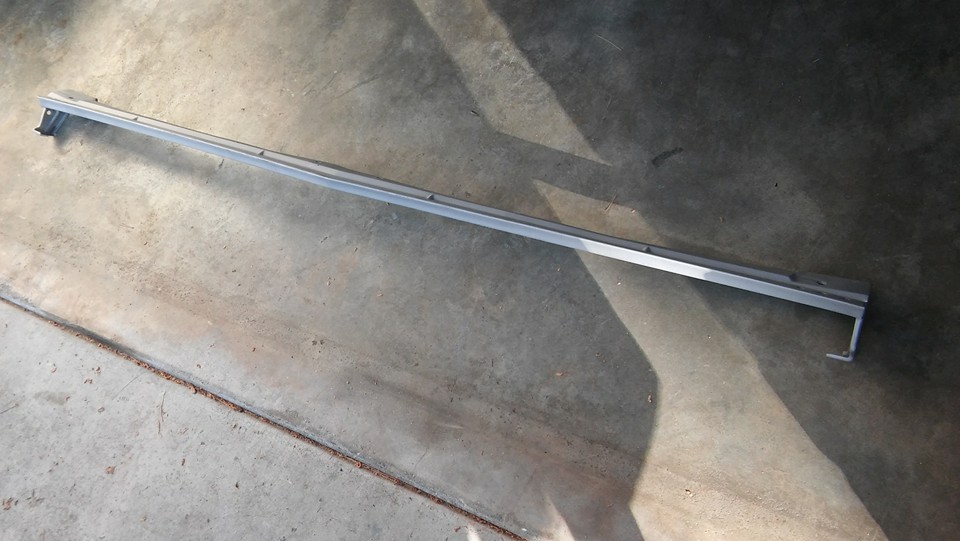
Radiator core support back from the powder coaters... Grille and some other parts dropped off
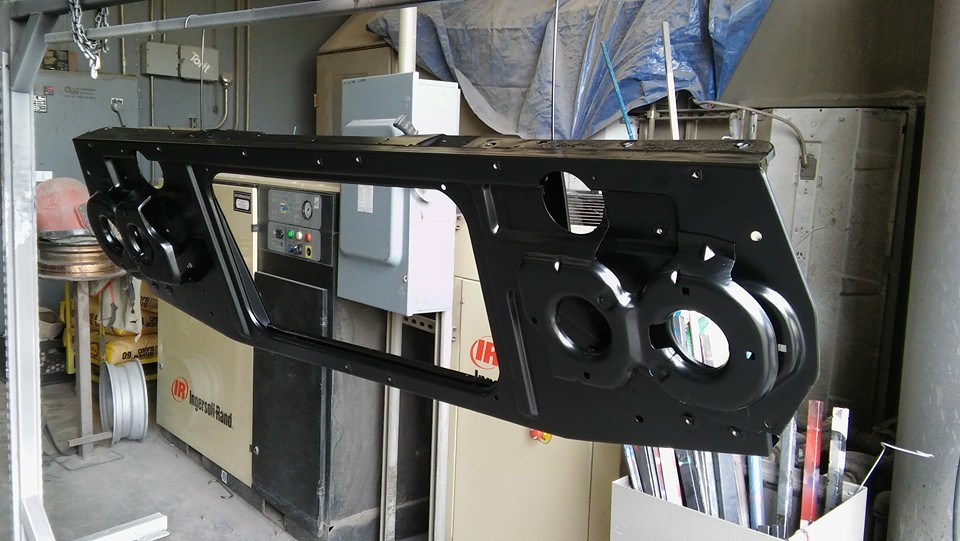
Core support partially mounted up...
Grille back from the sand blasters/powder coaters...
Along with the upper grille piece...

Core support partially mounted up...

Grille back from the sand blasters/powder coaters...

Along with the upper grille piece...

 12-04-2016, 11:20 PM
#124
On The Tree
Thread Starter
Join Date: Aug 2013
Posts: 144
Likes: 0
Received 0 Likes
on
0 Posts
some updates...
New trans dip stick installed. Just need to replace the self tapping sheet metal screws with some bolts and lock nuts
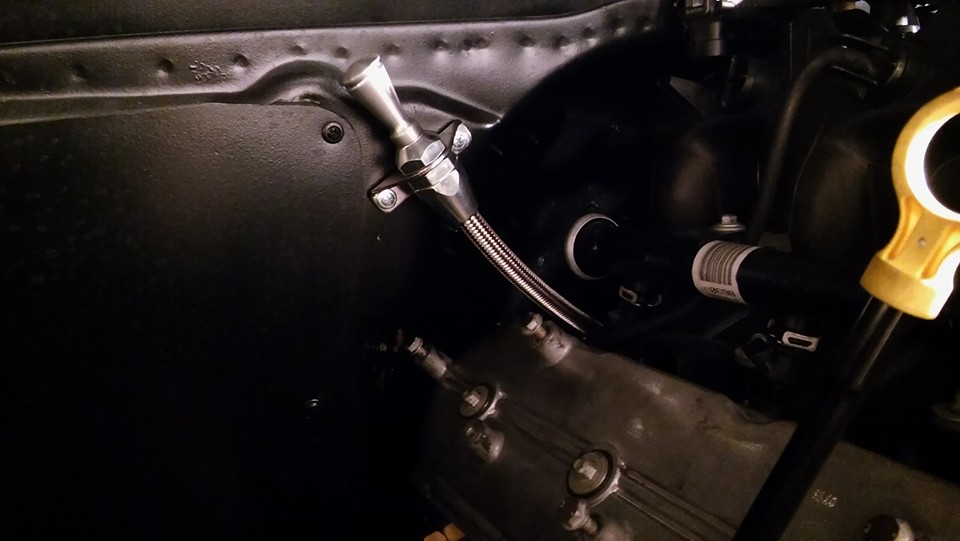
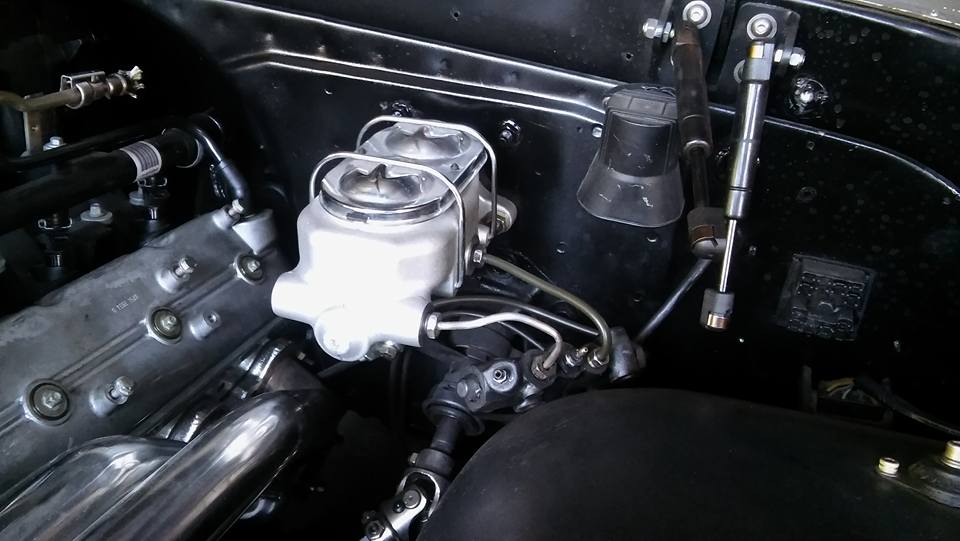
Step one of the conversion back to manual disc brakes completed.
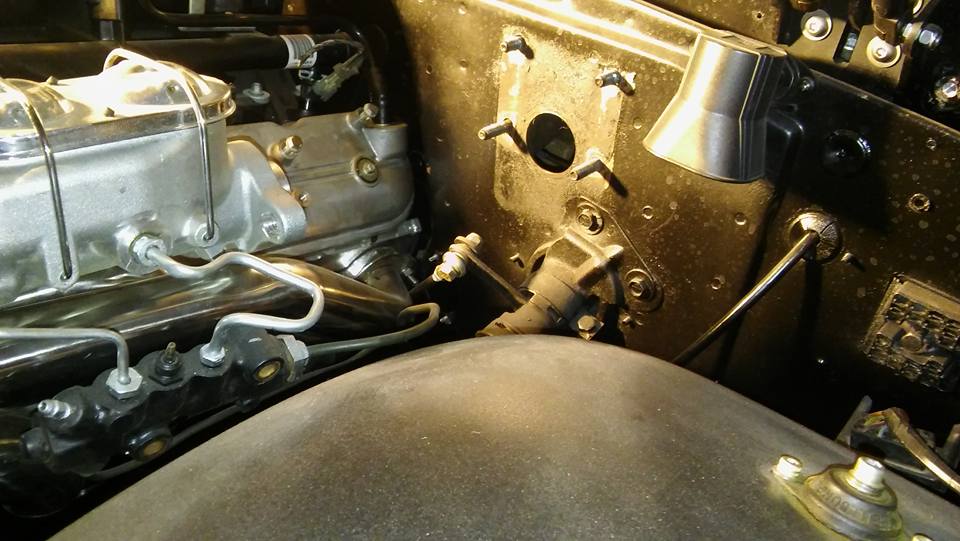
Under hood portion of the power to manual brake conversion done. Just need to paint the one line to match the rest of them. Then bleed the brakes again after mounting the brake pedal rod (brake pedal rod has been installed since pic). brakes still need bled though
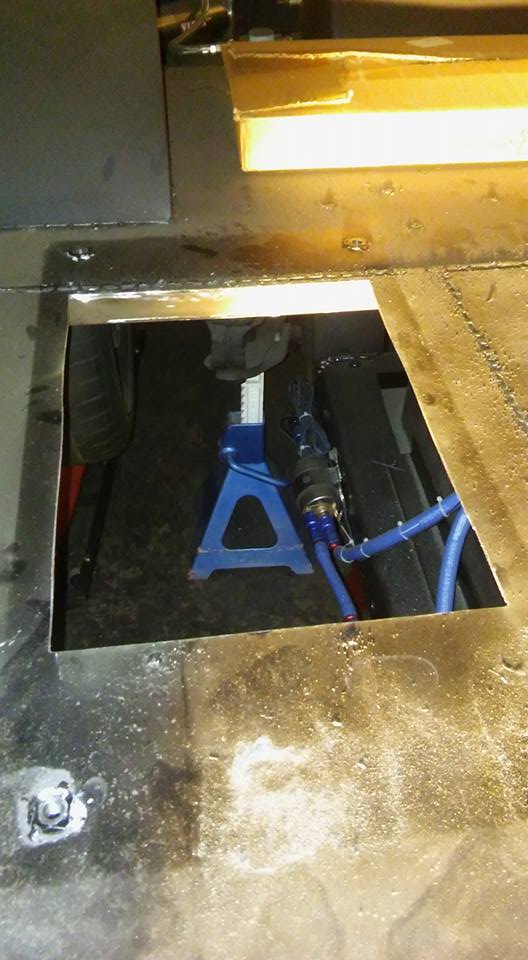
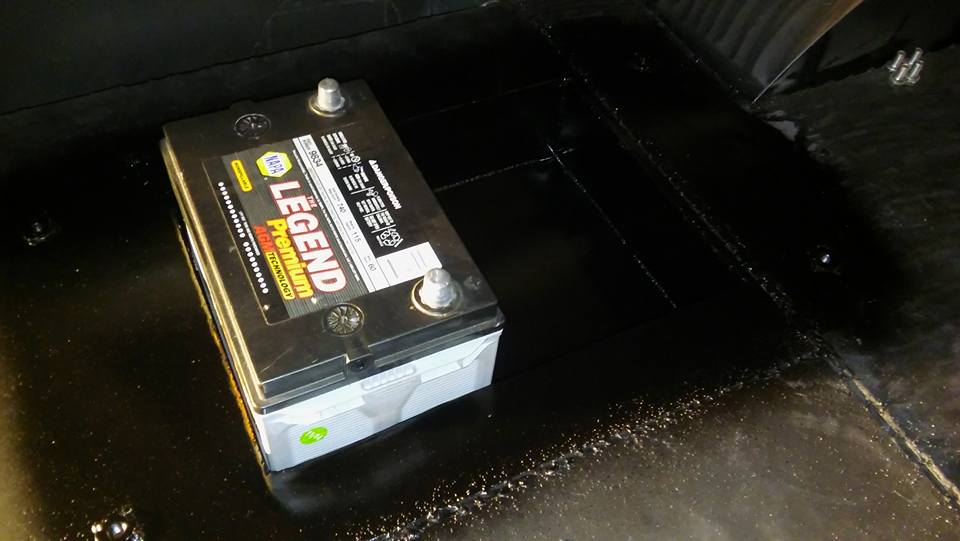
Bottom cut out of the "battery box cover" I had bolted down to the floor. Next step is building a box to hold the battery, cut a hole in the floor, drop it down in, weld it up, then bolt this back to the floor

Floor cut out for battery box
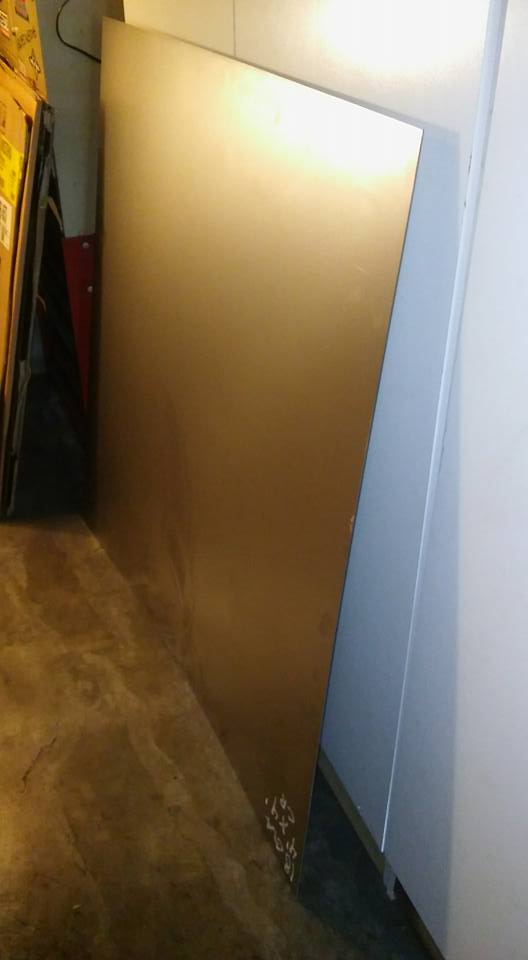
Some more sheet metal to build the "battery box" out of, and to make more panels for the floor so it can be closer to being done
Battery box cut out...
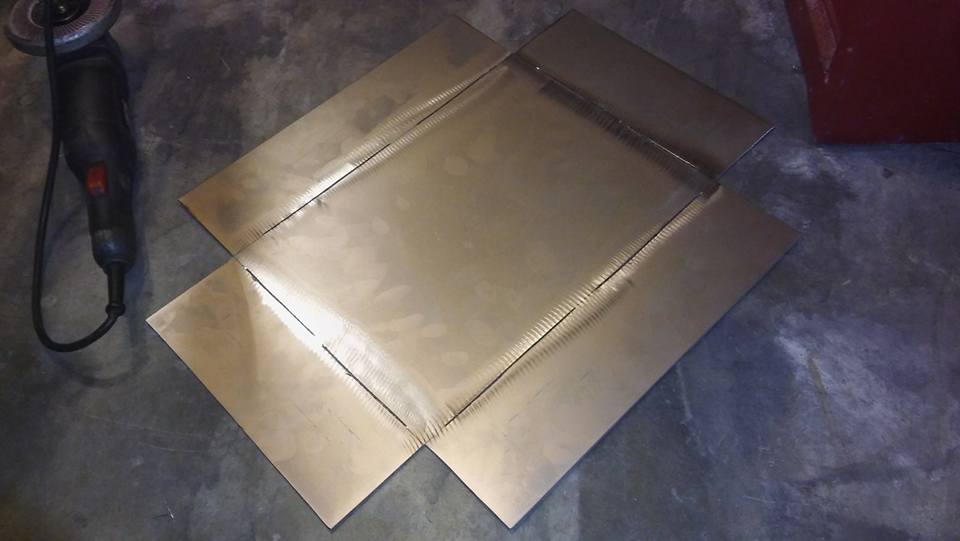
And formed. Just need to weld it up, then weld it into the floor
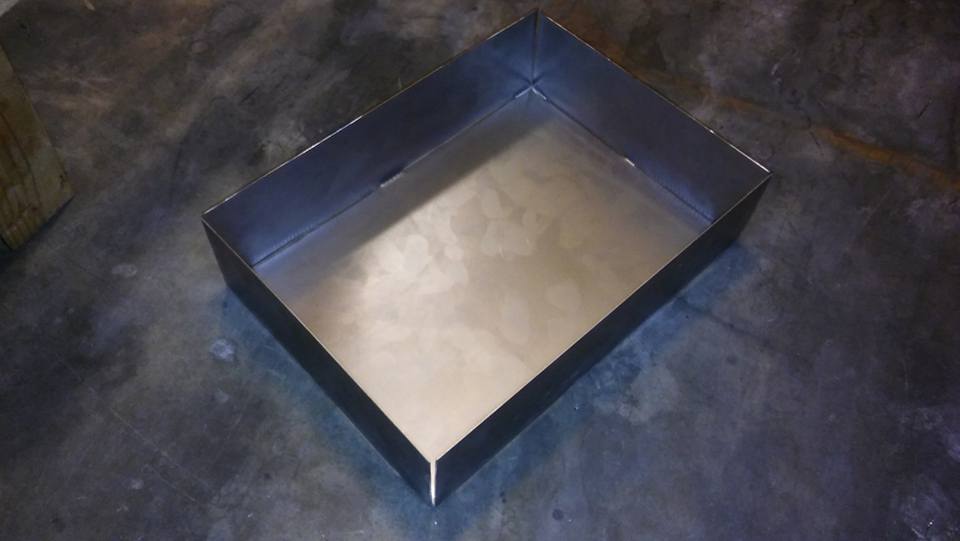
And welded up and grinded down. Not perfect, but good enough. Now just gotta weld it into the floor
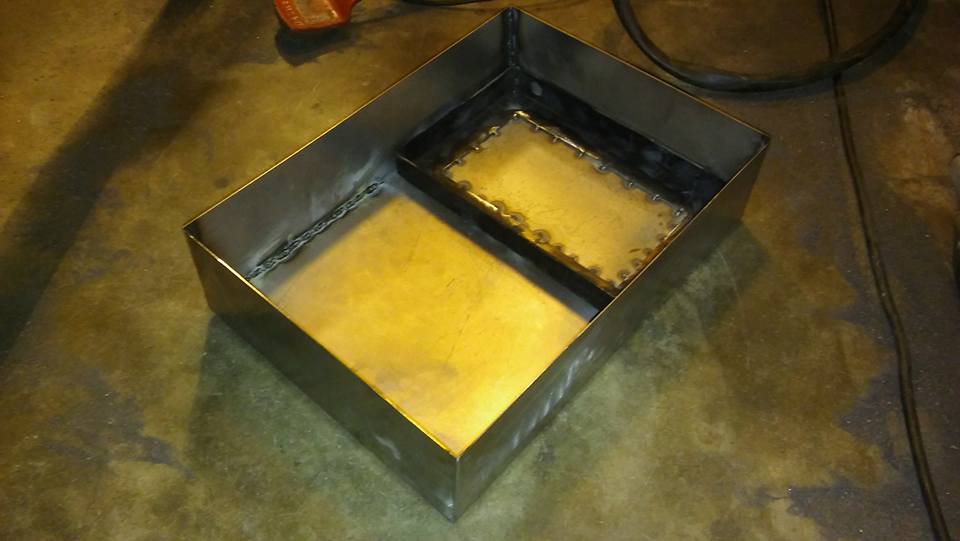
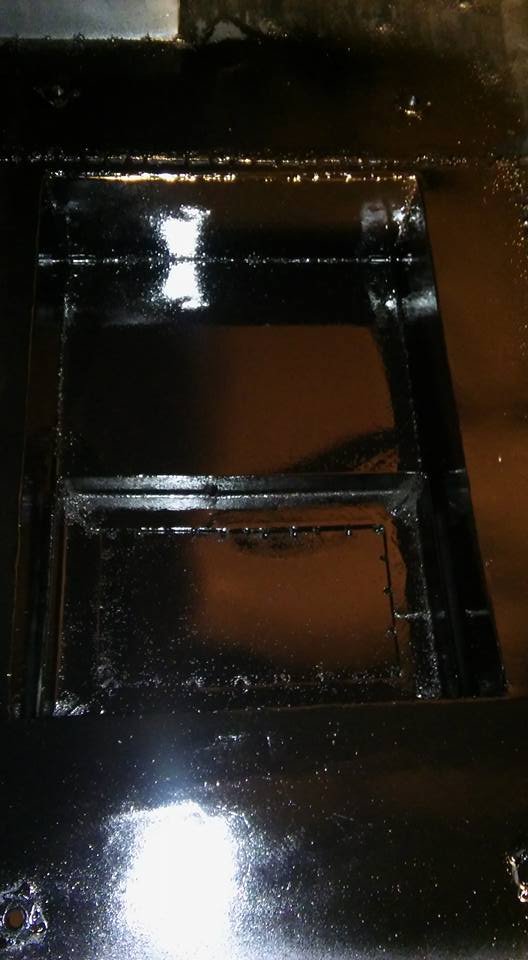
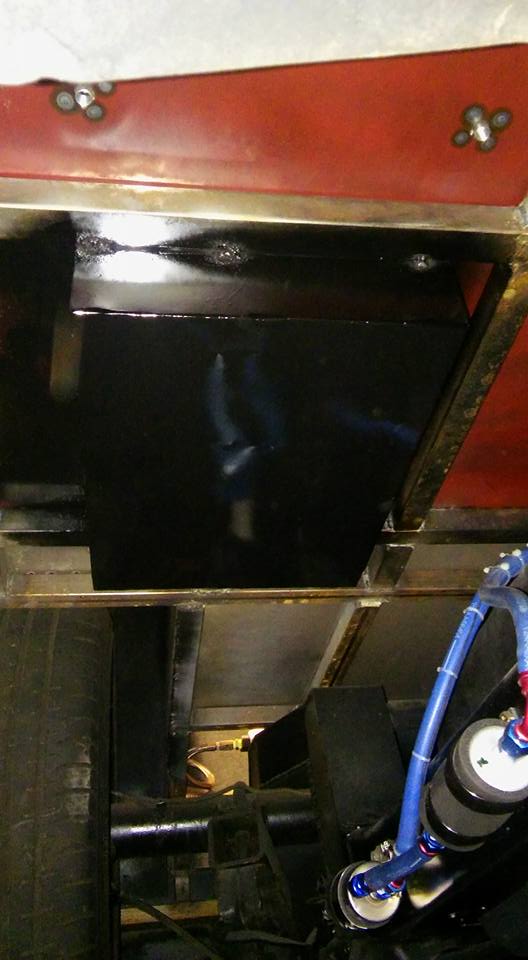
And welded in...
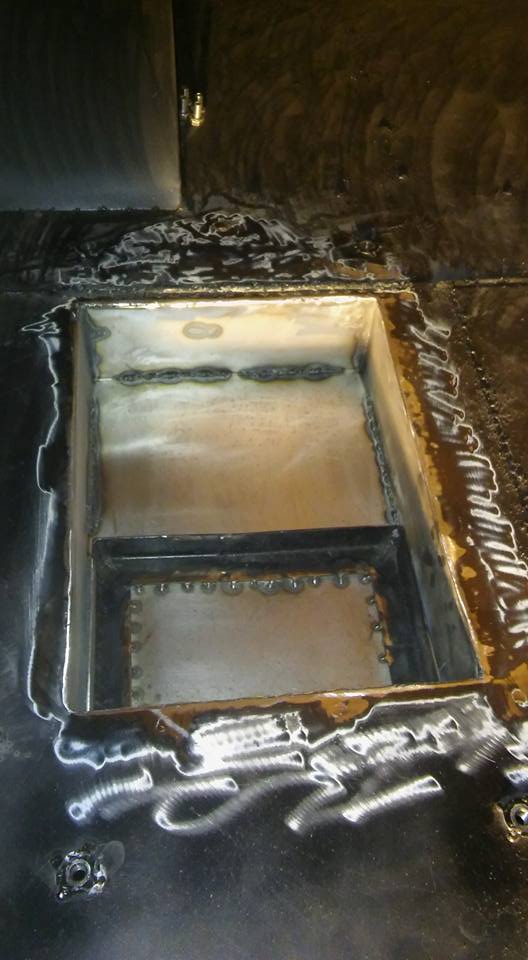
And some paint on it
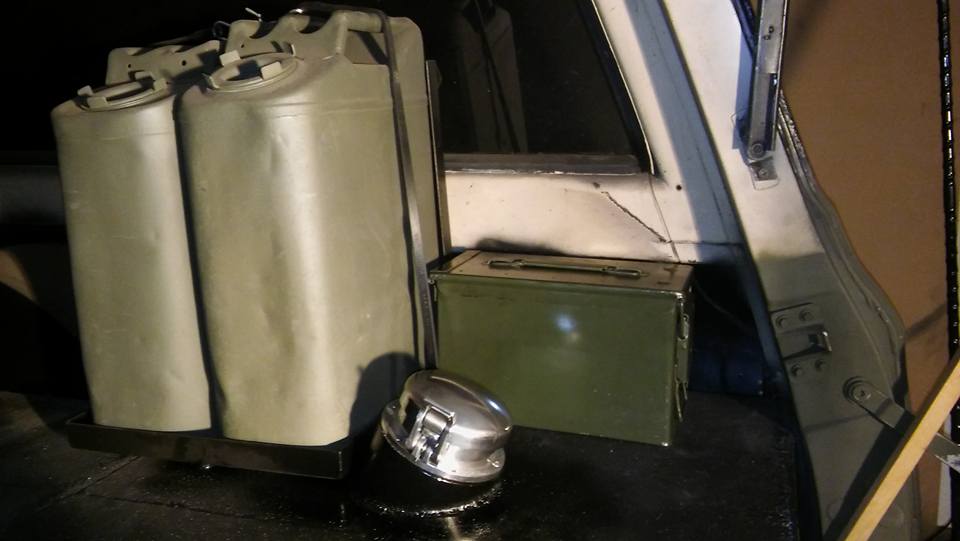
New gas cap/filler I've had that's gonna go on it. Most likely gonna use some round tube and build a base for it, to raise it up off the floor just slightly, and maybe at a 45� angle
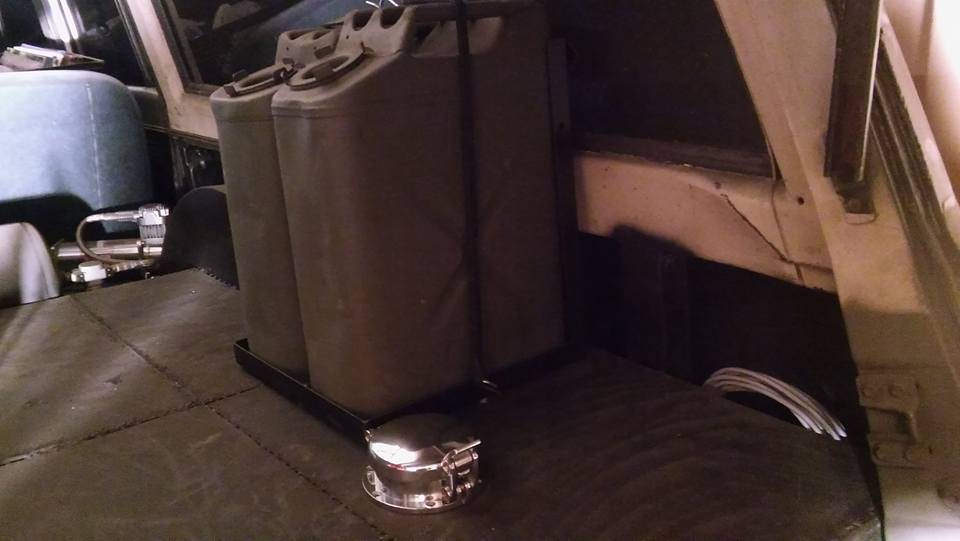
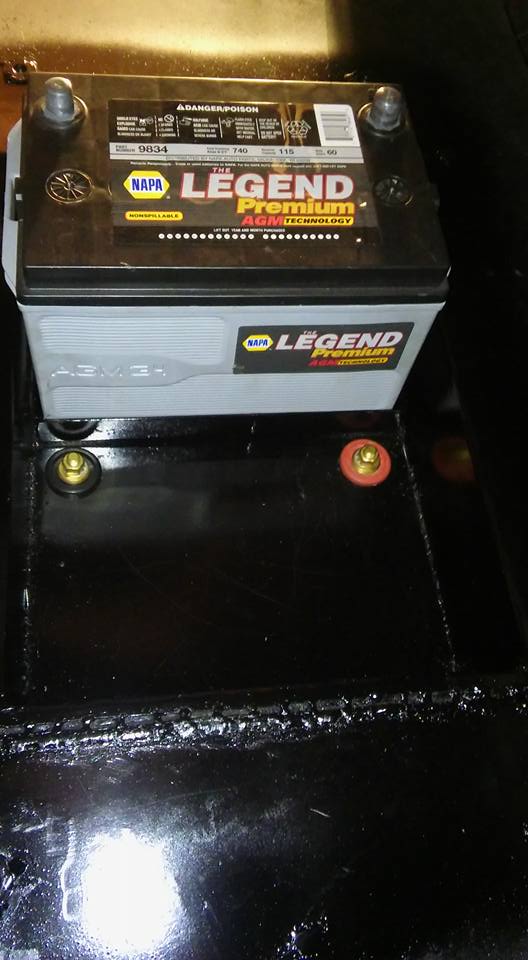
Battery cable through panel connectors installed. Now I need to make and run all my battery cables, and relocate some other stuff into the empty spot next to the battery
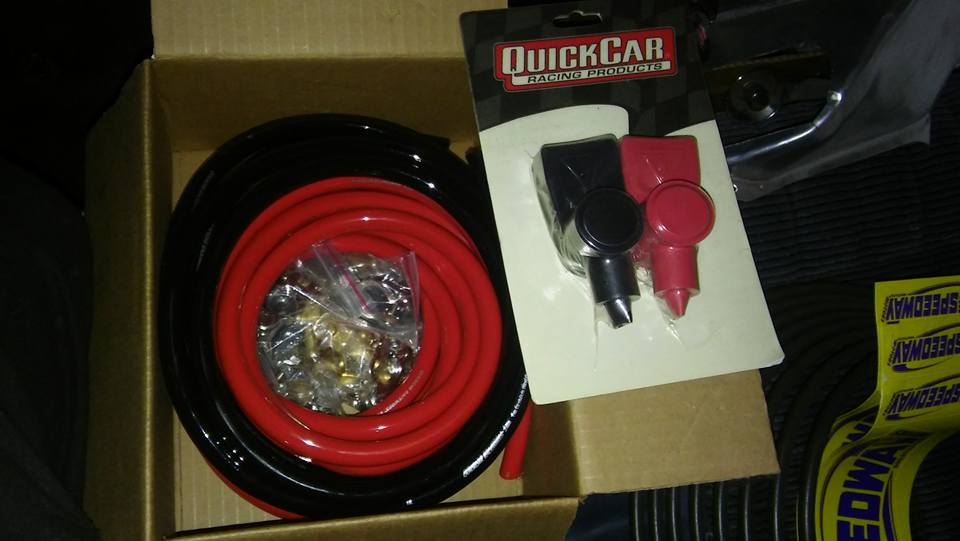
And the race car battery relocation kit I've had, that I bought to do that with
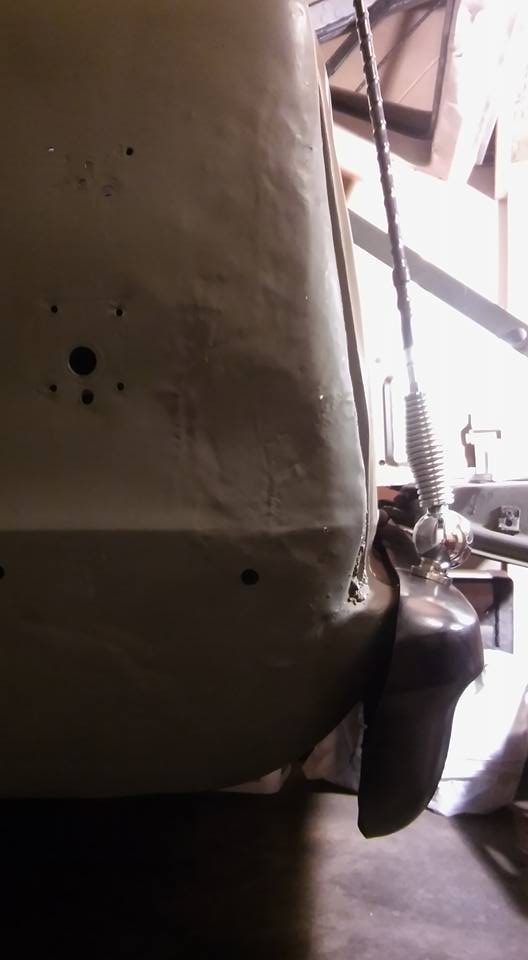
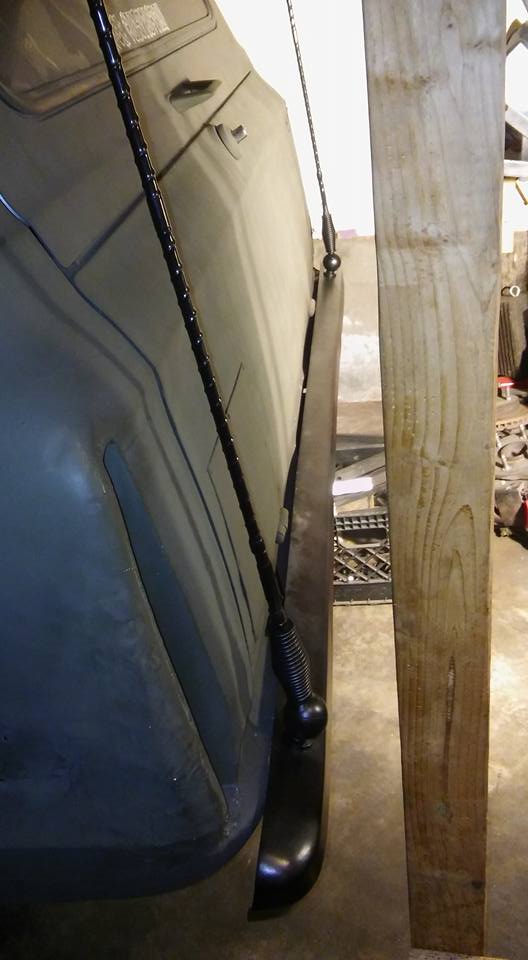
Old homemade drivers side CB/radio antenna mount removed. And new one modified slightly and temporarily mounted in its new location on the rear bumper (where I wanted in the first place). Just gotta do the other side. And they will be getting painted, most likely black.
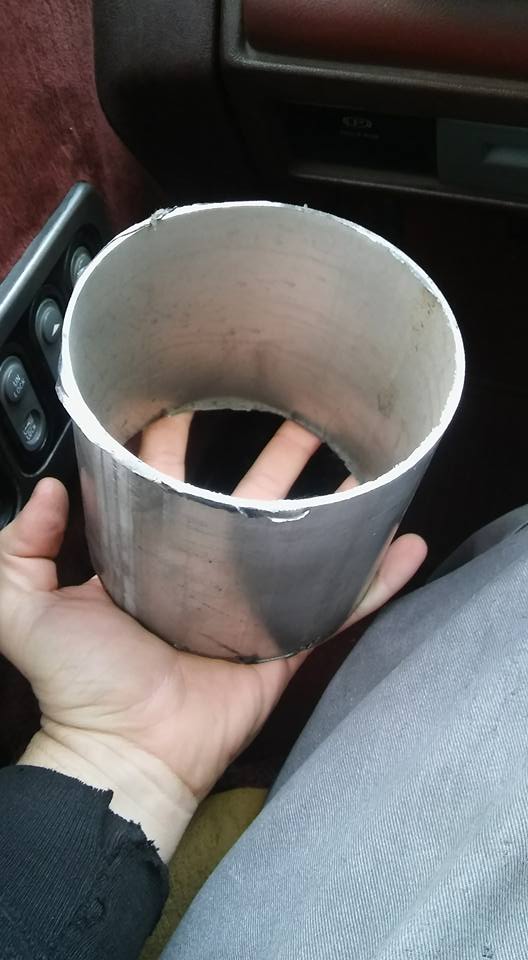
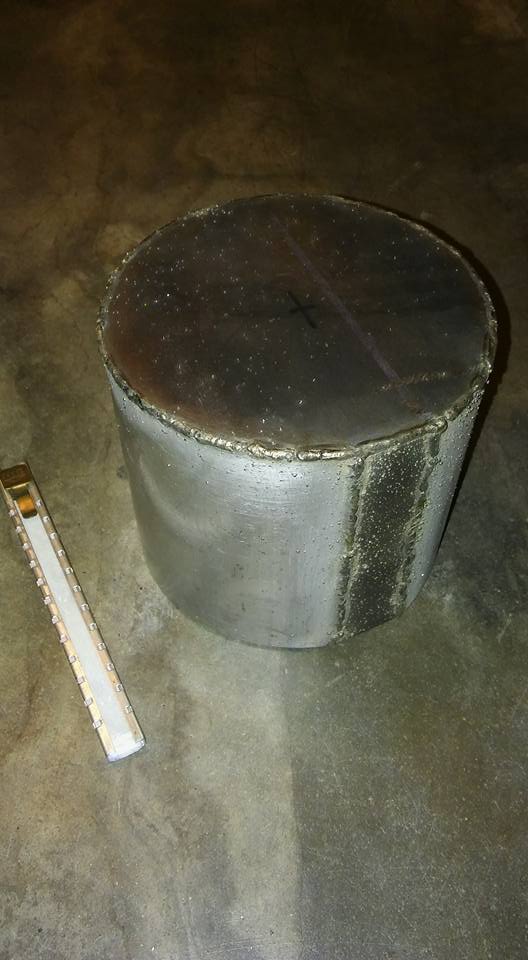
Another piece of the puzzle (5" exhaust tubing) to modify to work for what I want/need
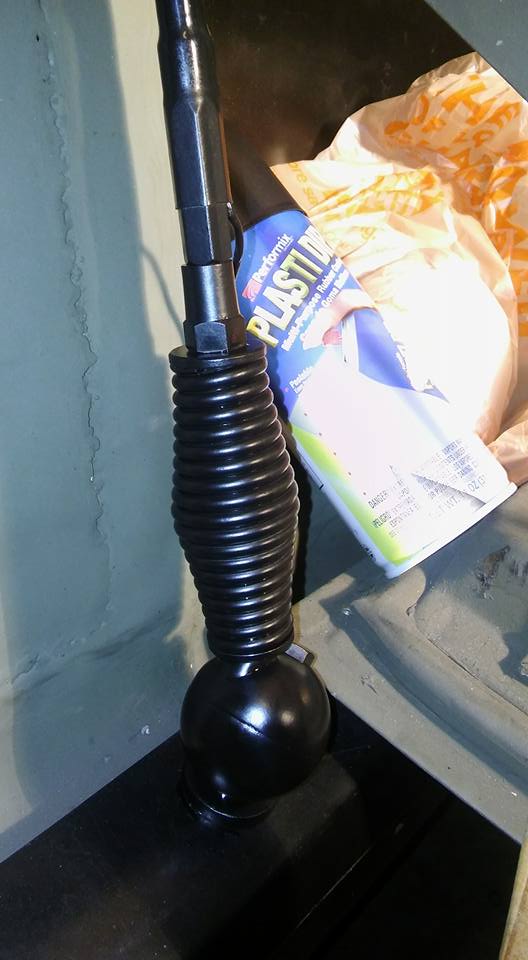
That should work for a color change. One down one to go.
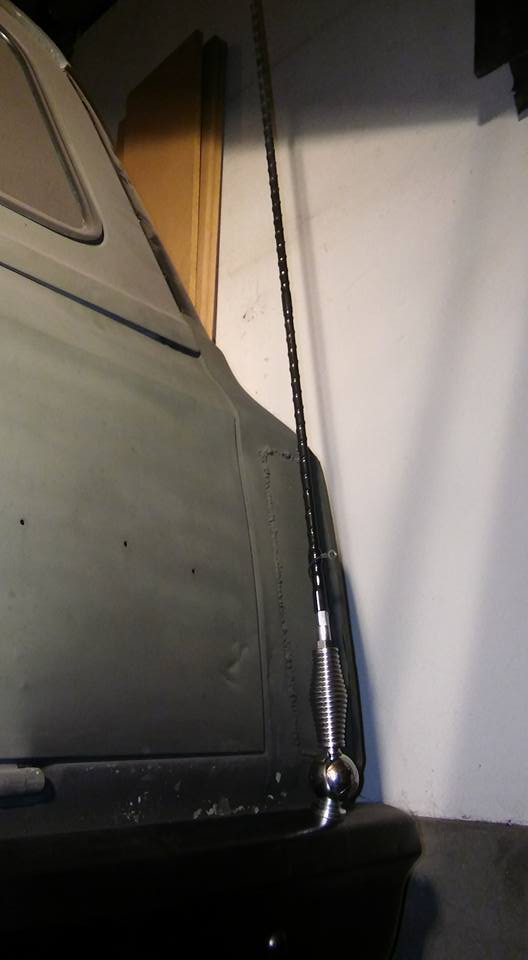
Other one modified and temporarily mounted. Now to capt it with some plastidip like I did the other side
New trans dip stick installed. Just need to replace the self tapping sheet metal screws with some bolts and lock nuts

Step one of the conversion back to manual disc brakes completed.

Under hood portion of the power to manual brake conversion done. Just need to paint the one line to match the rest of them. Then bleed the brakes again after mounting the brake pedal rod (brake pedal rod has been installed since pic). brakes still need bled though

Bottom cut out of the "battery box cover" I had bolted down to the floor. Next step is building a box to hold the battery, cut a hole in the floor, drop it down in, weld it up, then bolt this back to the floor

Floor cut out for battery box

Some more sheet metal to build the "battery box" out of, and to make more panels for the floor so it can be closer to being done

Battery box cut out...

And formed. Just need to weld it up, then weld it into the floor

And welded up and grinded down. Not perfect, but good enough. Now just gotta weld it into the floor

And welded in...

And some paint on it


New gas cap/filler I've had that's gonna go on it. Most likely gonna use some round tube and build a base for it, to raise it up off the floor just slightly, and maybe at a 45� angle

Battery cable through panel connectors installed. Now I need to make and run all my battery cables, and relocate some other stuff into the empty spot next to the battery

And the race car battery relocation kit I've had, that I bought to do that with

Old homemade drivers side CB/radio antenna mount removed. And new one modified slightly and temporarily mounted in its new location on the rear bumper (where I wanted in the first place). Just gotta do the other side. And they will be getting painted, most likely black.

Another piece of the puzzle (5" exhaust tubing) to modify to work for what I want/need

That should work for a color change. One down one to go.

Other one modified and temporarily mounted. Now to capt it with some plastidip like I did the other side
 12-04-2016, 11:22 PM
#125
On The Tree
Thread Starter
Join Date: Aug 2013
Posts: 144
Likes: 0
Received 0 Likes
on
0 Posts
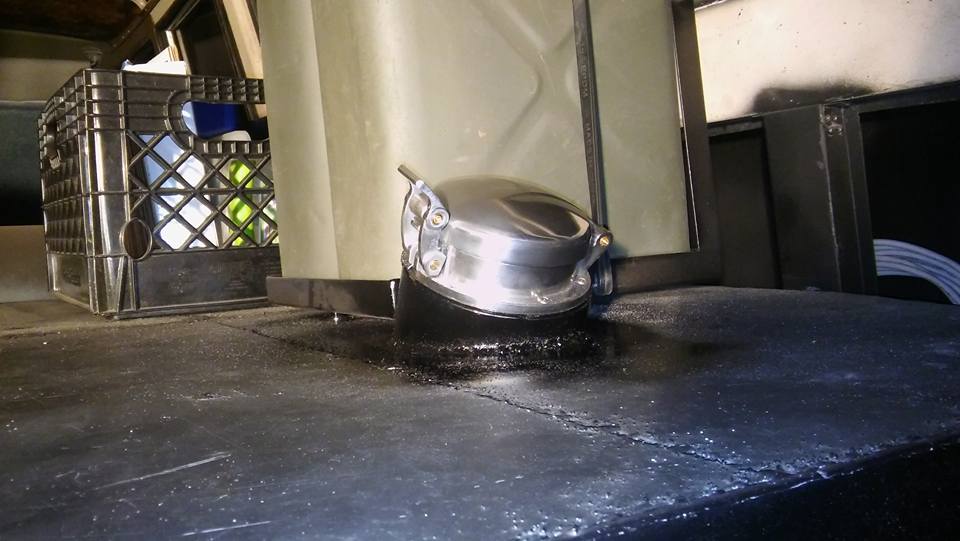
And both mounted to the bumper and "painted"
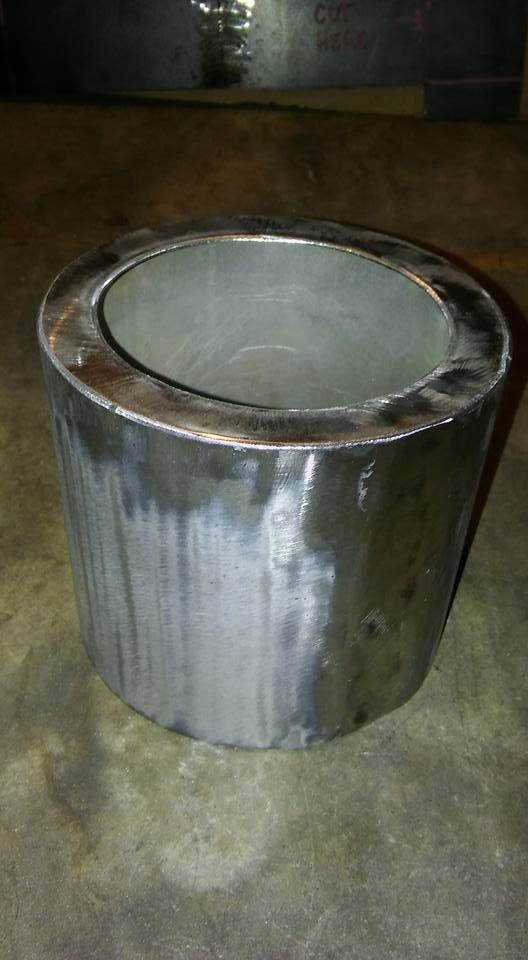
Cut, stretched, welded, and capped one end to use as a mounting surface for the fuel filler cap. Now just gotta grind the welds down and clean it all up, then drill/cut a hole in the center for the fuel hose to run through.
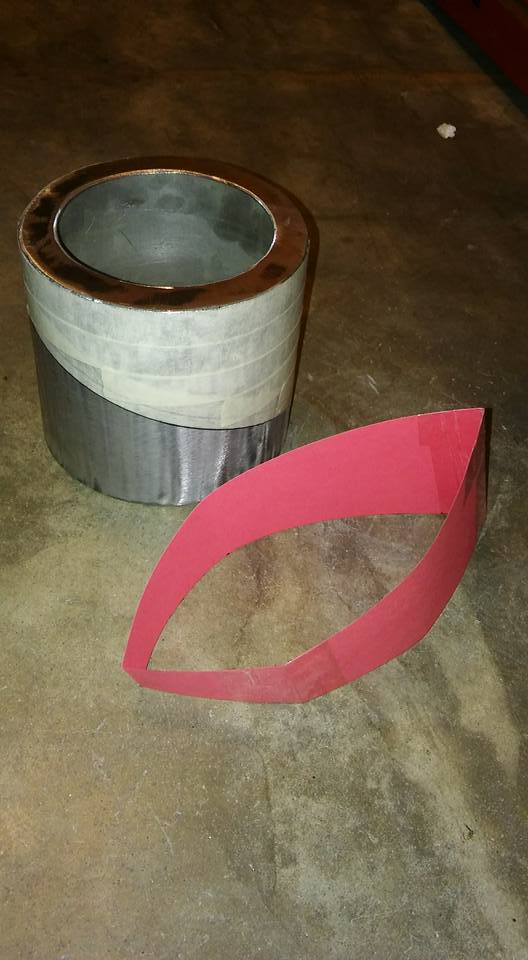
I guess that's one way to figure out, and make the angle I wanted. Lol. Chop saw wasn't big enough, and this piece is to small (length) to cut it. So now I can do it with a grinder and a cut off wheel
Done cutting and grinding the angle just right.
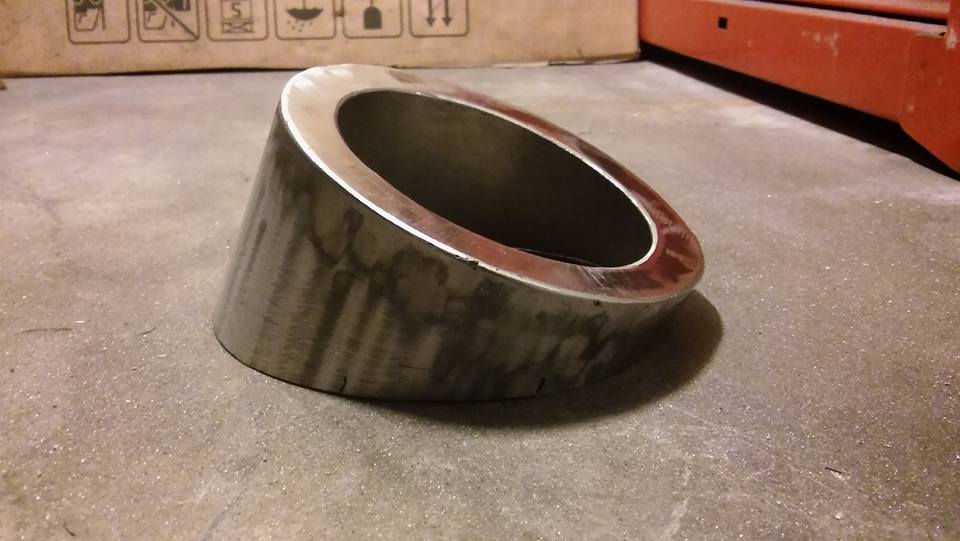
That'll work. Just need to make the hole in the floor bigger, drill some holes to mount the fuel filler, and weld it to the floor
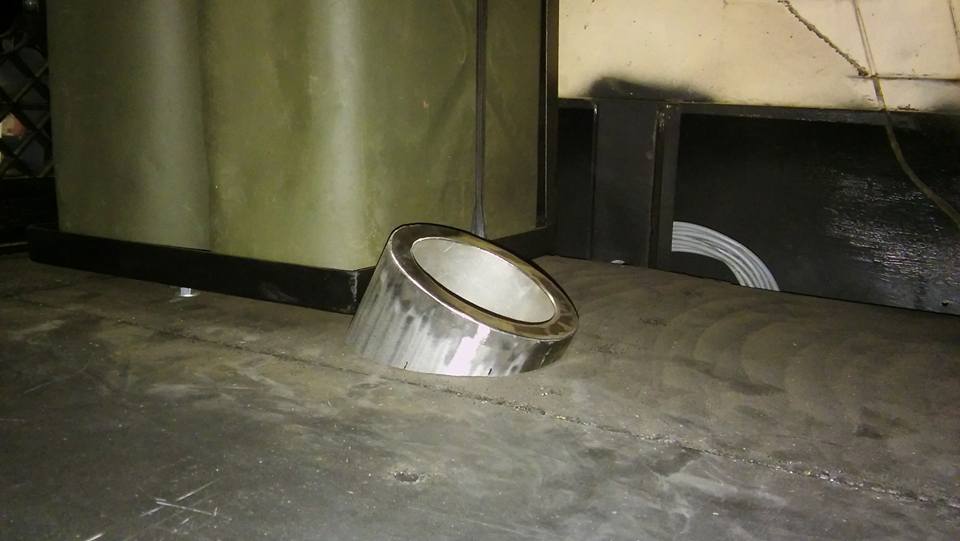
And hole cut out bigger, and moved over to the right a little bit farther
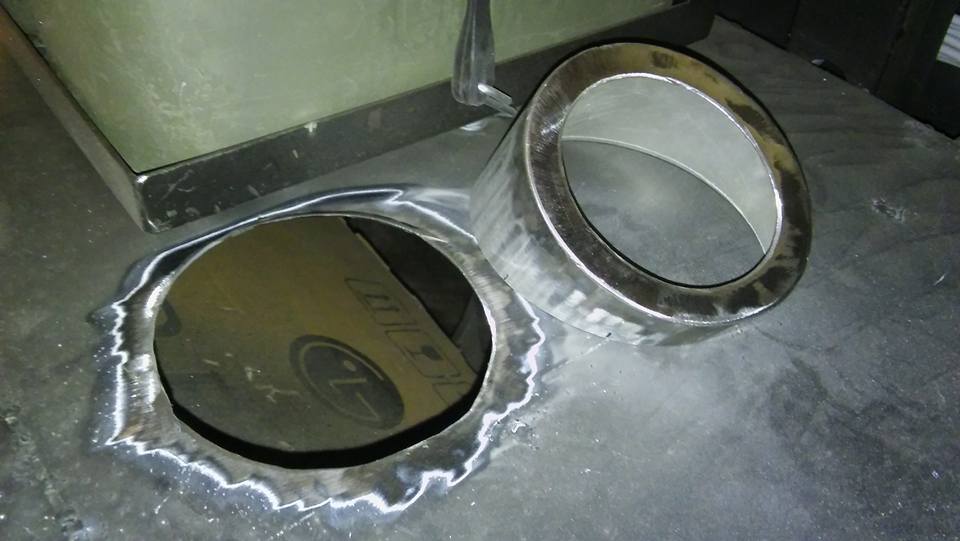

Cut, stretched, welded, and capped one end to use as a mounting surface for the fuel filler cap. Now just gotta grind the welds down and clean it all up, then drill/cut a hole in the center for the fuel hose to run through.


I guess that's one way to figure out, and make the angle I wanted. Lol. Chop saw wasn't big enough, and this piece is to small (length) to cut it. So now I can do it with a grinder and a cut off wheel

Done cutting and grinding the angle just right.

That'll work. Just need to make the hole in the floor bigger, drill some holes to mount the fuel filler, and weld it to the floor

And hole cut out bigger, and moved over to the right a little bit farther

 12-22-2016, 11:16 PM
#128
On The Tree
Thread Starter
Join Date: Aug 2013
Posts: 144
Likes: 0
Received 0 Likes
on
0 Posts
Here's the idea I was going for when I started this new idea. May clock it 90� to the right so I flips open towards the passengers side. Or 180� so it flips down. But we'll see as I finish it

And welded in and mounted... Just need to scotch brite (or sand it) to make it not shiny. Lol
Think I'm gonna add one of my spare .50 CAL ammo cans in this spot...
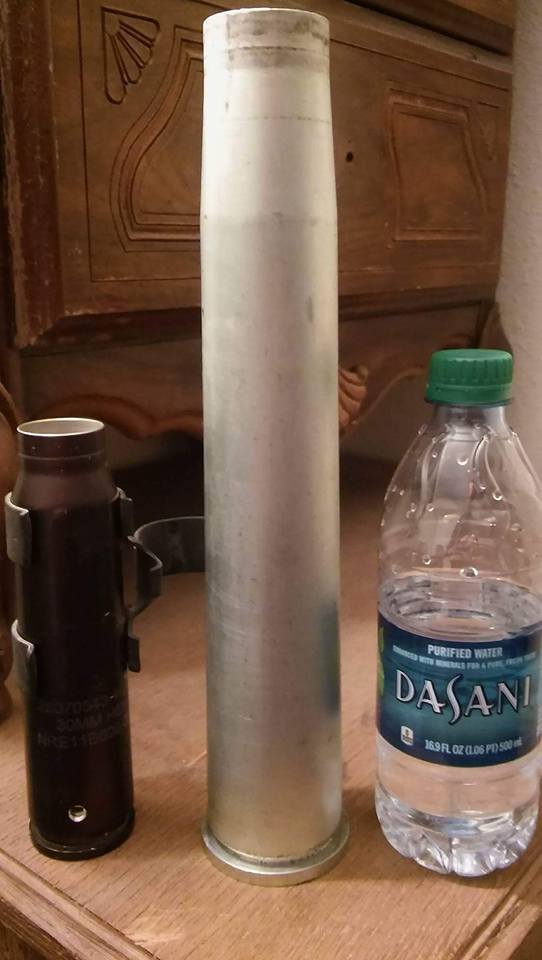
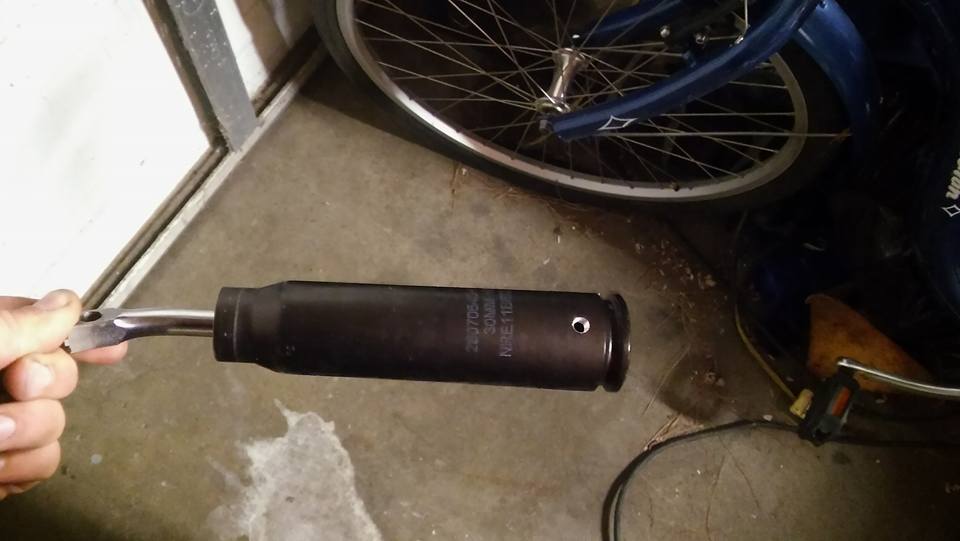
Got some AC-130 gunship, and A-10 warthog ammo casing thanks to a really good friend
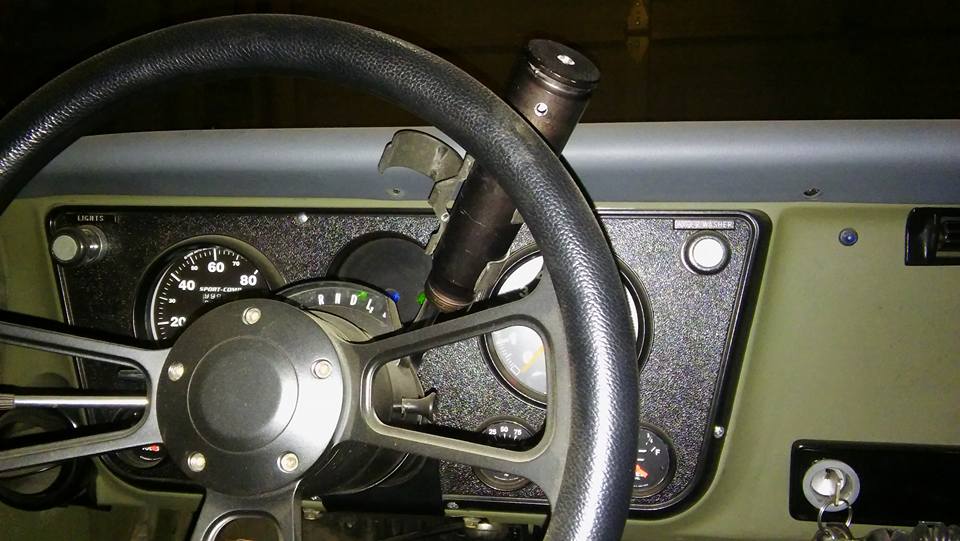
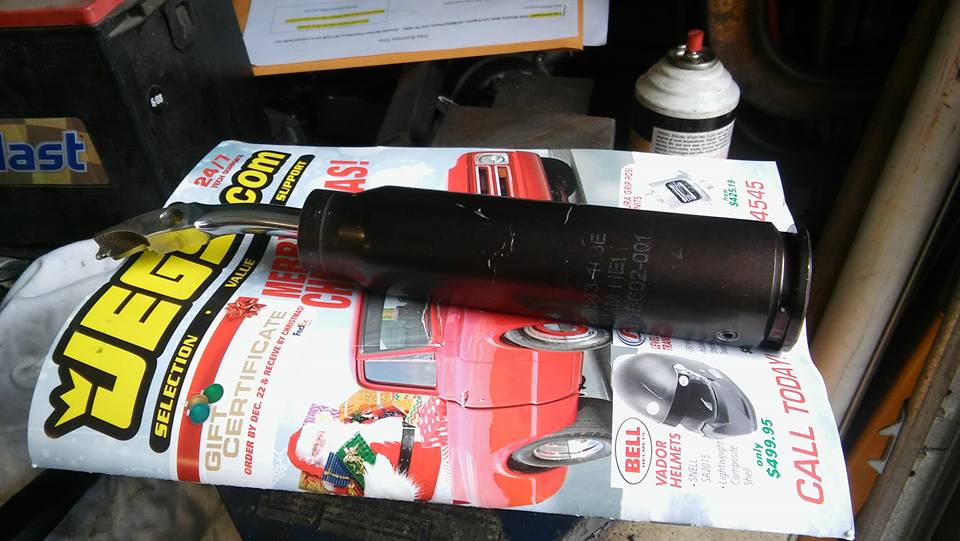
Gonna use this one for the shift lever arm
Working on the 30mm A-10 warthog bullet case shifter handle
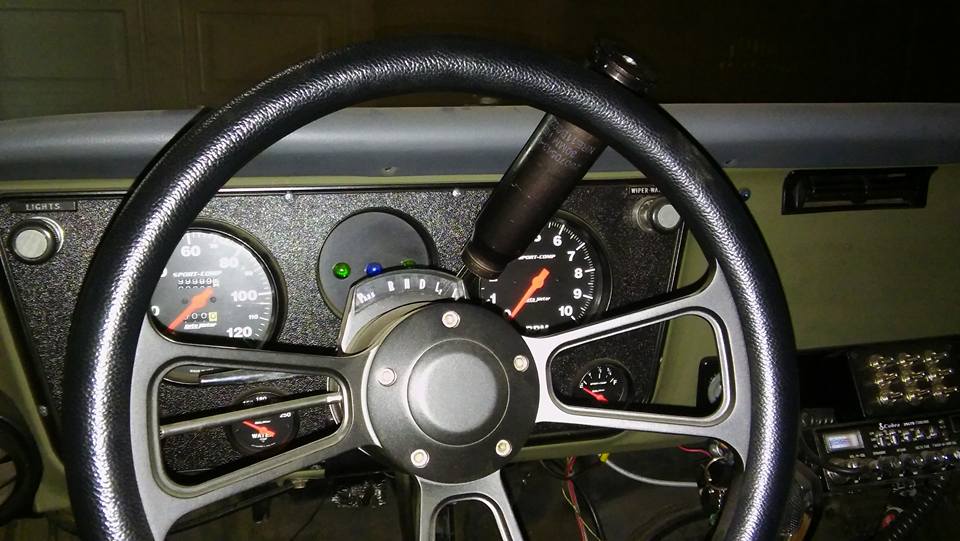
Shifter handle for the burb done... Just need to reinstall it.
And reinstalled... I like it.

And welded in and mounted... Just need to scotch brite (or sand it) to make it not shiny. Lol

Think I'm gonna add one of my spare .50 CAL ammo cans in this spot...

Got some AC-130 gunship, and A-10 warthog ammo casing thanks to a really good friend

Gonna use this one for the shift lever arm

Working on the 30mm A-10 warthog bullet case shifter handle

Shifter handle for the burb done... Just need to reinstall it.

And reinstalled... I like it.


Thread
Thread Starter
Forum
Replies
Last Post
shupe
GM Drivetrain & Suspension
0
08-05-2015 06:45 PM