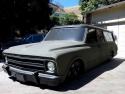
project SARGE, the bagged 67 turbo burb build
 05-12-2015, 11:11 PM
#81
On The Tree
Thread Starter
Join Date: Aug 2013
Posts: 144
Likes: 0
Received 0 Likes
on
0 Posts
a few small updates...
it's still not 100% perfect, but much cleaner now. Degreased and pressure washed it. Almost time to start changing some parts
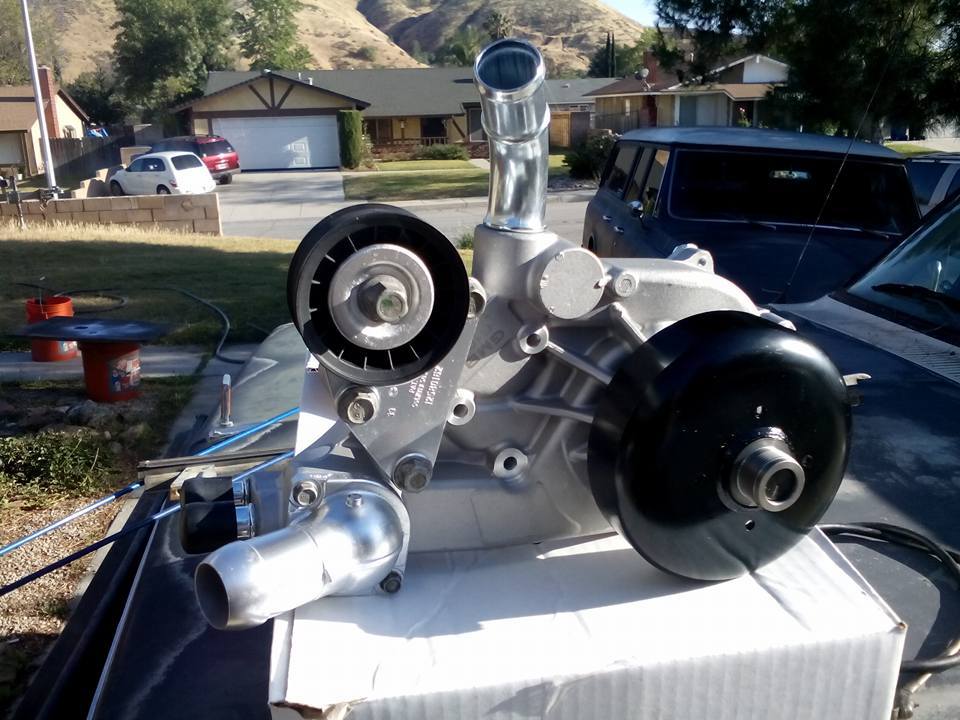
New water pump to replace the old original one i accidentally broke. lol
it's still not 100% perfect, but much cleaner now. Degreased and pressure washed it. Almost time to start changing some parts

New water pump to replace the old original one i accidentally broke. lol

 05-14-2015, 11:04 PM
#82
On The Tree
Thread Starter
Join Date: Aug 2013
Posts: 144
Likes: 0
Received 0 Likes
on
0 Posts
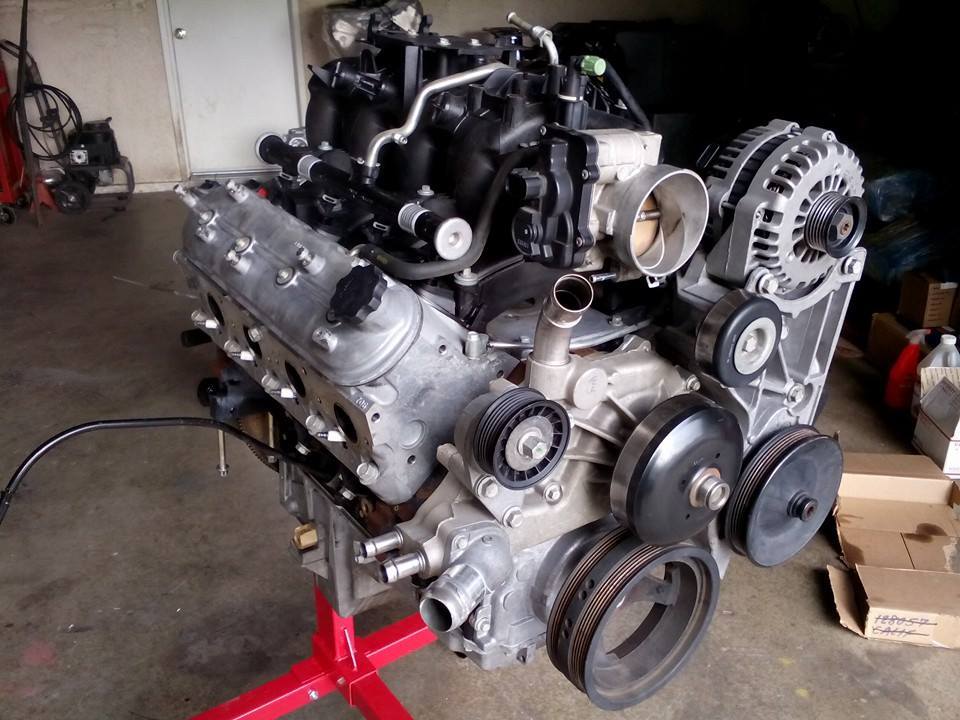
and its officially out... and for good. gotta do some clean up, repainting, and maybe relocating a few things before the 5.3 eventually goes back in
out with the old. need to clean up, regasket/seal, and paint the transmission for when it gets reinstalled
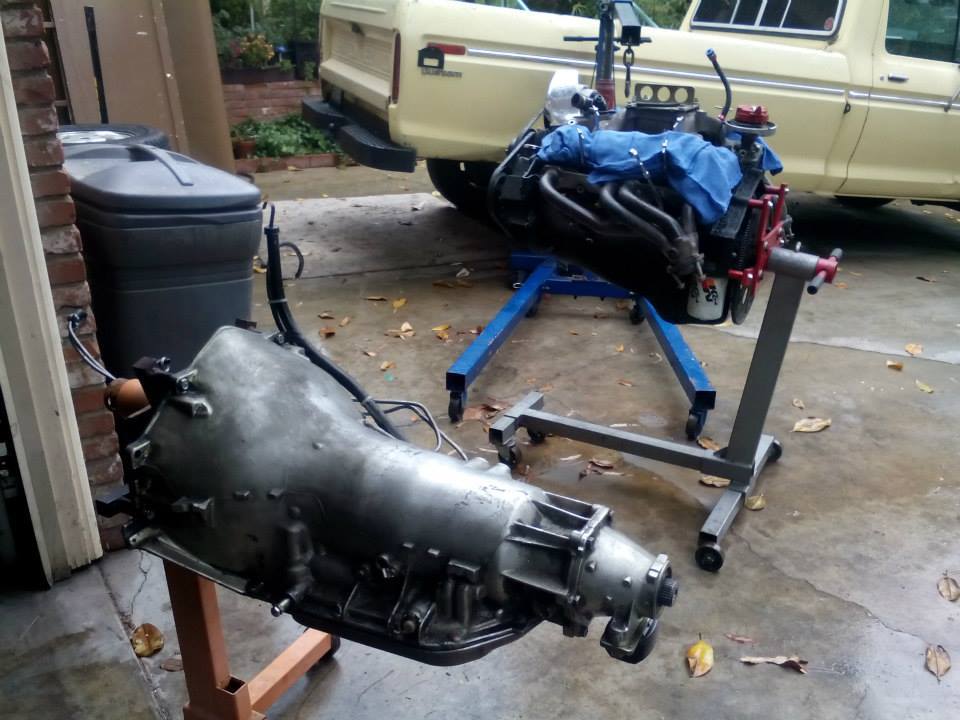

out with the old. need to clean up, regasket/seal, and paint the transmission for when it gets reinstalled
 05-15-2015, 11:00 PM
#83
On The Tree
Thread Starter
Join Date: Aug 2013
Posts: 144
Likes: 0
Received 0 Likes
on
0 Posts
more updates...
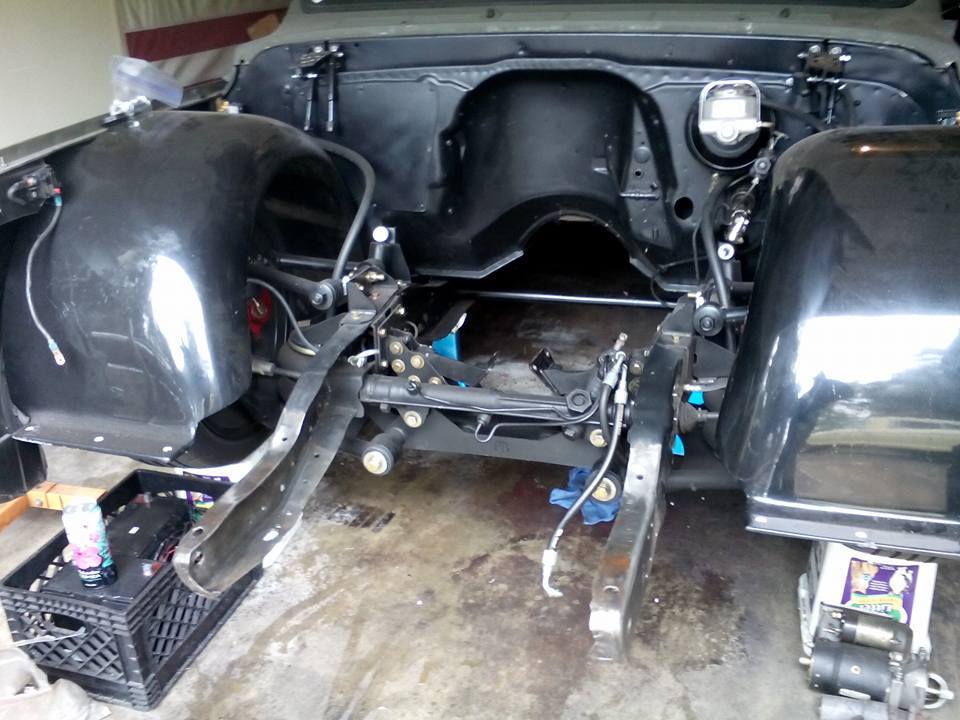
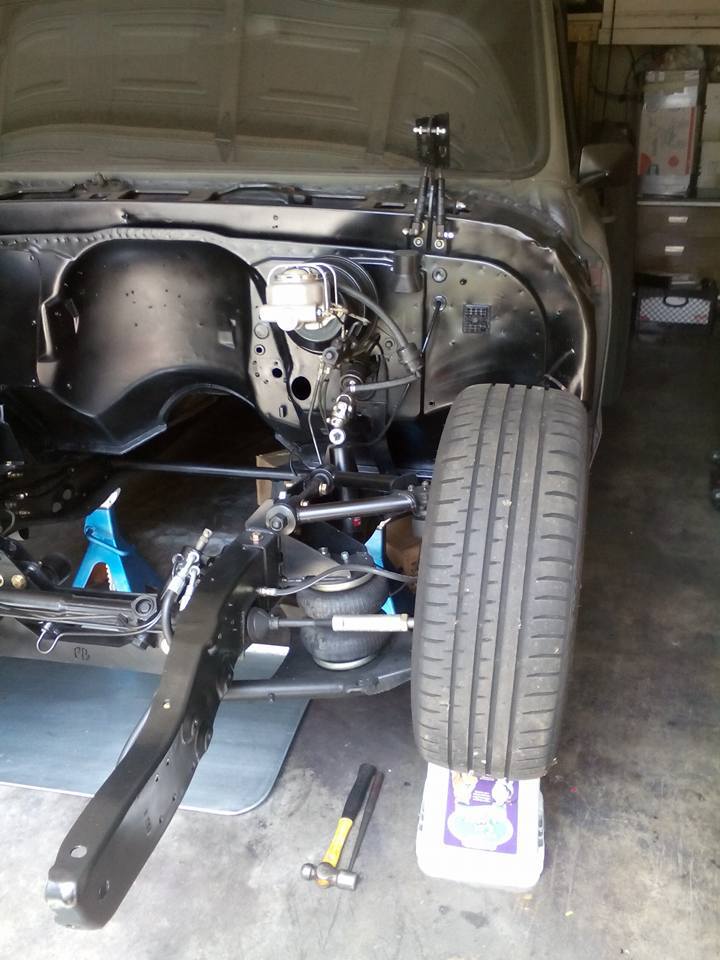
Cleaned up and partially painted. Relocating the front air ride valves off of the firewall, since the passengers side ones are gonna be in the way of the exhaust dump/cutout once its turbo'd
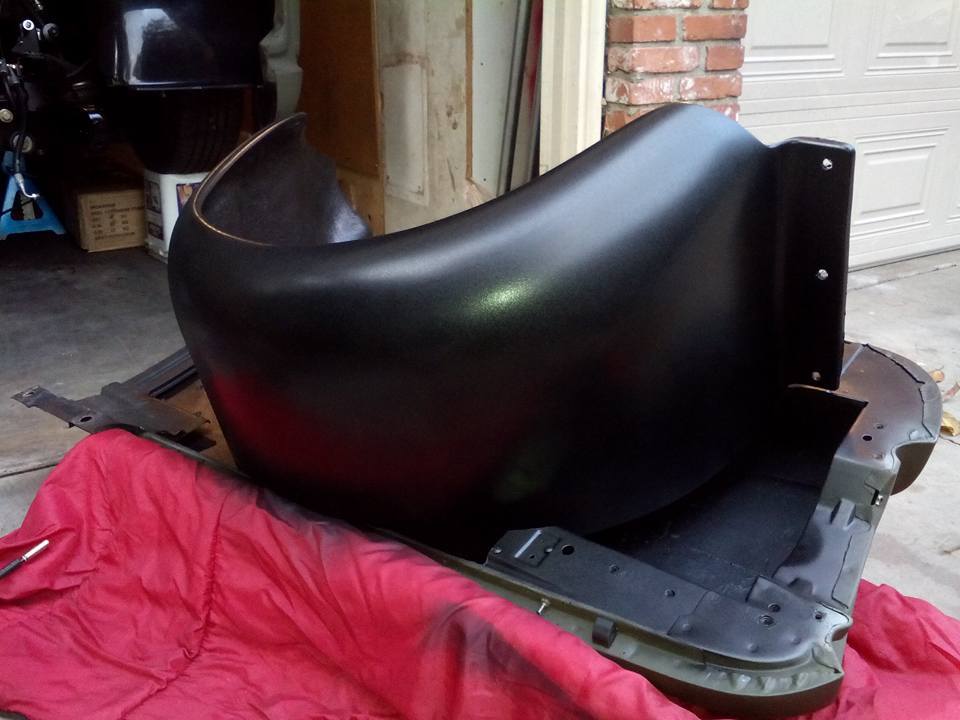
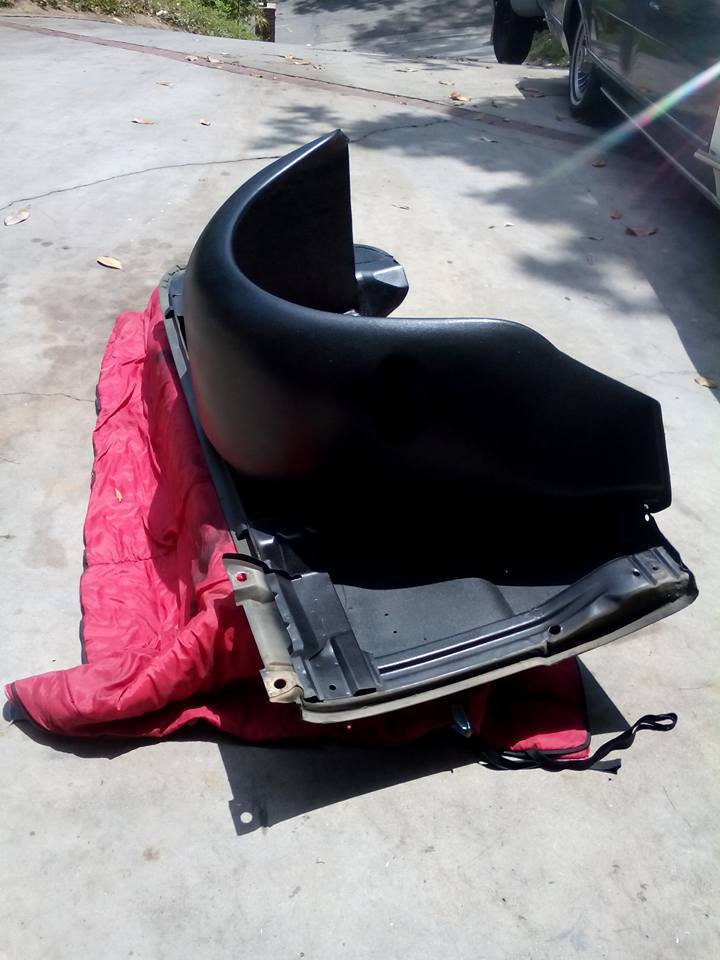
Coating the SloshTubz with some rattle can spray on bed liner as well while I have it apart
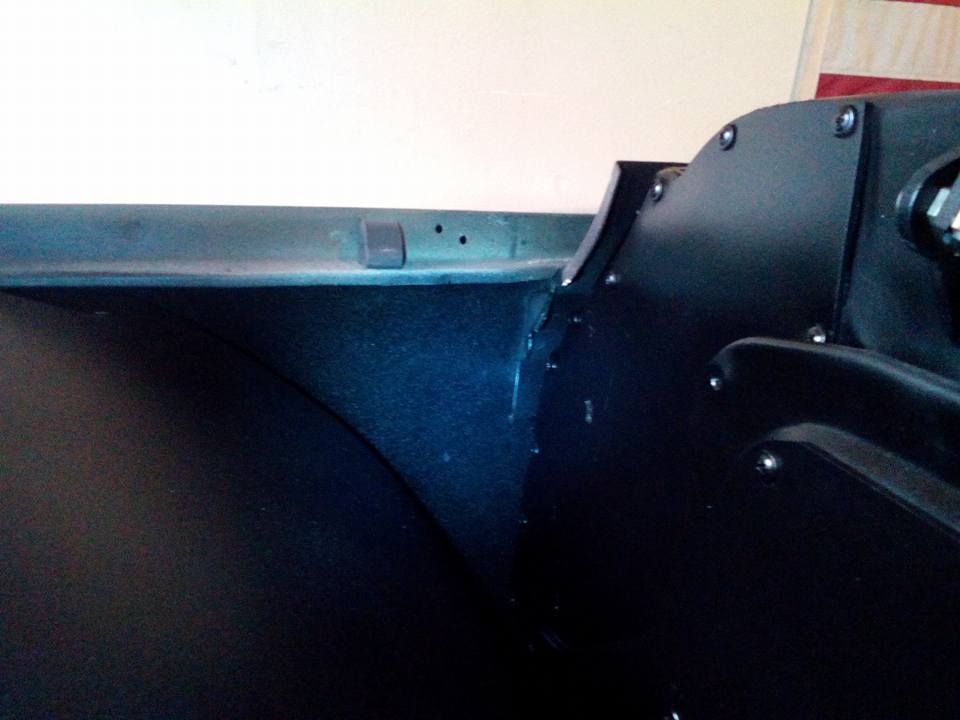
Future exhaust cutout/dump location. Might cut/notch a section of the fender bracing, and firewall for some extra clearance, and so I can run it out the fender at a 45� angle
Cleaned up and partially painted. Relocating the front air ride valves off of the firewall, since the passengers side ones are gonna be in the way of the exhaust dump/cutout once its turbo'd

Coating the SloshTubz with some rattle can spray on bed liner as well while I have it apart

Future exhaust cutout/dump location. Might cut/notch a section of the fender bracing, and firewall for some extra clearance, and so I can run it out the fender at a 45� angle
 05-17-2015, 08:56 PM
#84
On The Tree
Thread Starter
Join Date: Aug 2013
Posts: 144
Likes: 0
Received 0 Likes
on
0 Posts
more updates. lol.
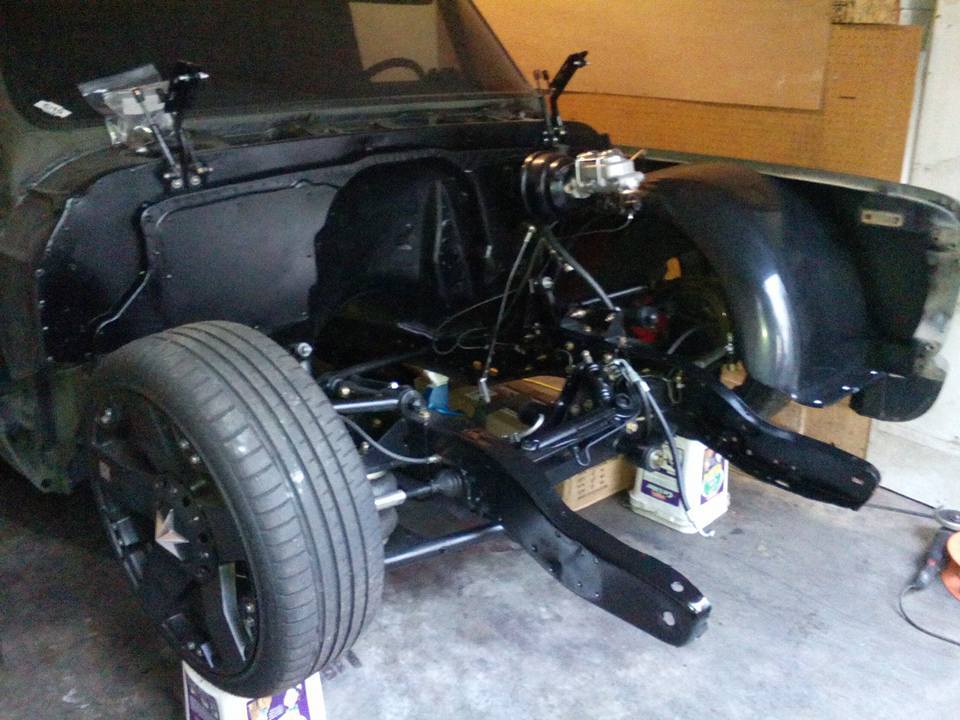
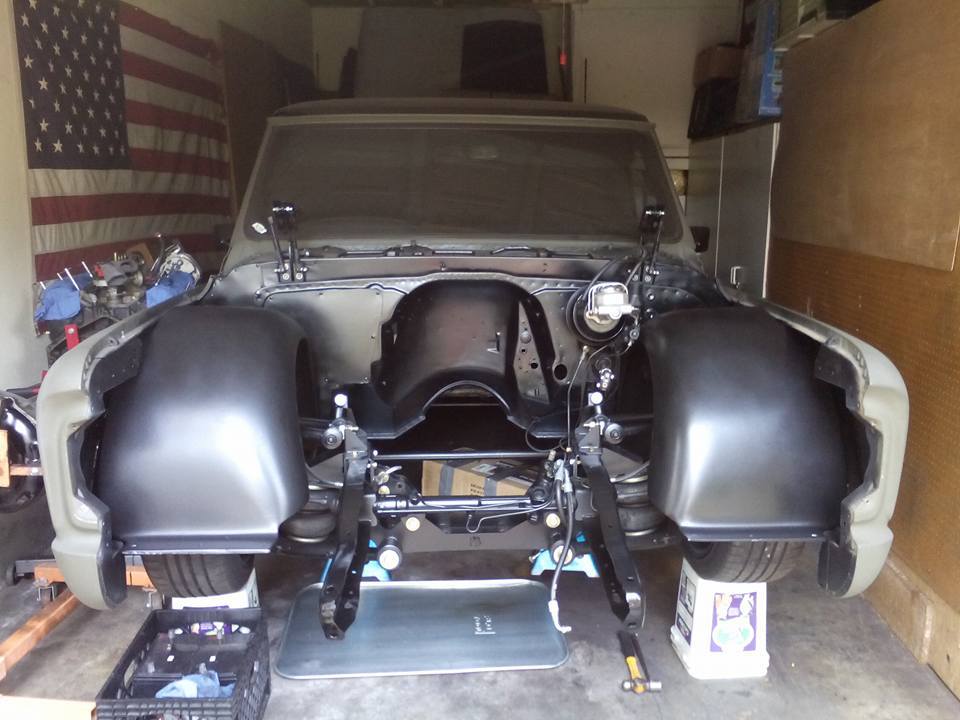
got the other fender off, and finished painting the firewall and stuff
got the other SloshTub coated in bed liner as well
And back on. Now I gotta make a make a block off plate for the clutch linkage hole, remount the air ride valve somewhere else, remove the old fuel line, and do a few other things. Then it will be ready to drop the 5.3 in once that's ready
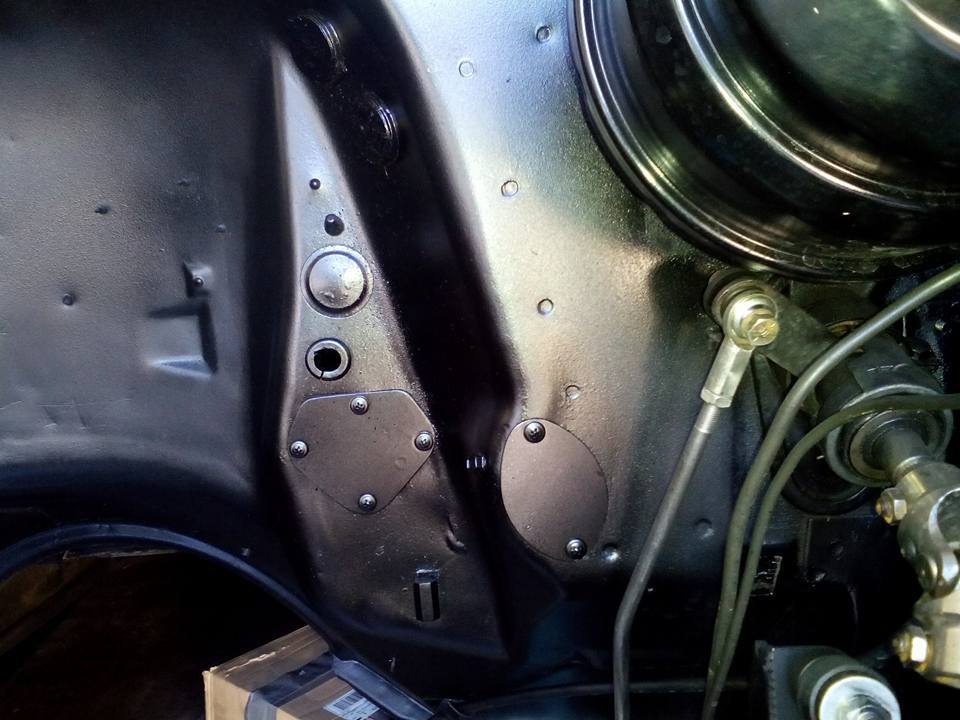
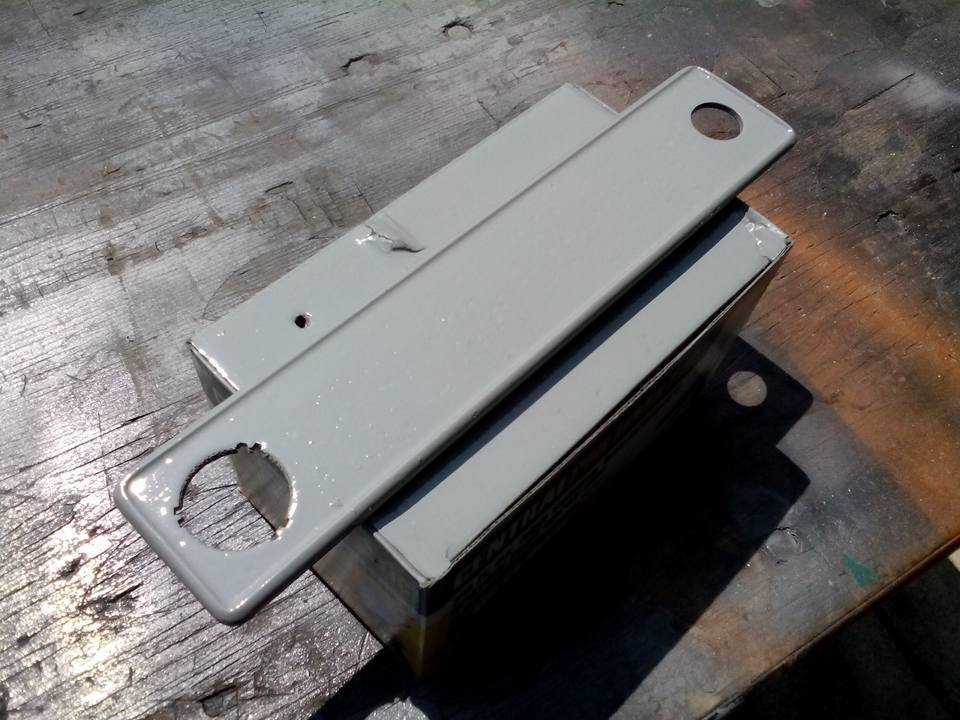
Clutch pedal linkage hole cover, and accelerator pedal rod hole cover made, painted, and installed
got the other fender off, and finished painting the firewall and stuff

got the other SloshTub coated in bed liner as well

And back on. Now I gotta make a make a block off plate for the clutch linkage hole, remount the air ride valve somewhere else, remove the old fuel line, and do a few other things. Then it will be ready to drop the 5.3 in once that's ready

Clutch pedal linkage hole cover, and accelerator pedal rod hole cover made, painted, and installed

 05-19-2015, 01:01 PM
#87
On The Tree
Thread Starter
Join Date: Aug 2013
Posts: 144
Likes: 0
Received 0 Likes
on
0 Posts
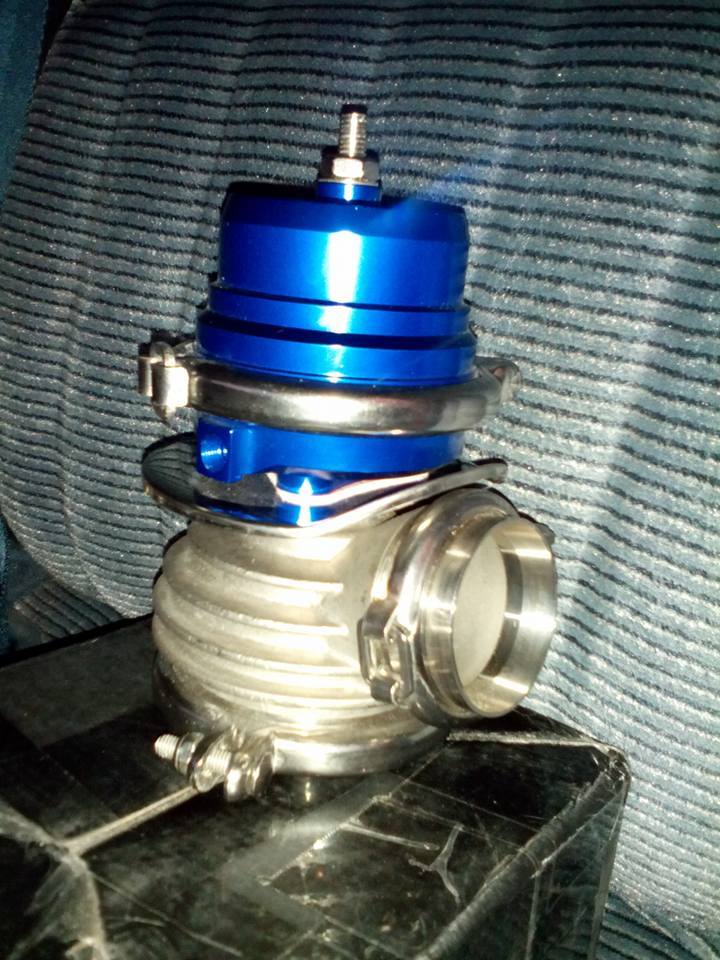
Big *** waste gate came in for the future turbo setup.
Front frame/core support cross member painted and halfway installed. Just need some nuts and bolts, then I can bolt it, and the core support frame mounts back on
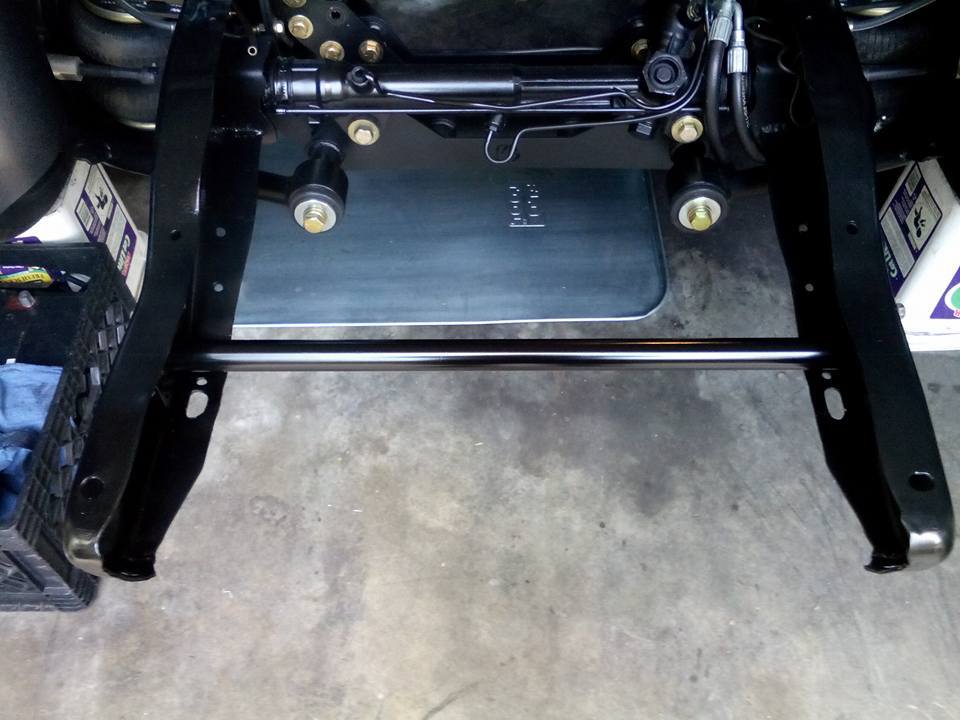

Front frame/core support cross member painted and halfway installed. Just need some nuts and bolts, then I can bolt it, and the core support frame mounts back on
 05-20-2015, 11:12 PM
#88
On The Tree
Thread Starter
Join Date: Aug 2013
Posts: 144
Likes: 0
Received 0 Likes
on
0 Posts
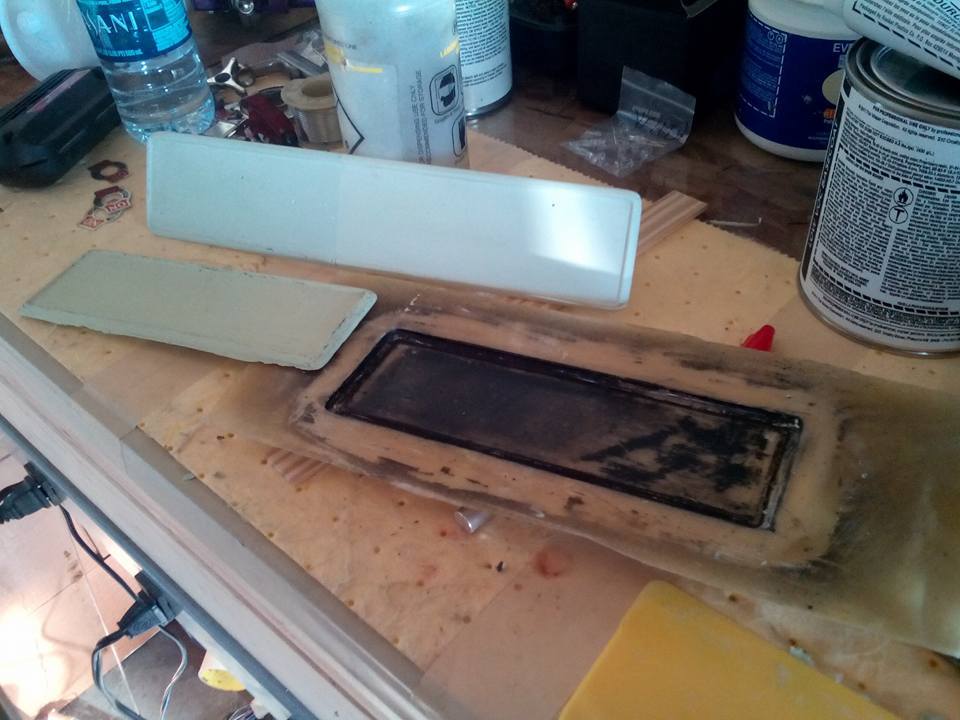
Making custom truck parts... got the tools made to make the molds for the final products. These are standard size radio delete plate molds/tools, and a couple of custom ones being made. Not pictured/made yet, is a double DIN one for when I put a dvd/cd/radio in. The long one will be used to hold some extra gauges (once I go turbo), a dual usb charging port/cig lighter, and the ignition switch. The standard size one im not using. These are being made out of fiberglass, and are nice and thick/strong
 05-26-2015, 02:11 AM
#89
On The Tree
Thread Starter
Join Date: Aug 2013
Posts: 144
Likes: 0
Received 0 Likes
on
0 Posts
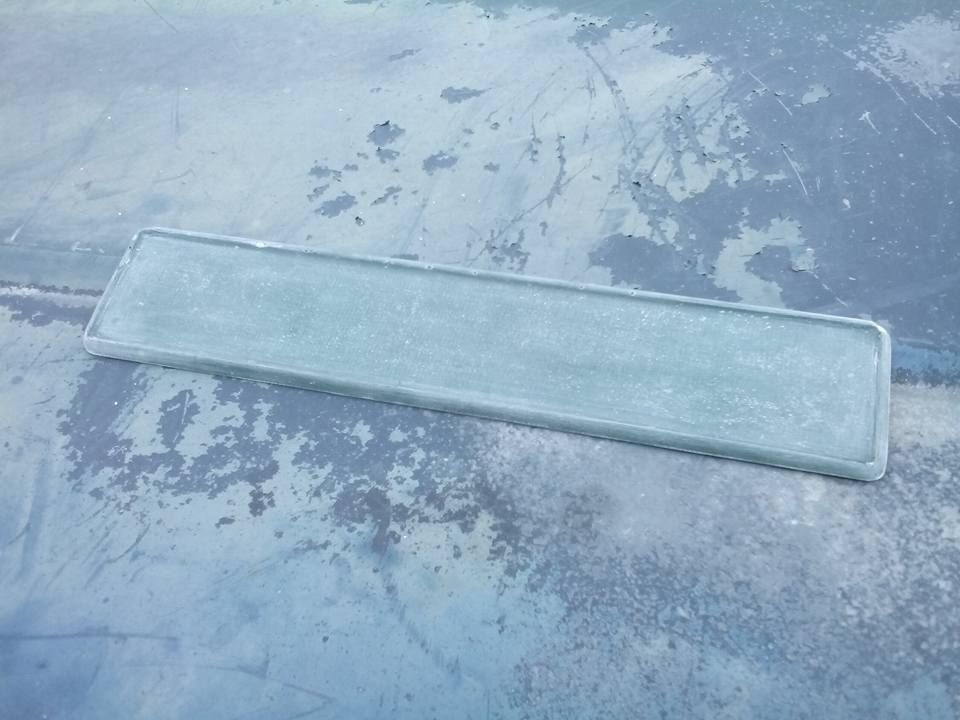
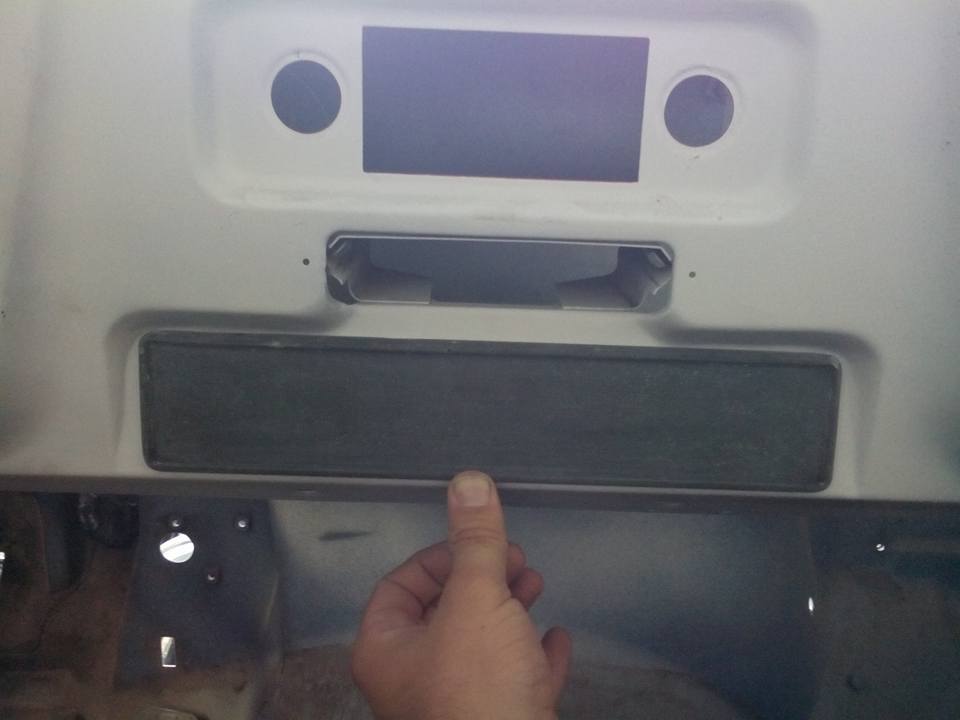
Tool made for custom gauge/ignition/cig lighter/usb charging port, mounting panel

Final product is made. Just need to do a little fine tuning and a little pin hole filling.
fits where the stock heater controls, ignition, and cig lighter on a stock dash goes too. but mine is a flat surface in this area
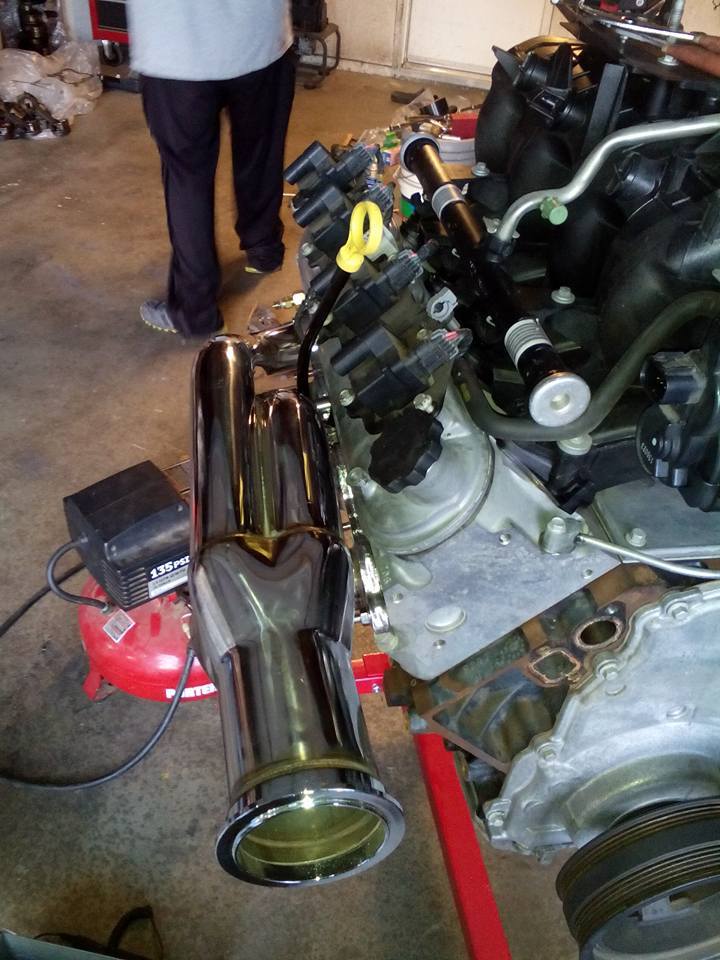
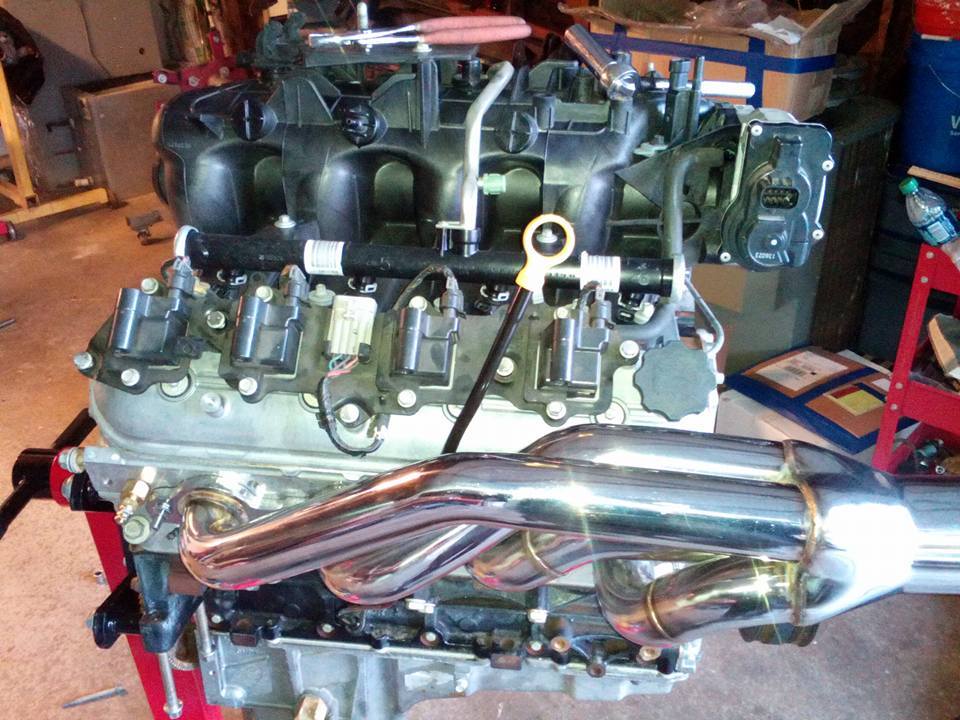
Doing some mock up if a few things so I can figure some stuff out. Got the f-body dip stick tube bent to clear the headers... but looks like I'm gonna have to do something about the coil packs because the front ones shoots the spark plug wires into the header tubes. Guess I'll have to make some new brackets or something to move them around to somewhere else so the wires will clear the headers
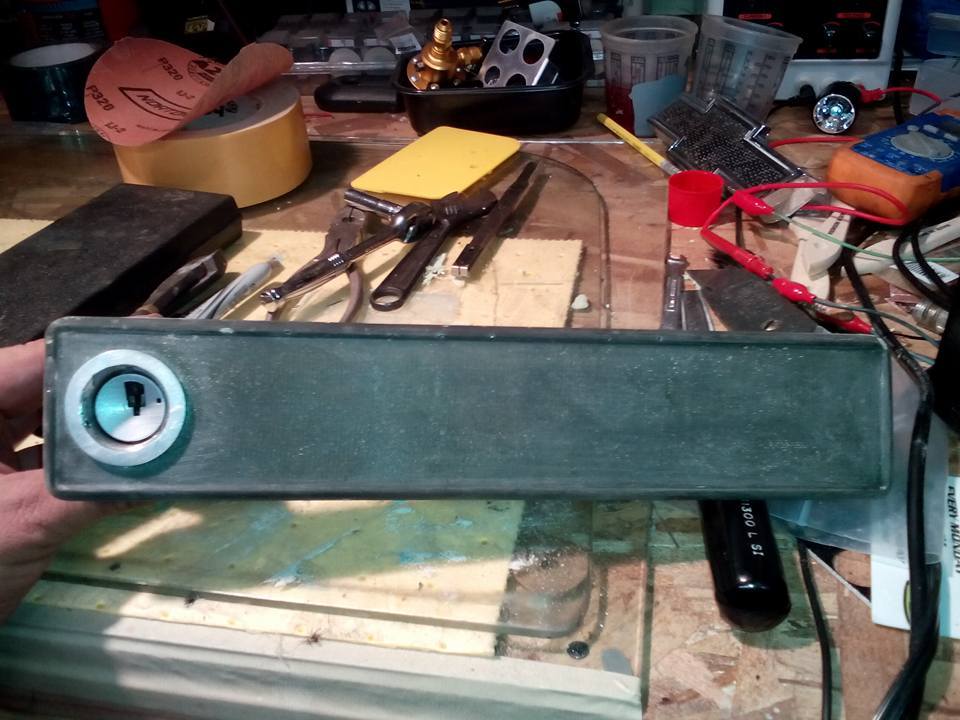
Ignition switch hole cut, ignition modified, and gonna do the cig lighter/usb one next, as well as epoxying on some mounting studs
In primer. Need to sand it and do a little spot putty work, then it'll be ready for some satin black paint

Final product is made. Just need to do a little fine tuning and a little pin hole filling.

fits where the stock heater controls, ignition, and cig lighter on a stock dash goes too. but mine is a flat surface in this area

Doing some mock up if a few things so I can figure some stuff out. Got the f-body dip stick tube bent to clear the headers... but looks like I'm gonna have to do something about the coil packs because the front ones shoots the spark plug wires into the header tubes. Guess I'll have to make some new brackets or something to move them around to somewhere else so the wires will clear the headers


Ignition switch hole cut, ignition modified, and gonna do the cig lighter/usb one next, as well as epoxying on some mounting studs

In primer. Need to sand it and do a little spot putty work, then it'll be ready for some satin black paint

